en/ es Sorpresa Para el 14 De Febrero, Volando Con El Corazón / Surprise For February 14, Flying With The Heart
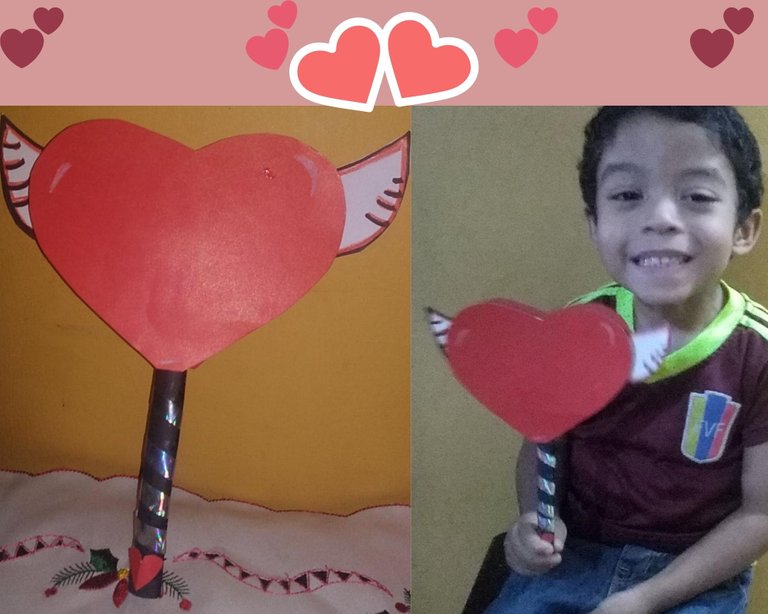
Hello dear friends, I hope you are well, these days I have not been able to upload my blog frequently, because my son has been a little sick, for which I decided to dedicate myself to him and not attend any activity this week, to monitor his health, so we both decided to make the sketch of the little details, which we are going to give to my students, for February 14 and he, very animated, decided to collaborate.
My son decided to call it Surprise For February 14, Flying With The Heart, a beautiful detail to give to our loved ones and friends, especially children will be surprised by the movement of the wings, being economical and easy to do, we place a chocolate or some present and ready to give.
Next, we present the materials and steps for its elaboration:.
.
Hola queridos amigos, espero se encuentren bien, estos días no he podido subir con frecuencias mis blog, porque mi hijo ha estado un poco enfermo, por lo cual, decidí dedicarme a él y que no asistiera por esta semana a ninguna actividad, para monitorear su salud, por lo que decidimos ambos, realizar el boceto de los detallitos, que le vamos a regalar, a mis alumnos, para el 14 de Febrero y el muy animado, decidió colaborar.
Mi hijo, decidió llamarlo Sorpresa Para el 14 De Febrero, Volando Con El Corazón, un hermoso detalle para regalar a nuestros seres queridos y amigos, en especial los niños se sorprenderán por el movimiento de las alas, siendo económico y fácil de realizar, le colocamos un chocolate o algún presente y listo para obsequiar.
A continuación, les presentamos los materiales y pasos para su elaboración:

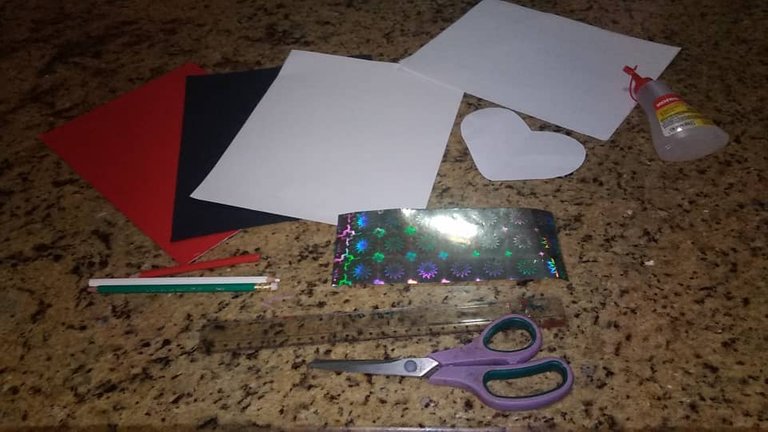
Materials:
• Letter size red construction paper
• Letter size black card stock
• Letter size white card stock
• Scissor
• Liquid silicone
• Colors: red and white
• Pencil
• 2 white sheets
• Paper to decorate
• Heart template
Materiales:
• Cartulina roja tamaño carta
• Cartulina negra tamaño carta
• Cartulina blanca tamaño carta
• Tijera
• Silicón liquido
• Colores: rojo y blanco
• Lápiz
• 2 hojas blancas
• Papel para decorar
• Plantilla de corazón

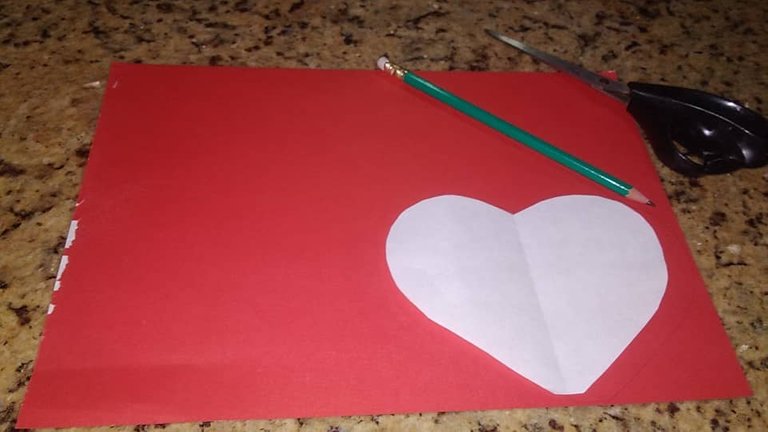
First step:
On the red cardboard, we will place the heart template, with a pencil we will draw 2 hearts and cut it to the same size. Reserve
Primer Paso:
Sobre la cartulina roja, colocaremos la plantilla de corazón, con un lápiz dibujaremos 2 corazones y lo recortaremos a la misma medida. Reservar
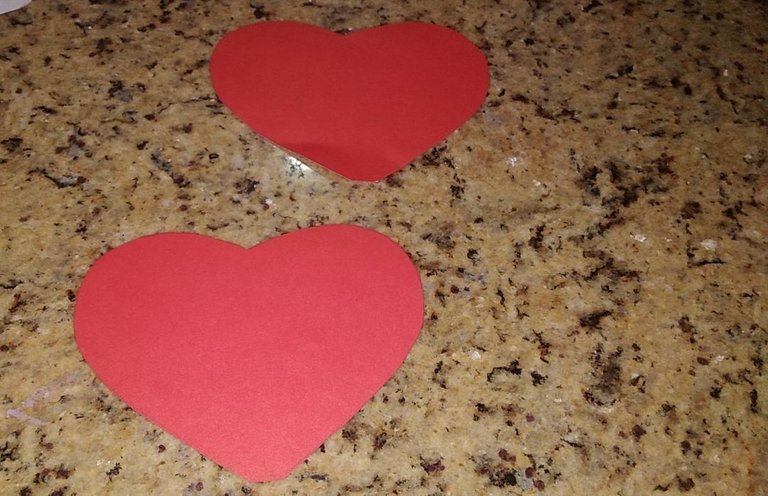

Second step:
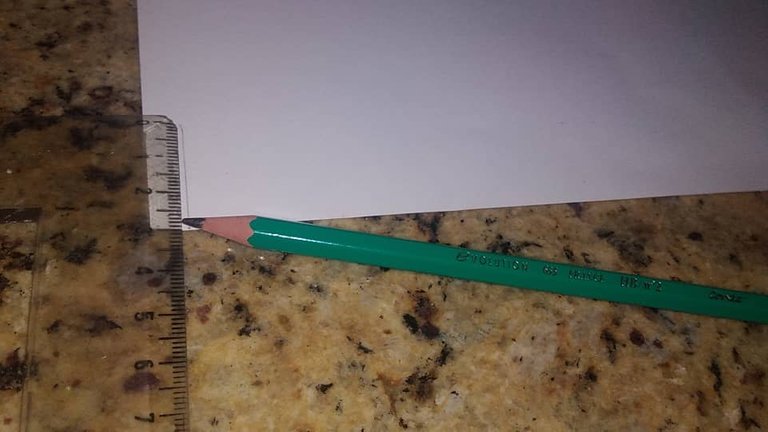
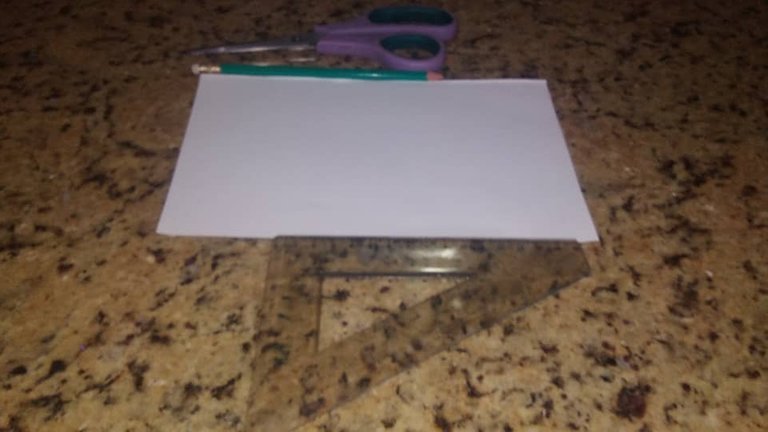
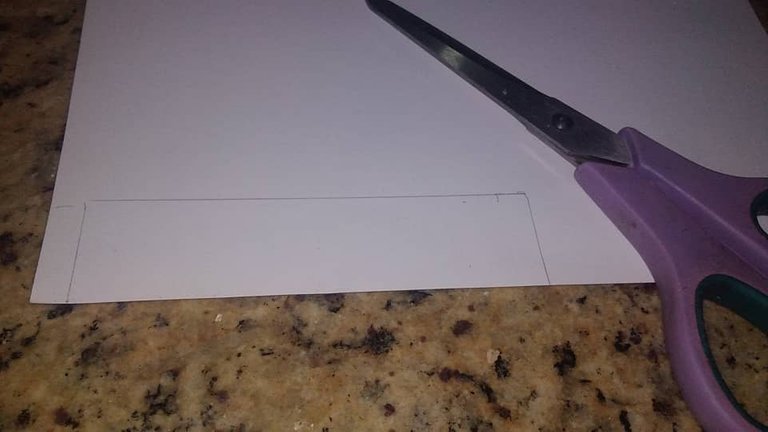
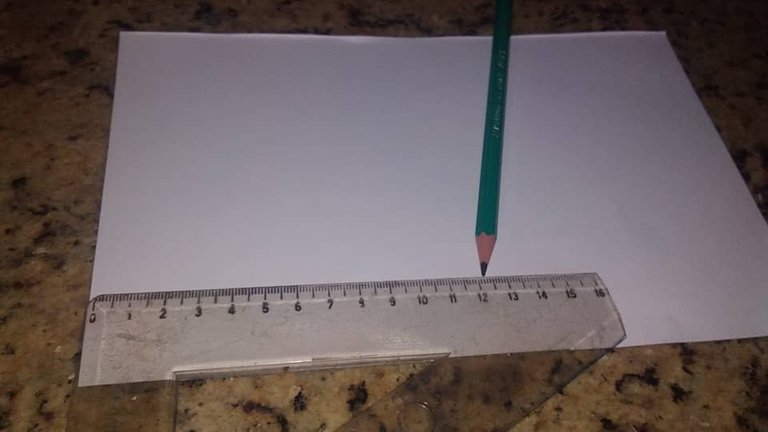
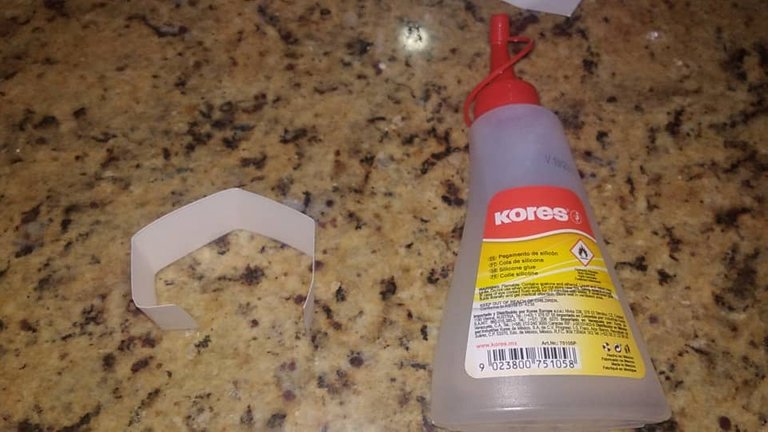
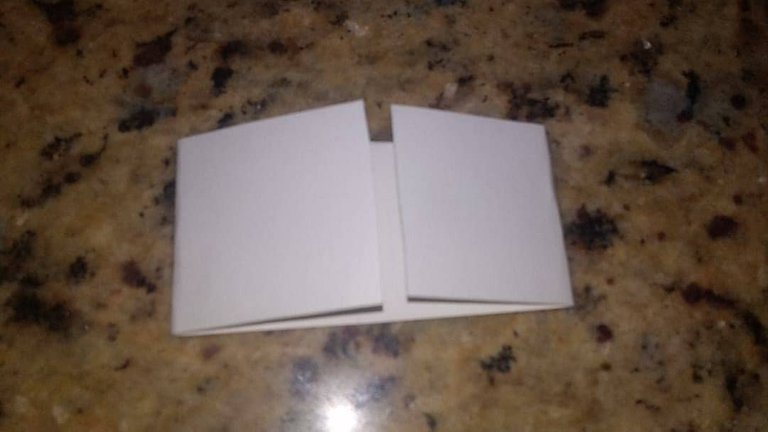
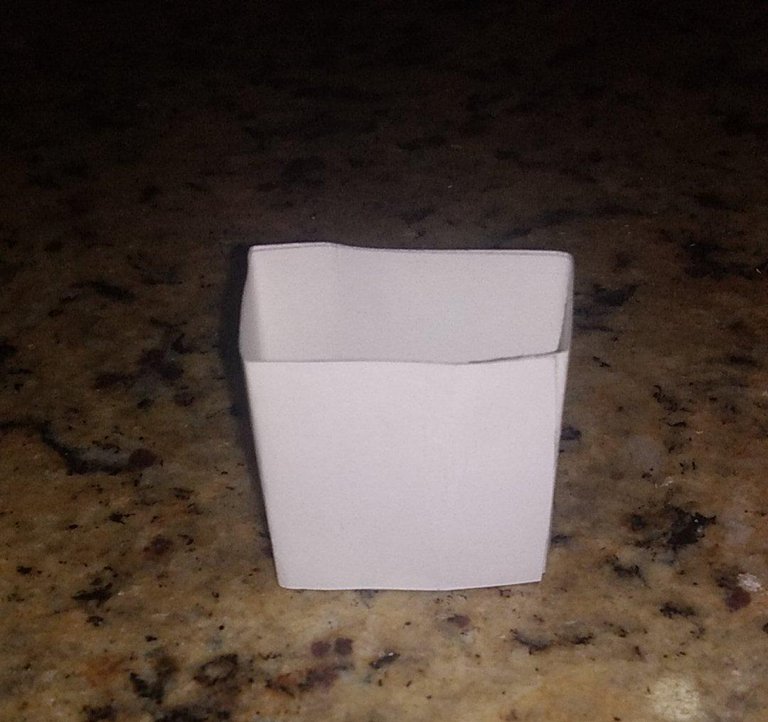
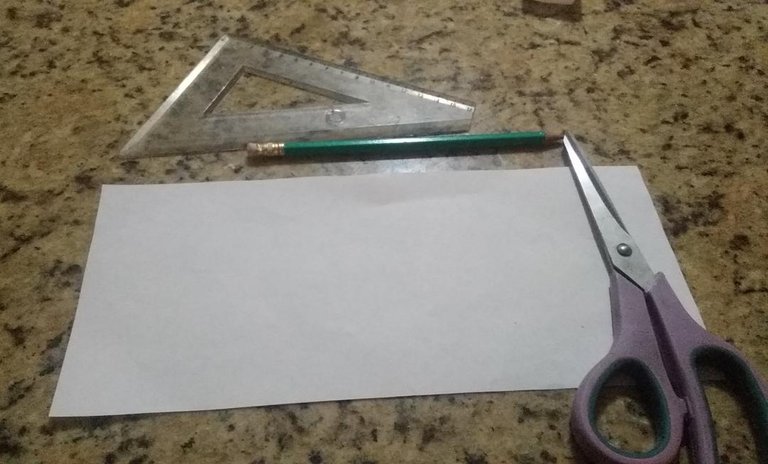
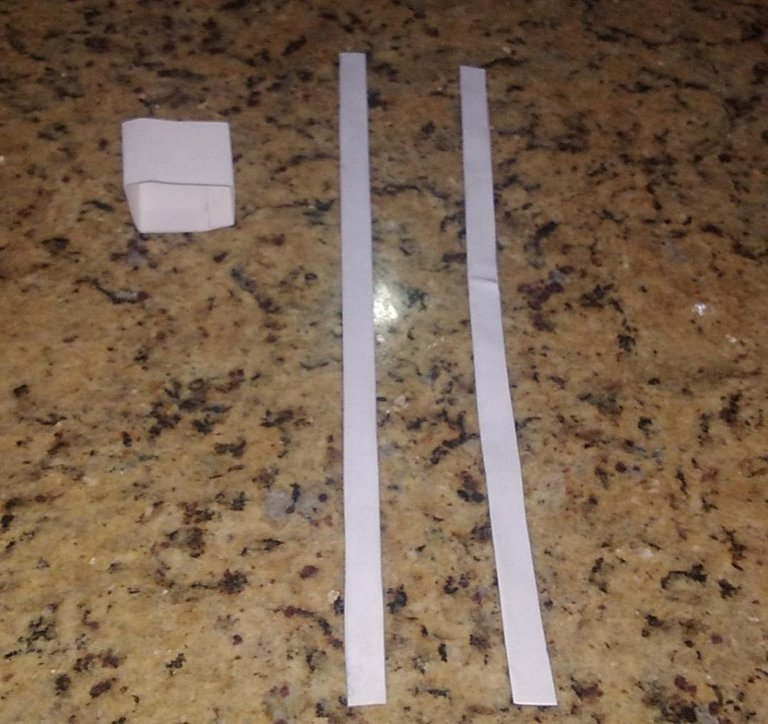
With a ruler and a pencil we will take a measurement of 3 cm wide and 12 cm long on the white cardboard, then, after making the sketch, we will cut it, to make the shape of a rectangle (you can also make it in the shape of a square) and paste with silicone. You can do it, to the measure of your heart, in our case, the heart was medium.
Segundo Paso:
Con una regla y un lápiz tomaremos una medida de 3 cm de ancho y 12 cm de largo sobre la cartulina blanca, luego, de realizar el boceto, recortaremos, para realizar la forma de un rectángulo (lo puede realizar también en forma de cuadrado) y pegar con silicón. Usted puede realizarlo, a las medida de su corazón, en nuestro caso, el corazón fue mediano.

Third step:
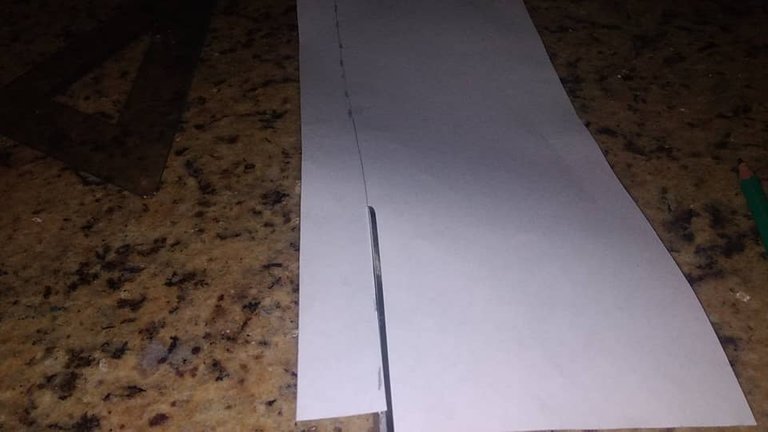
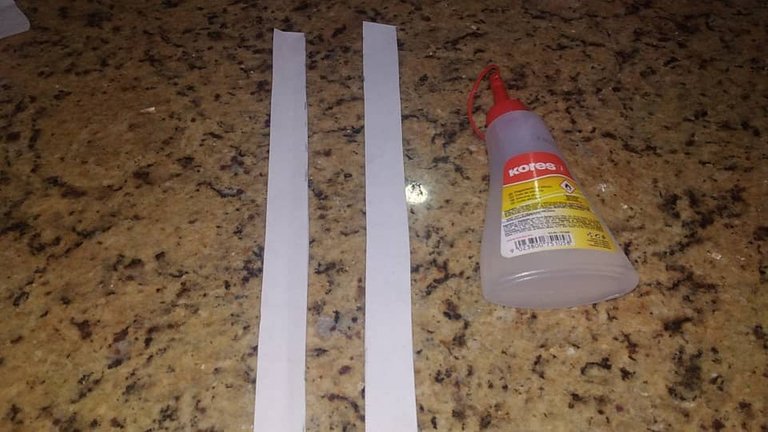
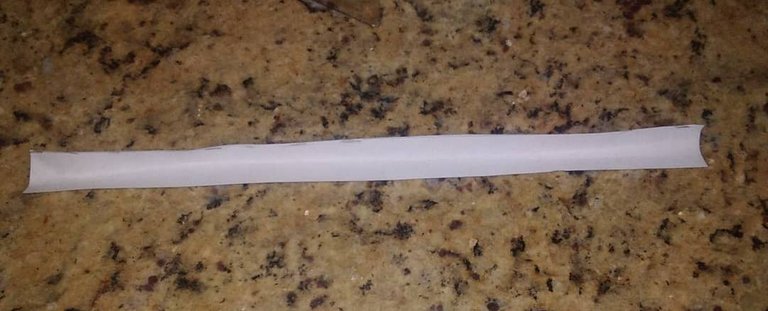
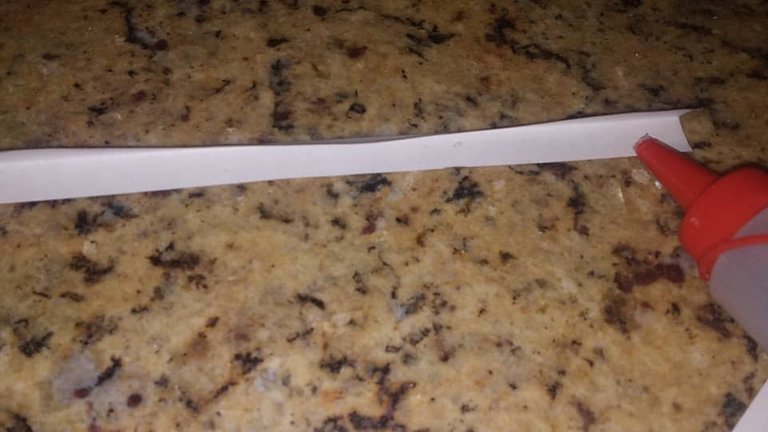
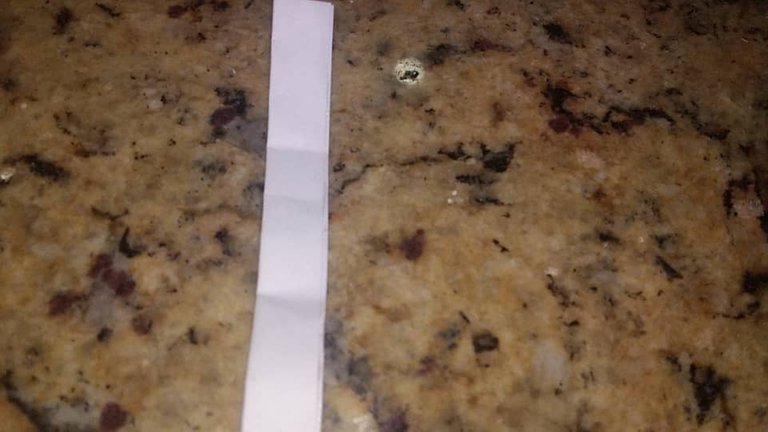
On a white sheet, we will take a measure of 2 cm wide, pass the line with a pencil and cut, we will fold in half and glue with silicone, we will make 1 pair of them, in order to make the base, which will give , movement to the wings. View photo
Tercer Paso:
En una hoja blanca, tomaremos una medida de 2 cm de ancho, pasar la línea con un lápiz y recortar, doblaremos a la mitad y pegaremos con silicón, realizaremos 1 par de ellos, con la finalidad de realizar, la base, que le dará, movimiento a las alas. Ver foto **

Fourth step:
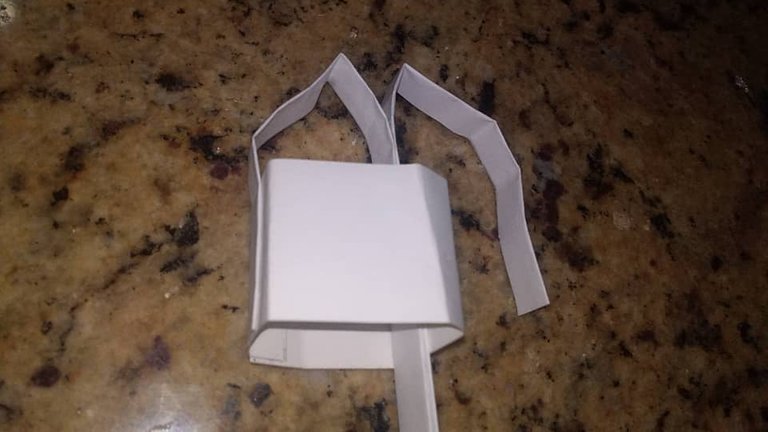
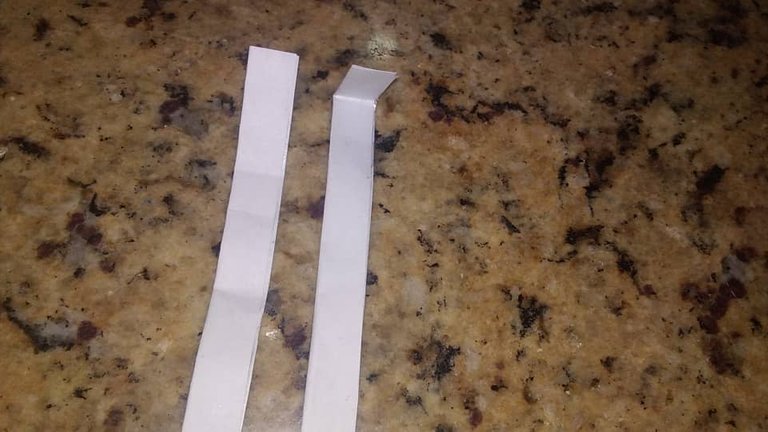
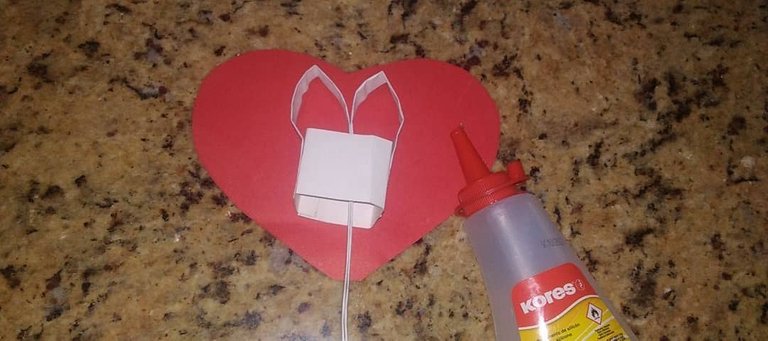
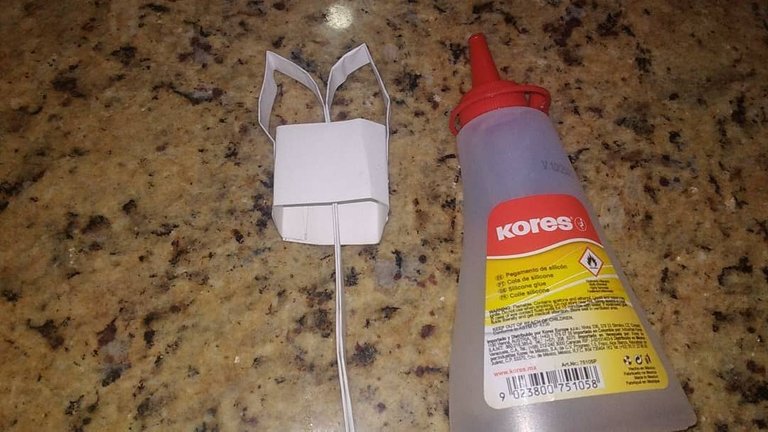
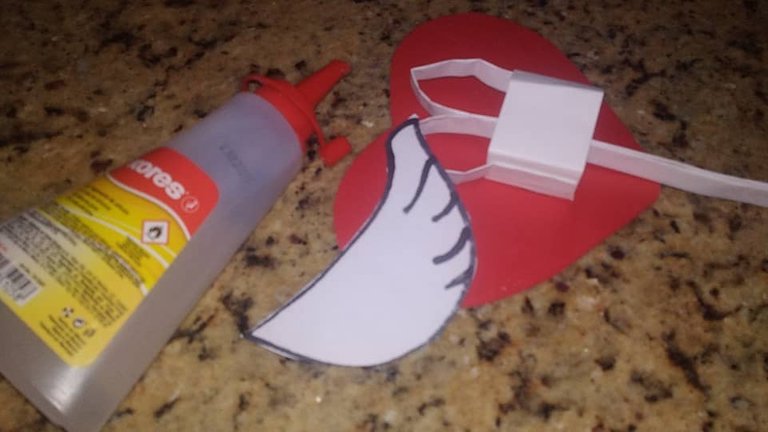
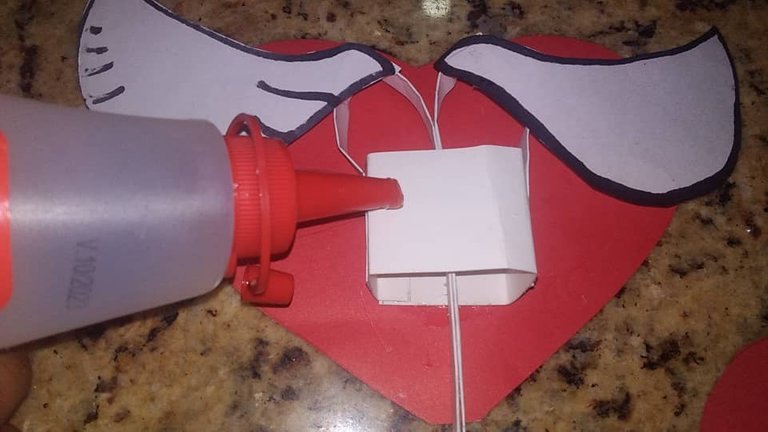
Then, having the two bases that will give movement to the wings, we will begin to assemble it as follows: first: we will fold 2 tabs of the strips, until we have marked the doubles, it will be done on both strips, then we will go inside the rectangle, both strips and we will paste with silicone, from the rectangle of the sides. Finally, on the heart, we will place in the middle, the base made with liquid silicone. View photo
Cuarto Paso:
Luego, de tener las dos bases que le darán movimiento a las alas, la comenzaremos a armar de la siguiente manera: primero: doblaremos 2 pestañas de las tiras, hasta tener marcada el dobles, se realizará en ambas tiras, seguidamente pasaremos por dentro del rectángulo, ambas tiras y pegaremos con silicón, del rectángulo de los laterales. Por último, sobre el corazón, colocaremos en el medio, la base elaborada con silicón liquido. Ver foto

Fifth step:
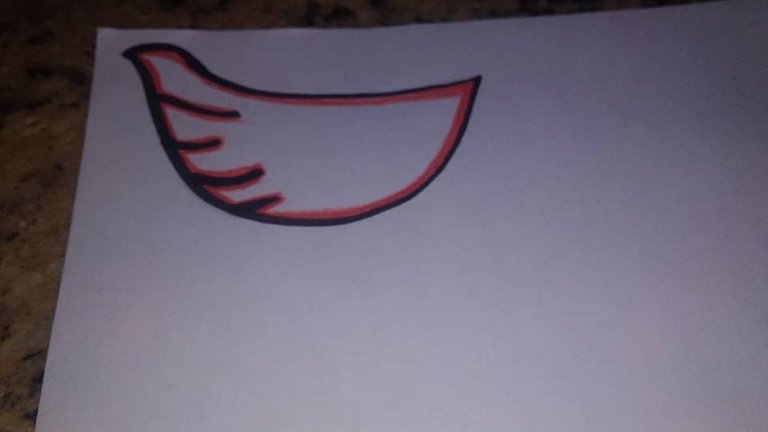
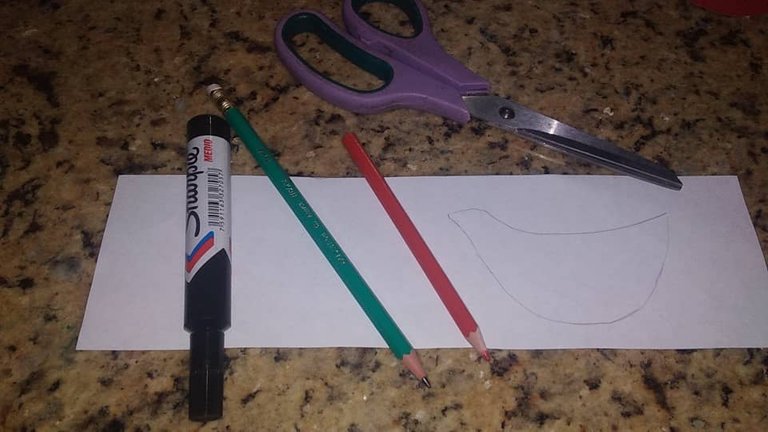
On a piece of white sheet, we will draw the wings, then, we will paint, cut and paste with silicone, in the corners of the bases that we elaborate which, when raising the strip, will give movement to the wings, then, we will place a little silicone liquid, on the base of white cardboard, to paste, the remaining heart, to cover the structure and only see the heart and wings.
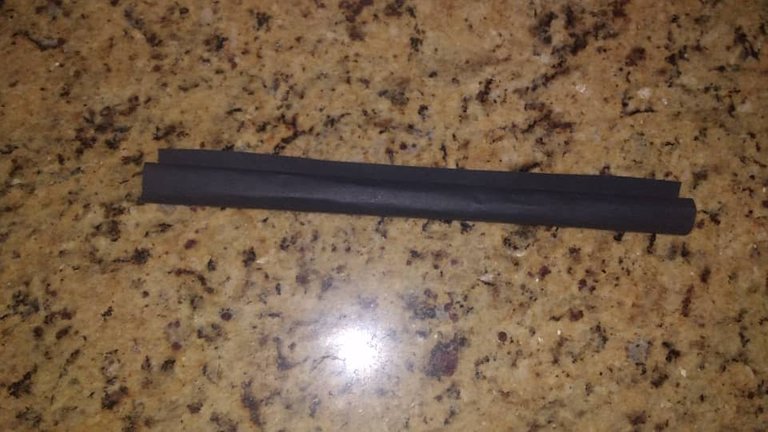
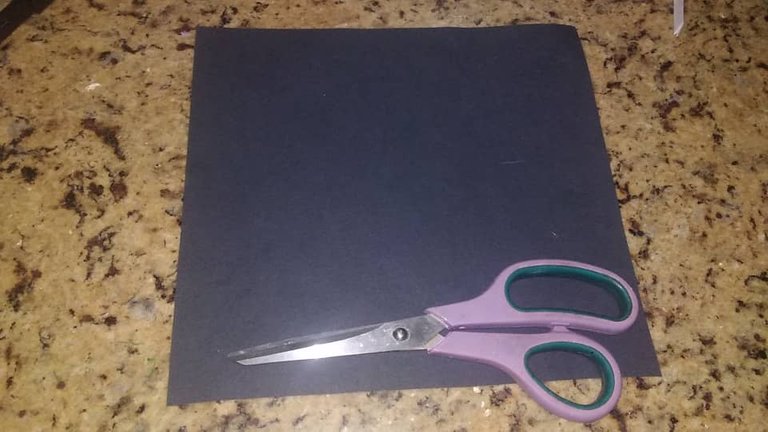
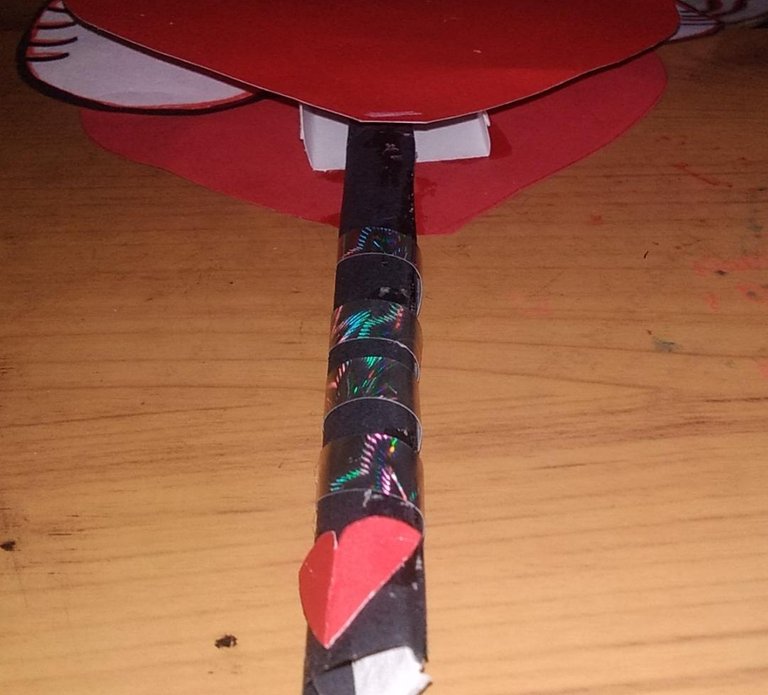
Then, with a black cardboard or a white sheet, we will make a tube, thin through which the strip will pass, give more design and strength to the detail, we leave the black tube longer, to be cut to the size of the white strip and fix it with silicone, on the black tube, with the purpose, that the tube does not come out. With the paper to decorate, we cut strips and wrapped it around you can decorate it to your liking
Quinto Paso:
En un retazo de hoja blanca, dibujaremos las alas, luego, pintaremos, recortaremos y pegaremos con silicón, en las esquinas de las bases que elaboramos el cual, al subir la tira, dará movimiento a las alas, seguidamente, colocaremos un poco de silicón liquido, sobre la base de cartulina blanca, para pegar, el corazón restante, para tapar la estructura y sólo se vea el corazón y las alas.
Luego, con una cartulina negra o un hoja blanca, elaboraremos un tubo, delgado por donde pasará la tira, darle más diseño y fortaleza al detalle, el tubo negro lo dejamos más largo, para ir recortando a la medida de la tira blanca y fijarla con silicón, sobre el tubo negro, con la finalidad, que no se salga el tubo. Con el papel para decorar, recortamos tiras y la envolvimos alrededor usted lo puede decorar a su gusto.
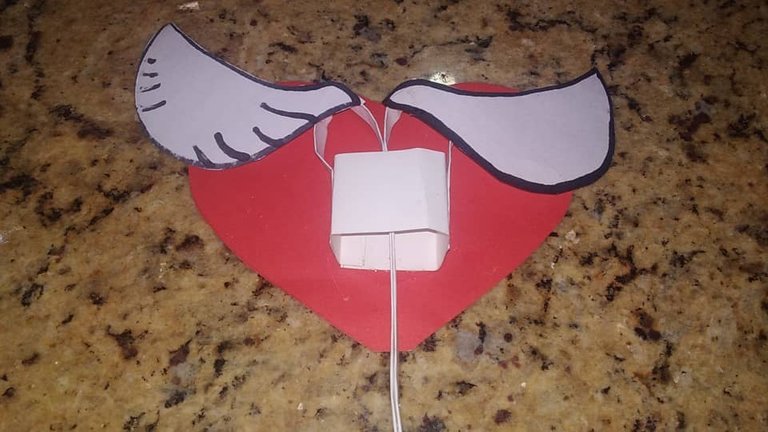
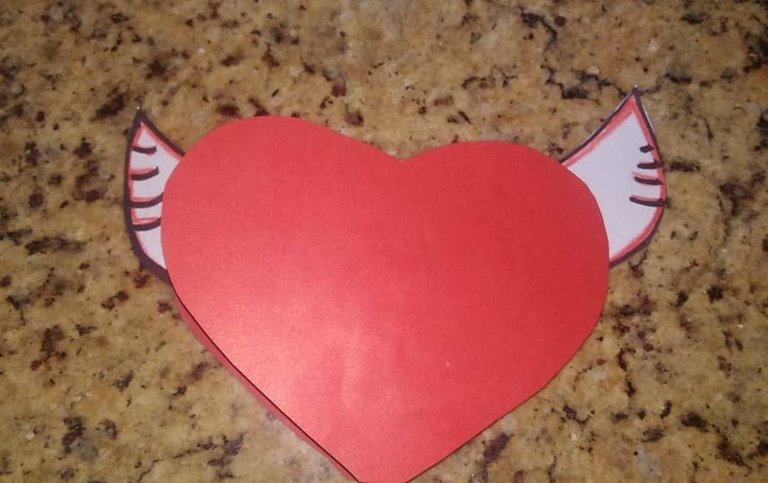

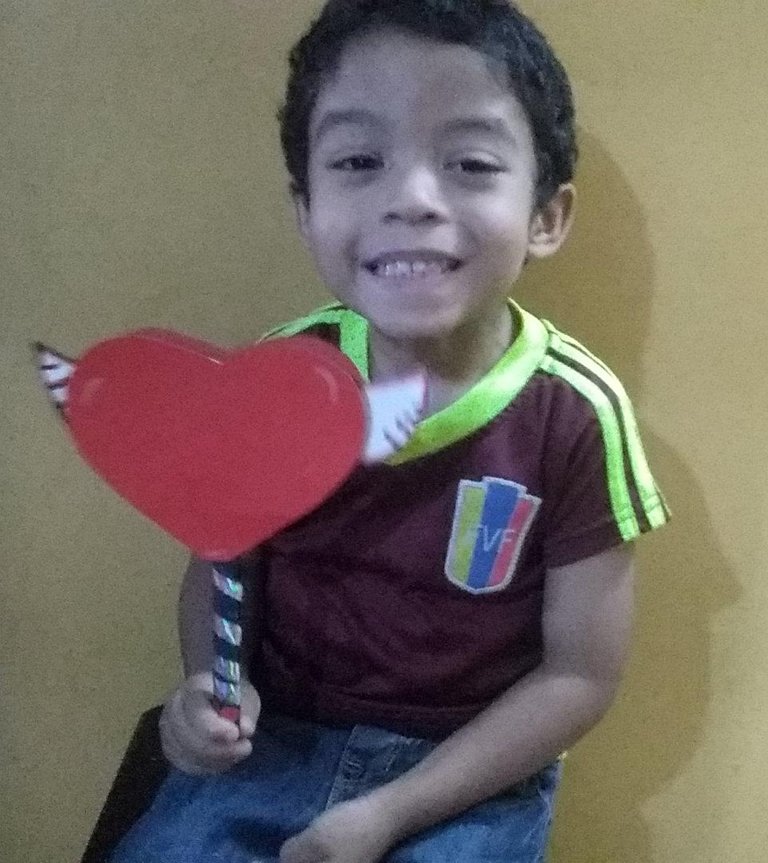
And so, we would have this beautiful detail ready to give for February 14, being very economical and original, made by yourselves, a detail that is out of the ordinary, giving your loved one a detail with love and creativity.
Y así, tendríamos listo, este hermoso detalle, para regalar para el 14 de febrero siendo muy económico y original, elaborado por ustedes mismos, un detalle, que sale de lo común, brindando a su ser querido un detalle con amor y creatividad.


The purpose of the Surprise For February 14, Flying With The Heart, is that they can have an end of ideas, to choose for their loved ones and if they choose this beautiful option. Its function is to raise and lower the black tube and give movement to the wings of that heart that beats, with much love, for that ideal person.
La finalidad de la Sorpresa Para el 14 De Febrero, Volando Con El Corazón, es que puedan tener un fin de ideas, para escoger para sus seres queridos y si es de elegir esta linda opción. Su función es subir y bajar el tubo negro y darle movimiento a las alas de ese corazón que late, con mucho amor, por esa persona ideal.


Waiting, you like it, this creative craft, with few materials, being something out of the ordinary, in our case, my son loved this detail, asking me to make one for him, to give it to his teacher.
Thanks to each of you for taking his time to read my post. Greetings
Esperando, les agrade, esta creativa manualidad, con pocos materiales, siendo algo que sale de lo común, en nuestro caso, mi hijo adoro este detalle, solicitándome que le realizara uno a él, para regalárselo a su maestra.
Gracias, a cada uno de ustedes por tomar de su tiempo, en leer mi post. Saludos


❤️Hasta la Proxima❤️ Until next time❤️
❤️ All photos are my property taken with my Redmi Go smartphone
❤️ All separators are my property, free to use.
❤️ English it is not my native language, I help myself with translators to make these posts
❤️ ❤️ ❤️ ❤️ ❤️ ❤️
❤️ Todas las fotos son de mi propiedad tomadas con mi celular inteligente Redmi Go
❤️ Todos los separadores son de mi propiedad, libres de uso
❤️ El inglés no es mi idioma natal, me ayudo de traductor

Su post ha sido valorado por @goya
Congratulations @mildredwg! You have completed the following achievement on the Hive blockchain and have been rewarded with new badge(s):
Your next payout target is 3000 HP.
The unit is Hive Power equivalent because your rewards can be split into HP and HBD
You can view your badges on your board and compare yourself to others in the Ranking
If you no longer want to receive notifications, reply to this comment with the word
STOPCheck out the last post from @hivebuzz:
Support the HiveBuzz project. Vote for our proposal!