[ENG/ESP] Splinterlands Art Contest Week 177-Angelic Mandarin
Greetings users of the #Splinterlands community, this time I want to share with all of you my entry to the contest #177 of the game as well as I want to show you the procedure I used to make this drawing which I must comment on is the first thing I do digitally, so it was a great challenge and something totally new at least for me.
Saludos usuarios de la comunidad de #Splinterlands, en esta oportunidad quiero compartir con todos ustedes mi entrada al concurso #177 del juego así como también quiero mostrarles el procedimiento que utilice para realizar este dibujo el cual debo comentar es el primero que hago de manera digital, por lo que fue un gran reto y algo totalmente nuevo al menos para mí.
Source
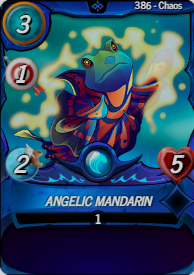
The character I chose for this week is Angelic Mandarin because it is a character that caught my attention mainly because of the colors it wears as well as how curious the character turns out to be, since it is a kind of butterfly frog or something like that and it seemed like a good option to draw it.
El personaje que elegí para esta semana es Angelic Mandarin debido a que es un personaje que me llamo la atención principalmente por los colores que lleva así como por lo curioso que resulta ser el personaje, ya que es una especie de rana mariposa o algo por el estilo y me pareció una buena opción para dibujarlo.
Materials Used | Materiales Utilizados
- HB pencil
- Letter size sheet
- Paint Tool SAI program
- Mouse
- Lápiz HB
- Hoja tamaño carta
- Programa Paint Tool SAI
- Ratón

Process | Procedimiento
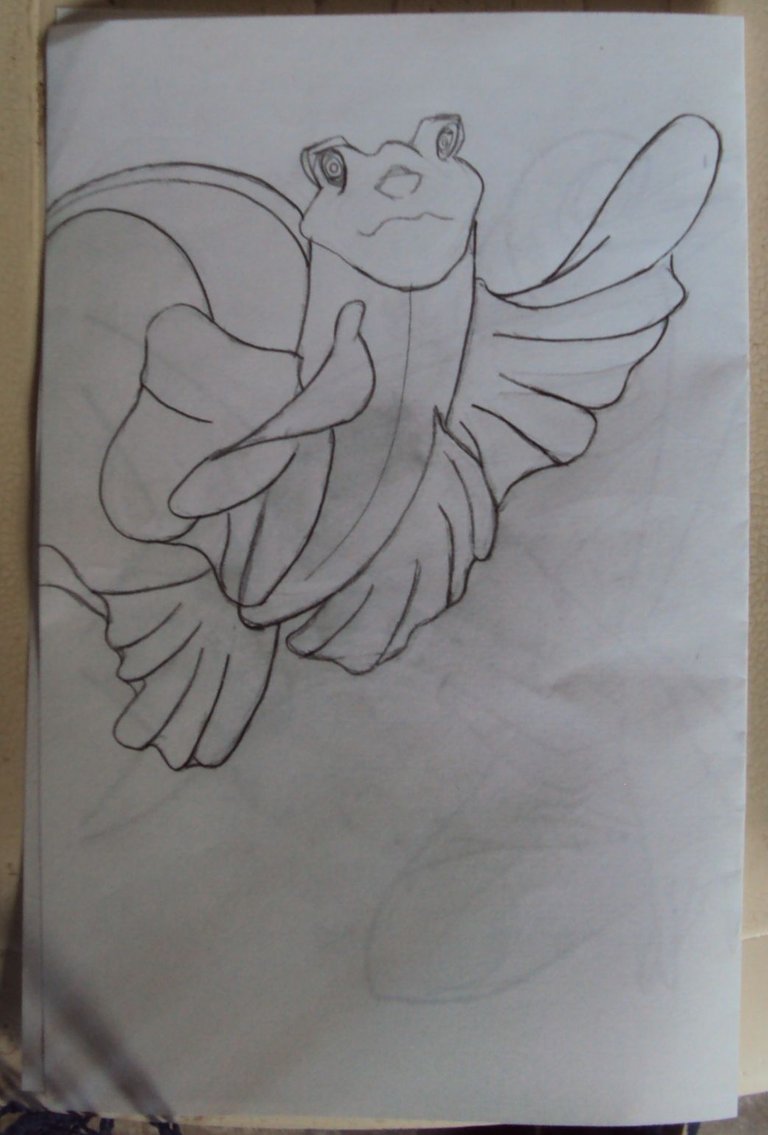
- Step #1:
With the sheet in Vertical mode I started by making a small sketch of the character with the HB pencil in which I left the main lines very well marked and then I took a photograph in which the lines I had drawn on the paper were very well visible.
- Paso #1:
Con la hoja en modo Vertical comencé realizando un pequeño boceto del personaje con el Lápiz HB en el que deje las principales líneas muy bien marcadas para luego tomarle una fotografía en la que se vieran muy bien las líneas que había trazado en el papel.
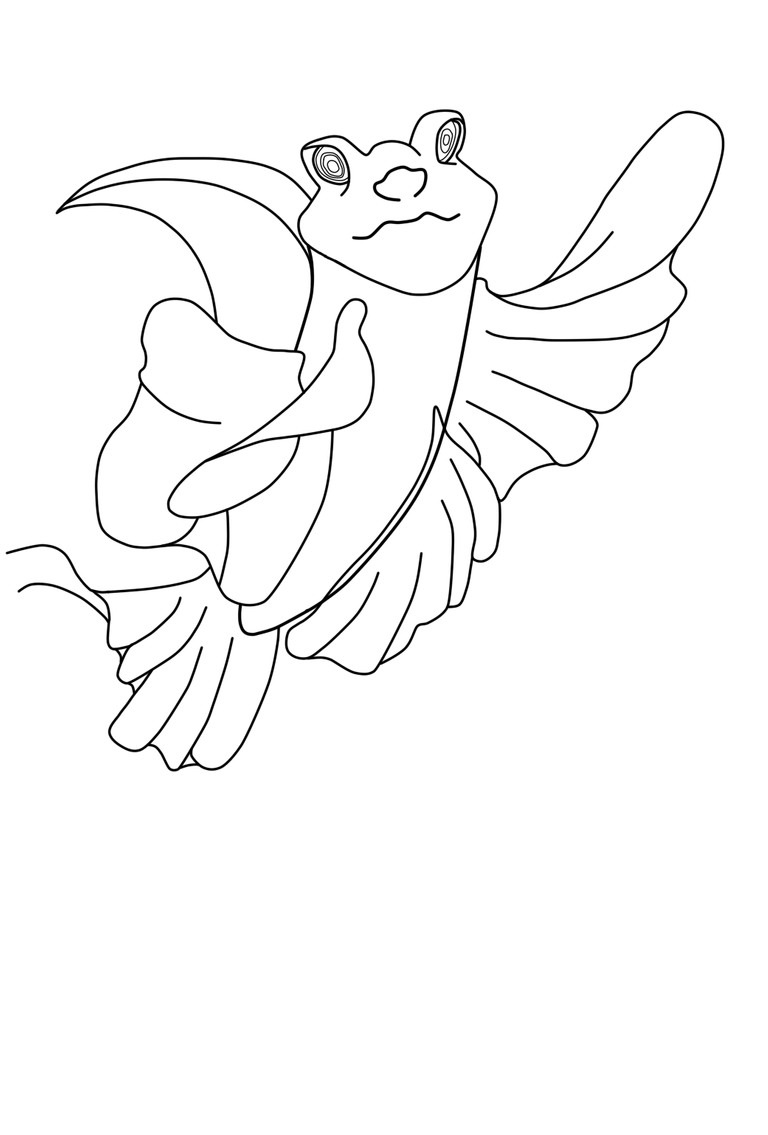
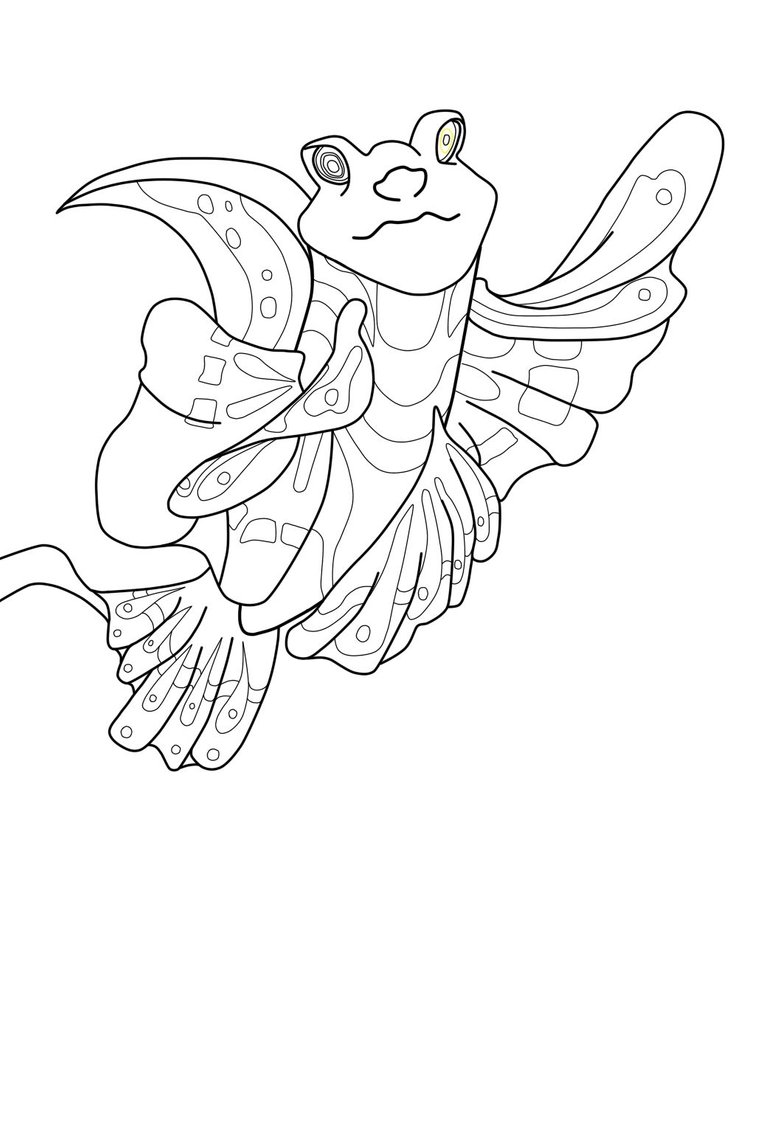
- Step #2:
Once the photograph was taken the next thing to do was to enter the image into the Paint Tool SAI program in which I had to draw all the lines of my sketch again creating the lineart of my drawing.
- Paso #2:
Una vez tomada la fotografía lo siguiente fue ingresar dicha imagen al programa Paint Tool SAI en el cual tuve que trazar todas las líneas de mi boceto nuevamente creando asi el lineart de mi dibujo.
- Step #3:
After marking all our sketch the next step was to give the details of the wings and body area to the drawing, in which for this I used a thinner line so that it didn't damage the previously marked outline.
- Paso #3:
Luego de marcar todo nuestro boceto el siguiente paso fue darle los detalles de la zona de las alas y el cuerpo al dibujo, en el que para ello utilice una línea más fina para que no dañara el contorno previamente marcado.
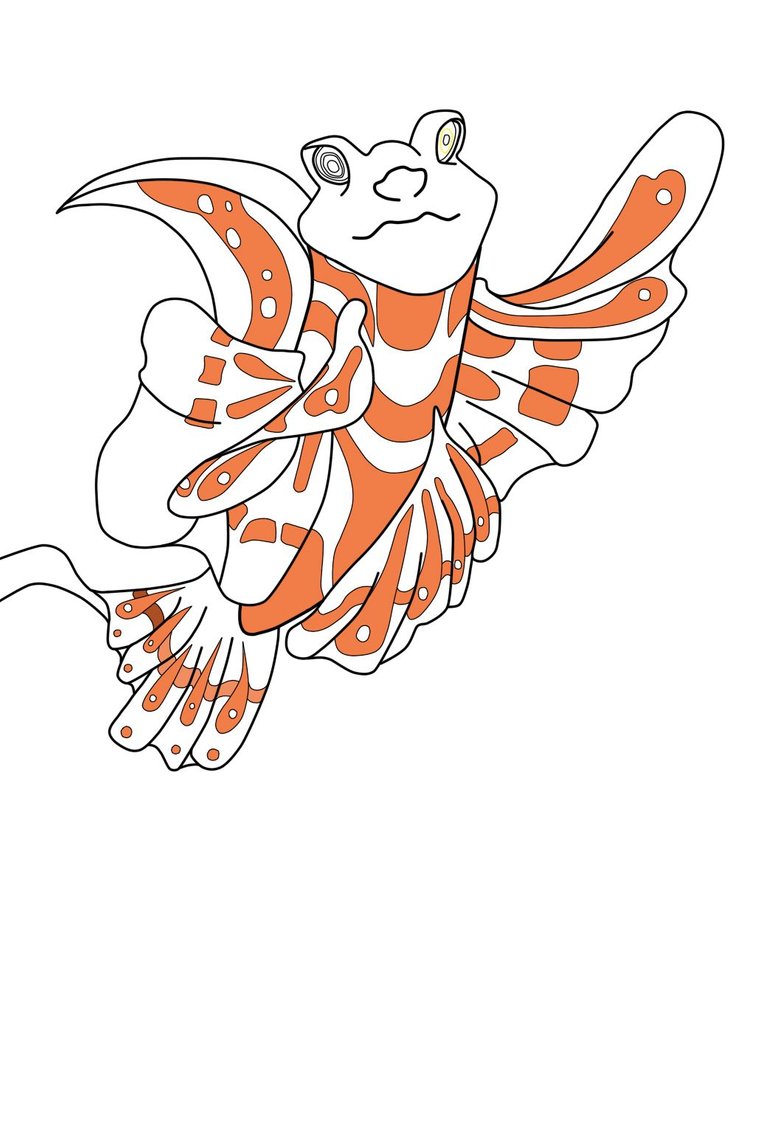
- Step #4:
After marking all the details of the body and wings of our character the next thing was to start giving colour to them, in which I started by giving a base colour to all the detail areas that I previously marked.
- Paso #4:
Después de marcar todos los detalles del cuerpo y alas de nuestro personaje lo siguiente fue comenzar a darle color a las mismas, en el que comencé dándoles un color base a todas las zonas de detalles que marque previamente.
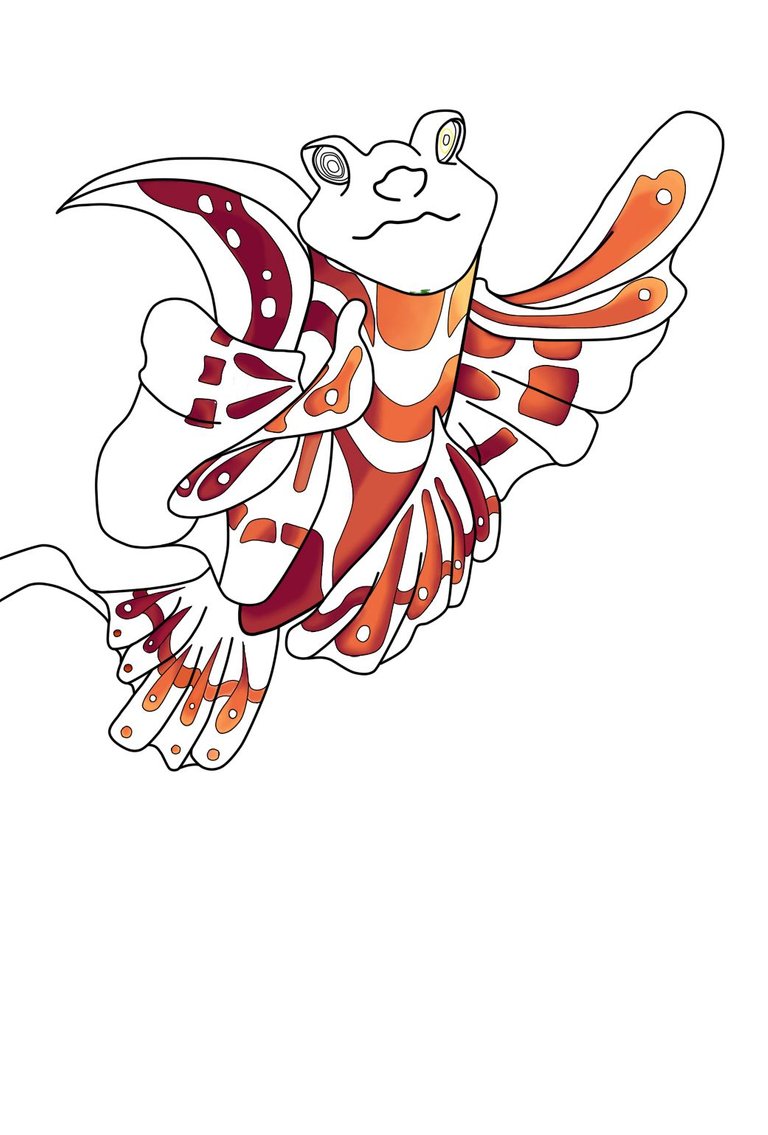
- Step #5:
The next thing I did was to add gradients to all the areas of the wings and body, playing a bit with the tones of yellow and red as well as with the lights and shadows of our character.
- Paso #5:
Lo siguiente que hice fue ir agregándoles degradados a todas las zonas de las alas y el cuerpo, jugando un poco con los tonos del amarillo y rojo así como con las luces y sombras de nuestro personaje.
- Step #6:
Once the detailed areas on the wings and body were finished I started giving colour to the larger areas of our character thus placing a blue colour as a base.
- Paso #6:
Una vez terminadas las zonas con detalles en las alas y el cuerpo comencé a darle color a las zonas más grandes de nuestro personaje colocando así un color azul como base.
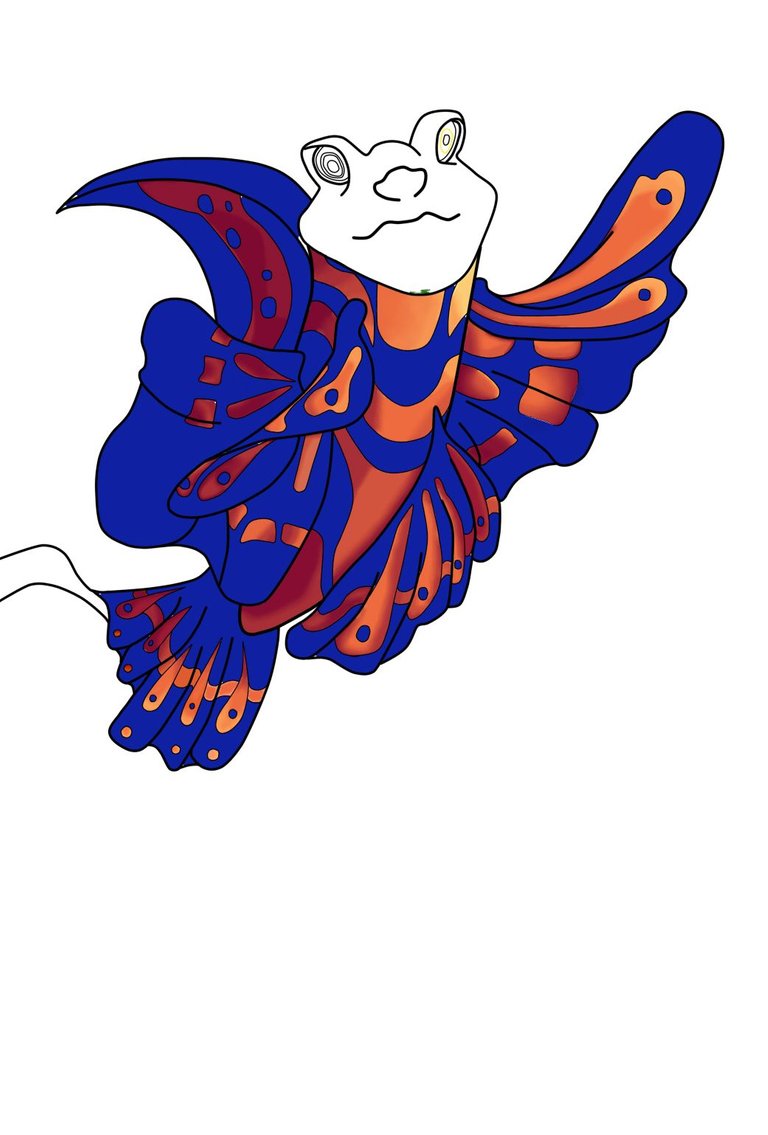
- Step #7:
Afterwards I started to create gradients by mixing three shades of blue colour in which I had a lighter, an intermediate and a darker tone to make the corresponding lights and shadows.
- Paso #7:
Posteriormente comencé a crear degradados mezclando tres tonos de color azul en los que tenía un tono más claro, uno intermedio y uno más oscuro para realizar las luces y sombras correspondientes.
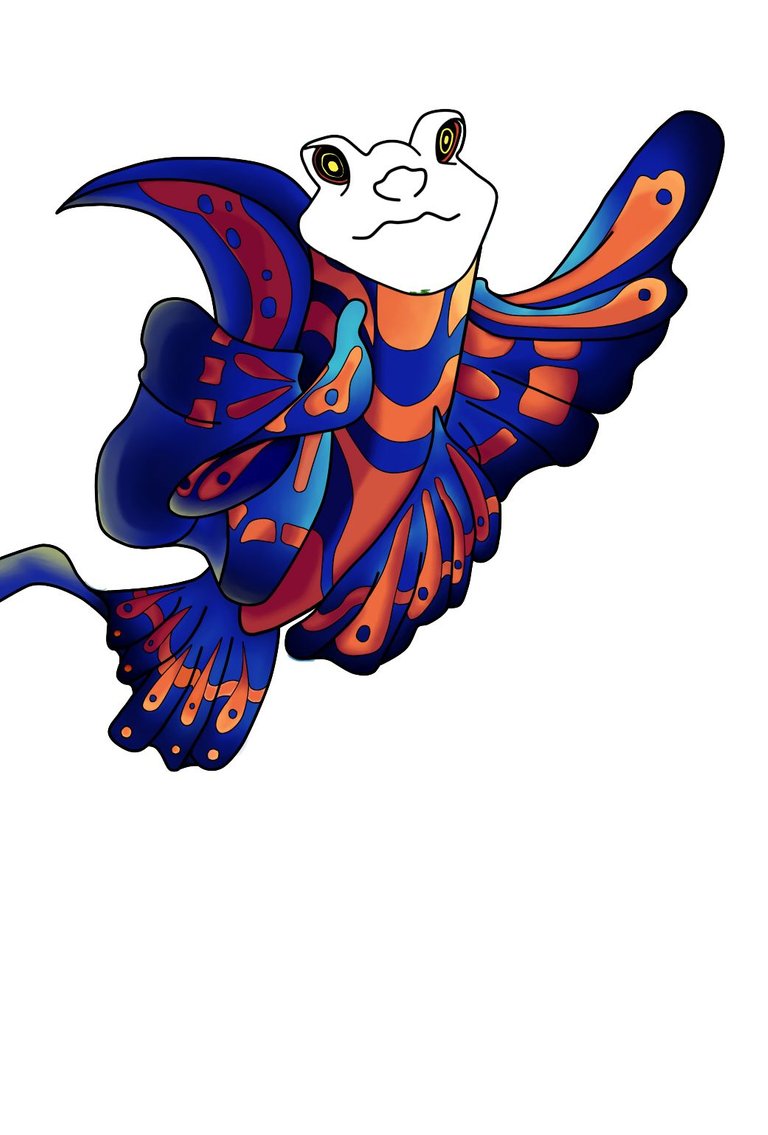
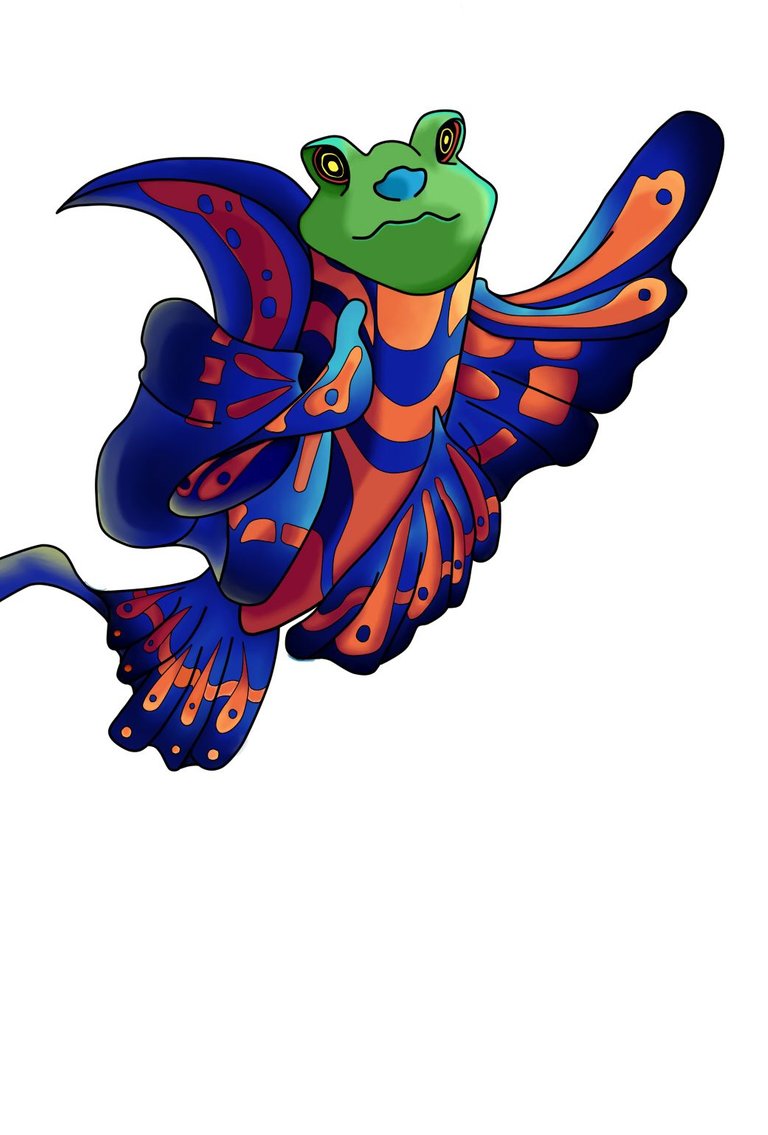
- Step #8:
After applying all the gradients we finished by giving colour to the head of our character in which I applied a gradient from a light green colour to a darker one.
- Paso #8:
Luego de aplicar todos los degradados finalizamos dándole color a la cabeza de nuestro personaje en que le aplique un degradado desde un color verde claro a uno más oscuro.
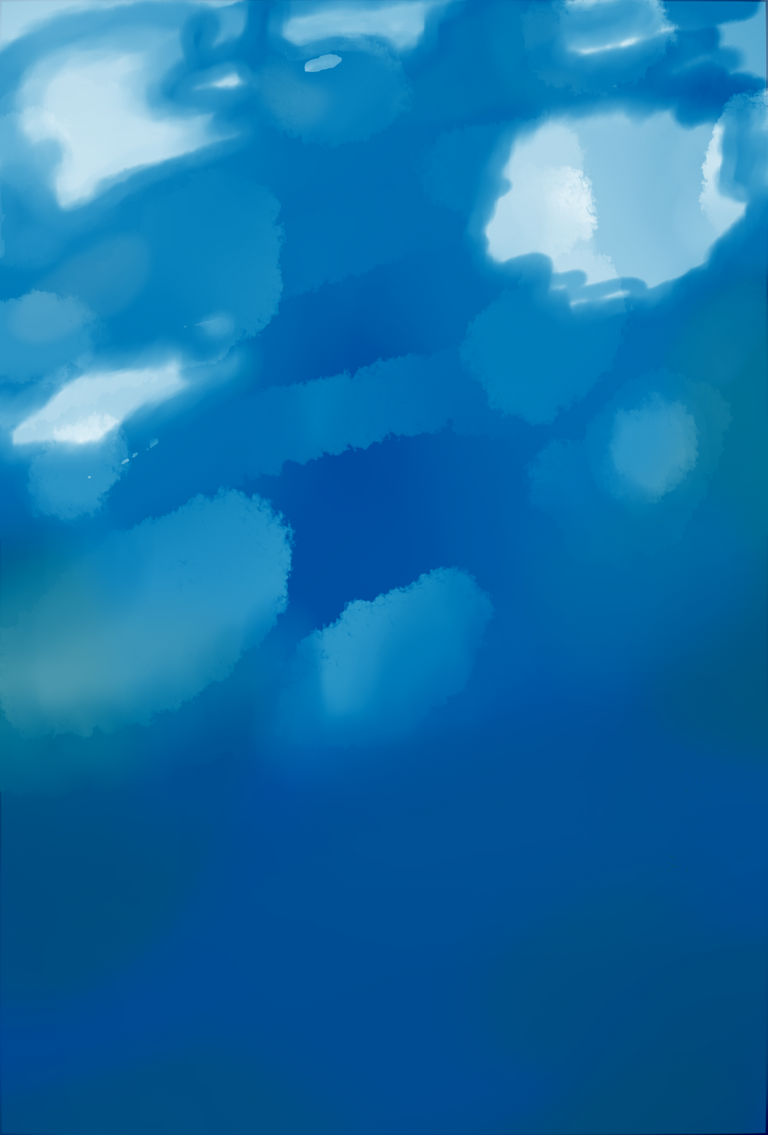
- Step #9:
I proceeded to create a simple background for the character in which I worked with two layers, the first one I tried to make a kind of clouds with some brushes with textures and in the second one placing a blue base colour that would give the feeling of a sky.
- Paso #9:
Procedí a crear un fondo sencillo para el personaje en el que trabaje con dos capas, la primera trate de hacer una especie de nubes con algunos pinceles con texturas y en la segunda colocándole un color azul base que le diera la sensación de un cielo.
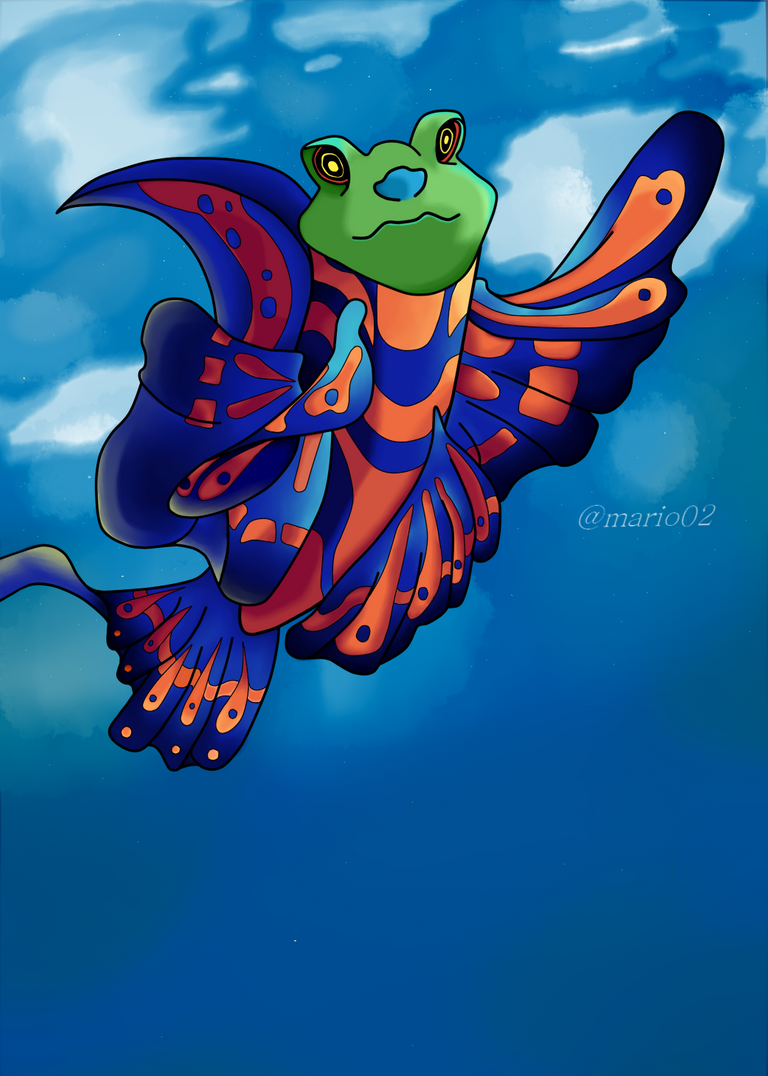
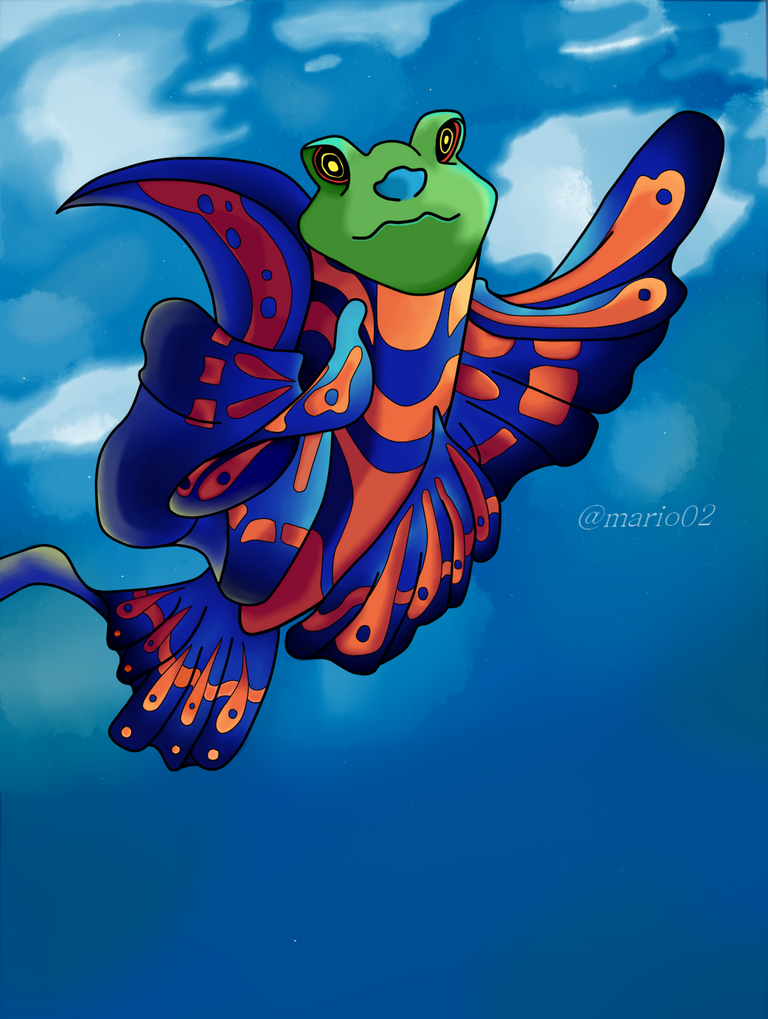
- Step #10:
We finish our drawing by joining our background together with the character, in which we have as a final result the character flying through the wide sky.
- Paso #10:
Culminamos nuestro dibujo uniendo nuestro fondo junto con el personaje, en el que tenemos como resultado final al mismo volando por el amplio cielo.
This would be all for this occasion, I really enjoyed this experience which was not easy for me but once I understood how everything worked I let my imagination fly giving a result that I personally liked a lot and I wanted to share with all of you. If you liked it you can support me and/or leave me a comment with some advice or something like that. Thank you very much and see you next time!
Esto sería todo por esta ocasión, disfrute mucho de esta experiencia la cual no fue nada fácil para mí pero una vez fui entendiendo como funcionaba todo deje volar mi imaginación dando así un resultado que en lo personal me gustó mucho y quería compartir con todos ustedes. Si fue de tu agrado puedes apoyarme y/o dejarme un comentario con algún consejo o algo asi. Muchas gracias y ¡Hasta la Proxima!
That's a lot of process I enjoyed it man keep it up!
!1UP !PGM
100 PGM token to send 0.1 PGM three times per day
500 to send and receive 0.1 PGM five times per day
1000 to send and receive 0.1 PGM ten times per day
Discord
Support the curation account with a delegation 10 HP - 50 HP - 100 HP - 500 HP - 1000 HP
Thank you very much for the support friend!
Thanks for sharing! - castleberry#6859

Thanks!!!
Muy buen dibujo Bro, te felicito.
Muchas gracias por el apoyo bro!!! 🙏💯
PIZZA!
You have received a 1UP from @japex1226!
@monster-curator, @oneup-curator, @ccc-curator, @pal-curatorAnd they will bring !PIZZA 🍕
Learn more about our delegation service to earn daily rewards. Join the family on Discord.
PIZZA Holders sent $PIZZA tips in this post's comments:
@curation-cartel(5/20) tipped @mario02 (x1)
Please vote for pizza.witness!
!PIZZA