A Delicious Day in My Kitchen with Pumpkin Millet Porridge, Irish Bread and Apple Cake

Hello, my dear friends. I’m starting this post by sharing my breakfast preparation. I’m going to make pumpkin millet porridge. I recently discovered this recipe and it turns out really delicious with the pumpkin. I want to explain how I make it. it might be helpful for those interested and maybe you'll want to try it too. If you haven’t made it yet, I cut the pumpkins into small cubes and boil them. I add enough boiling water to cover them and put in a bit of salt. I cook it for about 8-10 minutes. In the meantime, I take about one cup of millet and soak it in boiling water to remove its bitterness; this step is important. Normally I wash it thoroughly beforehand. But this time I did it after.


Once the pumpkin is cooked, I add the millet and cook it until it almost absorbs all the water. Then I need to add two cups of milk. But since I didn’t have enough milk, I used one and a half cups and added a bit of water. After cooking for another 10 minutes, I add ghee and let it rest a bit to reach the perfect consistency. Those who like sweets can, of course, add sugar, but I usually make my porridge without sugar. For example, I sweeten it with honey or bananas. The pumpkin itself already gives enough sweetness.


In the meantime I decided to do some prep work for my tea. I’m portioning some sea buckthorn I bought in bulk and freezing it. This way, I can easily take it out and use it when making tea. Drinking this tea, especially during flu and cold season, is very beneficial, as sea buckthorn is quite effective in strengthening the immune system.


Later I did some shopping for my bedroom and finally ordered a coverlet for our bed. I changed my sheet set, using products from the Vincent brand. The cover is light-colored and velvet-textured. Its dimensions are 240 x 260 cm, so it’s designed to hang evenly from the edges. But now I’ve measured it and one corner is 5 cm shorter than expected. It was supposed to be 240 cm, but it’s 235 cm. Honestly I don’t want to return it. Also, I checked and this was the last one in this model; there are no other colors left. I also ordered another blanket as an option. It appeared very light in the photo. but it arrived in a rather dark beige color. So, I bought it without much thought. I think something light is needed here, because the headboard is dark, the wallpaper is dark and the overall atmosphere of the room is quite dark. This blanket brightens up the room and matches nicely with the headboard. Of course, decorative pillows are needed for this space. Most blankets come with two pillowcases made from the same fabric, but this one doesn’t. The pillowcases made from the same fabric can be purchased separately. But I’m not sure if they will match here—maybe I’ll order them and try. I’m not very good at choosing decorative pillows; each one is different and there are so many options that picking one that will look good is difficult. I really liked the blanket and I’m very satisfied with it. I’ll wash it first and then use it. This temporary wardrobe is ruining the look a bit, but instead of hanging something here, I plan to put up curtains once the wardrobe arrives. I’ve wanted this blanket for a long time and I finally bought it. It brings a whole new order to the room and the bed looks better when it’s made.


Now let me tell you about the bread I made. It’s the first time I’ve baked bread and I loved it. The recipe is very simple. This isn’t a classic bread; it contains extra ingredients like butter and eggs. The dough is made with 50% white flour and 50% whole wheat flour, but itcan also be made with all white flour or all whole wheat flour.


The ingredients are: 2 cups of wheat flour, 2 cups of whole wheat flour, 1 teaspoon of salt, slightly less than 1 teaspoon of baking soda, 1 teaspoon of baking powder, 1 tablespoon of sugar, 5 tablespoons of butter, 1 + 2/3 cups of buttermilk or 1 + ½ cups of milk with 1 tablespoon of lemon juice (mix and let sit for 15 minutes), 1 egg and ½ cup of pumpkin seeds (or any other ingredients you prefer) to mix in, using 1 tablespoon of flour to sprinkle while kneading the dough. I add pumpkin seeds and flaxseeds to the flour mixture. The recipe actually suggests dried cranberries and pumpkin seeds, but flaxseeds are also nice. I use 60 grams of pumpkin seeds instead of the 90 grams suggested because it felt like a bit much. I use kefir. But if you don’t have it milk and lemon juice can also be used.


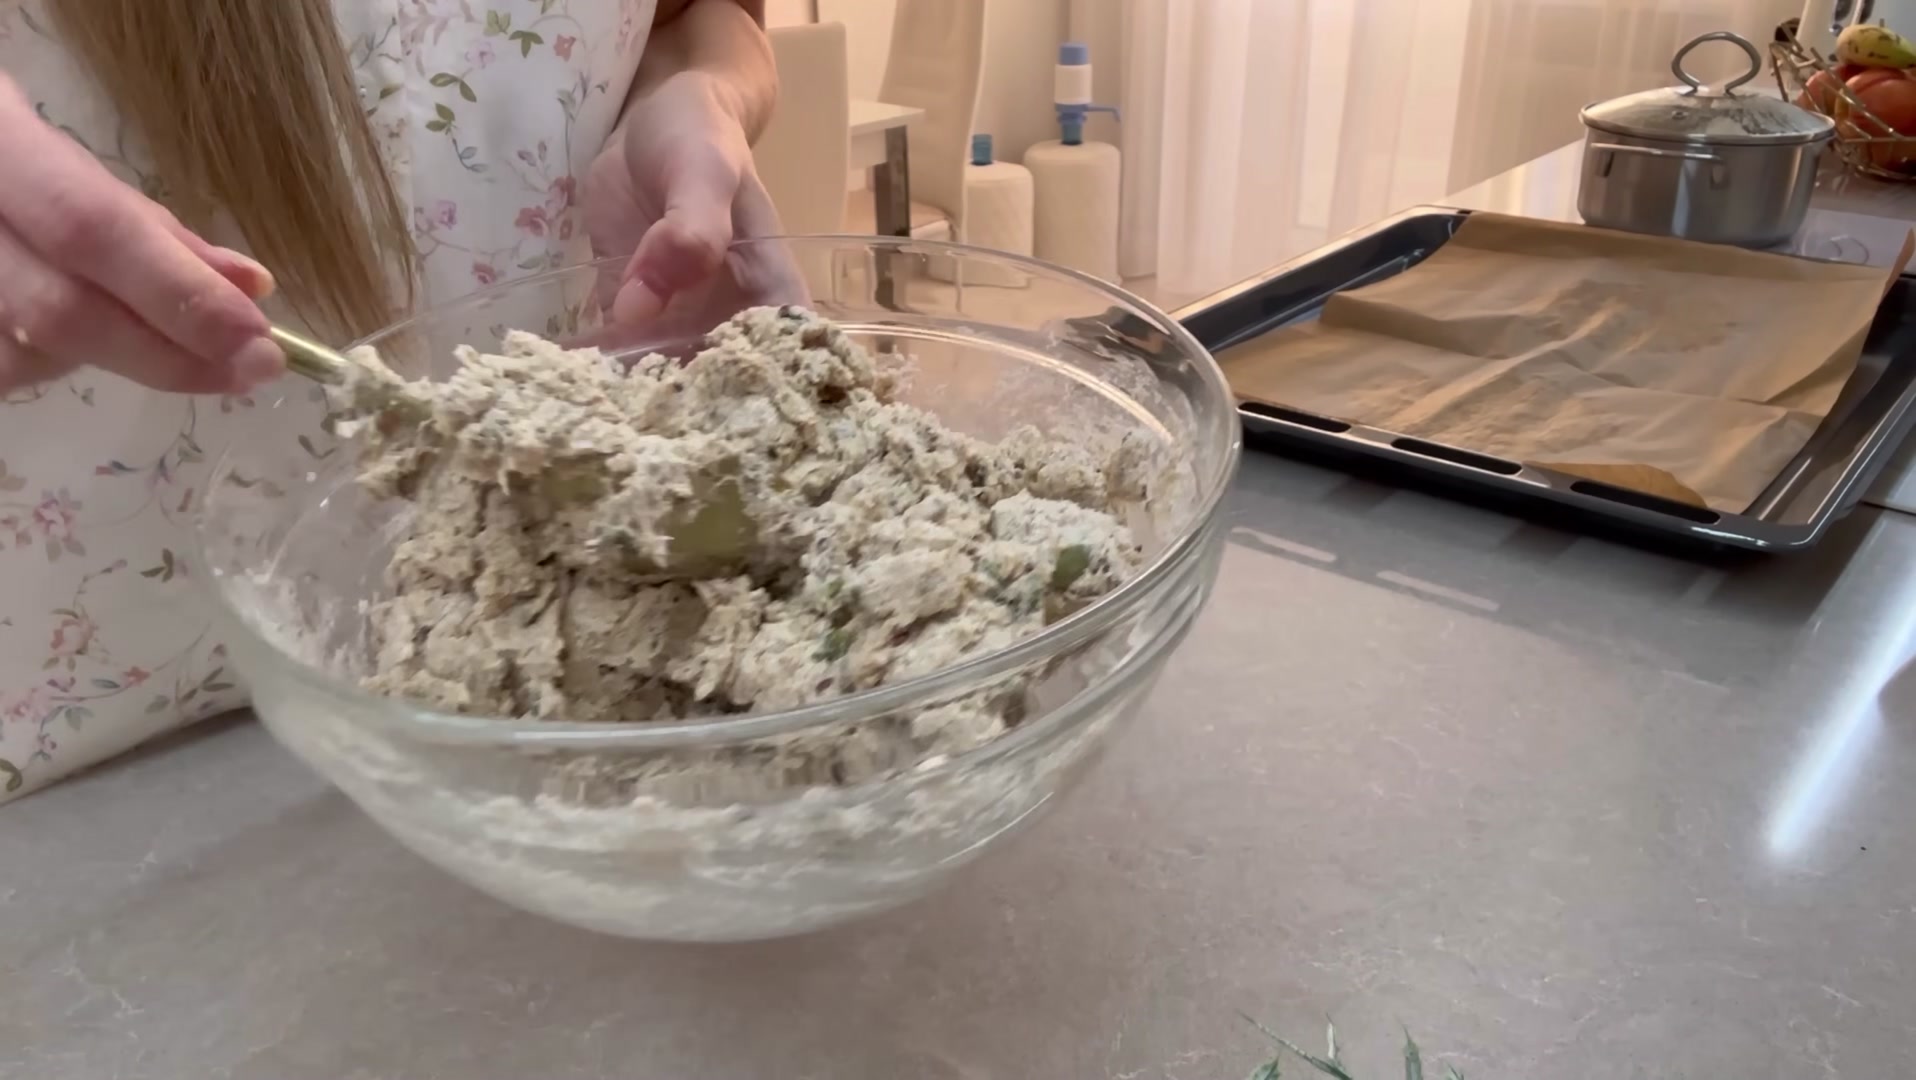
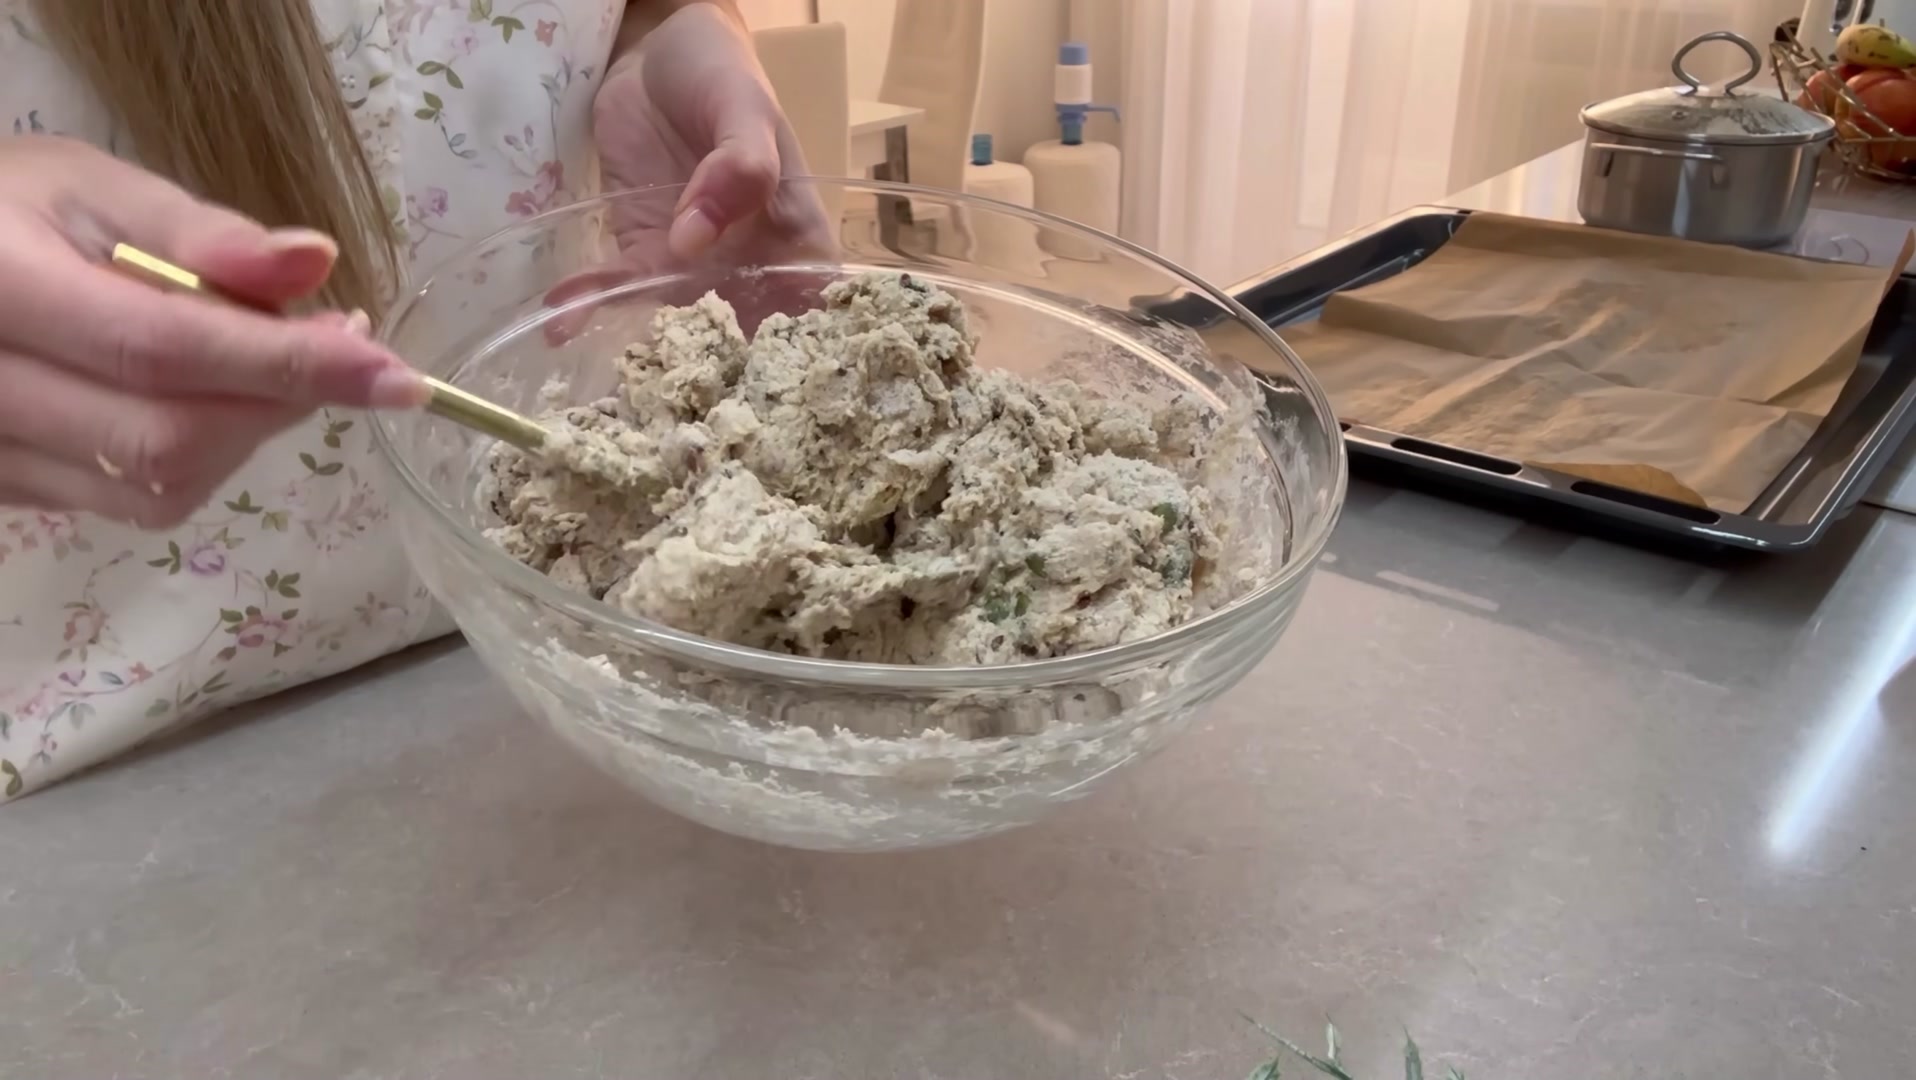
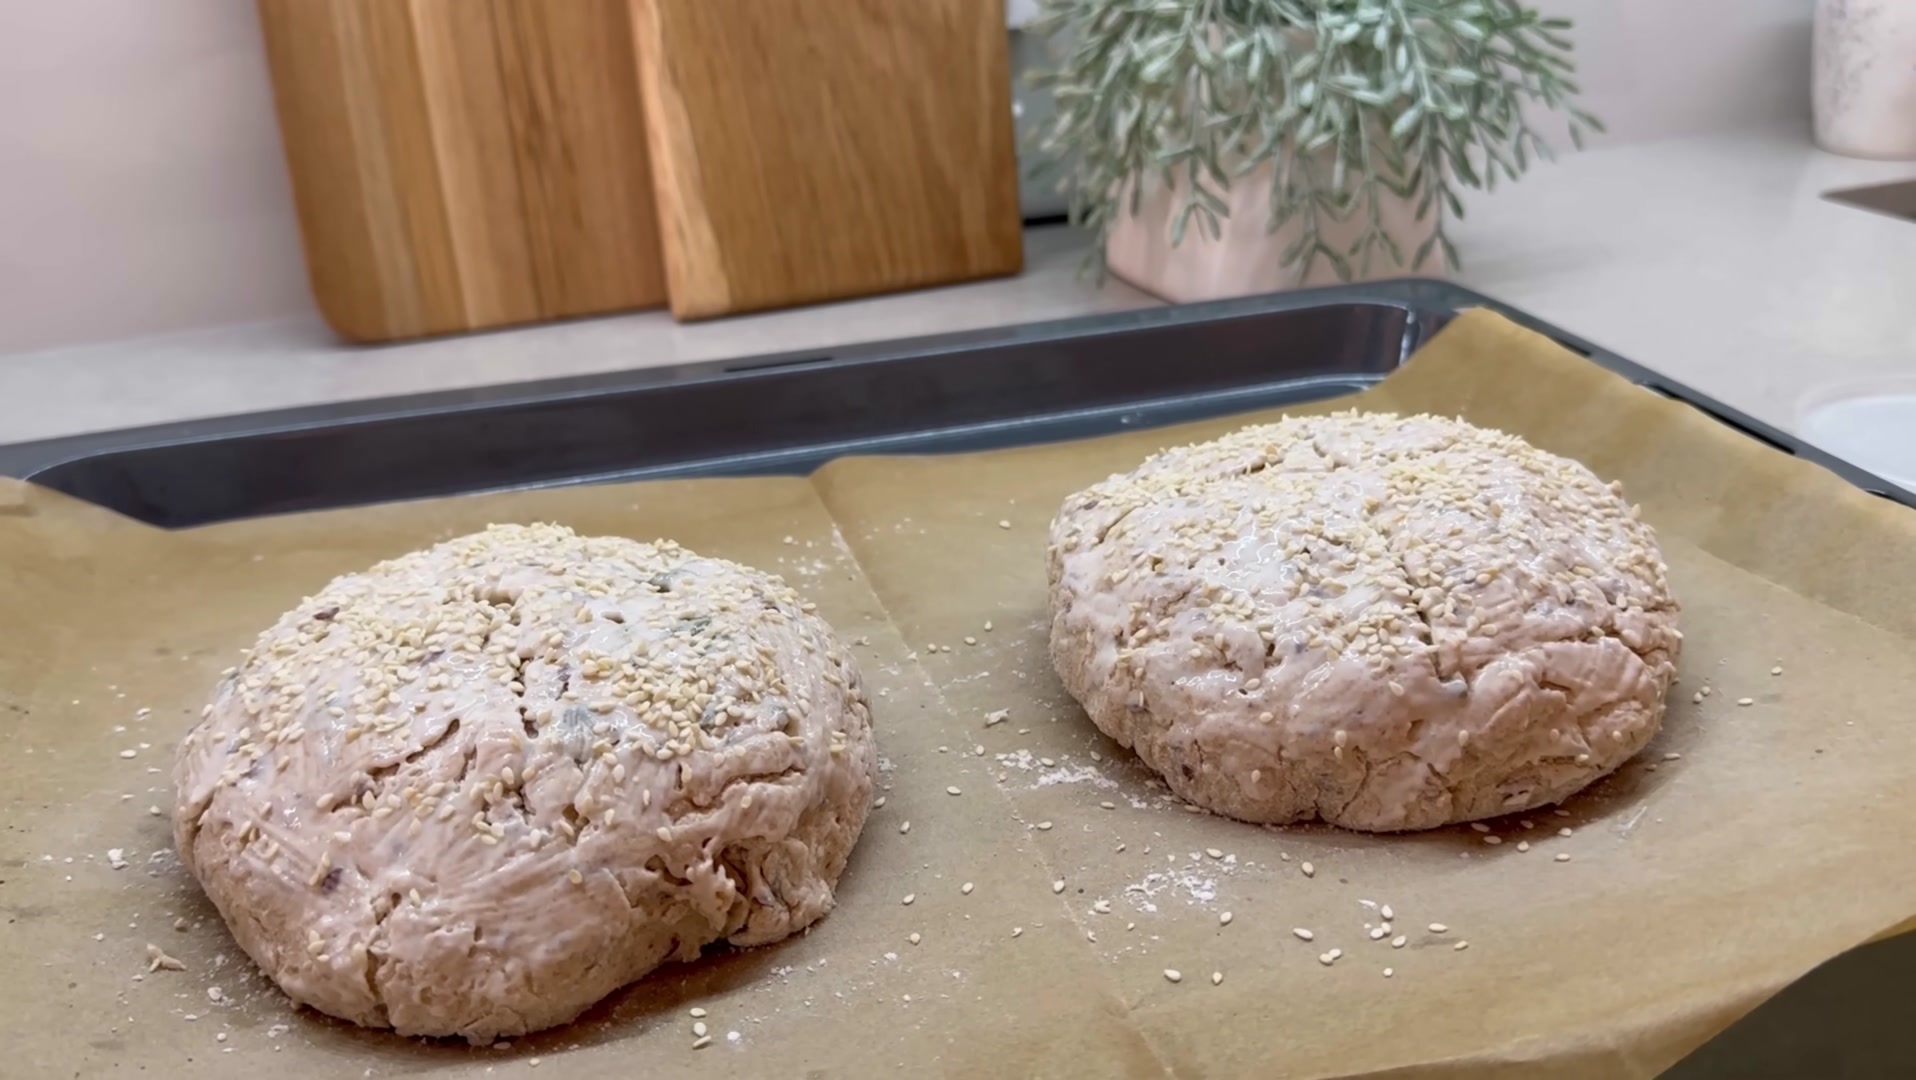
I mix in the egg and diced butter. The butter needs to be mixed with the flour so that it crumbles. I don’t add all of the kefir and egg mixture; I save a bit to brush on top. The mixture is quite sticky, but that’s how it should be. The dough doesn’t need to be kneaded and I’ll bake it in two small loaves. From here on nothing else is needed just sprinkle some flour and shape the dough into round loaves. You can lightly flour the parchment paper as well. Prepare the second one this way. By the way, I preheat my oven to 220 degrees. I had a bit more flour than I needed.


Now, I need to make cross-shaped cuts on top of the bread and I mix the remaining kefir with the egg to brush on top for a golden finish and to make it look nice. I’ve been waiting for such a long time to start making my own bread. But it always intimidated me because bread is something we need every day and I thought I’d have to bake it every single day. But here I am, baking two loaves for the first time and two loaves are enough for two days. I really want to always make our own bread because I think it would be healthier. I hope this becomes a part of our life. I also sprinkle some sesame seeds on top. By the way, I found a whole wheat bread recipe and it’s also simple and practical. With such simple recipes, you can make delicious bread without having to make yeast or wait for it to rise, with minimal effort. For example, you can make your own bread every two days. My oven has already signaled, so I bake it at 220°C for 15 minutes, then lower the temperature to 200°C and bake for another 30 minutes. Yes, our bread is ready. By the way I forgot to mention the name of the bread; this is soda-based Irish bread. The only thing I did wrong was not making the cuts deep enough, so it cracked in other places. The first time I made deep cuts and they were very sharp. This time I made shallow cuts, which is why it cracked in other places, but it doesn’t affect the taste. Let the bread sit on the tray for 15 minutes, then transfer it to a cooling rack and let it cool for 40 minutes. Here’s how it looks when sliced. It might fall apart a bit when fresh, but once it’s completely cooled and rested for a few hours, it becomes firmer and slices beautifully—it’s really delicious. As you can see, the process is very easy. The crust is so tasty and it’s perfect for breakfasts. It also pairs wonderfully with soup for lunch or dinner. As for storage, it lasts for two days at room temperature, then you can freeze it. Such bread is wonderful. It’s especially delicious with cottage cheese at breakfast. It also pairs wonderfully with lightly salted fish, salami or cheese.


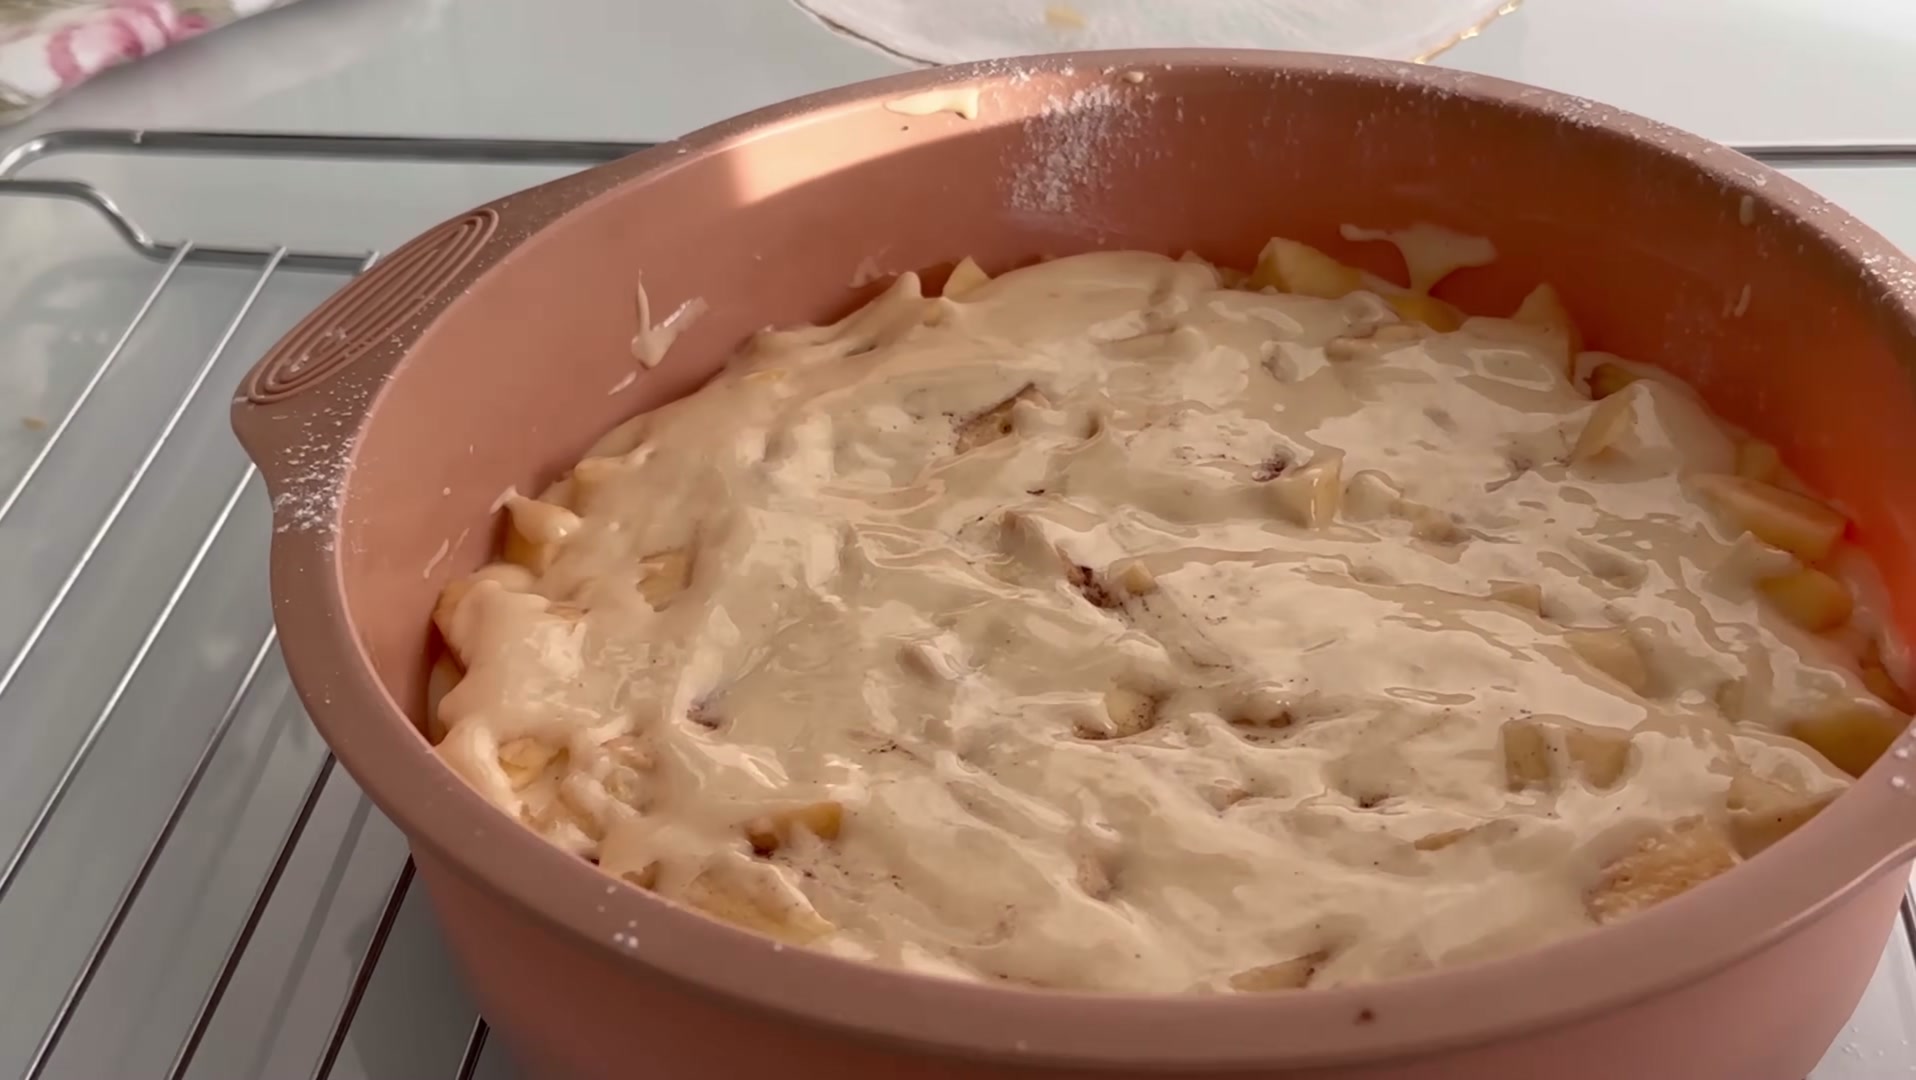
Afterward my daughter and I made an apple cake, which is also a recipe perfect for fall weather. I don’t think I’ve shared my apple cake recipe before because I rarely make it. We actually like it, but for some reason, I bake it only occasionally. Our ingredients are: 3 eggs, a pinch of salt, 150-200 g of granulated sugar, 10 g of vanilla sugar, 150 g of flour, ½ teaspoon of baking powder, 3 large apples, optional cinnamon and butter to grease the pan. The preparation is very easy: add a pinch of salt to the eggs and whisk until they’re frothy. Once the foam forms, add the sugar, whisking well after each addition, then add the vanilla sugar. Whisk until you can see the traces from the wire whisk. Sift the flour with the baking powder and add it slowly, mixing each time. You can mix with just a spatula or a wire whisk; there’s no need for an electric mixer. This is how the batter looks; I dice the apples and add them (I prefer peeling them, as they become softer). Then add the apples to the batter and pour the remaining batter on top. Bake in a preheated 180 degrees oven for 40-45 minutes.


Yes, the cake is ready and it browned beautifully. When it’s completely cool, you can sprinkle powdered sugar on top to make it more appetizing.


By the way, I bought a new vase for my kitchen, which I’ve had my eye on for a long time. I placed a small flower bouquet inside. Previously I had eucalyptus on the dining table, but I wanted a change. I’ve gotten a bit tired of the dark tones and wanted something new. Actually, it was preserved eucalyptus, a dried plant. Now I’ve put fresh flowers in the vase and they’ll last for a few days. After that I can put other branches in it, I’ll see. I also really enjoy how the vase shines in the sunlight.

Thank you so much for visiting for my blog. Your support means a lot to me and helps me continue creating content.😊💖