[ESP-ENG] Sencillo y Lindo Lazo para Niñas, Elaborado con Foami 👩🏻🎀/Simple and Cute Bow for Girls, Made with Foami 👩🏻🎀
Un placer saludarles amigos de la comunidad de Hive Diy, hoy con un nuevo proyecto para compartirles, para esta oportunidad les mostraré como hacer un lindo lazo de foami para las más pequeñas de la casa, es súper sencillo y con pocos materiales, lo mejor es que podemos hacer la combinación de colores que deseemos, aquí el procedimiento.
It is a pleasure to greet you friends of the Hive Diy community, today with a new project to share with you, for this opportunity I will show you how to make a beautiful foami bow for the little ones in the house, it is super simple and with few materials, the best thing is that we can make the combination of colors that we want, here is the procedure.
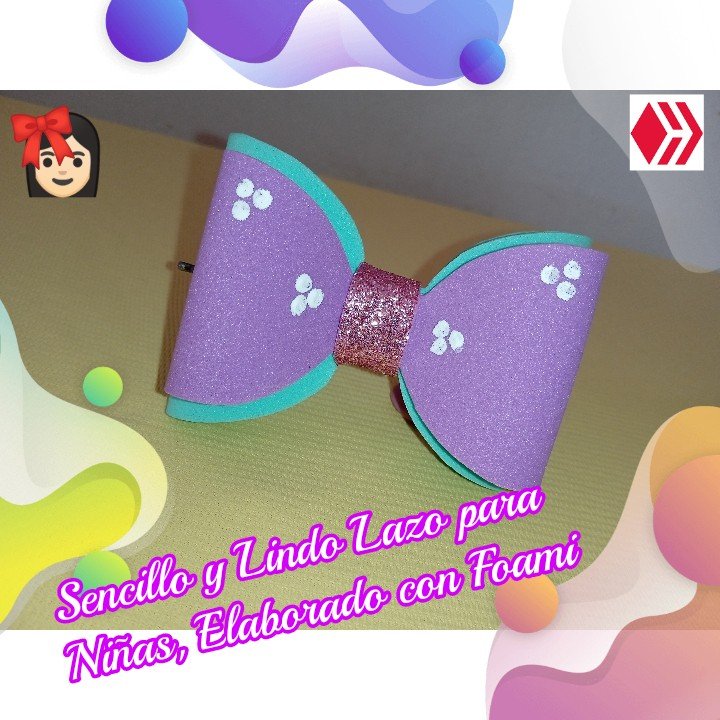
Sencillo y Lindo Lazo para Niñas, Elaborado con Foami 👩🏻🎀
Materiales
Foami color aguamarina
Foami color lila
Foami escarchado morado
Tijera
Pintura al frio blanca
Palito de madera
Lápiz
Silicón caliente
Gancho para el cabello
Patrón para el lazo
Simple and Cute Bow for Girls, Made with Foami 👩🏻🎀
Materials
Aquamarine foami
lilac foami
purple frosty foami
Scissors
white cold paint
Wooden stick
Pencil
hot silicone
Hairpin
Pattern for the bow
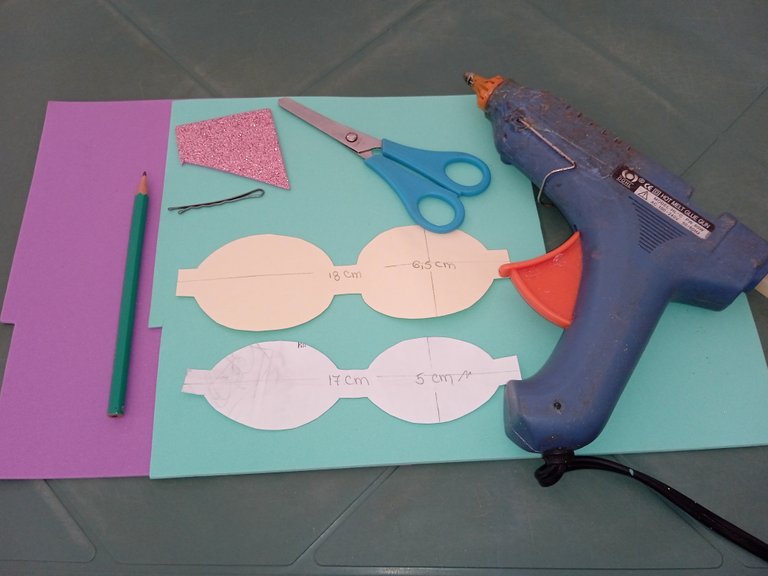
Procedimiento/Process
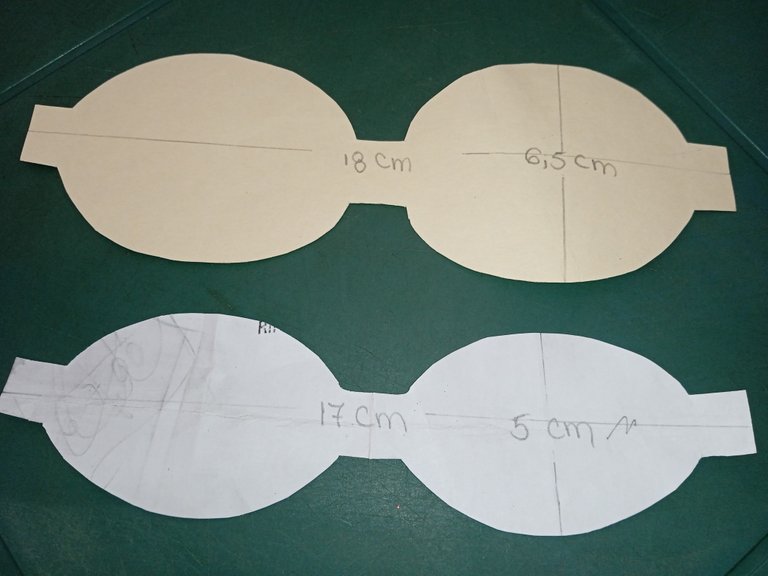
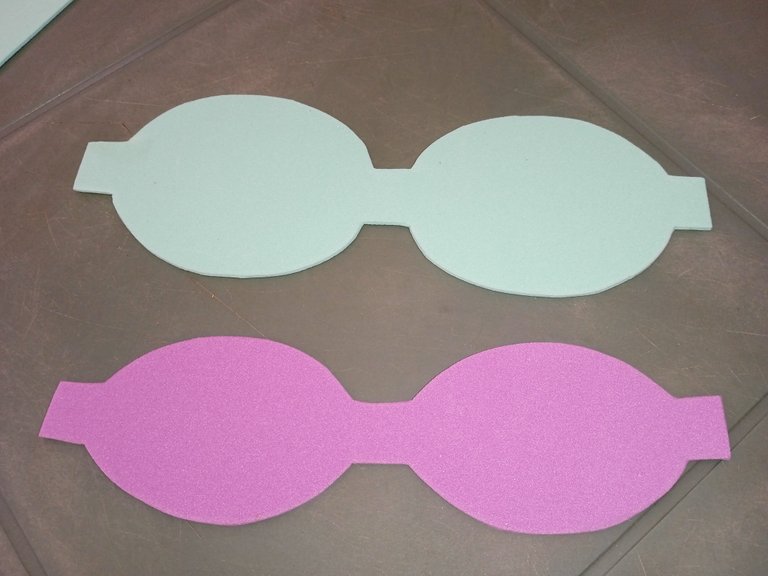
1.El patrón para el lazo debe tener la siguiente forma y medidas:
1.The pattern for the bow must have the following shape and measurements:
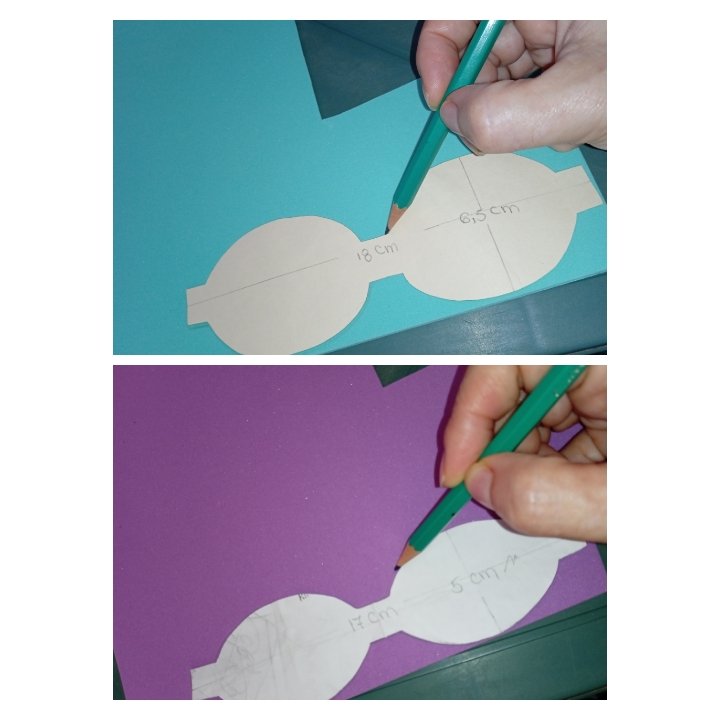
1.1.Luego con el lápiz vamos a transferir el patrón, el más grande en el color aguamarina y el más pequeño en el color lila, procurando no afincar mucho el lápiz, para no dañar el foami.
1.1.Then with the pencil we are going to transfer the pattern, the largest in the aquamarine color and the smallest in the lilac color, trying not to sharpen the pencil too much, so as not to damage the foami.
2.Despues procedemos a recortar con mucho cuidado, de modo que los bordes queden prolijo.
2.Then we proceed to cut very carefully, so that the edges are neat.
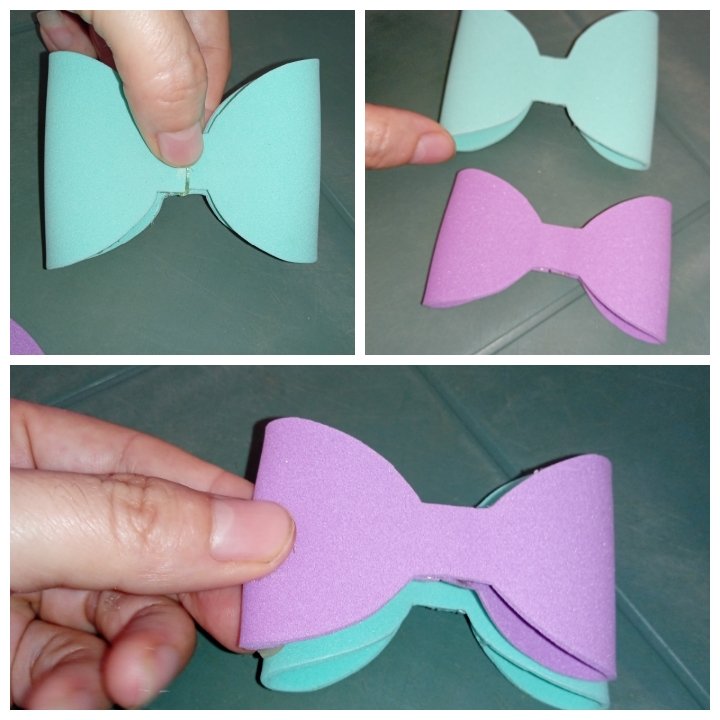
3.En este paso vamos a doblar cada una de las formas que recortamos y pegamos en el centro cada una, luego vamos a pegar el lazo más pequeño sobre el grande.
3.In this step we are going to cut out each of the shapes that we cut out and glue in the center of each one, then we are going to paste the smaller bow on the big one.
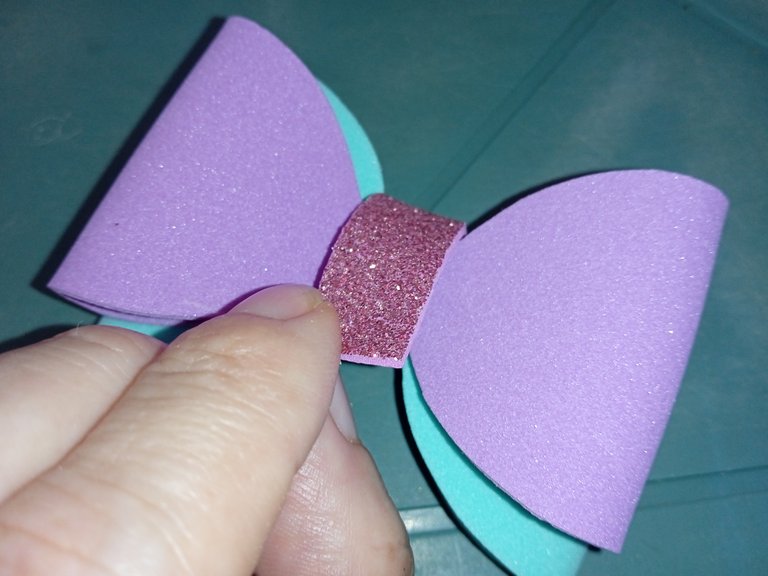
4.Seguido de ello vamos a recortar un rectángulo de 5 cm por 1.5 cm en el foami escarchado y pegamos en el centro del lazo, para unir las dos partes y que tenga un poco de brillo.
4.Followed by this, we are going to cut a rectangle of 5 cm by 1.5 cm in the frosted foam and paste it in the center of the loop, to unite the two parts and have a little shine.
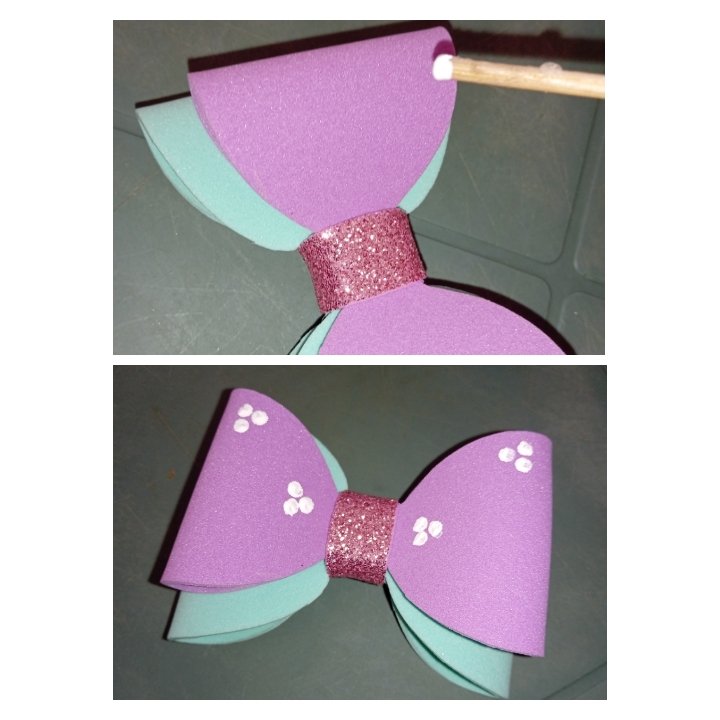
5.Luego hacemos un pequeño círculo con el foami y pegamos a un extremo del gancho y encima de este pegamos el gancho.
5.Then we make a small circle with the foami and glue it to one end of the hook and on top of it we glue the hook.
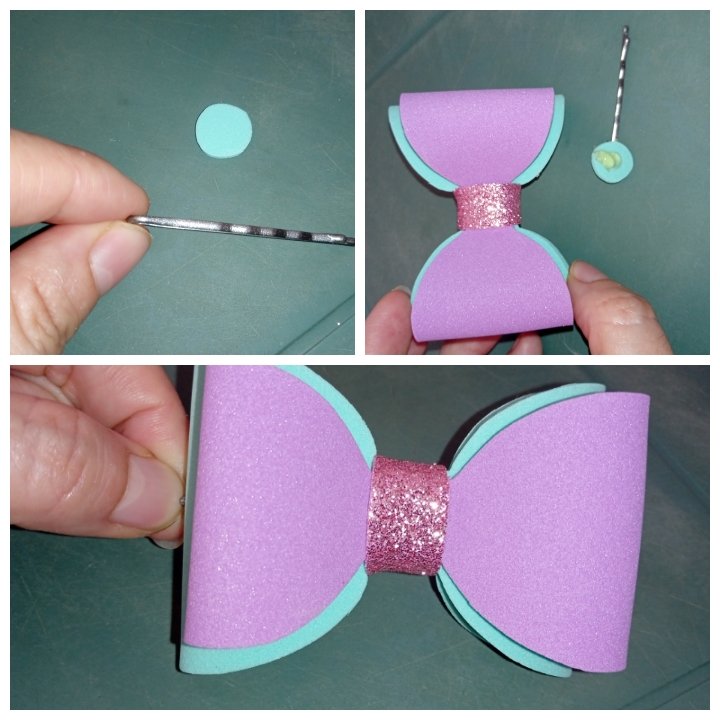
6.Por ultimo con la pintura al frio y con ayuda del palito de madera, haremos varios puntitos, en el color lila (para hacer algunos detalles)dejar secar y listo.
6.Finally, with the cold paint and with the help of the wooden stick, we will make several little dots, in the lilac color (to make some details), let it dry and that's it.
Proyecto listo!
Project done!

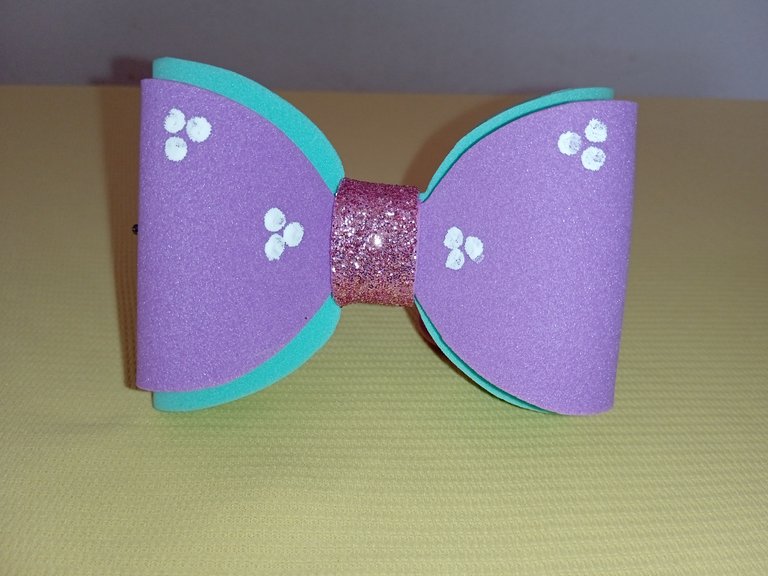
Hasta aquí mi Proyecto de este día, espero les haya gustado, muchas gracias por el apoyo brindado. Saludos
So Project for this day, I hope you liked it, thank you very much for the support. Greetings
Todas las imágenes son de mi autoria por @mariarodriguez, tomadas especialmente para esta publicación.
All images are my own by @mariarodriguez, taken especially for this publication.

Hola amiga!! Hermoso lazo, me gusta para mi hija , yo le he elaborado de varios modelos , una belleza. ! ❤️🥰 Saludos
Yay! 🤗
Your content has been boosted with Ecency Points, by @mariarodriguez.
Use Ecency daily to boost your growth on platform!
Support Ecency
Vote for new Proposal
Delegate HP and earn more