[ENG-ESP] Panelitas de San Joaquín

WELCOME TO MY BLOG
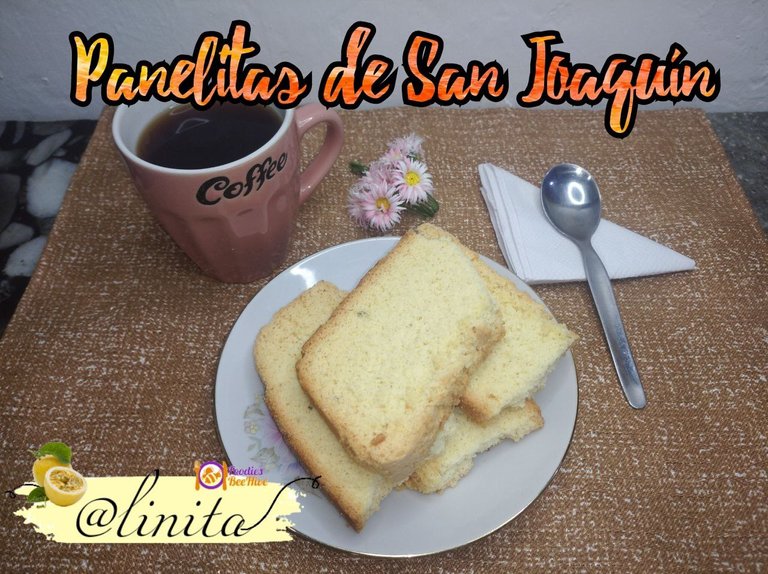
Hellooooo, hellooooo! Greetings to my people at Foodies Bee Hive and ThreeSpeak. Today's recipe is sweet and crunchy cookies that are well known in my country such as "Las Panelitas de San Joaquín". These cookies are not only delicious to accompany our breakfasts and snacks, but they are also used for the base of many desserts in our gastronomy. We can also find them in the market with different names such as biscuit, templates, biscuits, among others. It is a very simple recipe and with ingredients that we always have at home. If you have children, this is the best recipe for their snacks and to take them in the lunch box. Now, no more. let's get started.
BIENVENIDOS A MI BLOG
¡Holaaaaa, holaaaaa! Saludos para mi gente de Foodies Bee Hive y ThreeSpeak. La receta de hoy son unas galletas dulces y crujientes muy conocidas en mi país como son "Las Panelitas de San Joaquín". Estas galletas no solo son deliciosas para acompañar nuestros desayunos y meriendas, sino que también son utilizadas para la base de muchos postres de nuestra gastronomía. También las podemos encontrar en el mercado con diferentes nombres como biscuit, palntillas, biscochos, entre otros. Es una receta muy sencilla y con ingredientes que siempre tenemos en casa. Si tienes niños, esta es la mejor receta para sus meriendas y para llevarlas en la lonchera. Ahora, sin más. Comencemos.
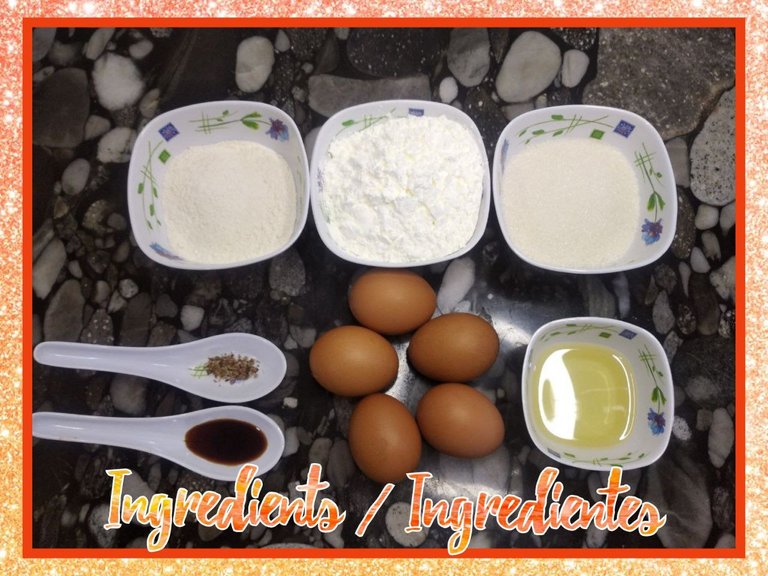
INGREDIENTS
- 150 grams of sugar
- 150 gr of corn starch
- 70 grams of wheat flour
- 5 egg
- 2 tablespoons of vegetable oil
- 1 tbsp vanilla
- 1 tablespoon of sweet anise
INGREDIENTES
- 150 gr de azúcar
- 150 gr de fécula de maíz
- 70 gramos de harina de trigo
- 5 huevo
- 2 cdas de aceite vegetal
- 1 cda de vainilla
- 1 cda de anís dulce
STEP BY STEP // PASO A PASO
Step #1: We pass through a strainer or strainer, the flours.
STEP #2: We separate the whites and the yolks.
STEP #3: In a clean and dry container, add the egg whites and beat with an electric mixer until peaks form. Add the yolks one by one. Then we put the sugar in small amounts and beat until dissolved. Add the sweet anise and vanilla and with a manual whisk we incorporate the flours and mix in an enveloping way so as not to degas.
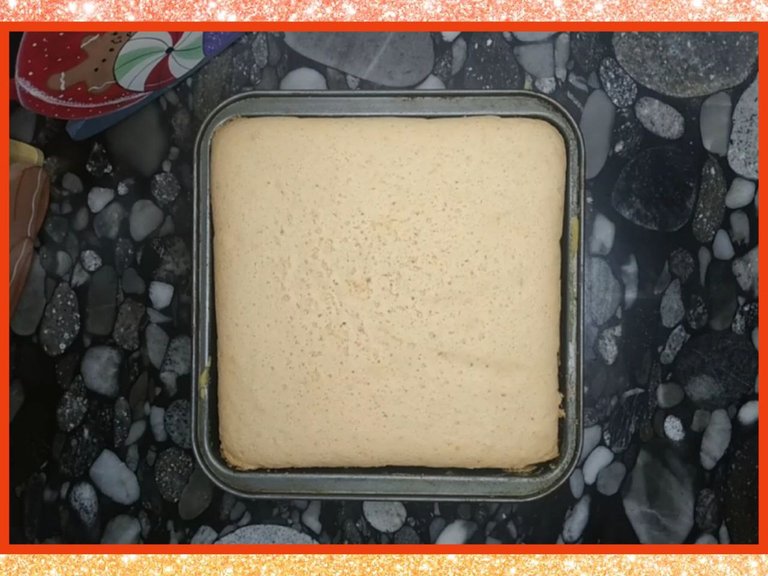
STEP #4 We take the mixture to a greased and floured tray and then we put it in the oven previously heated to 180° for 40 minutes or until golden brown.
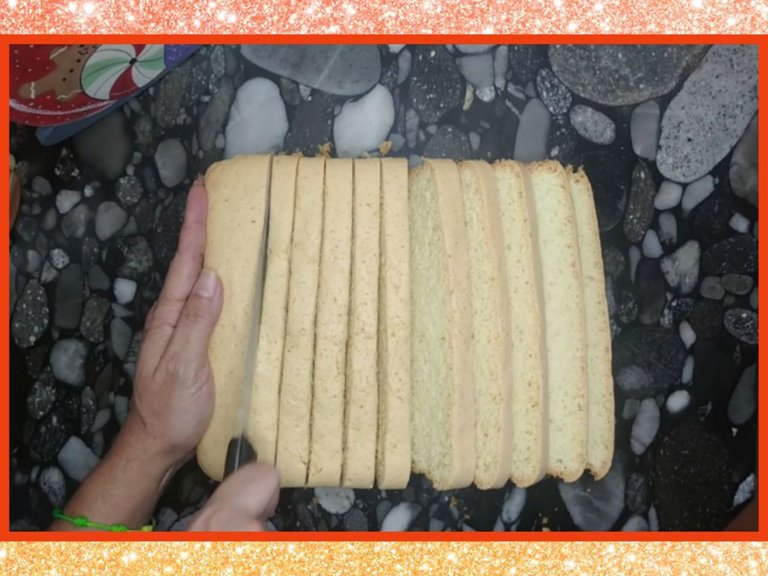
STEP #5 Remove from oven and let cool. Cut into 1 cm wide slices and place on a flat tray and return to the oven for 30 minutes or until golden.
STEP #6 Once our Panelas are golden brown, we take them out of the oven, let them cool and we already have our Panelas ready to eat or to store and enjoy whenever we want or to prepare our desserts.
FOR MORE DETAILS I INVITE YOU TO WATCH THE VIDEO
Paso #1: Pasamos por un cernidor o colador, las harinas.
PASO #2: Separamos las claras y las yemas.
PASO #3: En un recipiente limpio y seco, agregamos las claras y con el batidor eléctrico batimos hasta formar picos. Agregamos las yemas una a una. Luego colocamos el azúcar en pequeñas cantidades y batimos hasta disolver. Agregamos el anís dulce y la vainilla y con un batidor manual vamos incorporando las harinas y mezclamos de forma envolvente para no desgasificar.
PASO #4 Llevamos la mezcla a una bandeja engrasada y enharinada y luego metemos al horno previamente calentado a 180° por 40 minutos o hasta que dore.
PASO #5 Retiramos de horno y dejamos enfriar. Cortamos en rebanadas de 1 cm de ancho y colocamos en una bandeja plana y llevamos nuevamente al horno por 30 minutos o hasta que estén doradas.
PASO #6 Una vez que nuestras panelas estén doradas, sacamos del horno, dejamos enfriar y ya tenemos nuestras Panelas listas para comer o para almacenar y disfrutar cuando queramos o para preparar nuestros postres.
PARA MÁS DETALLES TE INVITO AVER EL VIDEO
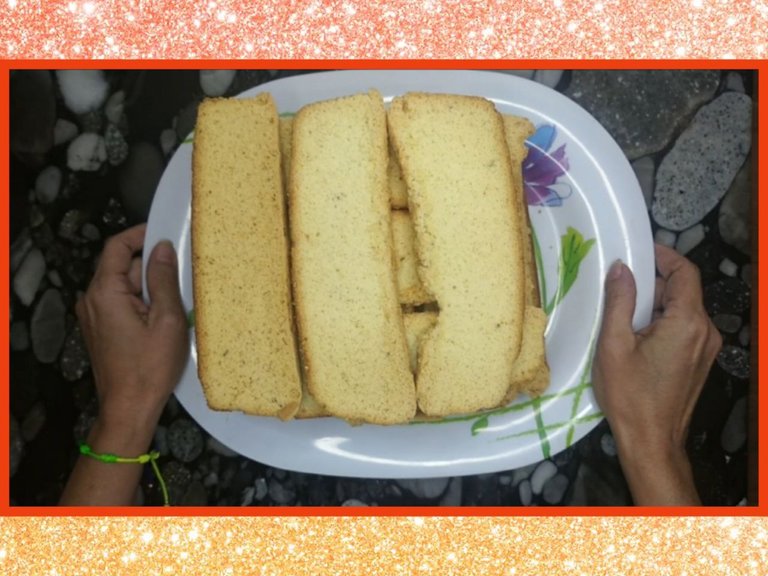
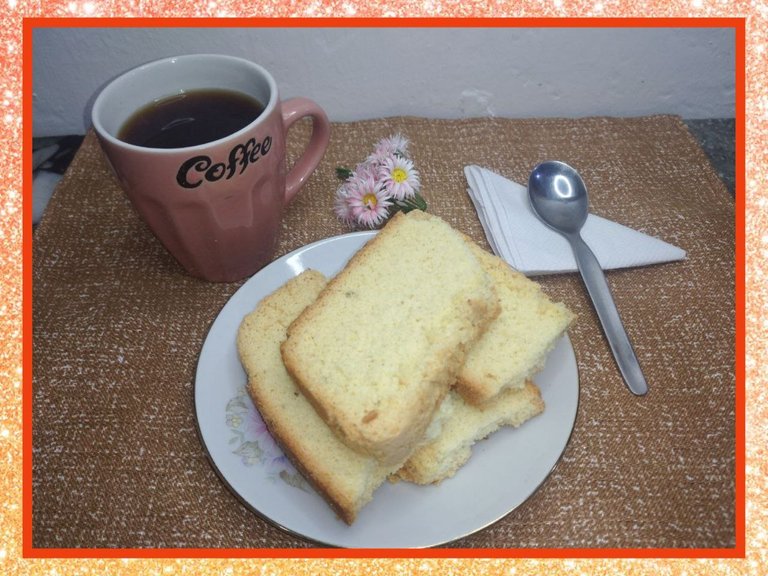
Todas las fotos Y videos son de mi autoría, tomadas y grabados con mi teléfono POCO M3
Para la edición de las fotos y videos separadores utilicé CANVA y Capcut
Utilicé https://translate.google.com para la traducción
▶️ 3Speak
Para la edición de las fotos y videos separadores utilicé CANVA y Capcut
Utilicé https://translate.google.com para la traducción
▶️ 3Speak
Y quedaron riquísimas 😋 confirmado.
Las mejores panelitas caseras que he comido. Las recomiendo.
Gracias por preparar recetas tan sabrosas. @linita
Se ven deliciosas! apartame un par😁😁
que ricas panelitas san joaquin amiga la verdad es que si quiero
Saludos @linita, he oído hablar mucho de estas panelitas, gracias por compartir la receta intentaré prepararlas.
Bendiciones!
Holaaa, no te creoooo que no las hayas probado. Si son muy famosas en los Paradores turísticos. Pero si no las has probado, tienes que hacer sin pensarlo está receta. Quedan idénticas a esas que compramos en estos sitios.
Nunca las he comido amiga, aunque parezca increíble jajaja, intentaré prepararlas y te cuento como me fue.
Ya verás que te encantarán. Saludos.
Join the foodie fun! We've given you a FOODIE boost. Come check it out at @foodiesunite for the latest community updates. Spread your gastronomic delights on and claim your tokens.
@linita, one of your Hive friends wishes you a Happy Valentine's day and asked us to give you a new badge!
To find out who wanted you to receive this special gift, click here!
You can view your badges on your board and compare yourself to others in the Ranking
Check out our last posts: