How to make a cute handmade bag.// Cómo hacer un bonito bolso hecho a mano.
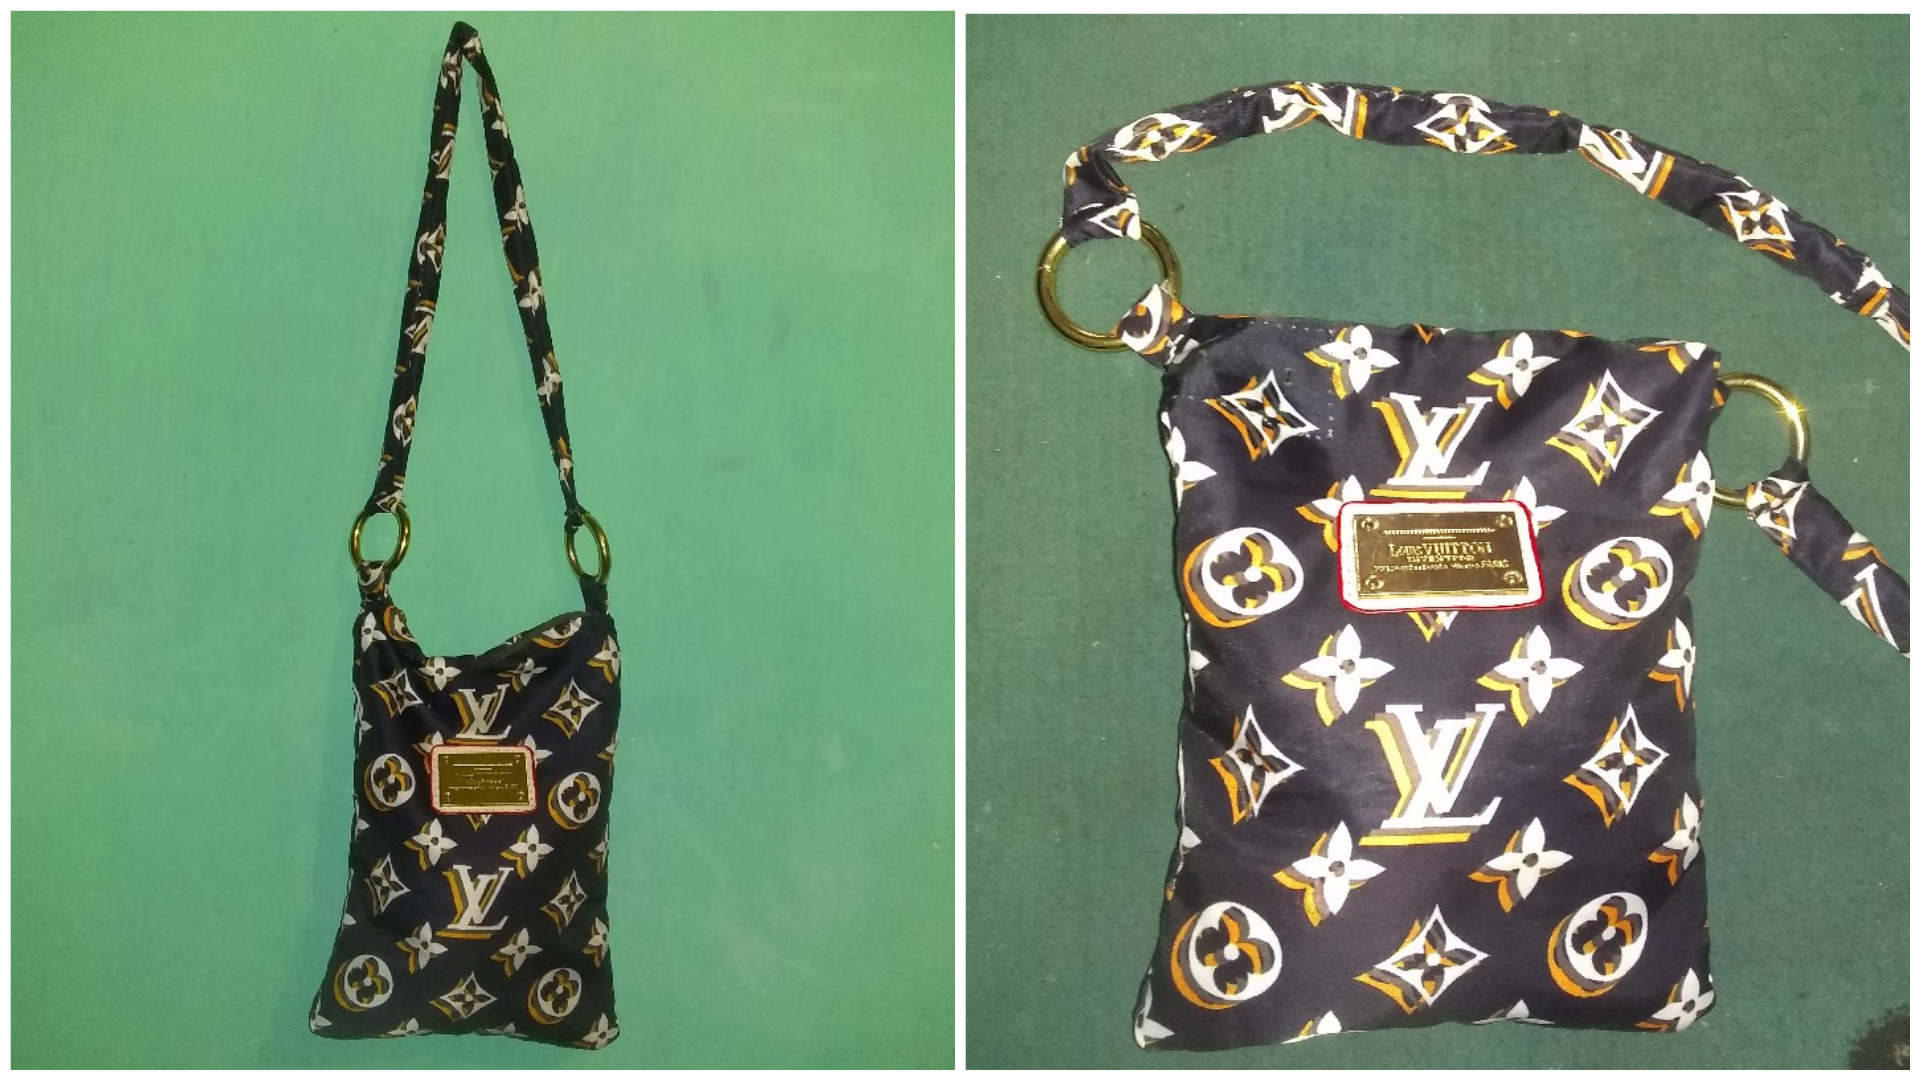
Hello my people of all the communities in this opportunity I bring you one of my creative activities that I developed and that I like to do with much affection for you today I will teach you how to make a nice handmade bag easy and super simple I hope you like it.
Hola mi gente de todas las comunidades en esta oportunidad les traigo una de mis actividades creativas que elaboré y que me gusta hacer con mucho cariño para ustedes el día de hoy les enseñaré como hacer un bonito bolso hecho a mano fácil y super sencillo espero que les guste.
Materials.
Materiales.
- Nylon fabric
- scissors
- Thread
- Ajuga
- Ruler
- pencil
- 2 rings
- 1 logo (optional)
- Zipper or zipper
- Tela de nylon
- tijera
- Hilo
- Ajuga
- Regla
- Lápiz
- 2 aros
- 1 logo (opcional)
- Cremallera o cierre

Step by step.
Paso a paso.
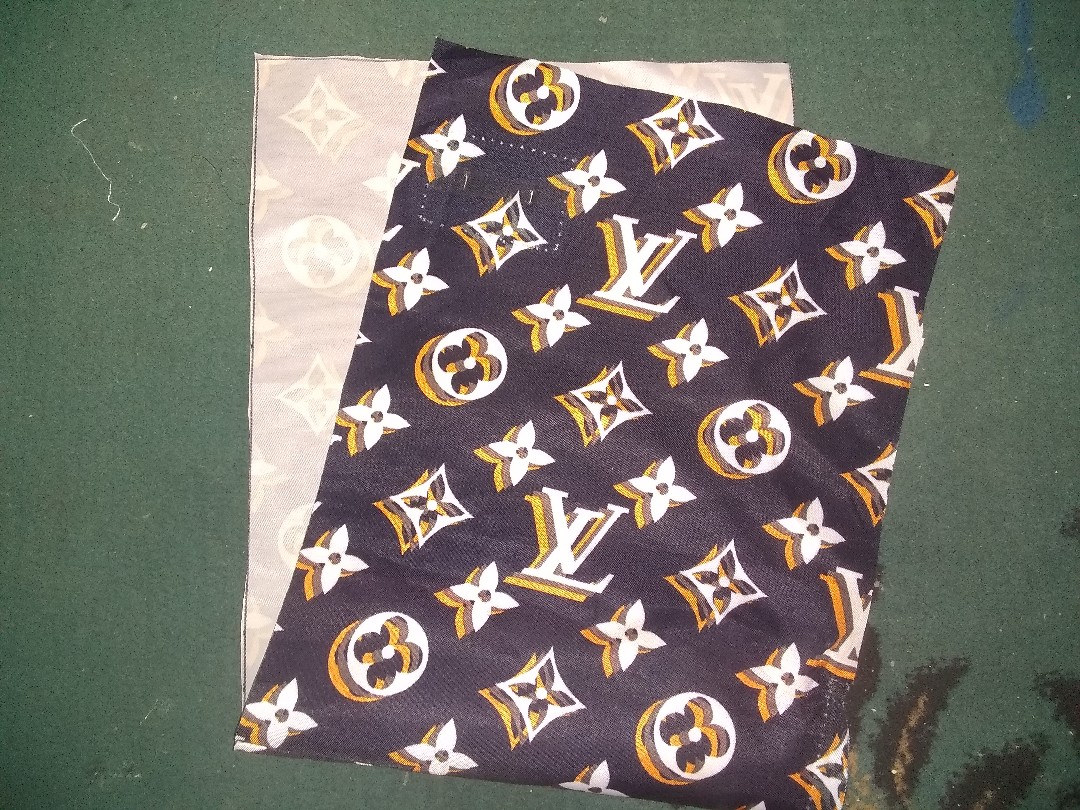
To start our bag we take a piece of fabric and cut it into 2 pieces of 16x 23 cm. We sew on the opposite side three parts leaving 1 cm on the sides minus the top.
Para empezar nuestra bolsa cogemos un trozo de tela y lo cortamos en 2 trozos de 16x 23 cm. Cosemos en el lado opuesto tres partes dejando 1 cm en los lados menos la parte superior.
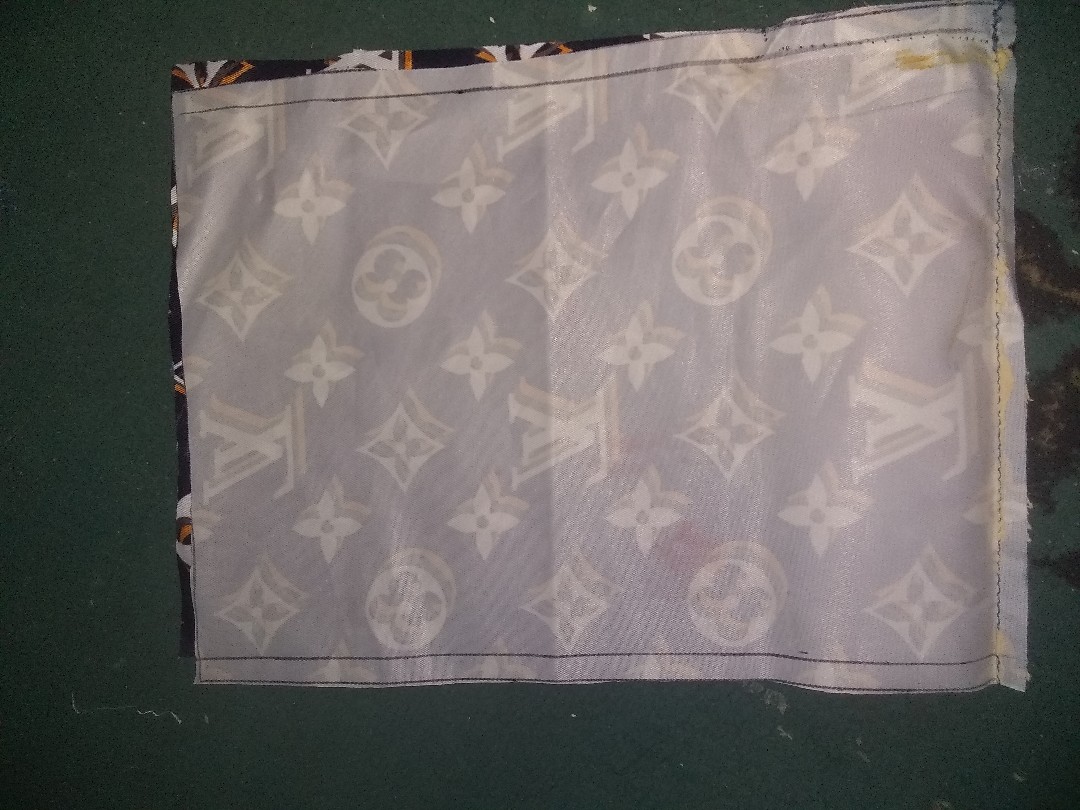
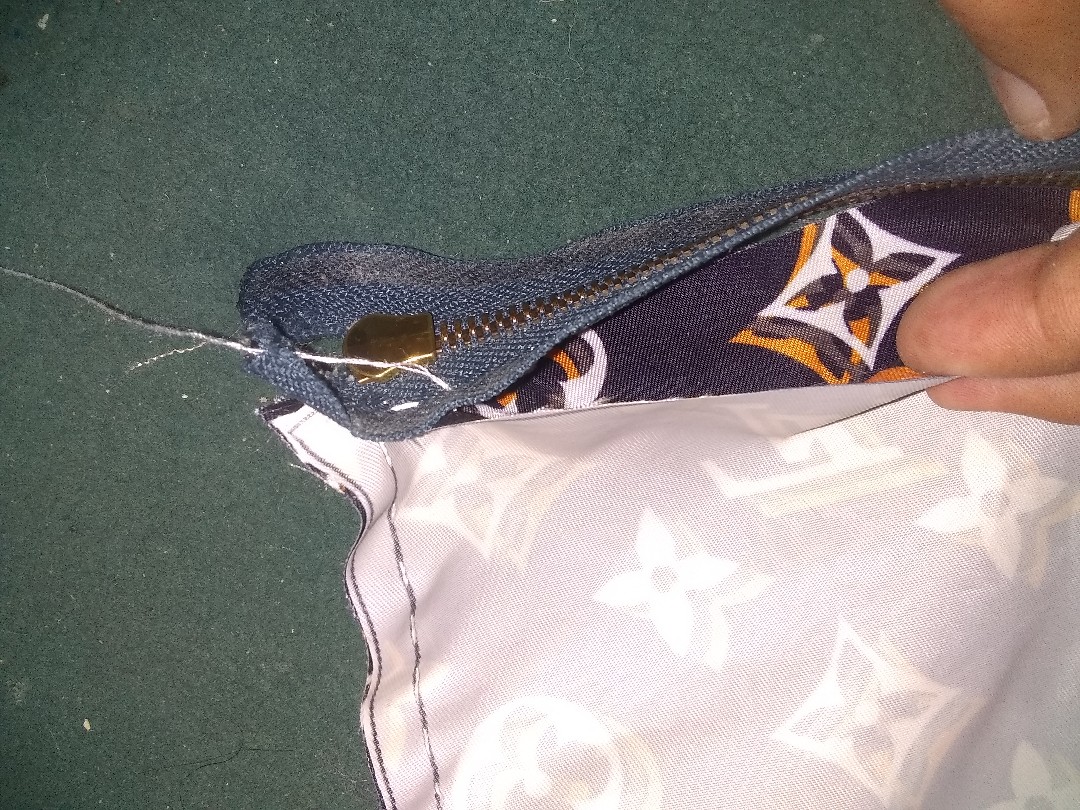
Once cooked in the same way we sew the zipper of the same size of the bag. On both sides we then turn it right side out.
Una vez cocido de la misma manera cosemos la cremallera del mismo tamaño de la bolsa. En ambos lados luego lo volteamos al derecho.
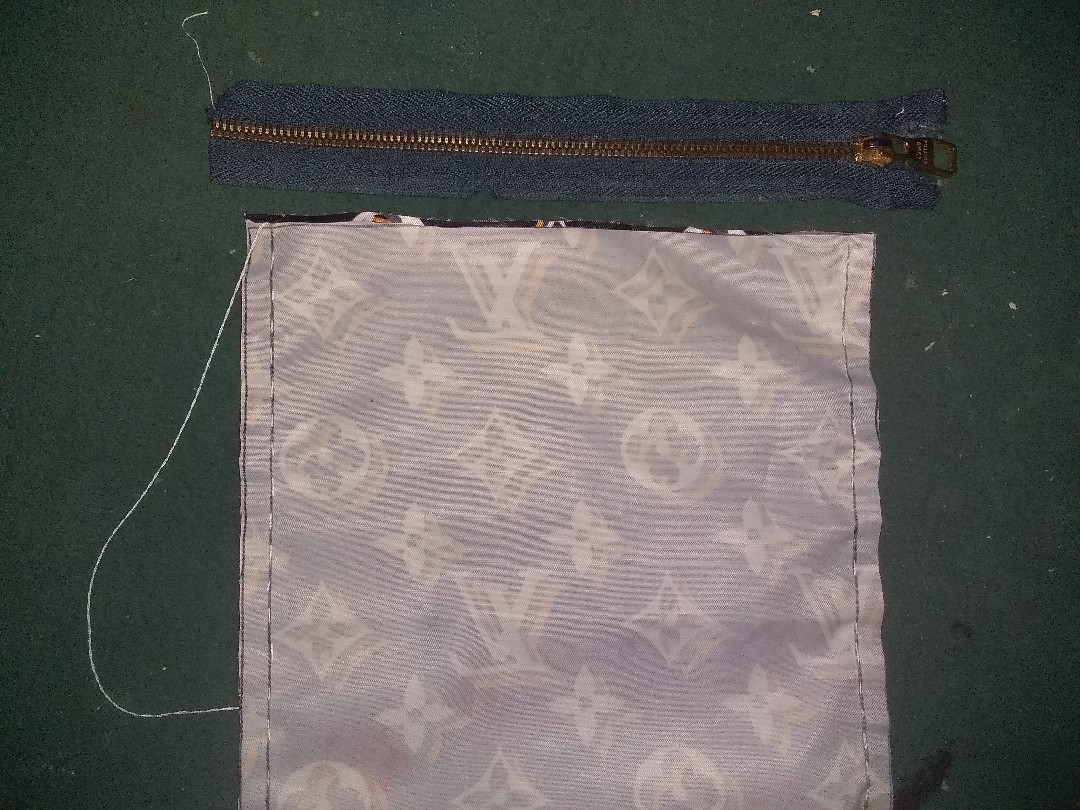
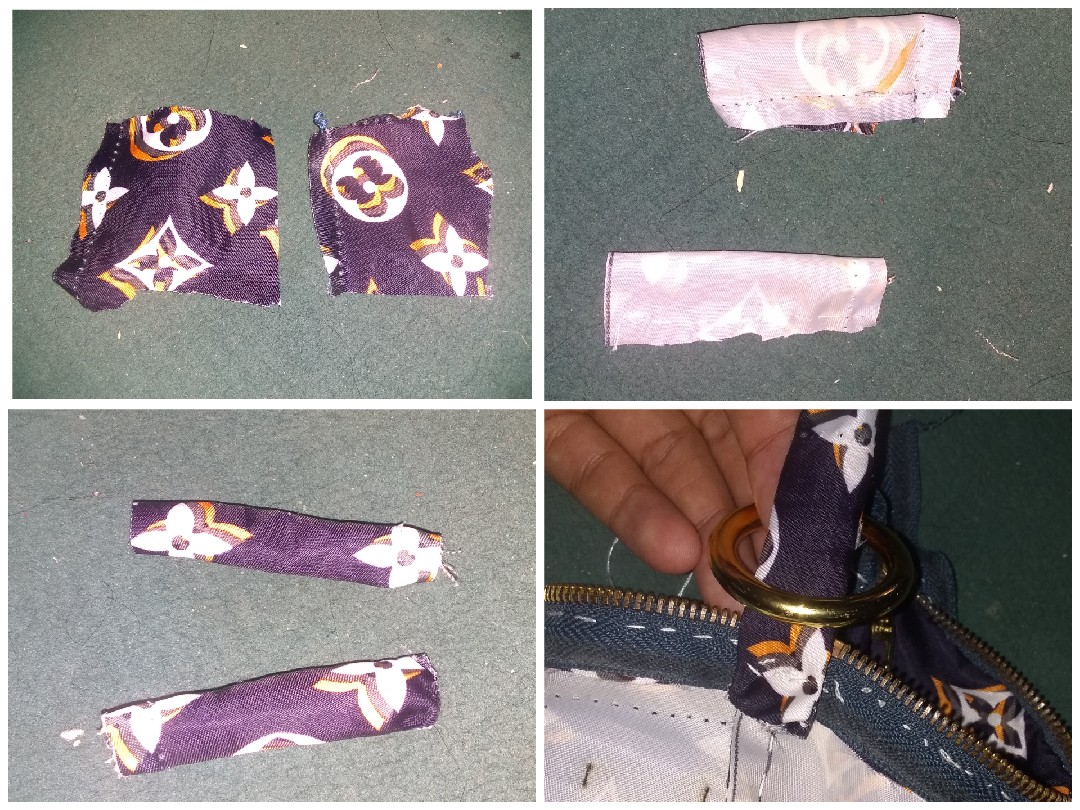
To attach the bag we will proceed with a small piece of fabric to make some strips, sew upside down and turn the opposite side then sew to the sides of the bag and place the hoop at once. Do it on both sides.
Para sujetar la bolsa procederemos con un pequeño trozo de tela para hacer unas tiras, coser al revés y girar el lado opuesto para luego coser a los lados de la bolsa y colocar el aro a la vez. Hazlo por ambos lados.

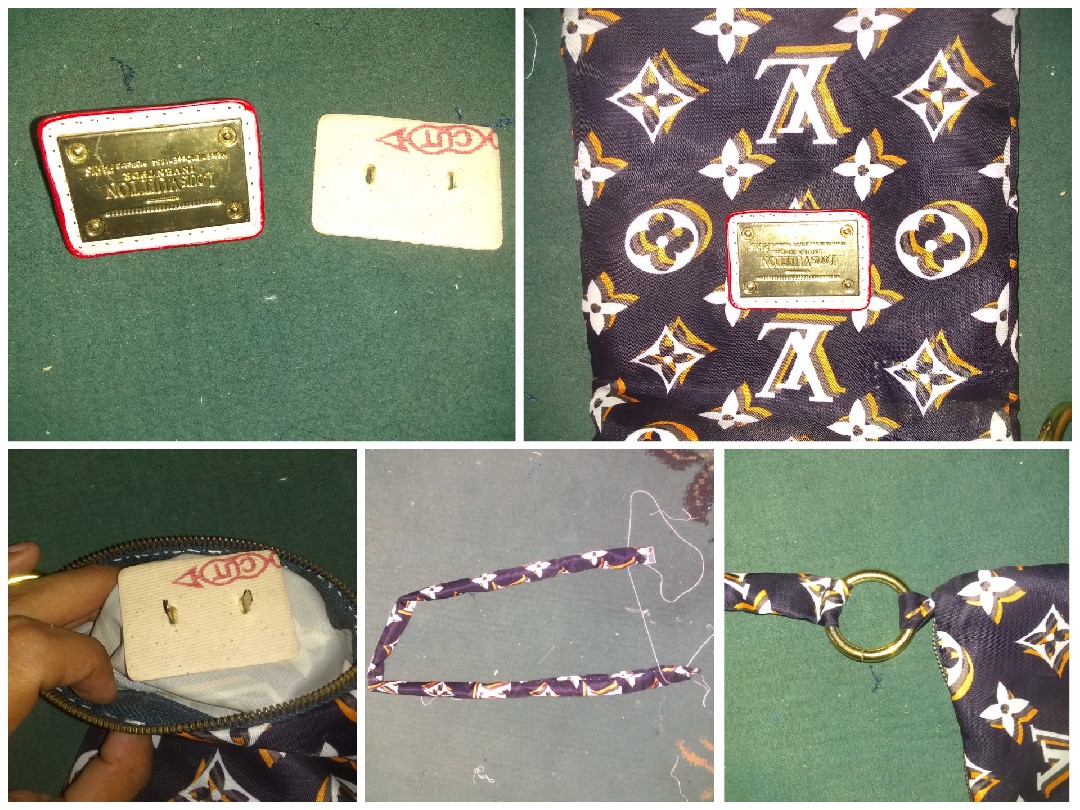
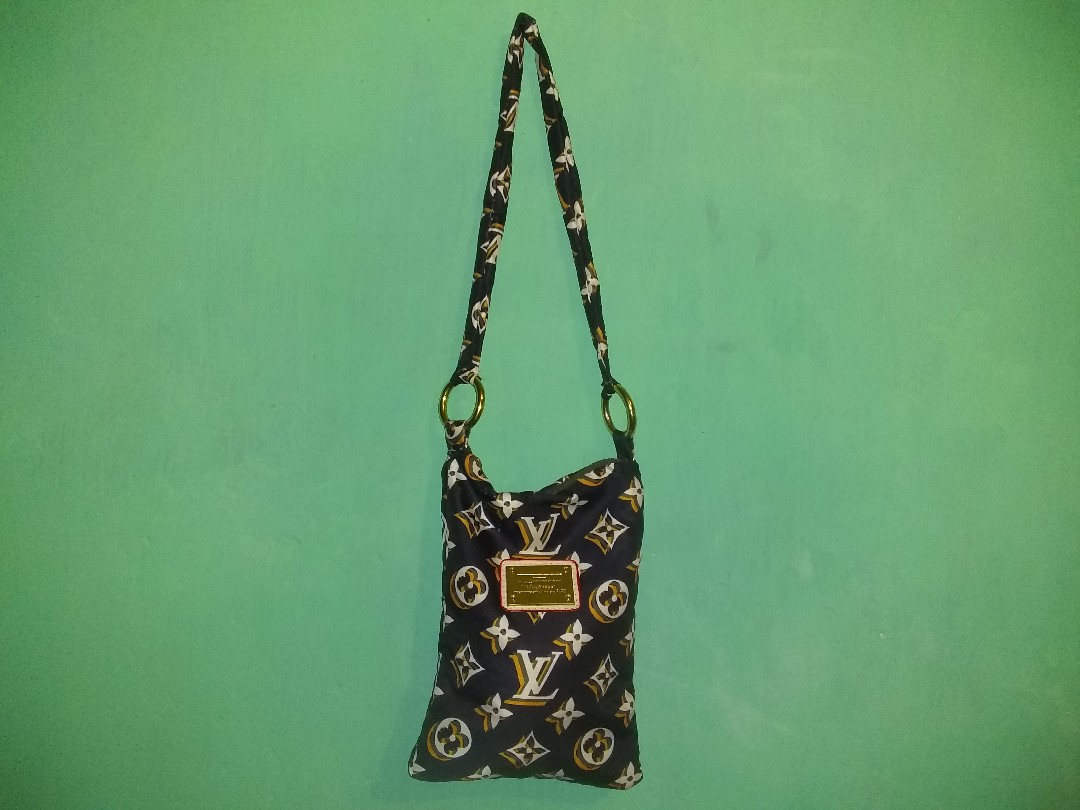
Once the bag is almost finished we glue a logo of our taste is not necessary but if you like you can do it. With the leftover fabric we make a long strip for the handle, sew it and it is ready to be used. If you have more fabric we can make a bottom for the inside of the bag to make it resistant.
Una vez que la bolsa está casi terminada pegamos un logo de nuestro gusto no es necesario pero si te gusta puedes hacerlo. Con la tela sobrante hacemos una tira larga para el asa, la cosemos y ya está lista para ser usada. Si tienes más tela podemos hacer un fondo para el interior de la bolsa para que sea resistente.
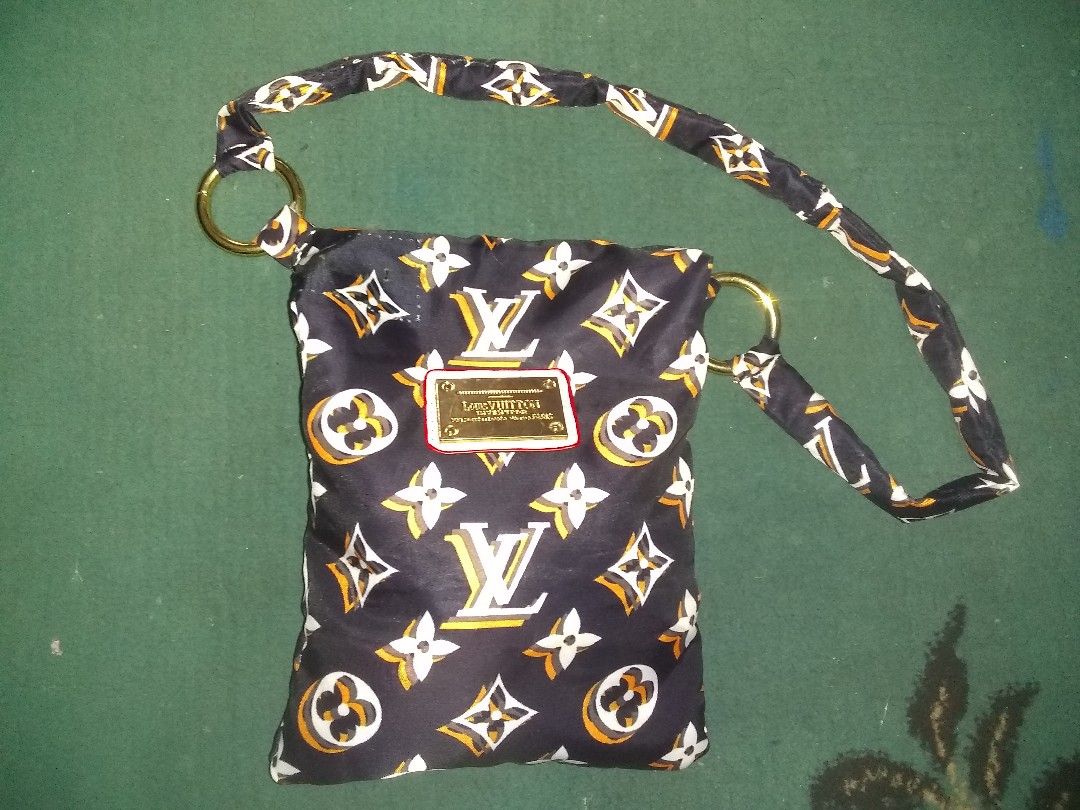
Final result. // Resultado final.
Gracias por visitar.
Todas las fotos y el contenido son originales que hago diariamente para mi blog.
Thank you for visiting.
All photos and content are originals that I make daily for my blog.
0
0
0.000
Congratulations, your post has been upvoted by @dsc-r2cornell, which is the curating account for @R2cornell's Discord Community.
Thank you.
Thank you for sharing this amazing post on HIVE!
Your content got selected by our fellow curator @rezoanulvibes & you just received a little thank you via an upvote from our non-profit curation initiative!
You will be featured in one of our recurring curation compilations and on our pinterest boards! Both are aiming to offer you a stage to widen your audience within and outside of the DIY scene of hive.
Join the official DIYHub community on HIVE and show us more of your amazing work and feel free to connect with us and other DIYers via our discord server: https://discord.gg/mY5uCfQ !
If you want to support our goal to motivate other DIY/art/music/homesteading/... creators just delegate to us and earn 100% of your curation rewards!
Stay creative & hive on!