How I Make Sunflower Sticker
During my time having my online store, I used to give several of my sticker designs as freebies to my customers. Since the freebie stickers were running low, I decided to finalize the sticker design I had in my file and made it as a sticker.
I have been really into sunflowers lately it is been like my character, my cousin made me like a sunflower, and whenever I have a chance to apply that obsession of mine I will. LOL
Do you like sunflowers too? Maybe this is a sign for me to grow sunflower.
I am in my era of resting being doubting myself again I am in recovery now so I have plenty of time to hang out here at the Hive and finish up all my blog drafts.
Materials
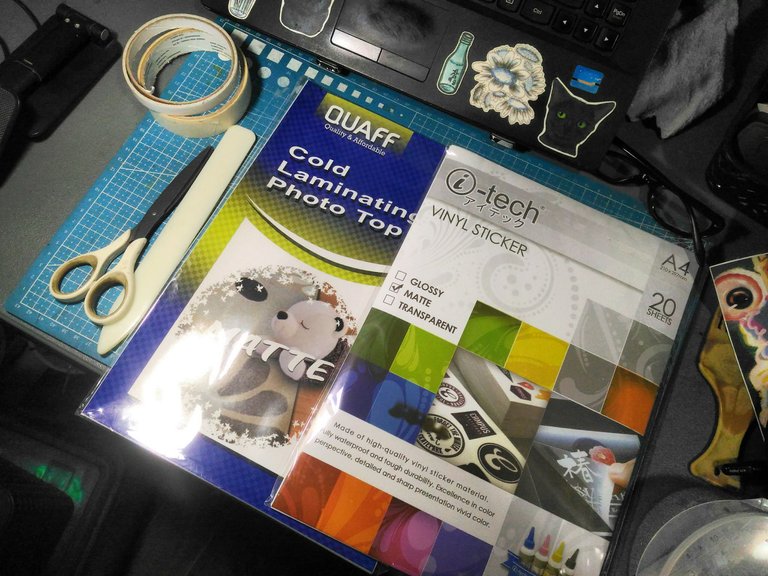
-Printer
-Vinyl Sticker
-Cold Laminating Film
-Ruler/Bone Folder
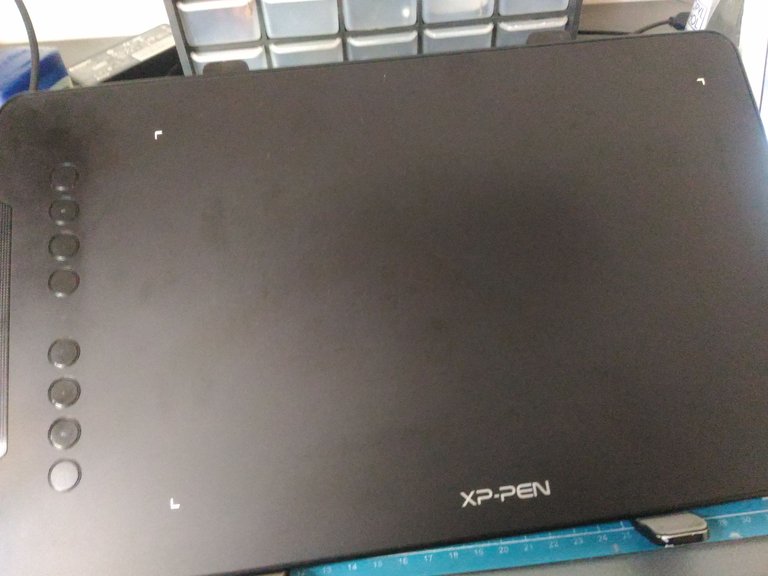
-Graphic Tablet
-Laptop
-Scissors
The Process
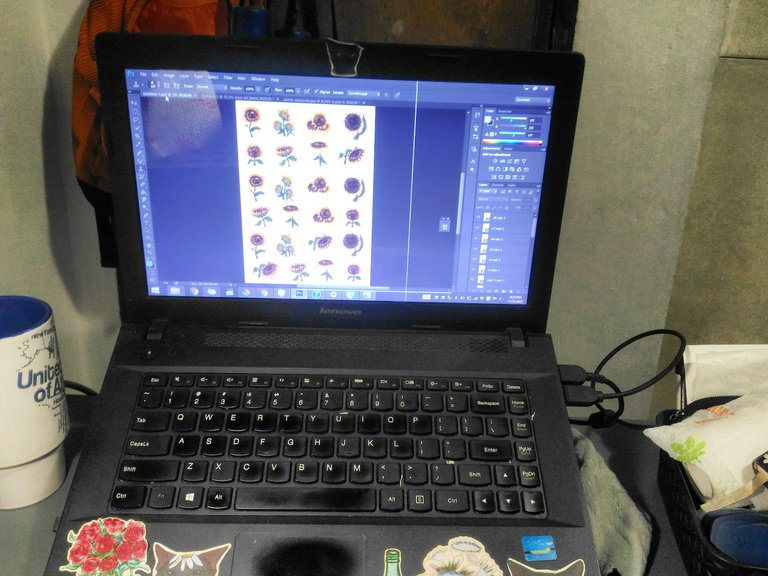
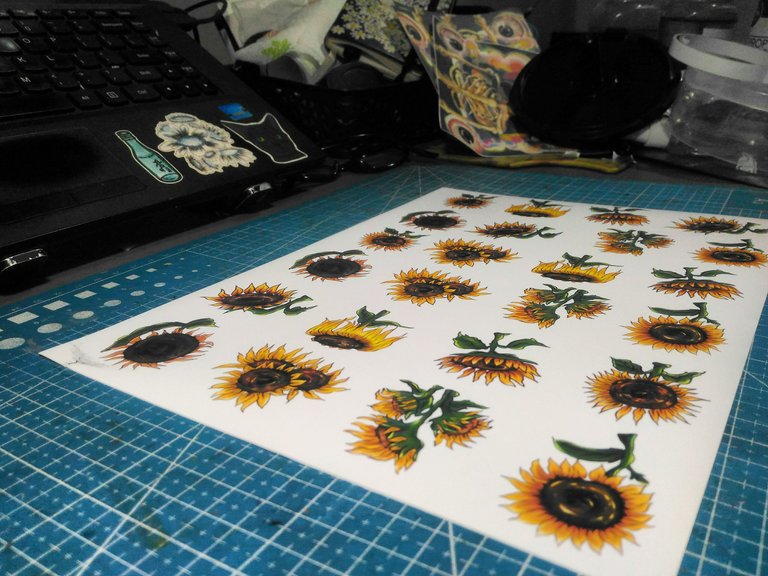
The first step is to have your design ready. I draw the design I want to print and then transfer it to Adobe Photoshop, but you may use any program that supports prints. Make sure to check the paper size, set the quality of the print to the highest and you're good to go.
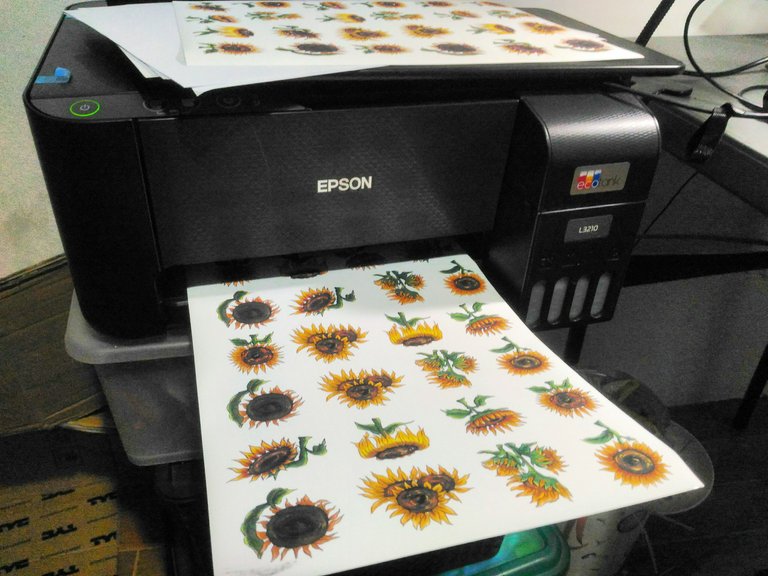
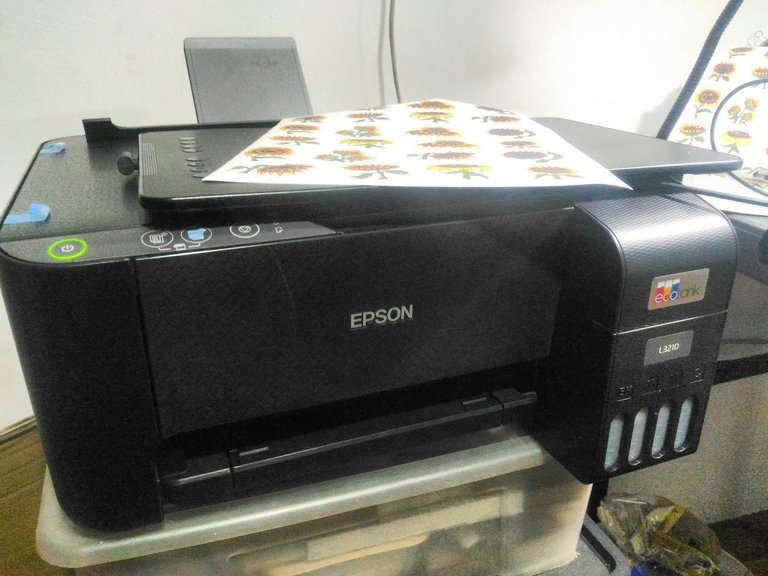
Next is to print your sticker, make sure before you put the paper inside the printer is the paper is dust-free because it will ruin your design if debris or dust sticks to your sticker paper. I've been there before. LOL
Now that your design is printed, once again clean off any dust in your sticker for the next process.
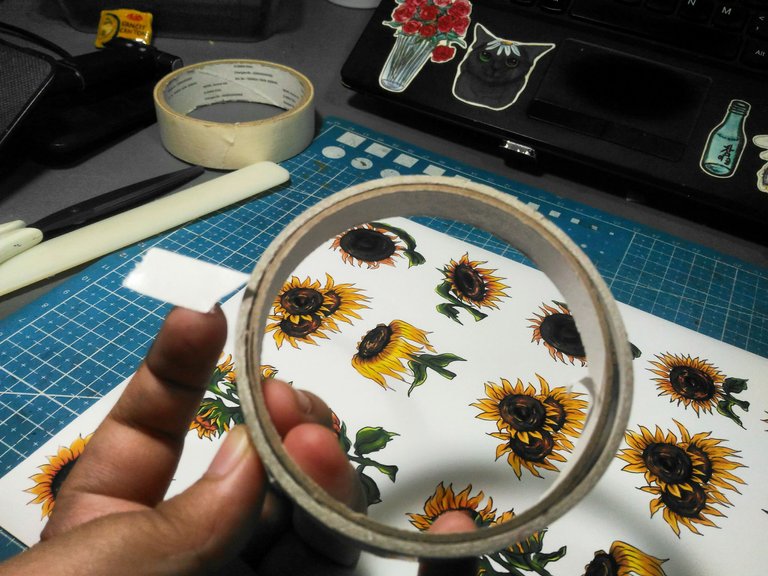
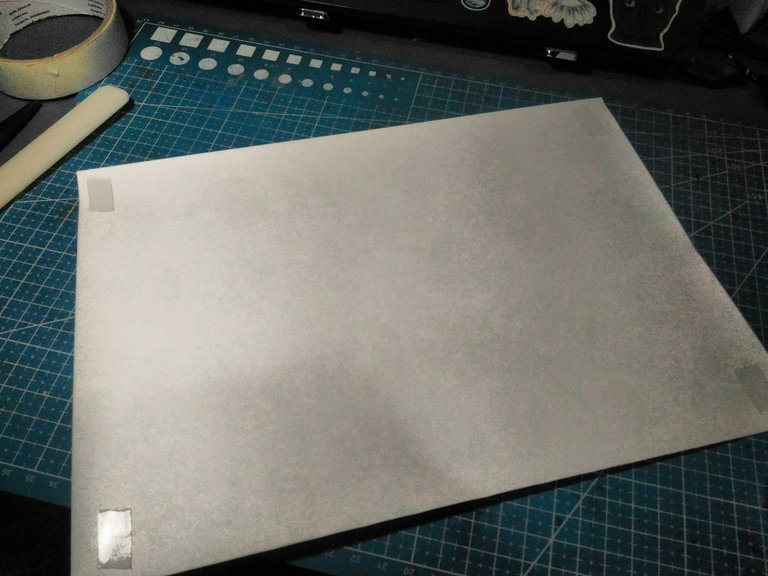
The next step is to prepare and apply a tape at the back of the sticker paper. It makes the paper not move when you layer it with a laminating sticker. If you are using a laser printer you can skip this part or if you want extra protection to your sticker, do it.
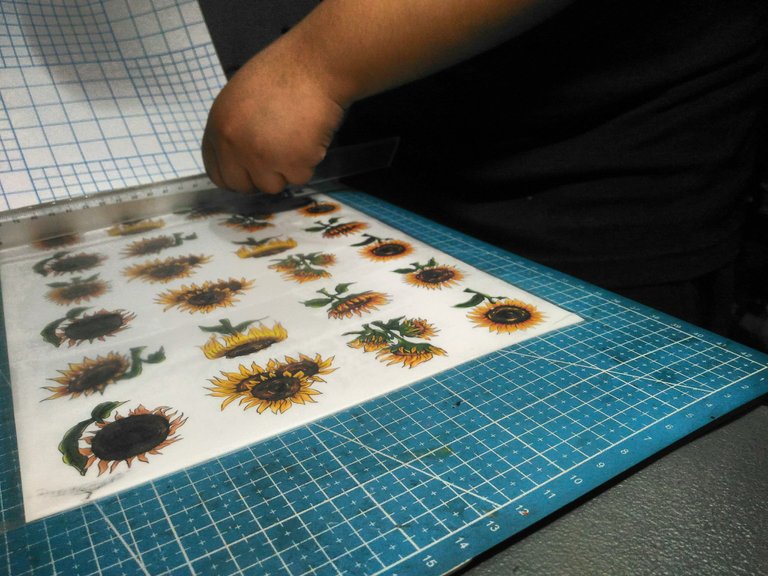
This part is me putting a laminating sticker at the top of the sticker paper. Disclaimer if you use dye ink for a printer like we use you need this step and it is important to use a vinyl sticker rather than a regular sticker.
This part is complicated you need to watch diys to put a laminating sticker.
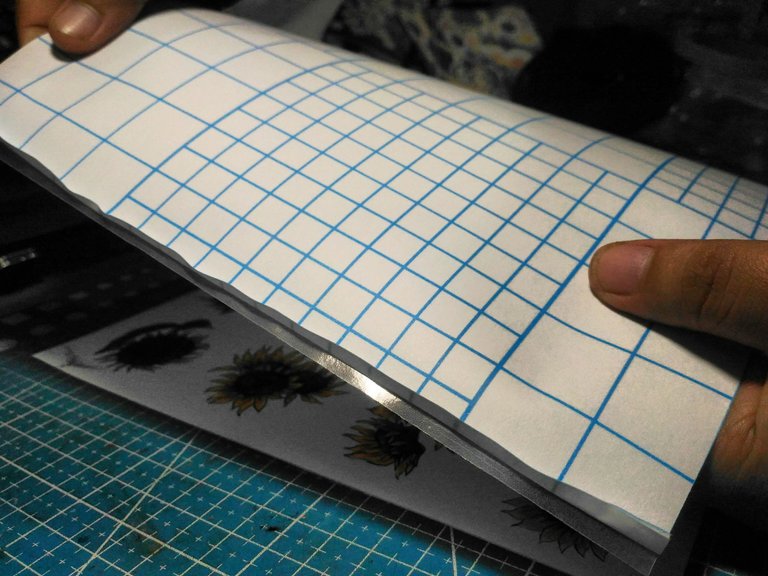
Peel off half an inch of the laminating sticker to expose the adhesive part and then apply it to the sticker make sure to apply it align.
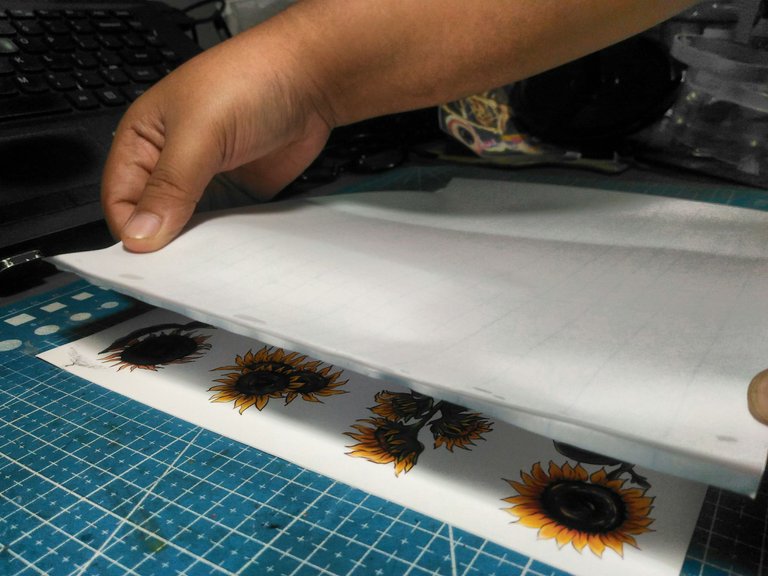
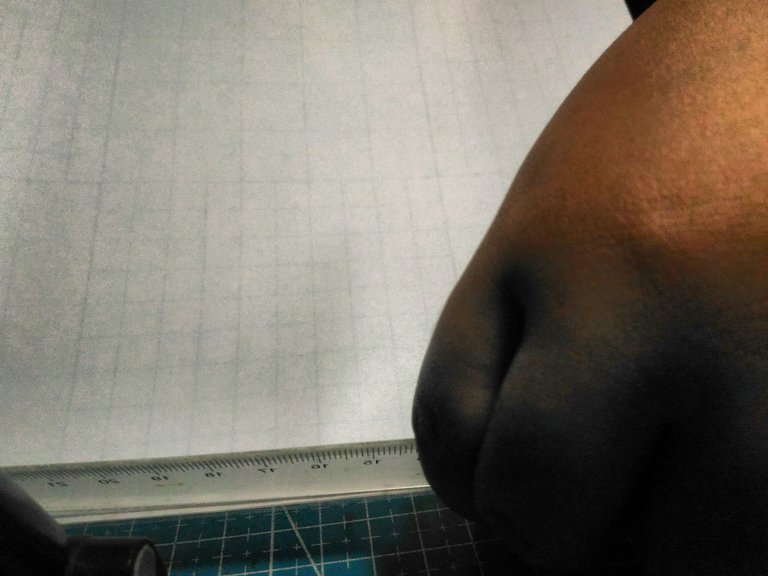
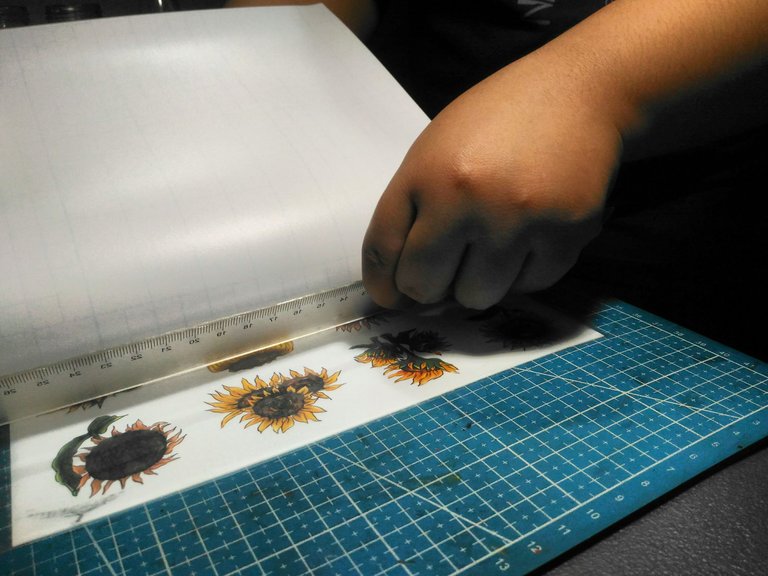
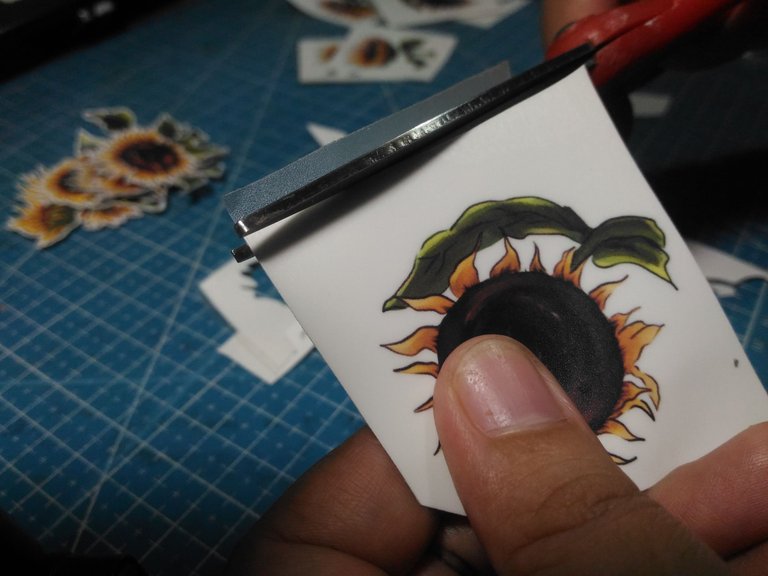
After that use a ruler to gently press down across the edge. As I dragged the ruler across the edge I pulled across the backing of the laminating sticker too.
to make the laminating sticker stick more I used a squeegee.
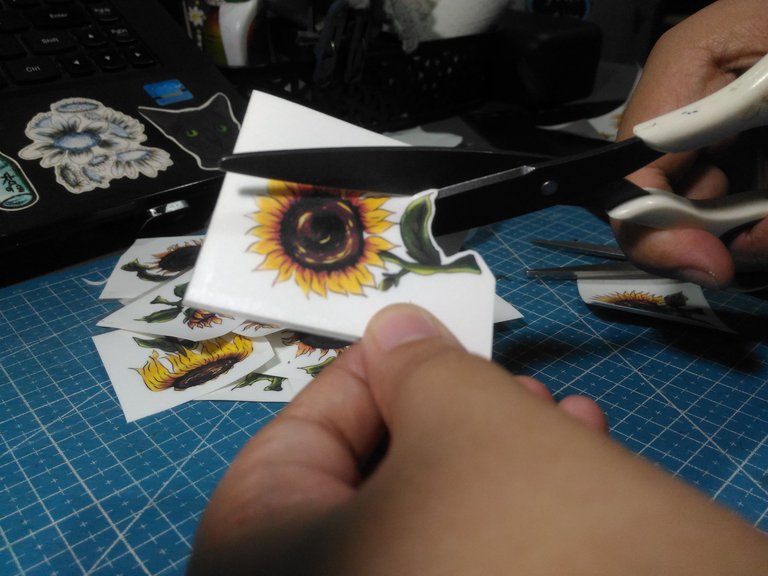
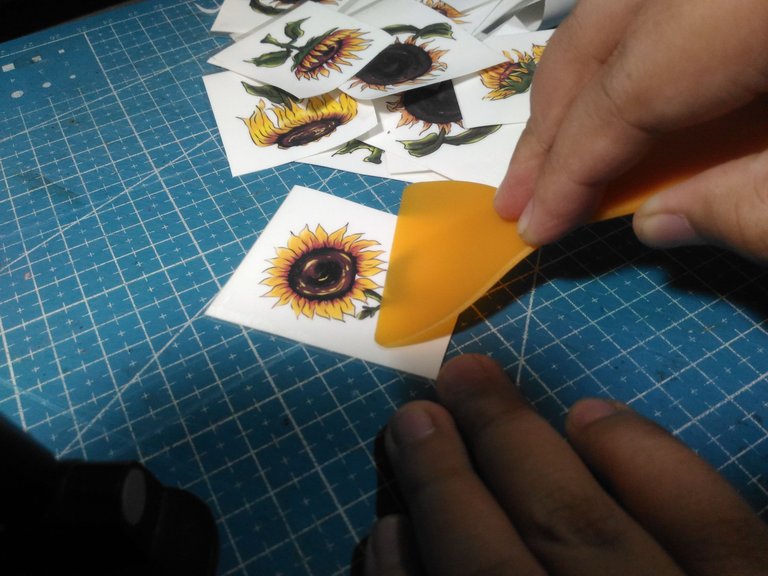
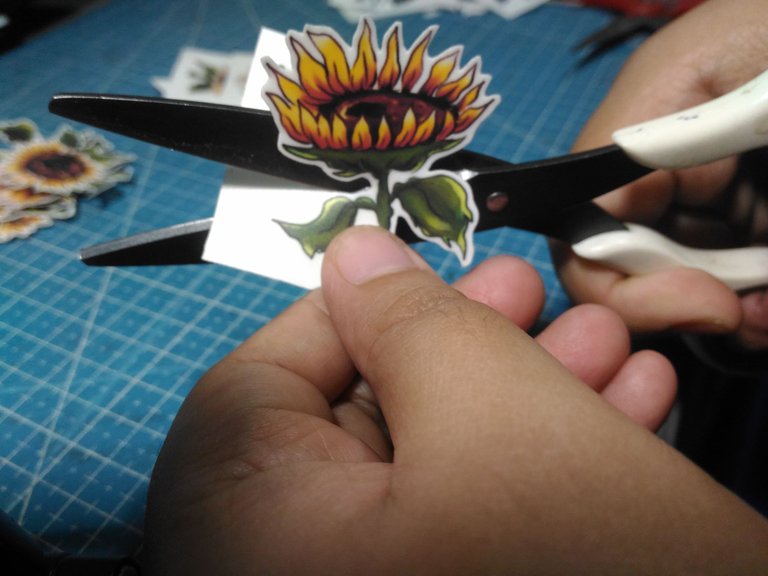
The next thing I did was cut the sticker with scissors and make sure the scissors were very sharp.

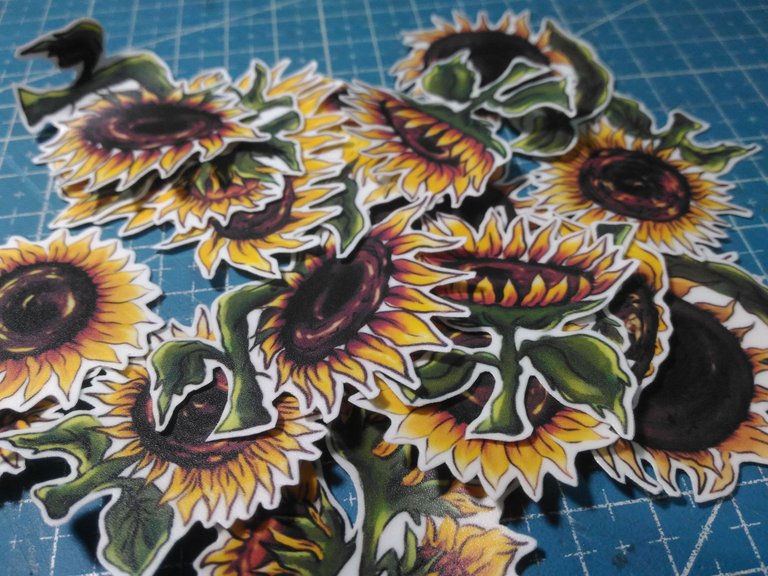
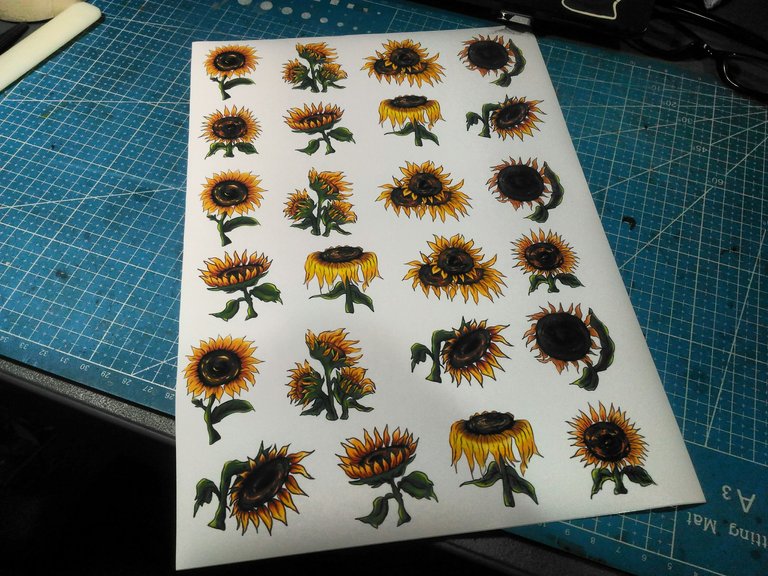
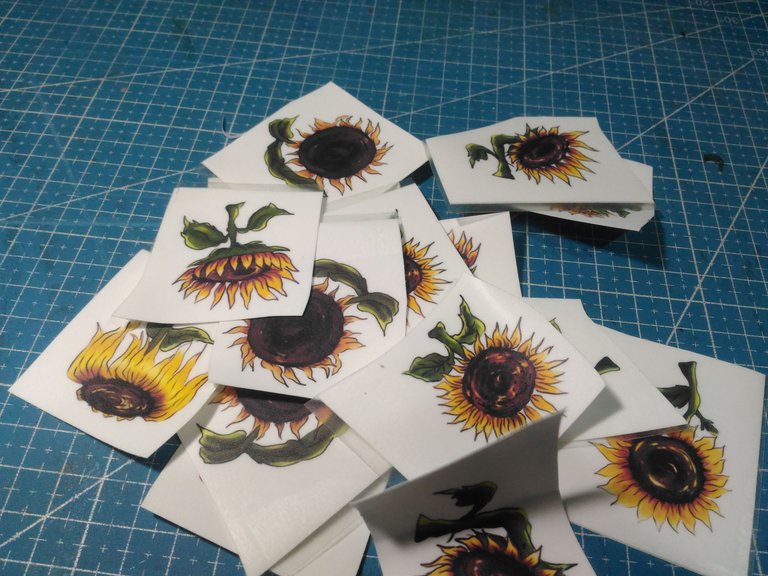
Sunflower Stickers

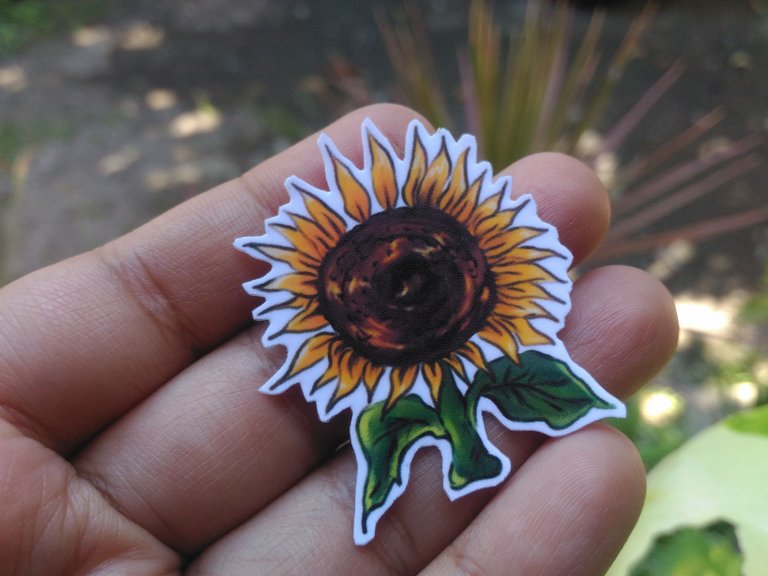
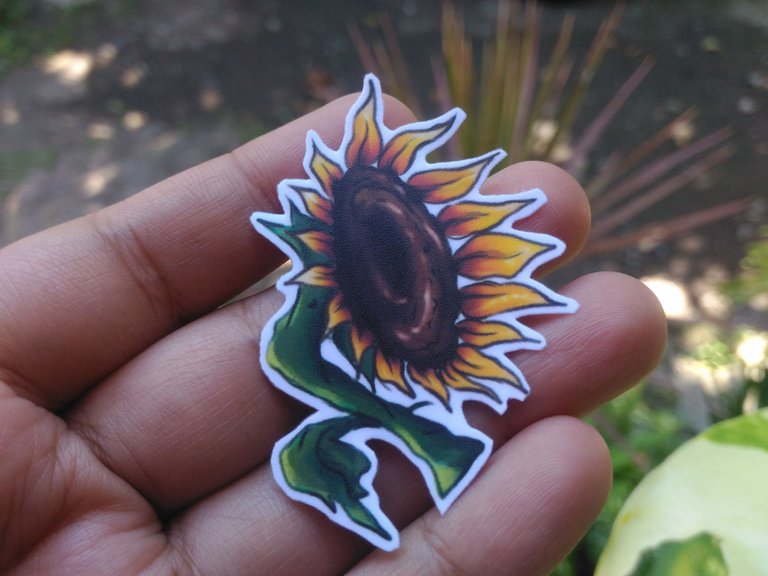
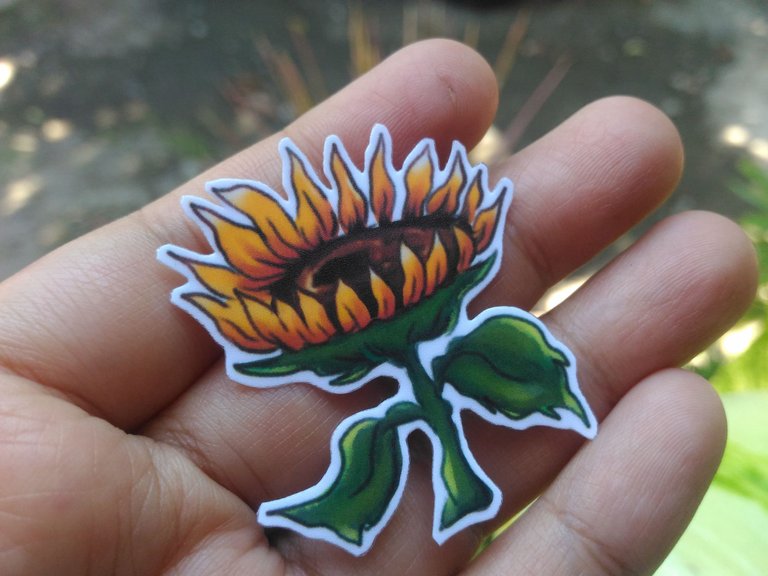
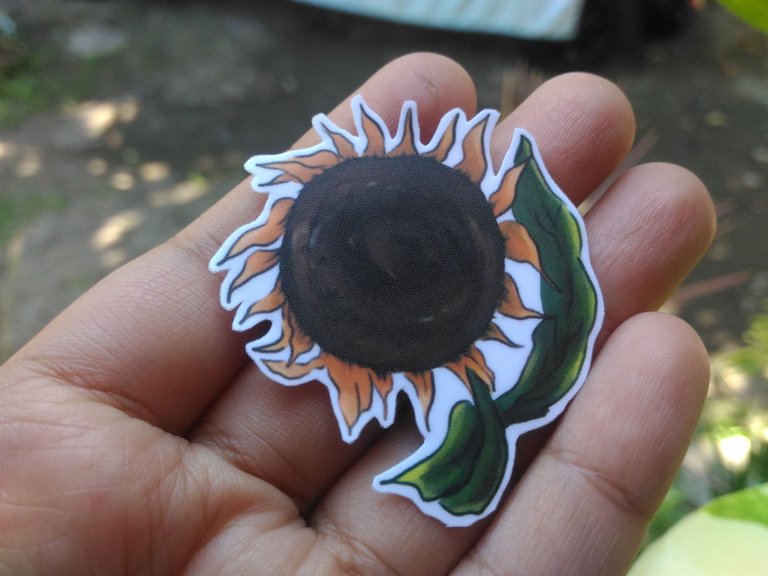
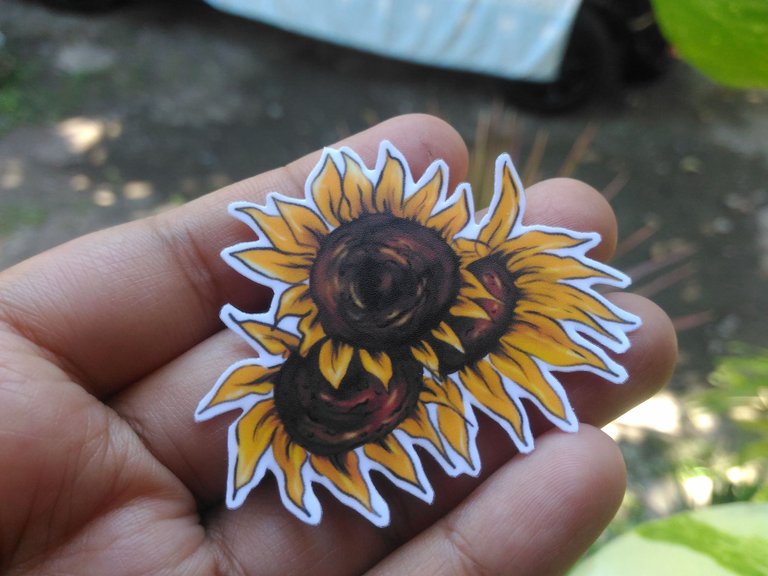
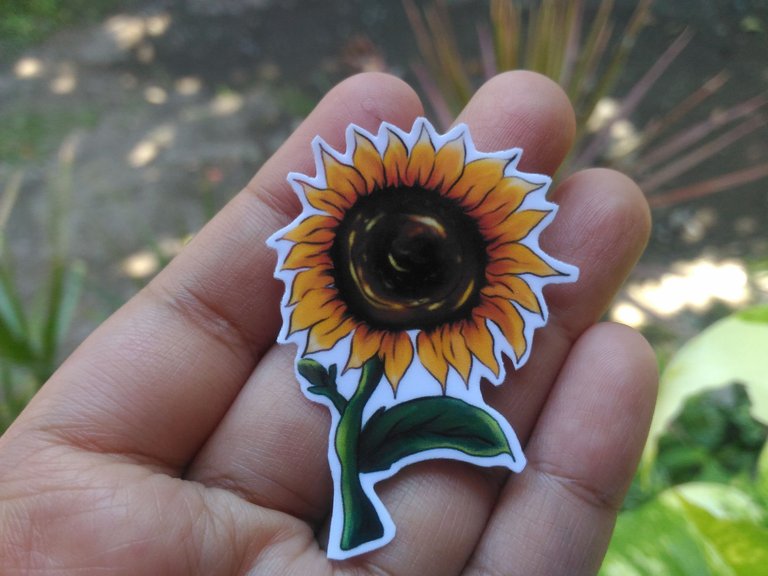
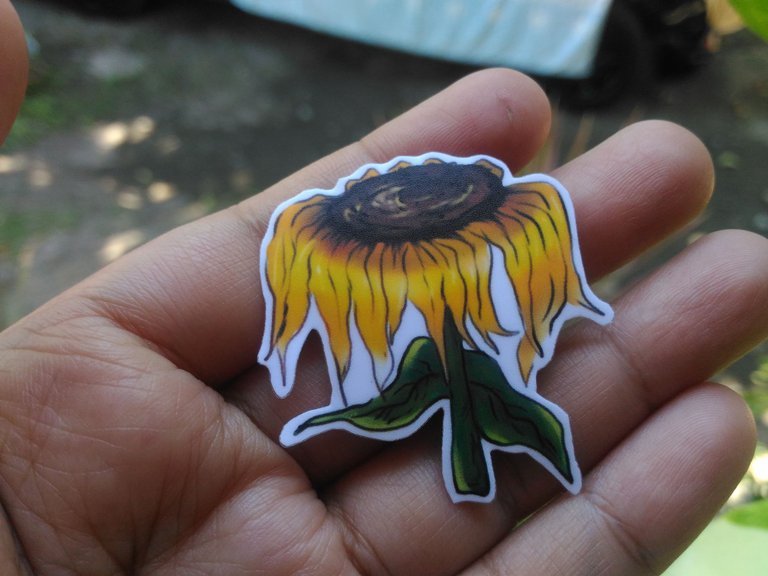
these are how are the designs of the sticker I made.
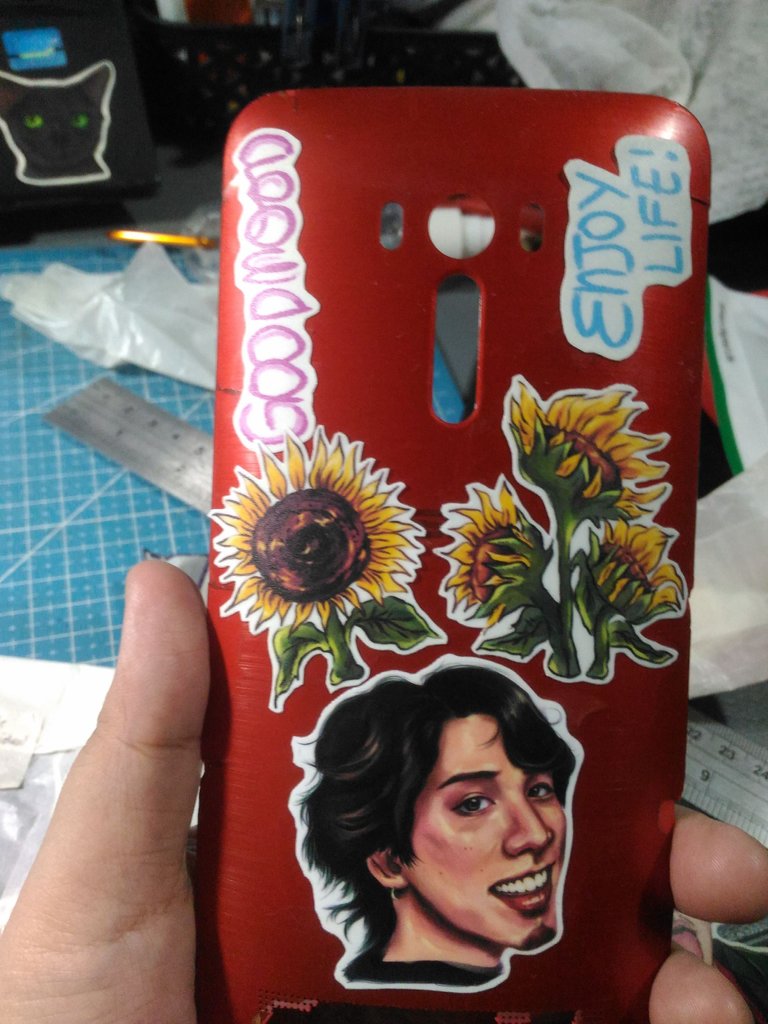
I stuck some of the stickers I made on my phone.
I enjoy making stickers, it makes it more special if you make them yourself. I gave some of my friends because I know they love sunflowers too. I'll design more in the future when I have ideas again.

They look wonderful!