Holozing Fanart Ocean Healer
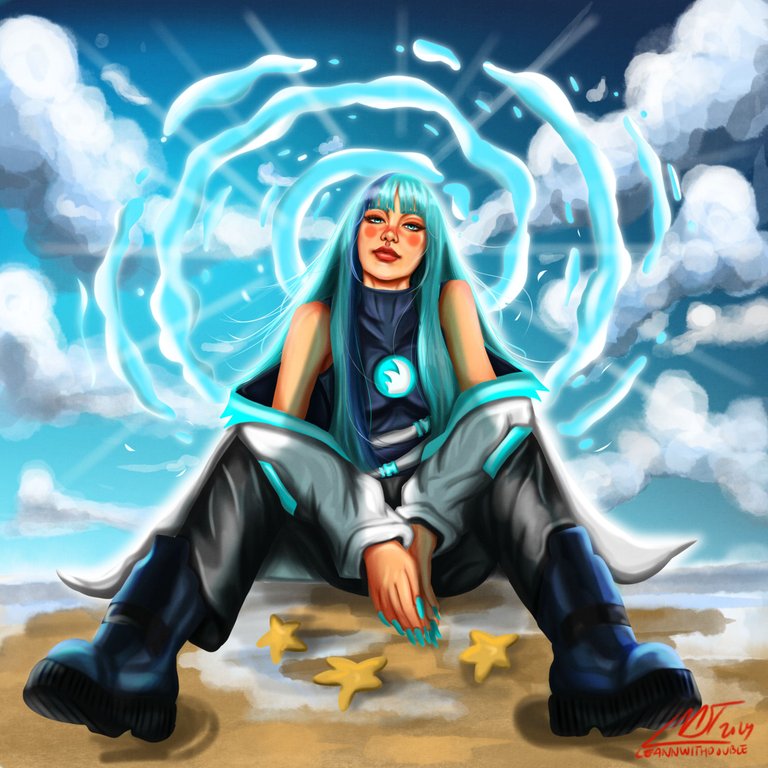
Hello! How are you? This past few days I've been feeling sleepy earlier than I expected. I don't know if it's a good sign and I've been waking up earlier now since I sleep in my room. LOL. I am conditioning my body for the battle I am going to go hehe just kidding.
I've been missing the feeling of the beach lately, it's been days since I felt one haha the last time when we picked up my mother from the seminar a beach only a few minutes walk from the location we just stayed there for five minutes and we instantly went home.
So yeah, I chose Ocean Healer again this time because of that reason LOL. The sound of the wave kind of makes me calm.
The Process:
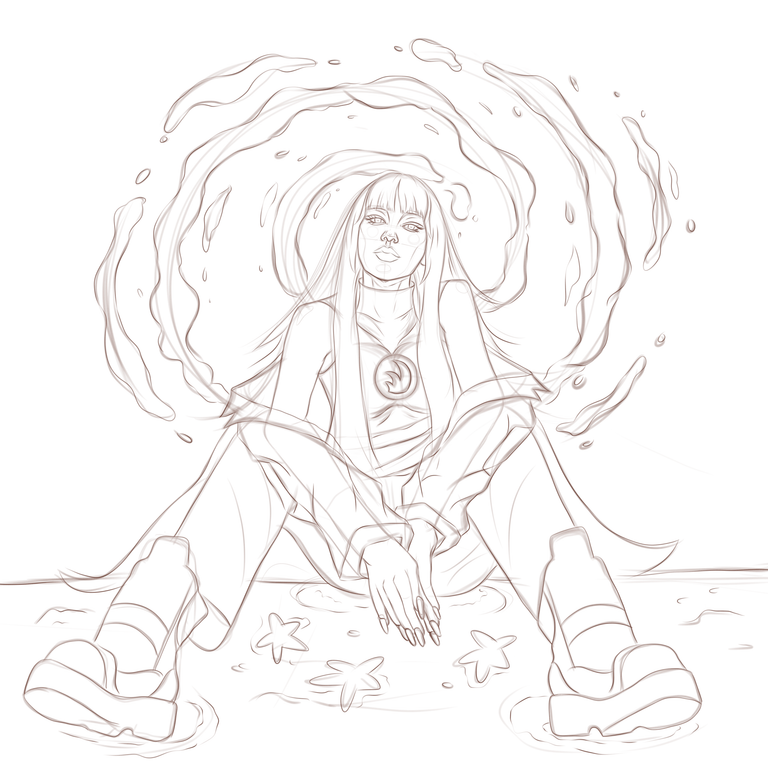
It is funny that the last time I drew Ocean Healer she was in the squat pose but now she is fully sitting maybe next time she is lying down. LOL. I have an idea for the next pose.
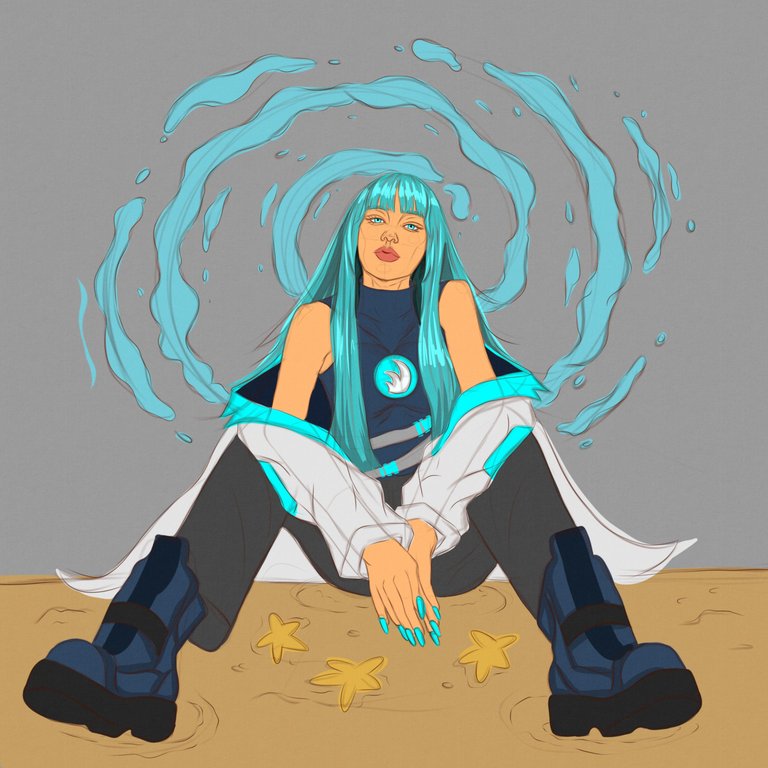
I added the base color for each part which I always do now since I came back doing digital art from the previous I do the water effect I do the wave one but now I do the swirling water.

I added shadow and highlight on the part that needed to be. I use an ink brush which I find easier to use rather than the shape fill tool because I have more control with the ink brush than the shape fill tool.
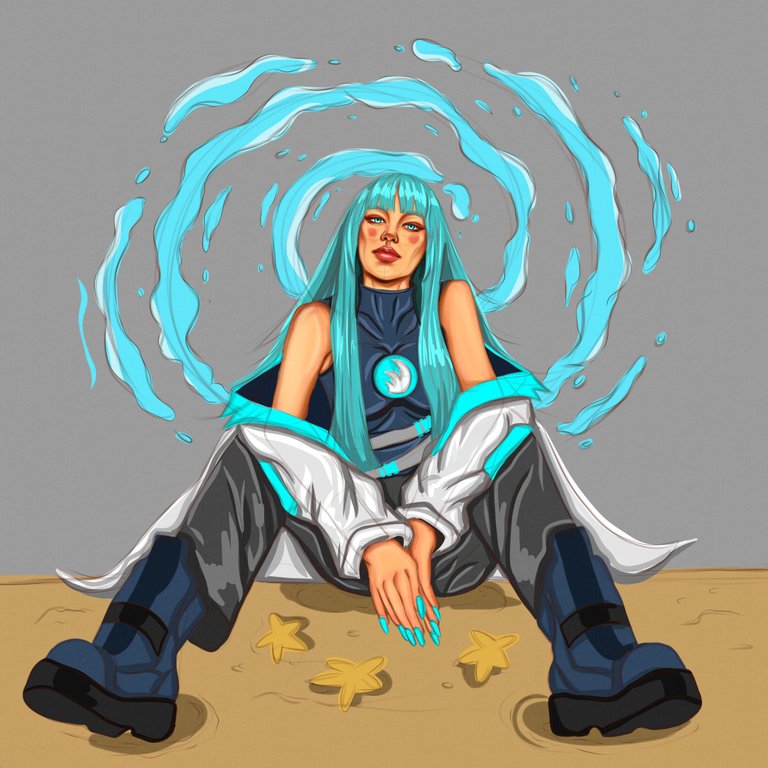
After adding the base shadow and highlight. I first render the skin but before that, I use the filter gaussian blur to blend the base shadows and highlights and then I proceed to render the skin.

The next part I render is the long pants which I do the same step as the first one I use the filter gaussian blur to blend the base shadows and highlights. I just follow where the crease of the pants to make it look semi-realistic.
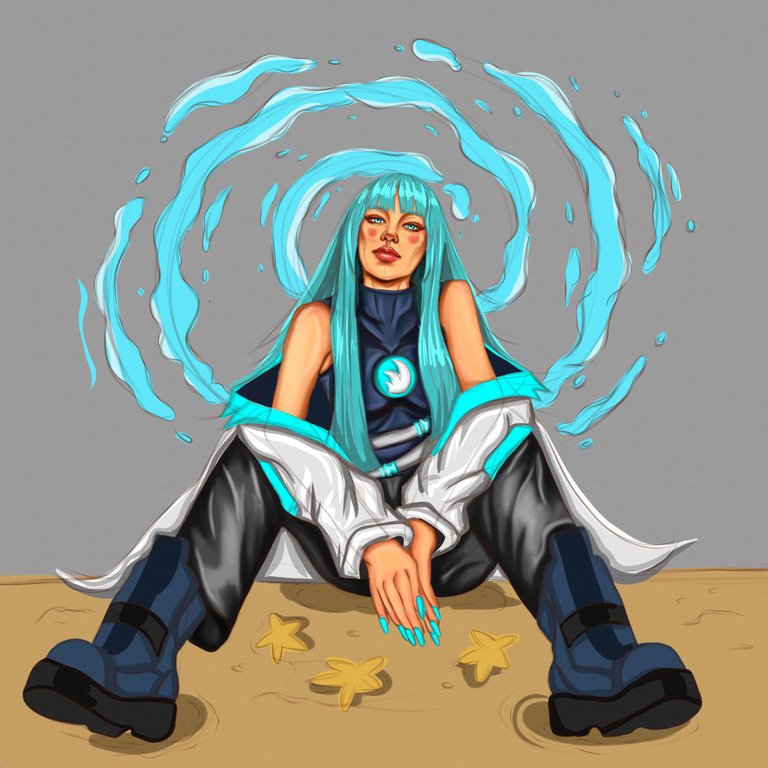
The next part I render is the inner clothes, I blend the base color and then proceed to render I added darker color to the part which the folds of the shirt are and then the outer part of it is I added the highlights.
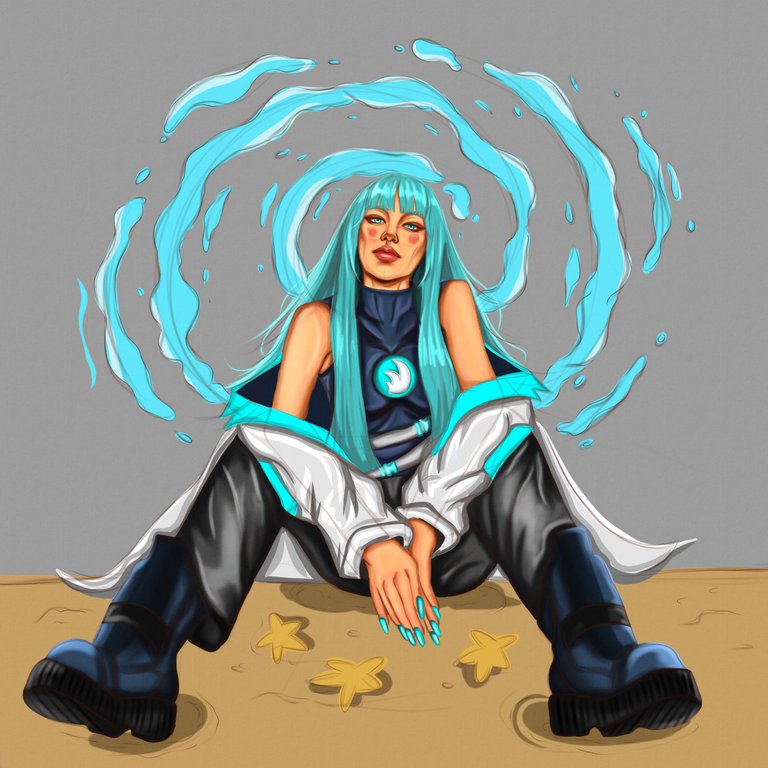
Next part I render is the shoes I made the color the same as the shirt which I think is good and I added vertical line as a texture for the outsole of her shoes.
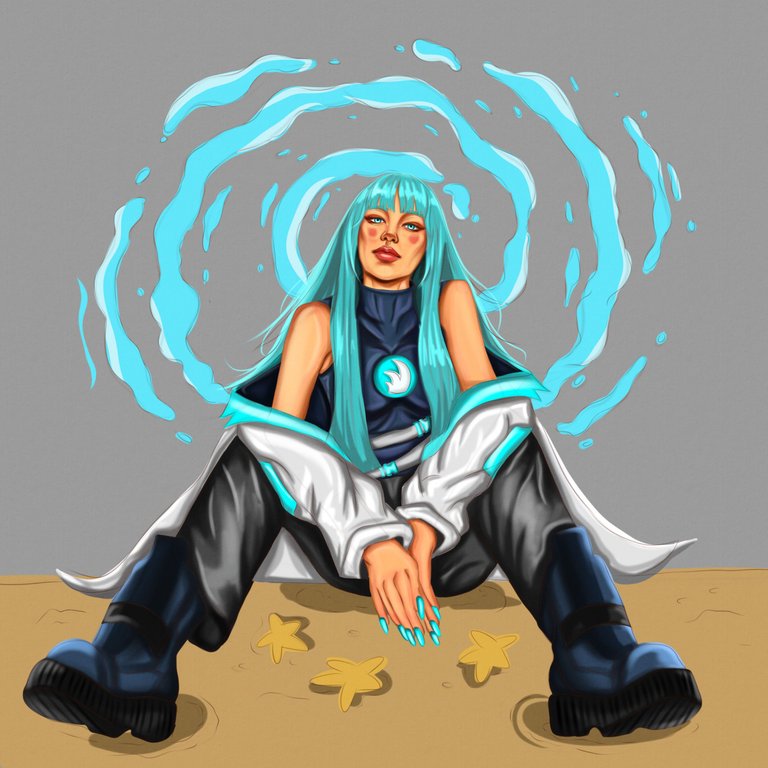
The next part I render is the outer clothes. I was not good at rendering white clothes before but after rendering a lot of it maybe I am getting used to it.
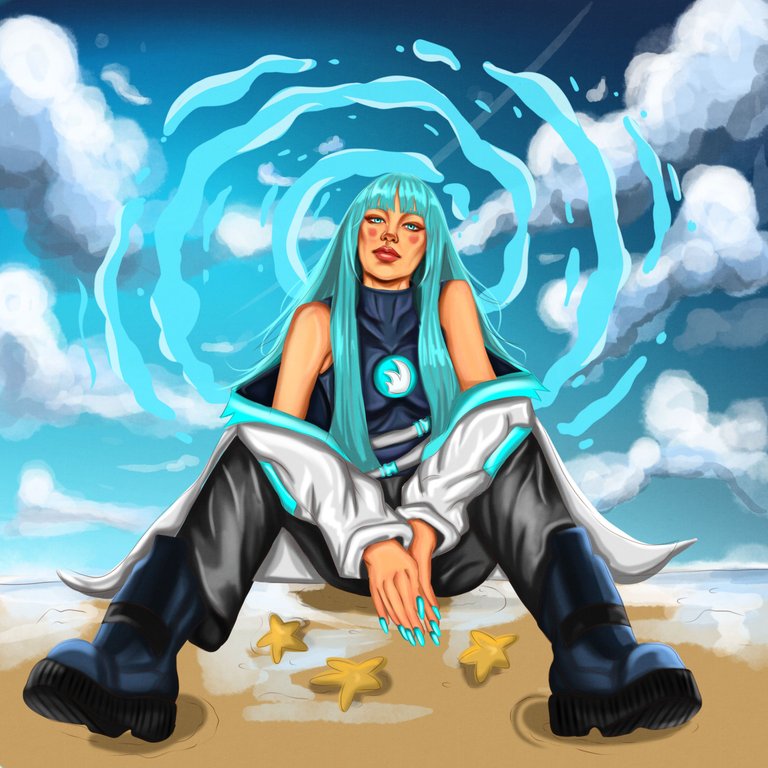
The next part I render is the hair and the background. For the hair the usually I do I add a shadow on the inner part of the hair and added highlight the side part of her hair which needed because the source of light is hitting behind her. For the background I added a blue sky with clouds and then wave hitting on her to make it extra I added three starfish. LOL

For the final render is I darken a little the front part of her to make the highlight pop out more and then I added a ray of light behind her and I made the water glow at the reflecting of the light. I almost forgot to add the iconic dark highlights on her front hair which I like the most.
Thank you for visiting. See you on my next blog.
Materials:
Digital Program: Krita
Duration: 7 hours 25 minutes

Congratulations @leannwithdoublen! You have completed the following achievement on the Hive blockchain And have been rewarded with New badge(s)
Your next target is to reach 1250 upvotes.
You can view your badges on your board and compare yourself to others in the Ranking
If you no longer want to receive notifications, reply to this comment with the word
STOPSo cool and so pretty 🤩🤩, love the hair color, the nails, I mean, everything about this creation 🤩🤩✨
Thank you :D
Woah, this is really cool! Nice pose!
Thank you! :D
!PIZZA
$PIZZA slices delivered:
@danzocal(3/10) tipped @leannwithdoublen