Set de estuches para lentes (ESP/ENG)
Saludos queridos artesanos, espero que tengan un maravilloso fin de semana.
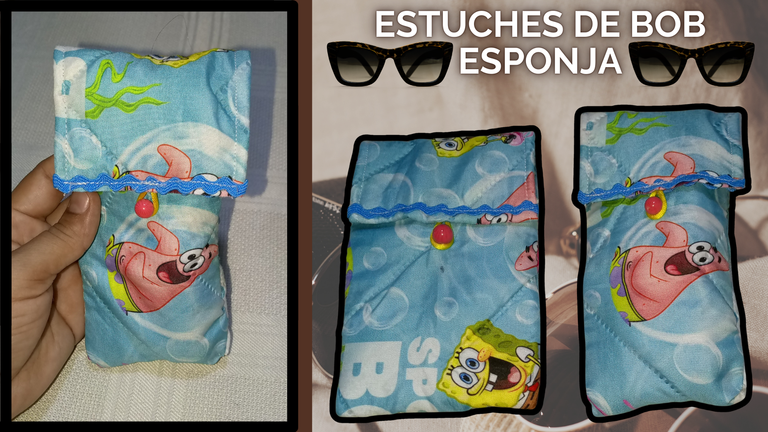
El día de hoy, me complace volver a compartir otra de mis manualidades, en esta oportunidad se trata de una manualidad de costura, hice un tutorial para hacer unos prácticos y sencillos estuches para lentes y algunos otros usos.
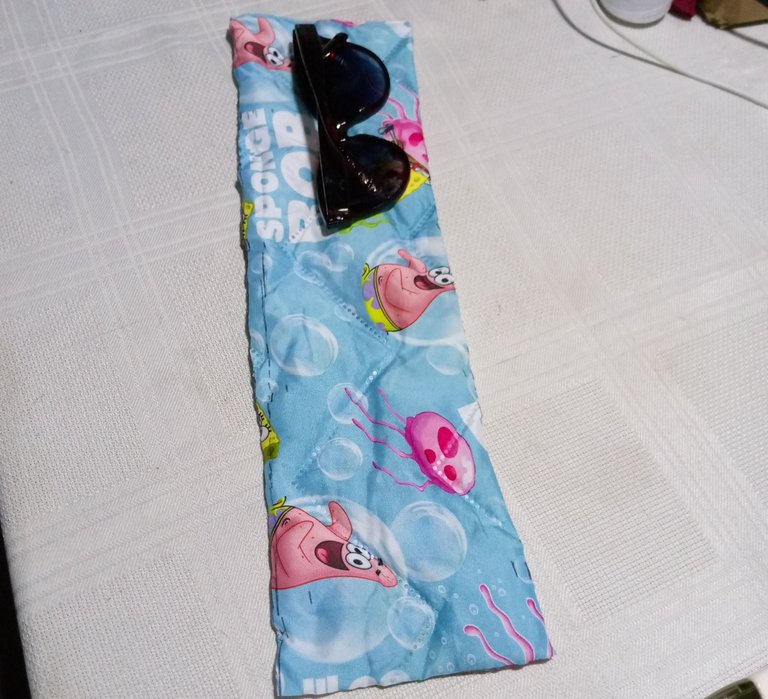
Hace varios días tenía en mente hacer estos estuches para mis lentes, ya que los que tenía no sé en donde los deje tirados y no tenía otros, así que aprovechando estos rectángulos de tela acolchada y estampada con el personaje de bob esponja me propuse hacer un set de estuches, con tamaños diferentes, pero con las mismas técnicas de elaboración.
Me gusto la idea de hacer un set de estuches, porque en uno de ellos puedo llevar un pañuelo o también lo pedo utilizar para llevar toallitas y alguna otra cosa de uso personal, debido a que es un poco más amplio, parece increíble que con solo 1 cm de más puede hacer una gran diferencia, estoy maravillada con lo lindos que se ven en conjunto, espero que les guste.
Las fotografías que verán a continuación, fueron tomadas con mi teléfono modelo TECNO SPARK GO 2024.
Greetings dear crafters, I hope you have a wonderful weekend.
Today, I am pleased to share another of my crafts, this time it is a sewing craft, I made a tutorial to make some practical and simple cases for glasses and some other uses.
Several days ago I had in mind to make these cases for my glasses, since I don't know where I left them and I didn't have others, so taking advantage of these rectangles of quilted fabric and printed with the character of Bob Sponge I decided to make a set of cases, with different sizes, but with the same techniques of elaboration.
I liked the idea of making a set of cases, because in one of them I can carry a handkerchief or I can also use it to carry wipes and some other things for personal use, because it is a little wider, it seems incredible that with only 1 cm more can make a big difference, I'm amazed with how cute they look together, I hope you like it.
The pictures you will see below, were taken with my phone model TECNO SPARK GO 2024.

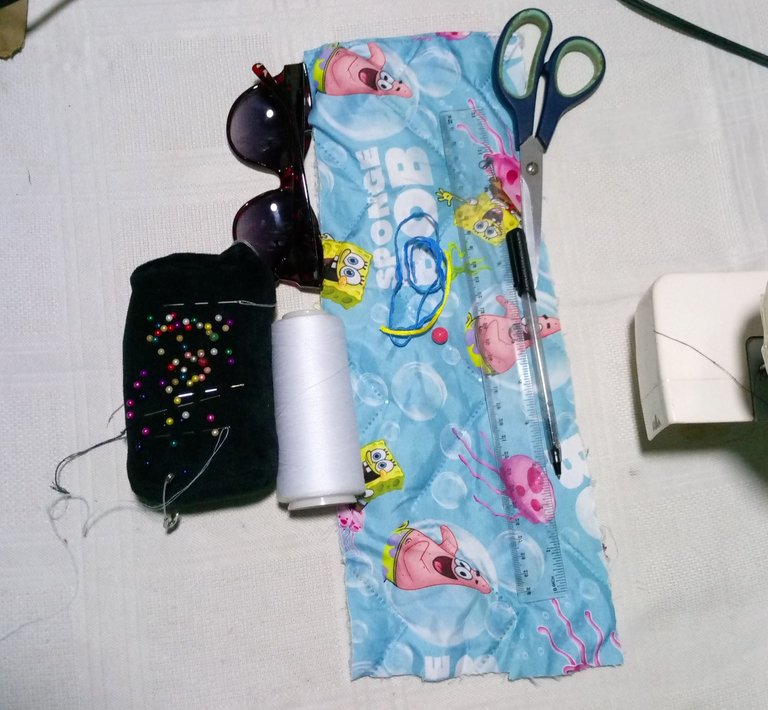
Materiales:
- Tela acolchada 2 rectángulos de 40 cm
- Hilo, aguja, tijera, alfileres y máquina de coser
- regla, lápiz y lentes para medida
- Hilo cola de ratón para ojal, botón de esfera
Materials:
- Quilted fabric 2 rectangles of 40 cm.
- thread, needle, scissors, pins and sewing machine
- ruler, pencil and measuring glasses
- Mouse tail thread for buttonhole, dial button

 |  |
|---|---|
 |  |
Hacer un accesorio que sea útil para varios propósitos es un alivio, para cuidar otros accesorios y productos más delicados.
Tutorial:
Estuche de 12 cm de ancho por 36 cm de largo.
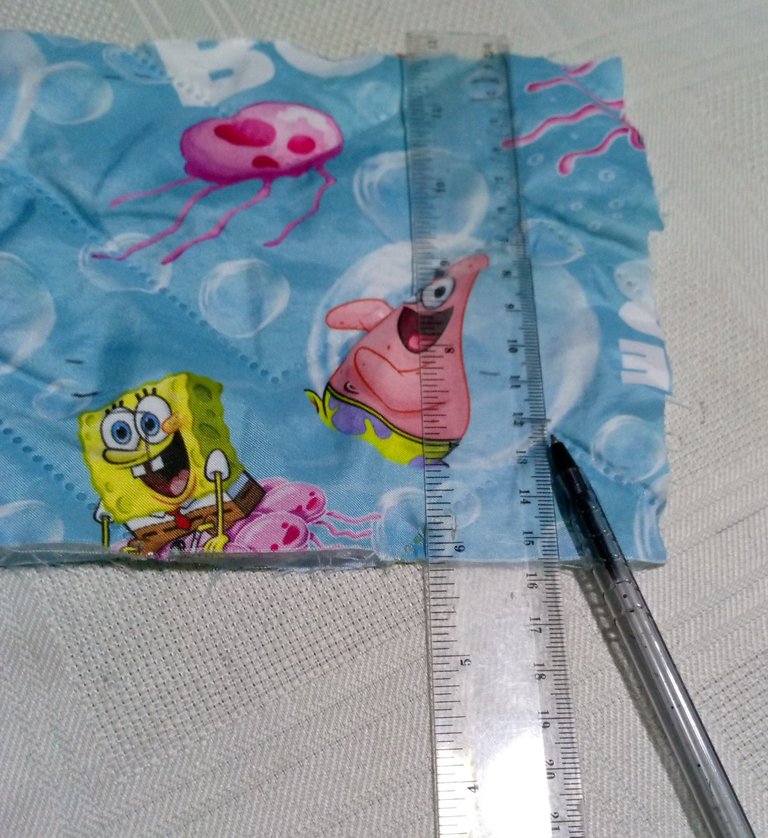
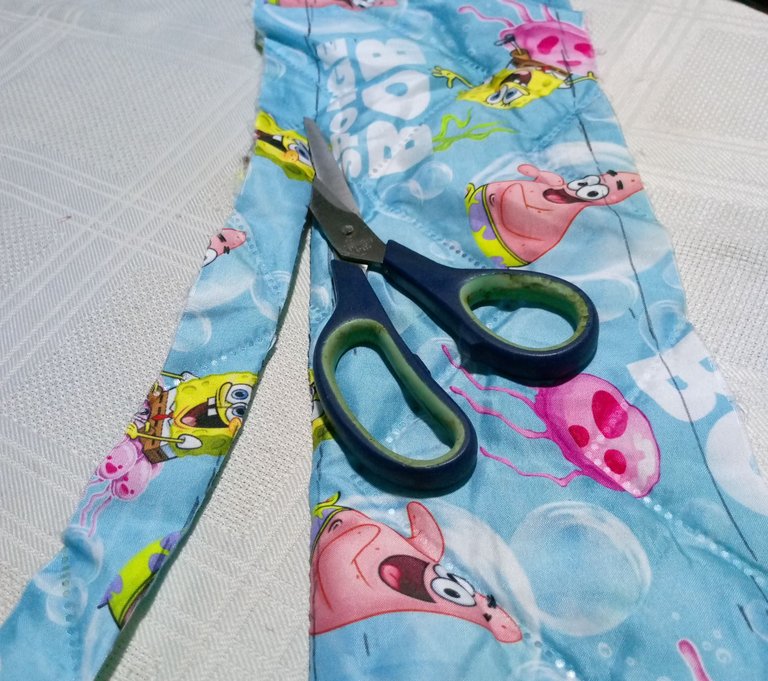
Tomaremos nuestra tela y vamos a medir con la ayuda de una regla o cinta métrica, el ancho que vamos a cortar, de 12 cm y el largo de 38 cm, cortamos.
Posicionamos sobre la tela los lentes para hacer el doble de la tapa y del bolsillo del estuche; aquí vamos a decidir que tan largos los vamos a dejar, en este elegí una tapa de 10 cm con un bolsillo de 30x2 cm, que nos resultaría en 15 cm por capa del bolsillo al doblar, menos 1 cm de costura al momento de coser.
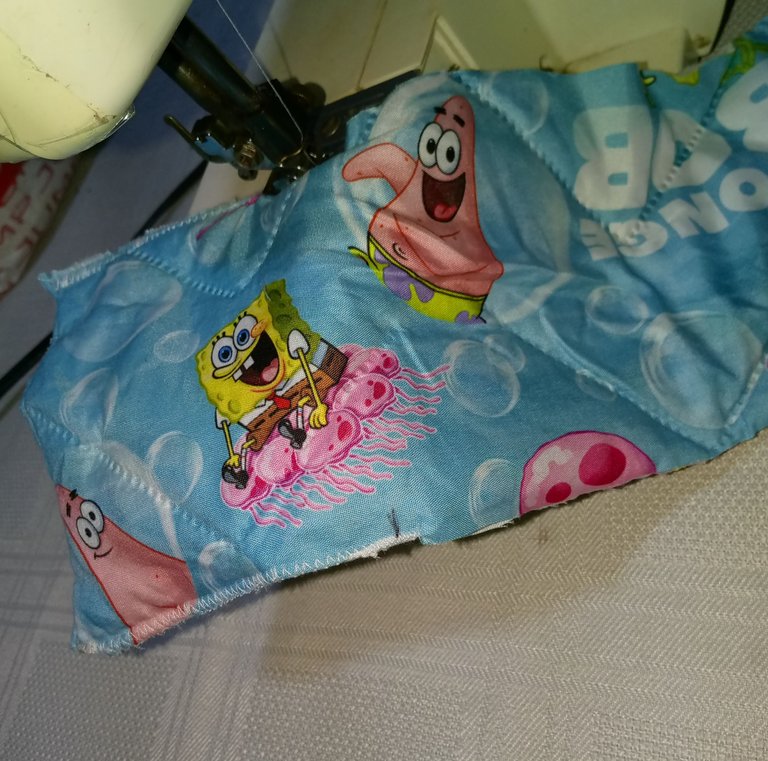
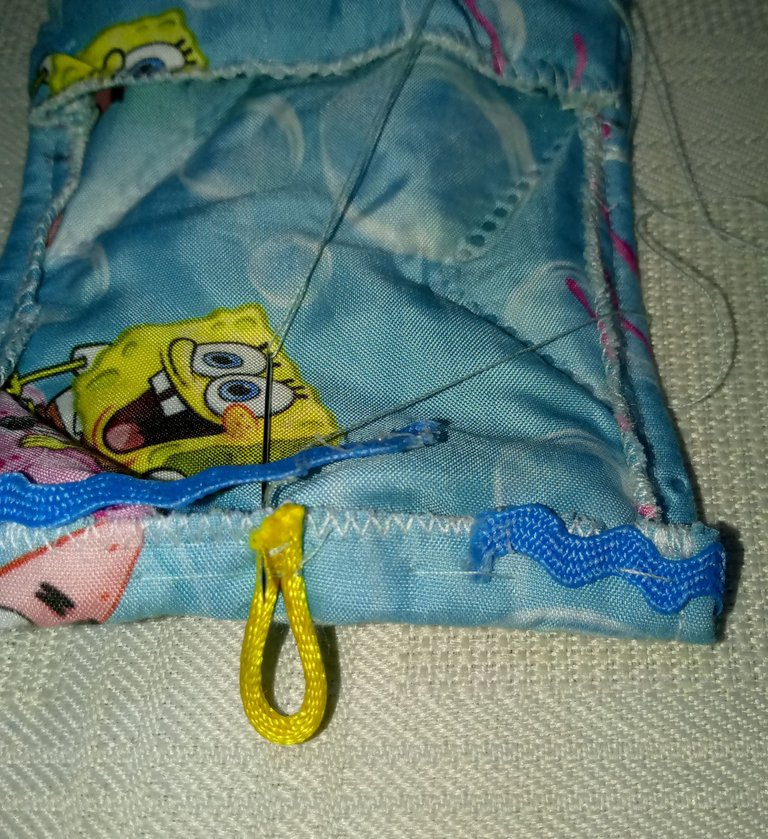
Después de haber hecho nuestras respectivas medidas, cosemos. Primero cesemos la tapa por los laterales con costura de zigzag o recta hasta donde marcamos que sería la tapa.
Making an accessory that is useful for several purposes is a relief, to take care of other accessories and more delicate products.
Tutorial:
Case 12 cm wide by 36 cm long.
We will take our fabric and we will measure with the help of a ruler or tape measure, the width that we are going to cut, 12 cm and the length of 38 cm, we cut.
We position on the fabric the glasses to make the double of the lid and the pocket of the case; here we will decide how long we are going to leave them, in this case I chose a 10 cm lid with a pocket of 30x2 cm, which would result in 15 cm per layer of the pocket when folded, minus 1 cm of seam at the time of sewing.
After we have made our respective measurements, we sew. First let's sew the cover on the sides with a zigzag or straight seam up to where we marked that it would be the cover.

 |  |
|---|---|
 |  |
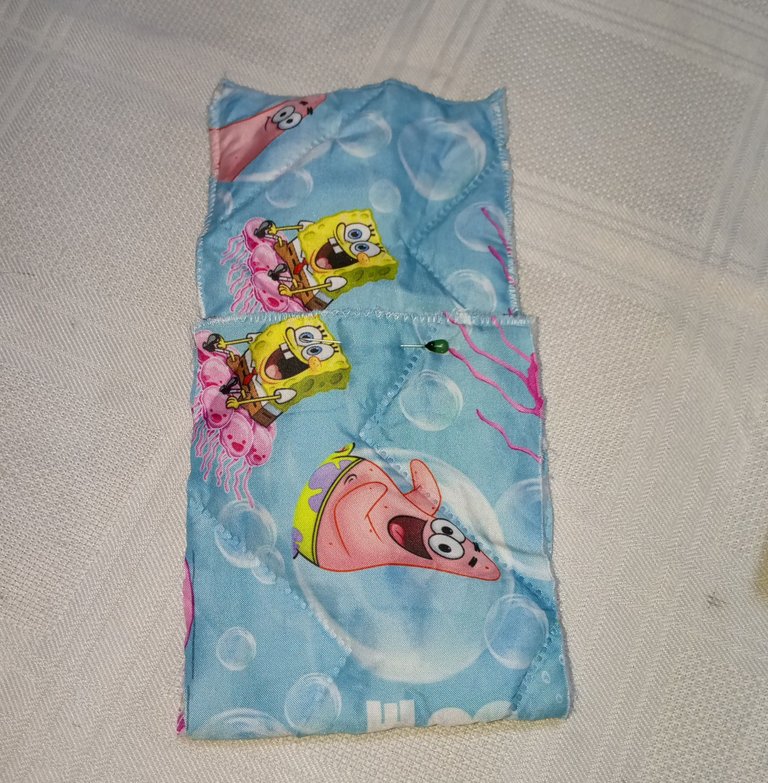
Cosemos el ruedo superior del bolsillo con zigzag o recta y doblamos para coser los laterales con costura recta y zigzag.
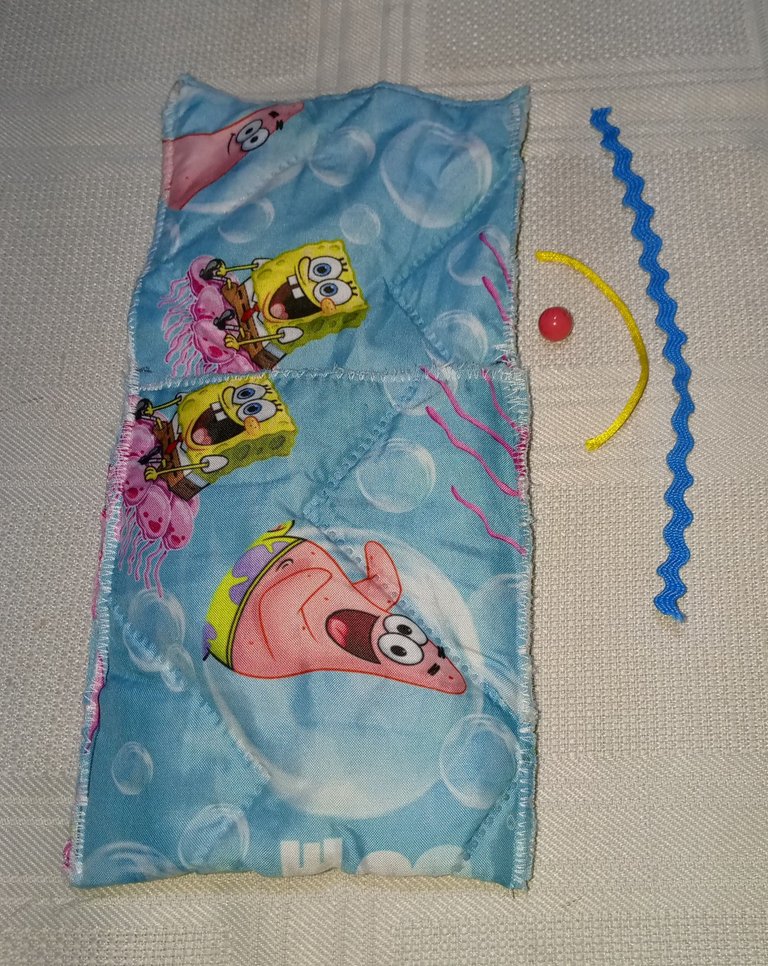
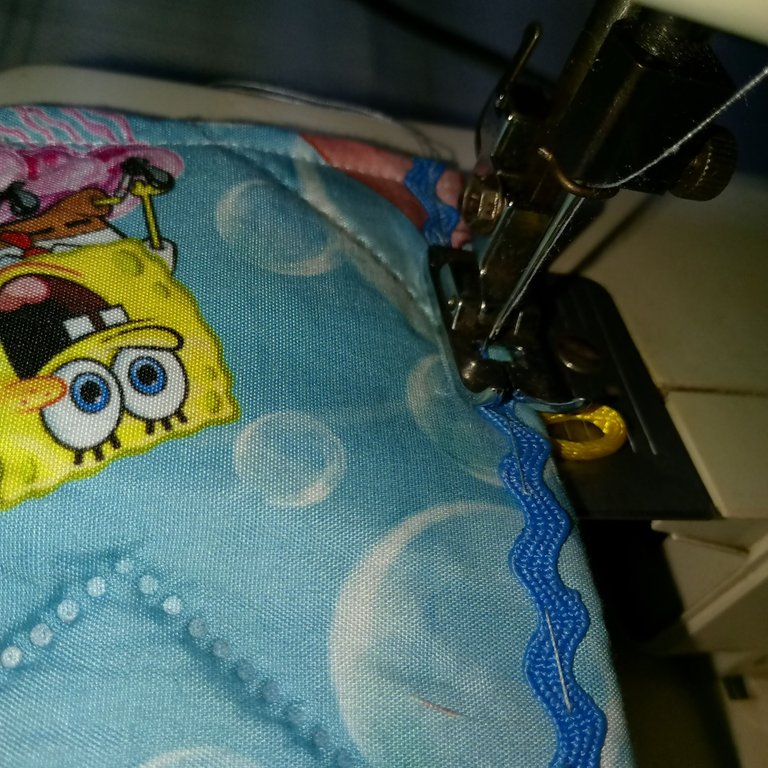
Terminando de coser todas las costuras, vamos a voltear, comenzaremos a trabajar laterales de la tapa con costura recta, después cosemos el ojal y el botón con la aguja, y para detalle le vamos a colocar una cinta de zigzag o cualquier detalle bonito que deseen, como decoración.
We sew the top hem of the pocket with zigzag or straight stitch and fold to sew the sides with straight and zigzag stitch.
Finishing sewing all the seams, we will turn over, start working the sides of the cover with straight stitching, then we sew the buttonhole and the button with the needle, and as a detail we will place a zigzag ribbon or any pretty detail you want, as decoration.

 |  |
|---|---|
 | 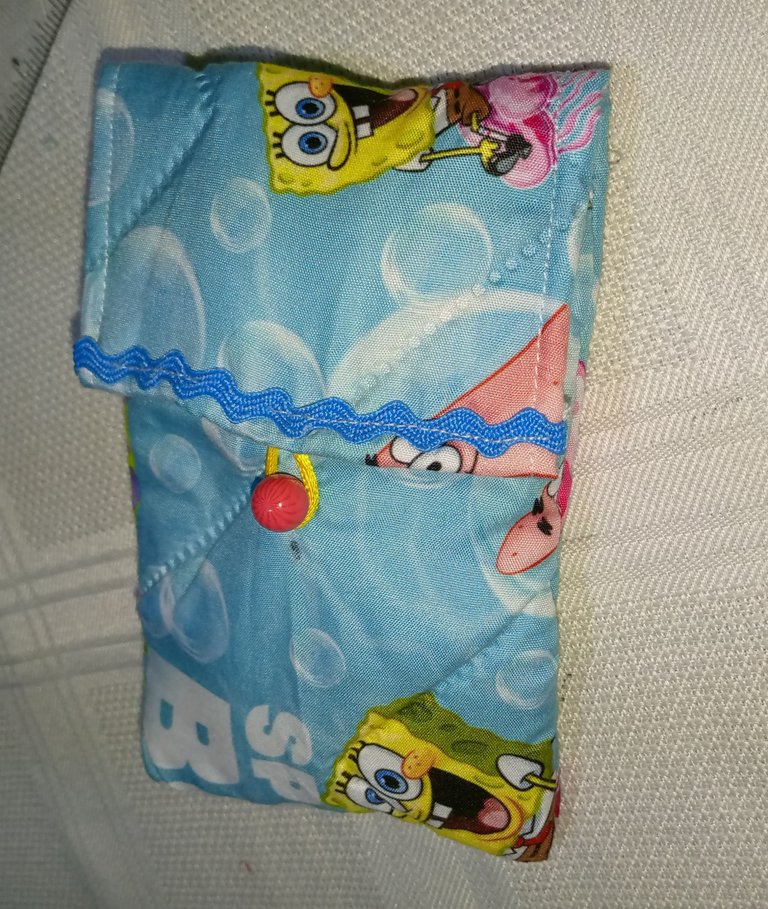 |
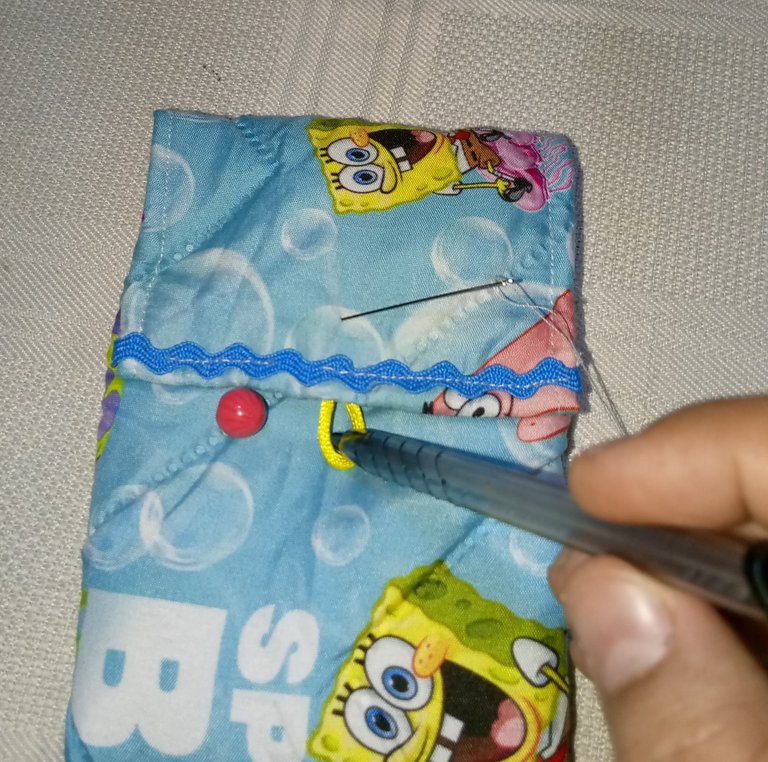
La cinta zigzag la fijamos con costura de basto a mano, y luego le pararemos sobre costura recta, de esta forma vamos a dejar más fijo el ojal que va debajo, siguiente será introducir los lentes y después vamos a marcar con un punto donde vamos a coser el botón que quede bien estable para cerrar el estuche y los lentes queden bien cuidados allí y no se vayan a salir.
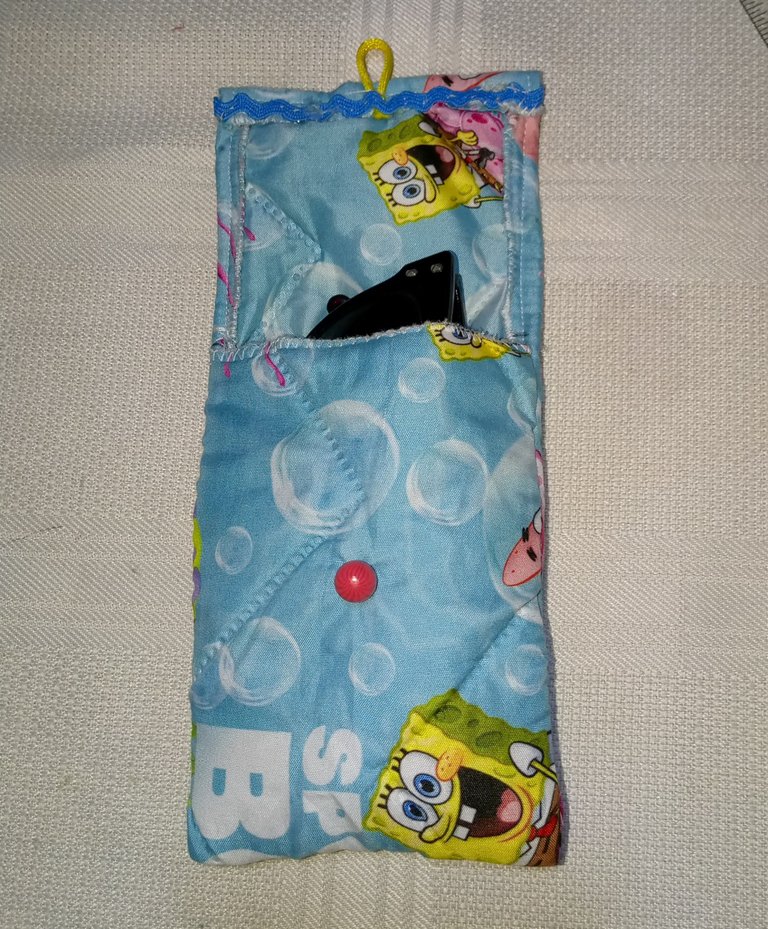
En este paso queda finalizado este estuche para lentes, si piensas que es difícil de hacer, solo sigues estos pasos y verás como enseguida logras un hermoso y practico estuche para tus lentes y otros accesorios que quieras llevar.
The zigzag tape is fixed with a baste stitch by hand, and then we will stop on a straight seam, in this way we will leave more fixed the buttonhole that goes underneath, next we will introduce the glasses and then we will mark with a point where we will sew the button that is well stable to close the case and the glasses will be well cared for there and will not come out.
In this step is finished this case for glasses, if you think it is difficult to do, just follow these steps and you will see how soon you get a beautiful and practical case for your glasses and other accessories you want to carry.

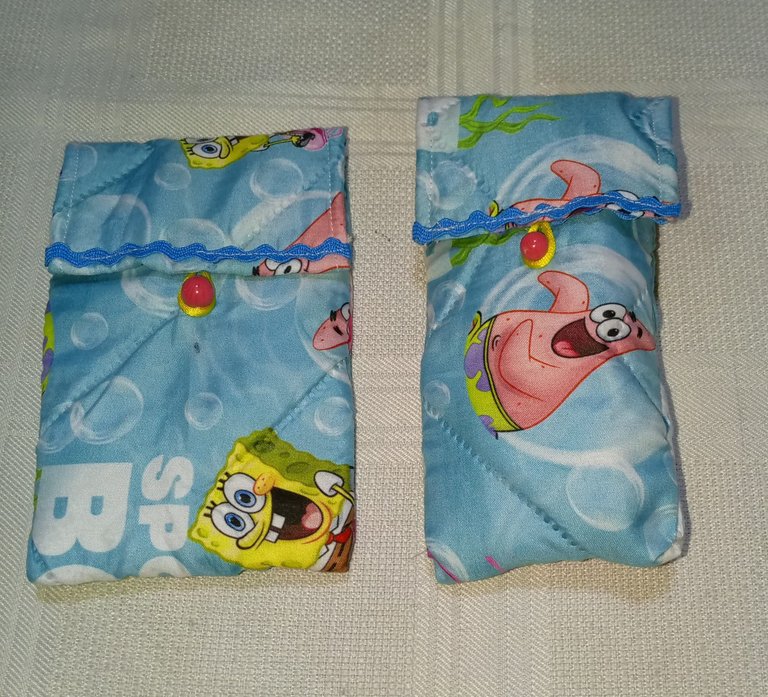
Para hacer el set de estos estuches llevarás las mismas técnicas con diferentes medidas a continuación.
Estuche 1, 12 cm de ancho por 36, de largo
Estuche 2, 11 cm de ancho por 37, de largo
Tapas, bolsillos y accesorios a elección, menos 1 cm para costura, con este tutorial ya no te vas a preocupar si no tienes unos lindos estuches para tus lentes, espero que te animes hacerlos.
Gracias por visitar mi publicación del día, espero sus bonitos y alentadores comentarios y valoración a mi trabajo.
To make the set of these cases you will take the same techniques with different measures below.
Case 1, 12 cm wide by 36 cm long.
Case 2, 11 cm wide by 37 cm long.
Lids, pockets and accessories of your choice, minus 1 cm for sewing, with this tutorial you will no longer worry if you do not have a nice cases for your glasses, I hope you are encouraged to make them.
Thank you for visiting my publication of the day, I hope your nice and encouraging comments and appreciation to my work.

social networks / redes sociales
Traductor Deepl
Translated Deepl
Ediciones Canva
Editions Canva


Quedó lindl, buena forma de reutilizar materiales, gracias por el tutorial ✨
Gracias por pasar y dejar tu opinión sobre mi trabajo, espero que te sirva de guía mi explicación del tutorial y lo intentes.😊
Thank you for your witness vote!
Have a !BEER on me!
To Opt-Out of my witness beer program just comment STOP below
View or trade
BEER.Hey @marile21, here is a little bit of
BEERfrom @isnochys for you. Enjoy it!Did you know that <a href='https://dcity.io/cityyou can use BEER at dCity game to buy cards to rule the world.
This post has been manually curated by @bhattg from Indiaunited community. Join us on our Discord Server.
Do you know that you can earn a passive income by delegating to @indiaunited. We share more than 100 % of the curation rewards with the delegators in the form of IUC tokens. HP delegators and IUC token holders also get upto 20% additional vote weight.
Here are some handy links for delegations: 100HP, 250HP, 500HP, 1000HP.
100% of the rewards from this comment goes to the curator for their manual curation efforts. Please encourage the curator @bhattg by upvoting this comment and support the community by voting the posts made by @indiaunited.
👍✨
👌🌟
Otra preciosa carterita. Y muy buena temática. Adoro a Bob esponja...jj te quedó bien bonita
Gracias bella!!!🤗
Saludos amiga, excelente idea para mantener los lentes protegidos y llevarlos cómodamente en la cartera, la tela me gustó, tenía tiempo sin ver a Patricio estrella y Bob esponja 😂😂👍 estos simpáticos personajes si que saben divertirse.
Feliz domingo!
Hola mi querida amiga @belkyscabrera espero estés bien, ayer no pude hablar un rato con ustedes, me dolía la cabeza, ya gracias a Dios de vuelta.
Bob esponja y patricio, me dieron una buena inspiración, esta tela me llego como anillo al dedo, superlinda, suave y divertida, me trajo nostalgia a la vez.
Feliz noche amiga, un fuerte abrazo.🤗
Le quedo bastante simpático el estuche de lentes, los personajes de esa serie son muy queridos.
Gracias mi querido amigo, me alegra que te haya gustado.
Estos personajes siempre me han gustado por eso, estoy contenta con mis estuches. ¡Saludos!