Outfit for a day at the beach (ENG/ESP)
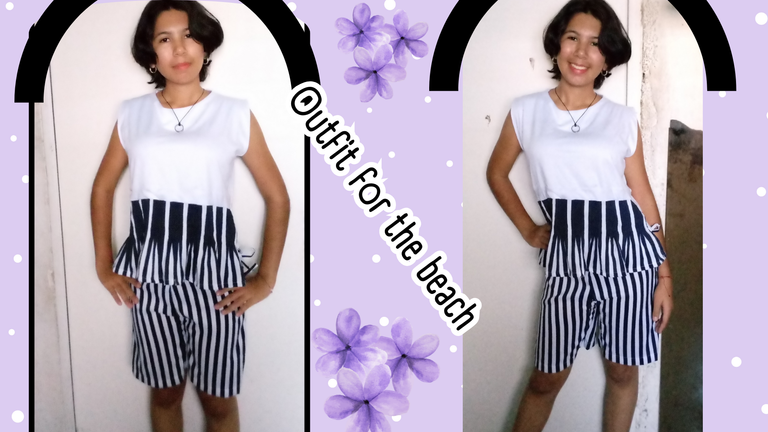
Hello to all my dear craft lovers friends, I hope you are well, making plans for this vacation season.
Today I share with you a nice outfit ideal for these vacations at the beach.
Since yesterday I was making this outfit and I had to do a little magic to finish it, because the fabric came to my raz; However, I had to make some ties, my daughter will be on vacation from high school, tomorrow with God's favor, so she is very excited with the idea of going out to enjoy a day at the beach, but she wants to wear something fresh, reserved and according to the environment, we were thinking about what fabric to use, and it occurred to us to use a piece of a dress she used when she was 12 years old, she liked this dress a lot and wanted to keep using it, but she already outgrew the top piece, so we removed the blouse and used the skirt that was quite wide to make this outfit of shorts with blouse as an outfit to debut it on her beach day.
I hope you like and appreciate my work.
The pictures you will see below were taken with my phone model TECNO SPARK GO 2024.
Hola a todos queridos amigos amantes de las artesanías, espero que se encuentren bien, haciendo planes para esta temporada de vacaciones decembrinas.
El día de hoy les comparto un lindo outfit ideal para estas vacaciones en la playa.
Desde ayer estaba confeccionando este outfit y es que tuve que hacer un poco de magia para llevarlo a término, ya que la tela me llego al raz; sin embargo, tuve que hacer algunos empates, mi hija estará de vacaciones del liceo, mañana con el favor de Dios, entonces anda muy emocionada con la idea de salir a disfrutar un día de playa, pero quiere lucir algo fresco reservado y acorde al ambiente, estuvimos pensando qué tela utilizar, y se nos ocurrió darle uso a una pieza de un vestido que usaba cuando tenía 12 años, este vestido a ella le gustaba mucho y quería seguir utilizándolo, pero ya le quedaba pequeña la pieza superior, así que le retiramos la blusa y utilizamos la falda que era bastante amplia para hacer este outfit de short con blusa como atuendo para estrenárselo en su día de playa.
Espero que les guste y aprecien mi trabajo.
Las fotografías que verán a continuación, fueron tomadas con mi teléfono modelo TECNO SPARK GO 2024.

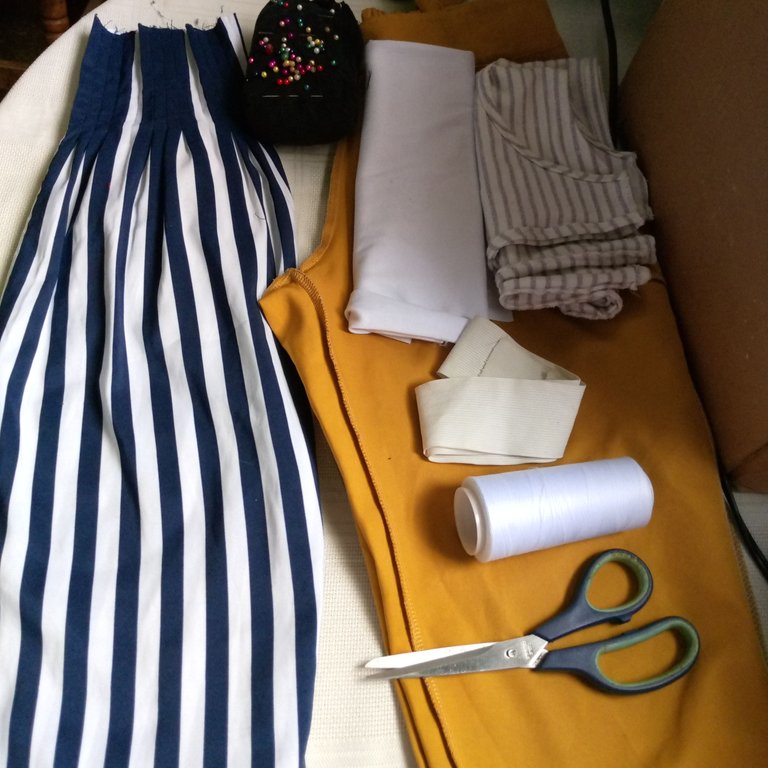
Materials I used.
- Fabric from the skirt of a dress
- garments for measurements
- Flexible white fabric
- white thread, hand sewing needle
- pins, scissors
- Domestic sewing machine
- 1 Button for waistband
Materiales que utilice.
- Tela de la falda de un vestido
- prendas para medidas
- Tela blanca flexible
- hilo blanco, aguja de coser a mano
- Alfileres, tijera
- Máquina de coser doméstica
- 1 Botón para la pretina

 |  |  |
|---|
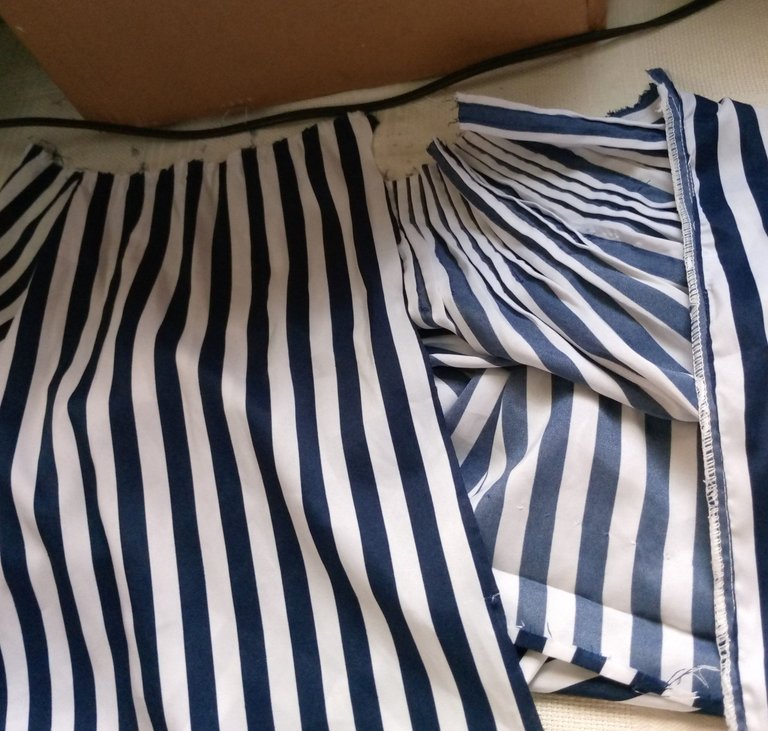
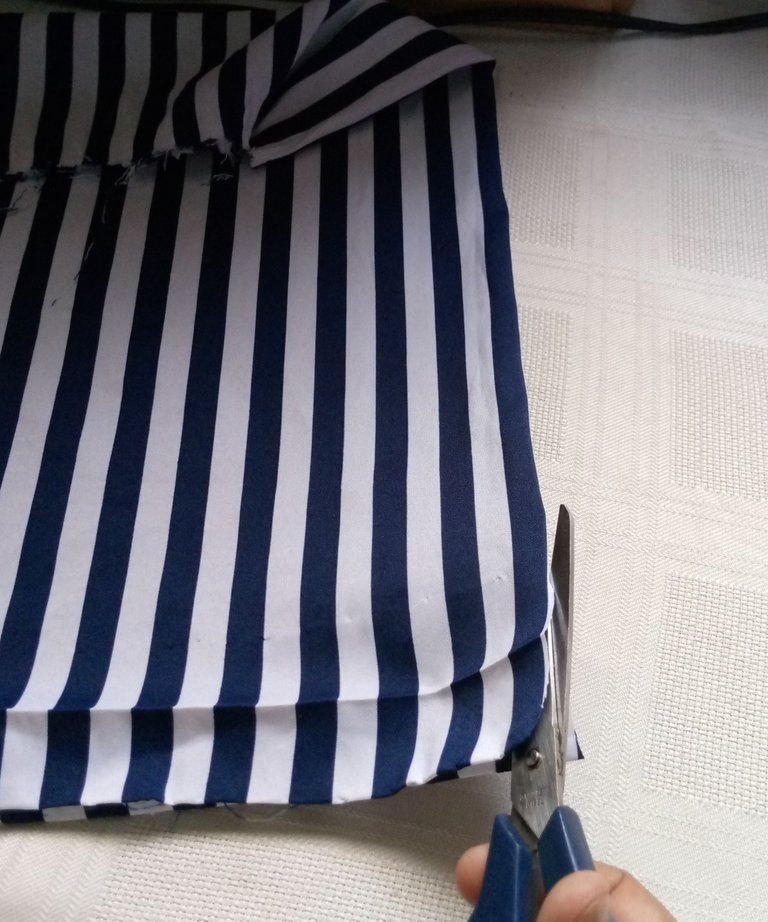
I started by cutting the skirt from the sides to separate the front and back pieces.
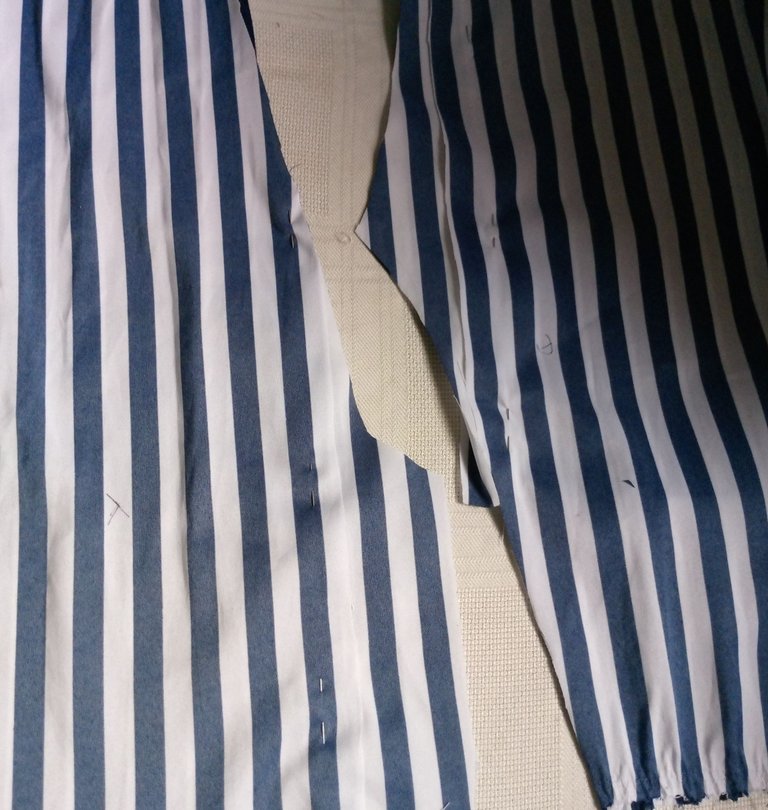
From the cut of the back piece of the skirt, fold and cut to get 4 pieces, to make the 4 main parts of the shorts.
I used 2 pieces for the front and 2 for the back, with the measuring piece I cut each piece, however, the fabric was not enough to complete the crotch part.
Empecé cortando la falda por los laterales para separar las piezas delantera y trasera.
Del corte de la pieza trasera de la falda, doble y corte para sacar 4 piezas, para hacer las 4 partes principales del short.
Utilice 2 piezas para delantero y 2 para el trasero, con la pieza de medida corte cada pieza, sin embargo, la tela no me fue suficiente para completar la parte de las entrepiernas.

 |  |  |
|---|
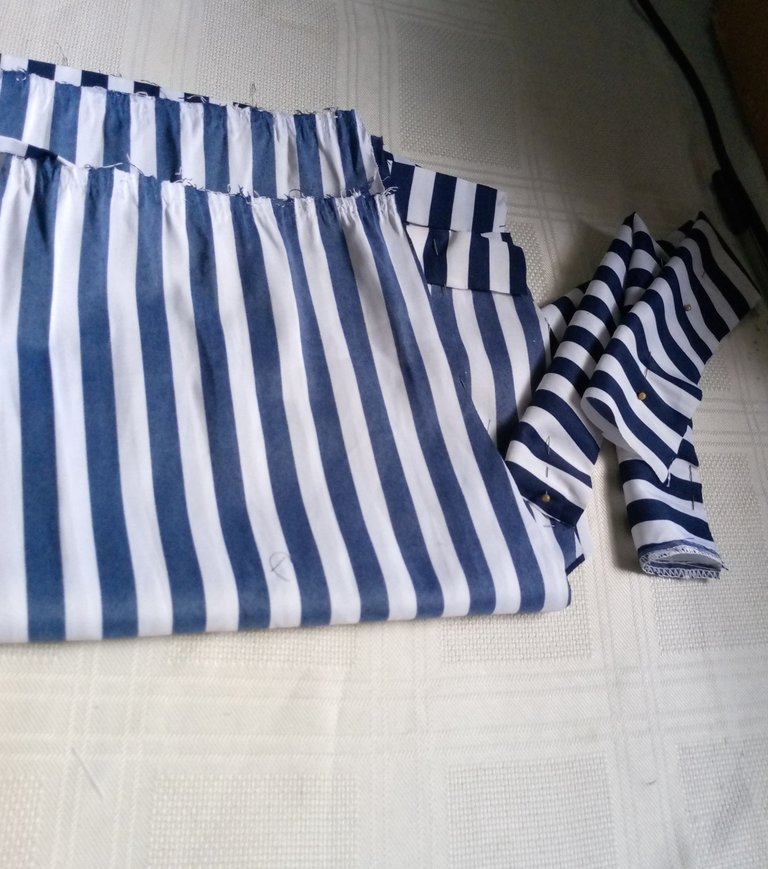
To complete the crotch part, I took some of the fabric from the front piece of the skirt to complete the missing pieces and I was able to solve the problem.
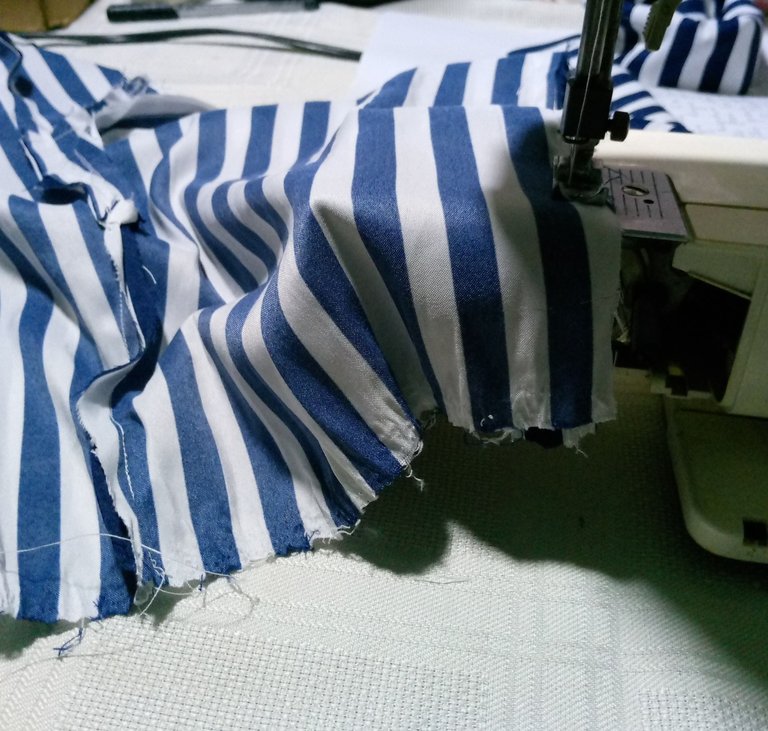
I cut the remaining parts such as the pieces for a side opening that has a few pieces between fabrics and some ribbons to tie, I also cut the fabric for the waistband, and began to sew the first parts of the shorts as the pieces to complete the crotch, then I sewed the sides with a double straight seam, plus the finishing with the zigzag seam to prevent the fabric from fraying and look bad on the inside.
Para completar la parte de las entrepiernas, tome parte de la tela de la pieza delantera de la falda para completar las piezas que me faltaban y así logre solucionar.
Corte las partes restantes como las piezas para una abertura lateral que lleva unas entre telas y unas cintas para amarrar, también corte la tela para la pretina, y empecé a coser las primeras partes del short como las piezas para completar en entrepierna, luego cosí los laterales con una costura recta doble, más el remate con la costura de zigzag para evitar que la tela se deshile y quede con mal aspecto por la parte interna.

 |  |  |
|---|
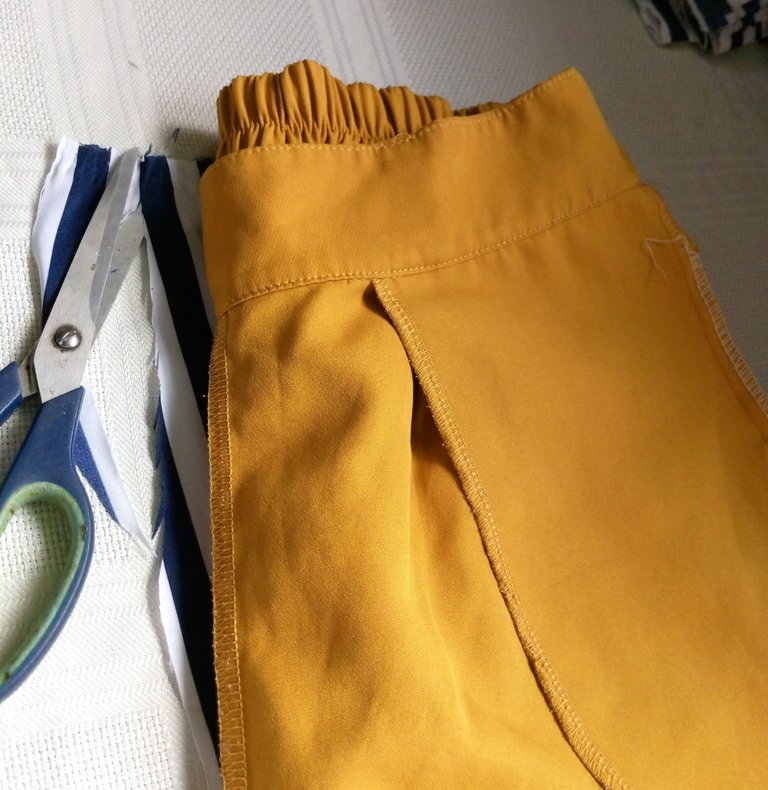
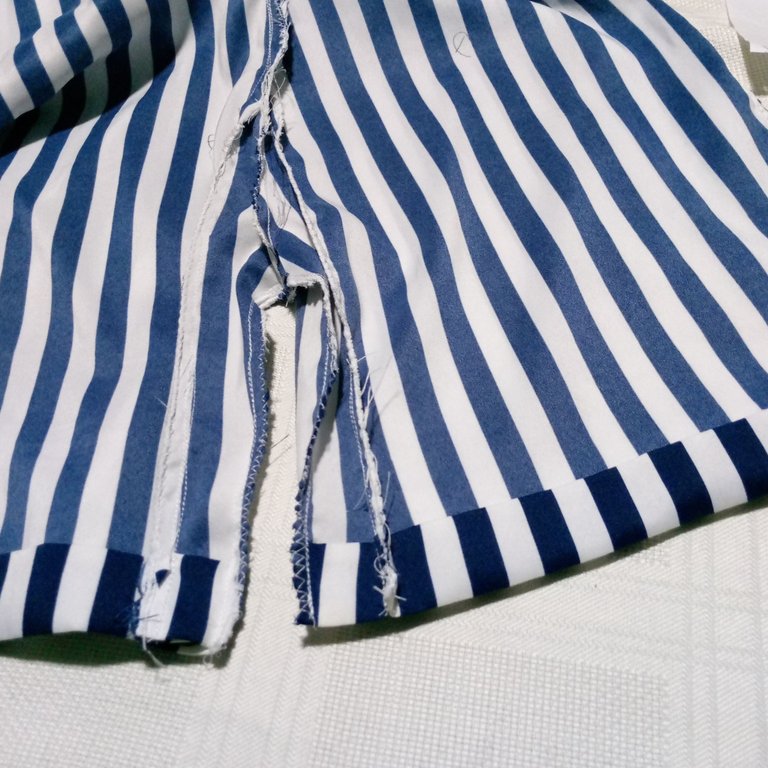
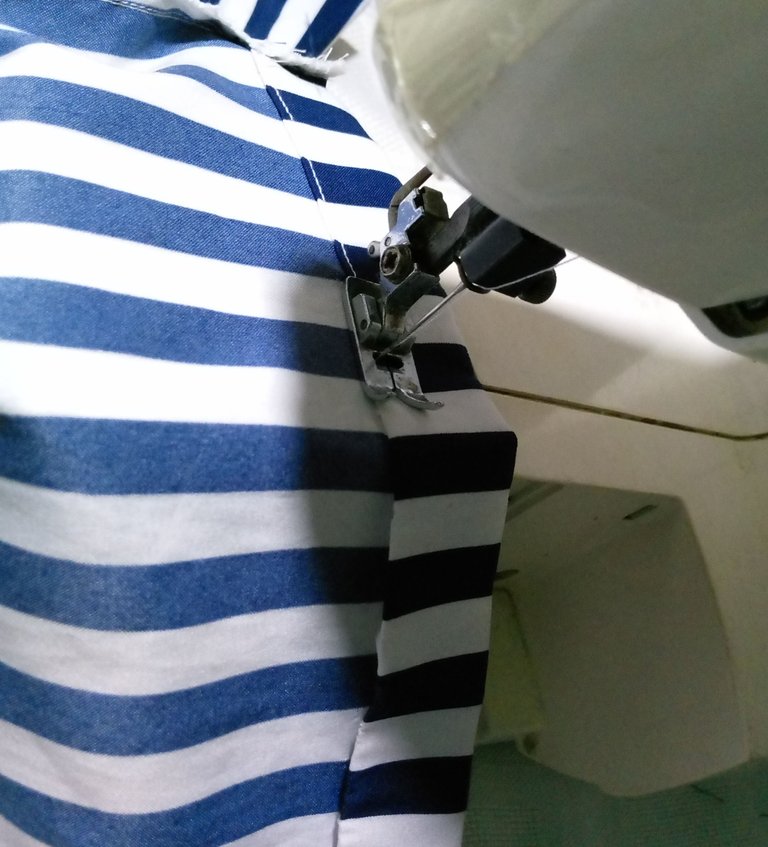
Terminado con las costuras principales del cerrado del short, empecé a coser el ruedo que aproveche del mismo de la falda que ya estaba marcado y solo estaba despegado, así que solo cosí y listo quedo un rudo bien planchado.
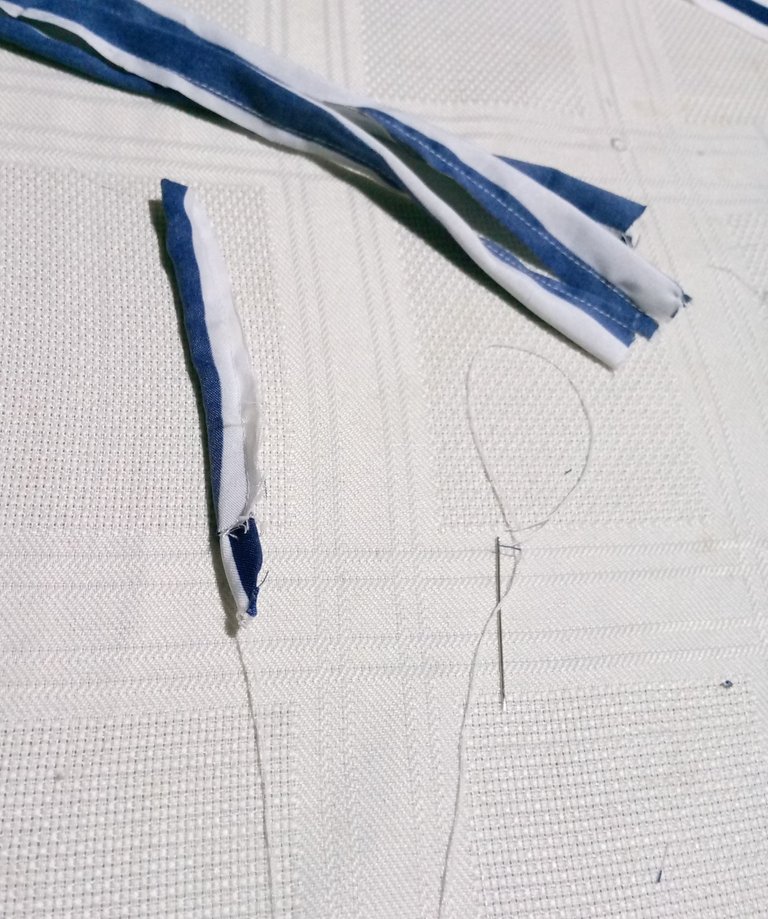
Enseguida corte 4 cintas de la misma tela de rayas de 1.5 cm para, más 2 telas rectangulares para la abertura lateral, cosí las cintas, les di vuelta con la ayuda de una aguja con hilo, ya que me habían quedado bastante delgadas y así se me hizo más fácil darle la vuelta.

 |  |  |
|---|
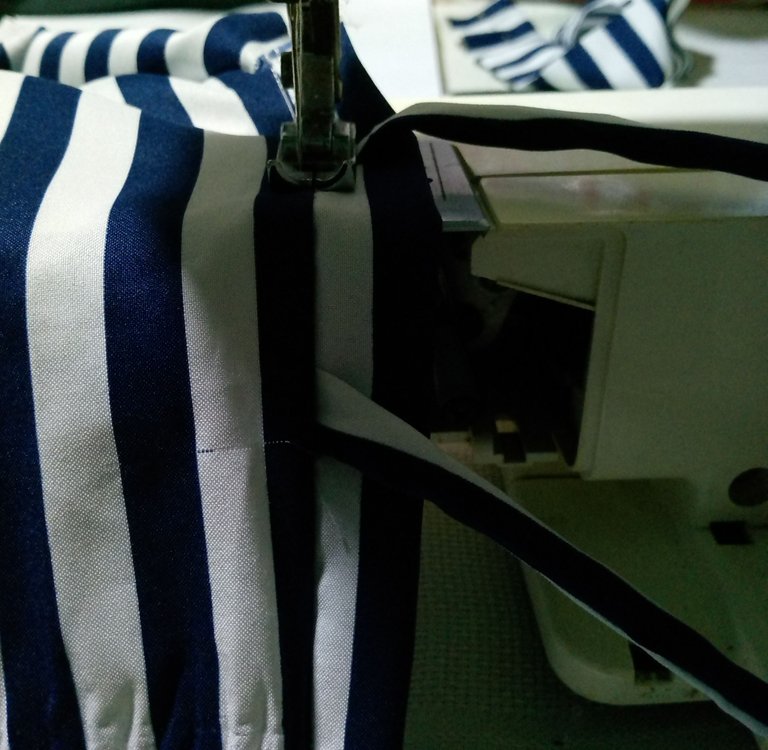
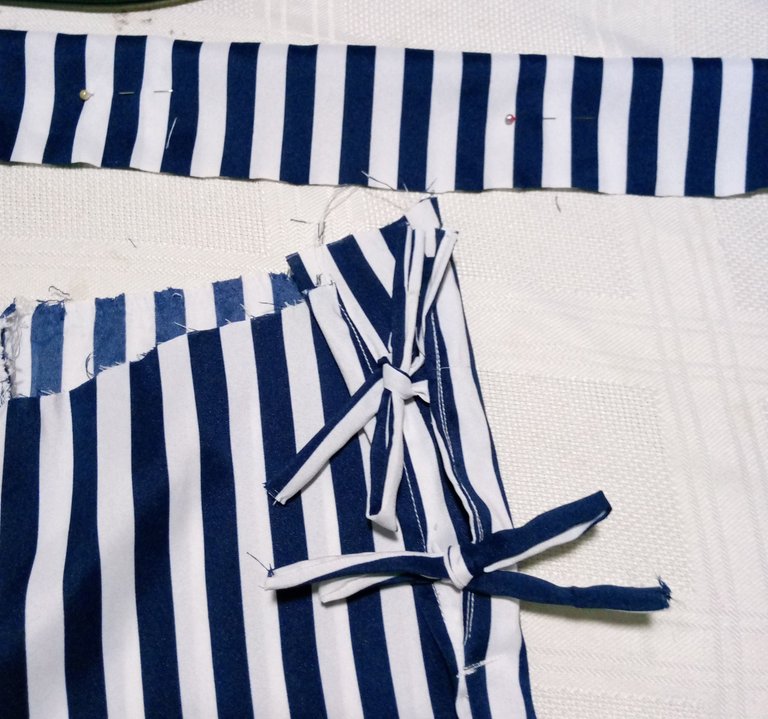
Attach the 4 ribbons, along with the rectangular fabrics, to the left side opening of the shorts, this is for ease of use and also gives a very decorative detail.
To finish this part, sew a straight seam on the inside of the piece and on top of it a straight seam for a better finish.
Fije las 4 cintas, junto con las telas rectangulares, en la abertura lateral izquierda del short, esto para que sea de fácil uso y además le da un detalle bastante decorativo.
Para terminar esta parte pase costura recta por dentro de la pieza y sobre esta una sobre costura recta para un mejor acabado.

 |  |  |
|---|
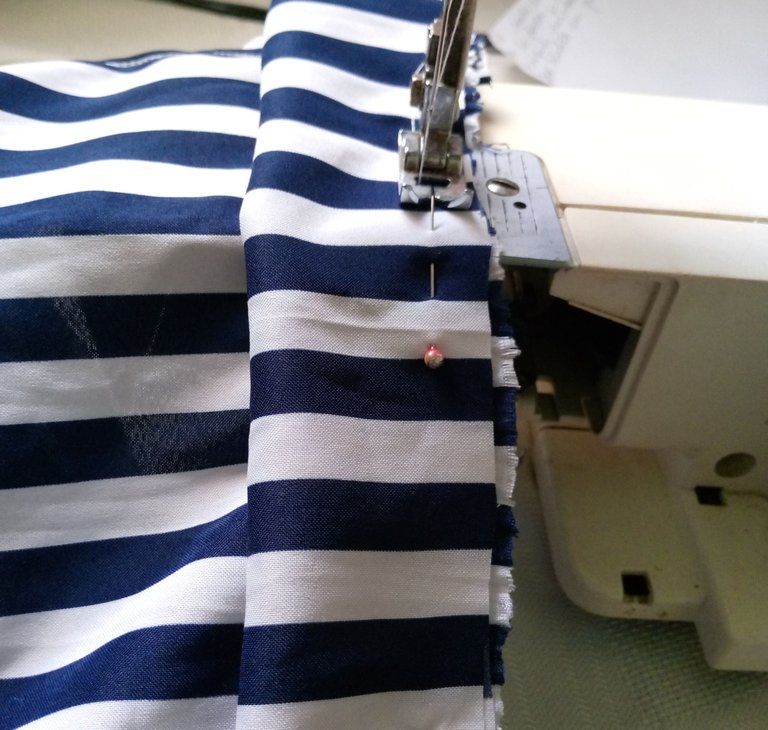
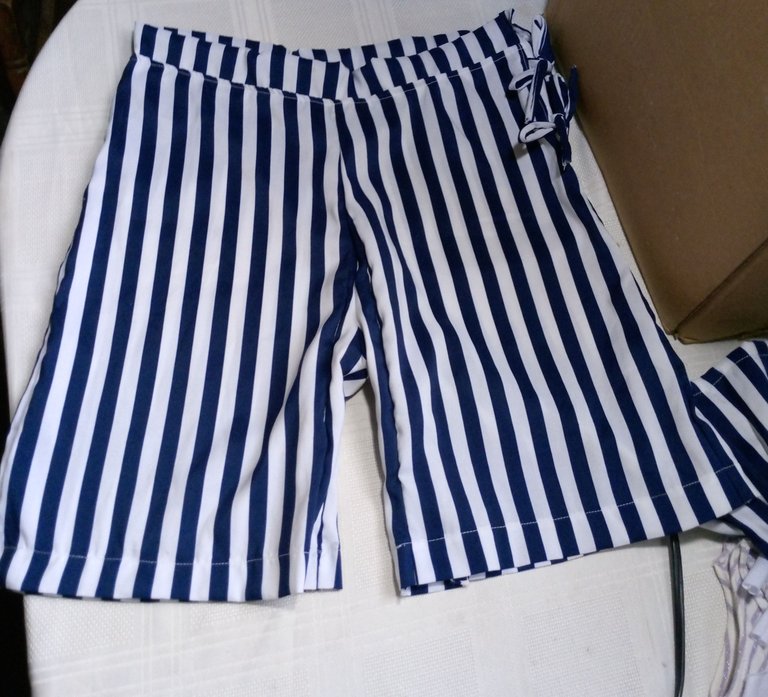
With the shorts almost ready, I attached the waistband with pins to prevent the fabric from rolling, then I sewed a straight seam and a zigzag seam for the edges, then I sewed an over seam to the waistband on the right side.
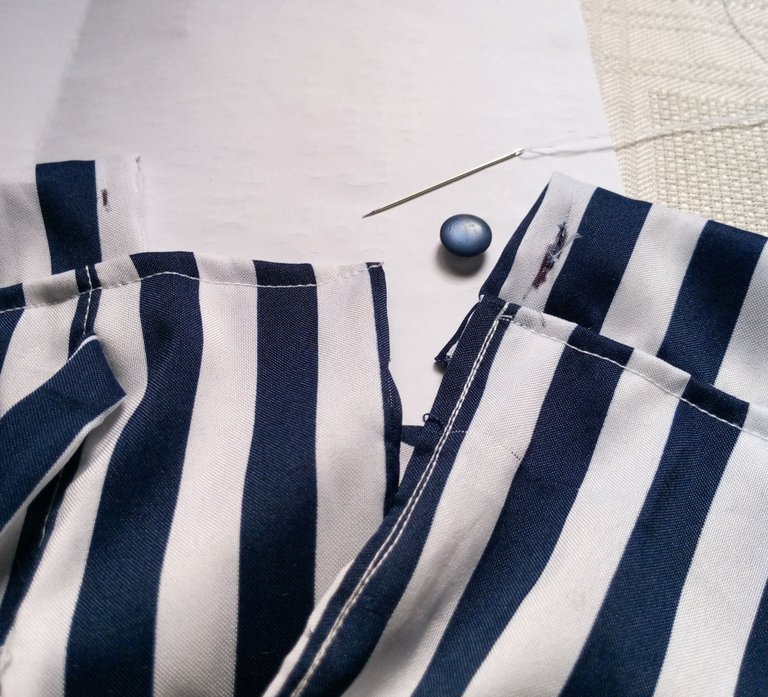
In this step I only needed to place a button to close the waistband, so I measured very well and made a hole for the button, I sewed the buttonhole with white thread and hand sewing, because I did not dare to do it on the machine because I do not master the technique so far, however, it was very nice, then I sewed the button and closed the shorts being ready to use on vacation days at the beach for its comfort and freshness.
Con el short ya casi listo, le pegue la pretina con unos alfileres para evitar que se ruede la tela, enseguida pase costura recta y costura zigzag para las orillas, luego cosí una sobre costura a la pretina por el lado derecho.
En este paso solo me faltaba colocarle un botón para cerrar la pretina, así que medí muy bien e hice un orificio para el botón, borde el ojal con hilo blanco y costura a mano, ya que no me atreví hacerlo en la máquina porque no domino la técnica hasta el momento, sin embargo, me quedo muy bonito, enseguida cosí el botón y cerré el short quedando listo para usar en días de vacaciones de playa por su comodidad y frescura.

 |  |  |
|---|
After finishing it, I started to make the blouse, although I thought it would be more complex, it was simpler.
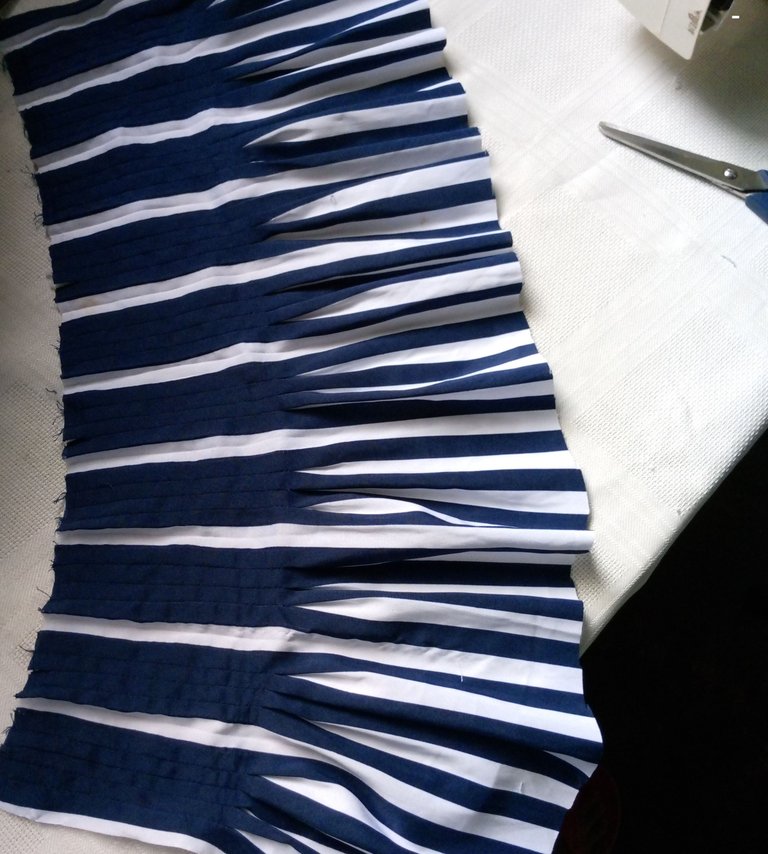
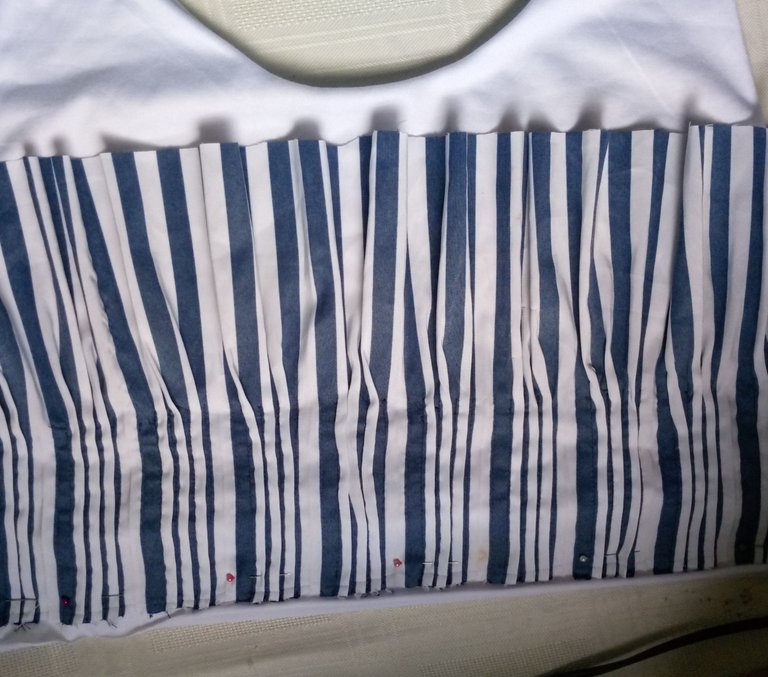
The first thing I did was to look at the fabric that I had left from the front piece of the skirt, which seemed ideal for the model of the blouse that my daughter was looking for, a ruffle detail at the bottom of the blouse, which would prevent her from showing too much.
For now, my daughter is reserved, I guess she will soon be at the beach with those denim threads that one day she said she didn't like hahahaha, of course she wears swimsuits but also quite conservative.
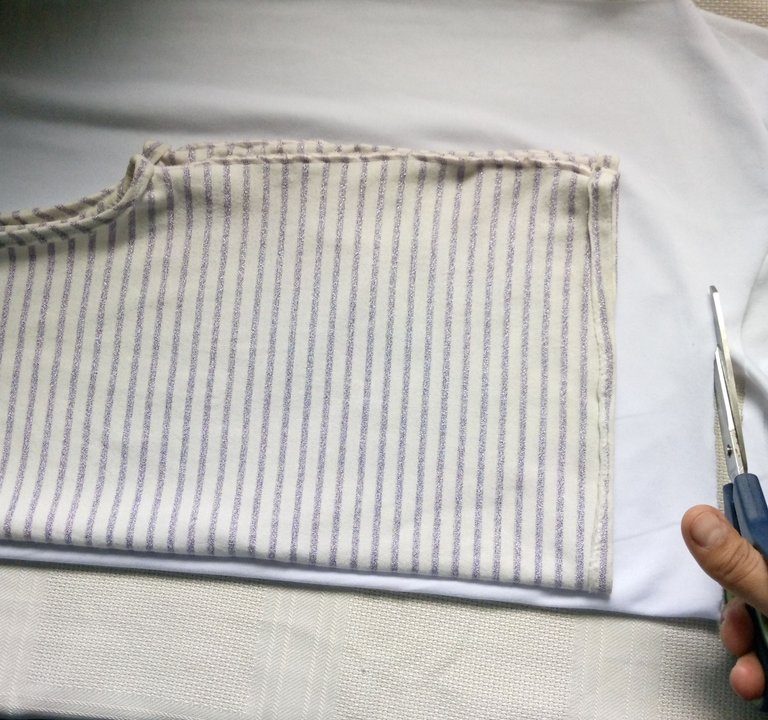
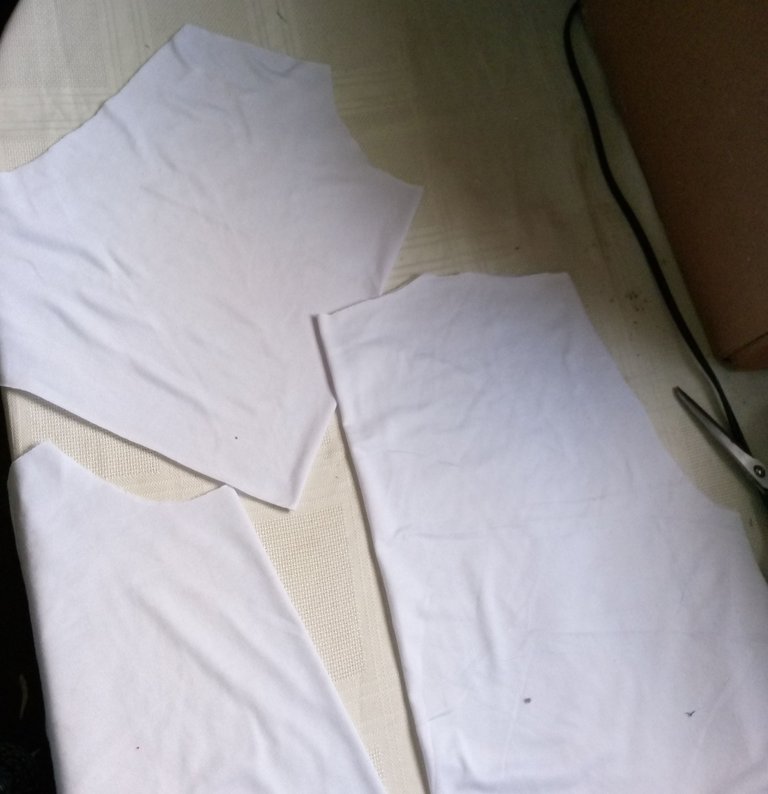
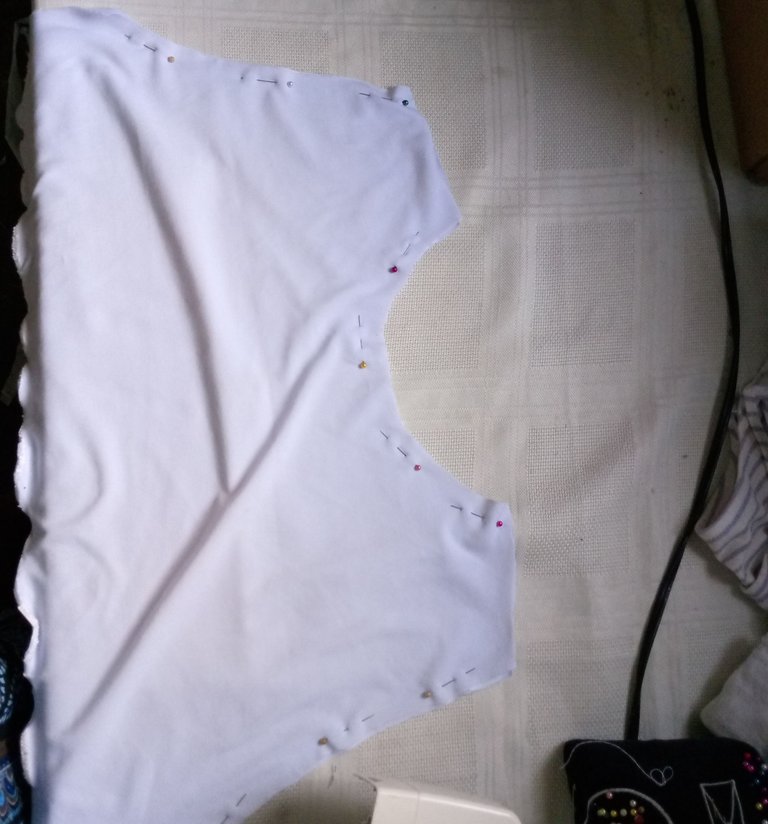
The blouse I cut it with the garment of measure, I cut 3 parts, 2 for the neckline side that goes with inner lining and one piece for the back. But as the top white piece, the front of the blouse, was too short, I completed it with a little more white fabric to bring it to the size my daughter asked for.
Terminando él, short empecé a confeccionar la blusa, está a pesar de que pensaba se me haría más compleja, fue más sencilla.
Lo primero que hice fue fijarme en la tela que me había quedado de la pieza delantera de la falda, lo que nos pareció ideal para el modelo de la blusa que mi hija estaba buscando, un detalle de volado en la parte baja de la blusa, que le evite exhibir mucho.
Por ahora, mi hija es reservada, supongo que pronto estará en la playa con aquellos hilachos negando que un día dijo que no le gustaban jajajaja, claro ella usa trajes de baño pero también bastante conservadores.
La blusa la corte con la prenda de medida, corte 3 partes, 2 para el lado del escote que va con forro interno y una pieza para la espalda. Pero como la pieza superior blanca, delantera de la blusa, había quedado muy corta, la complete con un poco más de tela blanca para llevarla al tamaño que mi hija me pedía.

 |  |  |
|---|
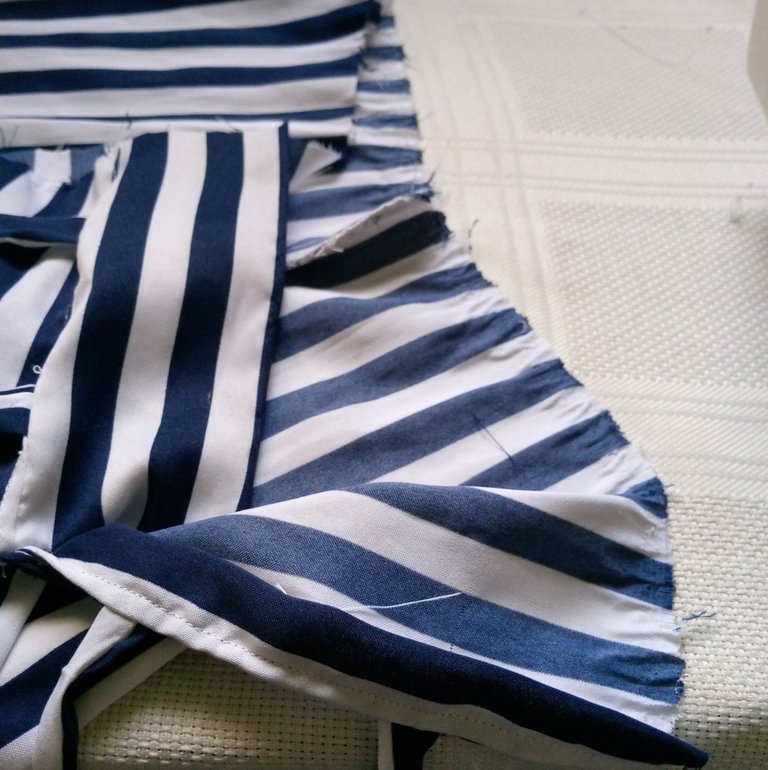
To sew the first pieces of the blouse I joined the 2 front pieces right side in, sewed first the neck and armhole, then I turned it right side out, to work the flounce of the lower part.
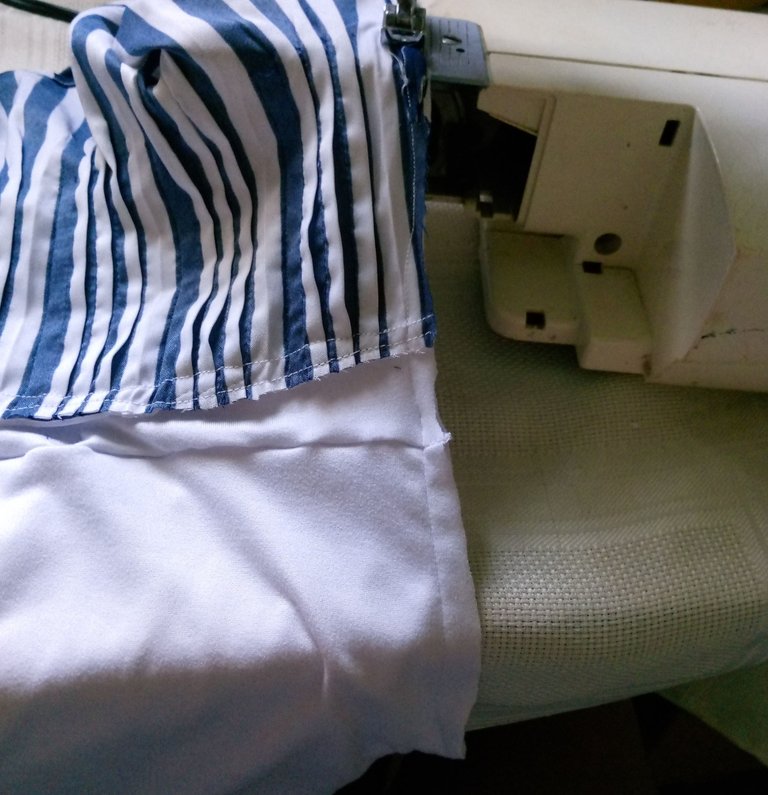
To this ruffle I sewed a thin ruffle with a straight seam, then I sewed it on the upper edge of the blouse placing the right sides, then I sewed with the straight and zigzag to finish the edges.
After the front piece was ready, the next step was to sew the 2 front pieces and the back first by the shoulders and then by the sides, sewing the edges to finish the seam, the last thing was to turn the garment over, and that was how I completed this oufit of the day for my daughter, it was not an easy job, but it was satisfying plus we were both very happy and delighted with what we had achieved for this day.
Para coser las primeras piezas de la blusa uni las 2 piezas delanteras por el derecho hacia dentro, cosí primero cuello y sisa, luego le di la vuelta por el derecho, para trabajar el volado de la parte baja.
A este volado le cosí un ruedo delgado a costura recta, después lo cosí en la orilla superior de la blusa colocando de los lados derechos, enseguida cosí con la recta y zigzag para rematar las orillas.
Quedando la pieza delantera lista, lo siguiente fue coser las 2 piezas delanteras y espalda primero por los hombros y luego por los laterales, sin dejar de coser las orillas para rematar la costura, lo último fue voltear la prenda, y así fue como complete este oufit del día para mi hija, no fue un trabajo fácil, pero fue satisfactorio más ambas quedamos muy felices y encantadas con lo que habíamos logrado para este día.

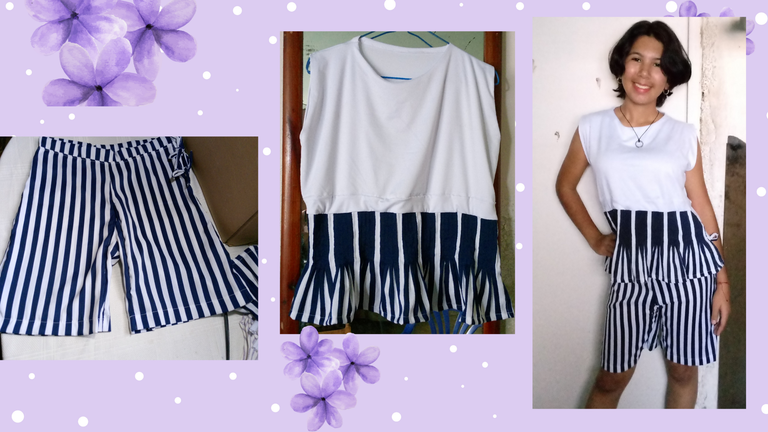
Friends who love sewing and all handicrafts, I hope you like the oufit I made for my daughter.
Don't forget to leave me your encouraging comments on what was my post of the day.
Infinite hugs always wishing you well.
Amigos amantes de las costuras y de todo las artes manuales, espero que les guste el oufit que hice para mi hija.
No olviden dejarme sus alentadores comentarios de lo que fue mi publicación del día.
Abrazos infinitos deseando siempre que estén bien.

social networks / redes sociales
Traductor Deepl
Translated Deepl
Ediciones Canva
Editions Canva


Congratulations @lauracraft! You have completed the following achievement on the Hive blockchain And have been rewarded with New badge(s)
Your next target is to reach 5500 comments.
You can view your badges on your board and compare yourself to others in the Ranking
If you no longer want to receive notifications, reply to this comment with the word
STOPCheck out our last posts:
Good work
Thank you very much
Está muy bonito tu outfit. Me gustaría aprender a coser asi
Gracias amiga, y claro que puedes aprender, solo sigue intentando.❤️🤗
Que excelente manera de reutilizar su vestido favorito de niña ☺️👏 recuerdo que yo tenía un pantalón campana que hacía conjunto con una blusa y yo amaba ese conjunto pero el pantalón me quedaba corto y mi mamá lo transformó en falda pantalón y lo seguí usando muchos años 🥰
Gracias por la visita bella, me gusto la anécdota de tu pantalón, me alegra que lo hayas seguido utilizando con una falda pantalón, que por cierto esas faldas la están usando mucho, a mí me encantan.
Saludos.🌼
Wow, such a brilliant transformation here. I love the fabric design and the short too. I can possibly wear it everywhere and not only to a beach.
Thanks she sharing this beauty with us.
Thank you very much dear, you flatter me very much, my daughter is happy and I think she will use it for many places, taking your advice.
Wow! que lindo outfit para la playa, la franela quedó espectacular, si que aprovechaste la tela al máximo .
Saludos!
Hay si amiga quede impresionada como logre todo este outfit, aunque fue un arduo trabajo de varias horas. Estamos bien contentas de como pudimos lograrlo.
Saludos!!!🌼🌻
Luce muy bien le felicito.
🙂Gracias @soltecno 🤗