Mi nuevo organizador para lápices delineadores de ojos (ESP/ENG)
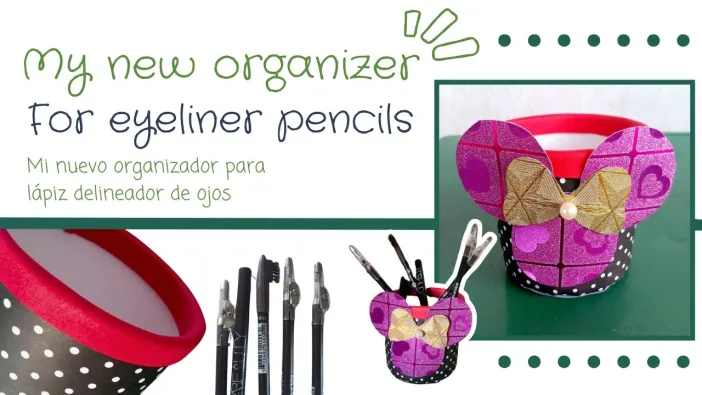
Hola gente linda!!, feliz miércoles, espero que estén pasando una buena semana, en compañía de sus seres queridos.❣️
Reinventarse para un nuevo comienzo.
Hace aproximadamente un mes estoy viviendo en otro estado del país, y es aquí donde hay tanto que hacer y reorganizar para entrar en armonía, una de las cosas que cuido mucho son mis artículos de maquillaje y de higiene, siempre me ha gustado darles un lugar especial a cada uno, de modo que puedan coincidir en el orden de mis espacios, estoy fuera de mi casa y me temo que será por un buen tiempo, por ahora no tengo mis organizadores para colocar cada cosa en su lugar, he tenido que comenzar a decorar cuanto envase consigo jajaja no me puedo dar el lujo de comprar unos nuevos, la situación económica no me lo permite, así que me adapto a la situación y busco proyectar todo a mi gusto y orden.
Ayer se terminó el cloro y quedo un pote bien útil y como siempre me ha gustado reciclar para recuperar y reutilizar, hice un organizador para colocar mis lápices de ojos, ya que los tenía en una bolsa con varias cosas y se me estaban dañando, ahora con este nuevo organizador me siento más tranquila, ahora van a estar en un sitio donde no se van a dañar.
Espero que les guste mi proceso de crear este fácil y lindo organizador de lápices de ojos, para solventar la situación.
Las fotografías que verán a continuación, fueron tomadas con mi teléfono modelo TECNO SPARK GO 2024.
Hello beautiful people!!, happy Wednesday, I hope you are having a good week, in the company of your loved ones.❣️
Reinventing yourself for a new beginning.
About a month ago I am living in another state of the country, and it is here where there is so much to do and reorganize to enter in harmony, one of the things that I take care of a lot are my makeup and hygiene items, I have always liked to give them a special place to each one, so that they can match in the order of my spaces, I'm out of my house and I'm afraid it will be for a long time, for now I don't have my organizers to put everything in its place, I had to start decorating as much as I can get hahaha I can't afford to buy new ones, the economic situation does not allow me, so I adapt to the situation and try to project everything to my taste and order.
Yesterday I finished the bleach and I have a very useful pot and as I have always liked to recycle to recover and reuse, I made an organizer to place my eye pencils, as I had them in a bag with several things and they were getting damaged, now with this new organizer I feel calmer, now they will be in a place where they will not be damaged.
I hope you like my process of creating this easy and cute eyeliner organizer, to solve the situation.
The pictures you will see below were taken with my TECNO SPARK GO 2024.

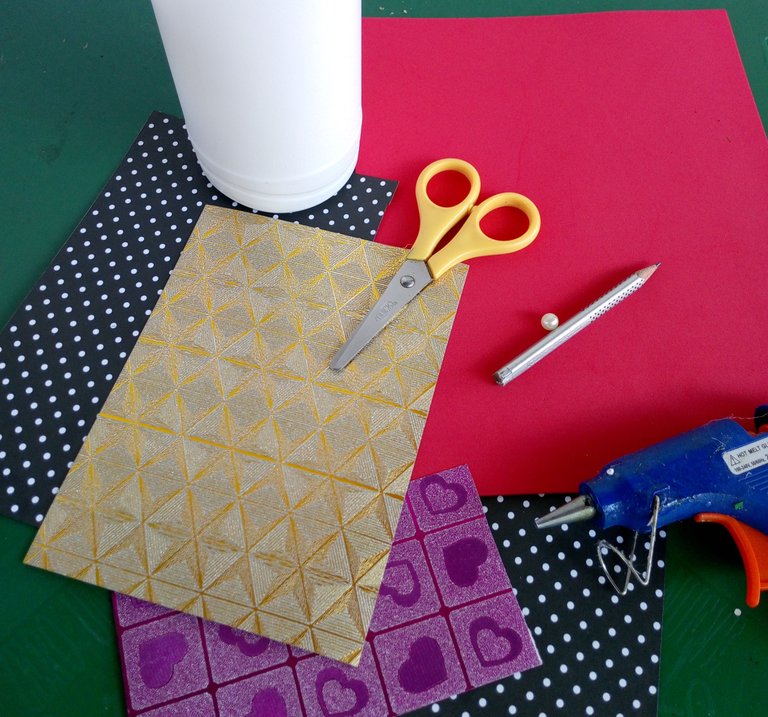
Por suerte he ido acumulando algunos materiales útiles para crear manualidades, esto me tienen muy animada.
Los materiales que utilice para este trabajo me sorprendieron porque fueron muy aceptados para mi gusto, logre crear una buena combinación para el uso combinado de los lápices de ojos, y sé que toda mi organización va a ir quedando con estilo agradable, algo nuevo que a mi hija le gusta también, se deleita viendo como va quedando todo.
Materiales:
Pote de plástico
Láminas de cartulina negra con lunares blancos
Lámina de foami rojo
Lámina de cartulina brillante dorada
Un trozo de lámina de cartulina fucsia brillante y estampada
Lápiz
1 hoja con patrones dibujados
Tijera
1 perla de plástico
Silicona en barra
Pistola para silicona
Regla
Luckily I have been accumulating some useful materials to create crafts, this has me very encouraged.
The materials I used for this work surprised me because they were very acceptable to my taste, I managed to create a good combination for the combined use of eyeliner pencils, and I know that all my organization is going to be staying with nice style, something new that my daughter also likes, she delights seeing how everything is going to be.
Materials:
Plastic pot
Sheets of black cardboard with white polka dots
Sheet of red foami
Sheet of gold shiny cardboard
A piece of fuchsia shiny and patterned cardboard sheet
Pencil
1 sheet with drawn patterns
Scissors
1 plastic bead
Silicone stick
Silicone gun
Ruler

 |  |  |
|---|
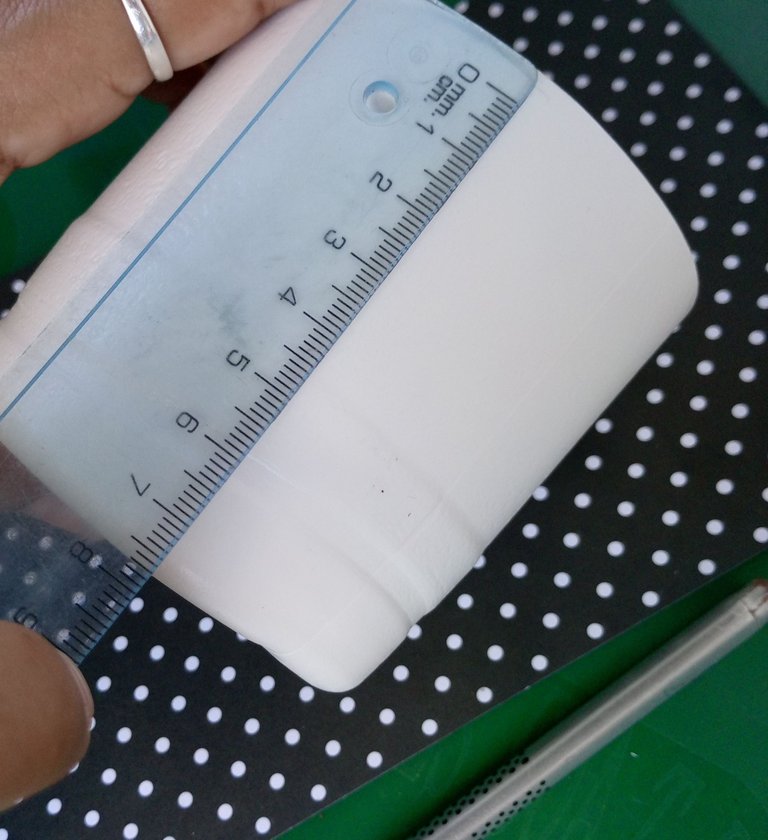
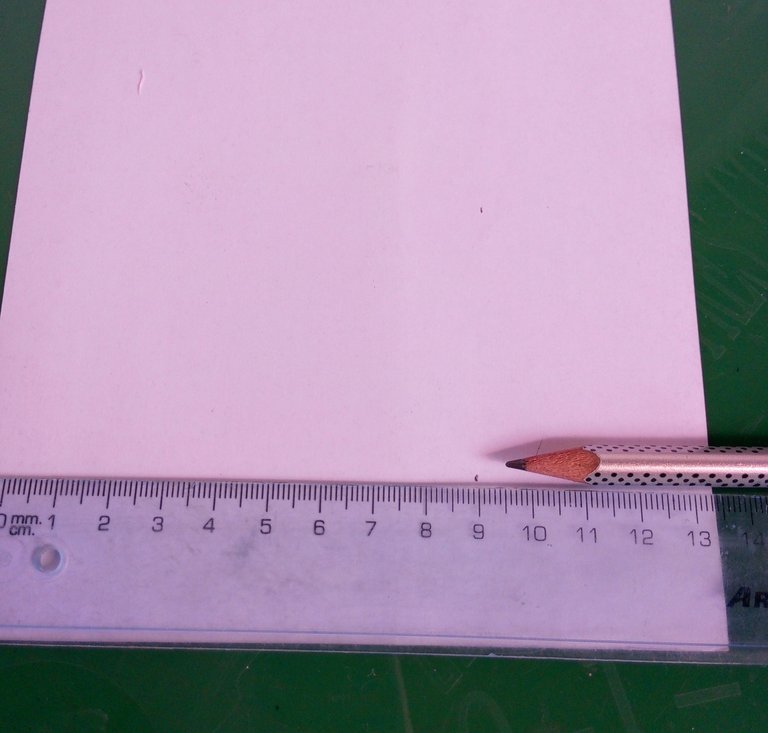
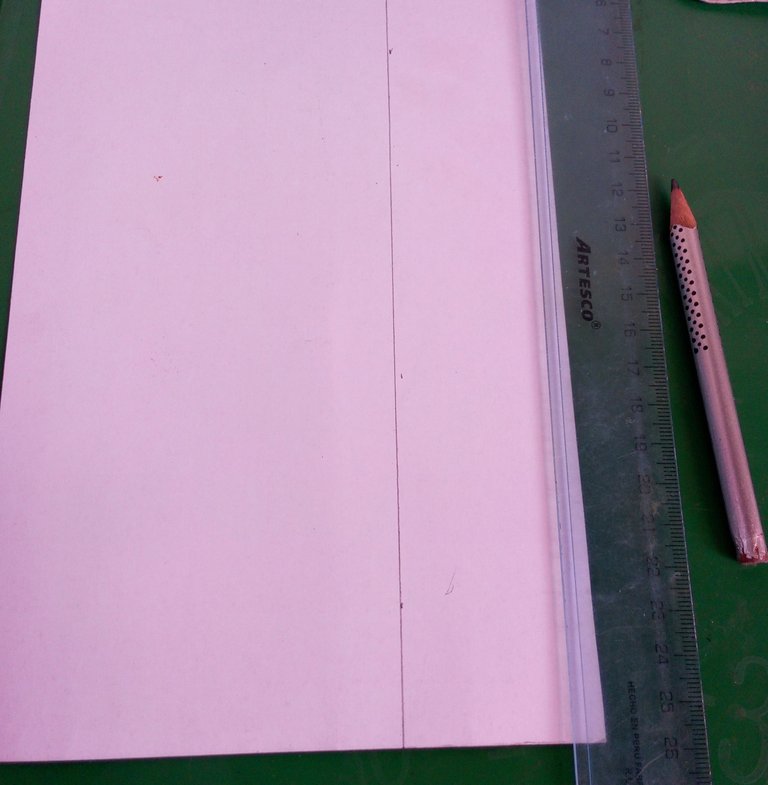
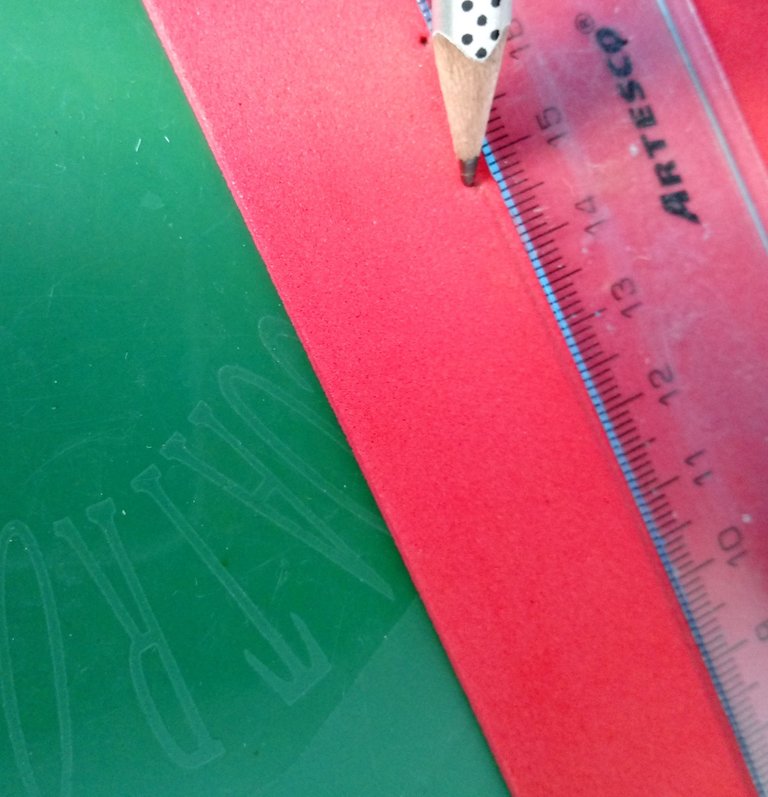
Después de cortar el pote del tamaño que necesitaba, lo medí con la regla, para saber de qué tamaño cortaría la hoja de cartulina, que utilice para forrarlo, y como siempre procuro que todo quede con un bonito acabado, medí 1 cm más para cubrir la parte de abajo, lo marque con el lápiz y recorte.
After cutting the pot to the size I needed, I measured it with the ruler, to know what size I would cut the sheet of cardboard, which I used to cover it, and as I always try to have a nice finish, I measured 1 cm more to cover the bottom, marked it with the pencil and cut it out.

 |  |
|---|---|
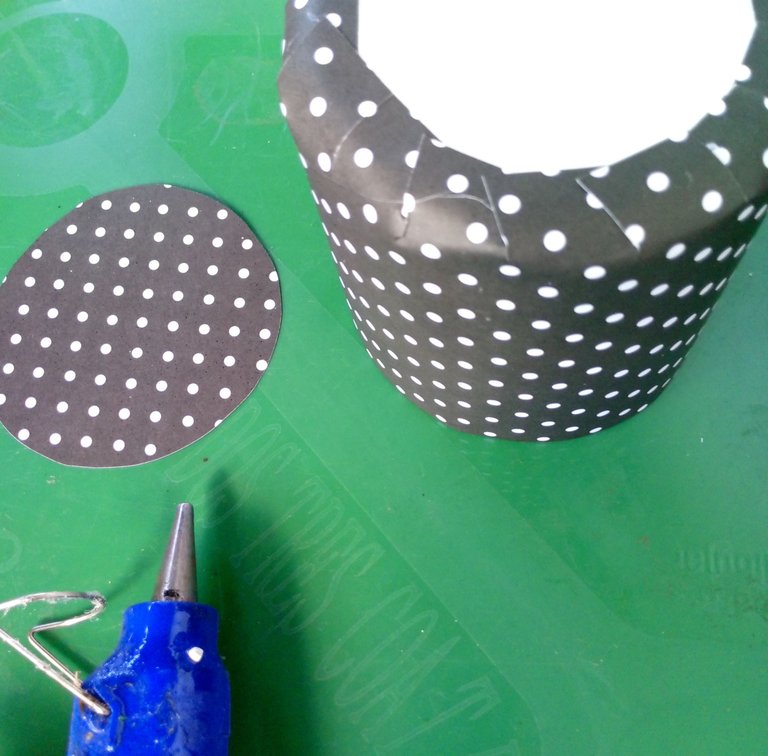 | 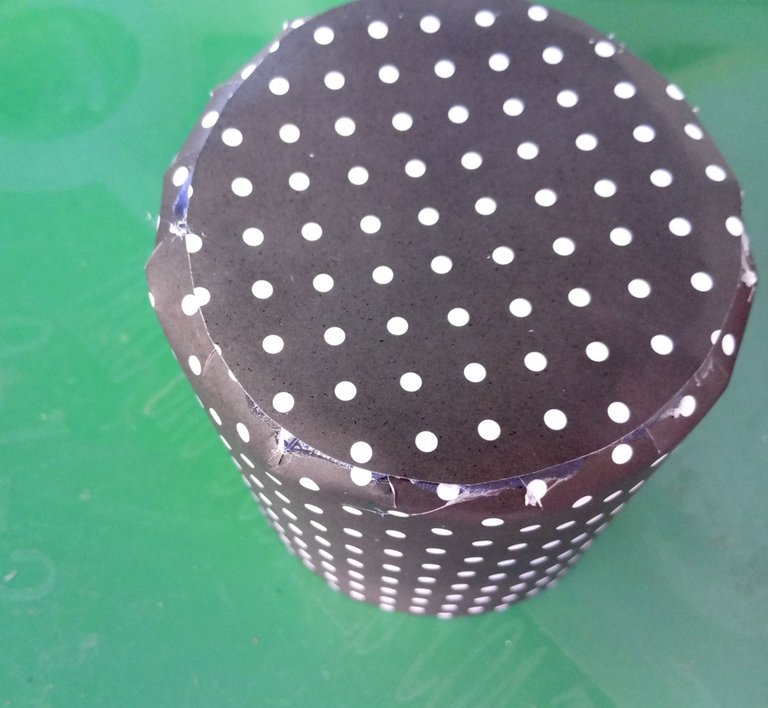 |
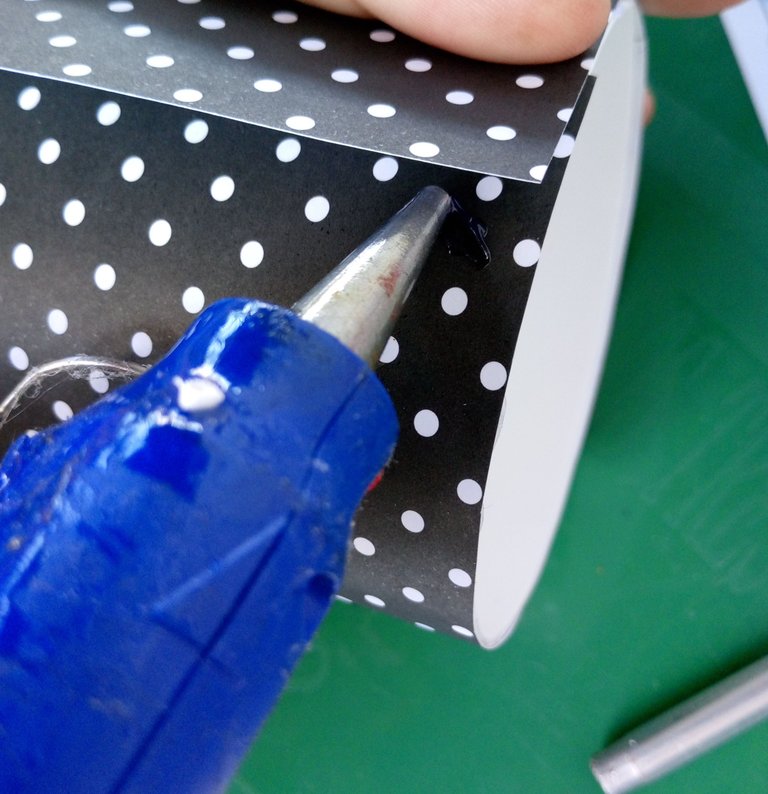
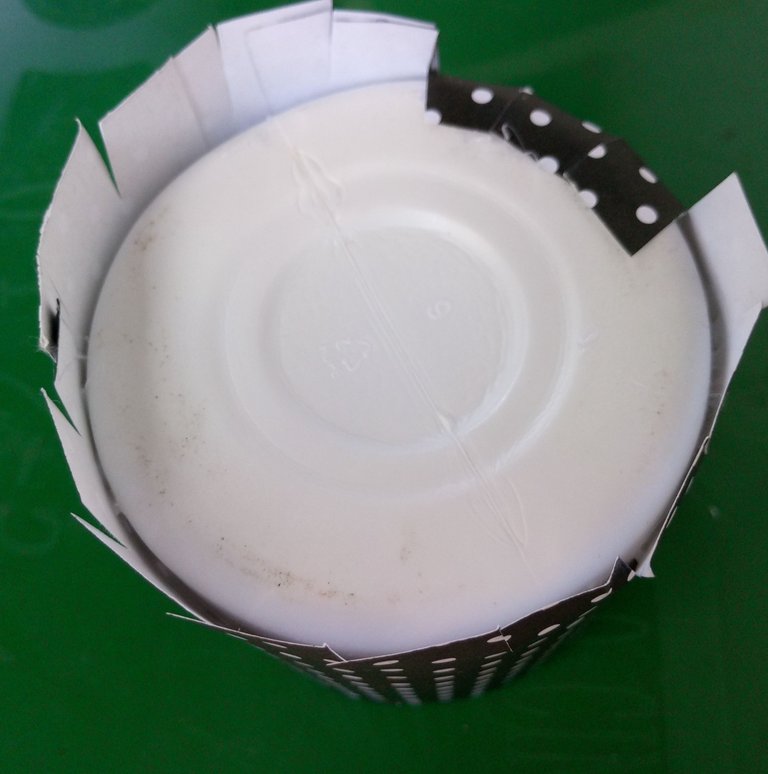
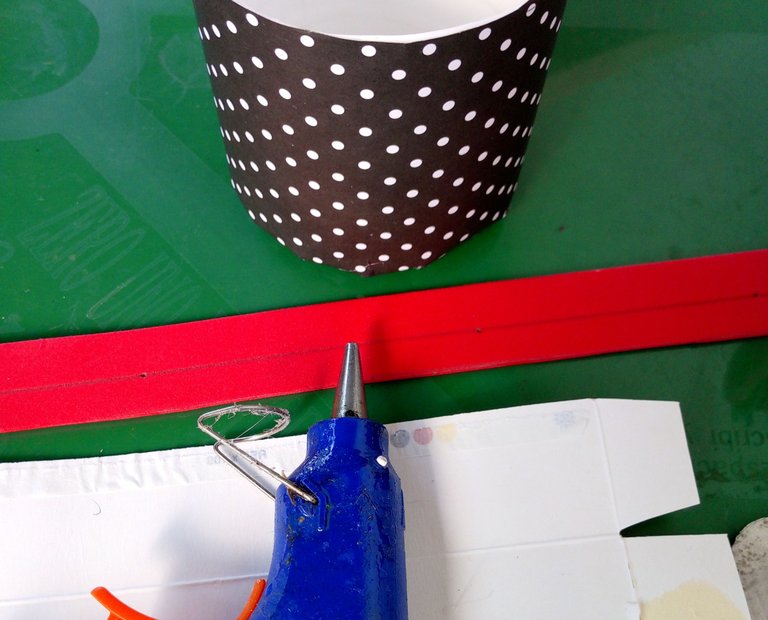
Forre con la cartulina y pegue, después hice unos cortes por debajo y pegue, luego recorte un círculo que medí anteriormente y pegue, en este punto ya tenía forrado el organizador.
I lined with the cardboard and glued, then I made some cuts underneath and glued, then I cut out a circle that I measured before and glued, at this point I had lined the organizer.

 |  |
|---|---|
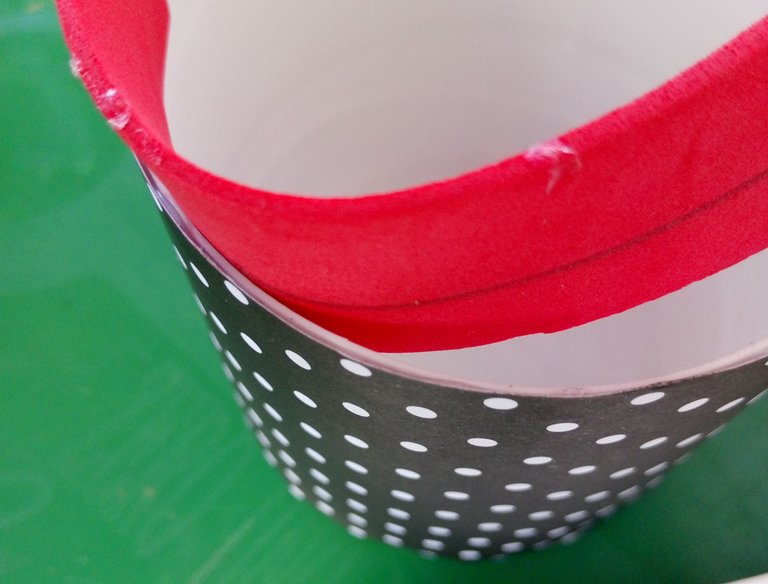 | 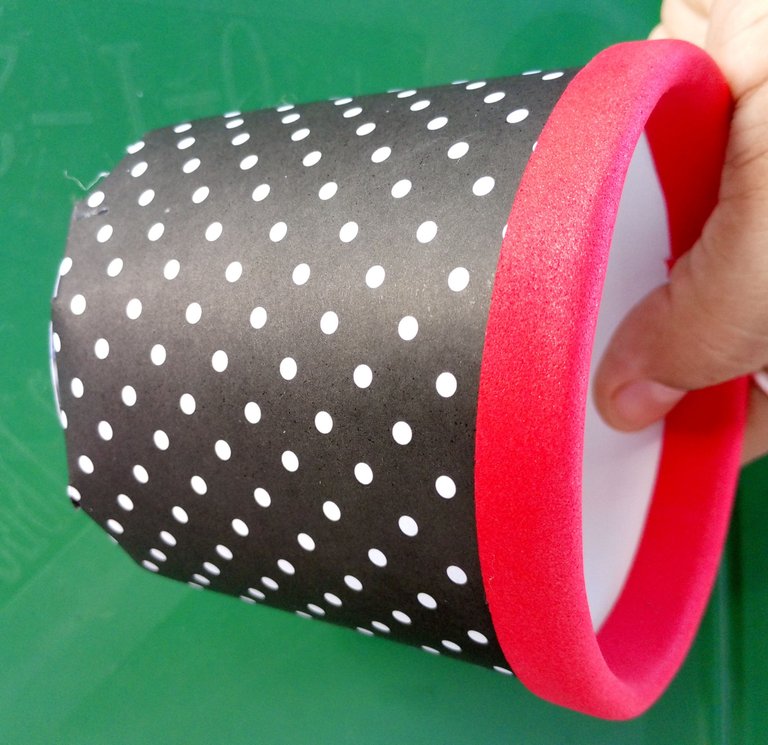 |
Para terminar de darle más detalles de acabado a mi organizador, recorte una cinta de foami de 2 Cm, luego medí por la mitad a 1 Cm.
Pegue por la parte interna la cinta respetando la línea del Cm que va por la parte externa.
Después que pegue toda la cinta de foami por la orilla, solo doble la cinta y quedo perfecto por el lado interno como por el lado externo.
To give more finishing details to my organizer, I cut a 2 cm foami ribbon, then measured in half at 1 cm.
Glue on the inside of the ribbon respecting the line of the Cm that goes on the outside.
After I glued all the foami tape around the edge, I just folded the tape and it was perfect on the inside as well as on the outside.

 |  |
|---|---|
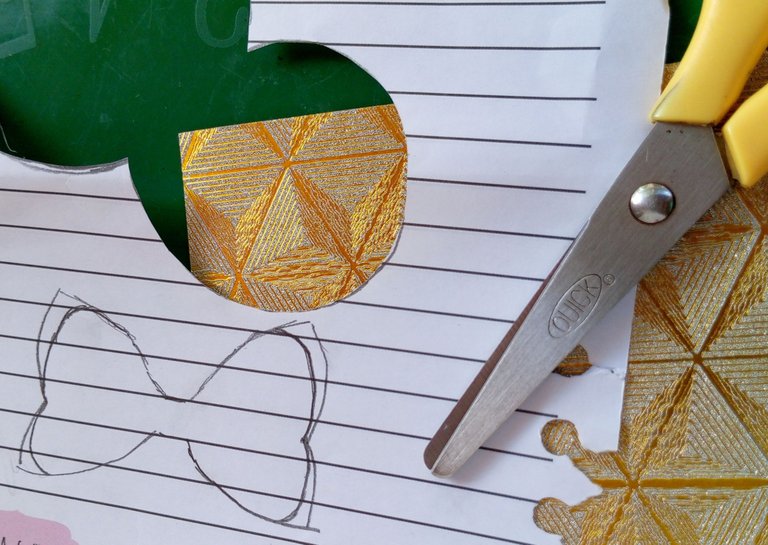 | 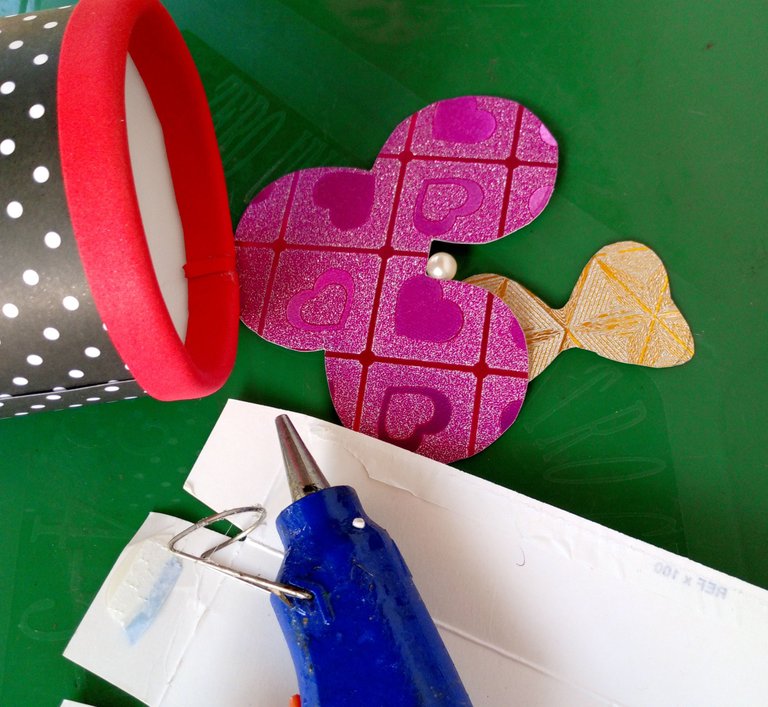 |
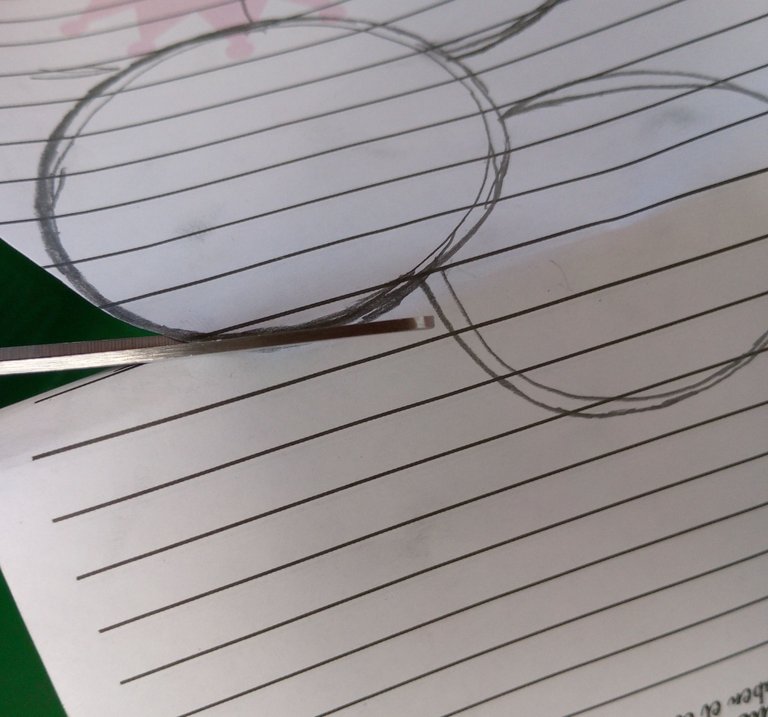
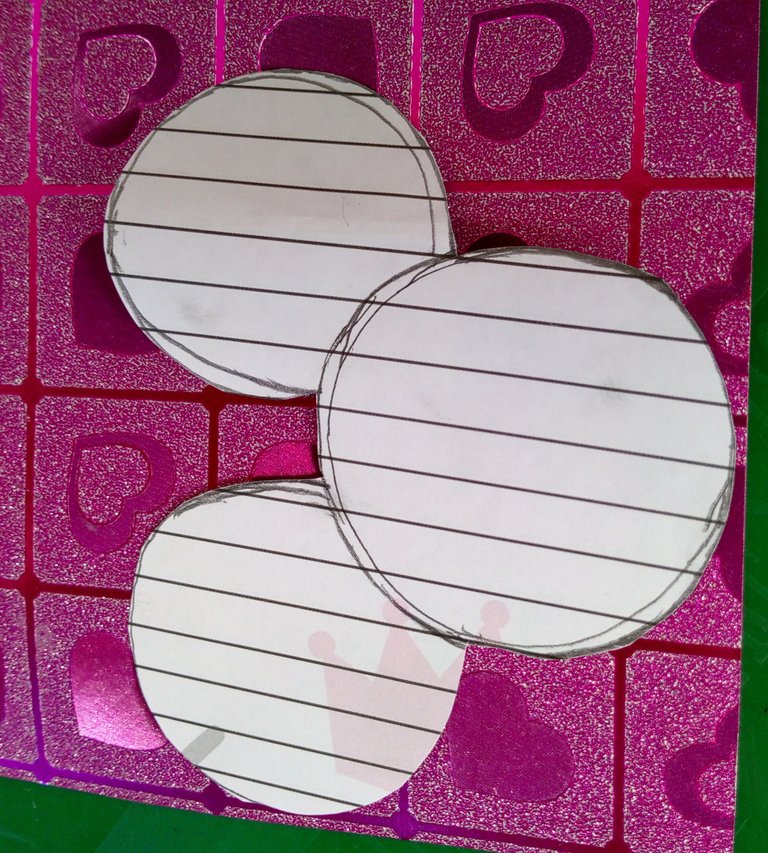
El siguiente paso después de terminar el forro era la decoración.
Aquí empecé recortando los patrones de las figuras que elegí, cuyas figuras ya había dibujado de antemano.
A continuación me dediqué a pegar las piezas de las figuras y luego las pegué al organizador.
The next step after finishing the lining was the decoration.
Here I started by cutting out the patterns of the figures I chose, whose figures I had already drawn beforehand.
I then set about gluing the figure pieces, then glued them to the organizer.

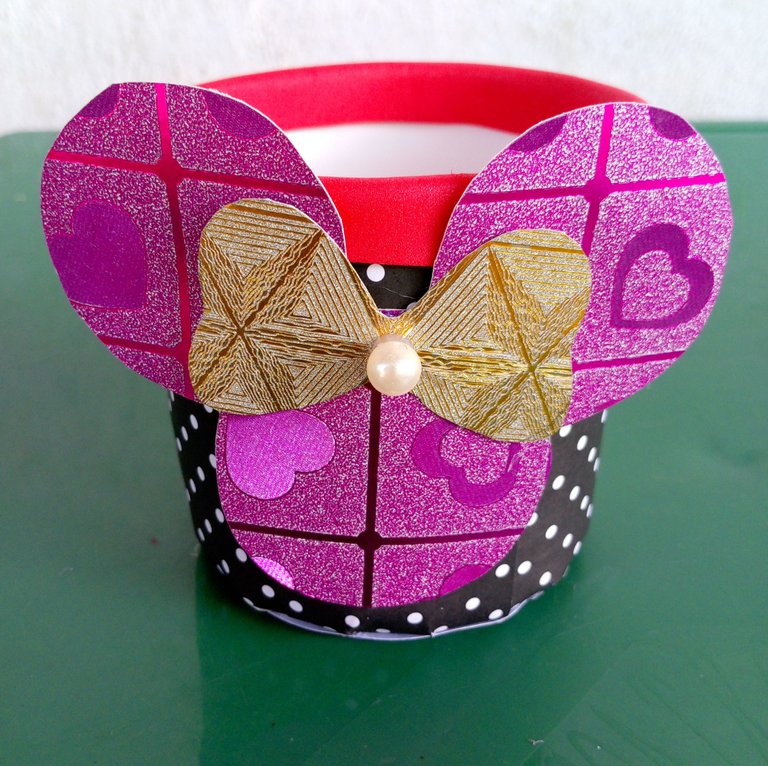
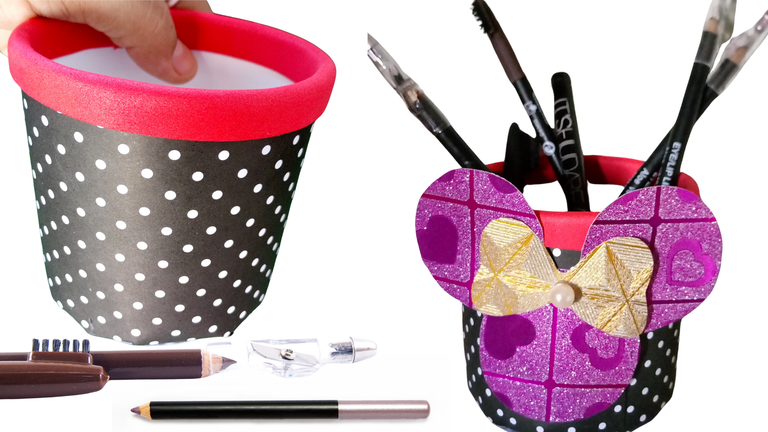
Y así es como este hermoso accesorio está listo para organizar mis lápices delineadores, que son tan delicados y no se pueden guardar en cualquier lugar.
Espero que les guste mucho, gracias por visitar mi publicación y dejar su valioso comentario y valoración. Un fuerte abrazo a todos deseándoles siempre lo mejor del mundo.💞💙💞
And that's how this beautiful accessory is ready to organize my eyeliner pencils, which are so delicate and can't be kept just anywhere.
I hope you like it very much, thank you for visiting my publication and leave your valuable comment and valuation. A big hug to all of you wishing you always the best in the world.


social networks / redes sociales
Traductor Deepl
Translated Deepl
Ediciones Canva
Editions Canva


that looks so cute, you are amazing