I made my first kimono (ENG/ESP)
Hello friends, happy needlework Monday, I hope you are well, blessings to all.
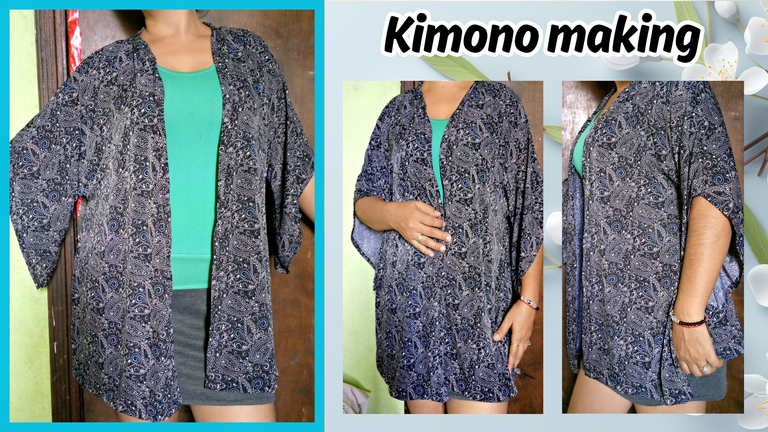
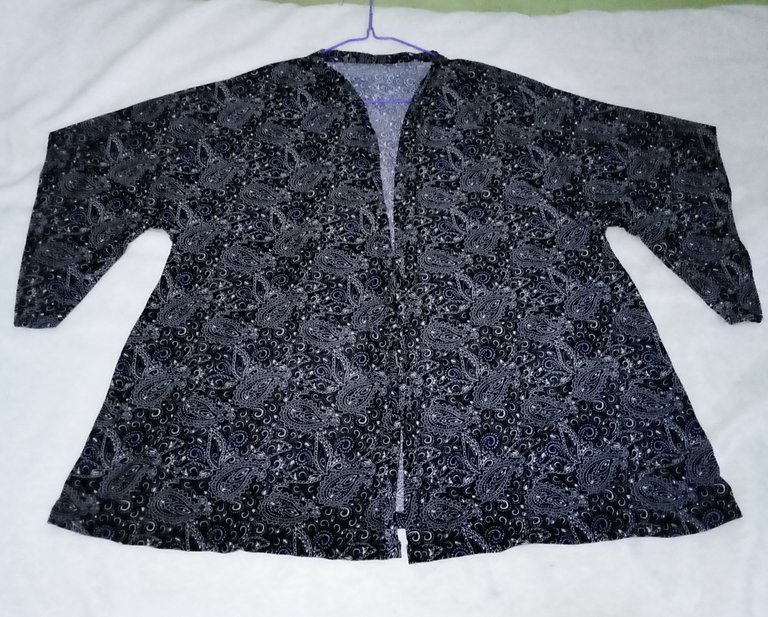
Today I am very happy to share with you my Monday project, with the making of my first kimono, on Friday I was given a very nice fabric, with an excellent drape, weight, print, color, and also fresh, as to make something that I love to use, and I thought of making a kimono, as this garment is comfortable and versatile, to combine outfits, to go out in all occasions.
It is a simple three-piece garment with sleeves that come out of the same cut, so here, depending on the fabric, and how we handle it, everything else will be perfect.
I invite you to read my post.
The pictures you will see below were taken with my phone model TECNO SPARK GO 2024.
Hola amigos, feliz lunes de labores con agujas, espero que estén bien, bendiciones para todos.
Hoy me siento muy feliz de poder compartirles mi proyecto de los lunes, con la confección, de mi primer kimono, el viernes me regalaron una tela muy bonita, con una excelente caída, peso, estampado, color, y además de fresca, como para hacer algo que me encante usar, y se me ocurrió hacerme un kimono, ya que esta prenda es cómoda y versátil, para combinar outfits, para salir en toda ocasión.
Se trata de una prenda sencilla de tres piezas con mangas que salen del mismo corte, así que aquí, dependiendo de la tela, y de como la manejemos, todo lo demás va a salir perfecto.
Los invito a leer mi post.
Las fotografías que verán a continuación, fueron tomadas con mi teléfono modelo TECNO SPARK GO 2024.

 |  |  |
|---|---|---|
 |  |  |
Before I started cutting I thought a lot about how I would cut the pieces, I didn't have a pattern guide or anything, but I really like blouses, and I wanted an asian style.
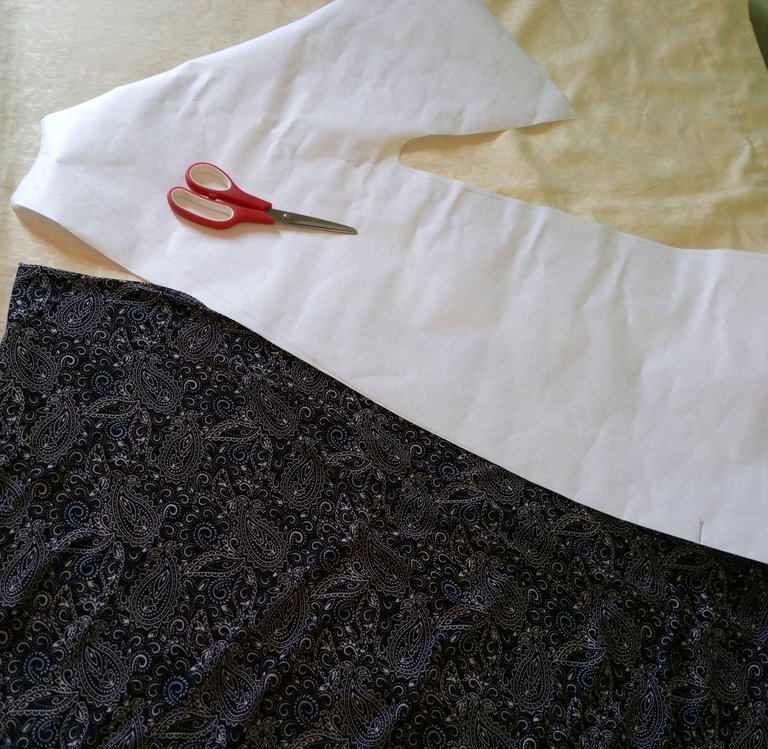
I started watching tutorials, where there are thousands of ways to make a kimono; however, I could not get where to start, because I wanted it to my size, then I remembered that I have an ideal robe for a pattern, that is a bathrobe, but it has a design like what I was looking for, so with this robe, and a bond paper, I made a pattern that looked great, a little smaller because of the size of the paper, but I knew it would look great, if I added a few extra centimeters.
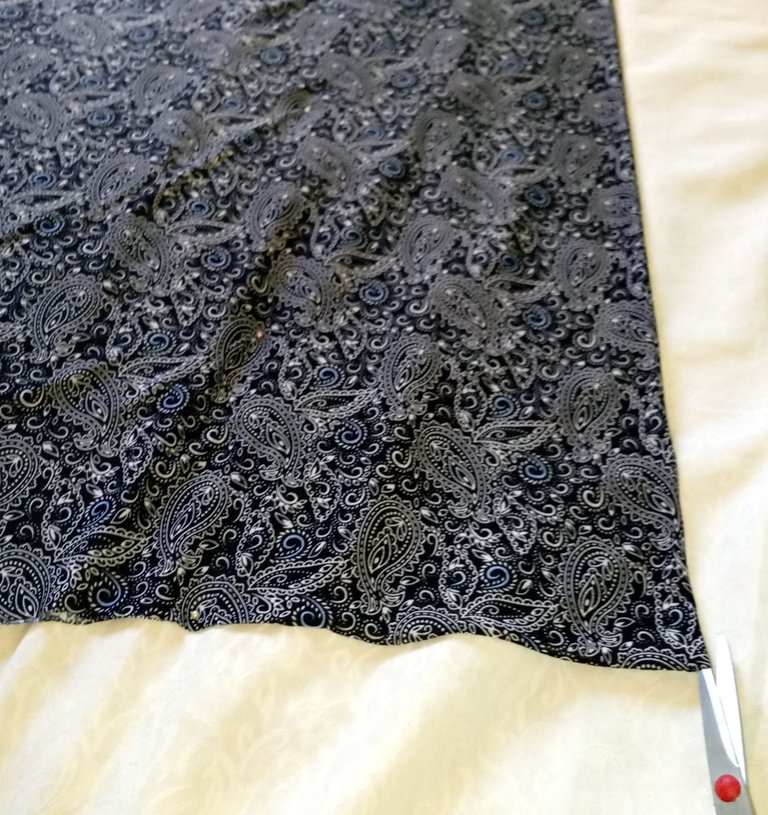
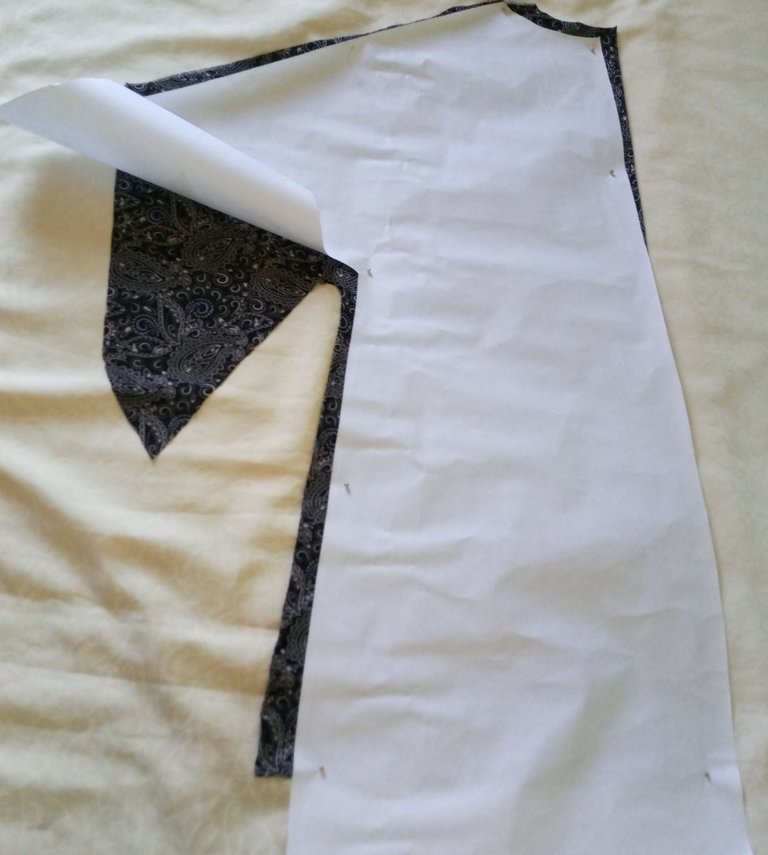
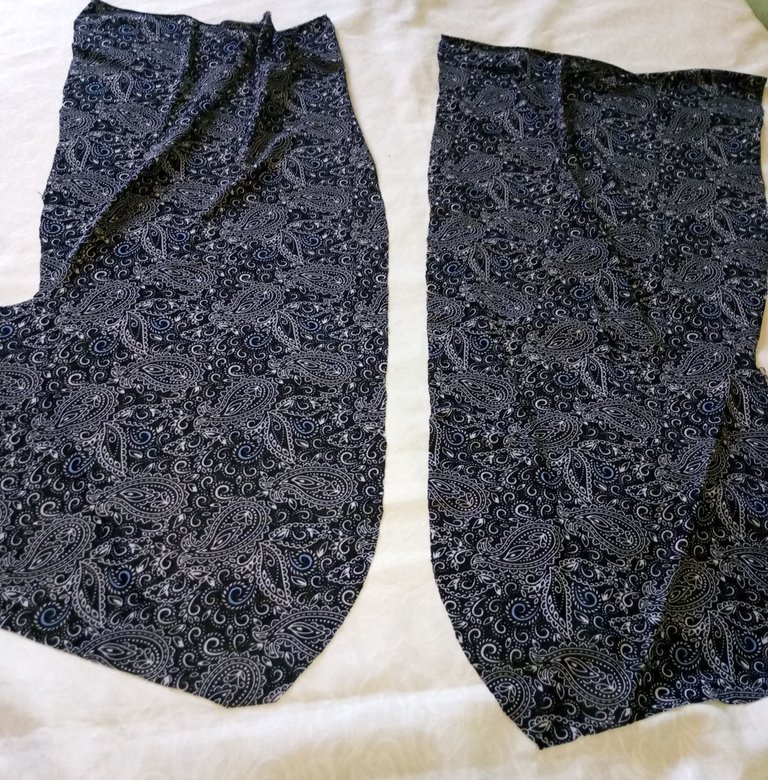
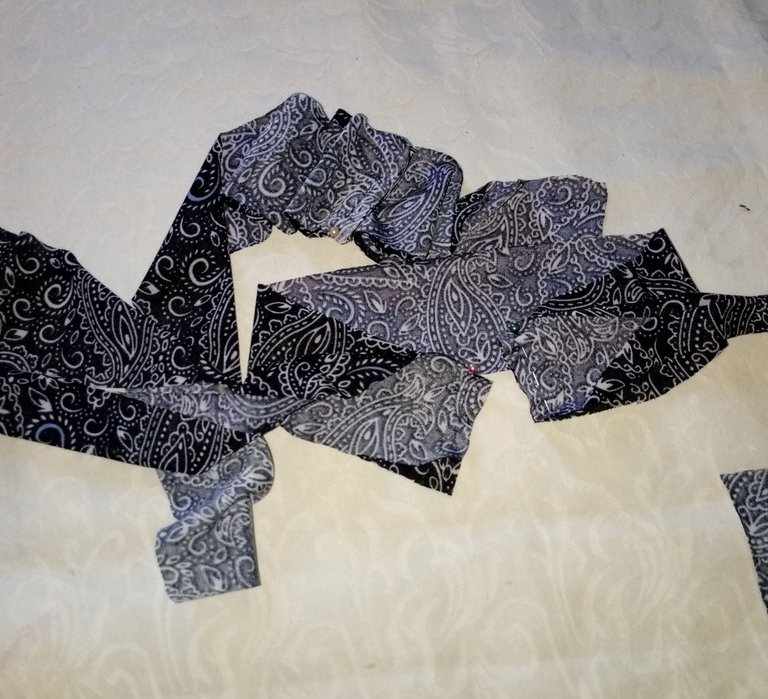
After I made the pattern, I started cutting the fabric, I placed the fabric on the bed to help me with the pins, because the fabric is so soft that it runs, and of course, you have to put pins on it, so it doesn't roll when you cut it.
Next fold the fabric in half, and cut 2 pieces, from one of the pieces cut the back part first.
Antes de empezar a cortar pensé mucho como haría para cortar las piezas, no tenía un patrón guía, ni nada, pero me gustan mucho los blusones, y quería un estilo asiático.
Comencé viendo tutoriales, donde salen miles de formas para hacer un kimono; sin embargo, no conseguía por donde empezar, ya que lo quería a mi talla, en eso recordé, que tengo una bata ideal para un patrón, esa una bata de baño, pero tiene un diseño como lo que yo buscaba, así que con esta bata, y un papel bond, hice un patrón que me quedo genial, un poco más pequeño por el tamaño del papel, pero sabía que me iba a quedar muy bien, si le sumaba algunos centímetros de más.
Después que hice el patrón, emprendí a cortar la tela, coloque la tela sobre la cama para ayudarme con los alfileres, ya que la tela es tan suave que corre, y por sí, de sí, hay que colocarle alfileres, para que no se ruede al cortarla.
Enseguida doble la tela por la mitad, y corte 2 piezas, de una de las piezas corte primero la parte trasera.
 |  |  |
|---|
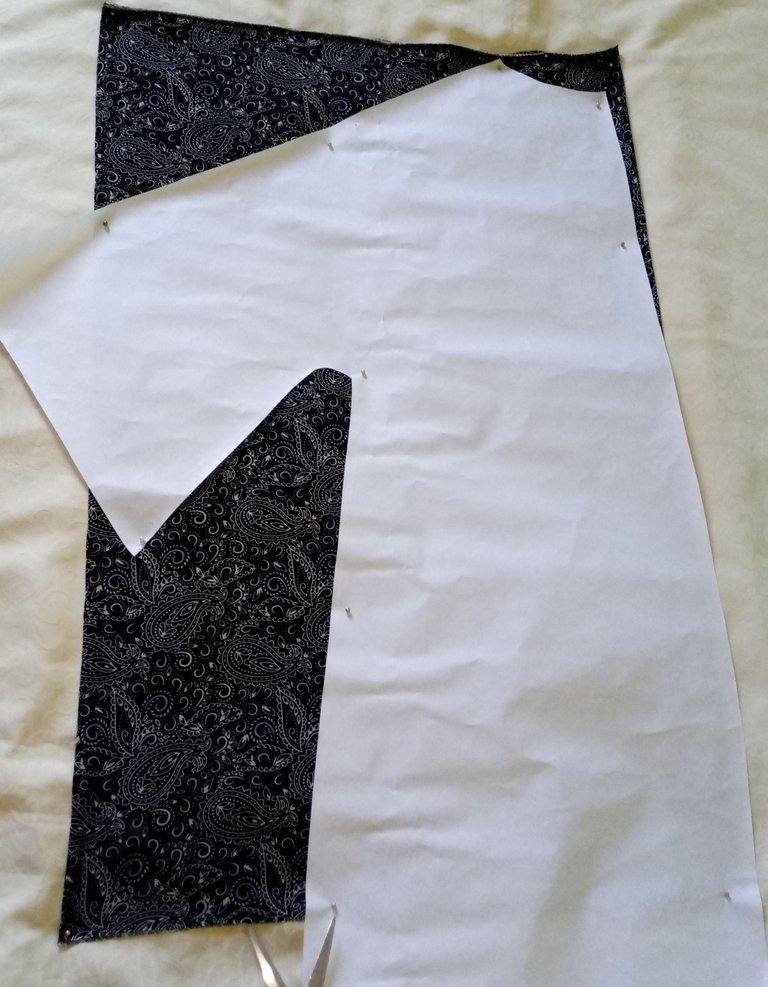
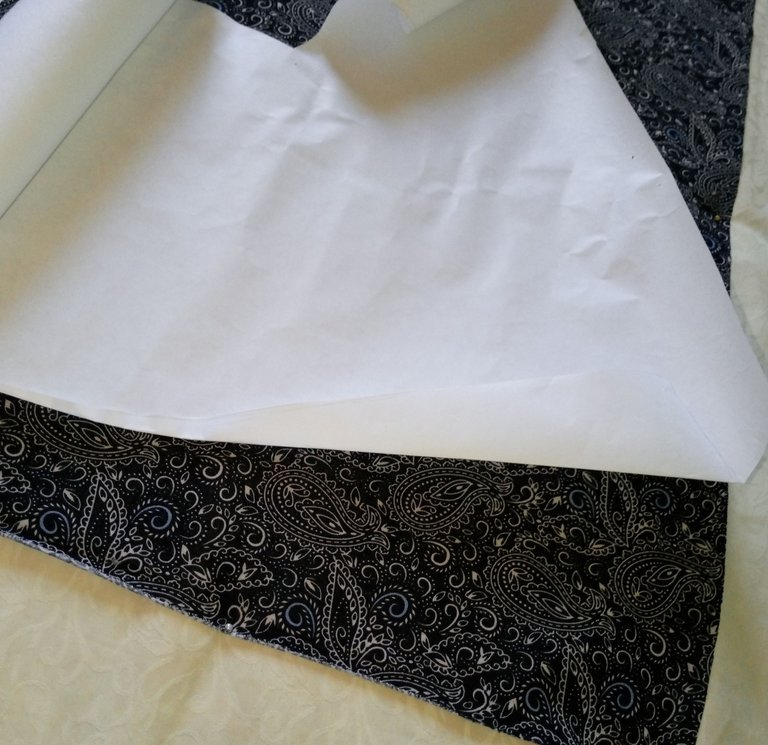
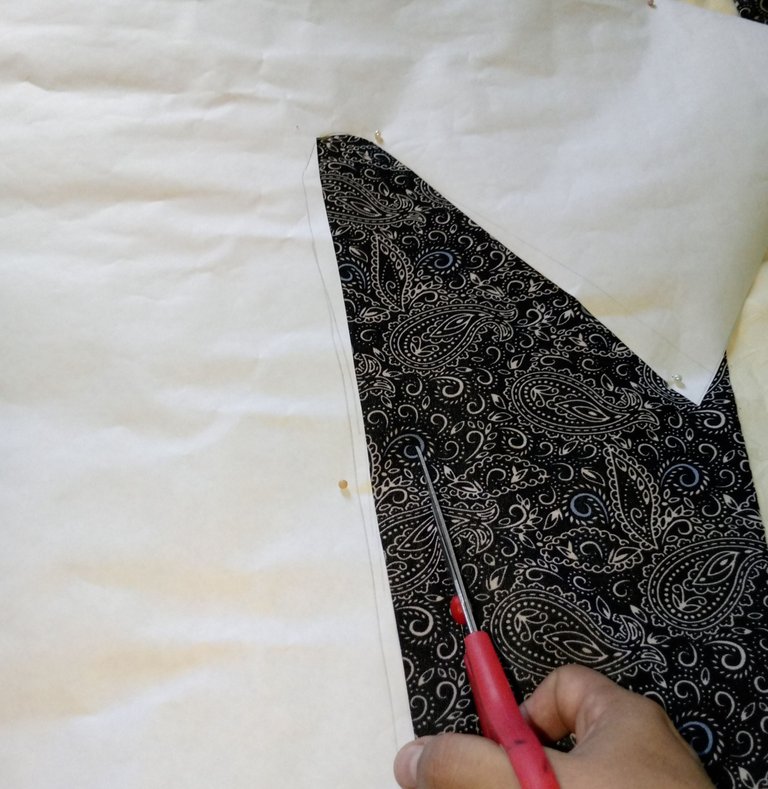
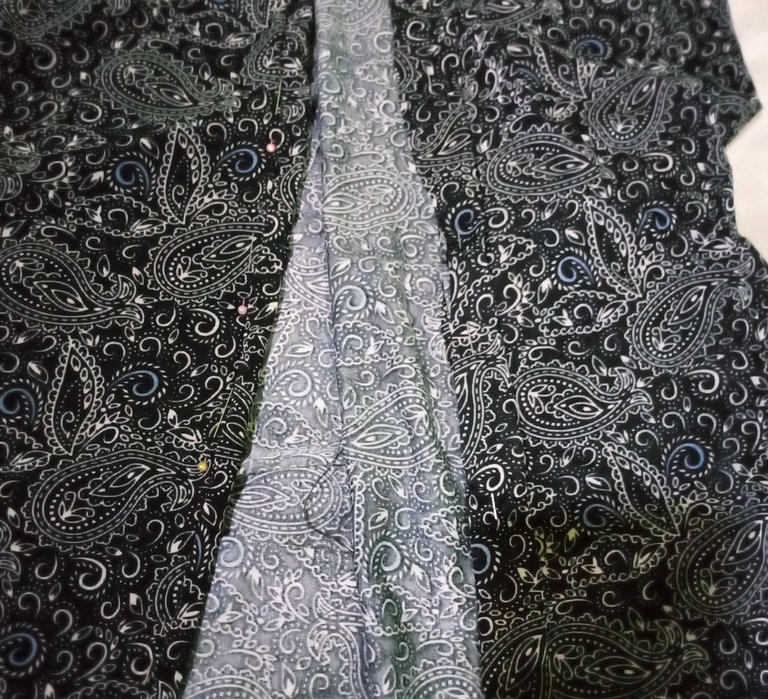
Before cutting the front pieces, I folded part of the pattern, which goes from the neck to the waist, to make a semi-curved shape from the center lines of the kimono opening.
From the other half of the fabric, I cut 2 pieces that I also folded in half, to make the right side piece, and the left side piece, individually, I did not want to cut the two fabrics together to avoid making a mistake, and then I would have the two equal sides, on the same side; from experience as an apprentice, it has happened to me, and I did not want to cry from frustration, and with how delighted I was with the fabric, it would be a shame, it was better to be safe than sorry.
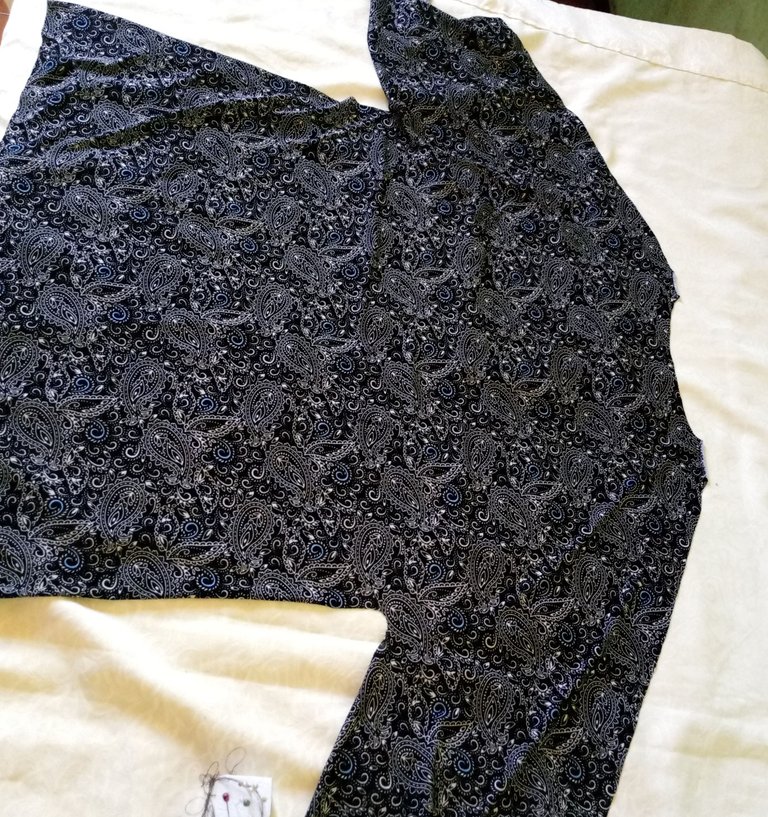
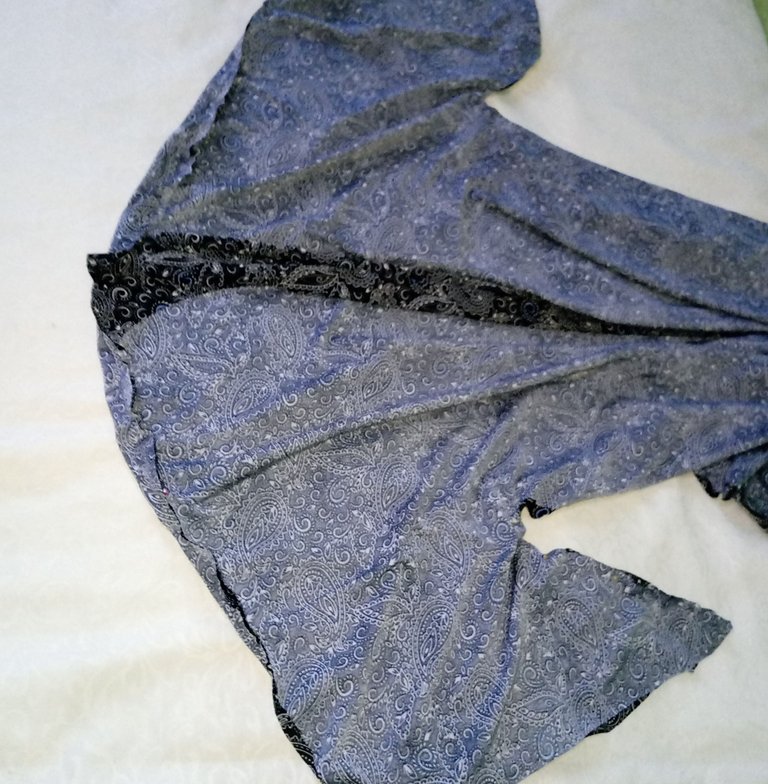
After I cut the 3 pieces, I faced them to correct a little the details, after I was sure that everything gave a good result, I fixed the pieces with pins and went to sew them on the machine.
Antes de cortar las piezas delanteras, doble parte del patrón, que va desde el cuello hasta la cintura, para hacerle una forma de semi curva desde las líneas del centro de la abertura del kimono.
De la otra mitad de la tela, corte 2 piezas que doble también por la mitad, para hacer la pieza de lado derecho, y la del lado izquierdo, individualmente, no quise cortar las dos telas juntas para no equivocarme, y que luego me quedasen los dos lados iguales, a un mismo costado; por experiencia de aprendiz, me ha pasado, y no quería llorar de la frustración, y con lo encantada que estuve con la tela, sería una lástima, mejor fue prevenir para no lamentar.
Después que corte las 3 piezas, las enfrente para corregir un poco los detalles, después que estuve segura de que todo dio un buen resultado, fije las piezas con alfileres y me fui a coserlas en la máquina.
 |  |  |  |
|---|
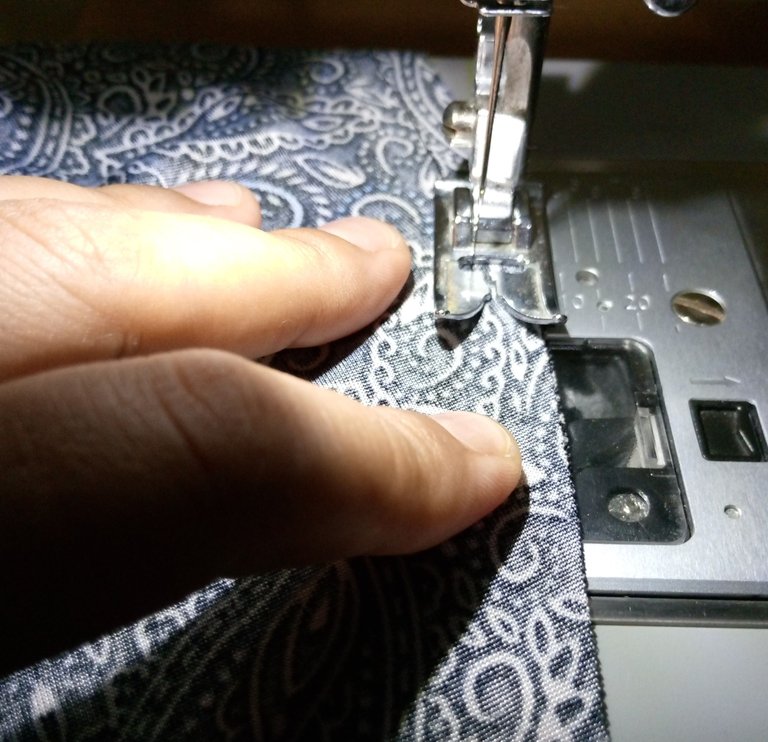
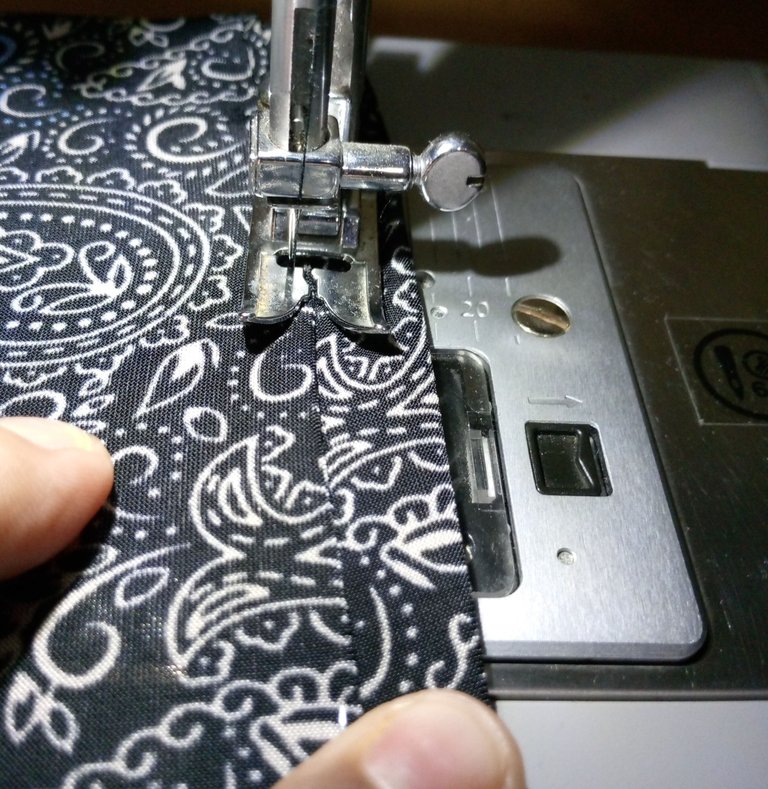
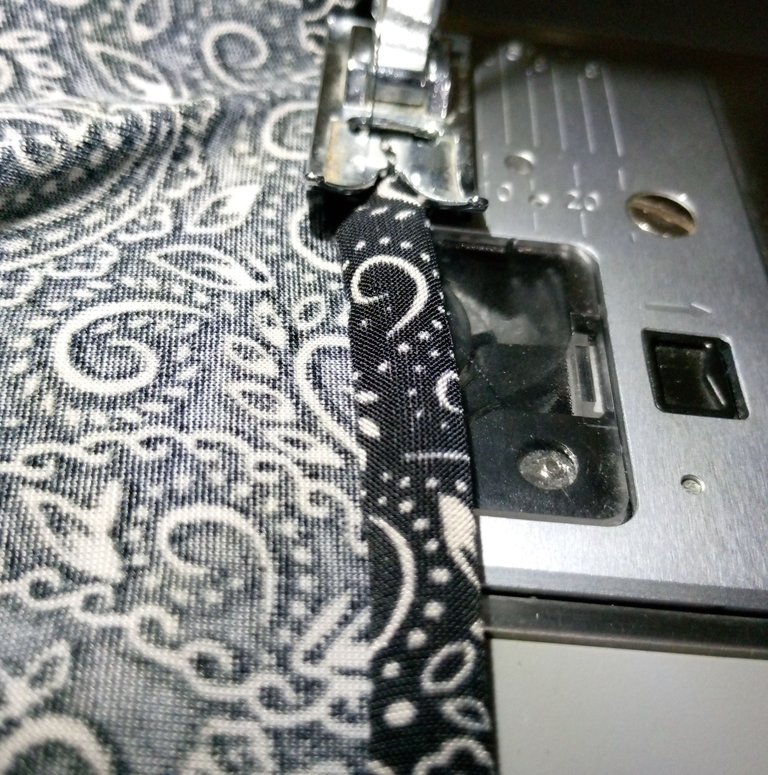
I sewed all the parts of the garment, then for the opening on the front side, cut a strip with the remaining fabric, to sew it all around the front edge, for better details.
Cosí todas las partes de la prenda, después para la abertura del lado delantero, corte una tira con el restante de la tela, para coserla por toda la orilla delantera, para mejores detalles.
 |  |  |
|---|
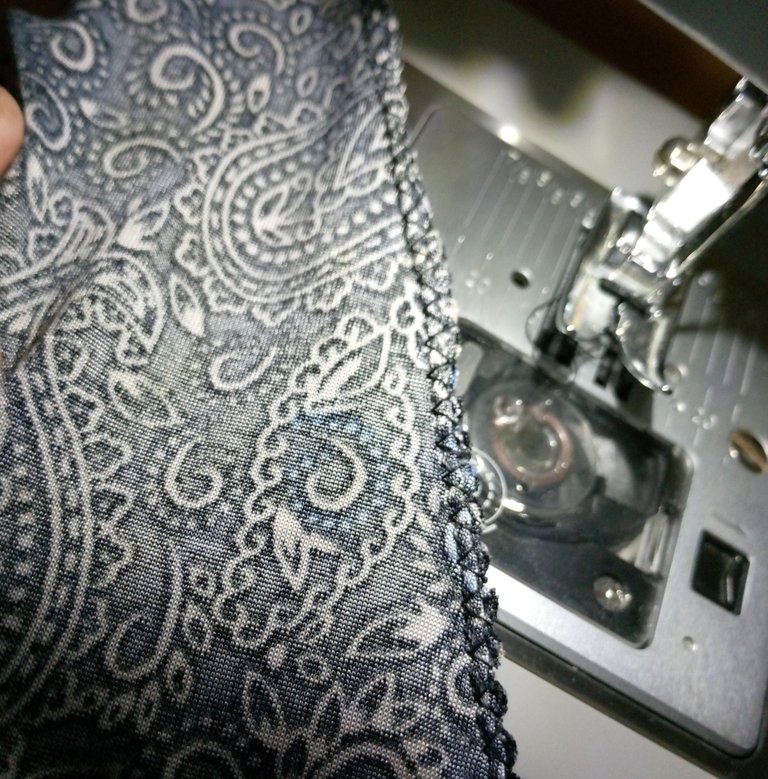
I sewed ruffles, and with this step I finished my sewing project for the day.
One thing to think about, is that as we are learning, we are adjusting details.
I hope you liked it 💙💜😊.
Cosí ruedos, y con este paso terminé con mi proyecto de costura del día.
Una de las cosas que hay que pensar, es que a medida que vamos aprendiendo, vamos ajustando detalles.
Espero les haya gustado 💙💜😊

social networks / redes sociales

Traductor Deepl
Translated Deepl
Ediciones Canva
Editions Canva


Quedó hermoso, amiga. Siempre he admirado a las modistas o costureras, me parecen que hacen magia con un retazo de tela. Felicidades, @lauracraft.
Muchas gracias amiga, siempre disfruto mucho lo que hago, soy amante de las costuras.
¡Bendiciones!
Lo maravilloso de estas prendas es que te hacen sentir muy cómodas y al mismo tiempo muy femenina.
Te quedó fantástico.
Gracias amiga, es maravilloso, adoro usar estas prendas.
I love it, the fabric is spectacular
Thank you so much, yes, it's a super nice fabric, glad you liked it.🤗💜
Beautiful kimono! Love the fabric and the way you upcycled it into a stunning garment. This is really perfect for a first time 💜
Thank you very much, you flatter me dear.