Espíritu de la navidad en el arte del foami / (ESP/ENG)
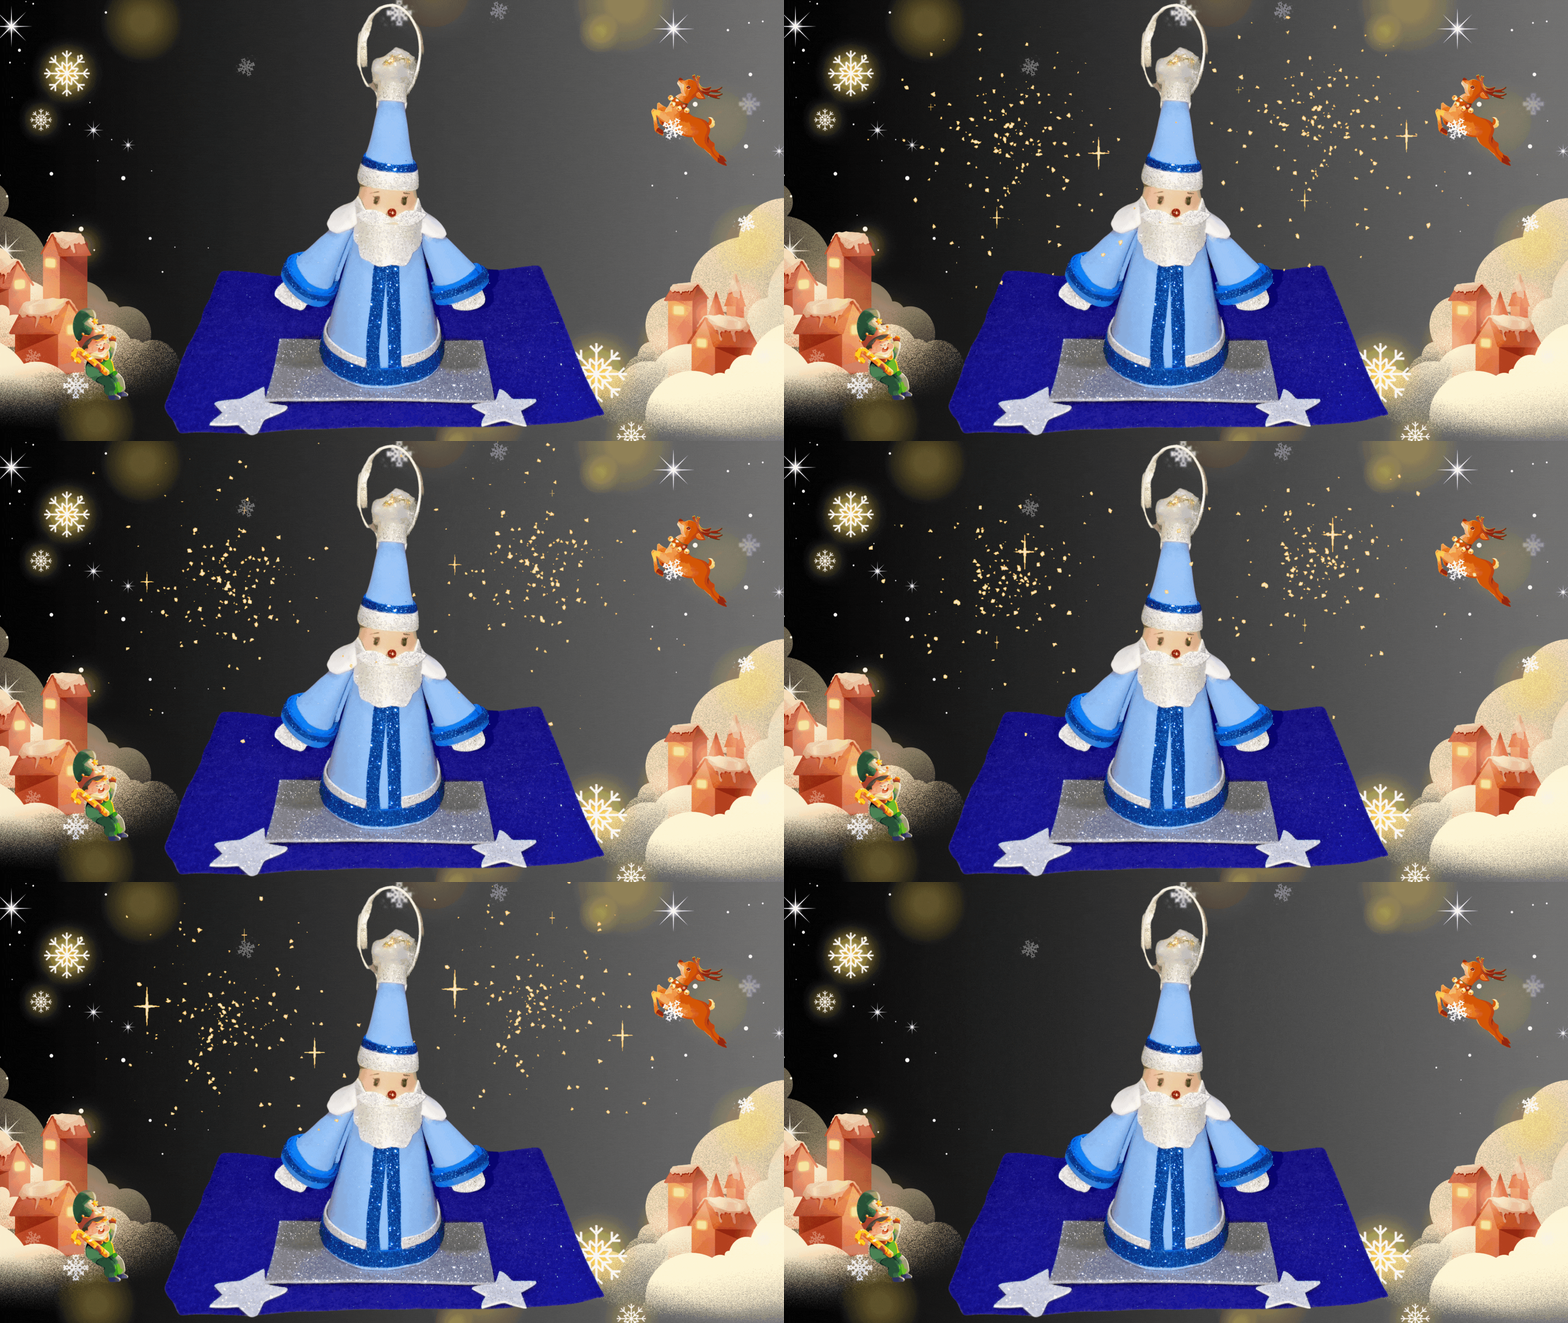
Hola mis queridos amigos artesanos, feliz sábado para todos, deseo que estén bien.
Por aquí les comparto un lindo espíritu de la Navidad para adornar el árbol tradicional de Navidad, es una versión que vi en una tienda, luego lo busque por pinteres y conseguí algunos tips para poder hacerlo, me gusto la idea para compartirles, el proceso de elaboración de este adorno tan significativo.
Según la tradición se cree que el espíritu de la Navidad llega entre las 10 y las 12 de la noche. Se trata de una tradición que se ha extendido por todo el mundo, y se celebra el 21 de diciembre.
Desde la semana pasada me propuse hacer varios adornos decorativos para la Navidad, no quiero dejar pasar la inspiración que nos trae estas fechas de celebración decembrina.
Espero que les guste la idea.
Las fotografías que verán a continuación, fueron tomadas con mi teléfono modelo TECNO SPARK GO 2024.
Hello my dear craft friends, happy Saturday to all, I hope you are well.
Here I share with you a nice Christmas spirit to decorate the traditional Christmas tree, it is a version that I saw in a store, then I looked for it on pinteres and got some tips to do it, I liked the idea to share with you, the process of making this ornament so significant.
According to tradition it is believed that the spirit of Christmas arrives between 10 and 12 o'clock at night. It is a tradition that has spread all over the world, and is celebrated on December 21.
Since last week I set out to make several decorative ornaments for Christmas, I do not want to pass up the inspiration that brings us these dates of Christmas celebration.
I hope you like the idea.
The pictures you will see below were taken with my phone model TECNO SPARK GO 2024.

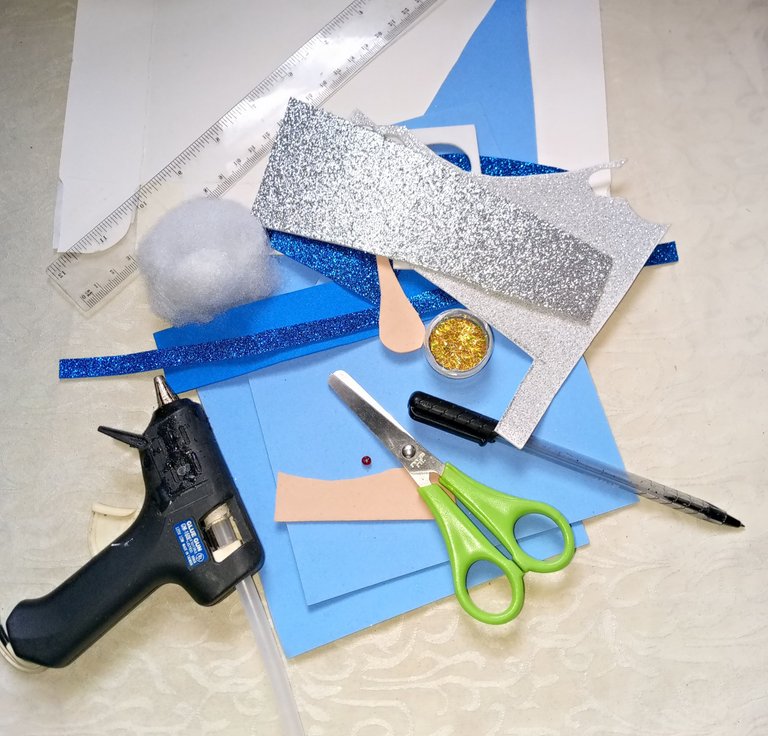
Los materiales principales que utilice para hacer esta manualidad, fueron; retazos de foami, necesarios para aprovechar la oportunidad de seguirle sacando provecho en este proyecto y más, ya que no se necesita tener grandes cantidades de materiales para hacer esta versión tan bonita.
Además de foami, utilicé silicona en barra, una tijera, brillo dorado, un lápiz, bolígrafo negro, una regla, guata, y cartón delgado.
A partir de aquí vamos a comenzar con esta manualidad navideña.
The main materials I used to make this craft, were; scraps of foami, necessary to take advantage of the opportunity to continue taking advantage of this project and more, since you don't need to have large amounts of materials to make this beautiful version.
Besides foami, I used silicone stick, a scissors, gold glitter, a pencil, black pen, a ruler, wadding, and thin cardboard.
From here we are going to start with this Christmas craft.

 |  |  |
|---|
Mi experiencia en el proceso de la elaboración de esta manualidad
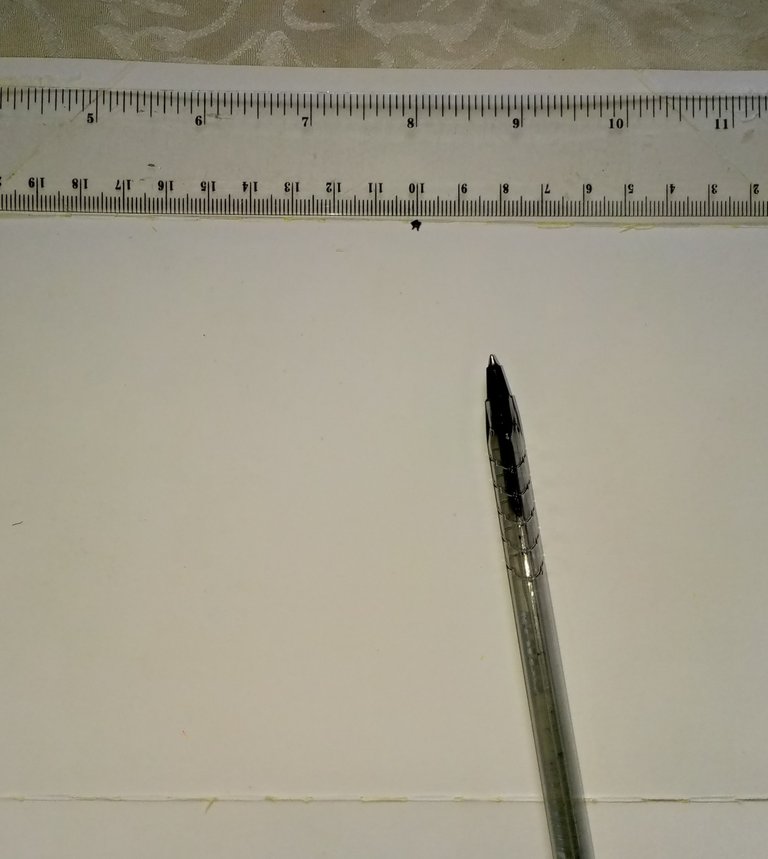
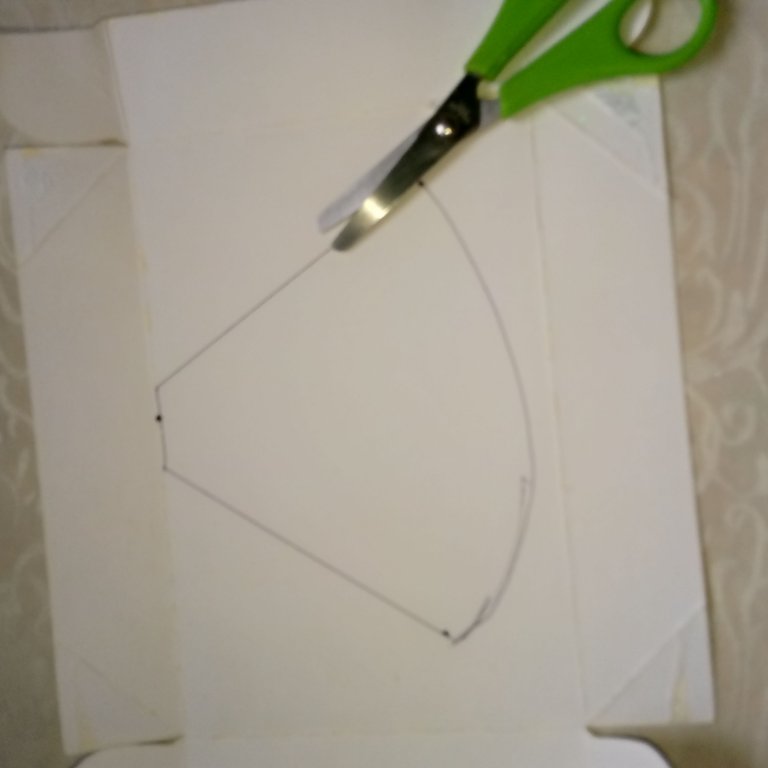
Lo primero que hice fue colocar el cartón sobre la mesa de trabajo y con la regla medí un punto centrado, este punto lo saque a partir del tamaño que tenía en mente hacer, así que medí 20 cm de largo horizontal, con punto en 10 cm para cada lado.
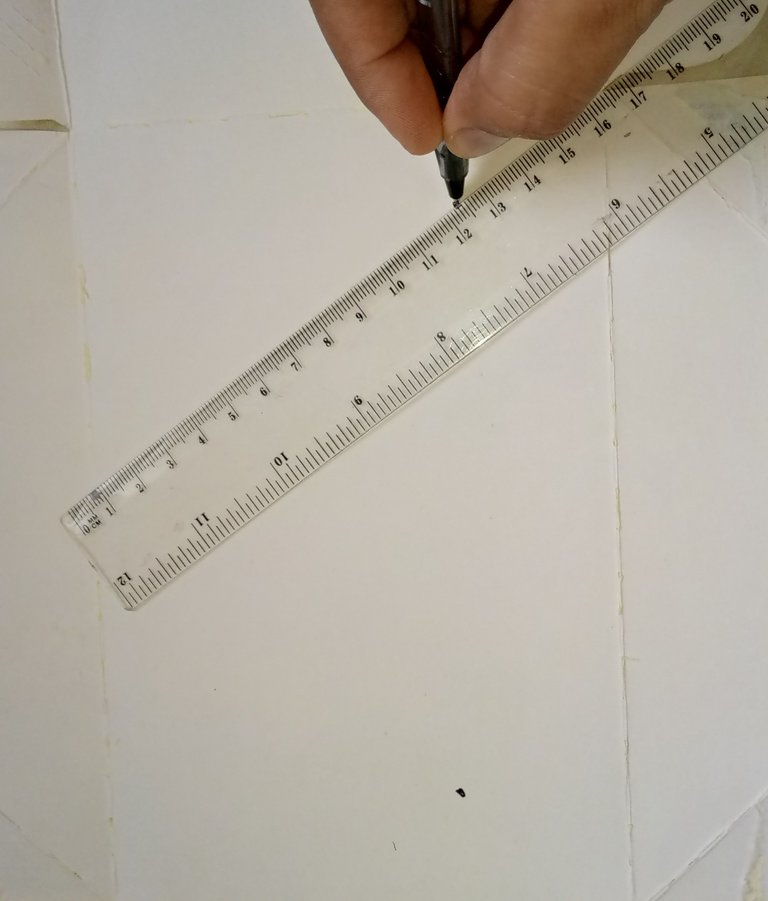
Desde el punto centrado saque un punto por cada lado de 12,5 cm, después uni los puntos e hice una forma de abanico, forma que no fue del todo exitosa porque al darle la forma de cono, no quedaba firme debido a la forma arqueada de abajo, pensé en recortarle esa forma y hacerla más recta.
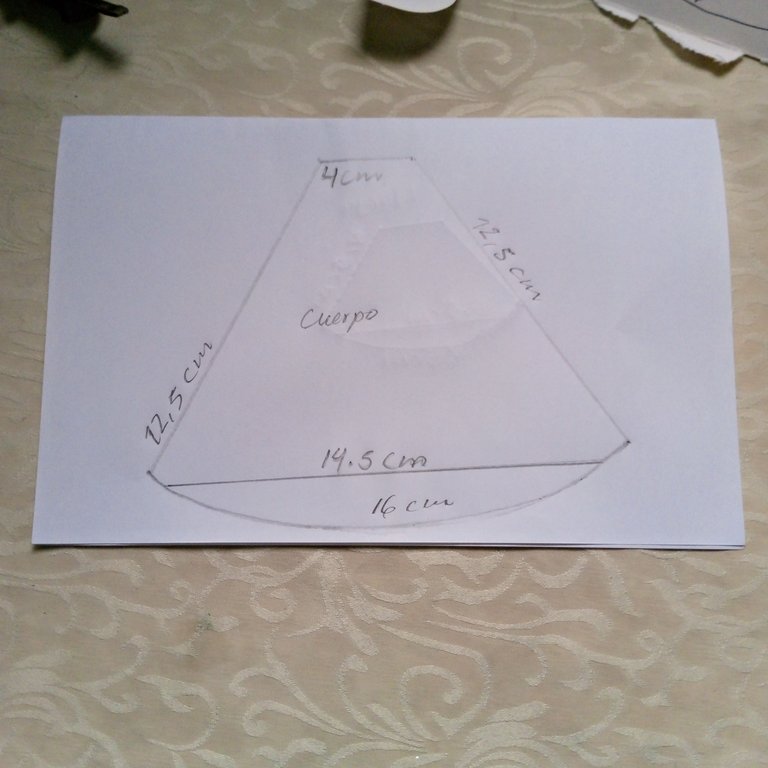
La forma total del cono para el cuerpo va a quedar en las siguientes medidas; lado superior 4 cm, laterales 12.5 cm de punto a punto y lado inferior 14,5 cm.
My experience in the process of making this handicraft
The first thing I did was to place the cardboard on the work table and with the ruler I measured a centered point, this point I took it from the size I had in mind to make, so I measured 20 cm long horizontally, with a point on 10 cm for each side.
From the centered point I drew a point on each side of 12.5 cm, then I joined the points and made a fan shape, a shape that was not entirely successful because when I gave the cone shape, it was not firm due to the arched shape below, I thought about cutting that shape and make it straighter.
The total shape of the cone for the body will be as follows; top side 4 cm, sides 12.5 cm from point to point and bottom side 14.5 cm.

 |  |  |
|---|
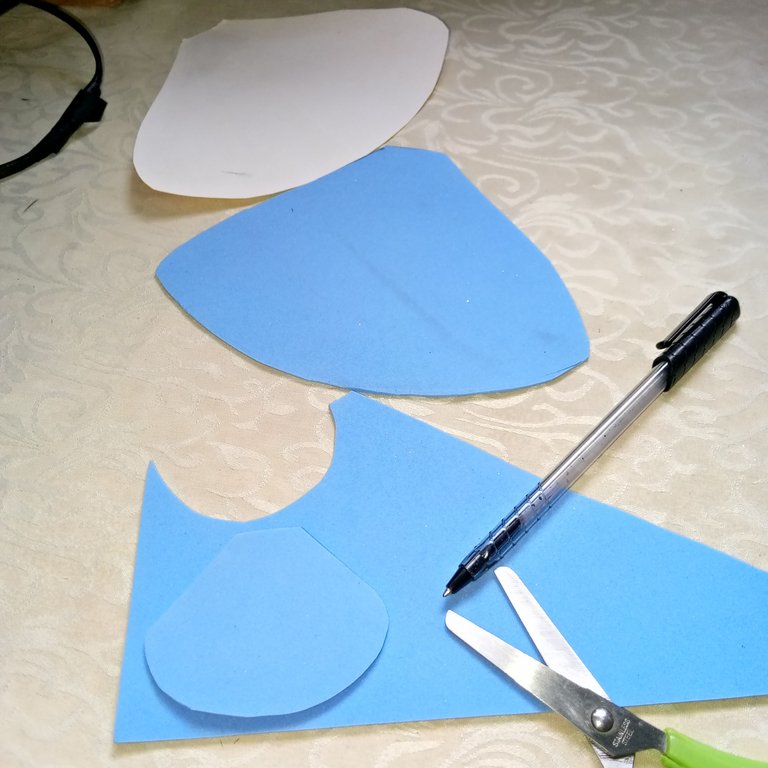
Recorte el cartón y al doblarlo y darle la forma de cono, si logre el resultado que buscaba, pensé que hacer esta simple forma de cono iba a ser más sencillo, esta primera forma la hice para darle mayor estabilidad si se desea colocar en una mesita, incluso de ser para una mesita, sería muy buena idea colocarle arroz o algún otro relleno para darle peso, y evitar que se caiga con facilidad, ya que el fomi es un material bastante liviano.
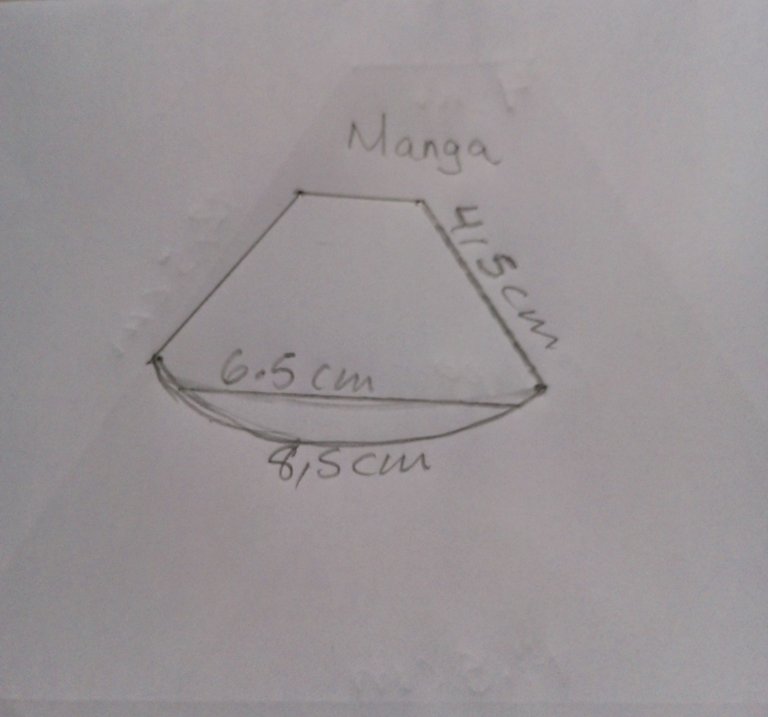
Lo siguiente fue, hacer las mangas y el gorro, los mismos están hechos con la misma técnica pero con distintas medidas.
Lado superior 3 cm, laterales 4,5 cm, inferior 6,5 cm, estas medidas las lleva al foami azul y las recorte.
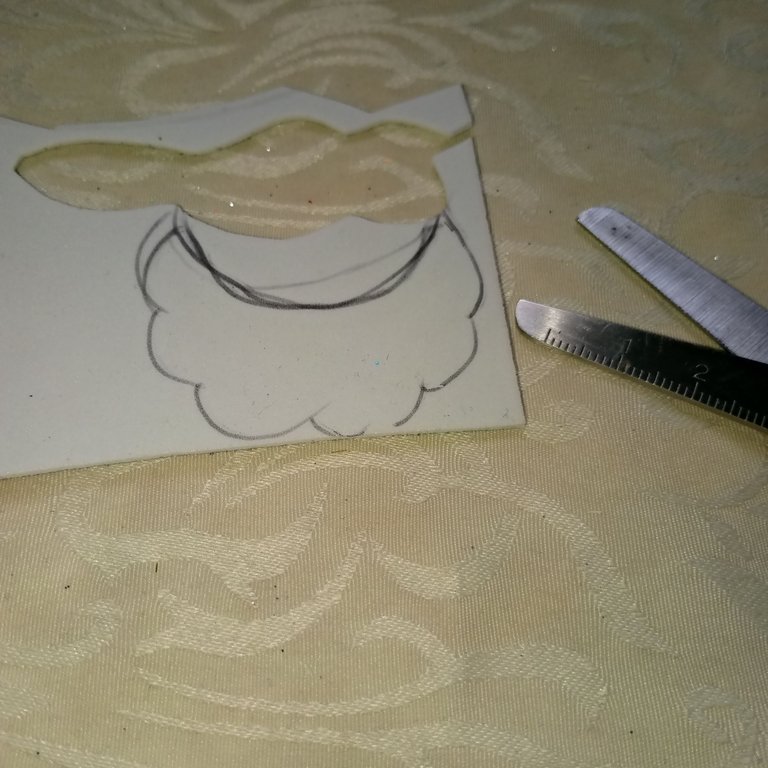
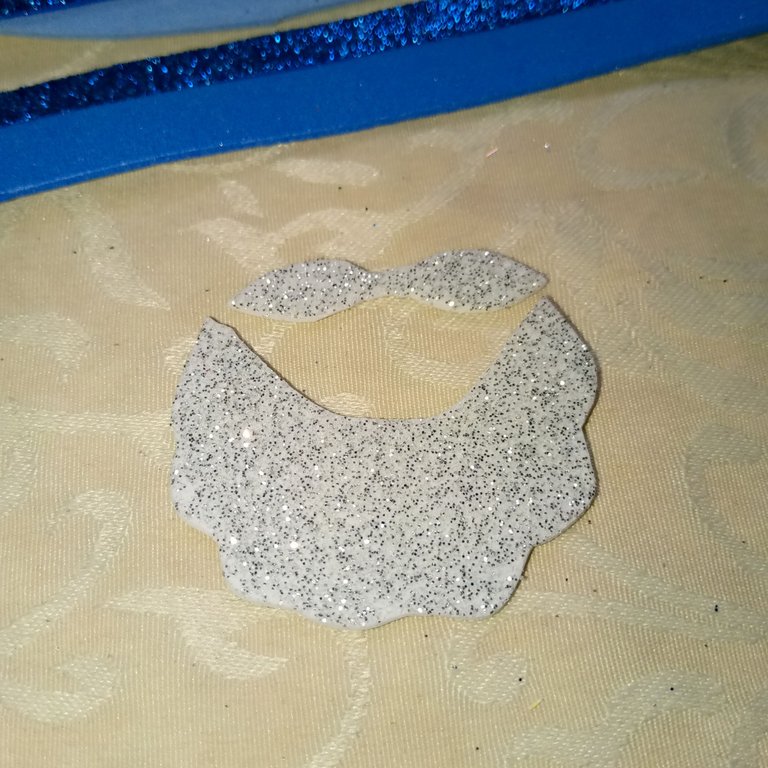
Después de terminar de diseñar la pieza principal, empecé a diseñar el resto de las piezas, como las mangas, barba y rostro del personaje, estas piezas como la barba a preferencia, yo la hice con foami escarchado, también se puede hacer con algodón o foami blanco sin escarchas.
I cut the cardboard and when I folded it and gave it the shape of a cone, I achieved the result I was looking for, I thought that making this simple cone shape would be easier, I made this first shape to give it more stability if you want to place it on a table, even if it is for a table, it would be a good idea to put rice or some other filling to give it weight, and prevent it from falling easily, since the fomi is a fairly light material.
The next thing was to make the sleeves and the hat, they are made with the same technique but with different measures.
Top side 3 cm, sides 4.5 cm, bottom 6.5 cm, these measures take them to the blue foami and cut them out.
After finishing the design of the main piece, I started to design the rest of the pieces, like the sleeves, beard and face of the character, these pieces like the beard to preference, I made it with frosted foami, you can also do it with cotton or white foami without frosting.

 |  |  |
|---|
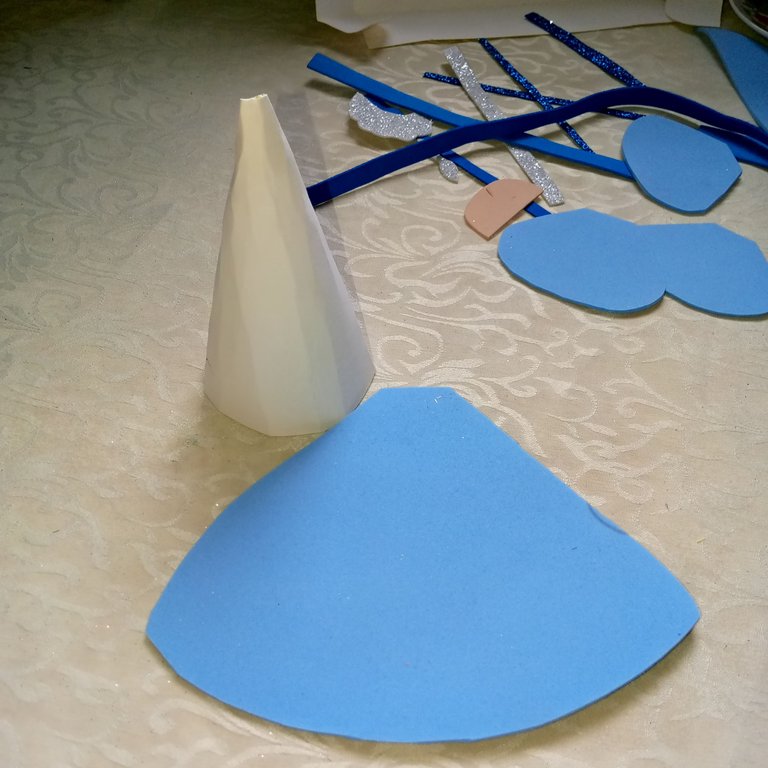
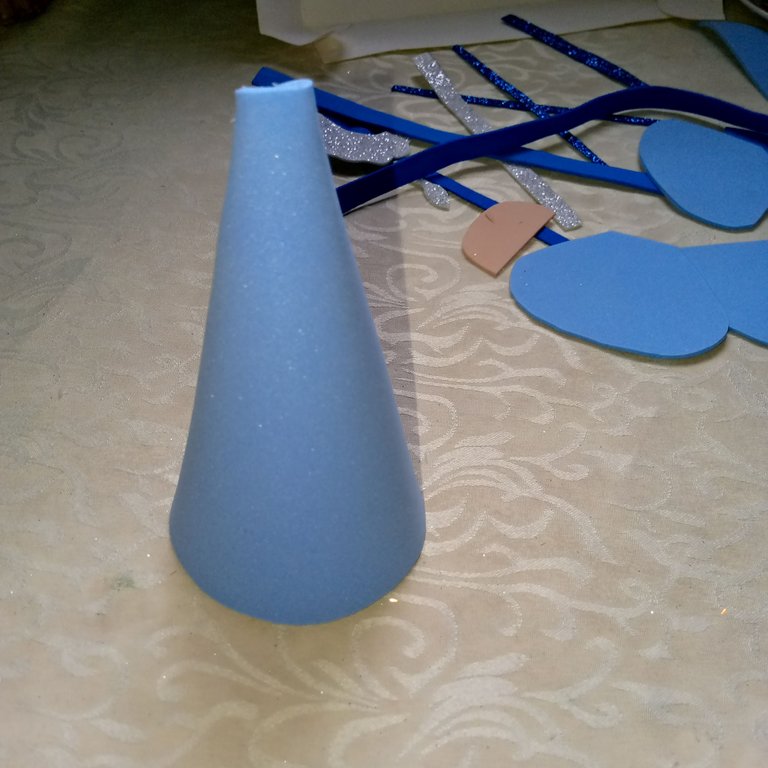
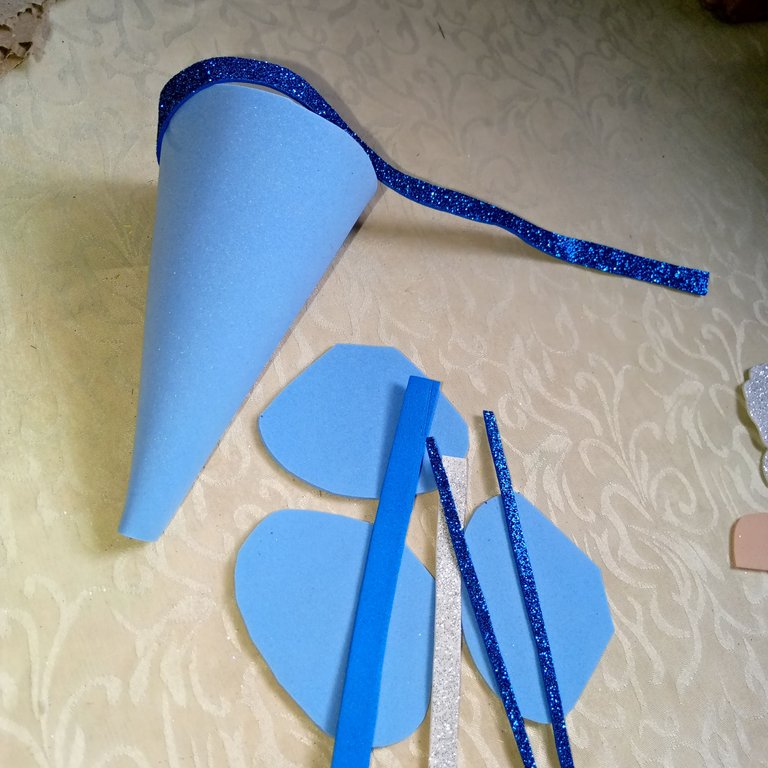
Pueden notar como quedo el cono base, y el sobre cono en foami, en este punto también tengo todas las demás piezas cortadas lista para pegar.
You can see how the base cone and the top cone in foami look like, at this point I also have all the other pieces cut and ready to glue.

 |  |  |
|---|
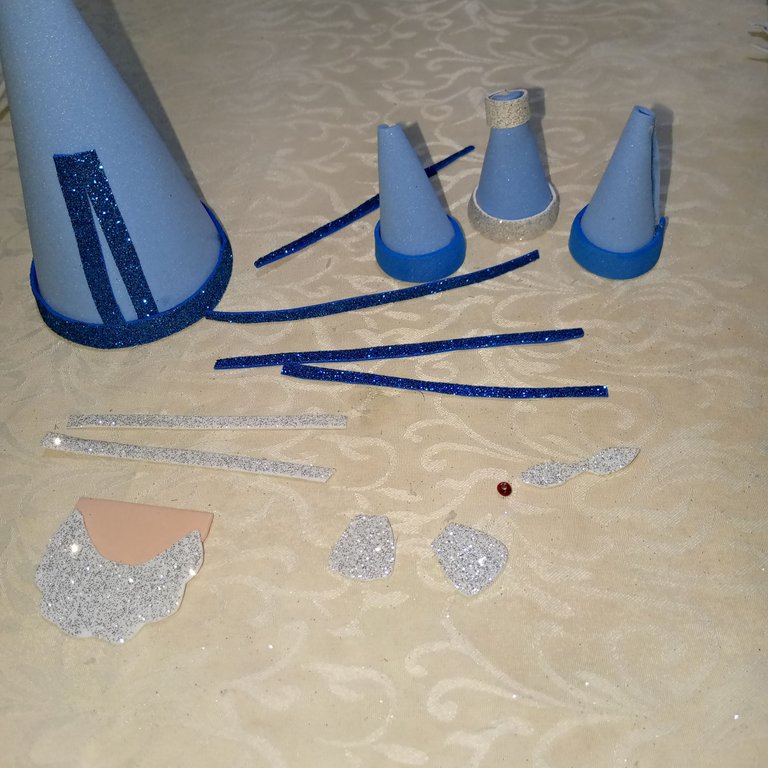
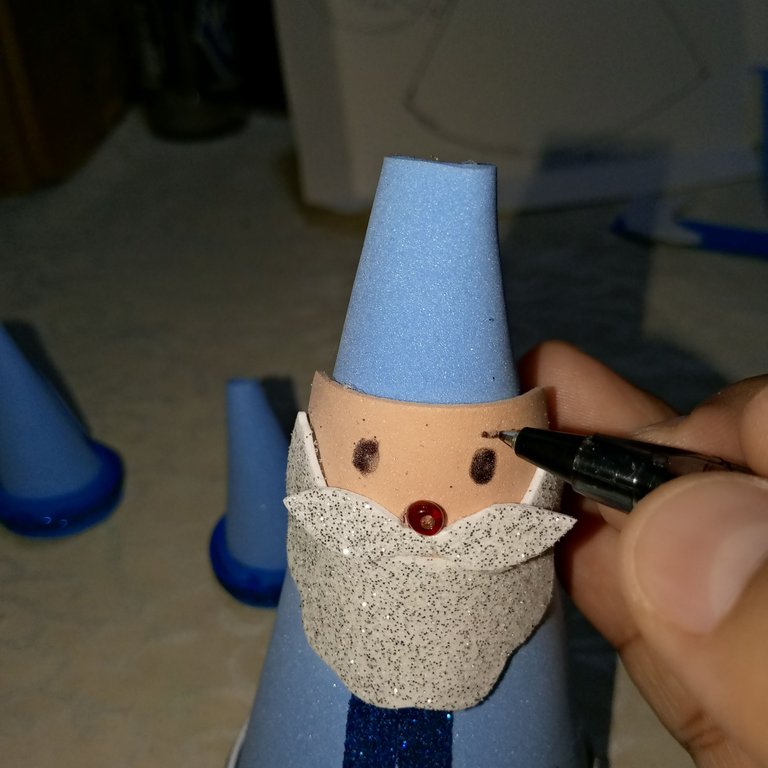
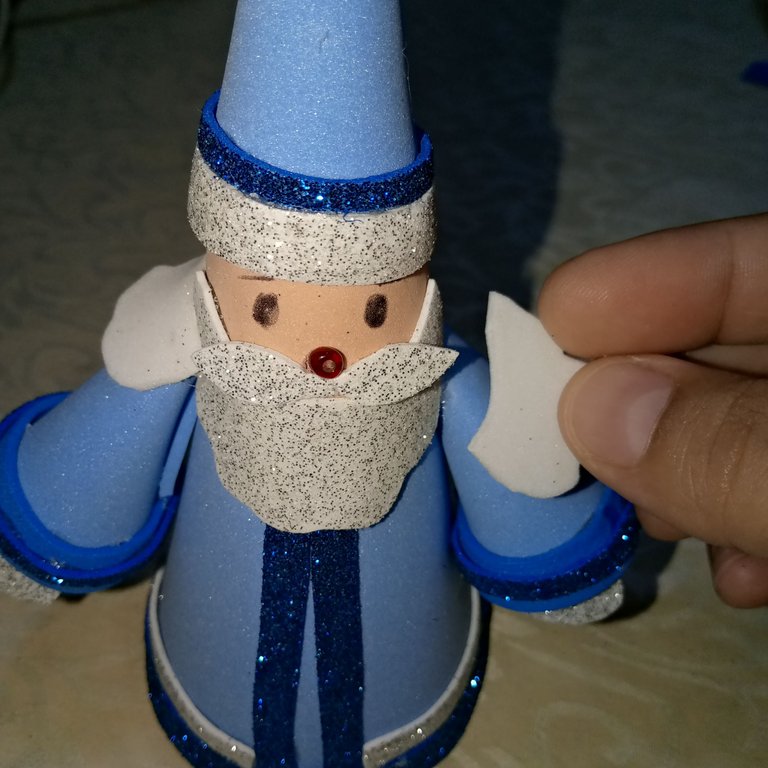
Decore con cintas azules de foami escarchado y cintas plateadas con foami escarchado, todo el vestuario, pegue con silicona caliente y le di forma a mi manualidad del día.
I decorated with blue frosted foami ribbons and silver frosted foami ribbons, glued with hot glue and shaped my craft of the day.

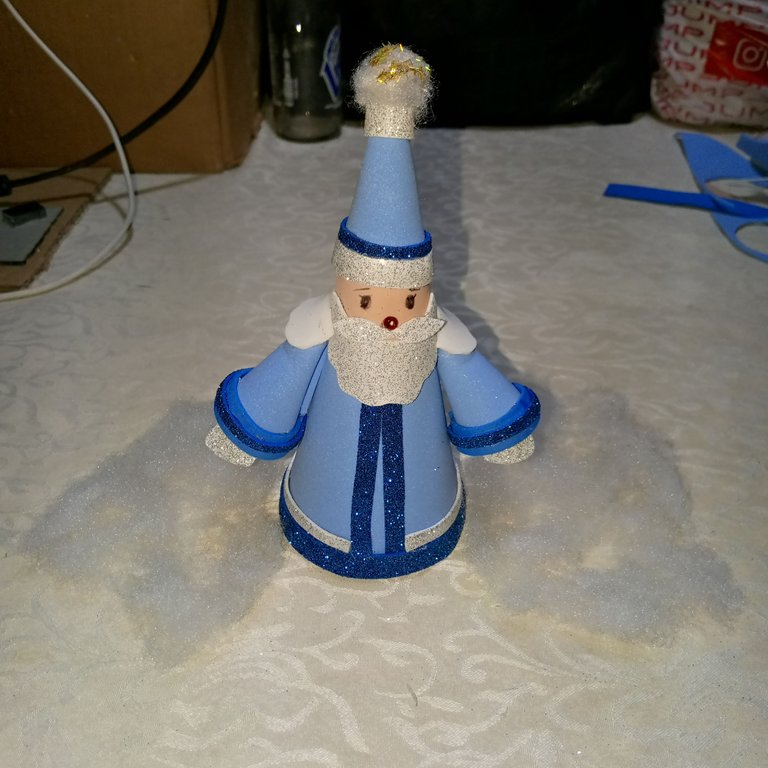
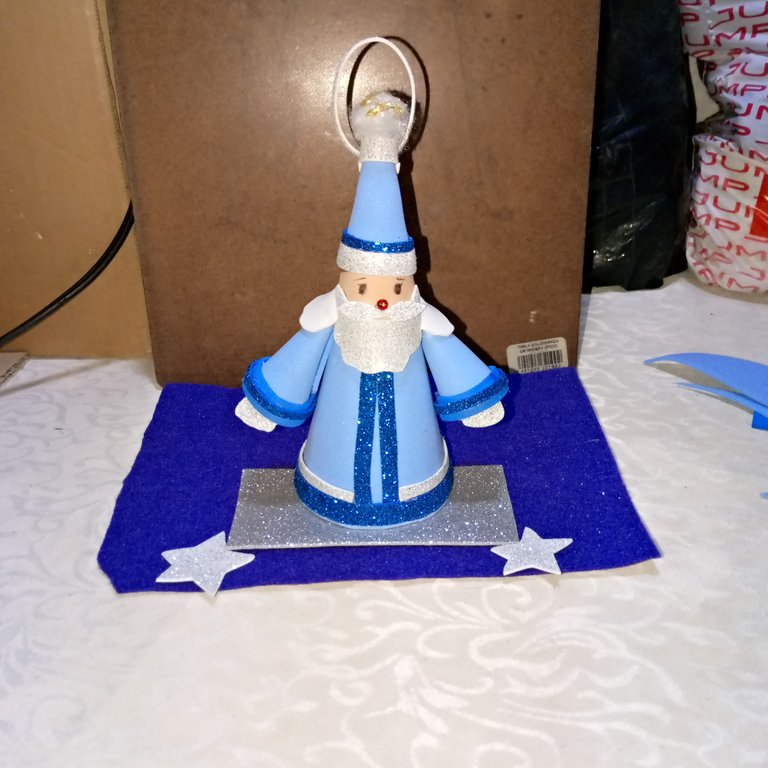
Todo el proceso fue un éxito, mi adorno quedo impresionante, espero que sigan animándose y a vivir la experiencia de poder hacer sus propios manuales para esta Navidad.
Les deseo un feliz mes lleno de motivación y principalmente salud, bendiciones para todos.
The whole process was a success, my ornament was awesome, I hope you continue to be encouraged and to live the experience of being able to make your own manuals for this Christmas.
I wish you a happy month full of motivation and mainly health, blessings to all.

social networks / redes sociales
Traductor Deepl
Translated Deepl
Ediciones Canva
Editions Canva


Que lindo quedó. Lo adore amiga
Gracias amiga, me siento muy halagada.🙂😊
This is such a beautiful creation. As Christmas draws near we all have to prepare and also get inspired by any and everything. Well done and thanks for sharing.
Thank you for the support and motivation with your kind words.🙂💗
¡Hermoso! Gracias por compartir este paso a paso tan bien explicado, @lauracraft. Hay que aprovechar la inspiración que trae la magia de la Navidad para hacer detalles lindos como este. Espero los próximos que hagas. Saludos, un abrazo.
Gracias cariño, me pones muy feliz con tus hermosas palabras tan halagadoras.
Pronto estaré compartiendo uno que tengo por ahí ya casi listo.
Saludos y un fuerte abrazo.🤗💞
Muy lindo adorno para esta navidad, me encantan estas ideas 🎄 gracias por compartir, felíz sábado!
Gracias por dejar tu comentario motivador mi querida @marile21 😘🤗
Awwwww! Morí de amor! Lo amé te quedó hermoso, quiero uno.
Gracias bella, 😄 estamos a la orden con los pedidos, a donde te lo envió,😆
Que bonito adorno para navidad amiga !! Quedo espectacular el diseńo navideño 😊👏
Gracias amigo, gracias!!, me alegro que te haya gustado. Saludos💙
Congratulations @lauracraft! You have completed the following achievement on the Hive blockchain And have been rewarded with New badge(s)
Your next target is to reach 27000 upvotes.
You can view your badges on your board and compare yourself to others in the Ranking
If you no longer want to receive notifications, reply to this comment with the word
STOP🙂👏
👍👍