Cute kitchen note board (ENG/ ESP)
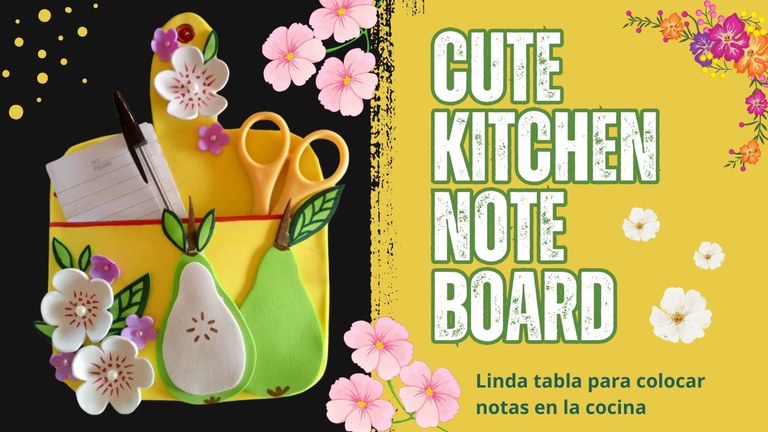
Hello dear crafters, happy Sunday off, it is a great pleasure to greet you, as always with all the love you deserve.
Today I am pleased to share with you a new craft I made inspired by the kitchen, one of the spaces in the house that fills us with happiness, because it is a place where the most delicious recipes are prepared to share with family, and to feed the physical body, as well as spiritual.
This is a nice table to place notes in the kitchen, having a special place to place the daily notes is very important, as we can indicate, a customary place where we will always leave those pending notes.
I invite you to see the process of making this peculiar table.
The pictures you will see below were taken with my phone model TECNO SPARK GO 2024.
Hola queridos artesanos, feliz domingo de descanso, es un gran placer saludarlos, como siempre con todo el cariño que se merecen.
El día de hoy me complace compartir con ustedes una nueva manualidad que hice inspirada en la cocina, uno de los espacios de la casa que nos llena de felicidad, pues es un lugar donde se preparan las más ricas recetas para compartir en familia, y para alimentar el cuerpo físico, así como espiritual.
Se trata de una linda tabla para colocar notas en la cocina, tener un lugar especial para colocar las notas diarias es muy importante, ya que podemos indicar, un lugar de costumbre donde siempre vamos a dejar esas notas pendientes.
Los invito a ver el proceso de elaboración de esta peculiar tabla.
Las fotografías que verán a continuación, fueron tomadas con mi teléfono modelo TECNO SPARK GO 2024.

 |  |  |
|---|
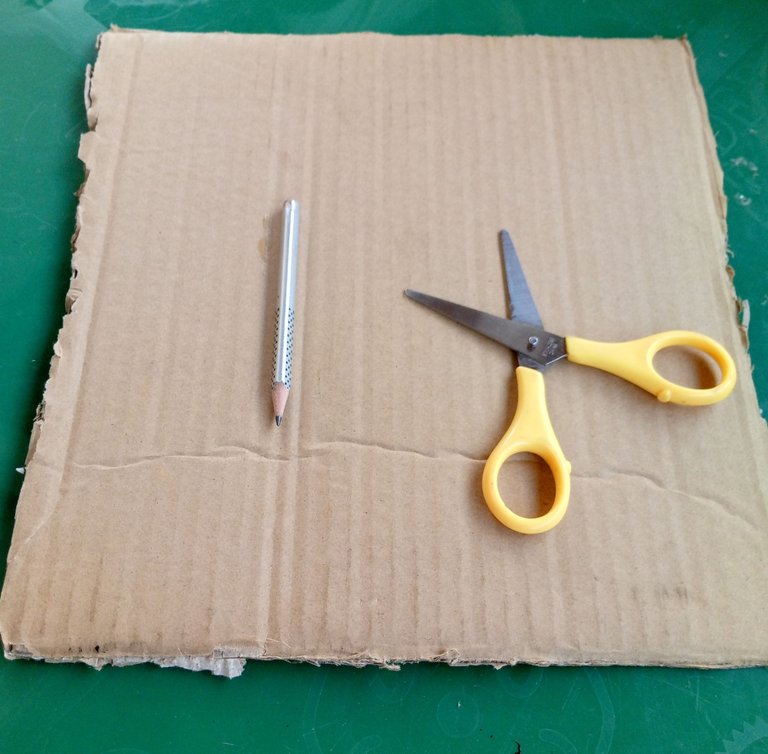
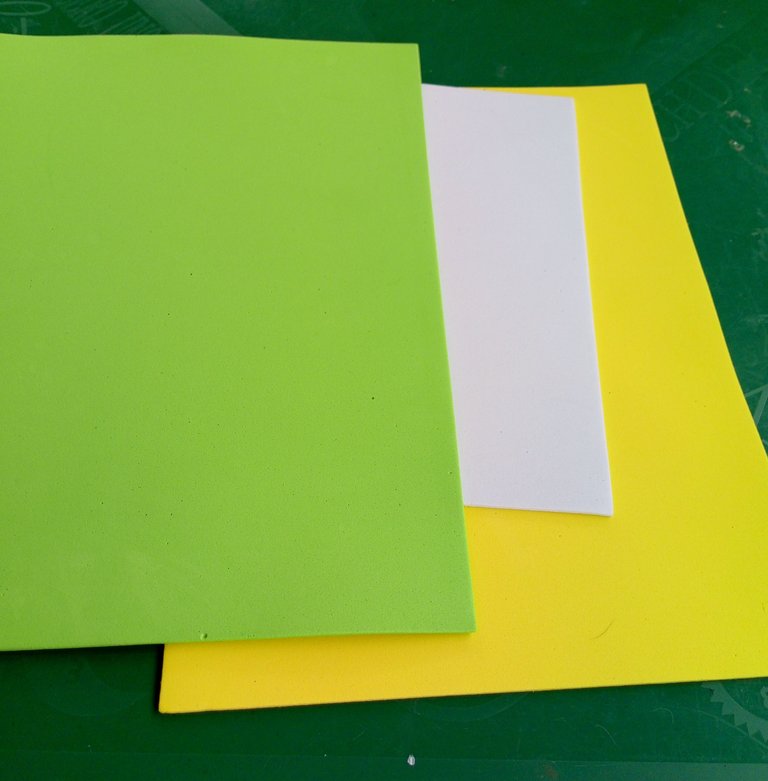
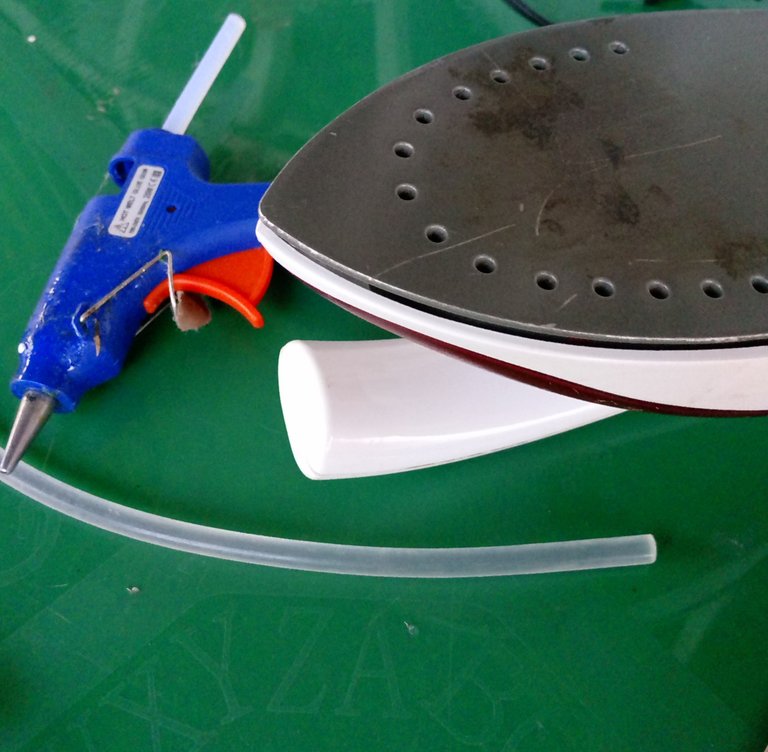
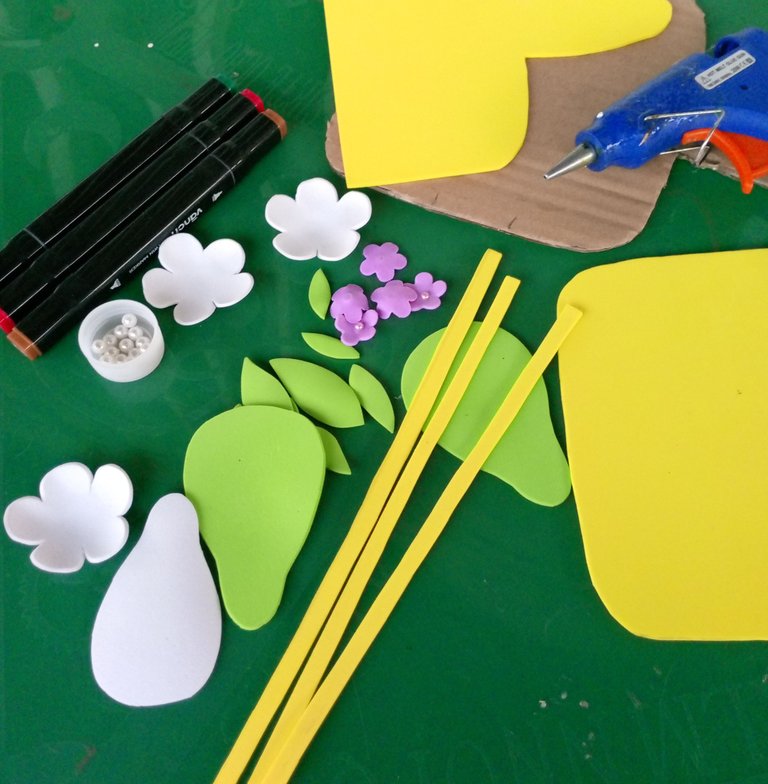
I started using as main materials, box cardboard, foami in 3 different colors, a molding iron, a silicone stick gun, scissors and a pencil to mark.
As I progressed in the process I included other materials such as markers, white beads and lilac flowers to decorate.
Comencé utilizando como materiales principales, cartón de caja, foami de 3 colores diferentes, una plancha para moldear, pistola para silicona en barra, tijera y lápiz para marcar.
A medida que iba avanzando en el proceso incluí otros materiales tales como; marcadores, perlas blancas y flores lilas para decorar.

 |  |  |
|---|
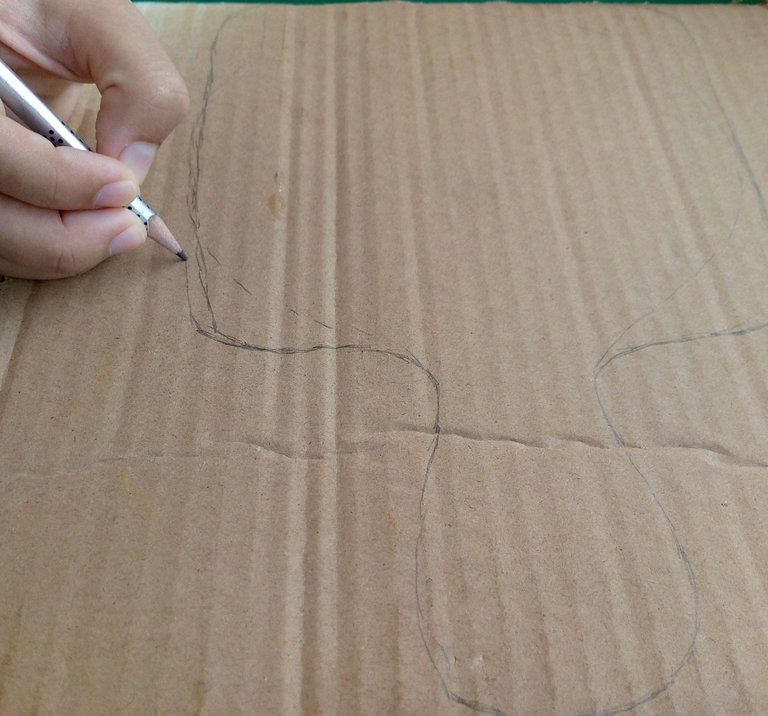
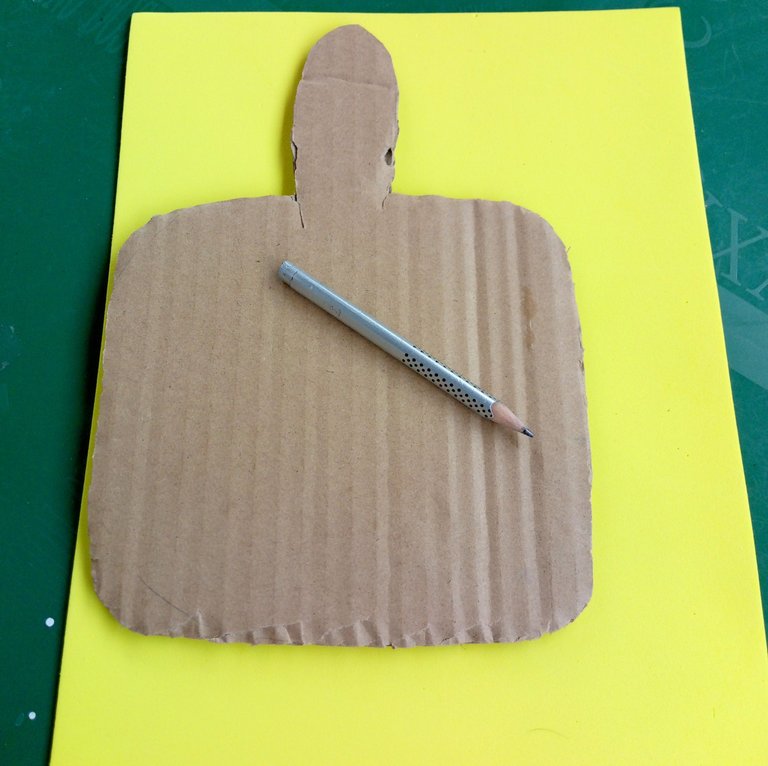
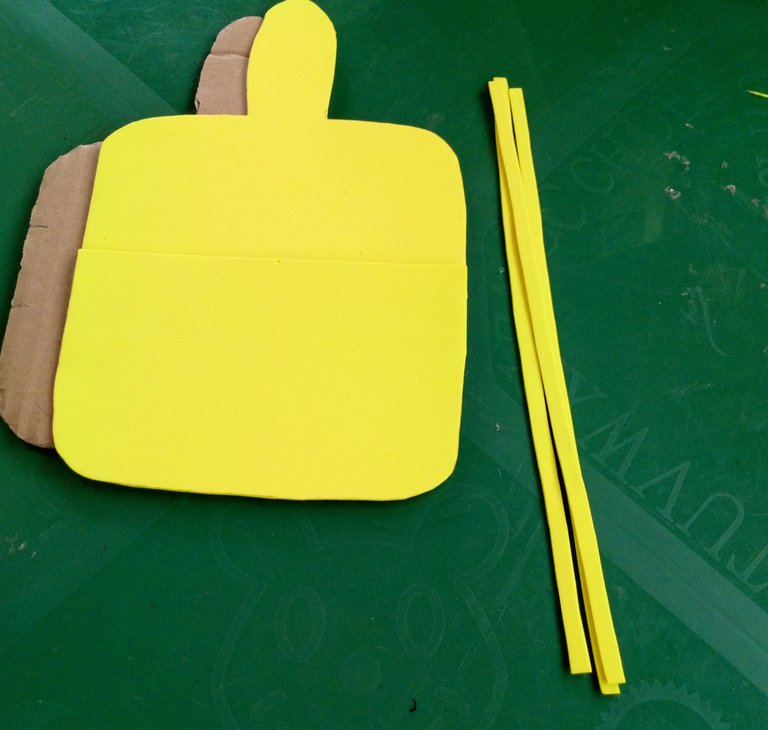
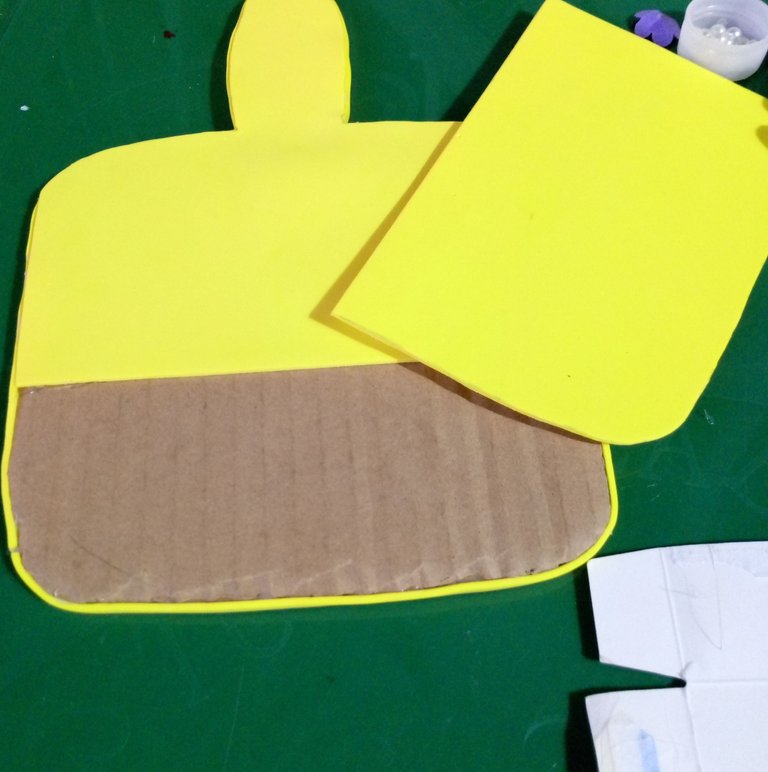
I started drawing on the cardboard, the figure of the board design that I liked, then I cut this main piece of cardboard, this piece is lined with yellow foami, so I took it and placed it on the yellow foami sheet, I marked with the pencil 2 pieces, one for the upper area and another to create the pocket, the lower piece that is the pocket piece I made it higher than the upper one.
My idea was to cover the whole piece with foami, but analyzing that I only had a sheet of yellow foami letter size, I noticed that I was not going to reach if I did it this way, I did not want to put a green or white pocket either, I wanted my yellow board, so I managed to make some good pieces that could harmonize the details.
With part of the leftover foami I cut some 1/2 cm ribbons, to stick them around the edge of the board and give it a better look.
Empecé dibujando sobre el cartón, la figura del diseño de tabla que me gustaba, después recorte esta pieza principal de cartón, esta pieza va forrada con foami de color amarillo, así que la tome y la coloque sobre la lámina de foami amarillo, marque con el lápiz 2 piezas, una para el área superior y otra para crear el bolsillo, la pieza inferior que es la pieza del bolsillo la hice más alta que la superior.
Mi idea era forrar toda la pieza completa con foami, pero analizando, que solo tenía una lámina de foami amarillo tamaño carta, note que no me iba a alcanzar si lo hacía de esta forma, tampoco quería ponerle un bolsillo verde o blanco yo quería mi tabla de color amarillo, así que logre hacer unas buenas piezas que pudieran armonizar los detalles.
Con parte del foami que me sobro recorte unas cintas de 1/2 Cm, para pegárselas por toda la orilla de la tabla y darle un mejor aspecto.

 |  |  |
|---|
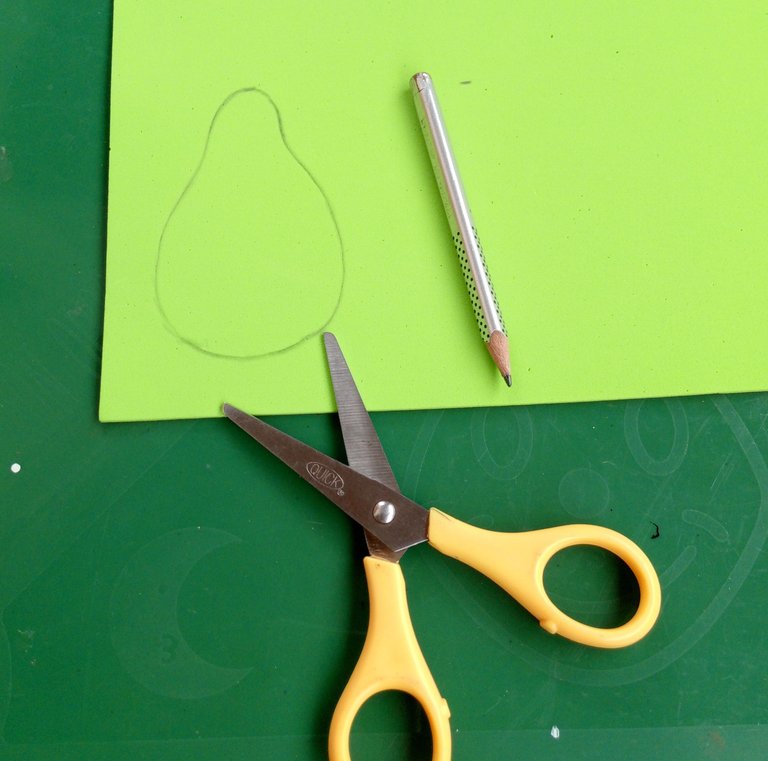
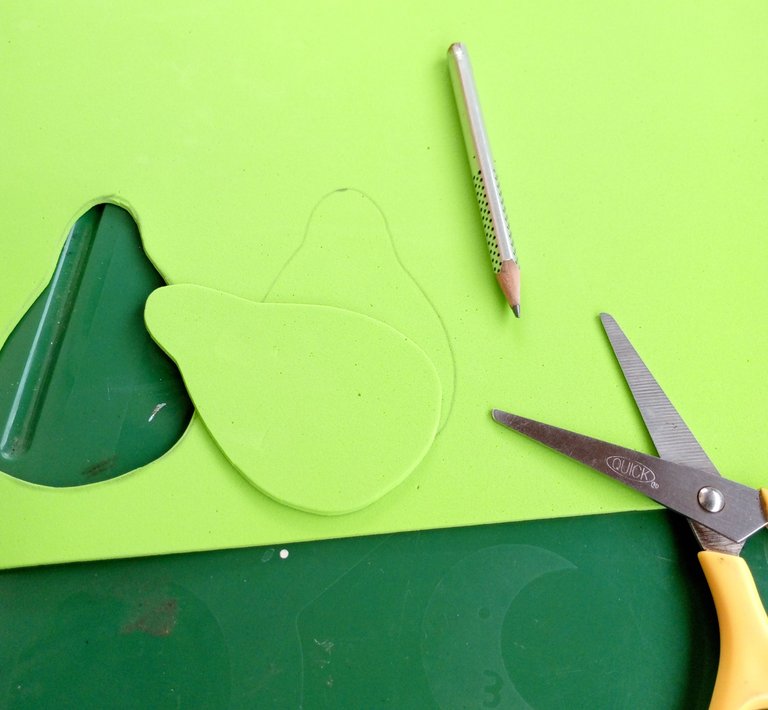
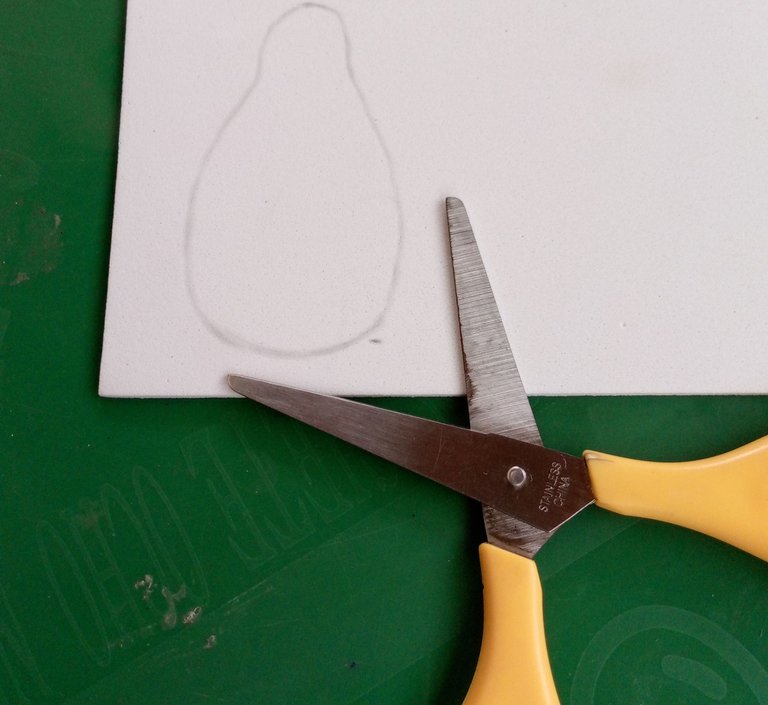
The next step, draw and cut out the figures of the fruit that I chose to make the decoration, in this case I chose pears because it is a fruit that I like a lot and I wanted to do something different to my view.
I drew 2 green pears and a white one for the inner part, these pears are expressed, 1 cut in half and one whole.
El próximo paso, dibujar y recortar las figuras de la fruta que elegí para hacer la decoración, en este caso elegí peras porque es un fruto que me gusta mucho y quise hacer algo diferente a mi vista.
Dibuje 2 peras verdes y una blanca para la parte interna, estas peras están expresadas, 1 cortada por la mitad y otra entera.

 |  |  |
|---|
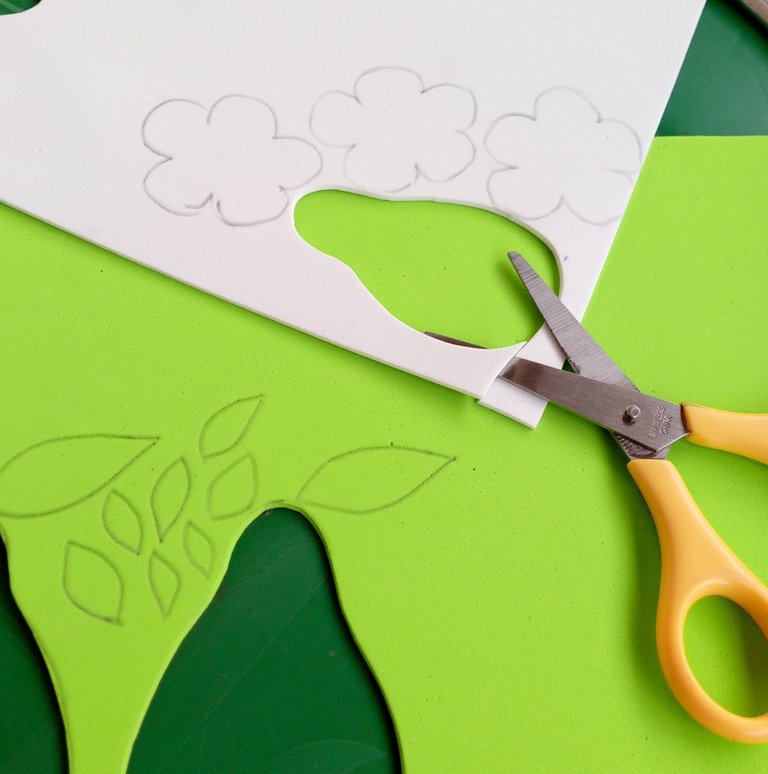
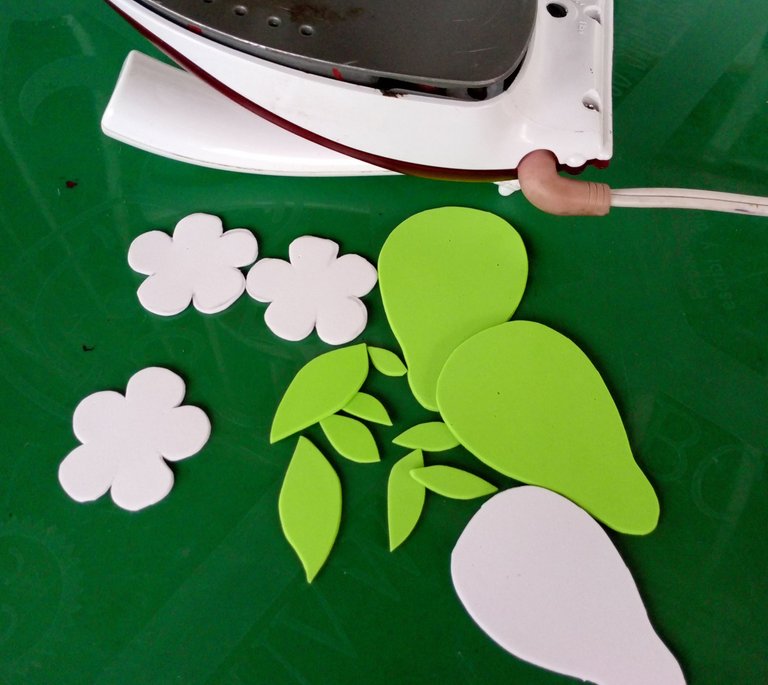
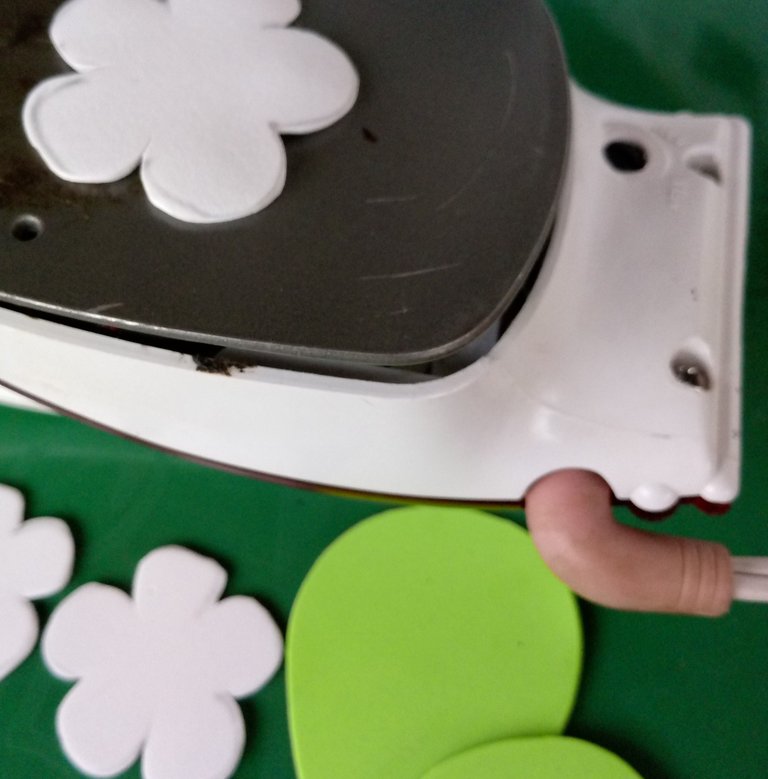
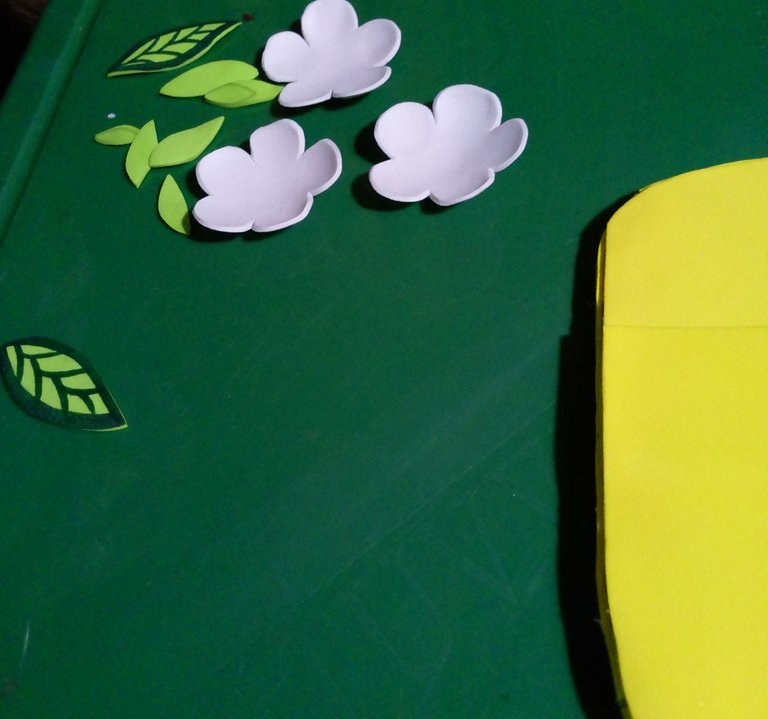
After cutting out the pears, with the remaining foami, I made some decorative flowers and leaves, which I then molded with the iron.
Después de recortar las peras, con el foami restante, hice unas flores y unas hojas decorativas, que luego moldee con la plancha.

 |  |  |
|---|
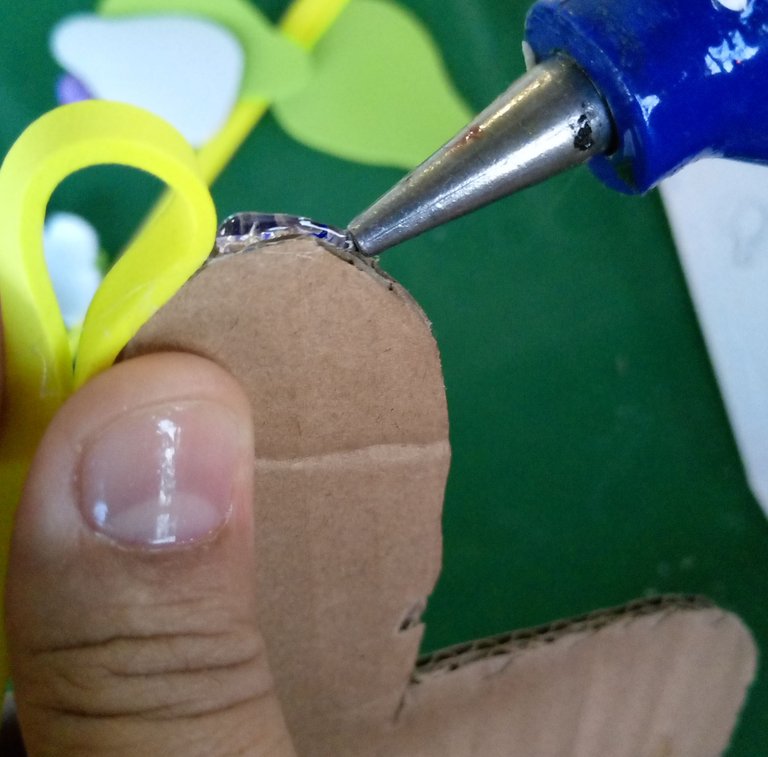
And completing all the pieces I had to cut out, I started gluing with hot silicone the ribbons all around the edge of the board and the 2 larger pieces.
Y completando todas las piezas que tenía que recortar, empecé a pegar con silicona caliente las cintas por toda la orilla de la tabla y las 2 piezas más grandes posteriormente.

 |  |  |
|---|
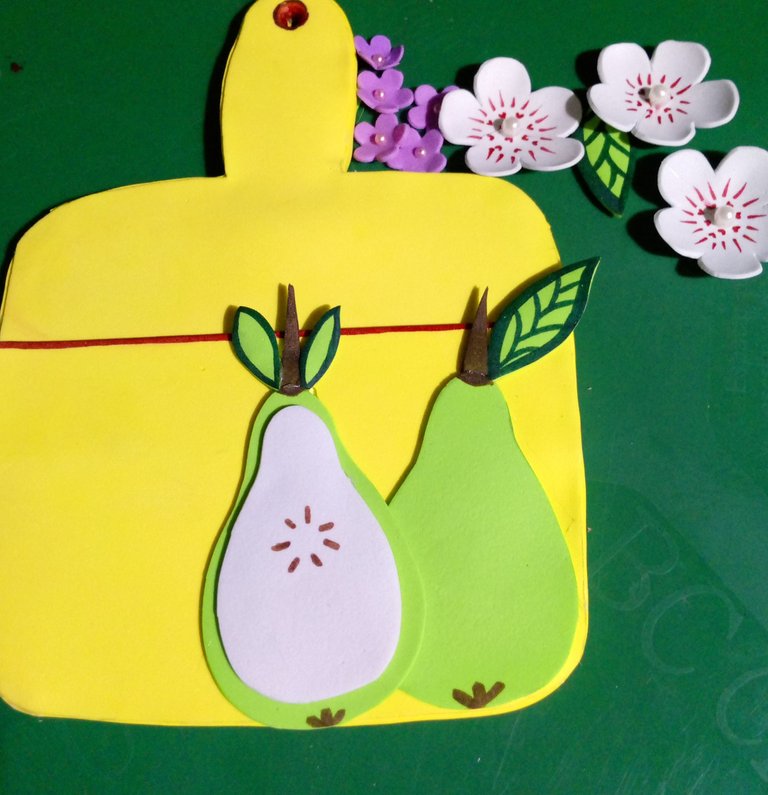
After I had lined the board, I drew a straight line on the edge of the pocket, to make the difference between the color and the identification of the pocket.
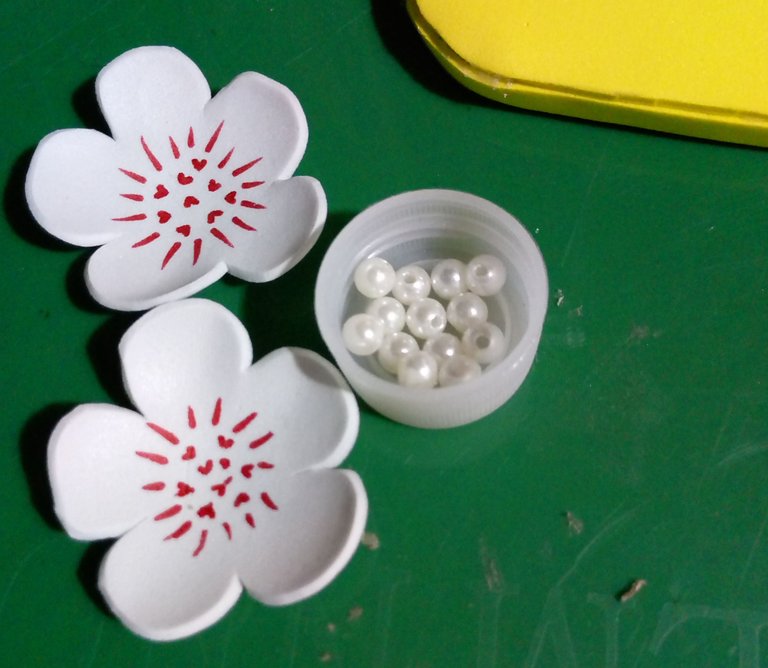
Then with one of the red markers, I made some dots and stripes in the center of the flower, I also glued a white pearl, to make it more eye-catching.
With the olive green color I made transverse lines on the leaves and underlined the edges to highlight the color of the leaves on the pears.
I also used a brown marker to paint the stems of the pears and to paint the seeds of the pear.
I continued gluing all the decorative details on the board, giving a special place to each of the flowers, pears and leaves I made.
Después de tener forrada la tabla, trace una línea recta en la orilla del bolsillo, para hacer la diferencia entre el color y la identificación del mismo.
Enseguida con uno de los marcadores de color rojo, hice algunos puntos y rayas en el centro de la flor, también le pegué una perla blanca, para hacerla más llamativa.
Con el color verde oliva le hice líneas transversales a las hojas y subrayé las orillas para destacar el color de las hojas en las peras.
También utilicé un marcador de color marrón para pintar los tallos de las peras y para pintar las semillas de la misma.
Continúe pegando todos los detalles decorativos en la tabla y así le fui dando un lugar especial a cada una de las flores, peras y hojas que hice.

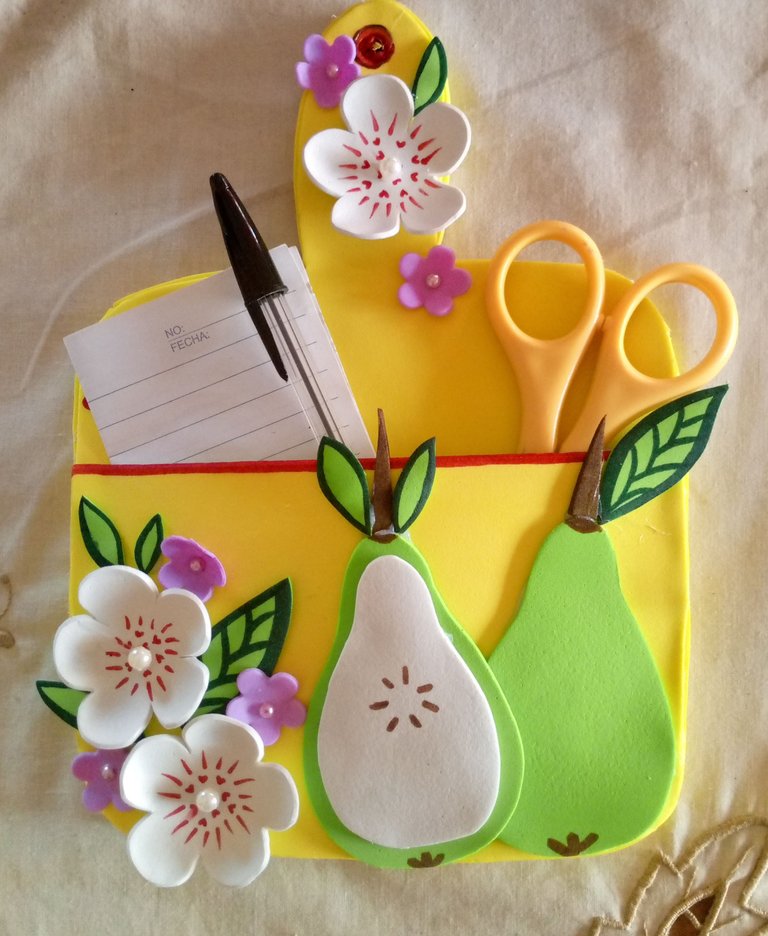
Finally, I finished with this craft, I was super delighted with how beautiful it was, I hope you also like it, and leave me your appreciated comment, and valuation of my artwork of this day.
I hope you are well, as always I wish you the best of life, with all my love. Lauracraft.💞💙😘🤗
Finamente, termine con esta manualidad, quede super encantada con lo bonita que me quedo, espero que a ustedes también les guste, y me dejen su apreciado comentario, y valoración de mi trabajo artístico de este día.
Espero que estén bien, como siempre les deseo lo mejor de la vida, con todo mi cariño. Lauracraft.💞💙😘🤗

social networks / redes sociales
Traductor Deepl
Translated Deepl
Ediciones Canva
Editions Canva

Posted Using InLeo Alpha

¡Felicidades! Esta publicación obtuvo upvote y fue compartido por @la-colmena, un proyecto de Curación Manual para la comunidad hispana de Hive que cuenta con el respaldo de @curie.
Si te gusta el trabajo que hacemos, te invitamos a darle tu voto a este comentario y a votar como testigo por La Colmena.
Si quieres saber más sobre nuestro proyecto, te invitamos a acompañarnos en nuestro servidor de Discord.
Hermoso y útil gracias por compartir 🤗
Me alegra que te haya gustado querida amiga. Gracias por comentar,🤗💞
Está súper lindo y es bastante útil, incluso me gustaría hacerle uno a mi mamá que seguro le saca provecho.
Hiciste un trabajo muy lindo 💕
Gracias cariño, estoy segura que a tu mamá le va a encantar, y le será de mucho provecho. 🤗💙
Quedó muy bonito y sin duda es útil para organizar las cosas. Me gustó mucho cómo quedaron las peras
Me alegra mucho que te haya gustado, me haces halago. Gracias por comentar.😀🤗
A kitchen noteboard is not a bad idea at all. Pretty useful too
Thank you for your great support.🙂
Que lindo tablero amiga, la cocina estará impregnada con el delicioso aroma de las peras al igual que los apuntes, un hermoso adorno para la cocina.
Que tengas una excelente semana!
Tan linda mi amiga, gracias por comentar, me alegra mucho que te haya gustado. Un abrazo grande.💞
Esta propuesta es absolutamente encantadora 😍 💖 a veces me han preguntado para hacer regalos temáticos en cantidad y para eso me ha faltado capacidad de invención por tema de materiales, pero este proyecto como idea me cae del cielo porque lo imagino en serie con variedad de combinaciones de color y fruticas y uff, super in love 👏 👏 👏 ¡Muchas gracias por compartirlo Lau bella! ~
💗💗💗💗💗💗💗💗💗💗💗💗💗💗💗💗💗🤗