Centerpiece to start your Christmas decorations (ENG/ESP)
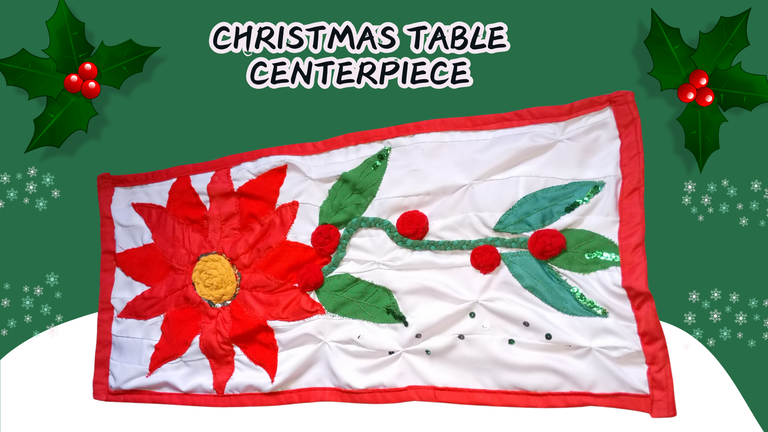
Hello beautiful people! Happy and prosperous week to all, I hope you are well, it is always important to carry this desire in our hearts so that our God grants us this great gift.
One of the most important days of the year are coming, where we want to do a lot of wonderful things, especially decorative things for the home.
One of the things we think about decorating are the tables, especially the main table because that is where we will have a delicious dinner with our family.
Today I meet you again in this beautiful space to share a centerpiece I made for a dear friend who is already very excited about making Christmas decorations.
Over the weekend I decided to make this centerpiece, although it was not easy, I dedicated some very enthusiastic moments, both during the day and in the evenings, I wanted to present it to you yesterday on Needlepoint Monday, but I had some details pending that I had not been able to finish until today, it was basically sewing the edges, but the light had gone out, the dilemma of the light.
It was a work of great dedication, because I started to experiment with an embroidery on the sewing machine, with the zigzag stitching, I loved how well it turned out, I had planned to embroider it all by hand, but I was also curious about how it would be sewn on the machine, in this indecision, I risked doing it with the machine, and with some hand embroidery stitches.
I hope you like it.
The pictures you will see below were taken with my TECNO SPARK GO 2024.
¡Hola gente linda!! Feliz y prospera semana para todos, espero que estén bien, siempre es importante llevar este deseo en el corazón para que nuestro Dios nos conceda ese gran regalo.
Se vienen unos de los días más importantes del año, donde queremos hacer un sin fin de cosas maravillosas, sobre todo decorativas para el hogar.
Una de las cosas en las que pensamos como decorar son las mesas, sobre todo la mesa principal porque es ahí donde haremos una rica cena en familia.
Hoy vuelvo a encontrarme con ustedes en este lindo espacio para compartir un centro de mesa que hice para una querida amiga que está super entusiasmada desde ya, haciendo las decoraciones navideñas.
El fin de semana me propuse hacer este centro de mesa, aunque no fue fácil, le dedique ratos de mucho entusiasmo, tanto en horas del día como por las noches, quería presentárselos ayer en el lunes de agujas, pero tenía pendiente algunos detalles que no había podido terminar hasta hoy, era básicamente coser las orillas, pero se había ido la luz el dilema de la luz.
Fue un trabajo de mucha dedicación, porque empecé a experimentar con un bordado en la máquina de coser, con la costura de zigzag, me encanto lo bien que resulto, tenía pensado bordarlo todo a mano, pero también tenía curiosidad de como me quedaría cosido en la máquina, en esta indecisión, me arriesgue hacerlo con la máquina, y con algunas puntadas de bordado a mano.
Espero les guste.
Las fotografías que verán a continuación, fueron tomadas con mi teléfono modelo TECNO SPARK GO 2024.

 |  |
|---|---|
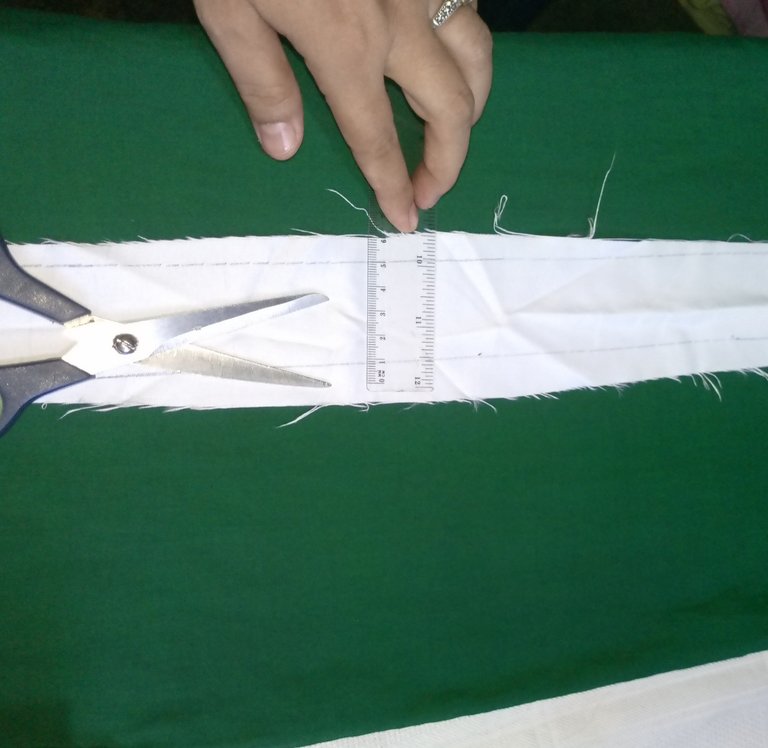 | 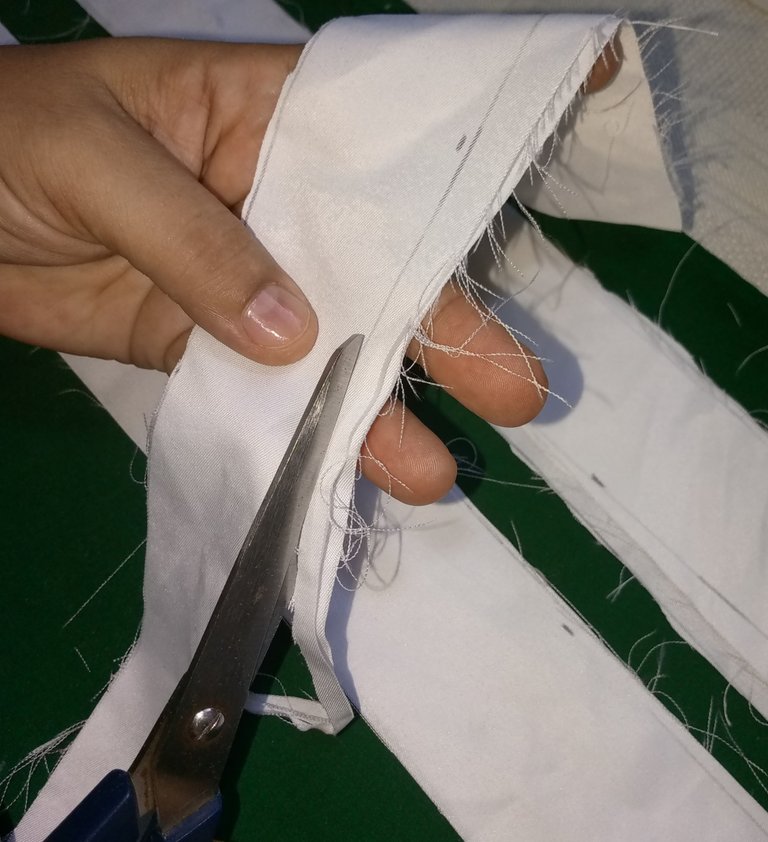 |
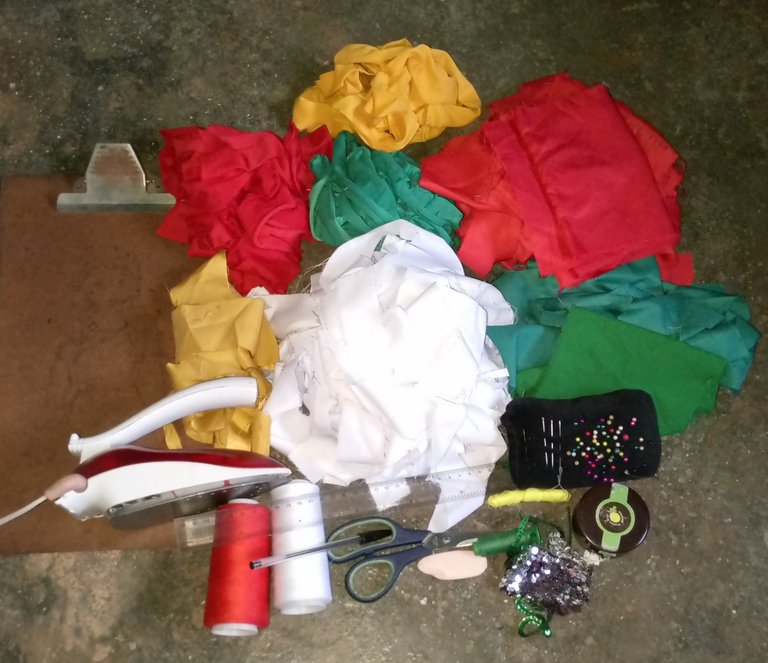
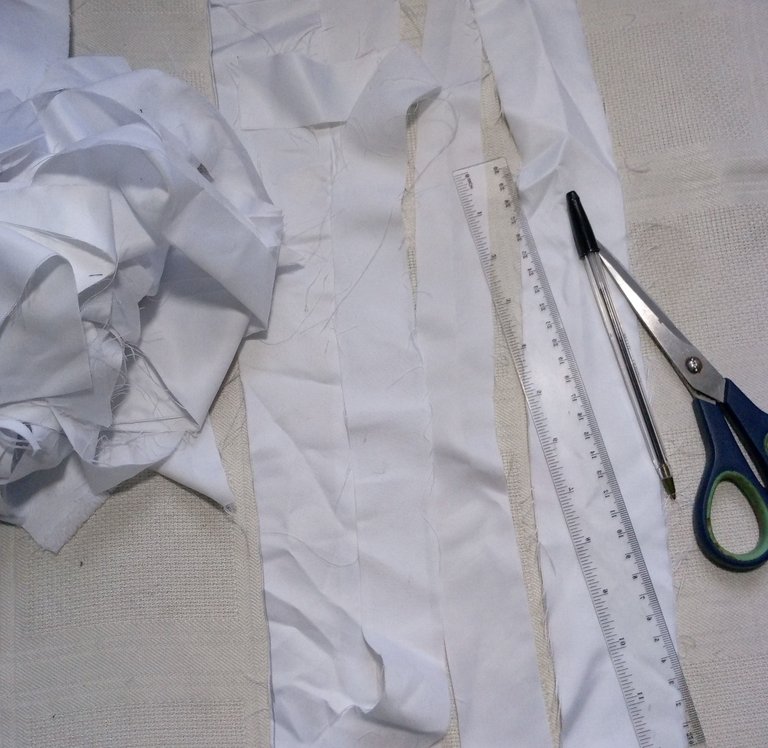
I got several materials that I had reserved, among the fabrics I had several types of ribbons, with disproportionate sizes, what I did was to measure them with the ruler and cut the excess, to make a rectangle of 60 cm long by 30 cm wide.
Some of the ribbons were 5 cm wide by 30 cm long, some shorter, some longer, but that's how I ordered them.
Conseguí varios materiales que tenía reservados, entre las telas tenía varios tipos cinta, con tamaños desproporcionados, lo que hice fue medirlas con la regla y cortar el sobrante, para hacer un rectángulo de 60 cm de largo por 30 cm de ancho.
Algunas de las cintas eran de 5 cm de ancho por 30 cm de largo, otras más cortas, otras más largas, pero así las ordené.

 |  |
|---|---|
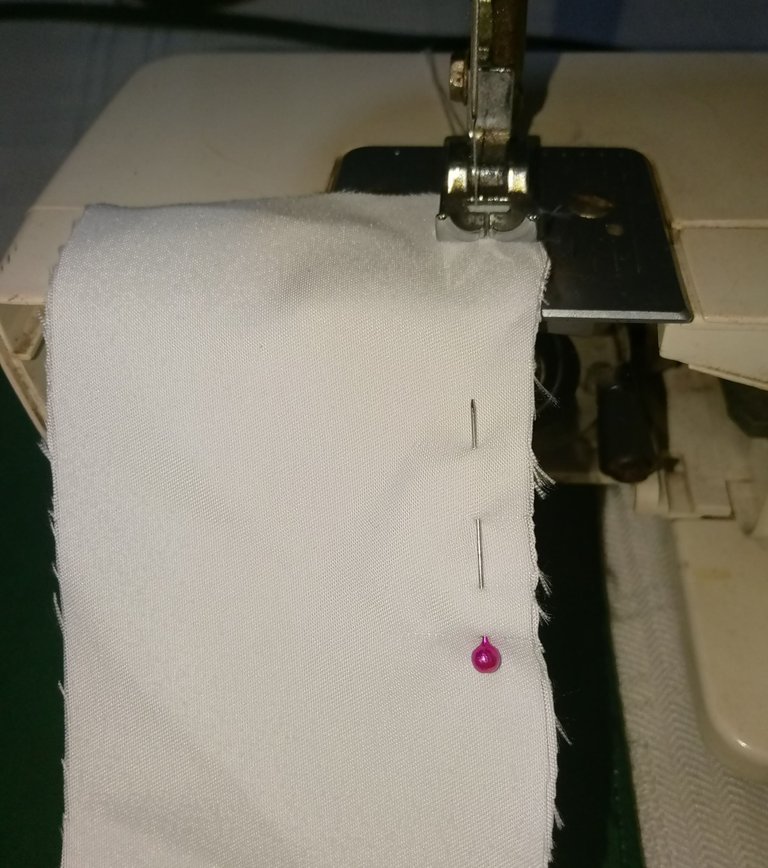 | 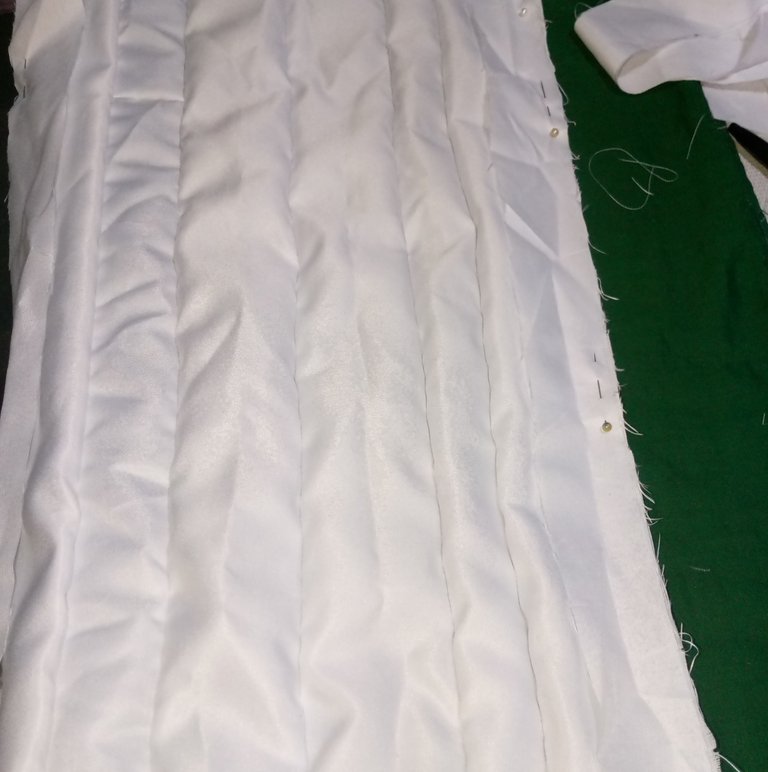 |
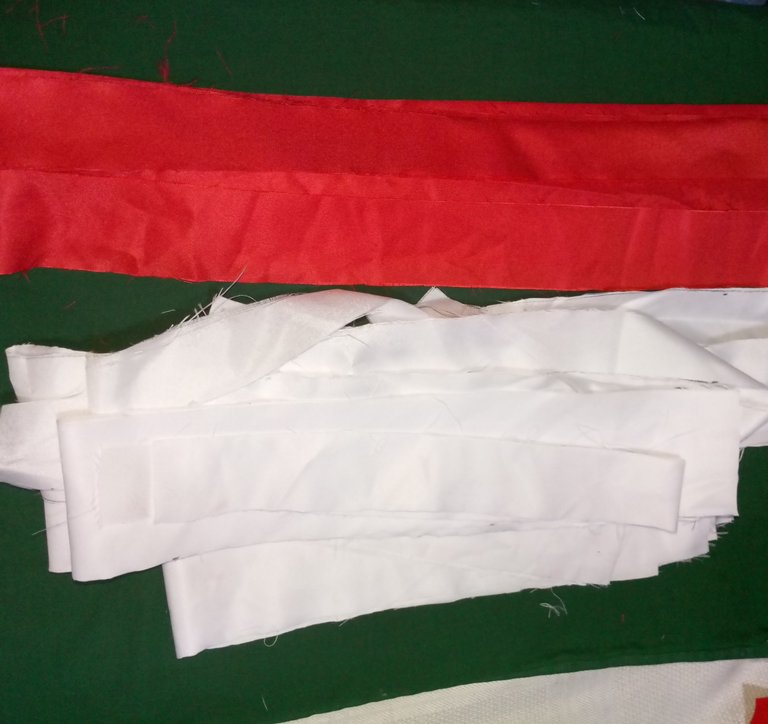
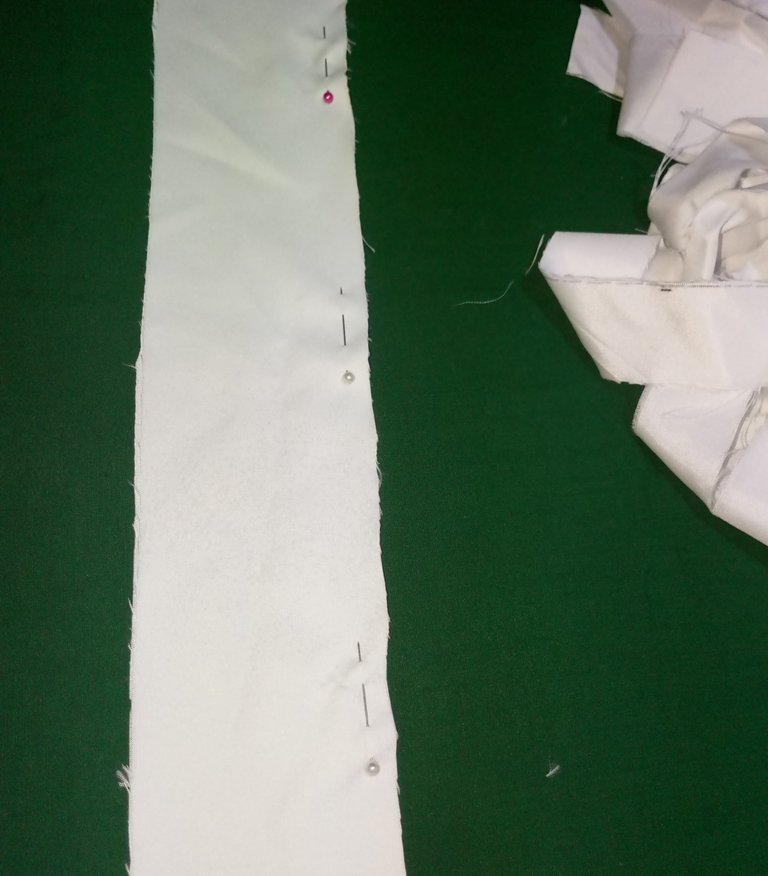
I accumulated a good amount of red and white ribbons, joined them in a sequence of size order, then sewed them with a straight seam on the wrong side, and that's how I put together a first white rectangle.
Acumule una buena cantidad de cintas rojas y blancas, las uni con una secuencia de orden de tamaño, luego las cosí con la costura recta por el lado del revés, y fue así como arme un primer rectángulo de color blanco.

 |  |
|---|---|
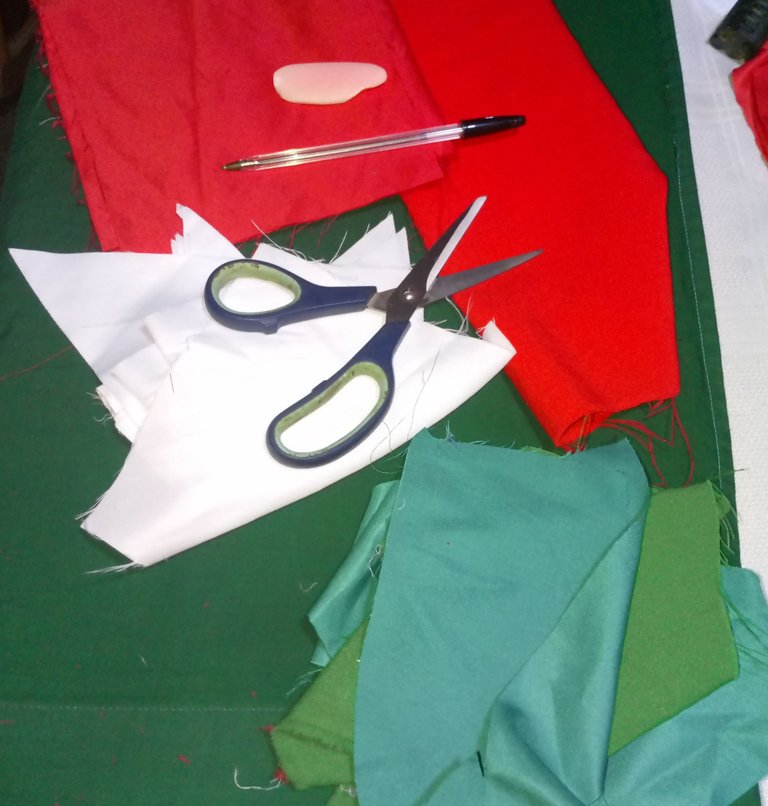 | 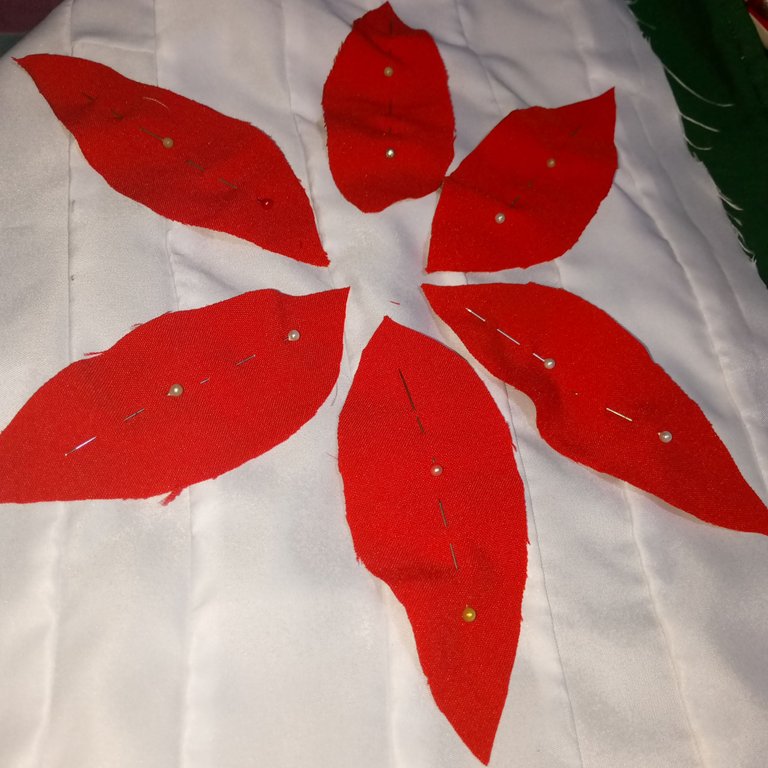 |
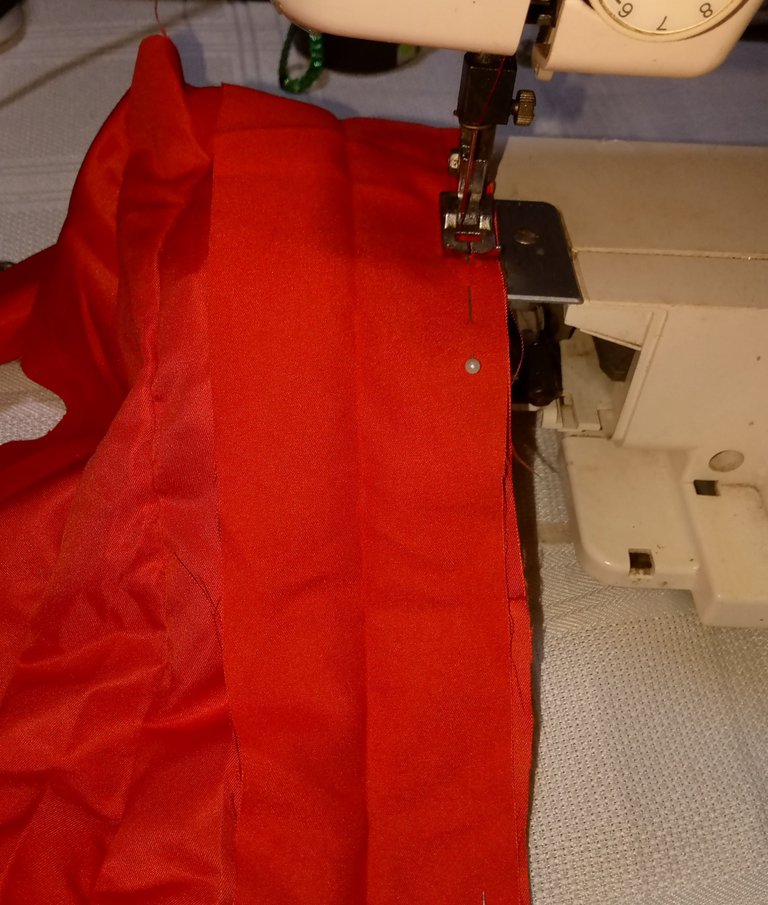
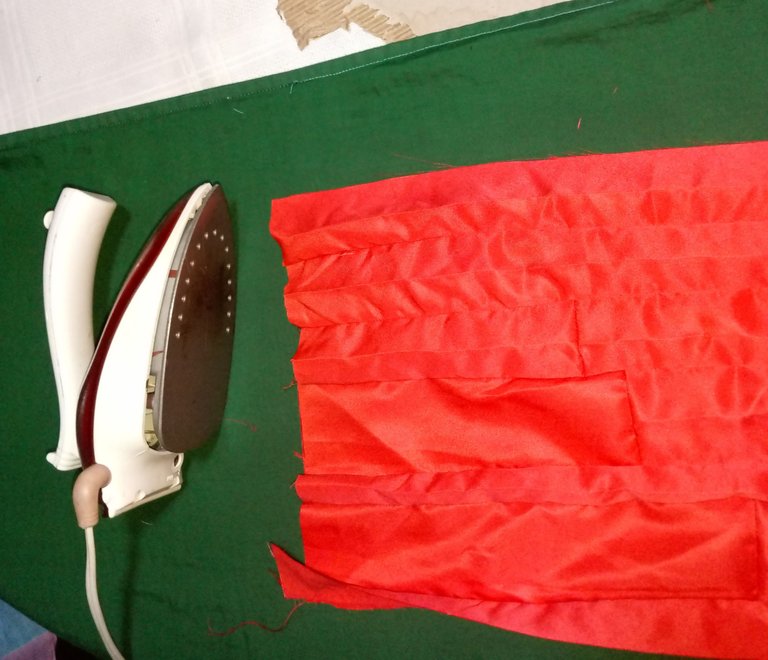
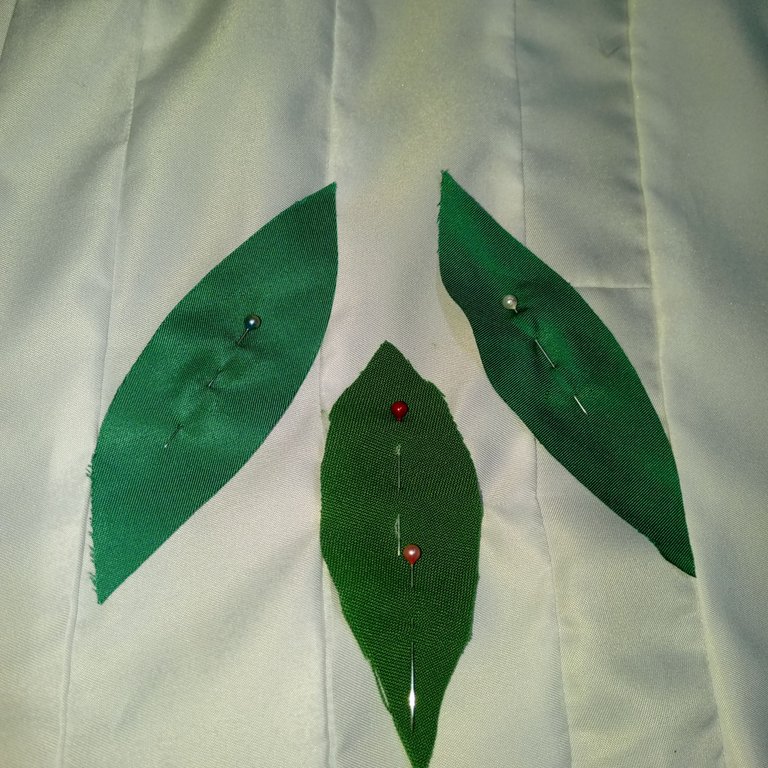
Then I did the same process to make the red rectangle, then I passed the iron, so that the seams were flat, then I cut several red petals, and some simple leaves, with the same shape of the petals, these I arranged them on the white fabric that will be the top.
Luego hice el mismo proceso para hacer el rectángulo rojo, enseguida pase la plancha, para que quedase las costuras planas, después corté varios pétalos rojos, y algunas hojas simples, con la misma forma de los pétalos, estos los dispuse sobre la tela blanca que será la parte superior.

 |  |
|---|---|
 |  |
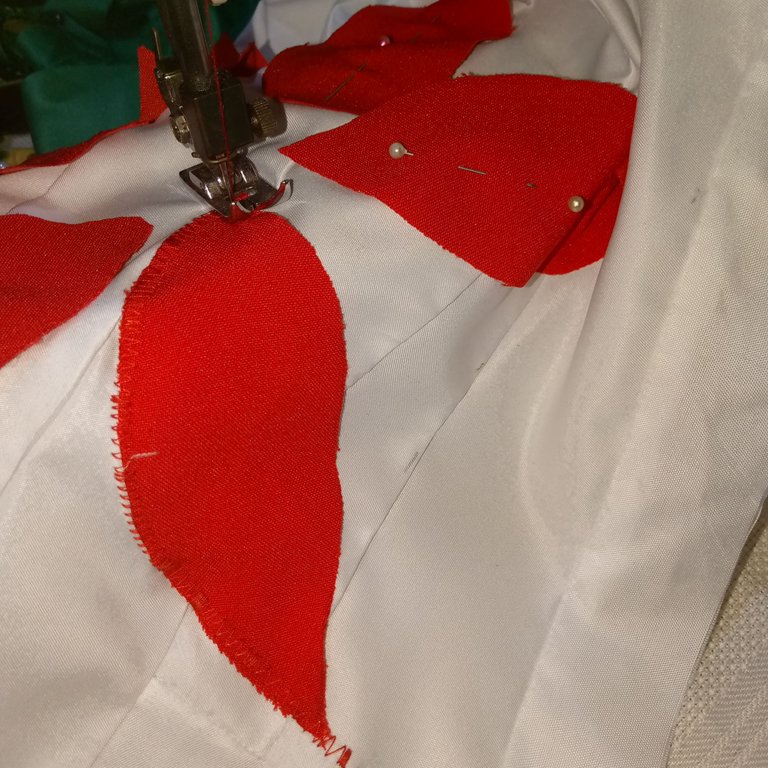
Soon it was time for the truth, I was anxious, but willing and almost sure that everything would be beautiful, luckily the machine behaved faithfully and sewed excellent, it was the most positive thing of all uff.
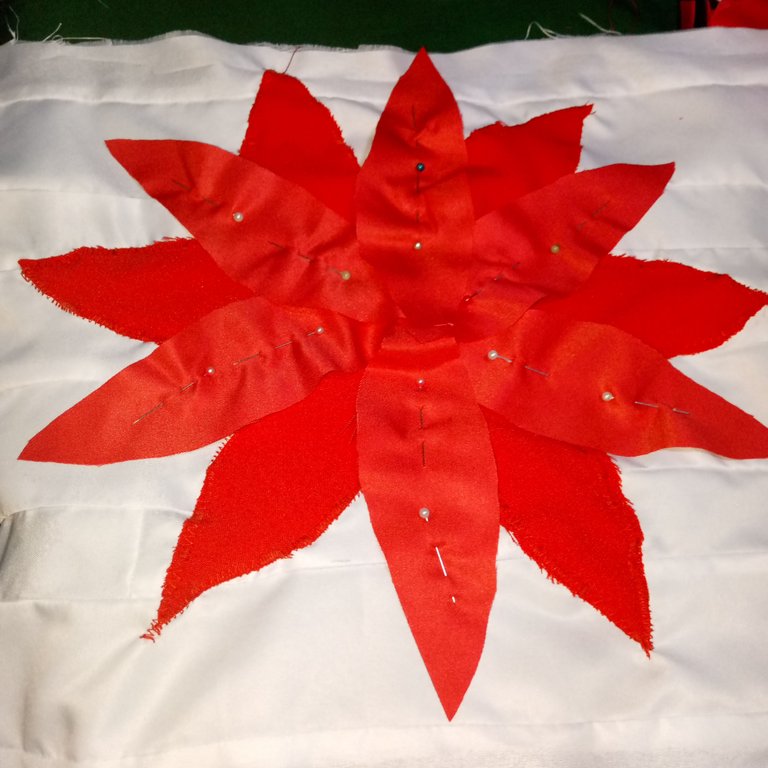
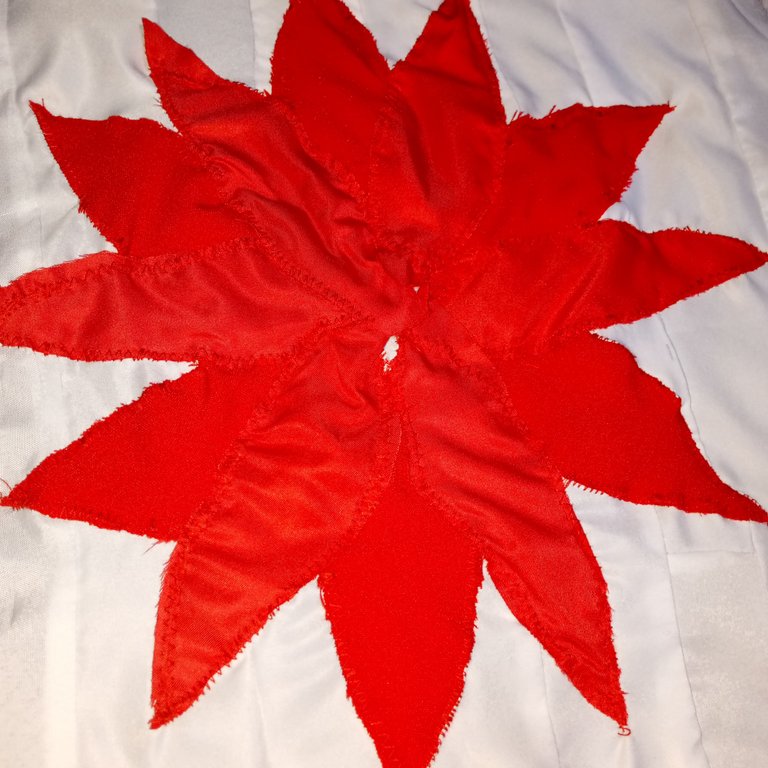
I sewed a first layer of petals, everything turned out great, I overlapped a second layer of petals, I also sewed them and I was filled with much more enthusiasm because everything looked in order, I took advantage and sewed the leaves at the same time that although they were smaller I could master the shape of the seam.
This type of embroidery, for my friends who have not done it yet, what I realized is that you have to be skillful to move the fabric, along with what we are embroidering so that it takes shape and does not take an unexpected turn and ruin what we are doing.
With firmer fabrics it is much better to practice, I did not practice, I took a risk, the fabric was chaotic for being thin and soft, but I had all the patience.
Enseguida era la hora de la verdad, estaba ansiosa, pero dispuesta y casi segura que todo me quedaría bien bonito, por suerte la máquina se portó fiel y cosió excelente, fue lo más positivo de todo uff.
Cosí una primera capa de pétalos, todo resulto genial, sobrepuse una segunda capa de pétalos, también los cosí y me llené de mucho más entusiasmo porque todo se veía en orden, aproveche y cosí las hojas al mismo tiempo que a pesar de que eran más pequeñas pude dominar la forma de la costura.
Este tipo de bordado, para mis amigas que no lo han hecho todavía, lo que me di cuenta es que hay que ser hábil para ir moviendo la tela, junto con lo que estemos bordando para que tome la forma y no tome un giro inesperado y se arruine lo que estemos haciendo.
Con telas más firmes es mucho mejor para practicar, yo no practique, me fui de riesgo, la tela fue caótica por ser fina y suave, pero tuve toda la paciencia.

 |  |
|---|---|
 |  |
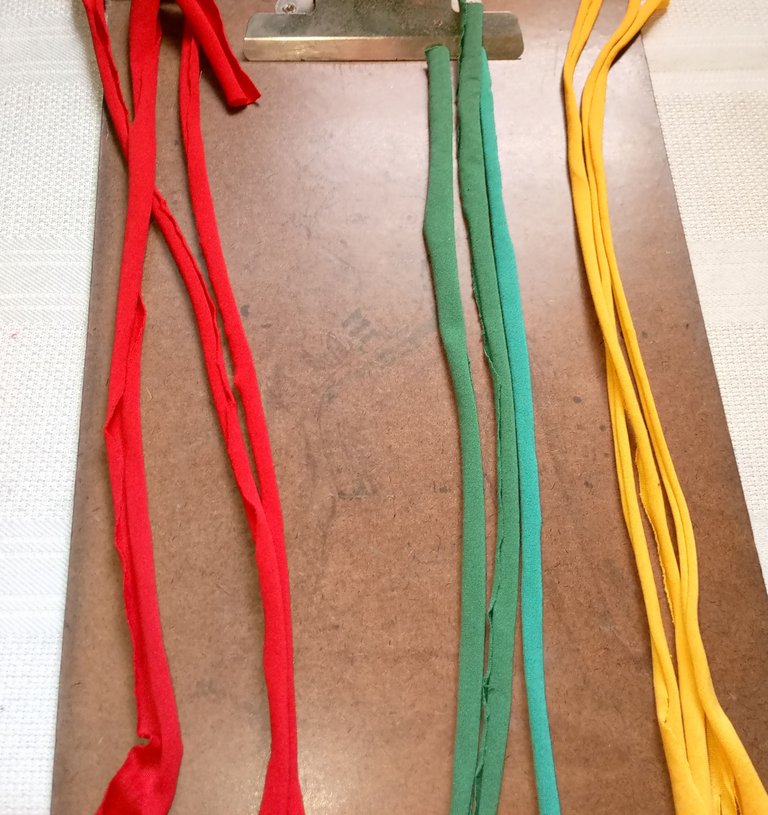
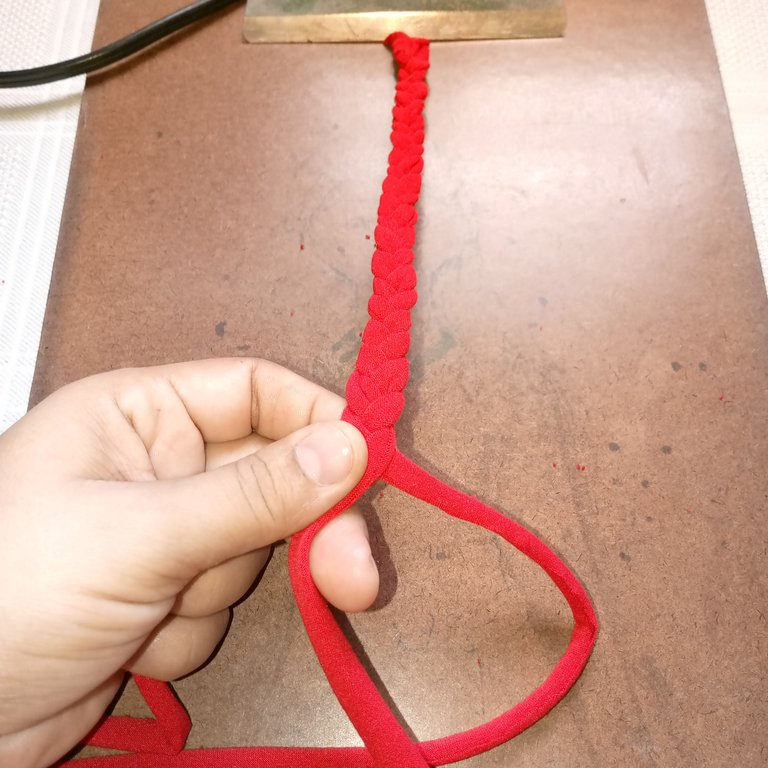
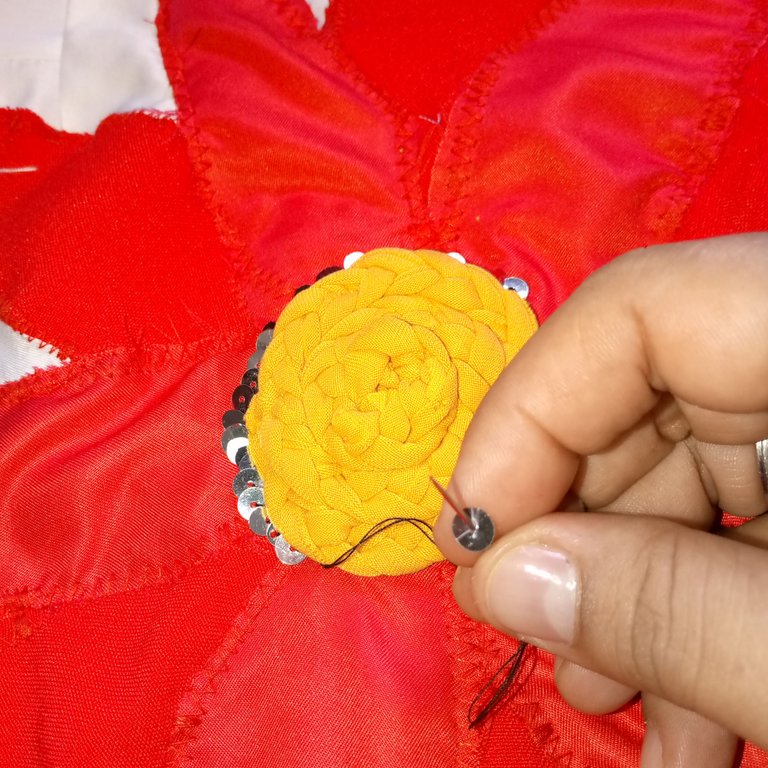
Finishing with the zigzag embroidery, I felt like a happy winner, then I cut several strips of flexible fabric, red, green and yellow, to continue decorating, I placed them on a work board and wove braids.
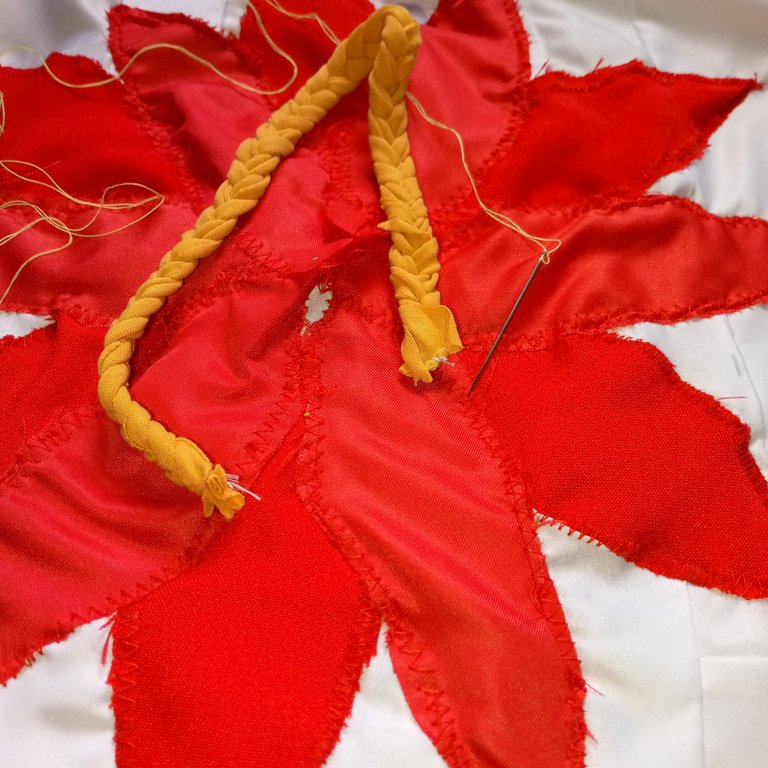
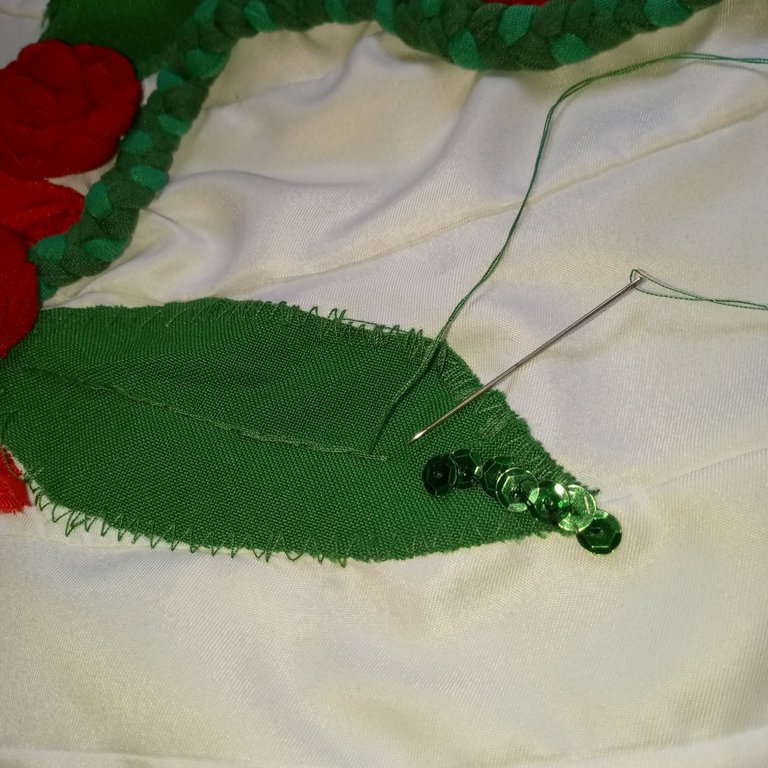
I used the braids for the center of the flower, some red sport roses and the stem, I sewed them with needle and thread of the same color of each of the braids.
Terminando con el bordado de zigzag, ya me sentía una triunfadora feliz, enseguida corte varias tiras de tela flexible, roja, verde y amarillo, para continuar a decoración, las coloque en una tabla de trabajo y tejí unas trenzas.
Las trenzas la utilicé para el centro de la flor, unas rosas deportivas rojas y el tallo, los mismos cosí con aguja e hilo del mismo color de cada una de las trenzas.

 |  |
|---|---|
 | 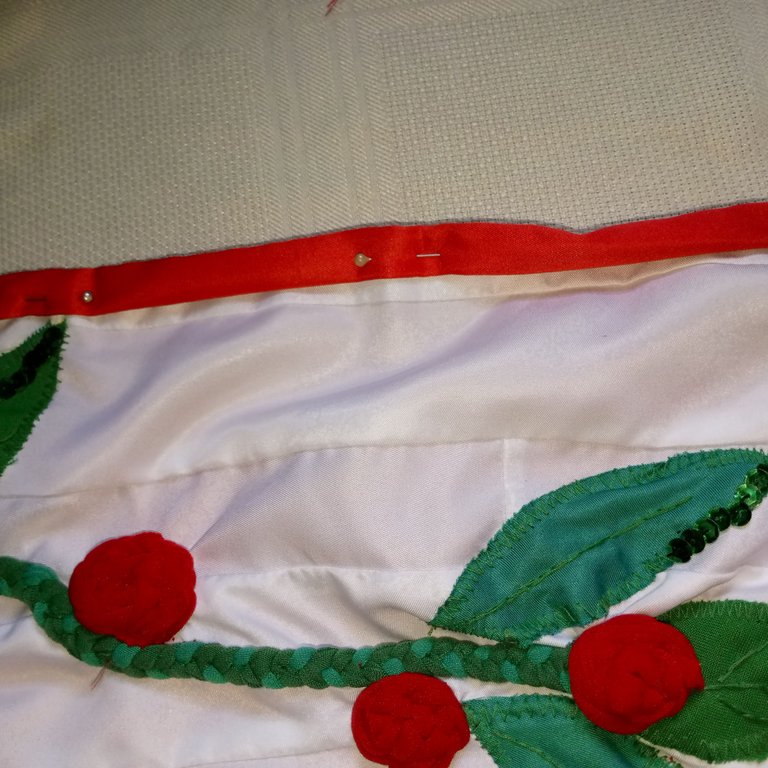 |
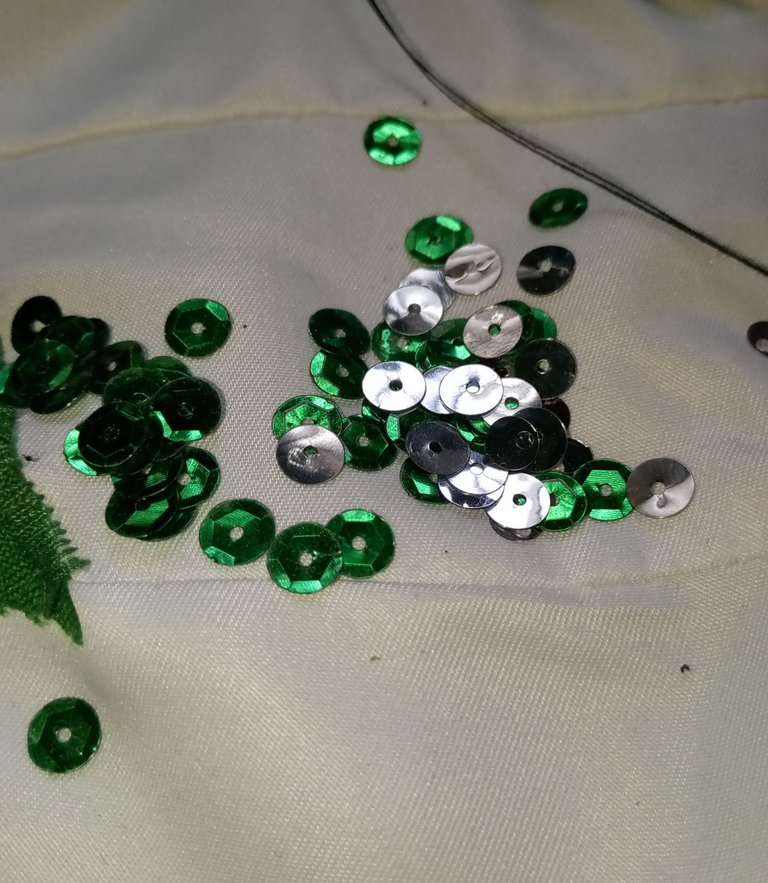
When you finish sewing the center and stem, decorate with sequins to give it shine, also edge with back stitch and hand stitch the ribbing of the leaves and flower petals.
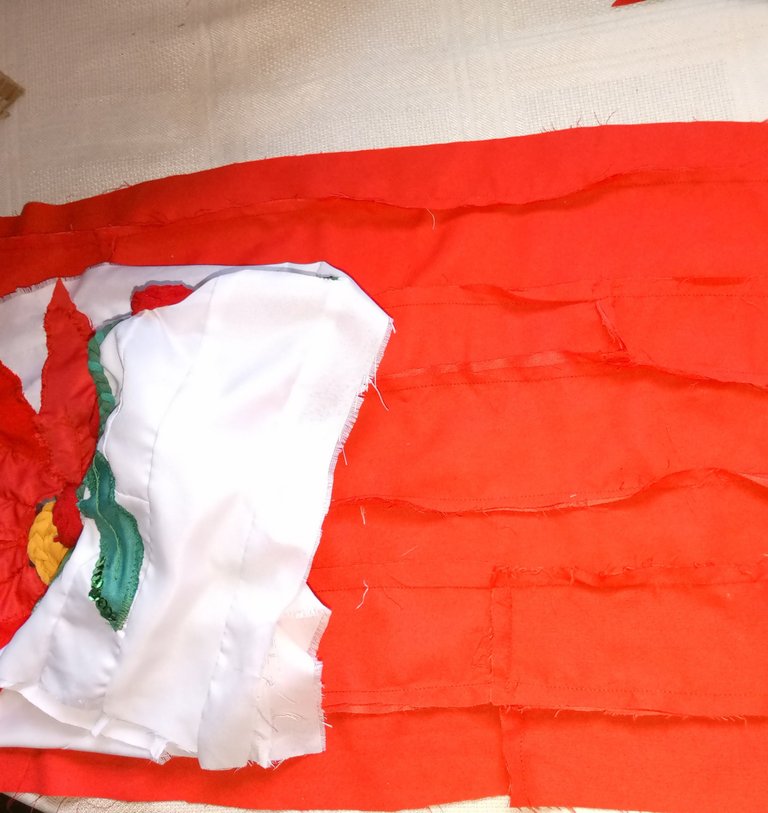
Then close the two pieces of fabric, right sides together, the red side for the bottom, the same doubles up the edges to decorate in red and make the combination on the edge with the bottom piece.
Al terminar de coser el centro y tallo, decore con lentejuelas para darle brillo, también borde con punto atrás y a mano las nervaduras de las hojas y pétalos de las flores.
Luego pase a cerrar las dos piezas de tela, derecho con derecho, el lado rojo para la parte de abajo, el mismo dobles hacia arriba por las orillas para decorar en rojo y hacer la combinación en el borde con la pieza de abajo

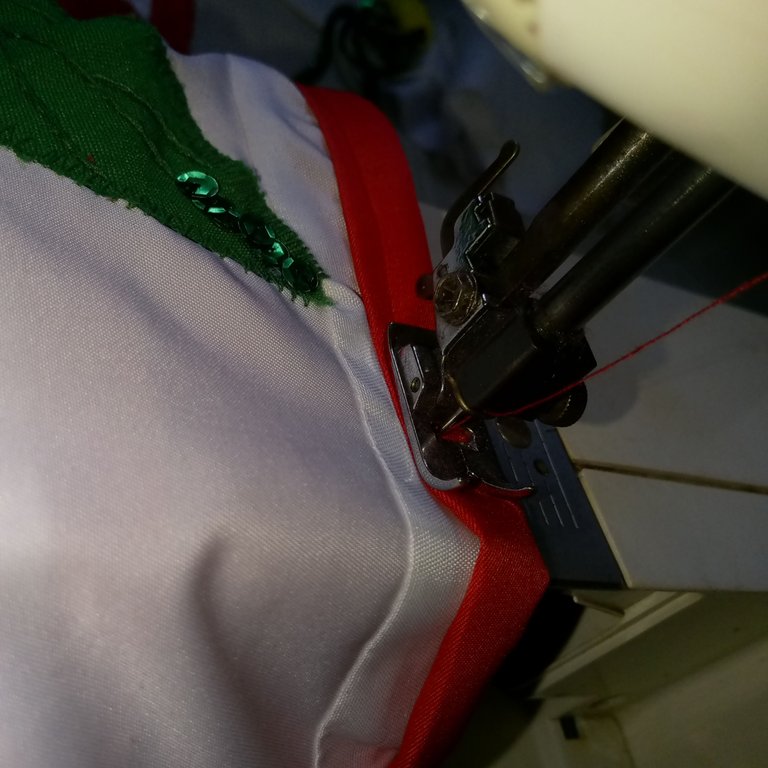
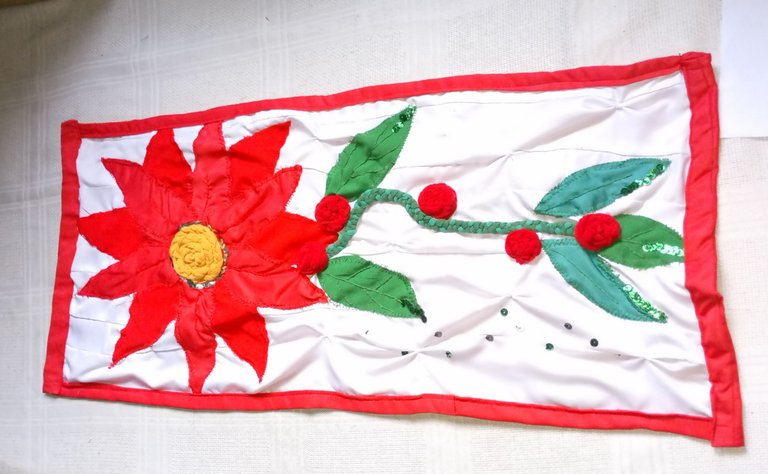
I placed the edge of the fabric in the machine and sewed with a straight stitch, since the fabric was not completely smooth due to the effect of the zigzag embroidery, I took a needle with white thread and made some decorative ruffles and sewed some extra sequins.
Getting a nice result that my dear friend is going to like a lot, I have no doubt, because she was already telling me that she wanted this detail, so taking those ideas of what she wanted I managed to make her this beautiful detail.
I hope you support my work and let me know what you think.
Happy and blessed week, my dear lovers of handmade crafts.
Coloque la orilla de la tela en la máquina, y cosí con la puntada recta, en vista de que la tela no me quedo totalmente lisa por el efecto del bordado de zigzag, tome una aguja con hilo blanco y le hice unos arruchados que se notan decorativos y a su vez le cosí algunas lentejuelas de más.
Obteniendo un lindo resultado que a mi querida amiga le va a gustar mucho, de eso no tengo dudas, porque ya ella me venía diciendo que quería este detalle, así que tomando esas ideas de lo que ella quería logre hacerle este bello detalle.
Espero que apoyen mi trabajo y me digan que les ha parecido.
Feliz y bendecida semana, mis queridos amantes de las manualidades artesanales.

social networks / redes sociales
Traductor Deepl
Translated Deepl
Ediciones Canva
Editions Canva


This is truly creative and beautiful, you chose the right colours for this project.
😊I am very pleased with your words
Excelente idea, una forma muy creativa de utilizar los retazos de tela y elaborar los adornos de navidad. Gracias por compartir esta idea. Saludos!
Gracias bella, los retazos son bien útiles para hacer tantas cosas en el hogar, por suerte tengo muchos que me regalo un vecino, qué bueno, ando ansiosa por seguir creando ideas para estas fechas.
Saludos 🤗❤️
Saludos amiga, como siempre un hermoso trabajo, mi parte favorita es la flor, se ve espectacular; tu amiga seguro estará muy feliz con el centro de mesa, este proyecto es una excelente opción para aprovechar los retazos de tela al máximo, gracias por compartir. 🤗😍💐
Feliz fin de semana!
¿Amiga cómo estás?, gracias por pasar a ver mi publicación, me alegra mucho que te haya parecido lindo, también me gusto como me quedo la flor, fue un experimento jajajaja, pero quedo fantástico.
Todos estos días la luz no me ha dado mucho chance para compartir con los comentarios, estamos volviendo con los problemas agudos de luz, esto es aterrador. Espero que donde estés todo funcione mejor.
Deseo que estés bien, un gran saludo y abrazo amiga. 🤗💞