Origami paper butterfly tutorial.
Hi,👋
I'm back with a new post where I'll show a origami paper butterfly that can be used as a part of home decoration.
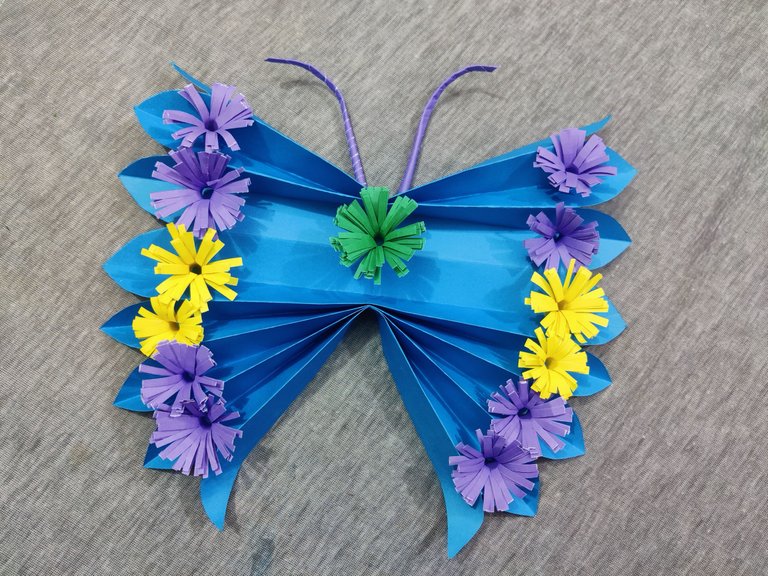
I followed this DIY idea from a YouTube video and I don't credit myself for the original idea.
Let's see how I made this origami paper wall hanging.
Equipment's:
I used some color A4 size papers, scissor, glue and pencil.
Steps to follow:
There were more than one steps to follow and now I'll start talking about the very first step which I can say the main part of this paperwork and I did this two times as the first time I did it, I didn't like it myself as I kind of messed it up.
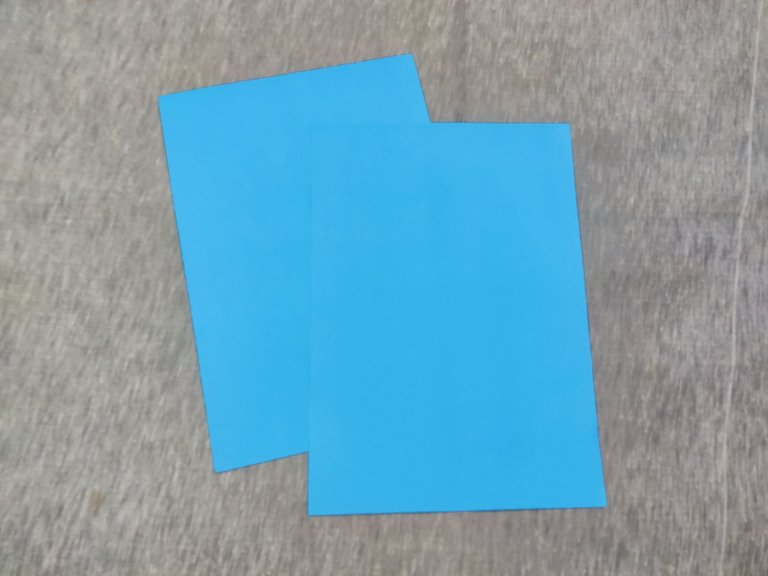
At first I took the blue papers (2 pieces) and worked on 1 first.

I needed to fold both sides of the paper in rectangle shape like its shown above.
.jpg)
At first I folded the paper in half which gives a curve in the middle.
.jpg)
Then I folded half the paper into another half.
.jpg)
And another half. Then I did the same thing on the other main half of the paper.
.jpg)
And it becomes like this.
.jpg)
Then I folded the middle from the length side like above.
.jpg)
And I did the same thing with the other paper and now I have two of them in this folding shape.
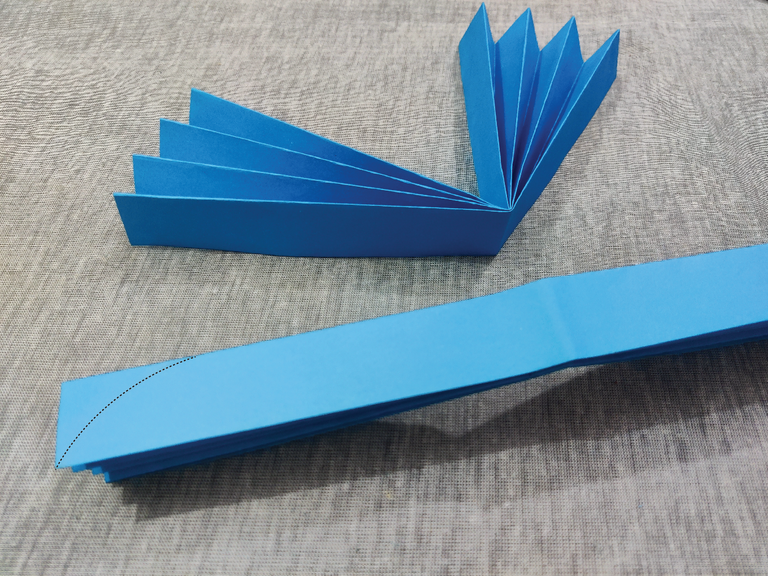
Then I needed to cut both corner parts of the paper and of the both papers. This cutting shape should be same for all four points of two papers otherwise it'd not get a good shape later.
.jpg)
Look how I did the cutting and this is how it should be. At first I sliced one part of one paper at an approximate shape and then I folded it and sliced the other part following the first part.
And then I sliced both points of the other paper placing one on top of the other.
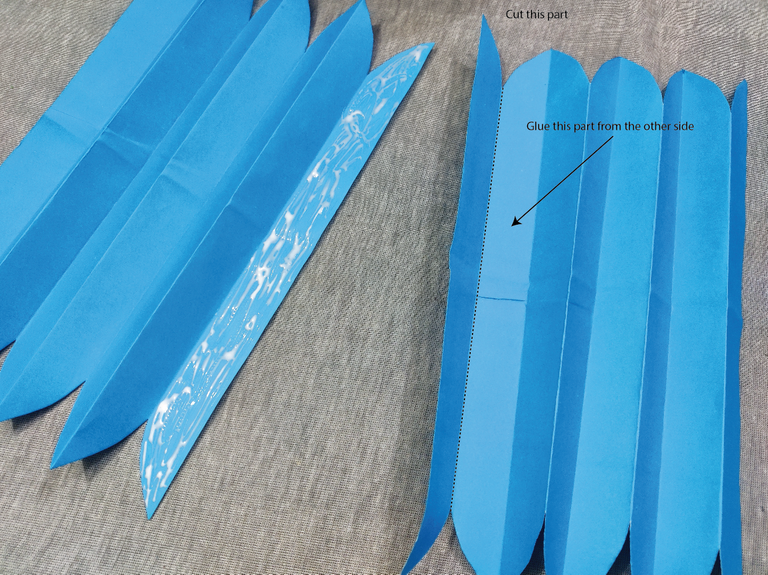
This is the part where I messed at first time as I followed the YouTube video entirely where this tips was not shared. I needed to cut that part of a paper and the next part was glued with the other paper.
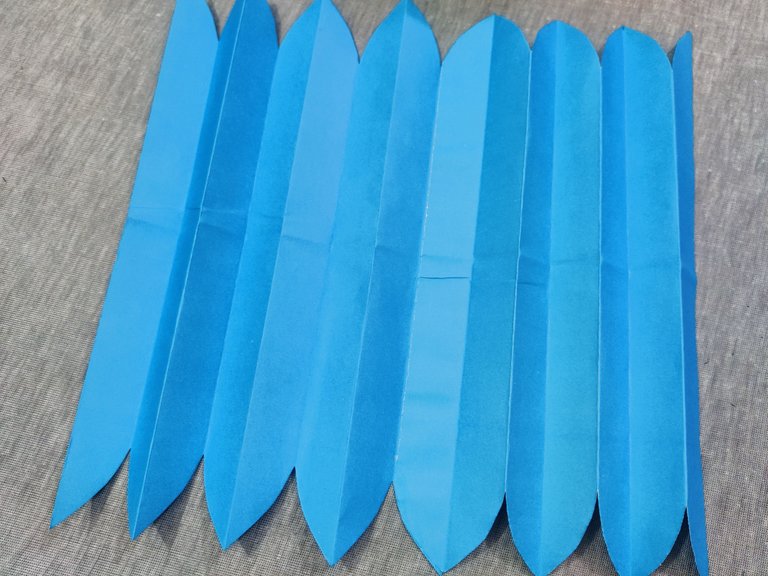
And both papers were attached like this as if they were one and I think this task would be easier if I used a bigger paper than A4 size so I wouldn't need to do this attaching task.
.jpg)
Now I folded in the middle again as above and one side of the fold is going to be the head part of the butterfly and another side will become the tail part and the side parts are wings.
.jpg)
To attach the folded parts and make them sustainable, I needed to add this extra paper and this can be used for wall hanging as well by gluing it with the wall.
.jpg) | .jpg) |
|---|
Then I used the glue like this. And I glued that paper.
.jpg)
Then I used a pencil to bend those two lower parts so that they looks a little cute and this is the end of this body part. Now I need to work on some flowers.
.jpg)
For the flowers, I sliced some papers into thin size like above.
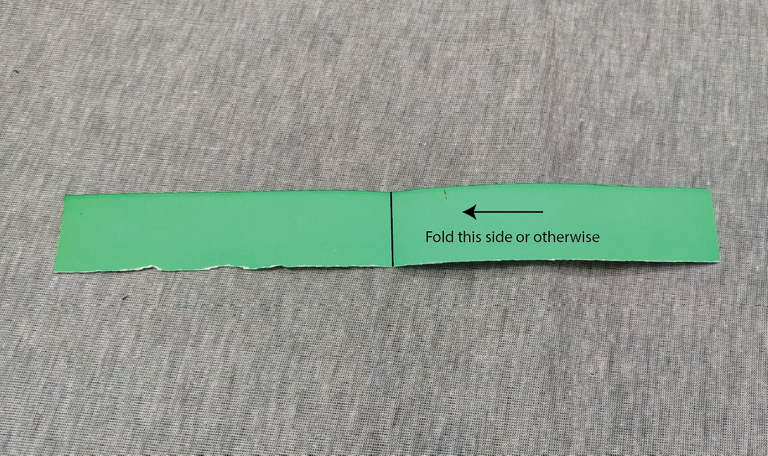
I had to fold this piece of paper from any side (left or right).
.jpg)
Then I needed to fold again from the side which I chose in the previous step.
.jpg) | .jpg) |
|---|
And I folded it again. I folded it for 3 times.
.jpg)
Then I used the scissor to cut the paper like above.
.jpg)
And it becomes like this after unfolding. So all the folding above was only for making a single cut into multiple.
.jpg)
Then I used a thin scissor to bend the upper parts of the above step so that they bend low when its complete.
.jpg)
And then I used a pencil to bend this piece of paper like above and I bended it from one side to another and I glued the last side so that they stick altogether.
.jpg)
And it becomes like this.
.jpg)
And I did the same with other pieces as well although I made two flowers out of one of those paper pieces for rest of the color as I needed smaller flowers.
.jpg)
Then I glued all the flowers on the body like above. These flowers gives a good look to the butterfly and makes it unique.
Now that the body and flowers are done, I need to make two horns.
.jpg)
I used a really thin stick and a thing measured paper and started bending it like above.
.jpg)
And that bending gave this result and I made two of them.
.jpg)
I bended the thinner parts of these and made them look like butterfly horns.

And then I glued the horns under the body where the extra paper was glued before to keep the body folding sustainable and it was the finishing of the work.
I may show more of my paperwork later and I kind of enjoyed doing this paperwork although it also needed a good time and effort
No more today, I'll talk more later with another craft soon.
BYE BYE.
This butterfly looks special. I've seen paper butterflies before but this one looks new and unique :) @tipu curate 6
Upvoted 👌 (Mana: 0/55) Liquid rewards.
Thanks for your kinds words and for the tipu upvote. This is really an unique butterfly although I can make easier ones as well.
Wow, I look the creativity. The result is amazing.
Thank you for your appreciating words. I liked the result as well.
Thank you for sharing this post in the DIYHUB Community!
Your content got selected by our fellow curator sharminmim & you just received a little thank you upvote from us for your great work! Your post will be featured in one of our recurring compilations which are aiming to offer you a stage to widen your audience within the DIY scene of Hive. Stay creative & HIVE ON!
Please vote for our hive witness <3
Thank you so much for the selection and motivation. 🤗 Bug hugs to diyhub team.
Congratulations @ladychef! You have completed the following achievement on the Hive blockchain And have been rewarded with New badge(s)
Your next target is to reach 1750 upvotes.
You can view your badges on your board and compare yourself to others in the Ranking
If you no longer want to receive notifications, reply to this comment with the word
STOPCheck out our last posts:
Support the HiveBuzz project. Vote for our proposal!