Spanish
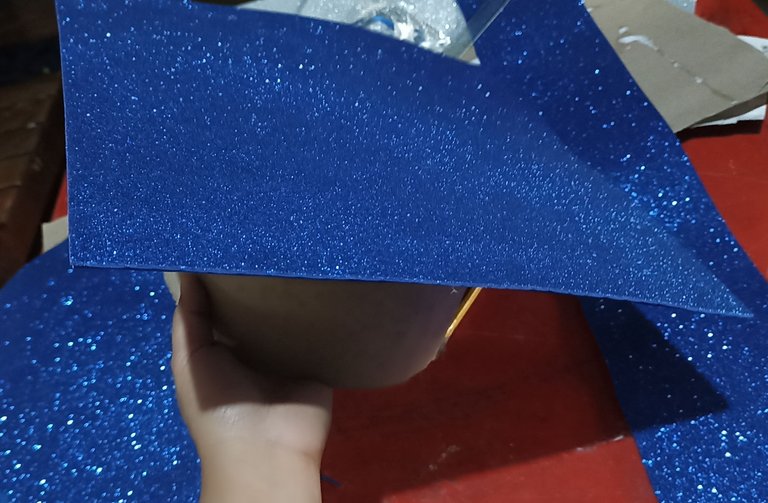
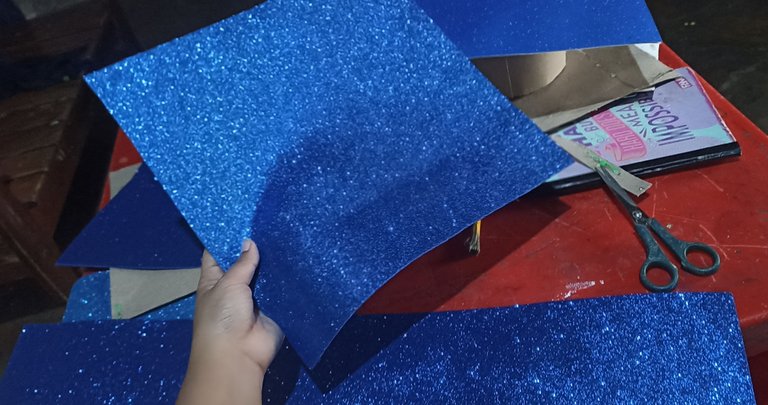
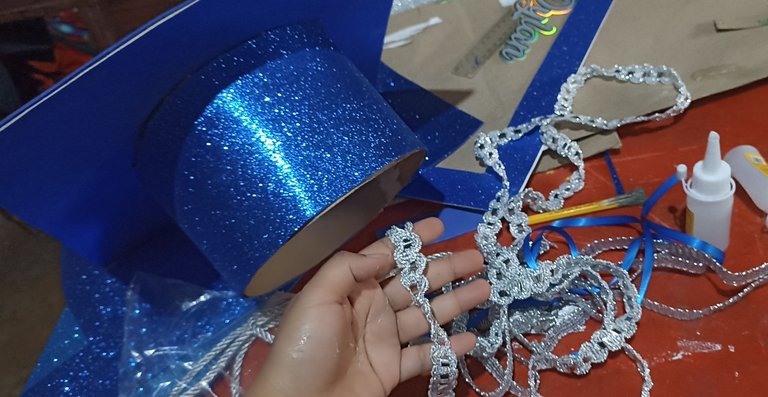
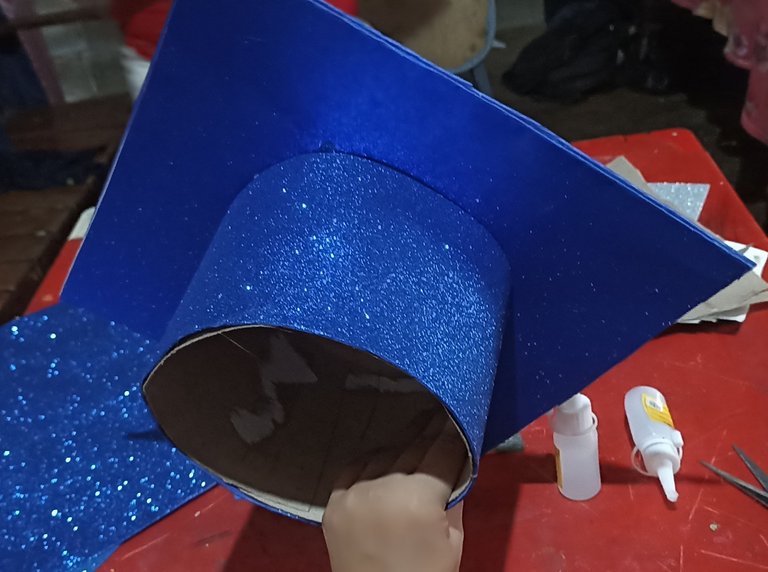
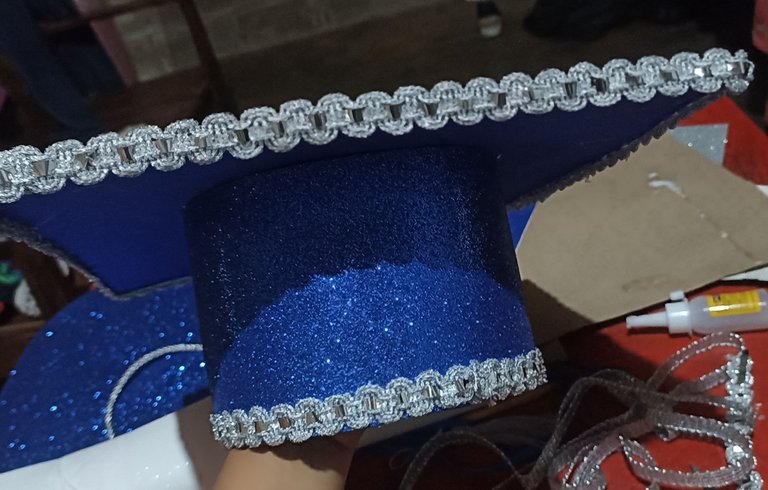
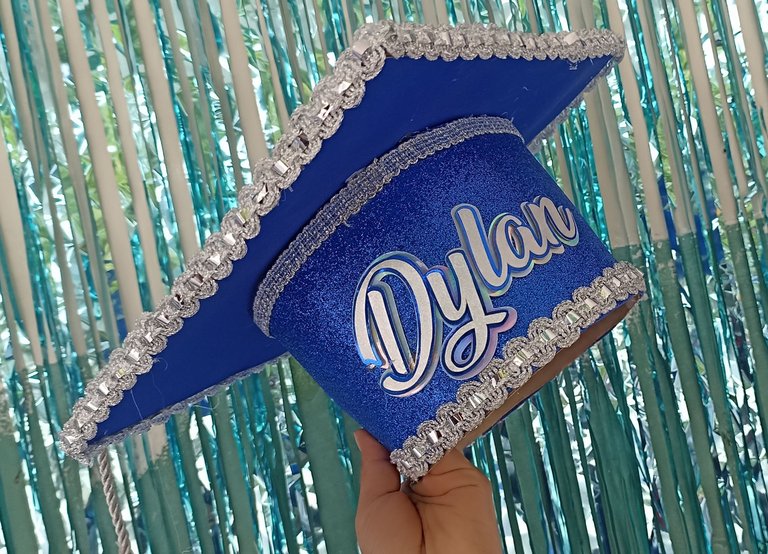
2. Para decorarlo, usé foami azul escarchado. Lo coloqué tanto en la parte superior del birrete como en todo el borde inferior, utilizando las mismas medidas y moldes. Por supuesto, usé silicón para pegarlo todo. Luego, pegué una banda escarchada decorativa por todos los bordes, tanto de arriba como de abajo, para darle un toque aún más bonito. Finalmente, pegué el nombre de Dylan, que ya había mandado a hacer, justo en el centro del birrete.
English
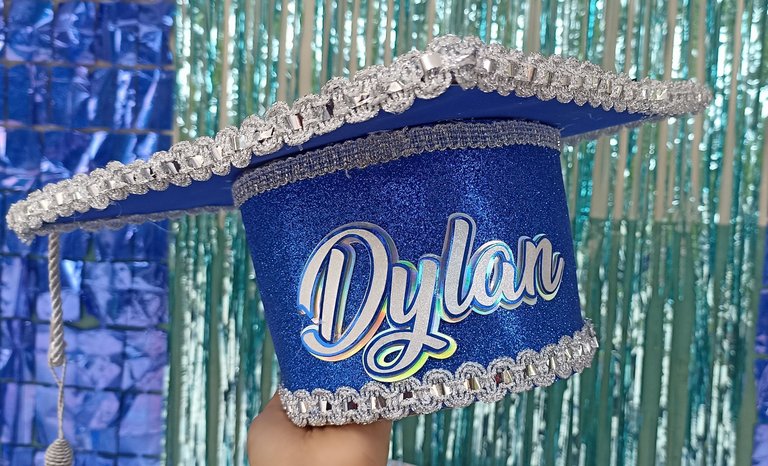
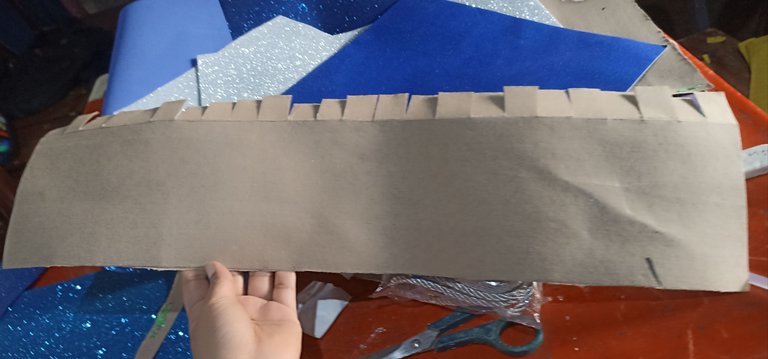
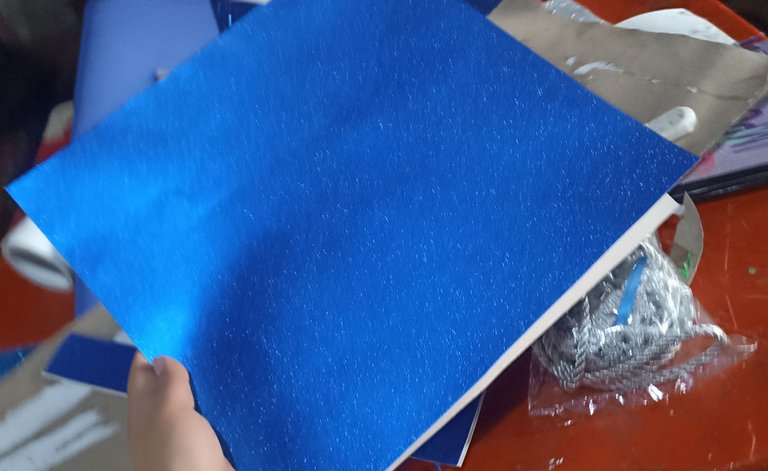
2. To decorate it, I used blue frosted foami. I placed it both on the top of the biretta and all around the bottom edge, using the same measurements and molds. Of course, I used silicone to glue it all together. Then, I glued a decorative frosted band all around the edges, both top and bottom, to give it an even nicer touch. Finally, I glued Dylan's name, which I had already had made, right in the center of the biretta.
Spanish
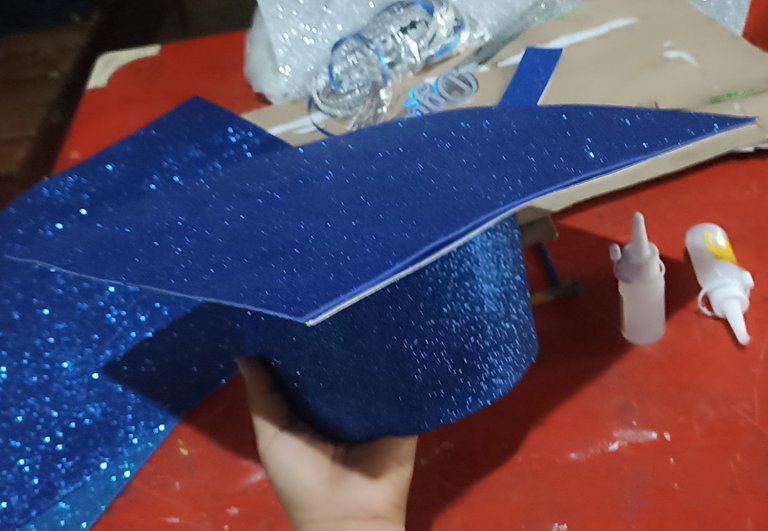
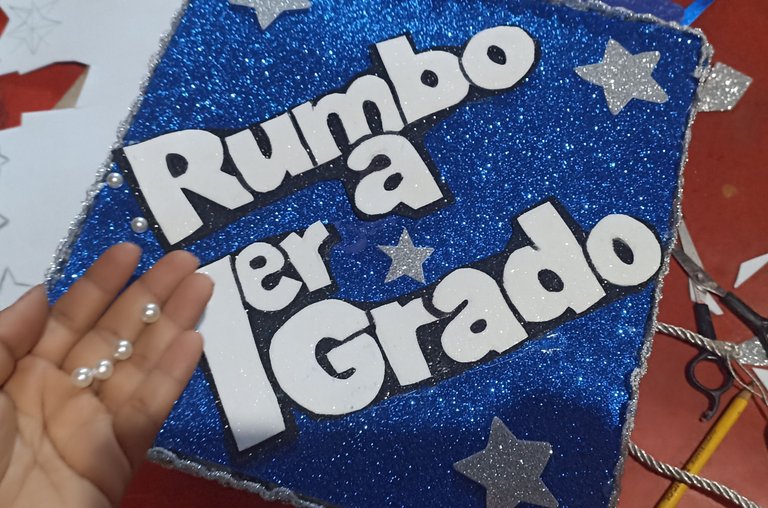
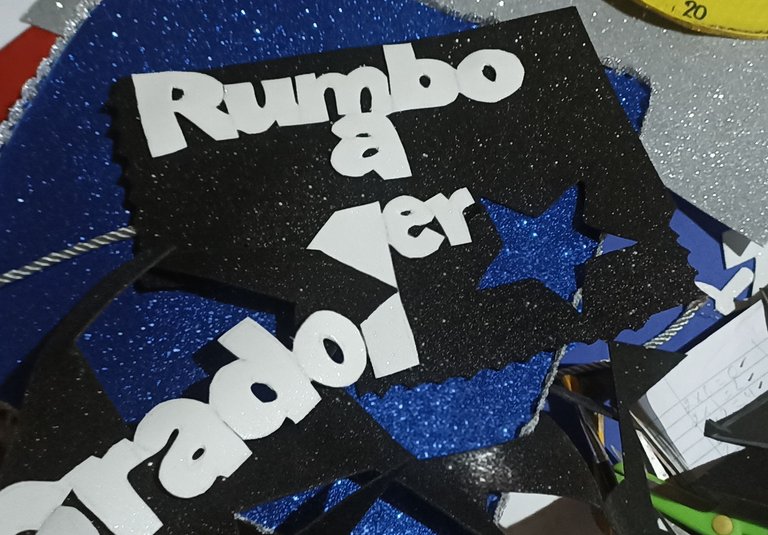
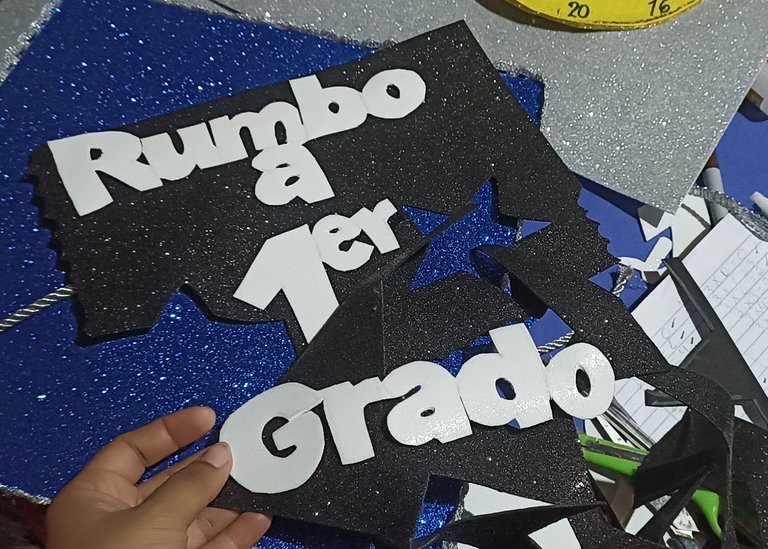
3. Para la parte superior, tenía la idea de colocar la frase "Rumbo a 1er grado". Usé foami blanco para hacer las letras y foami negro para colocarlo debajo, recortarlo y pegarlo. Después de pegarlo, noté que la parte superior era demasiado grande y no muy firme, ya que las puntas se doblaban. Me di cuenta de que medían 30 cm de cada lado, lo que era demasiado. Así que tuve que desarmar el foami de arriba, despegarlo y cortar la cartulina de abajo a unos 25 cm de cada lado. Luego, pegué un pedazo de cartón del mismo tamaño para fortalecerlo y volví a poner el foami brillante y las letras. La verdad fue muy sencillo. Pegué de nuevo la cinta decorativa y, por último, coloqué algunas estrellas con foami plateado, unas bolitas decorativas muy bonitas y, por supuesto, el laso que cae de un lado. ¡Y listo!
English
3. For the top, I had the idea of placing the phrase "Heading to 1st grade". I used white foami to make the letters and black foami to place underneath, cut it out and glue it on. After gluing it, I noticed that the top was too big and not very firm, as the ends were bending. I realized that they were 30 cm on each side, which was too much. So I had to take apart the top foami, peel it off and cut the bottom cardboard to about 25 cm on each side. Then, I glued a piece of cardboard of the same size to strengthen it and put the shiny foami and the letters back on. It was really easy. I glued the decorative ribbon again and, finally, I put some stars with silver foami, some very pretty decorative balls and, of course, the lasso that falls on one side. And that's it!

Spanish
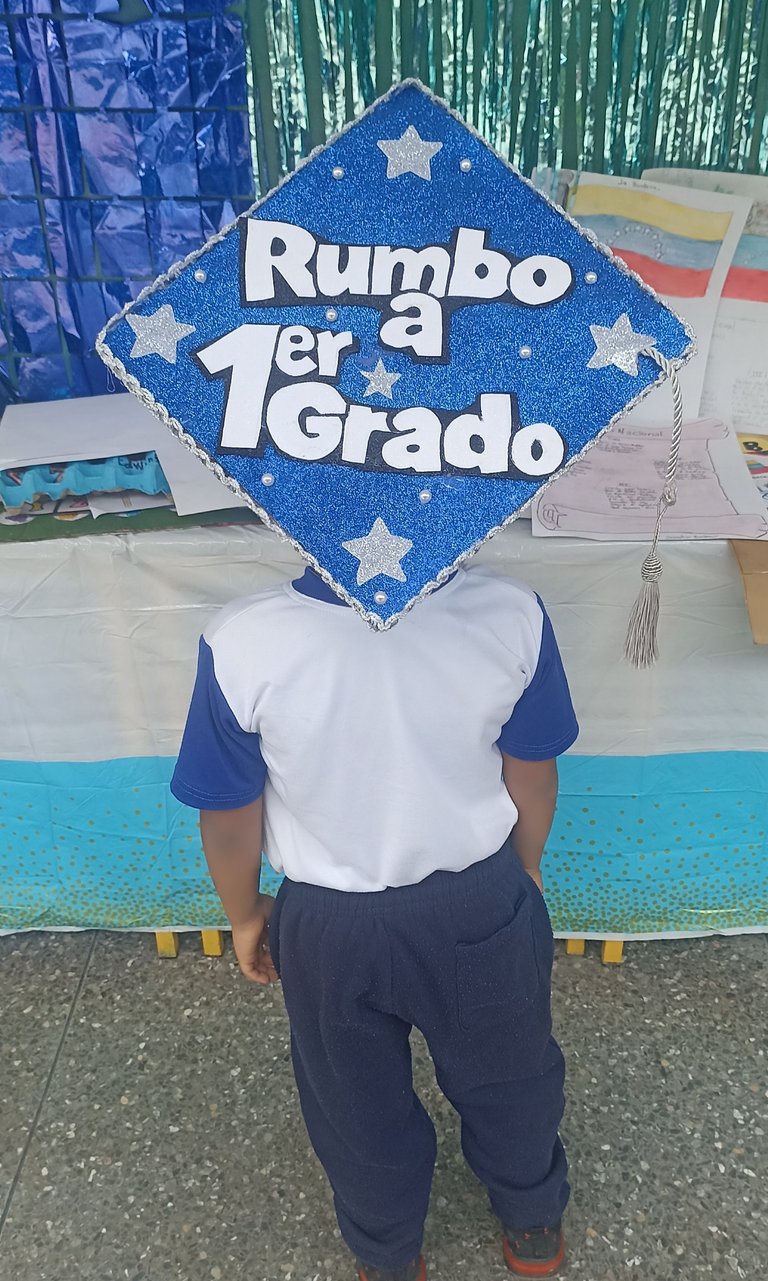
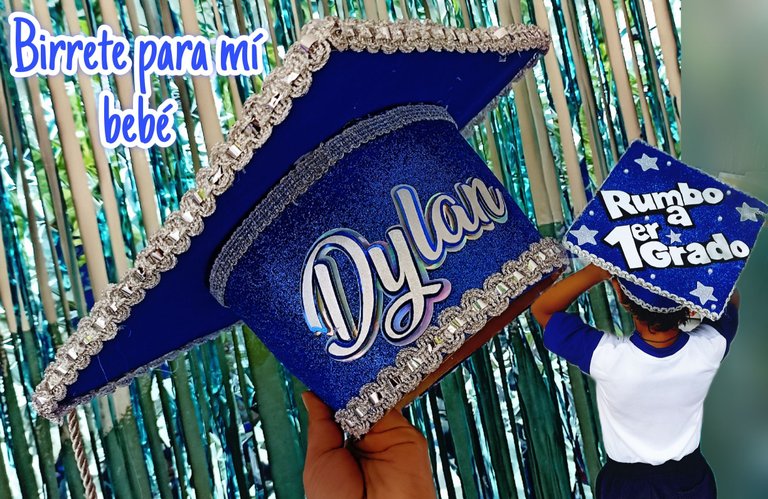
Aquí les comparto el resultado final de este birrete hecho con muchísimo amor. Se lo puse ayer para una actividad en su escuela que les estaré mostrando mañana. Como siempre, quiero darles las gracias por quedarse a leer y regalarme un ratico de su tiempo. Nos vemos en una próxima publicación. ¡Un abrazo!
English
Here I share with you the final result of this biretta made with lots of love. I put it on yesterday for an activity at her school that I will be showing you tomorrow. As always, I want to thank you for staying to read and give me a little bit of your time. I'll see you in a future post, hugs!


)


 )
)
quedo muy lindo!
it was very nice!
Wow, that's a shiny and wonderful birete. Congratulations to your kid
Muchisimas por el apoyo y sus hermosa palabnras, una brazo @diyhub