[Esp-Eng] Among us Rojo con dimensión para pastel // Among us Red with dimension for cake
Español
Hola amig@, gracias por visitar esta publicación.
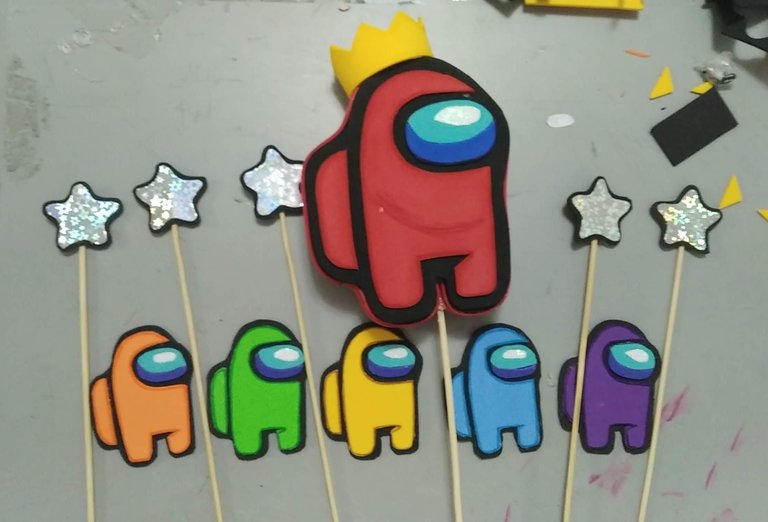
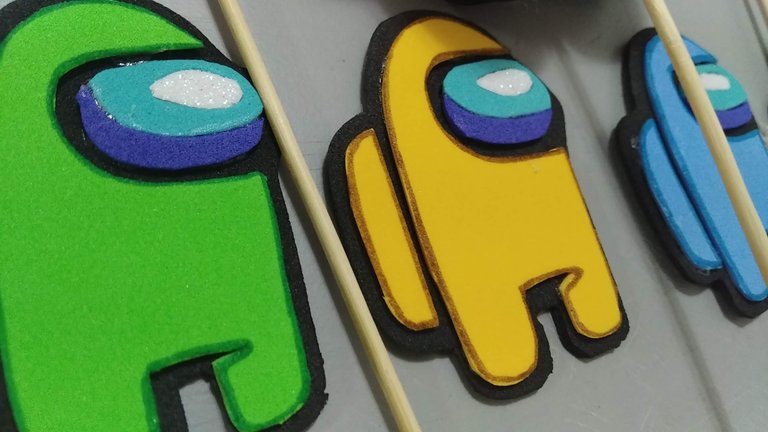
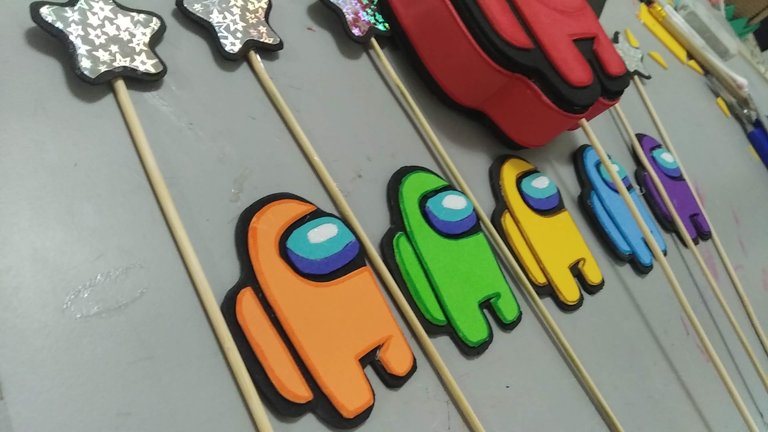
Among Us es sin duda un juego que cautivó los corazones de muchos niños y adolescentes. A nuestro vecino Nilson le encanta el juego y para celebrar su cumpleaños numero 13 su pastel fue decorado con estos coloridos personajes.
La realización es bastante fácil y ademas los materiales son súper accesibles, así que pueden hacer este tipo de decoración para topers, cotillones o simplemente decoración de algún lugar o fiesta.
Sin más, y esperando disfruten del trabajo realizado les dejo los materiales utilizados, el proceso y las imágenes del trabajo.
- Cartón liviano.
- Foami plano de colores (alusivos a los personajes: negro, azul, rojo, verde, amarillo, morado, naranja, blanco).
- Cartulina holográfica.
- cinta adhesiva de papel.
- Silicón frio.
- Silicón Caliente.
- Marcadores de Colores.
- Palitos de madera.
- Hoja blanca
- Lápiz
- Tijera
English
Hola amiga@, thank you for visiting this publication.
Among Us is undoubtedly a game that captivated the hearts of many children and teenagers. Our neighbor Nilson loves the game and to celebrate his 13th birthday his cake was decorated with these colorful characters.
The realization is quite easy and also the materials are super affordable, so you can make this kind of decoration for toppers, cotillions or simply decorating a place or party.
Without further ado, and hoping you enjoy the work done I leave you the materials used, the process and the images of the work.
- Light cardboard.
- Flat colored Foami (allusive to the characters: black, blue, red, green, yellow, purple, orange, white).
- Holographic cardboard.
- paper adhesive tape.
- Cold silicone.
- Hot Silicone.
- Color markers.
- Wooden sticks.
- White sheet
- Pencil
- Scissors
1.- Se diseña en la hoja blanca el modelo del personaje con la altura y el ancho deseado. Este en particular midió 10 cm de ancho por 14 cm de alto.
1.- The model of the character is designed on the white sheet with the desired height and width. This particular one measured 10 cm wide by 14 cm high.
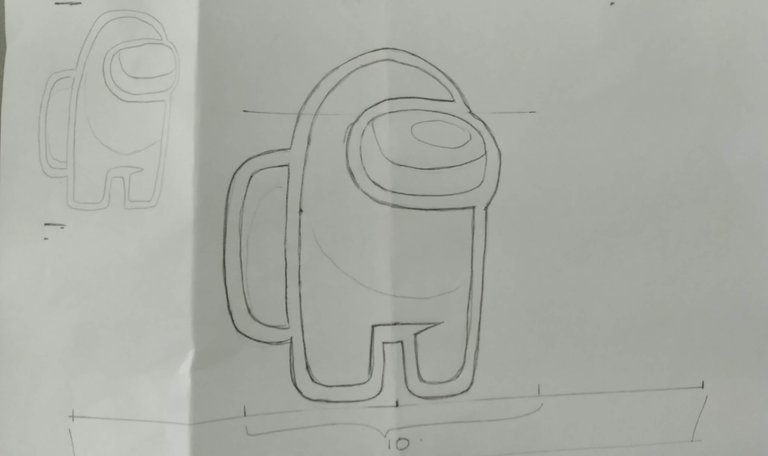
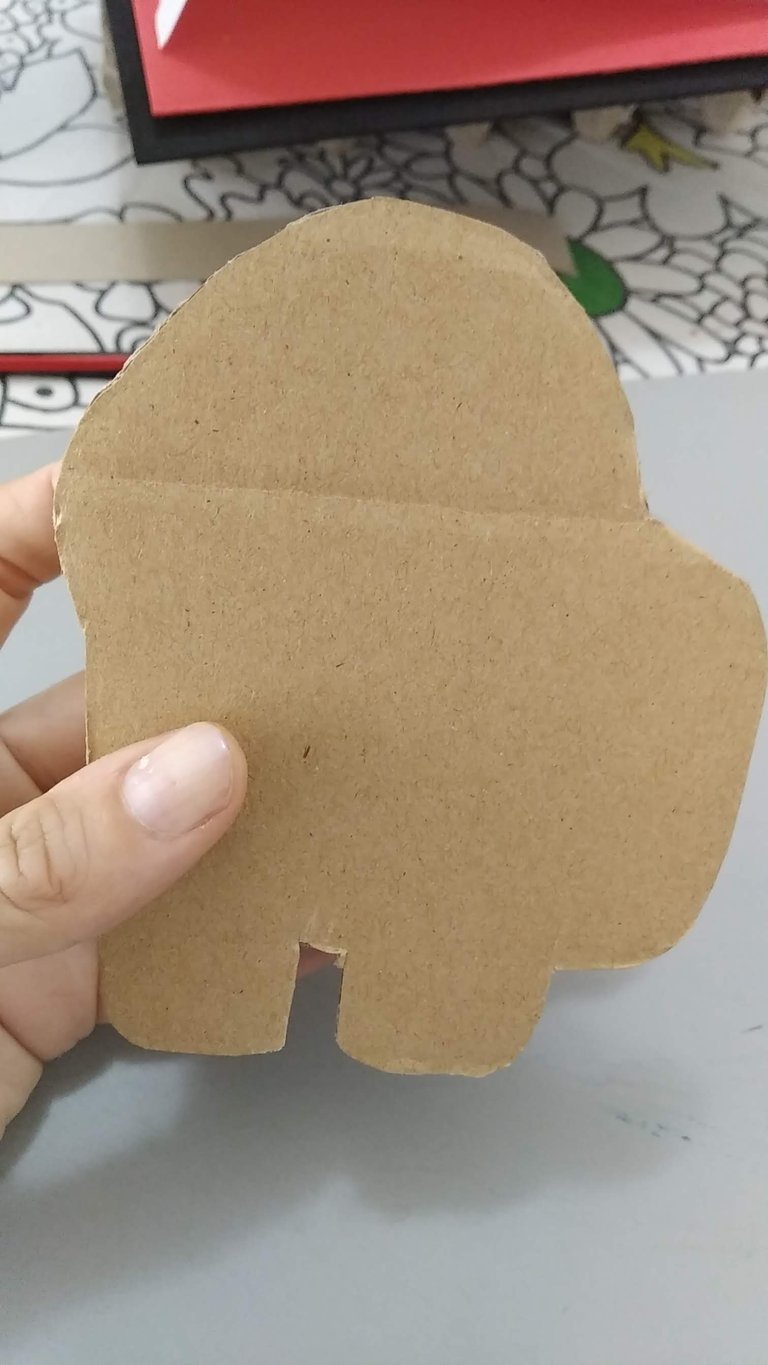
2.- Utilizando el diseño anterior como patrón, se marcan y se cortan dos modelos iguales para crear el personaje con dimensión.
2.- Using the previous design as a pattern, two identical models are marked and cut to create the character with dimension.
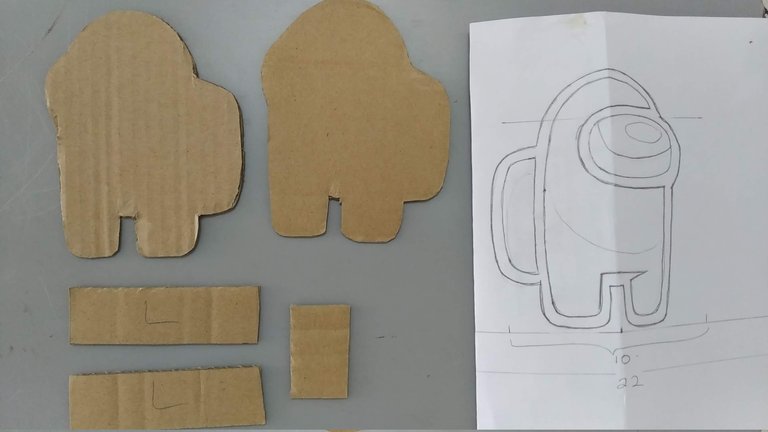
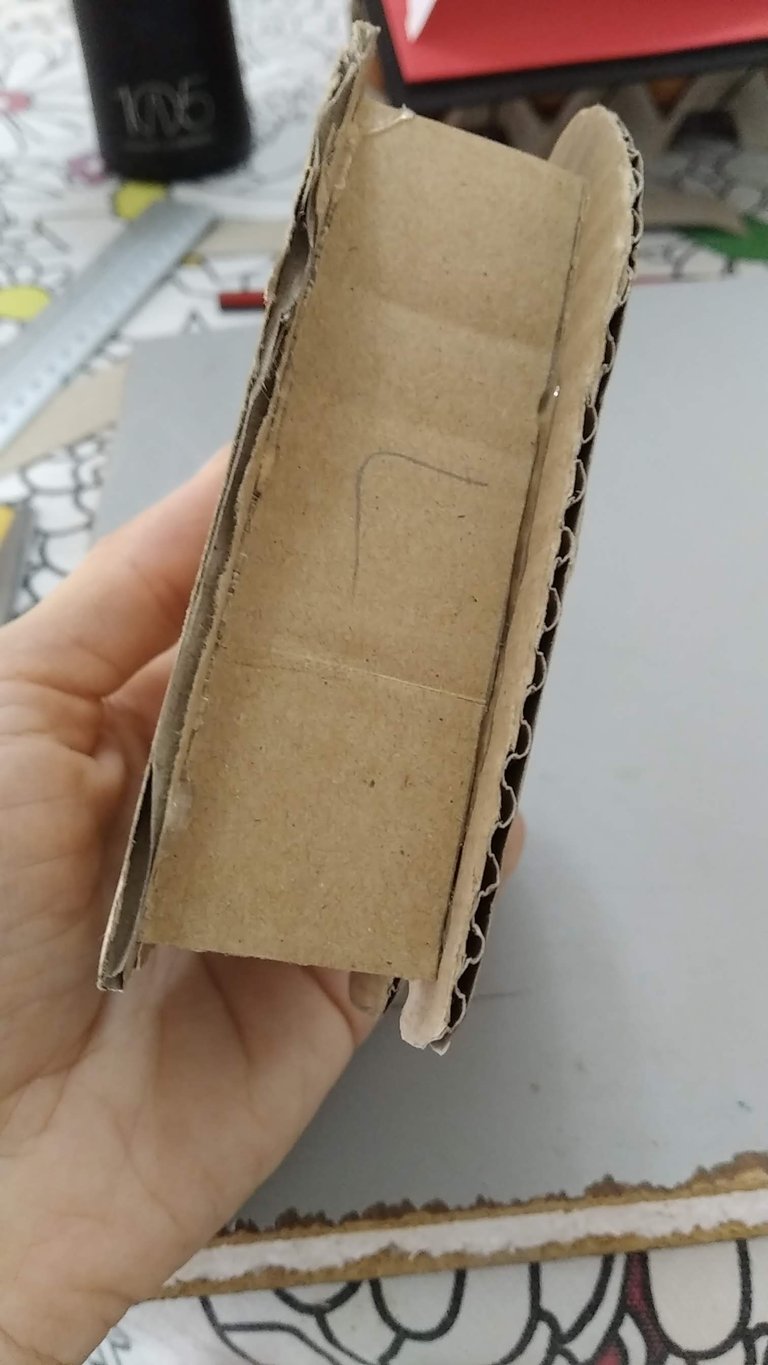
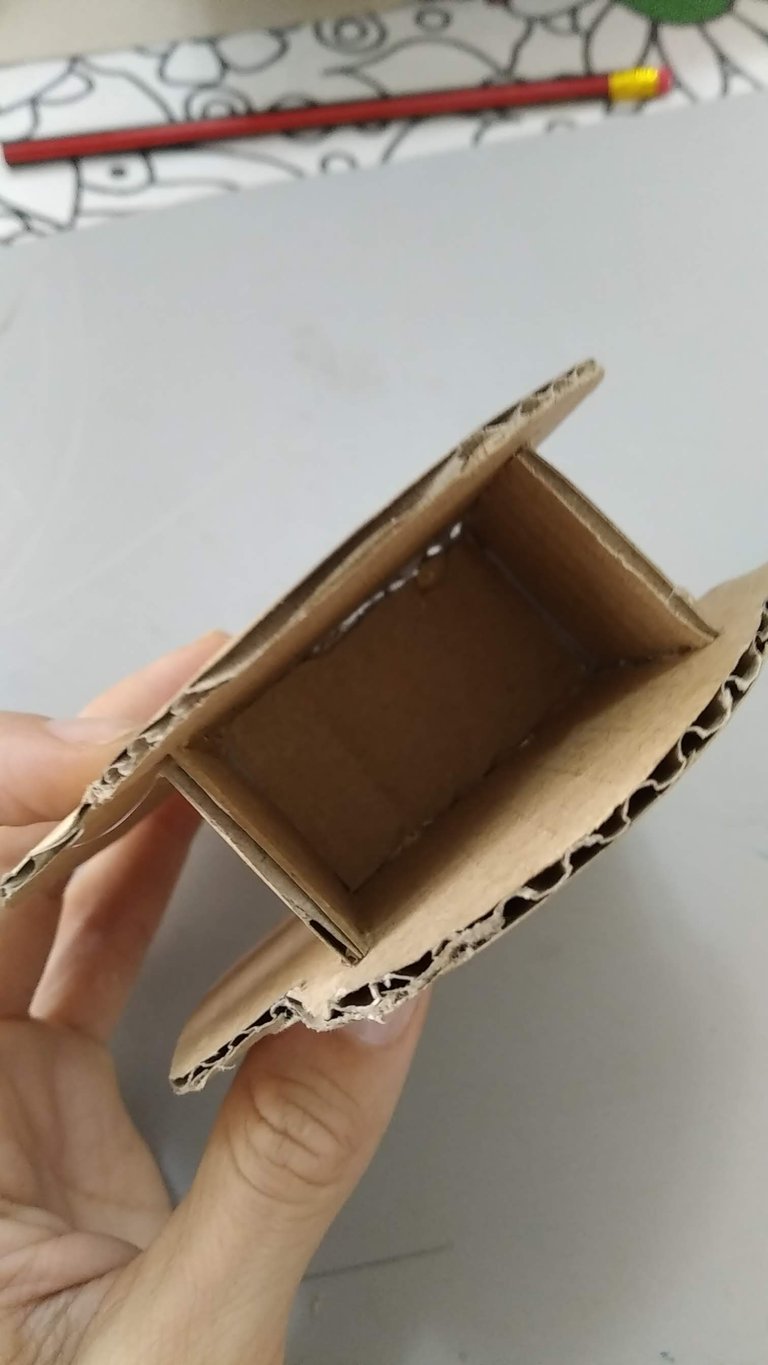
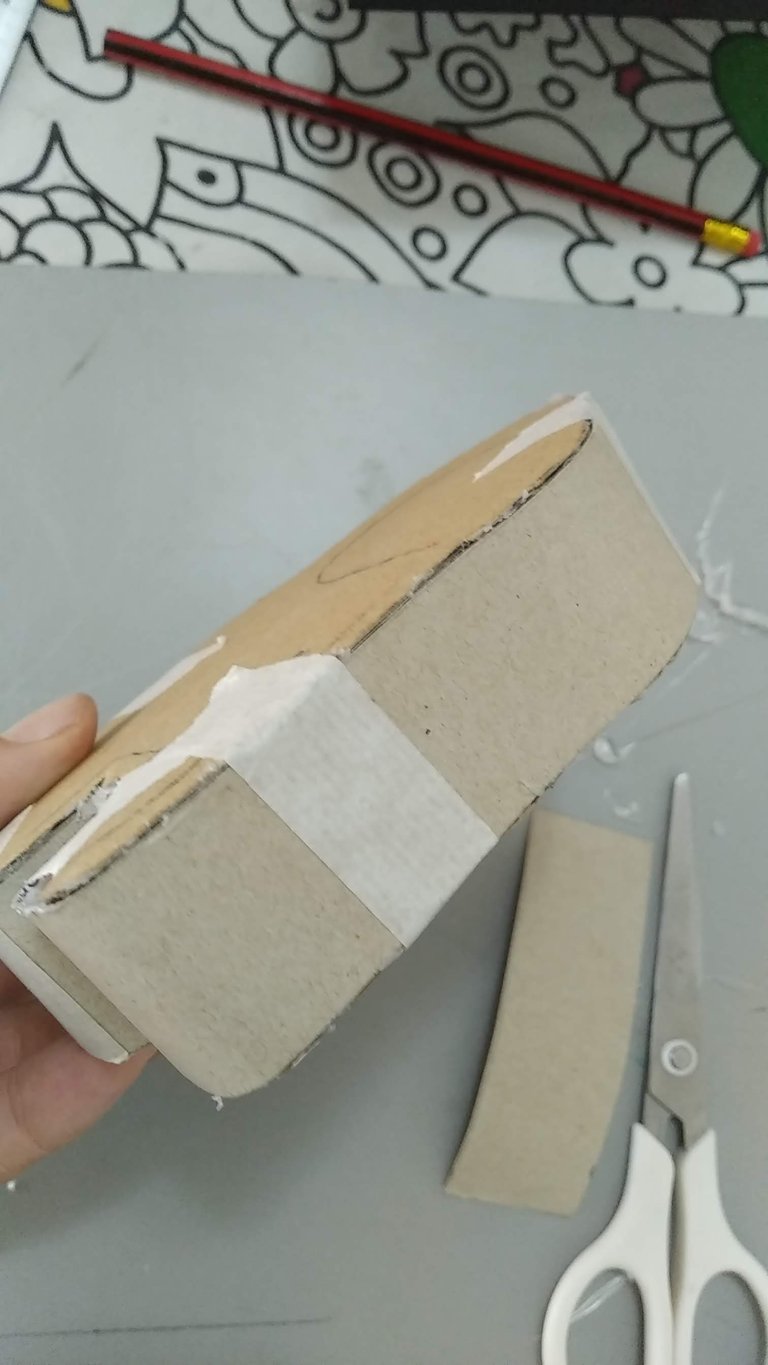
3.- Armar las piezas utilizando para ello silicón caliente. Primero se unen ambas piezas con pequeños trozos entre las partes internas y luego al estar fijas ambas piezas, se le pega por los bordes un corte de cartón con el ancho correspondiente entre ambas piezas. Para reforzar el pegado del cartón del borde, utilizar cinta adhesiva de papel.
3.- Assemble the pieces using hot silicone. First join both pieces with small pieces between the internal parts and then, once both pieces are fixed, glue a cardboard cut with the corresponding width between both pieces. To reinforce the gluing of the edge cardboard, use paper adhesive tape.
4.- Marcar y recortar en el foami negro tiras con la misma profundidad de la pieza armada y luego pegar con silicón frío por todo el contorno.
4.- Mark and cut strips with the same depth of the assembled piece on the black foami and then glue with cold silicone all around the contour.
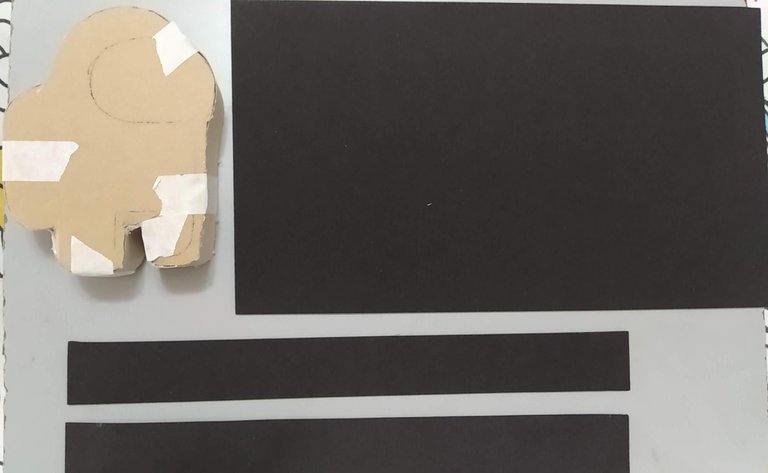
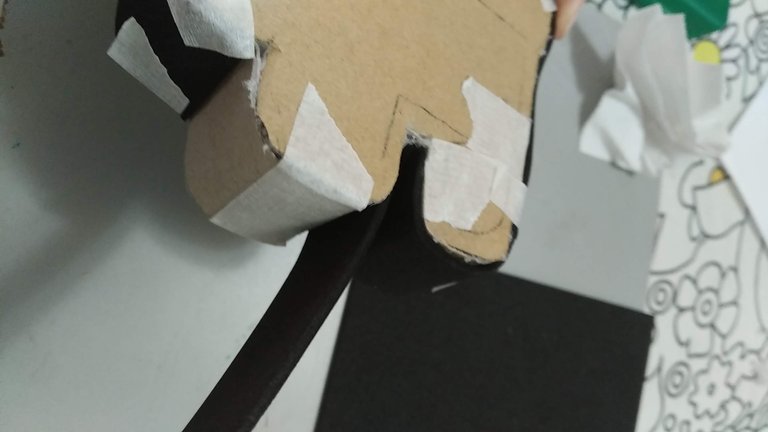
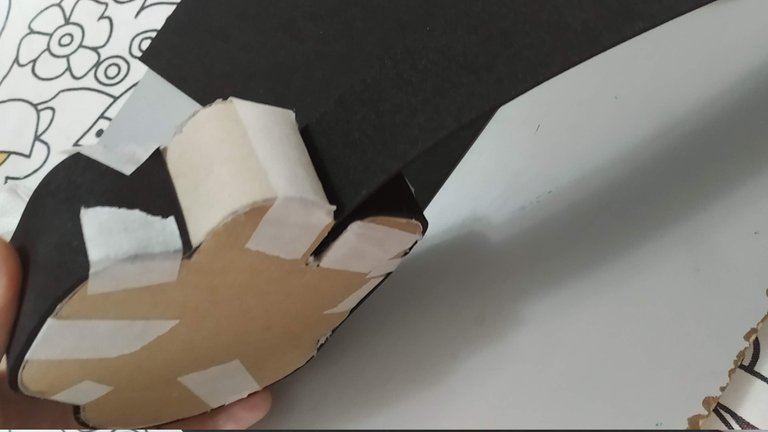
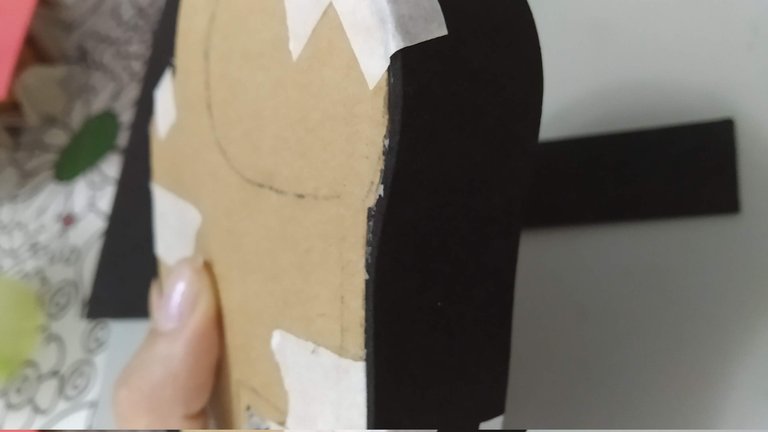
5.- Marcar y recortar en el foami negro la forma del personaje y luego pegar en ambas caras con silicón frío. Utilizar cinta adhesiva de papel para evitar se levante el foami mientras se seca la pega.
5.- Mark and cut out the shape of the character on the black foami and then glue on both sides with cold silicone. Use paper tape to prevent the foami from lifting while the glue dries.
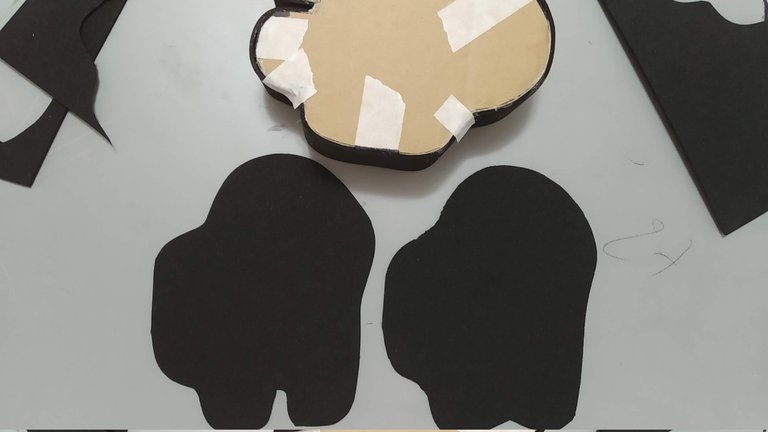
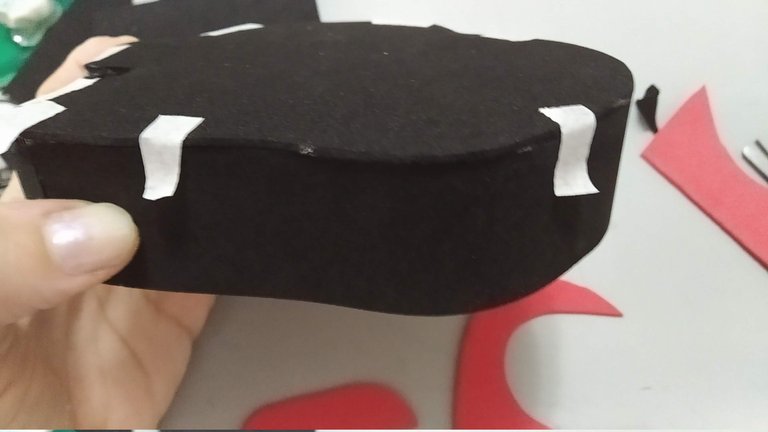
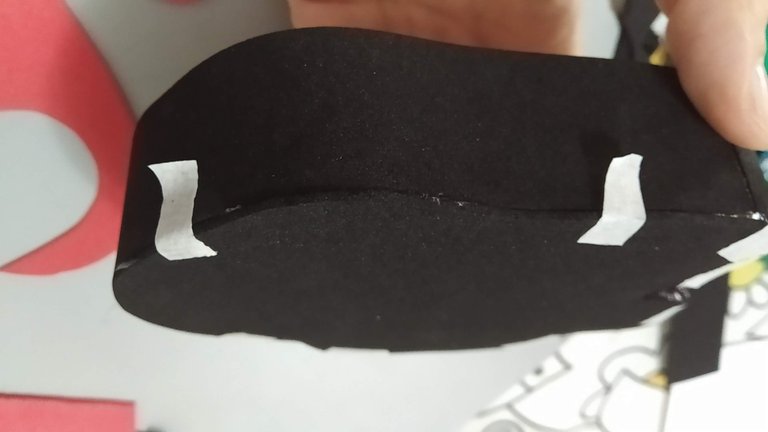
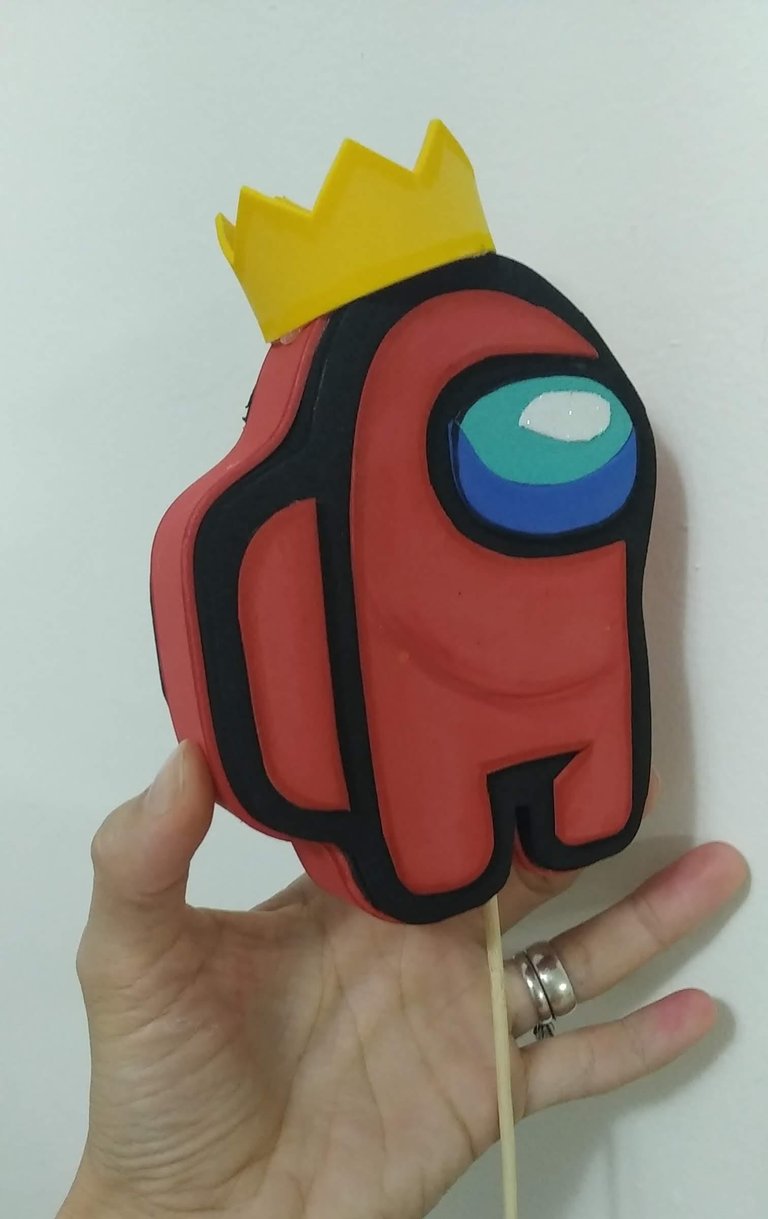
6.- Marcar y recortar en el foami de color rojo, la pieza correspondiente al cuerpo del personaje incluyendo nuevamente el borde de profundidad (se deberá recortar siempre en menor tamaño que la pieza negra para lograr el efecto de borde negro). Para hacer lo correspondiente al casco, usar trozos de foami azul oscuro, azul claro y blanco. Decorar con una corona realizada en foami amarillo.
6.- Mark and cut in the red foami, the piece corresponding to the body of the character including again the depth border (it should always be cut in smaller size than the black piece to achieve the black border effect). To make the helmet, use pieces of dark blue, light blue and white foami. Decorate with a crown made of yellow foami.
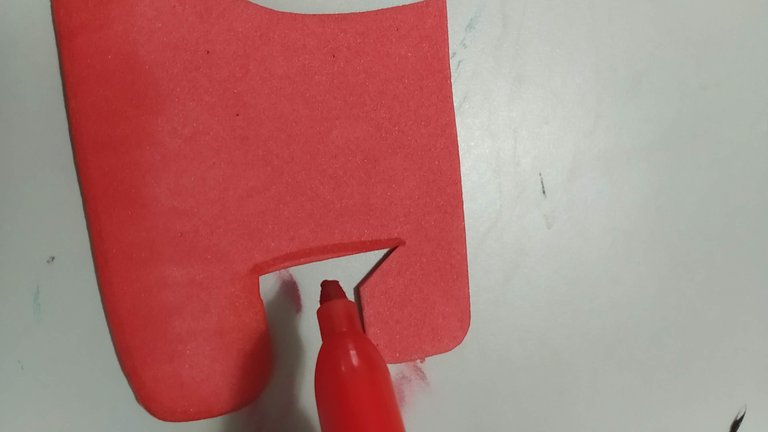
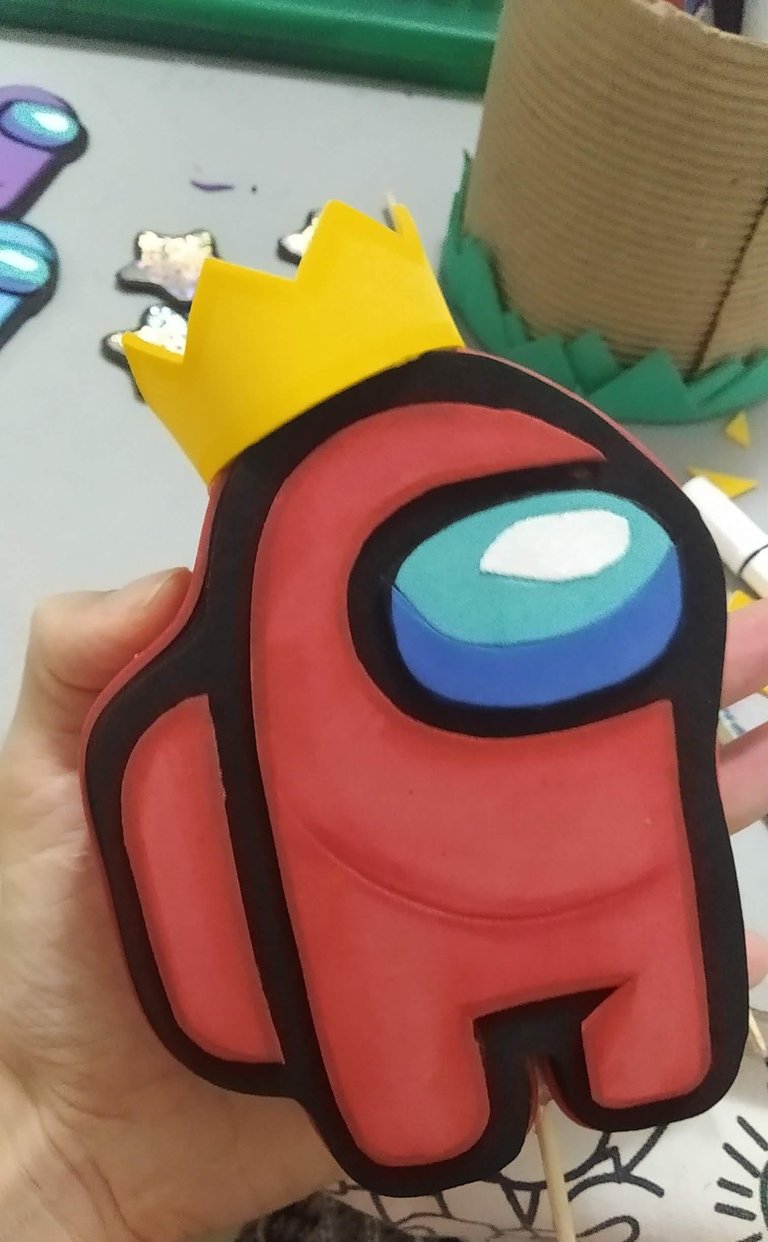
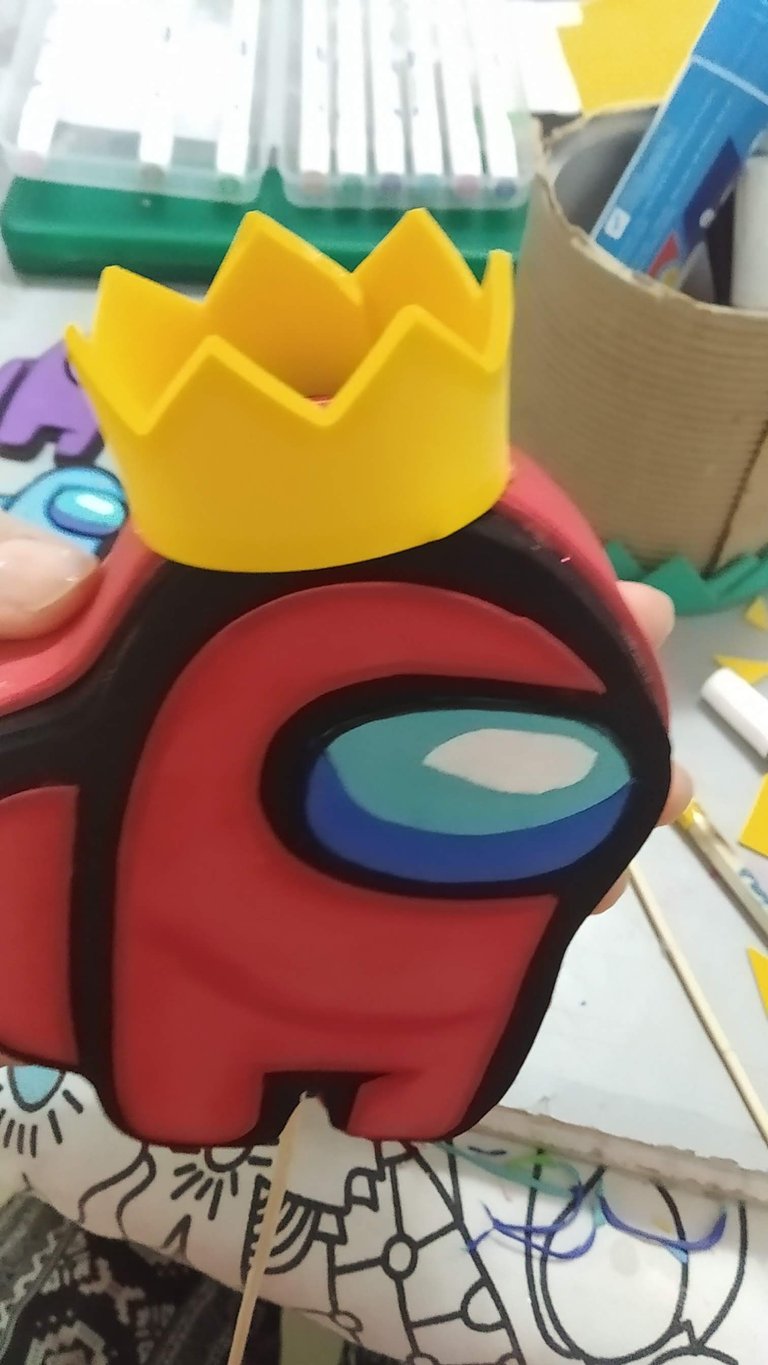
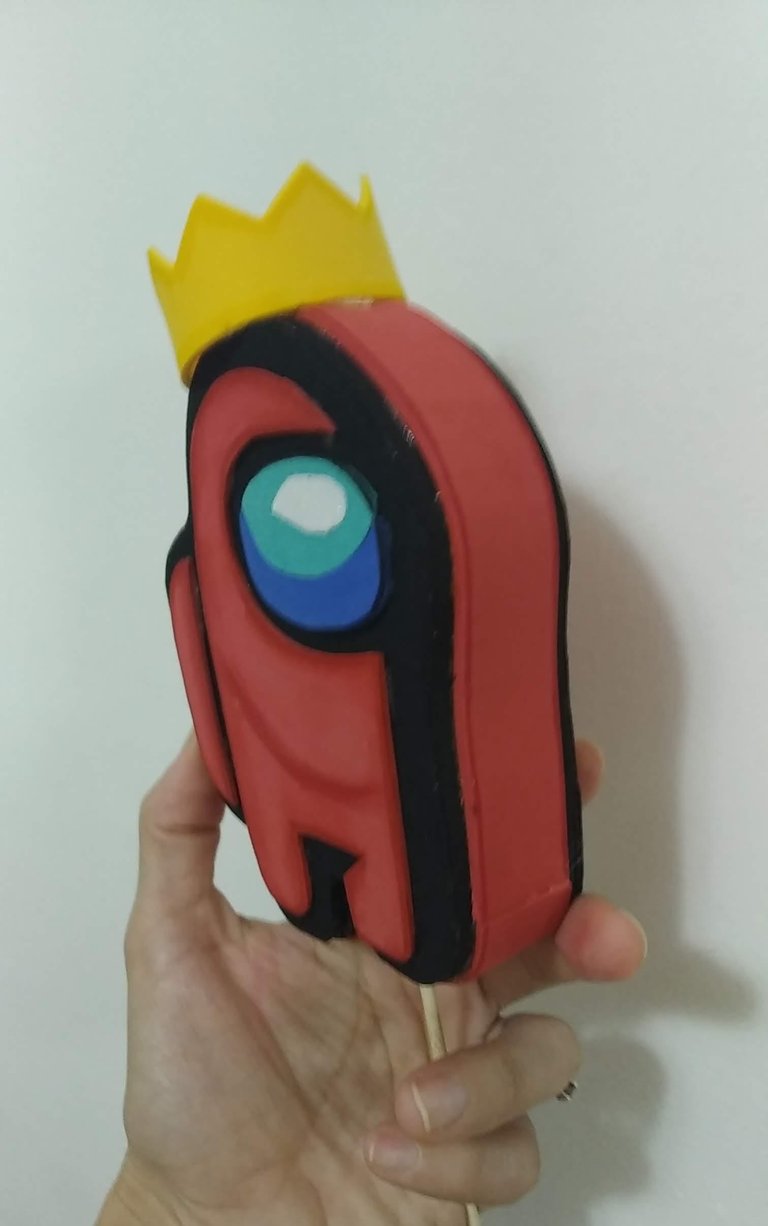
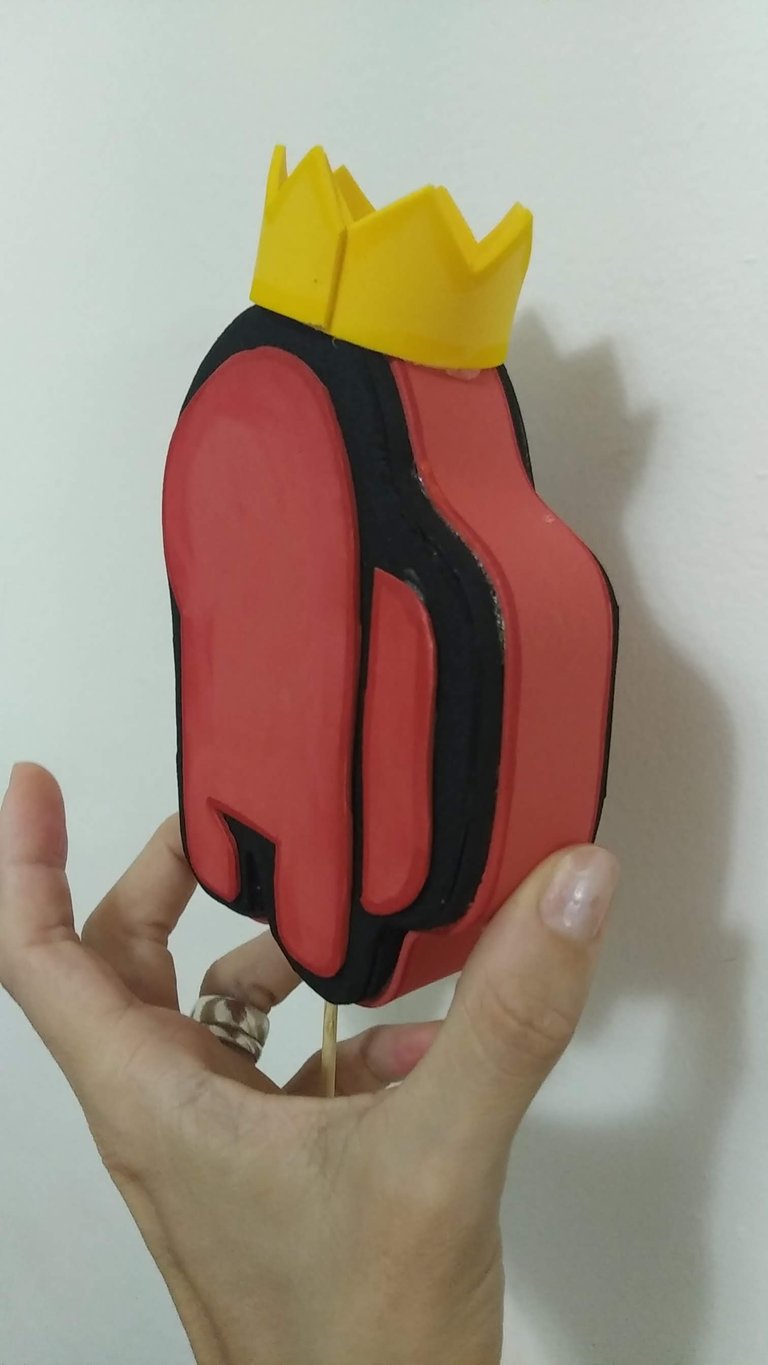
7.- Para personajes más pequeños (sin profundidad) recortar el foami negro con la forma del personaje y sobre ella pegar el foami correspondiente al color deseado, cuidando que esta pieza sea mas pequeña que la negra para lograr el efecto deseado. Para hacer lo correspondiente al casco, usar trozos de foami azul oscuro, azul claro y blanco.
7.- For smaller characters (without depth) cut out the black foami with the shape of the character and glue the foami corresponding to the desired color on it, making sure that this piece is smaller than the black one to achieve the desired effect. To make the helmet, use pieces of dark blue, light blue and white foami.
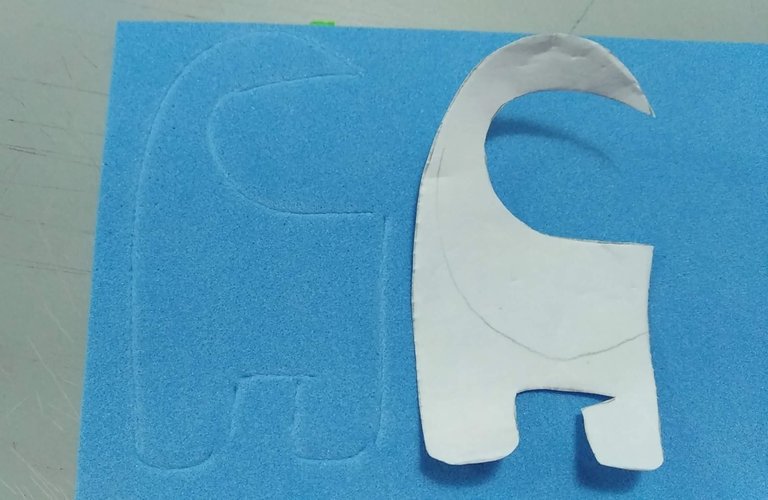
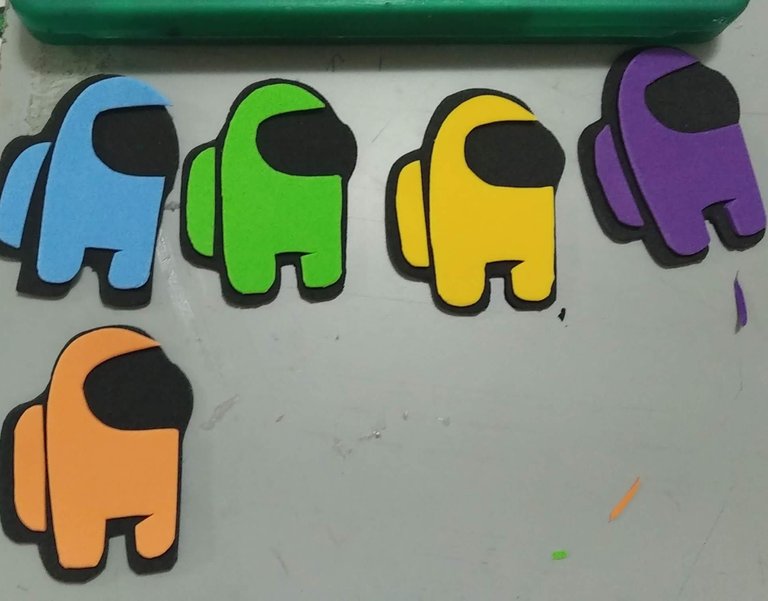
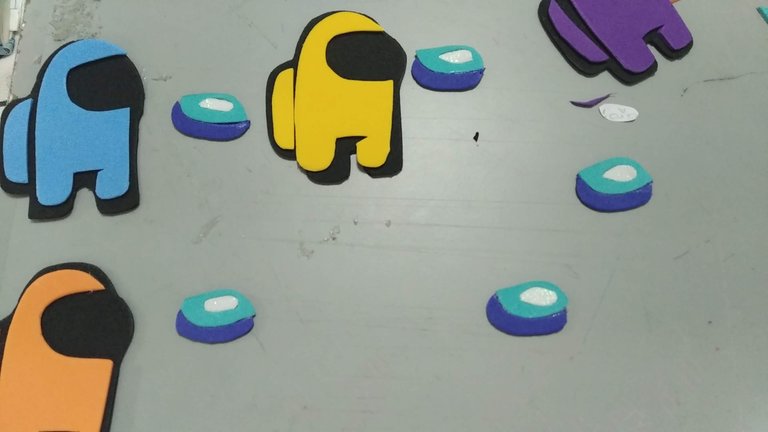
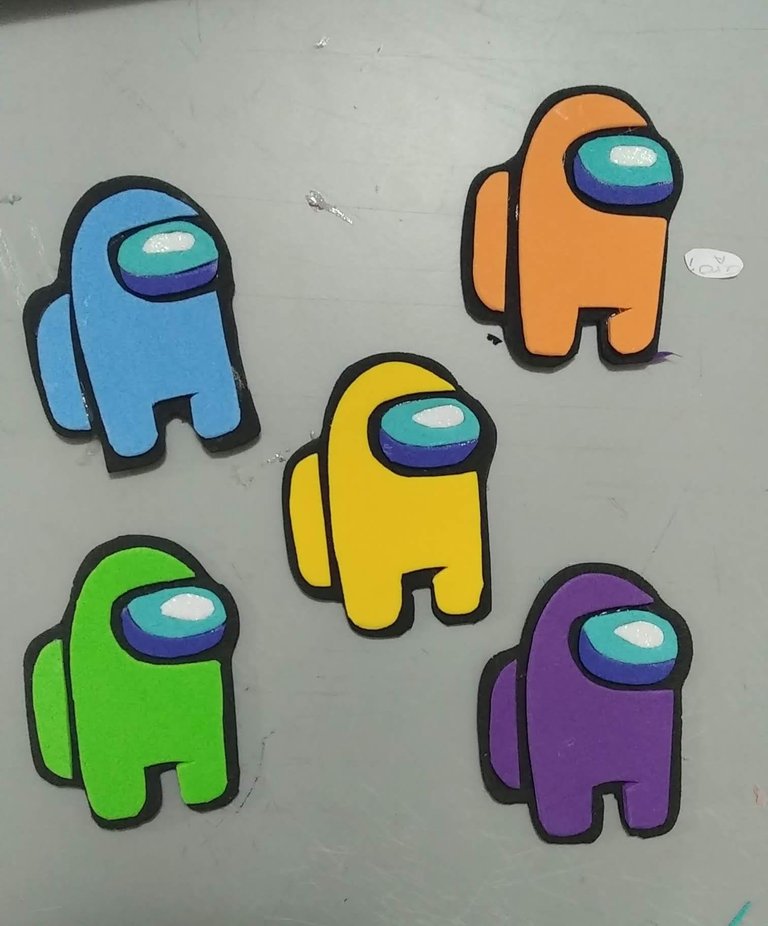
8.- A todas las piezas se les da profundidad con marcadores de colores y para completar el diseño se realizan estrellas con foami negro y cartulina holográfica y se les pega palitos de madera para ser puestas en el pastel.
8.- All the pieces are given depth with colored markers and to complete the design, stars are made with black foami and holographic cardboard and glued to wooden sticks to be placed on the cake.
Espero les haya gustado y sobre todo se entusiasmen a crear algo parecido para sorprender a familiares y amigos.
I hope you liked it and, above all, I hope you get excited to create something similar to surprise your family and friends.

Fuente
SALUDOS / REGARDS
Todas las Fotos fueron tomadas con mi teléfono Redmi 7A.
Contenido original de @keco (fotos y texto) - Todos los derechos reservados Publicado en HIVE así como en mi instagram : http://instagram.com/carton_pintura_algo_mas
All Photos were taken with my Redmi 7A phone.
Original content from @keco (photos and text) - All rights reserved Posted on HIVE as well as on my instagram: http://instagram.com/carton_pintura_algo_mas
Congratulations, your post has been upvoted by @dsc-r2cornell, which is the curating account for @R2cornell's Discord Community.
Gracias @dsc-r2cornell y @jasonmunapasee por el apoyo a mi publicación. Significa mucho.
Saludos, bendiciones y éxitos.
https://discord.gg/tYENgKmTHA
Hola @equipodelta, es para mi un privilegio formar parte de esta comunidad que potencia las manualidades, mi pasión...
Saludos, bendiciones y éxitos.
Congratulations @keco! You have completed the following achievement on the Hive blockchain and have been rewarded with new badge(s):
Your next target is to reach 20000 upvotes.
You can view your badges on your board and compare yourself to others in the Ranking
If you no longer want to receive notifications, reply to this comment with the word
STOPCheck out the last post from @hivebuzz:
Gracias @hivebuzz por mantenerme al día con mis estadísticas.
Saludos, bendiciones y éxitos.
De nada @keco, es un placer 😊🌹 ¡Les deseamos una gran semana!
Gracias @mayvileros por tu apoyo. Un fuerte abrazo.
Saludos, bendiciones y éxitos.