DIY Shoe Box part 2
Hi fellow Hiveians,
Today we finally finished the Shoe Box the little man and I started to build many weeks ago! It felt good to get it all finished.

Building Blocks
The project was something that I've been looking forward to getting finished. I love building things for sure, and I know that it's been something my wife has been interested in getting finished up! I was glad when she agreed to spend some time at home for us to finish it. She was busy wit her business stuff so it was good to hang out at home and get working.
The little man is always enjoying what we do when we are doing building things. He was super excited to get things together and get this thing finished! He was my helper, as always, with getting the tools organized and ready to go!

We spent some time getting the thing cleaned up a bit, it was many weeks since we were doing it so I had forgotten a few things. We needed to take the staples out of the wood so that it didn't look foolish but at the same time it wasn't dangerous. Those staples were sharp! I almost caught myself on one.

It was good to get things together and start to assemble the box. I had some things in mind and thankfully things were tying together. There was an issue with this method that I will talk about a little bit later but things happen! I just went with it and it ended up working out.
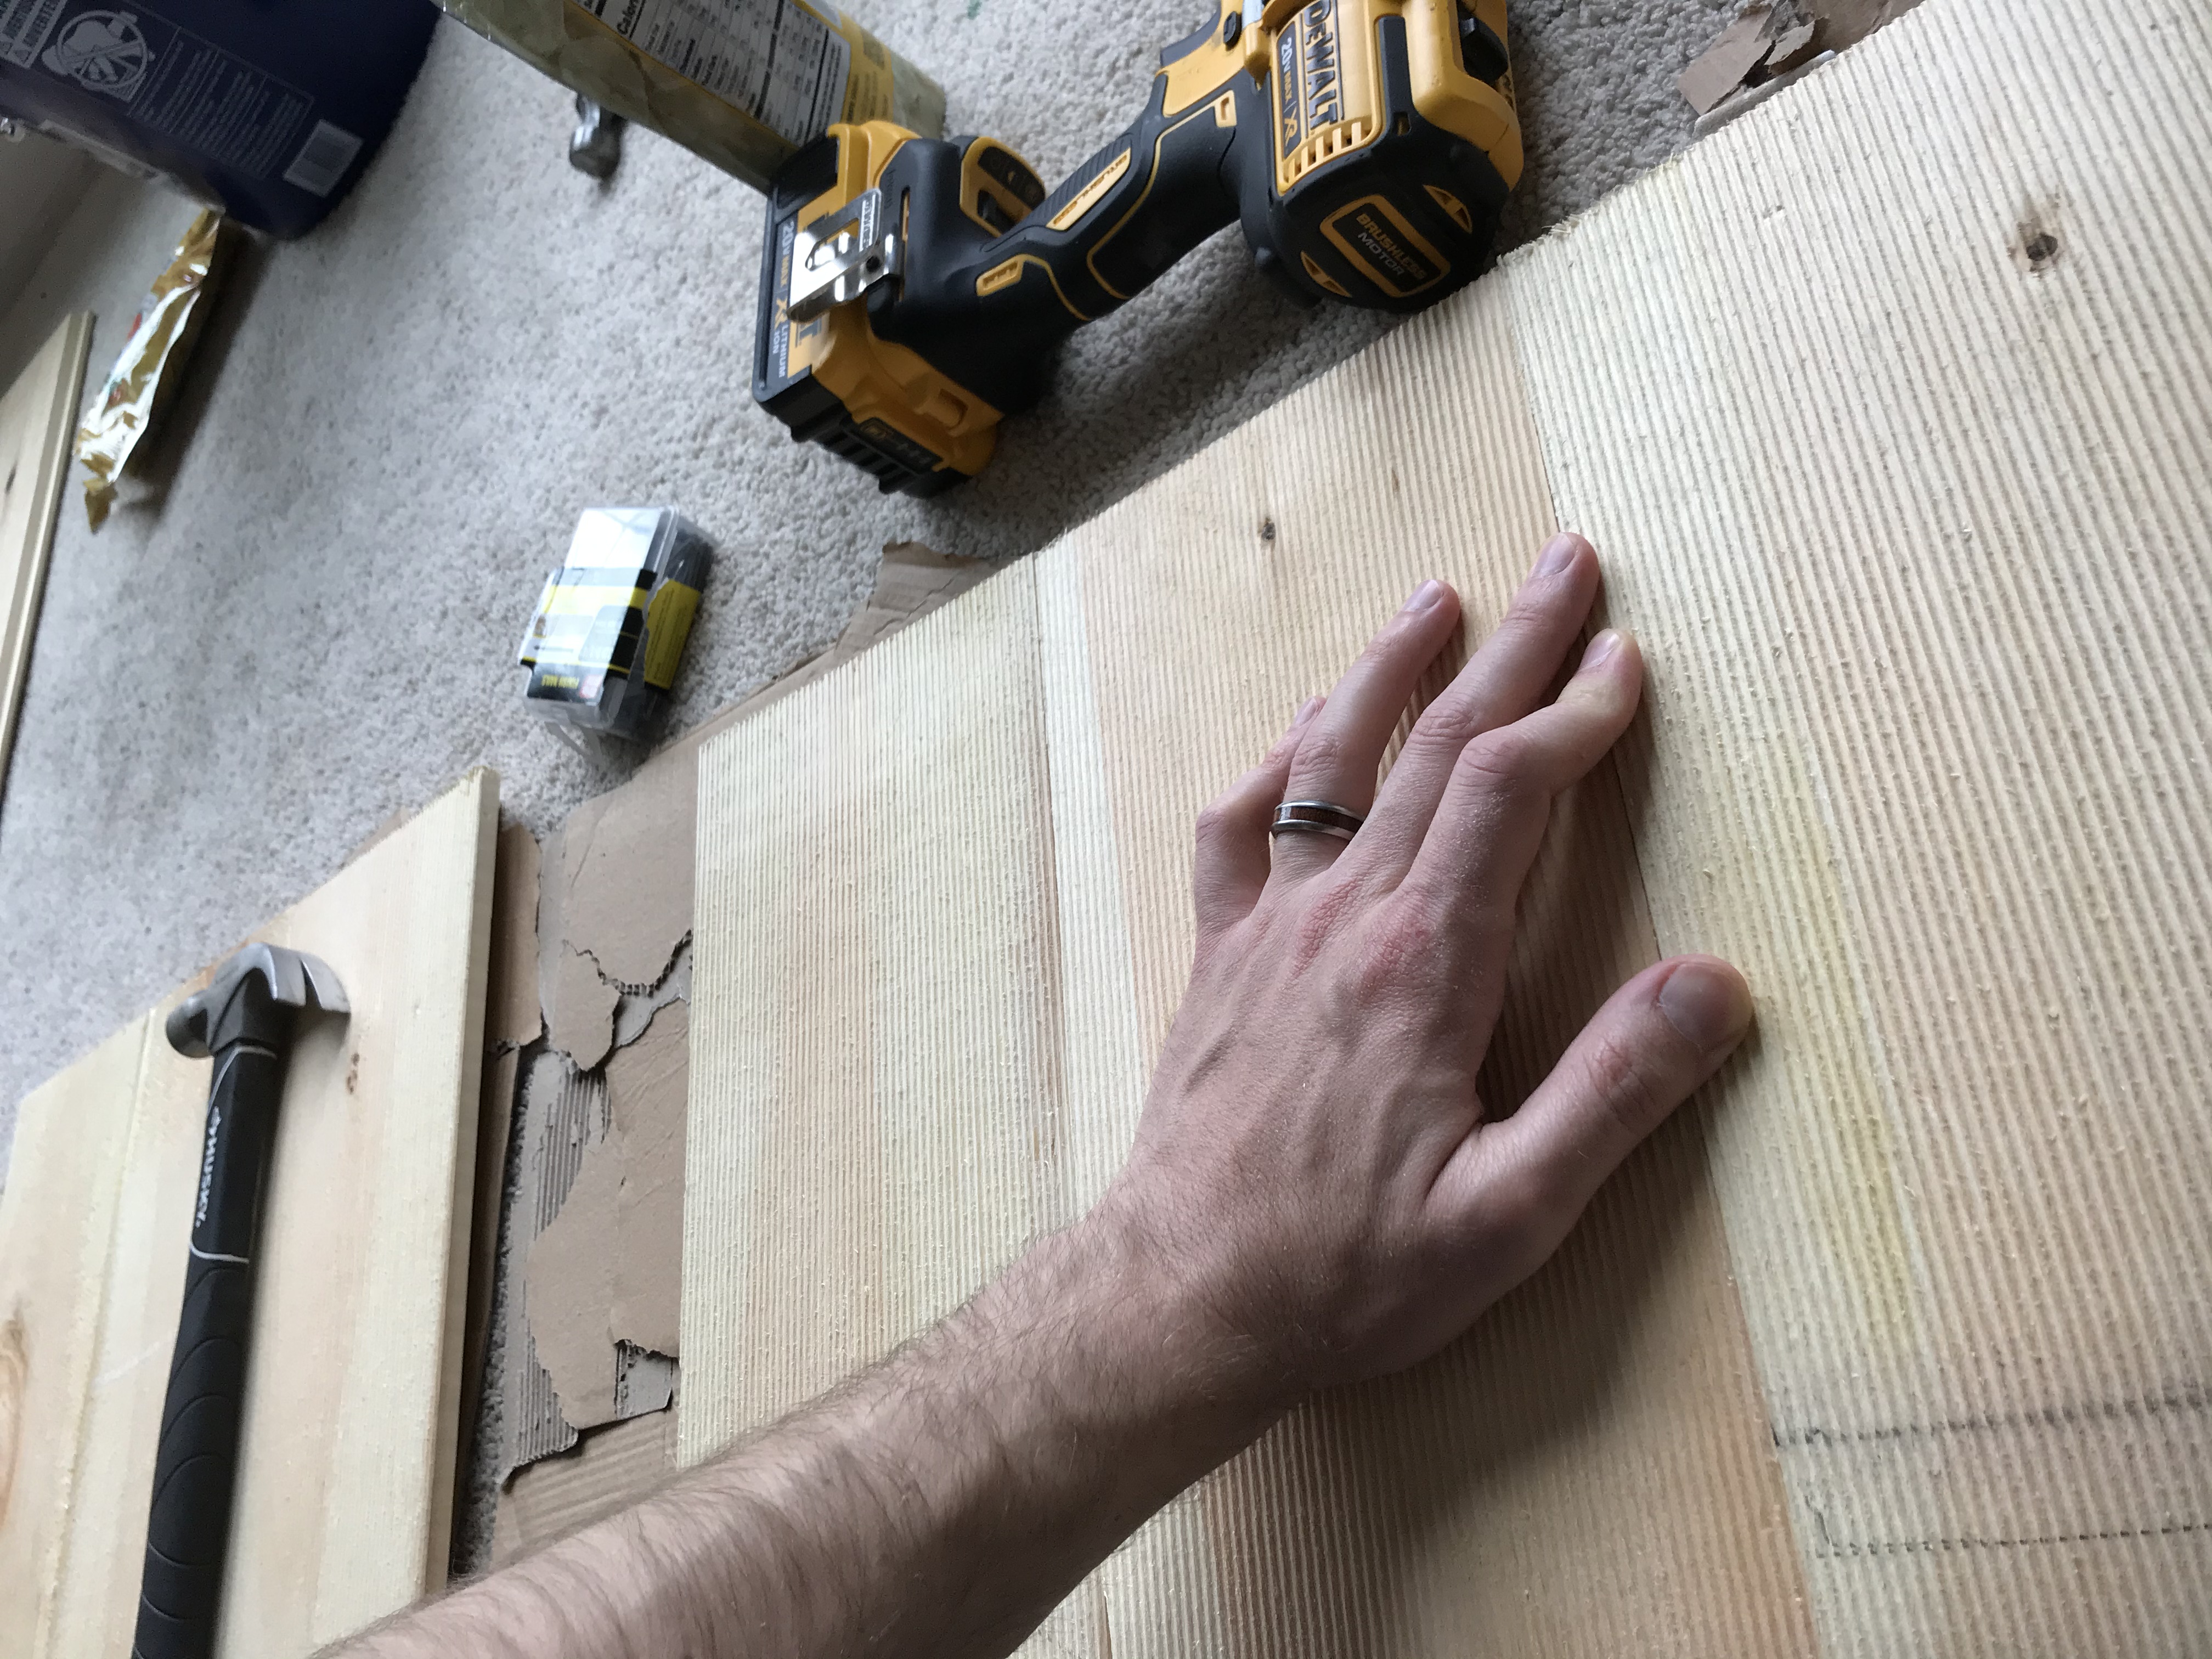
I had to get the stuff all together and glued up so that the nails and boards would behave and stay together. This was the longest part of the whole project, especially because we had to do it indoors where we had to be careful of the carpet lol.
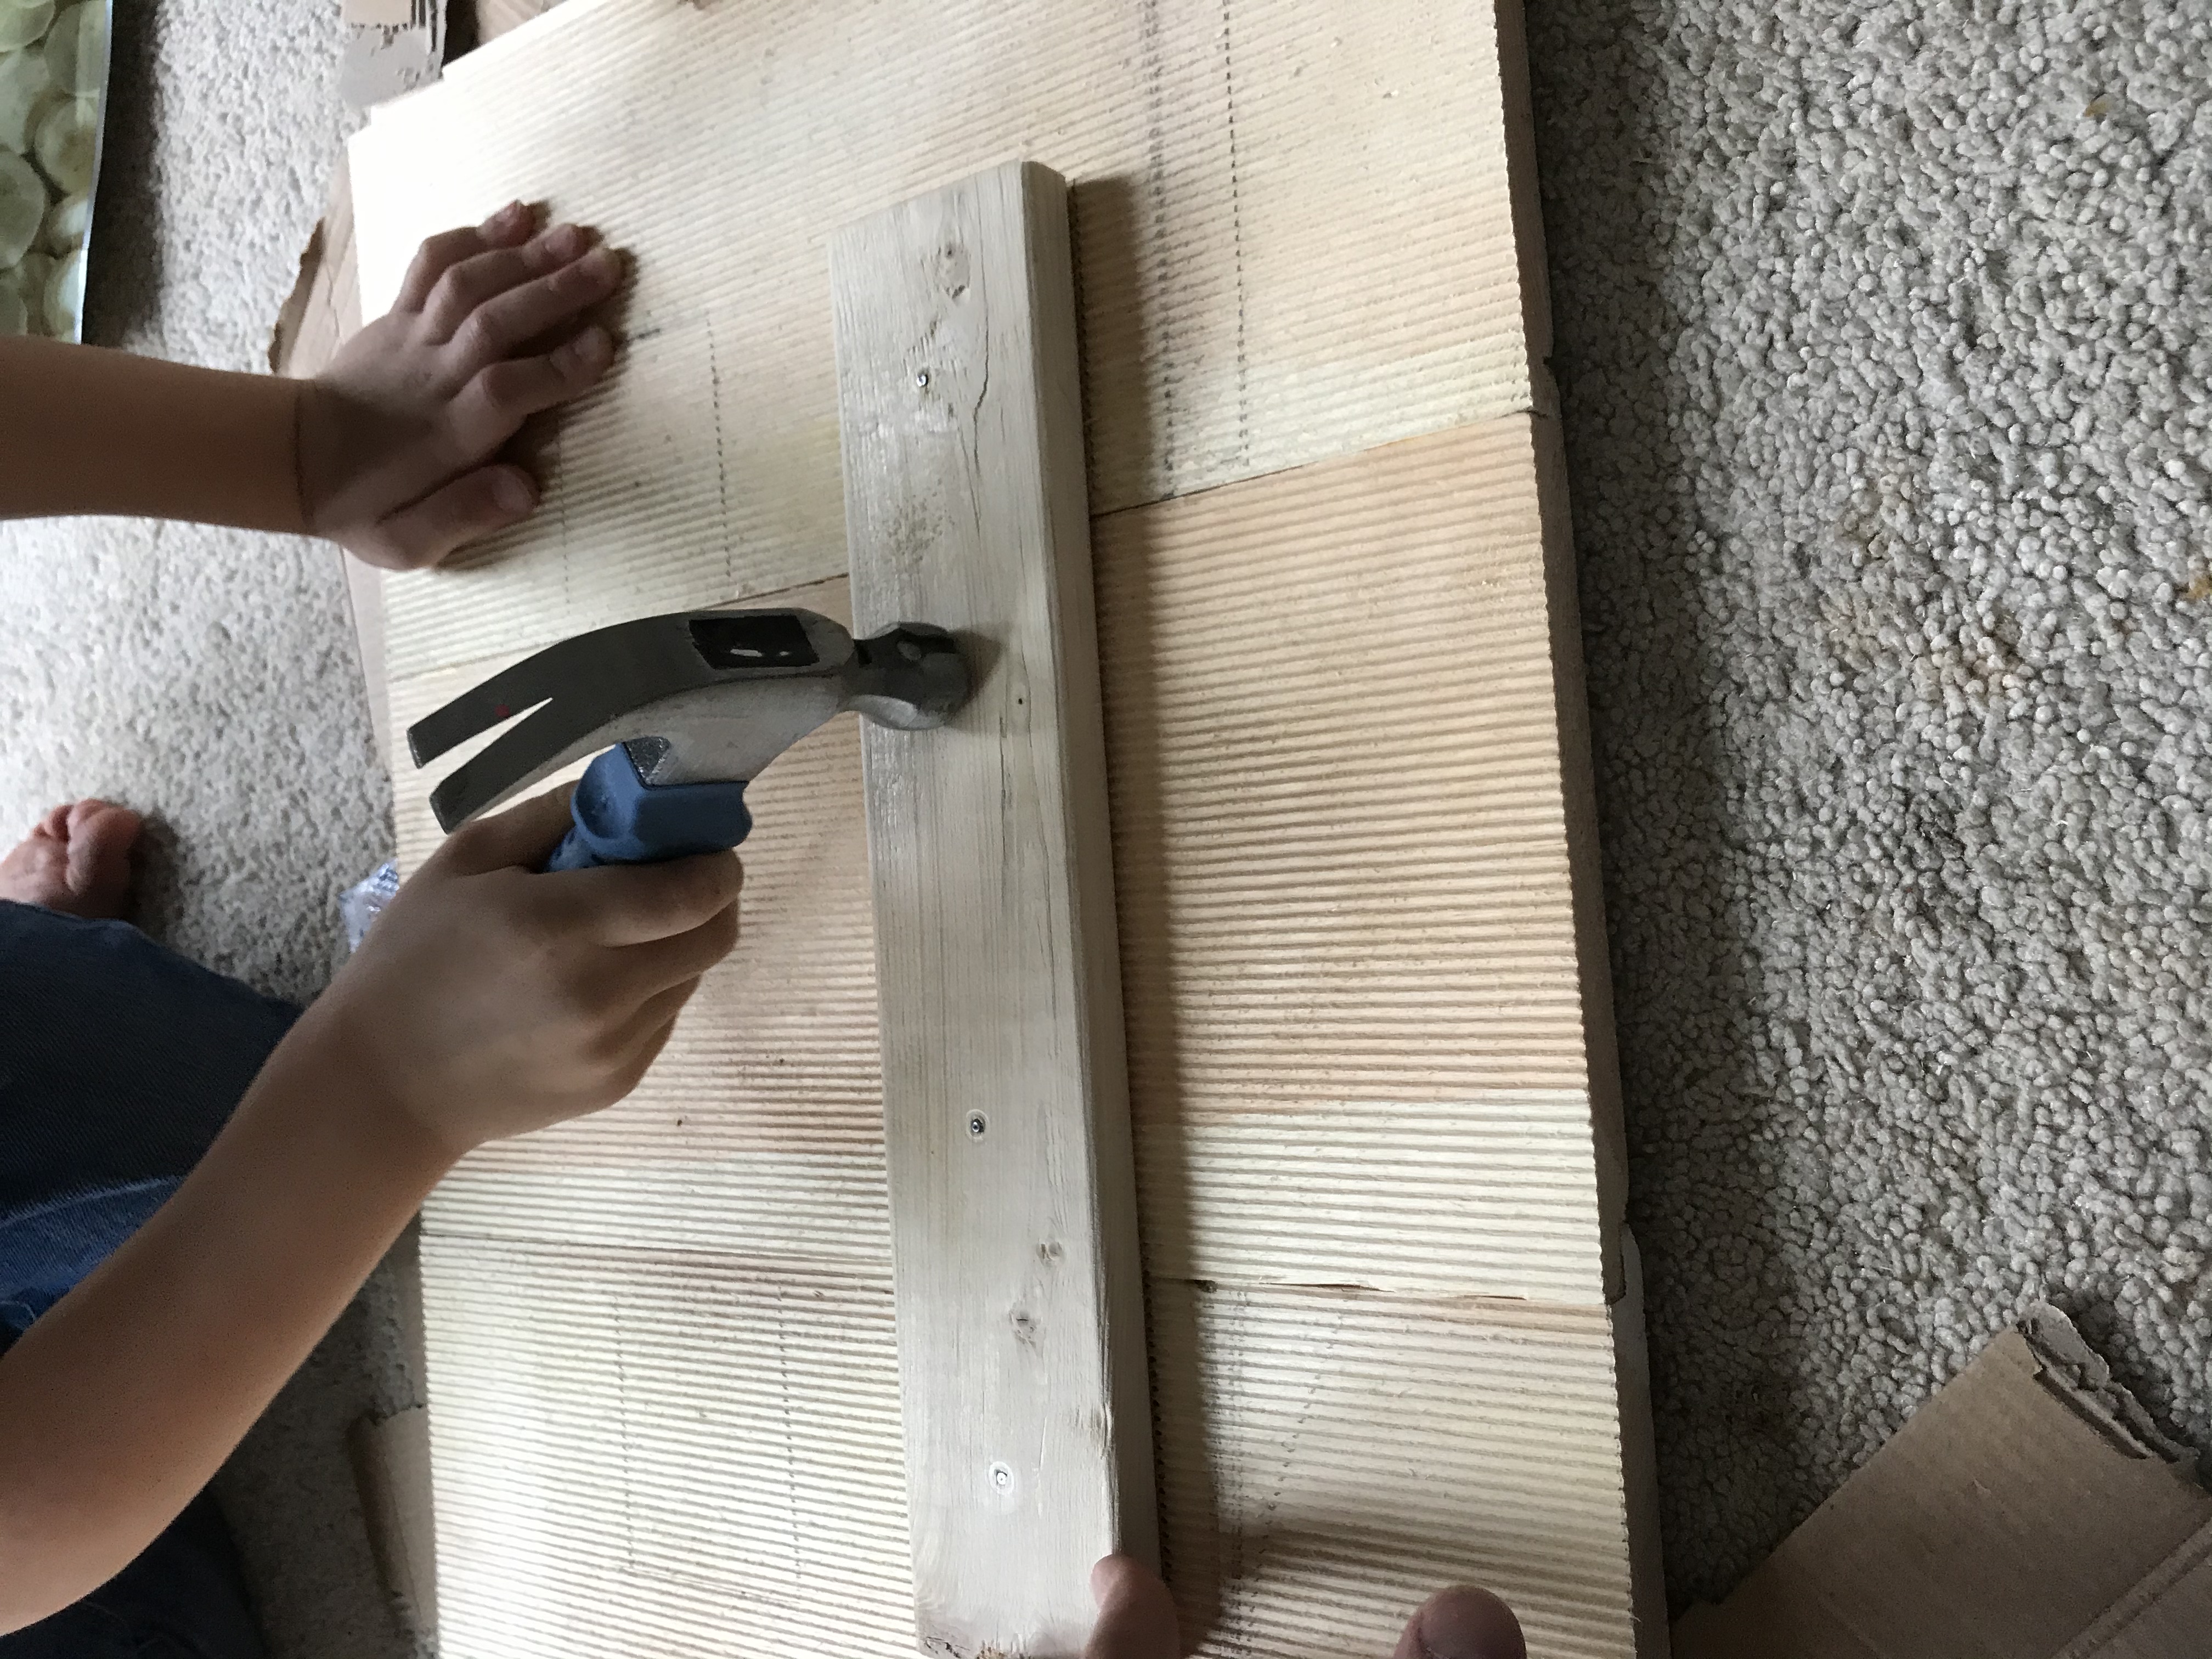
Once the boards were nice and glued, we started to nail them together! The little man loves using his hammer any chance he gets so he was excited that there were a few nails in this one that he could bang in.
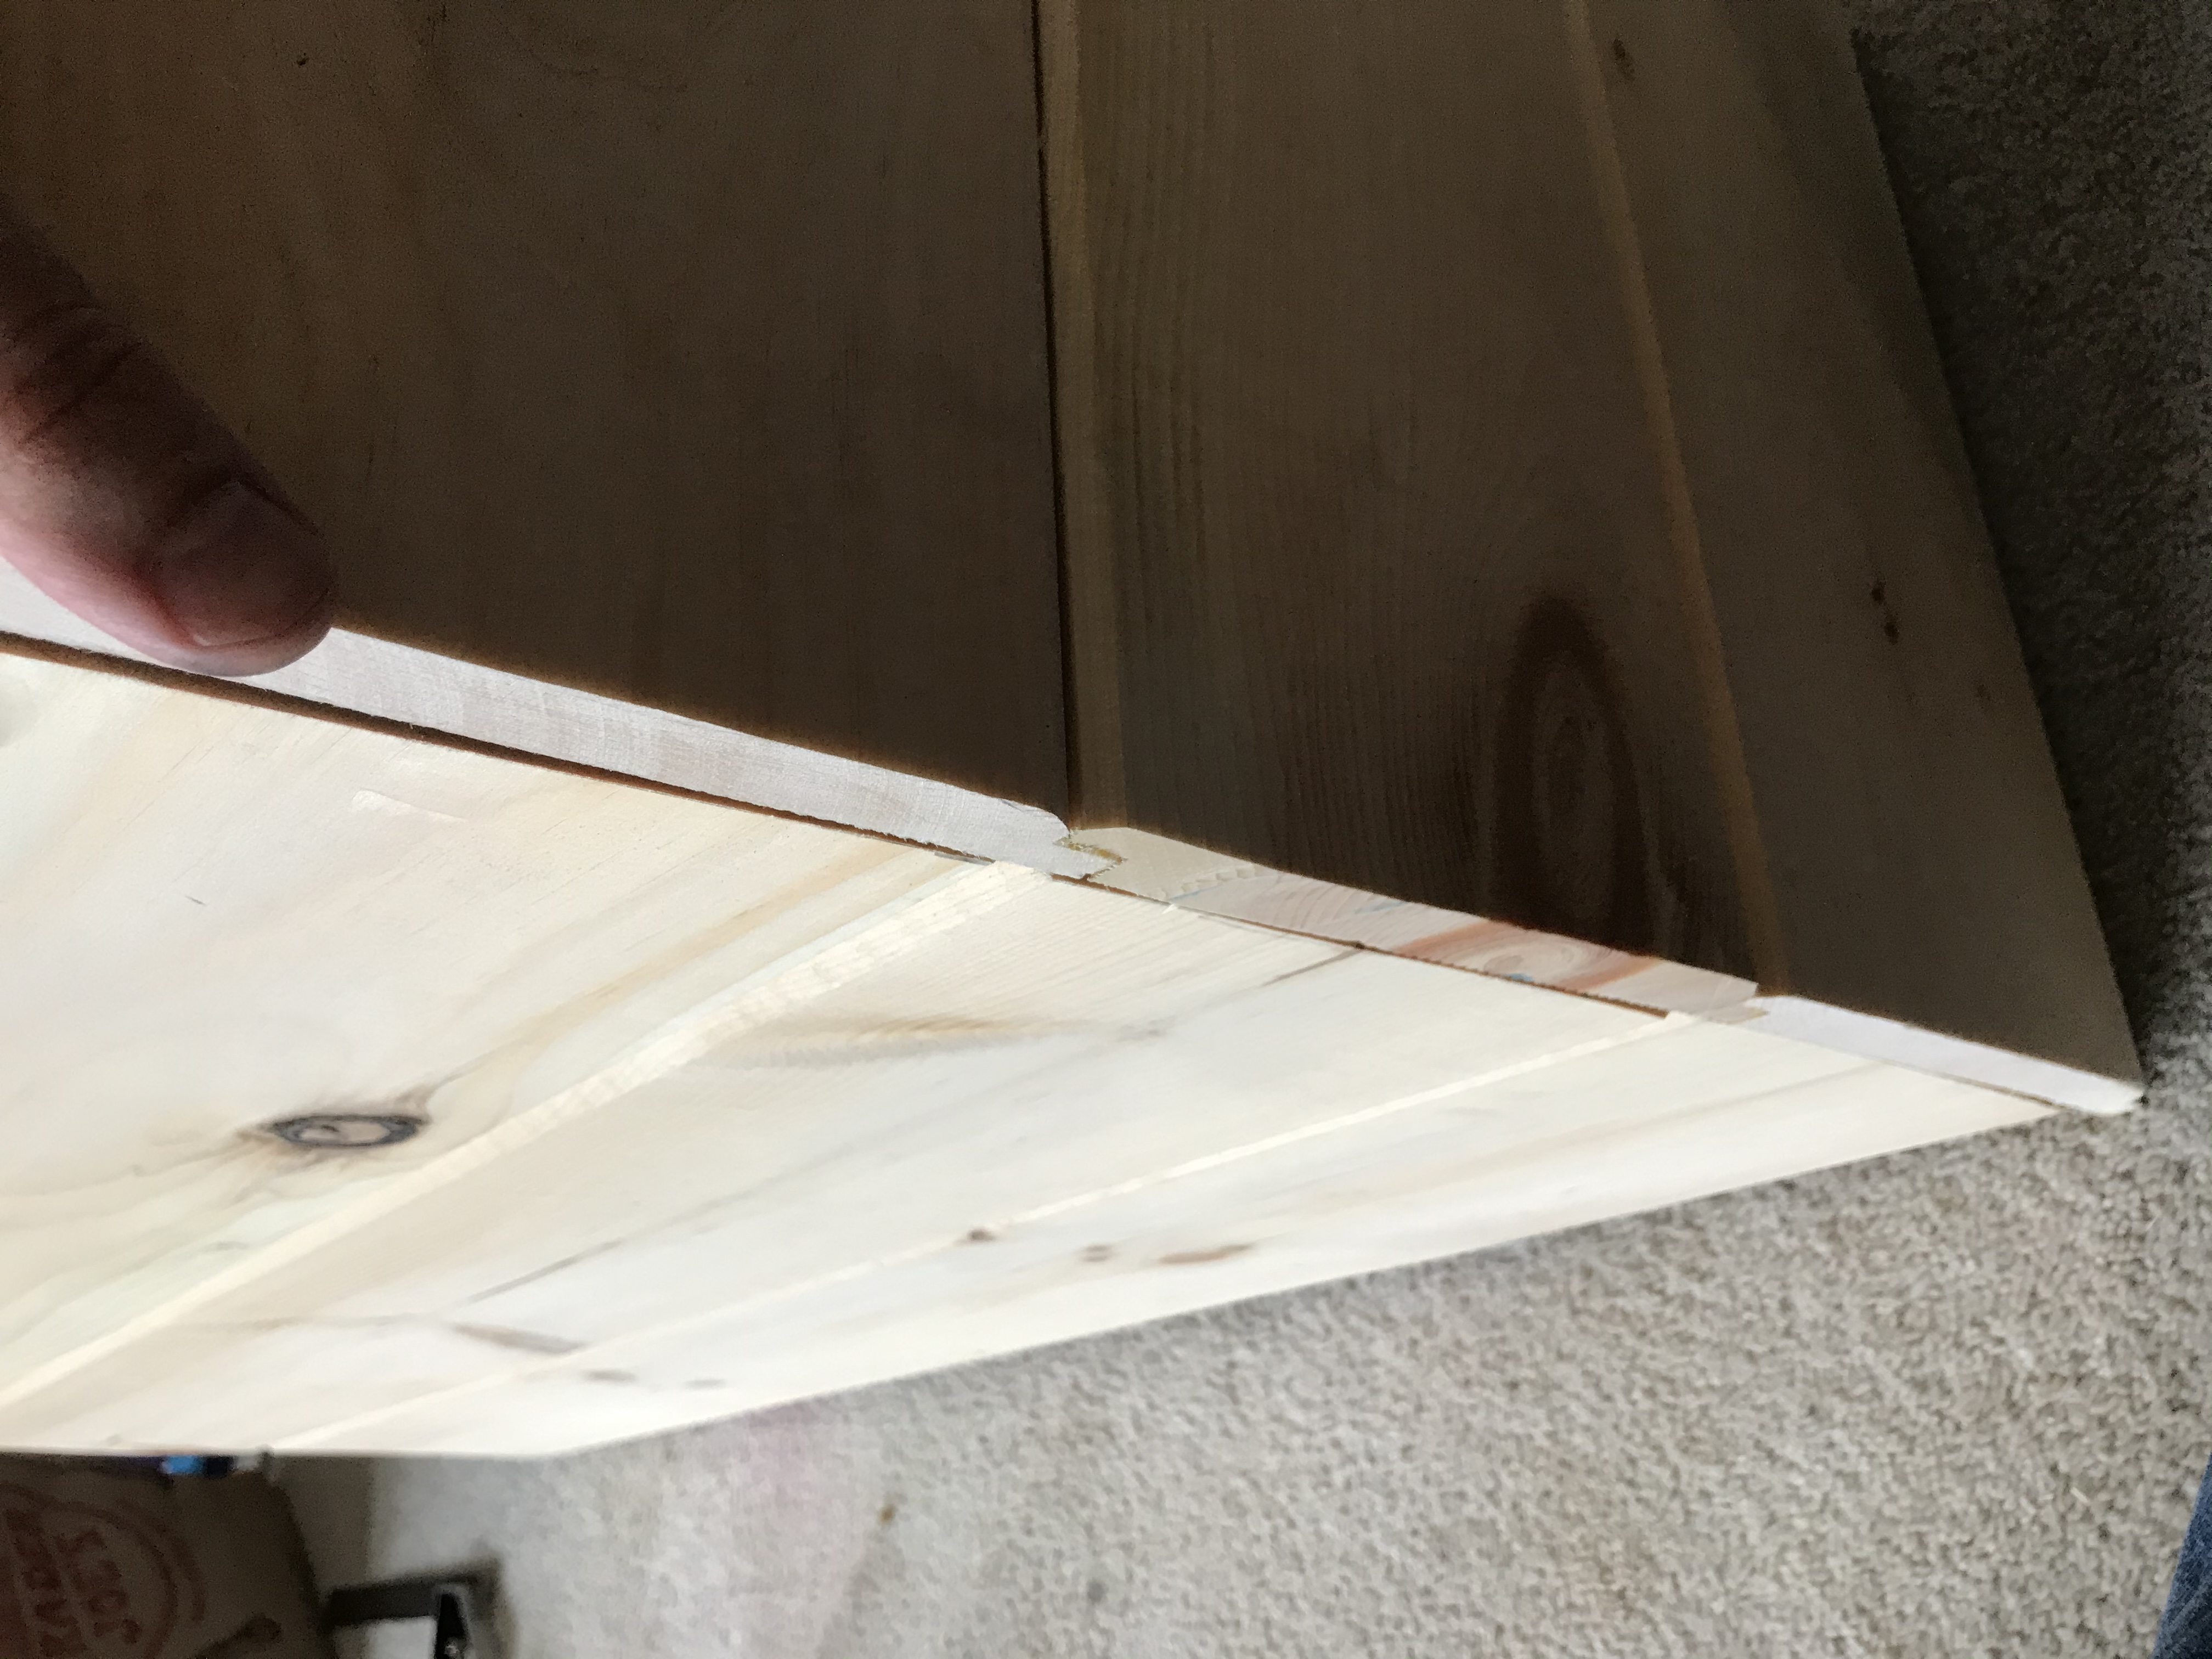
What I should have done here was look at both sides of the box hahaha. It lined up fantastic here! The other side? Not so much... ah well, such is life! More on that fun thing later.

The funny part is being able to think on your feet. I needed a small something to prop up the box end a little more in order to get it glued and nailed. What did I use? A little kid book was the perfect size! Lol. I ended up getting glue on the pages so that wasn't the best but it worked out in the end.
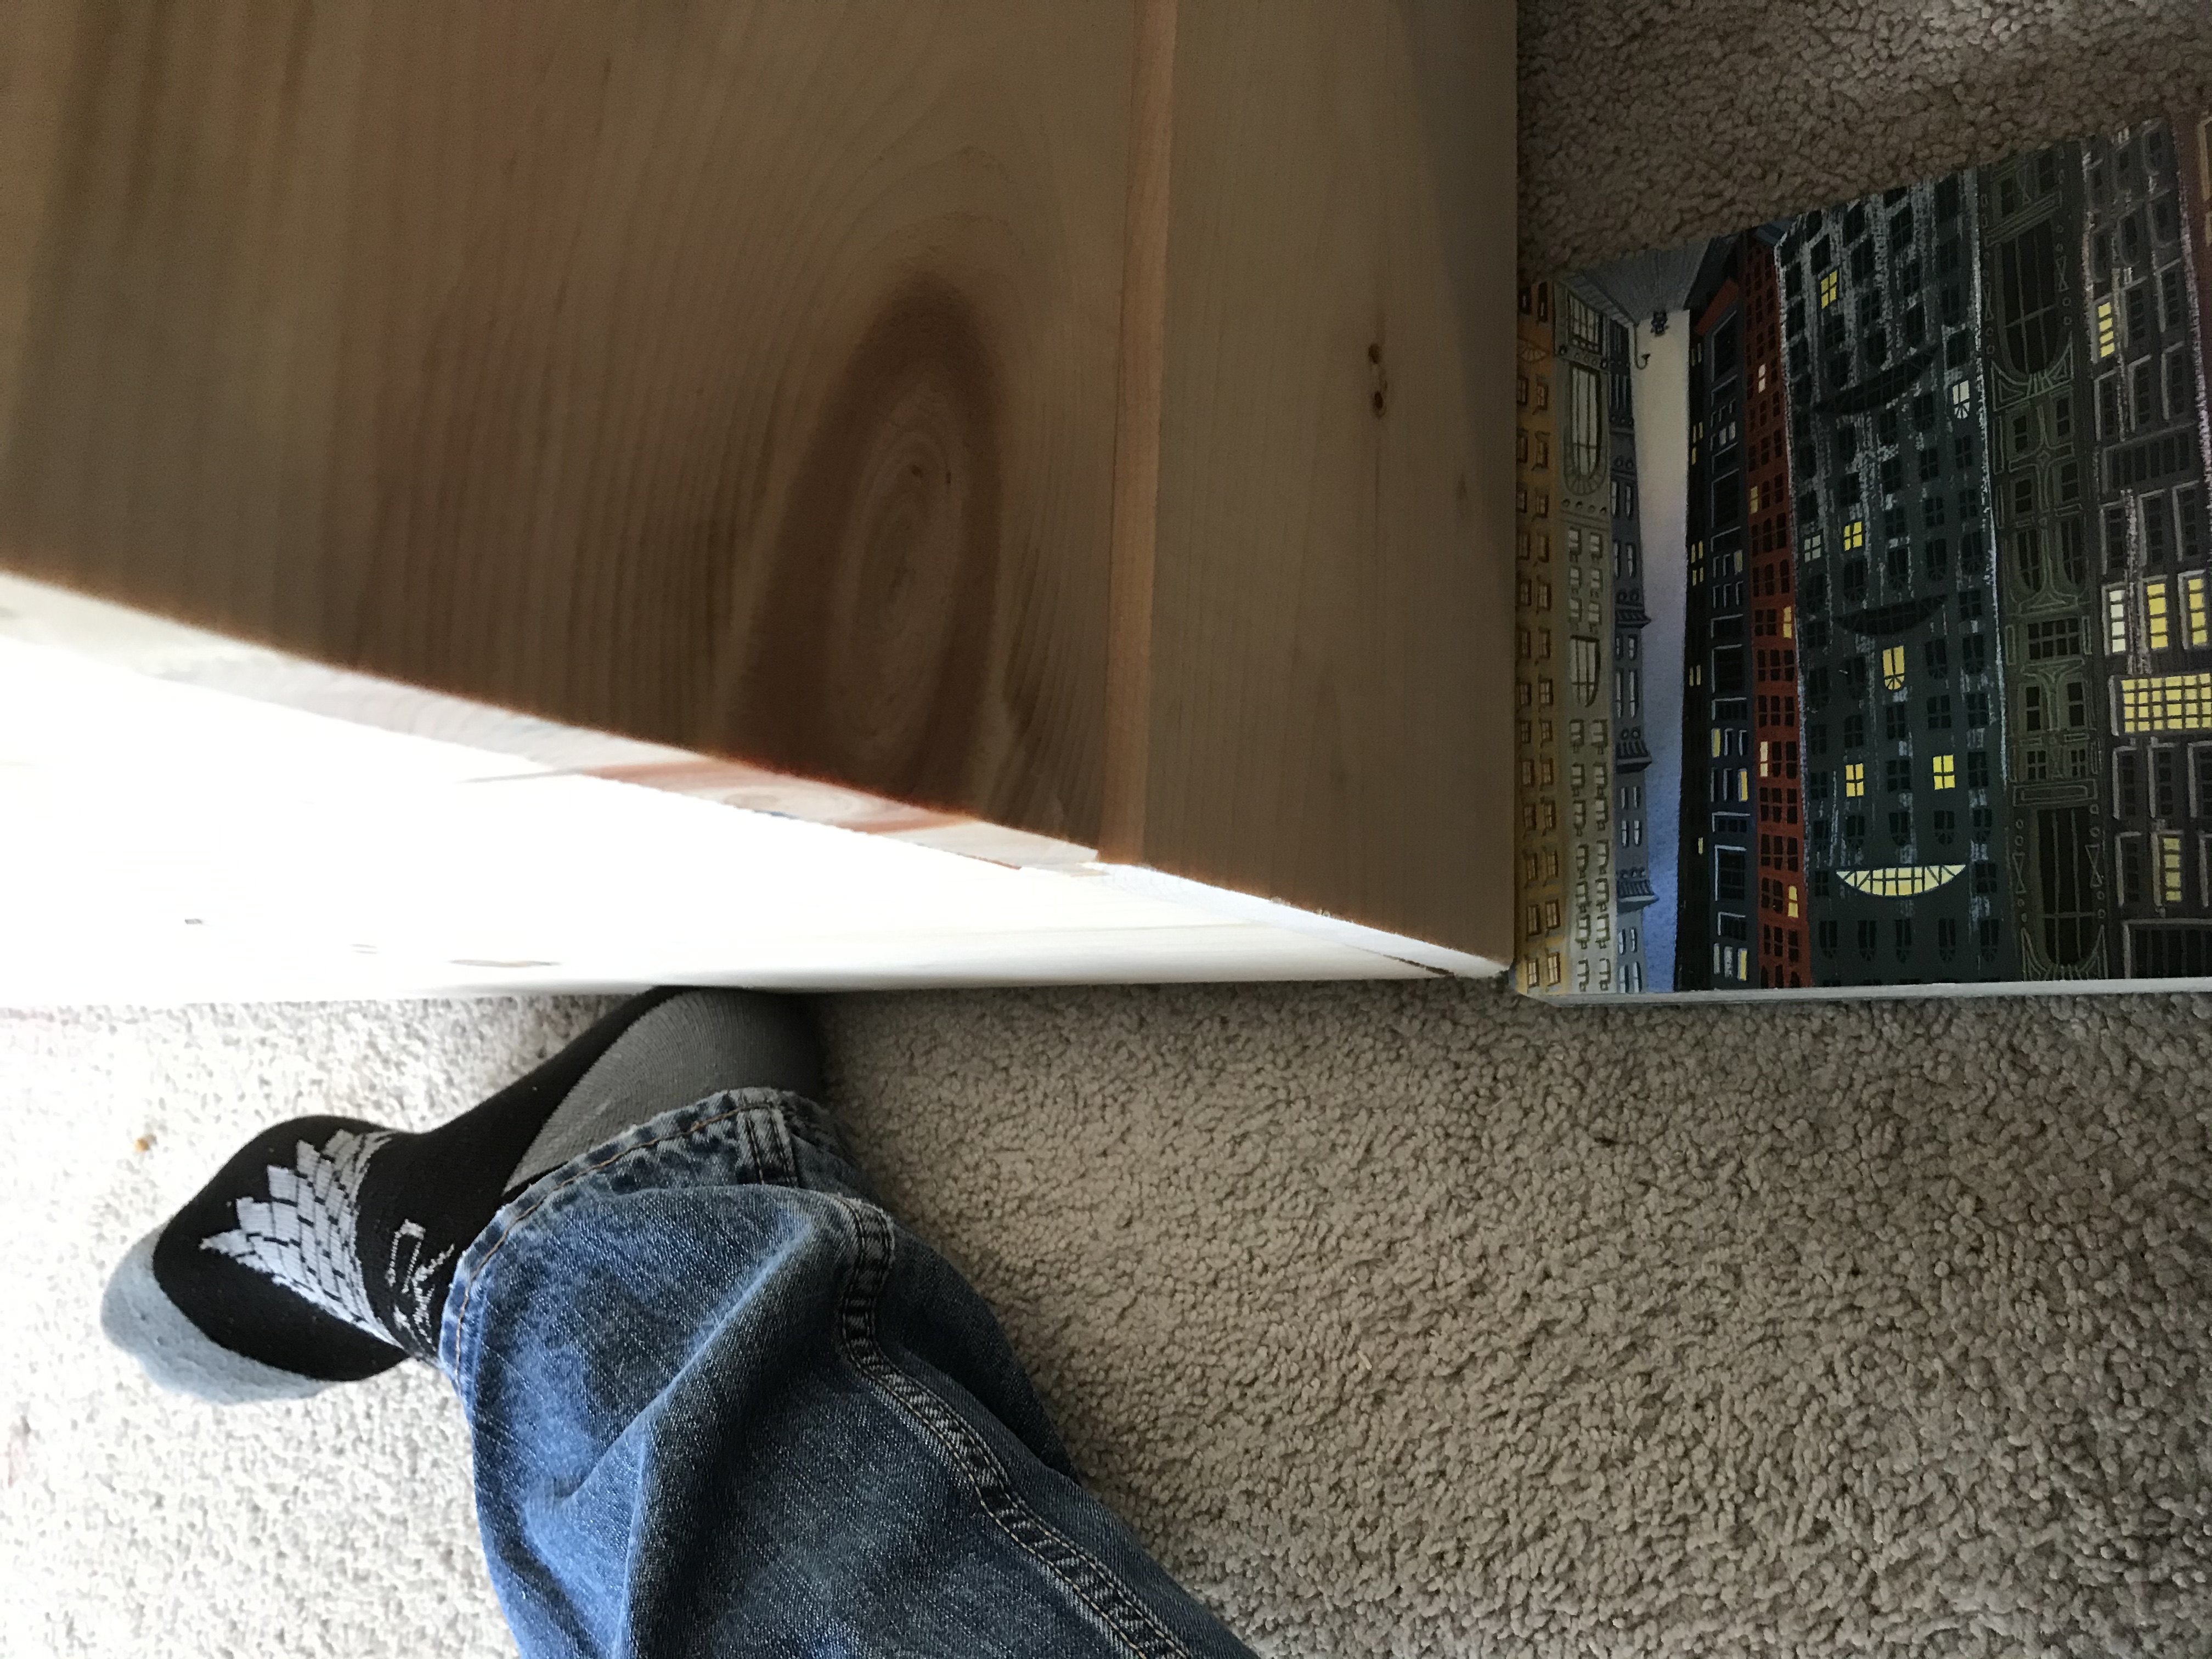
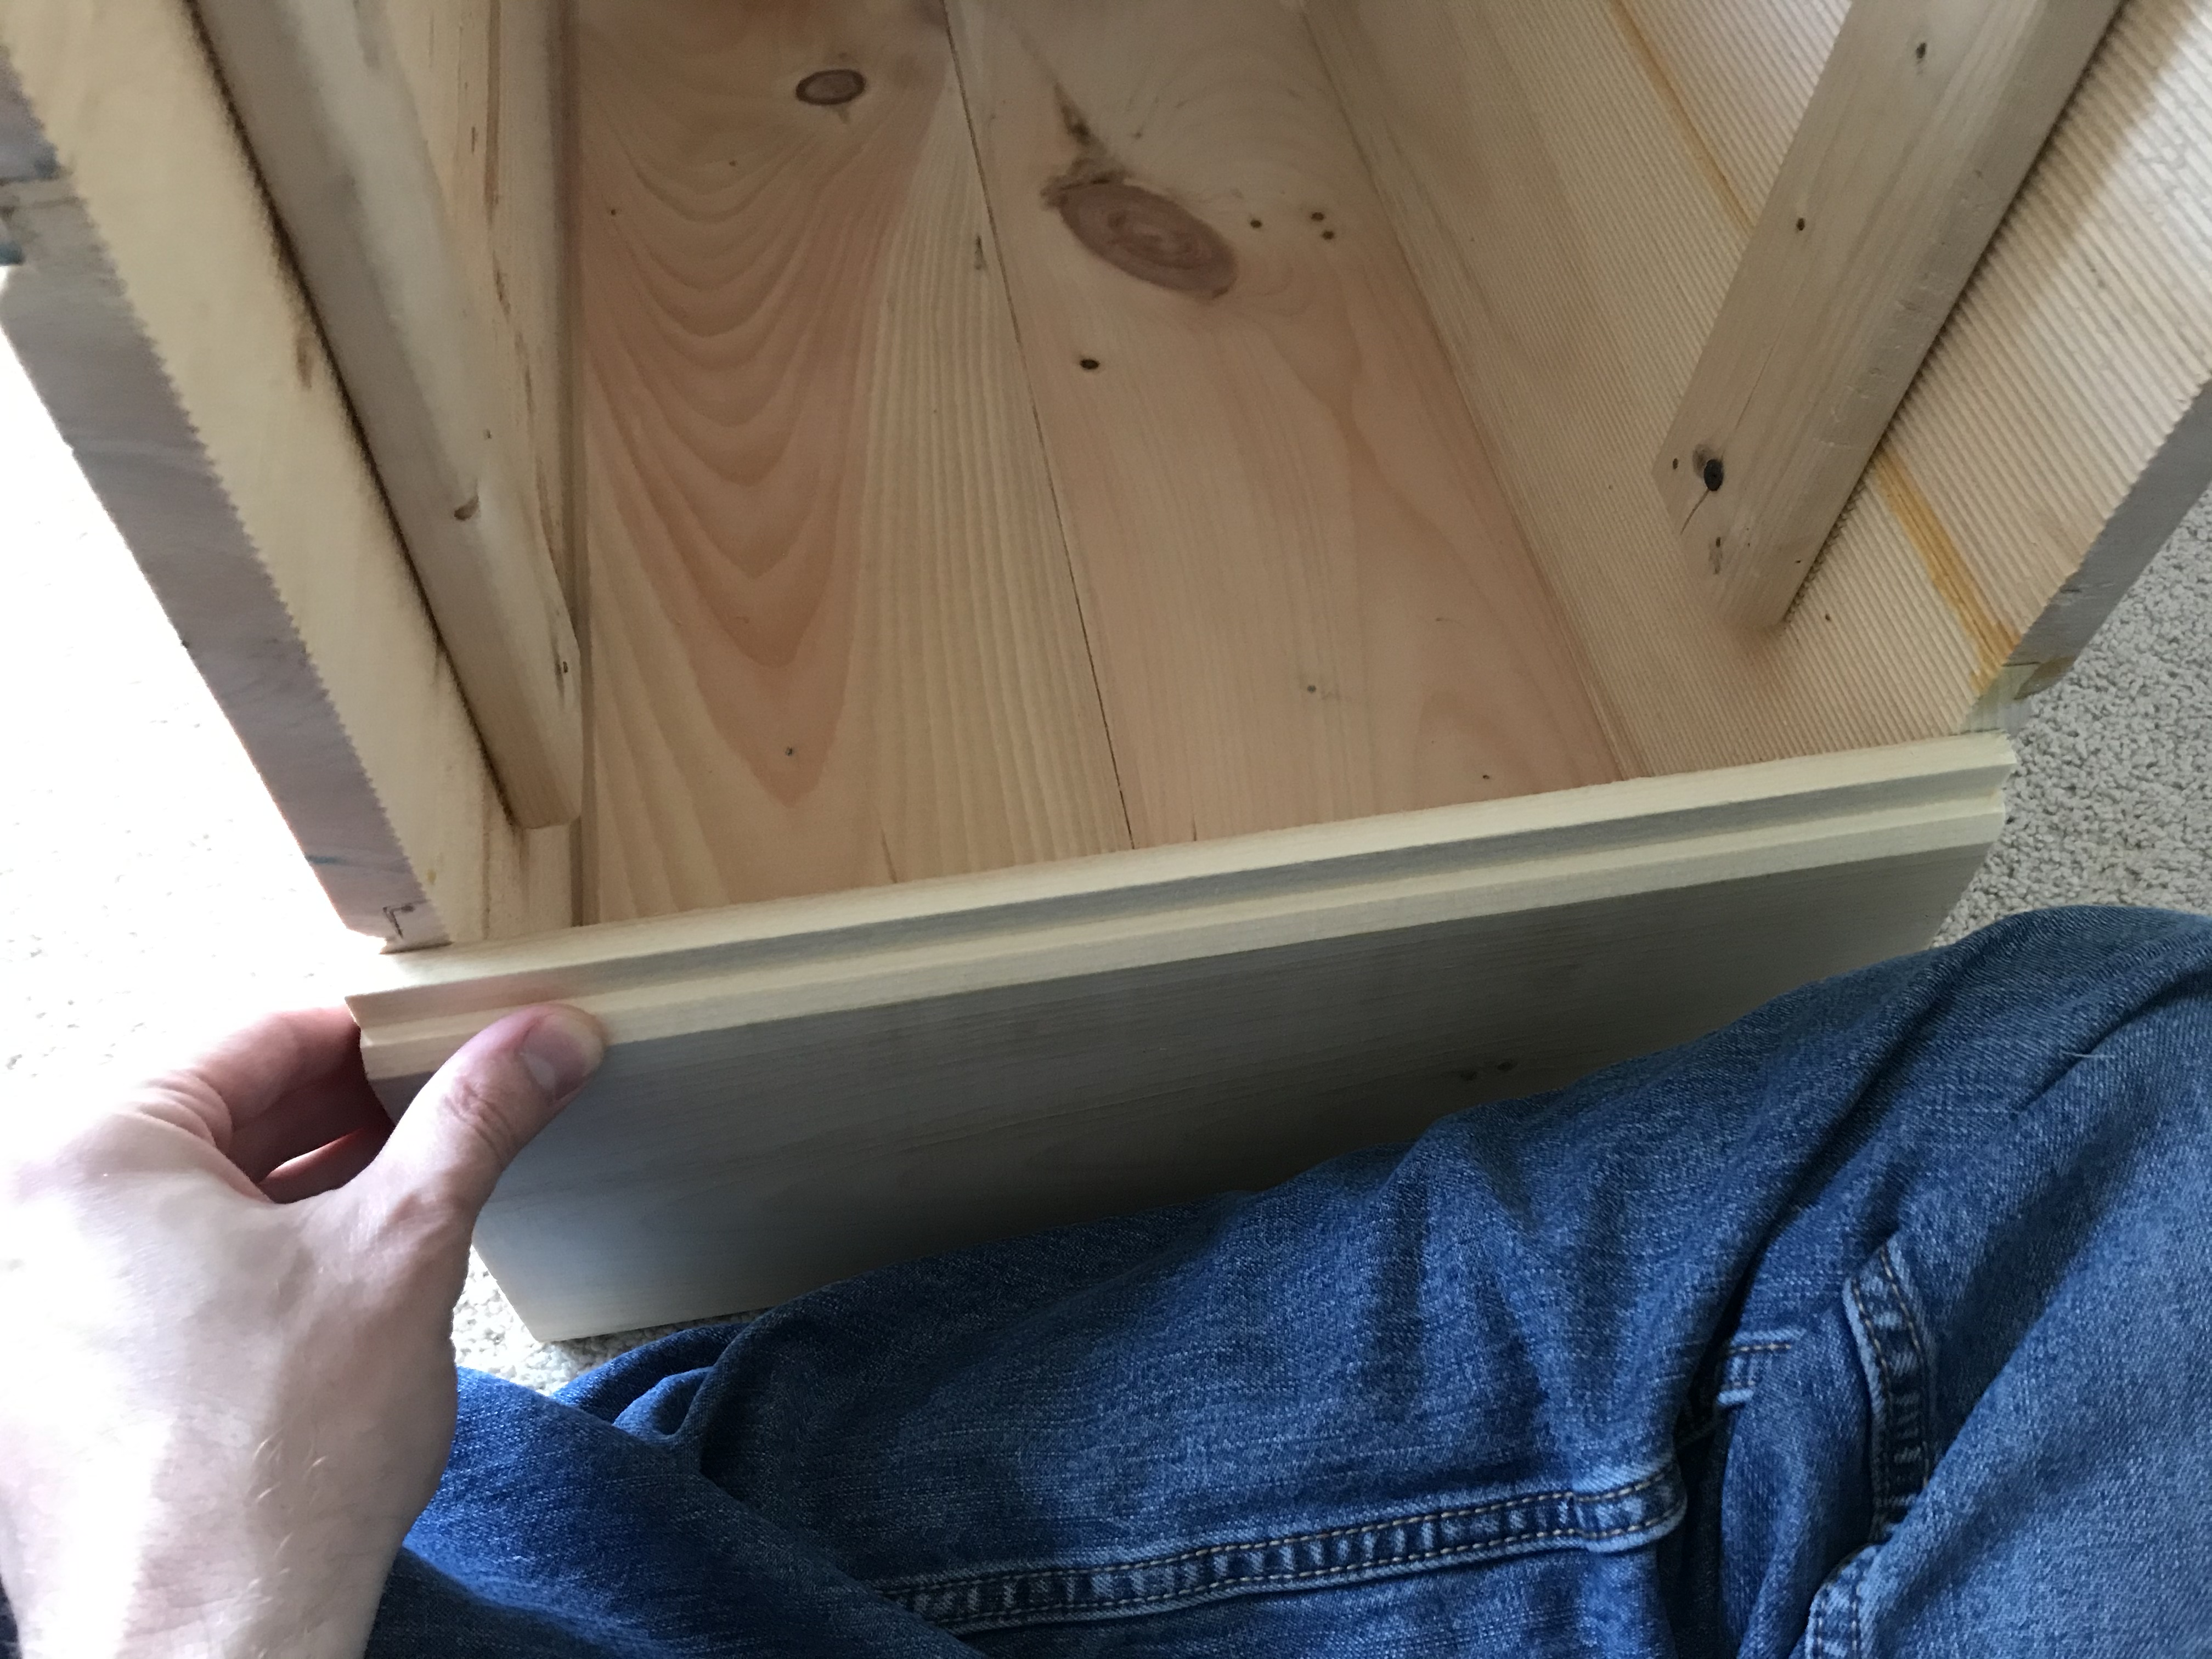
Here was the issue I ran into. The end was too short! Lol. I didn't measure enough of a length to do this but it worked out in the end.
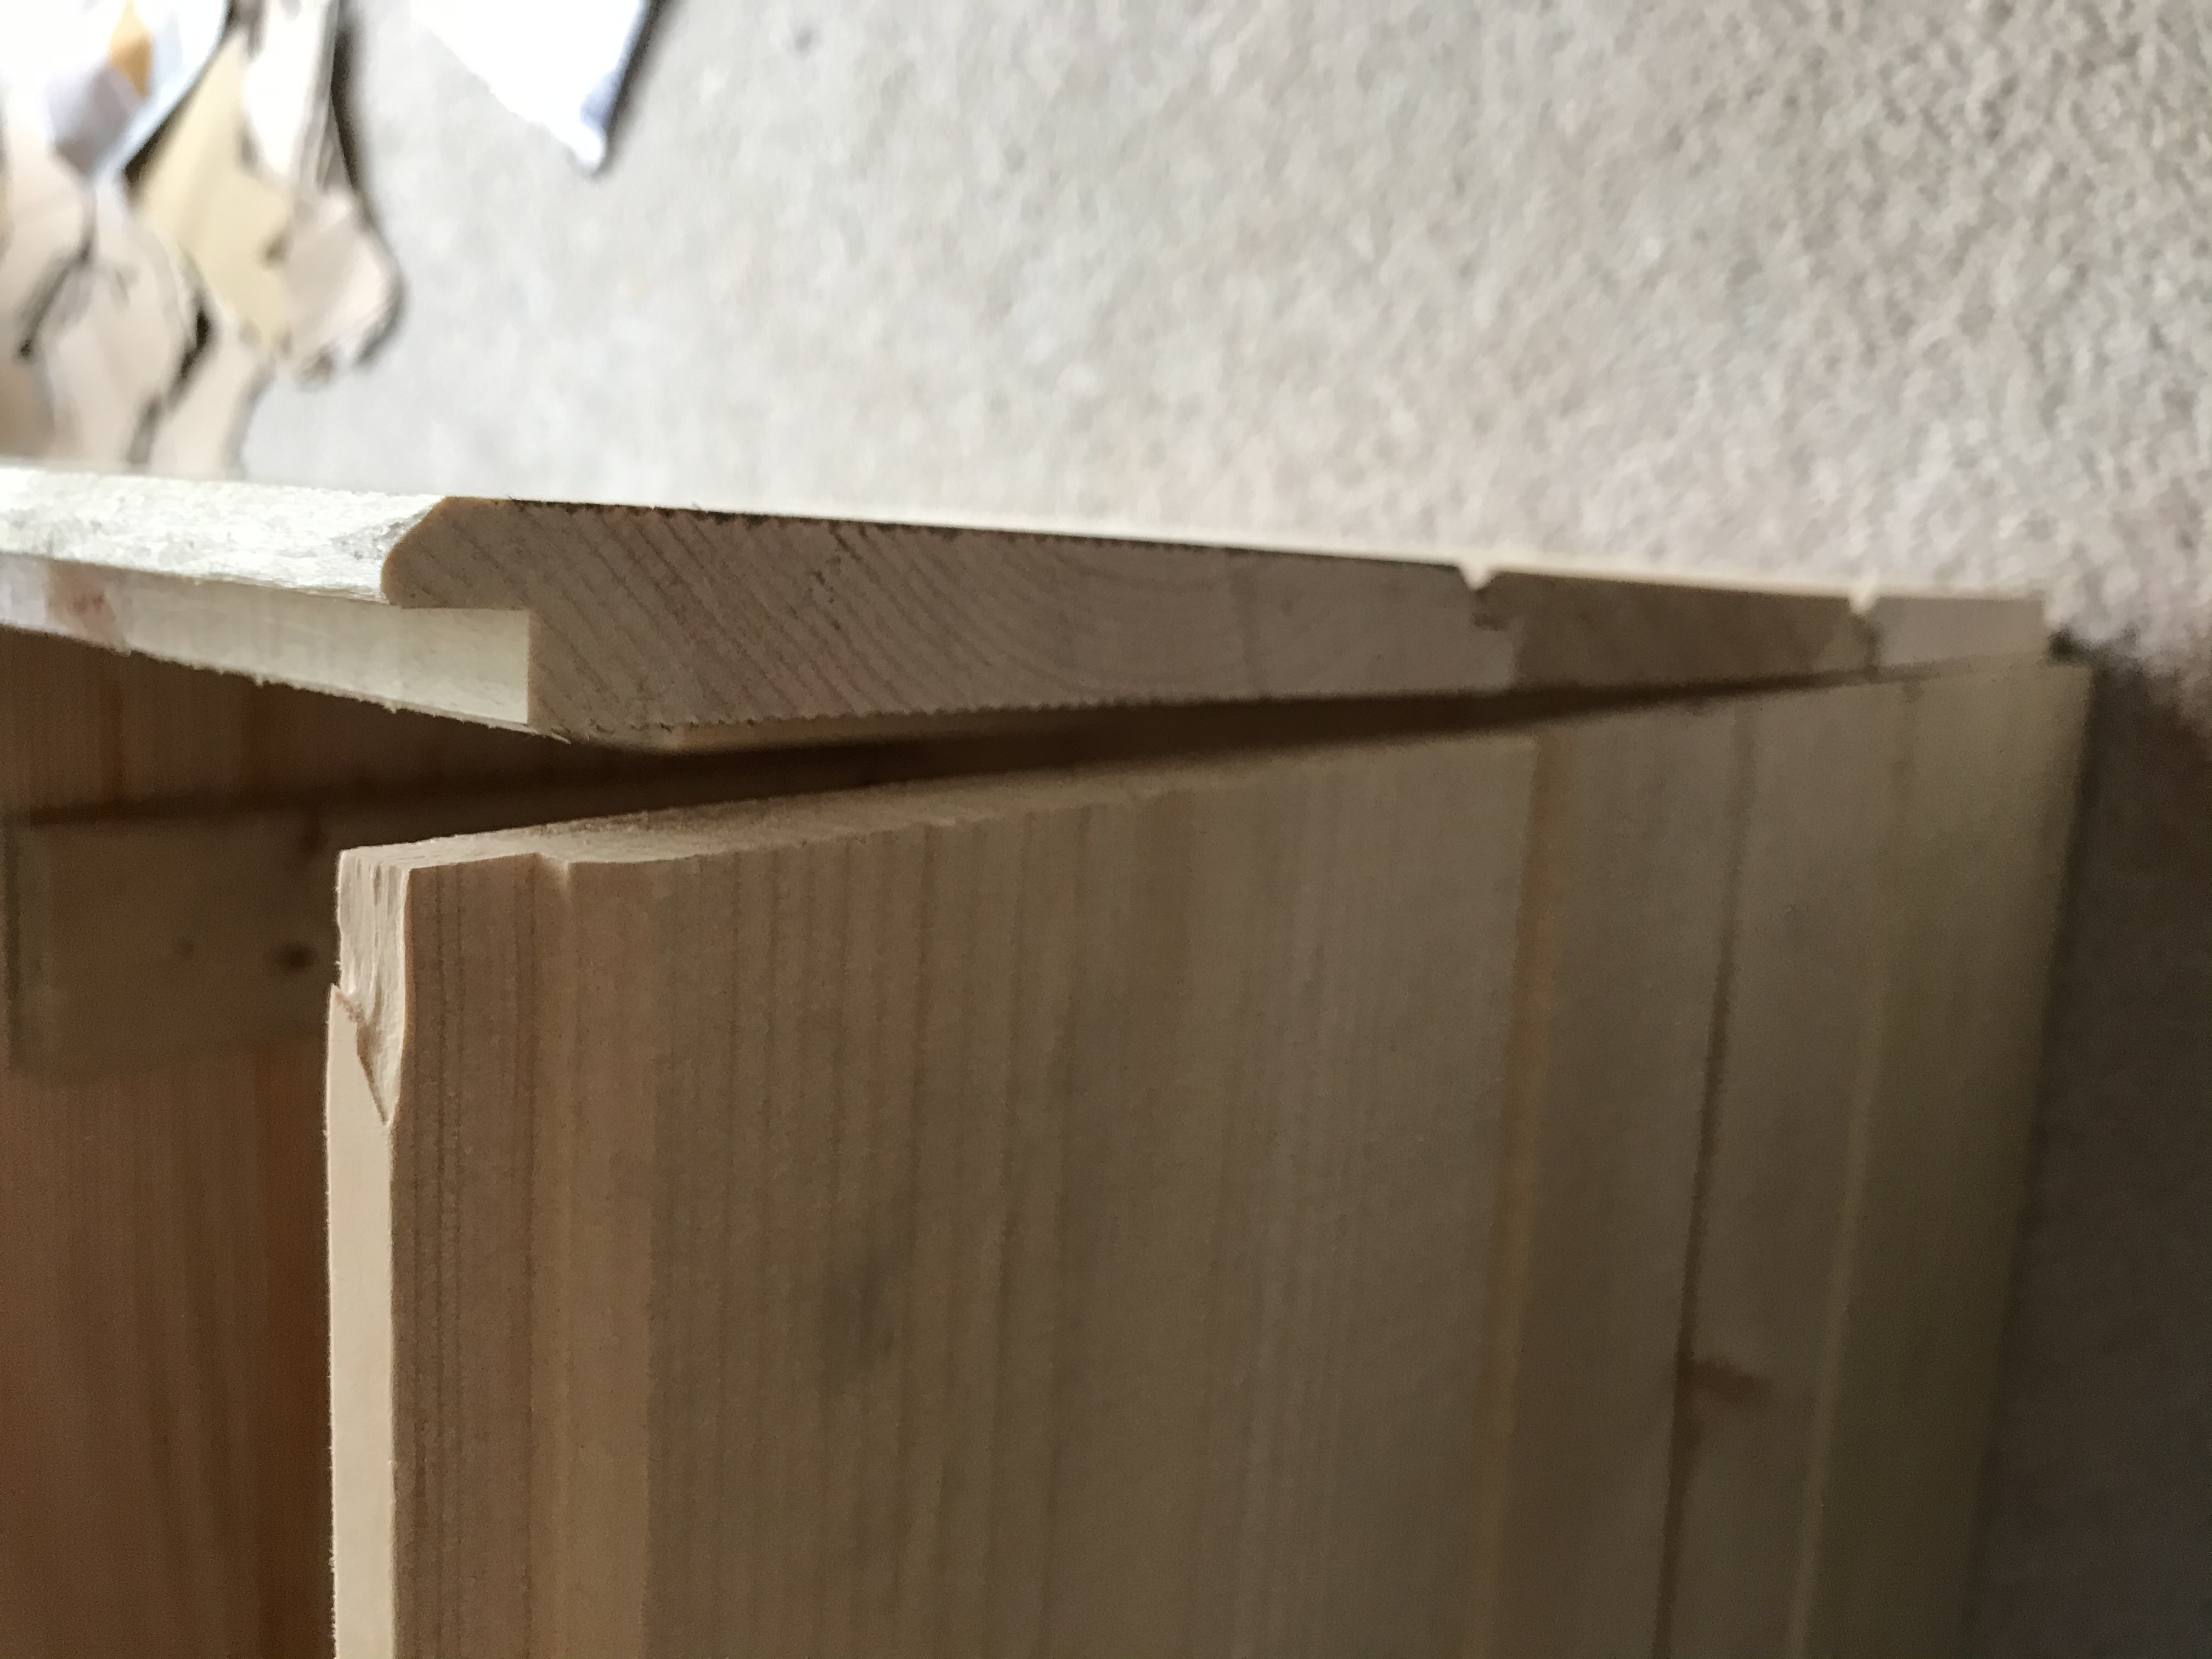
Being able to think on our feet with this type of stuff is what is fun for me personally. I had some wood, lots of glue and nails so I ended up cutting another piece and sent it down the length of the box so that I could nail both sides to it and squeeze the outer wall in between the two ends.
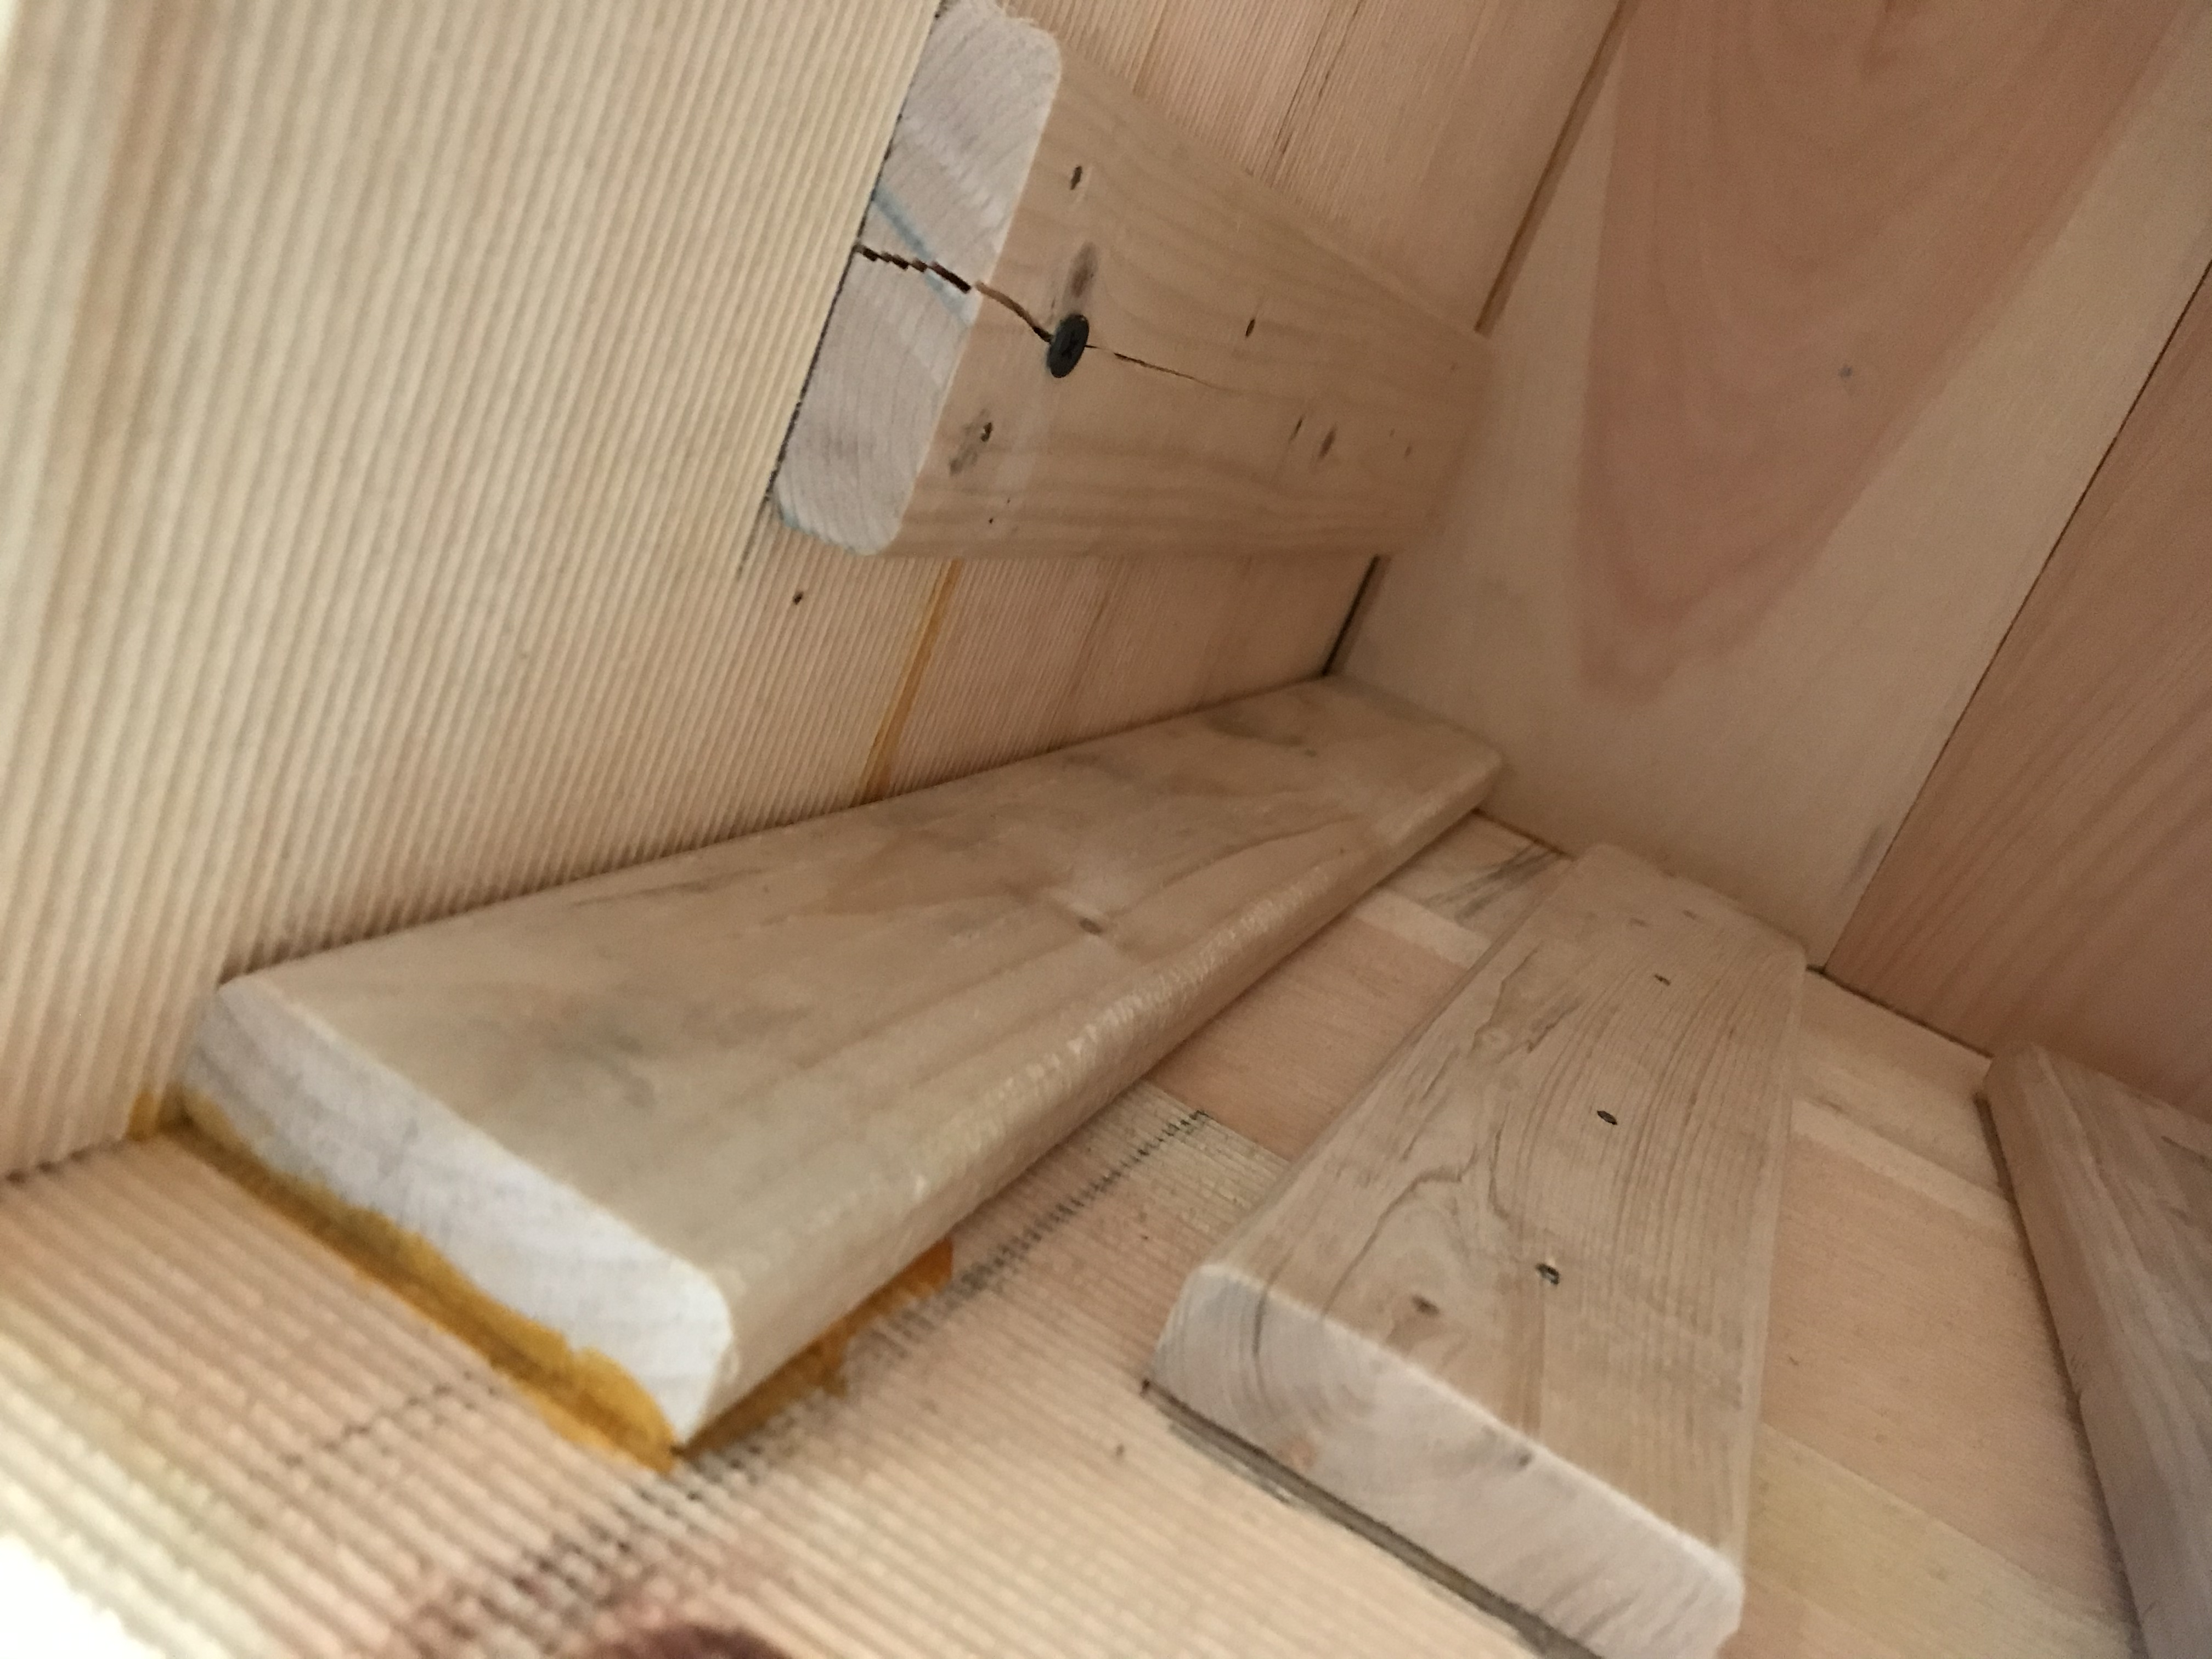
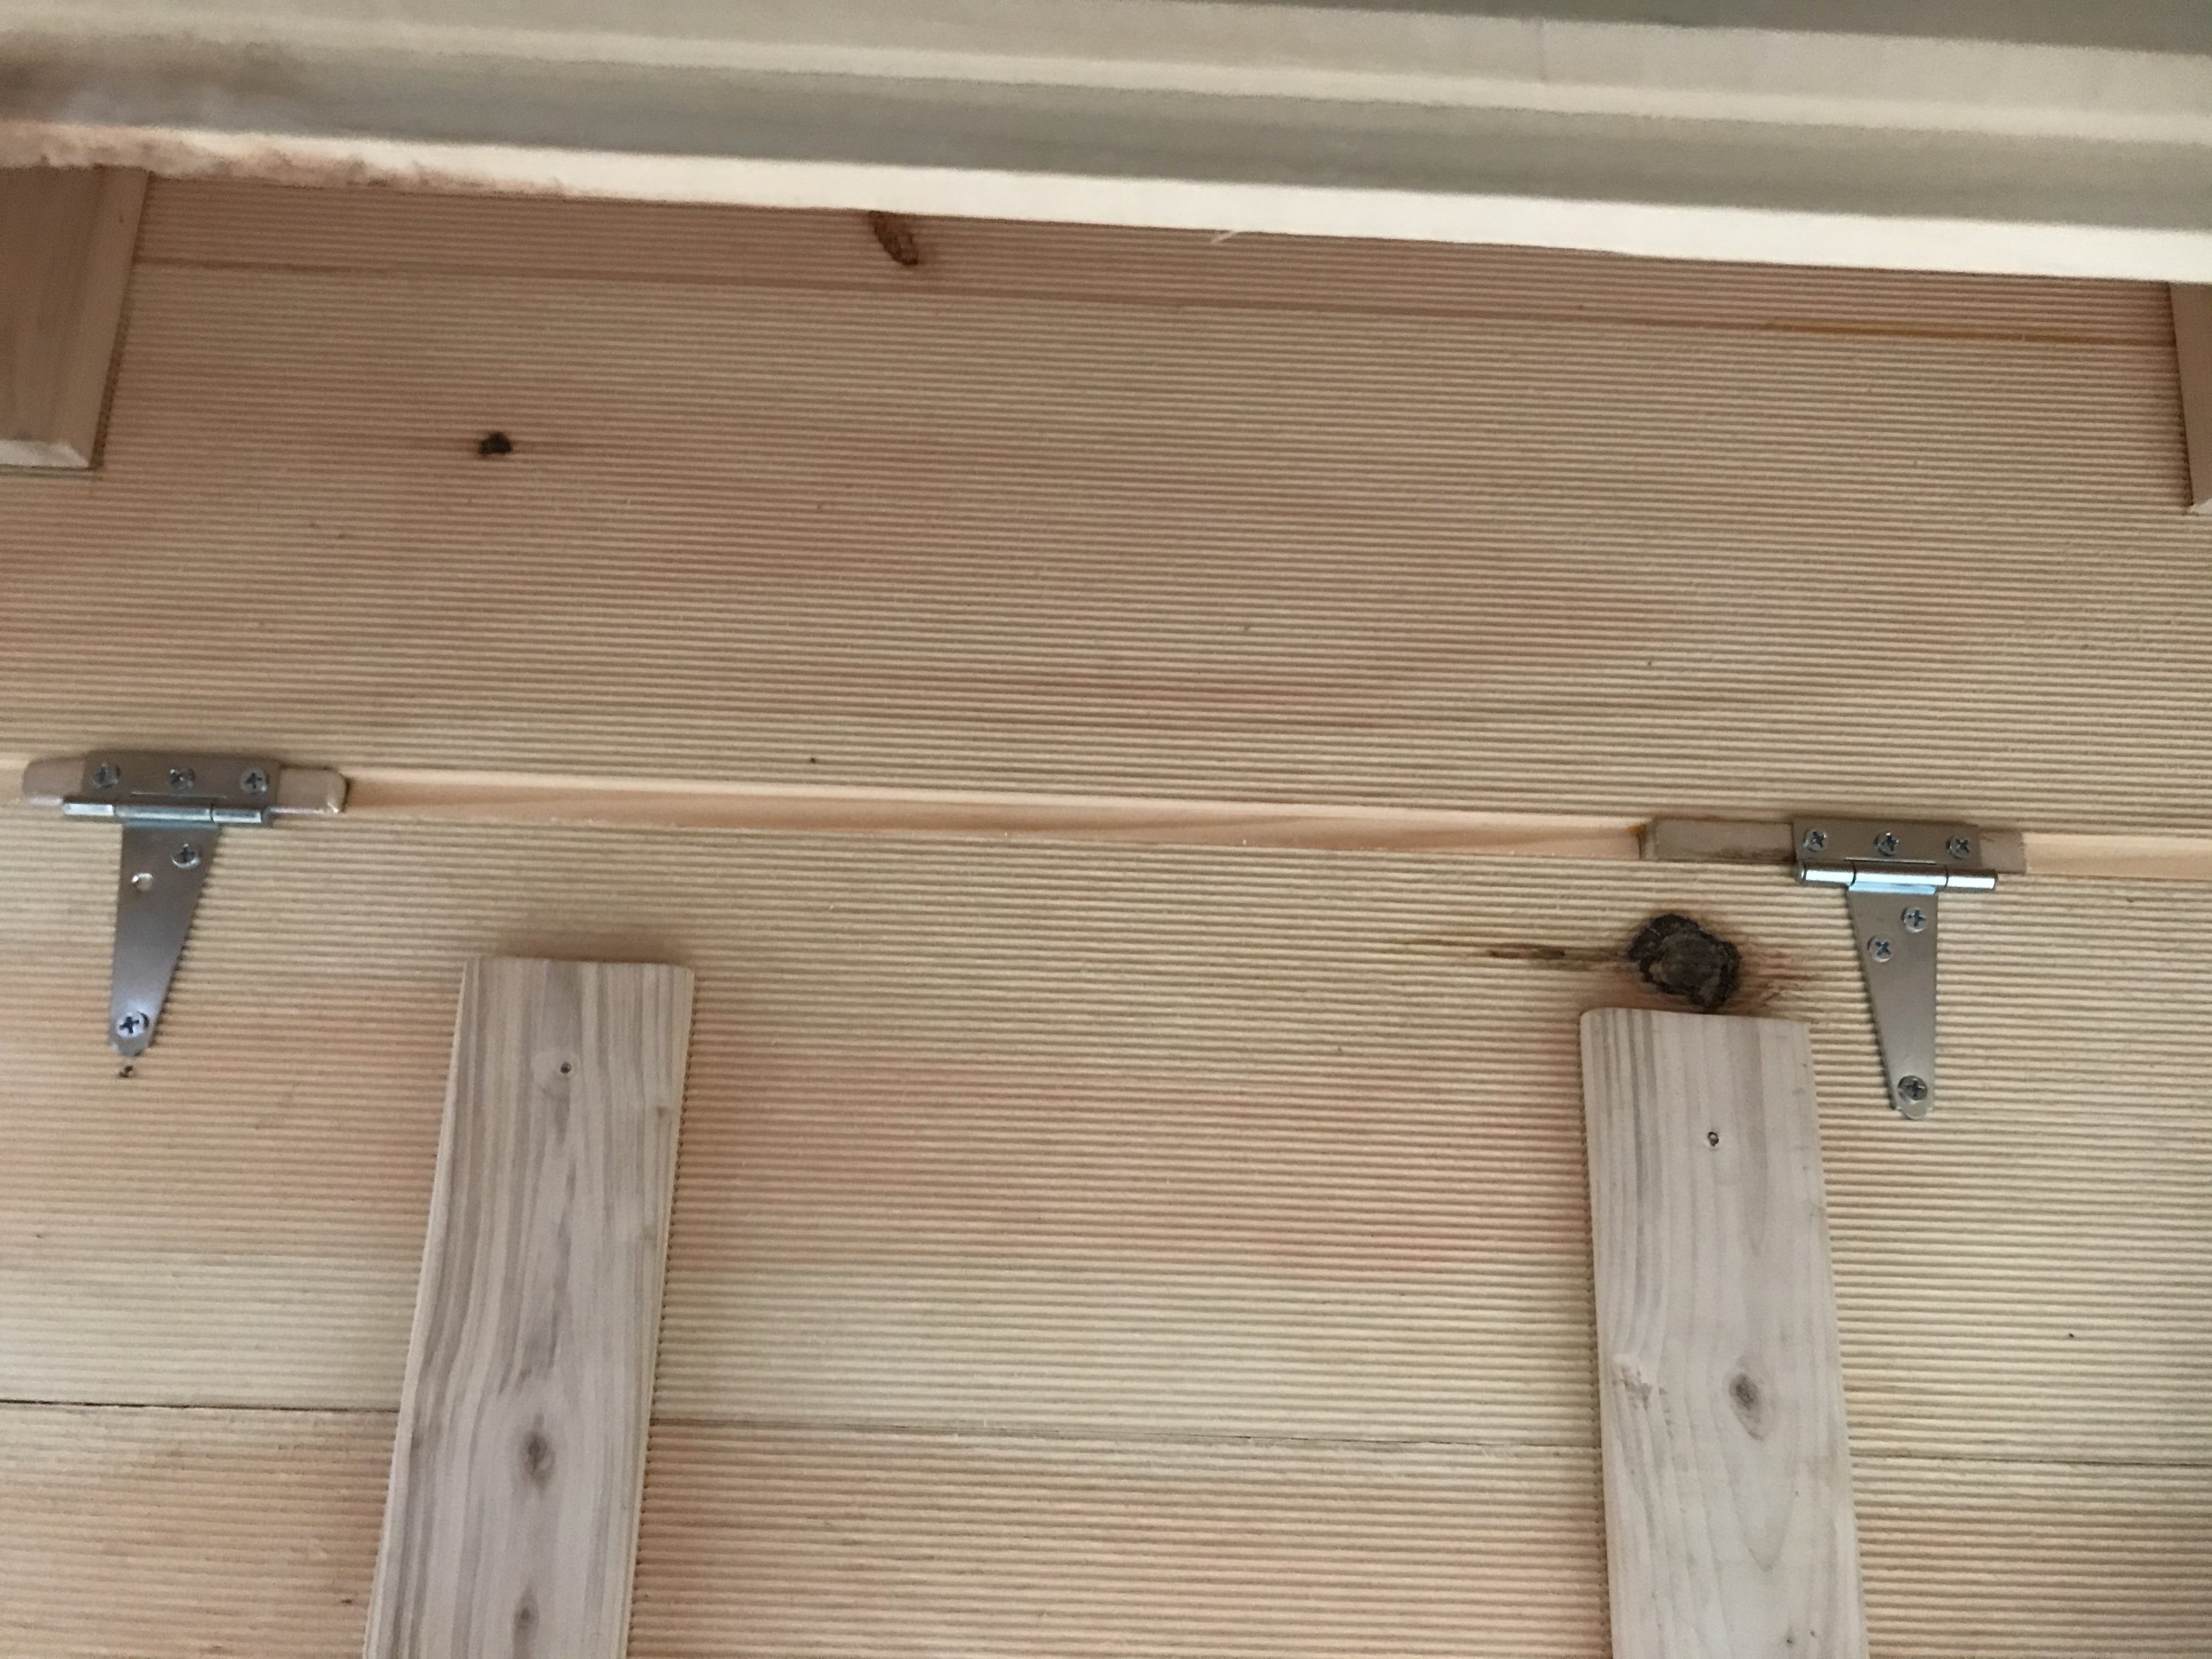
No more gap! I love the look of this wood, it's really a nice thing that the shiplap boards were some of the cheapest so that I could get to do this. The shiplap wood is also pretty good because it connects together with the other boards and produces what I think is a really unique country look to it. Definitely loving the inside!
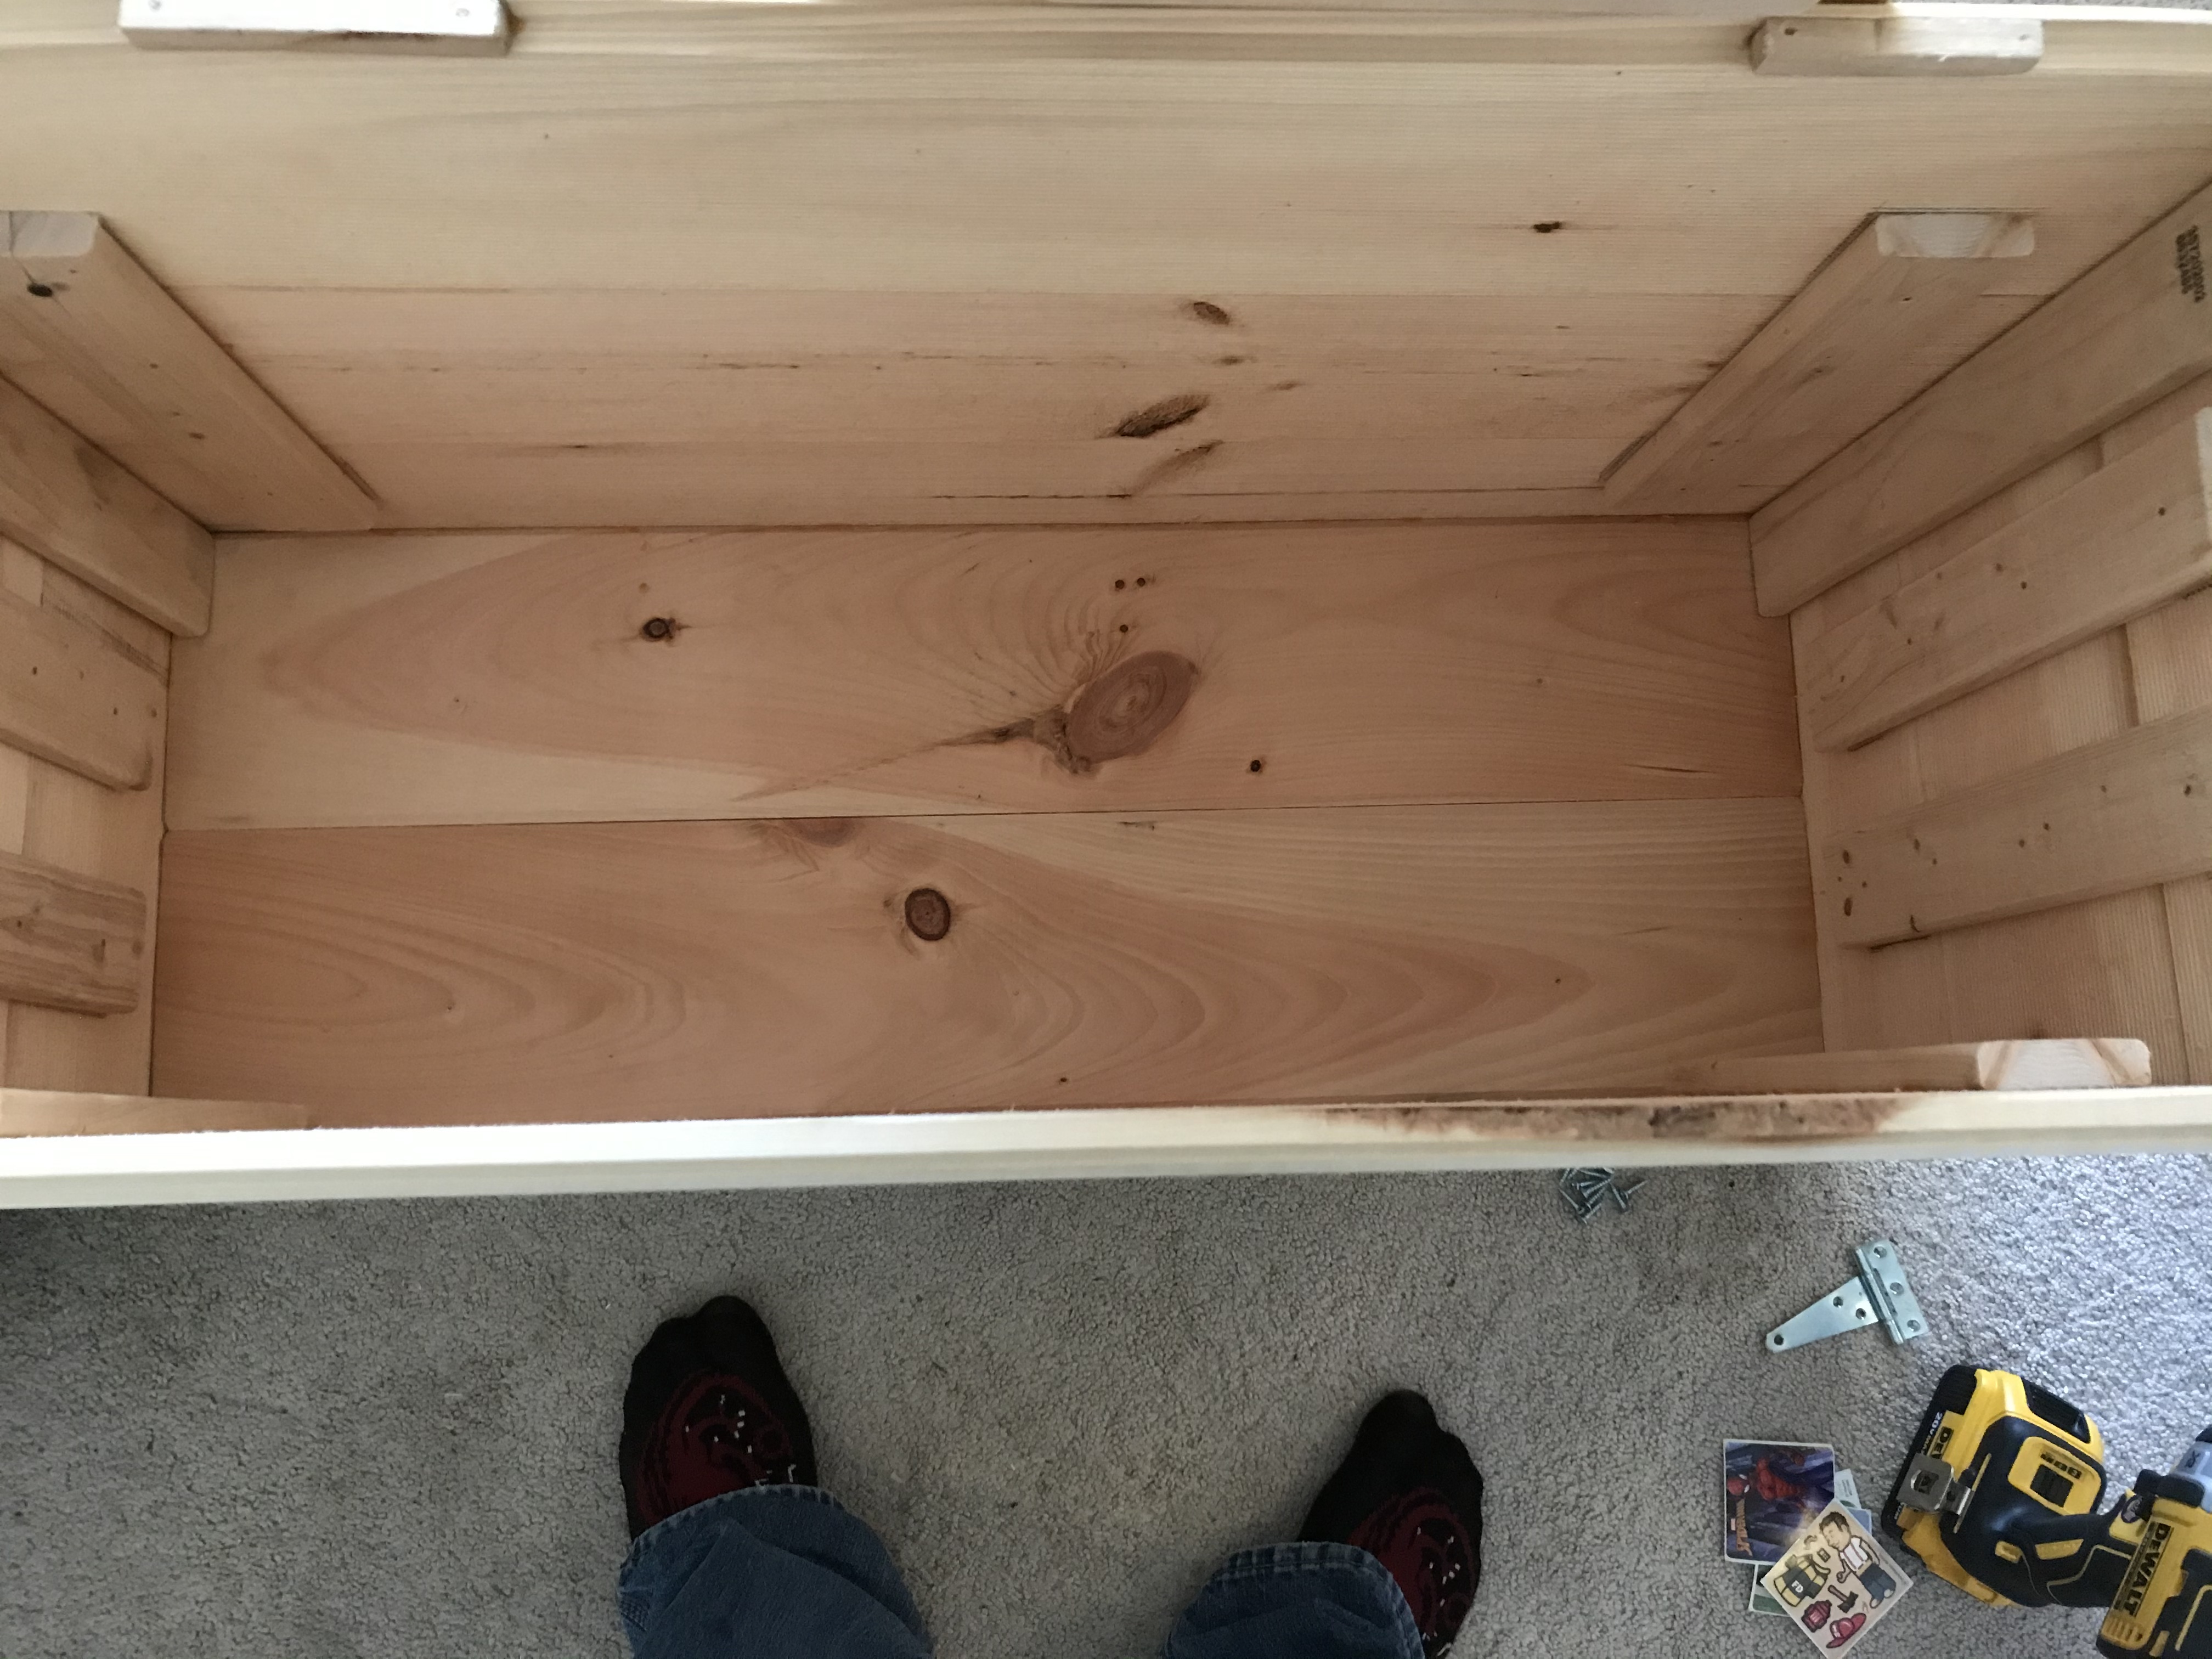
The last part was putting the hinge on. You can kind of see that the edge of the shiplap boards weren’t quite big enough to support the hinge on its own so thankfully I had another scrap piece of wood that the little man plays with so I trimmed it up a bit and nailed and glued it down so that the hinge could have adequate screw length penetration. Last thing I wanted was one of the things to break apart and end up ruining the wall. I wouldn’t be thrilled to rebuild the thing lol. Once I had that taken care of, the hinge was pretty easy to put on but thankfully I had the little man to help me. What I thought would work originally ended up not working at all for the inside marks on the hinges. He used his pencil to mark where the hinge landed on the inside since I couldn’t fit and it ended up coming out nicely but it wasn’t where I marked it myself! Benefits of having a small human around lol.
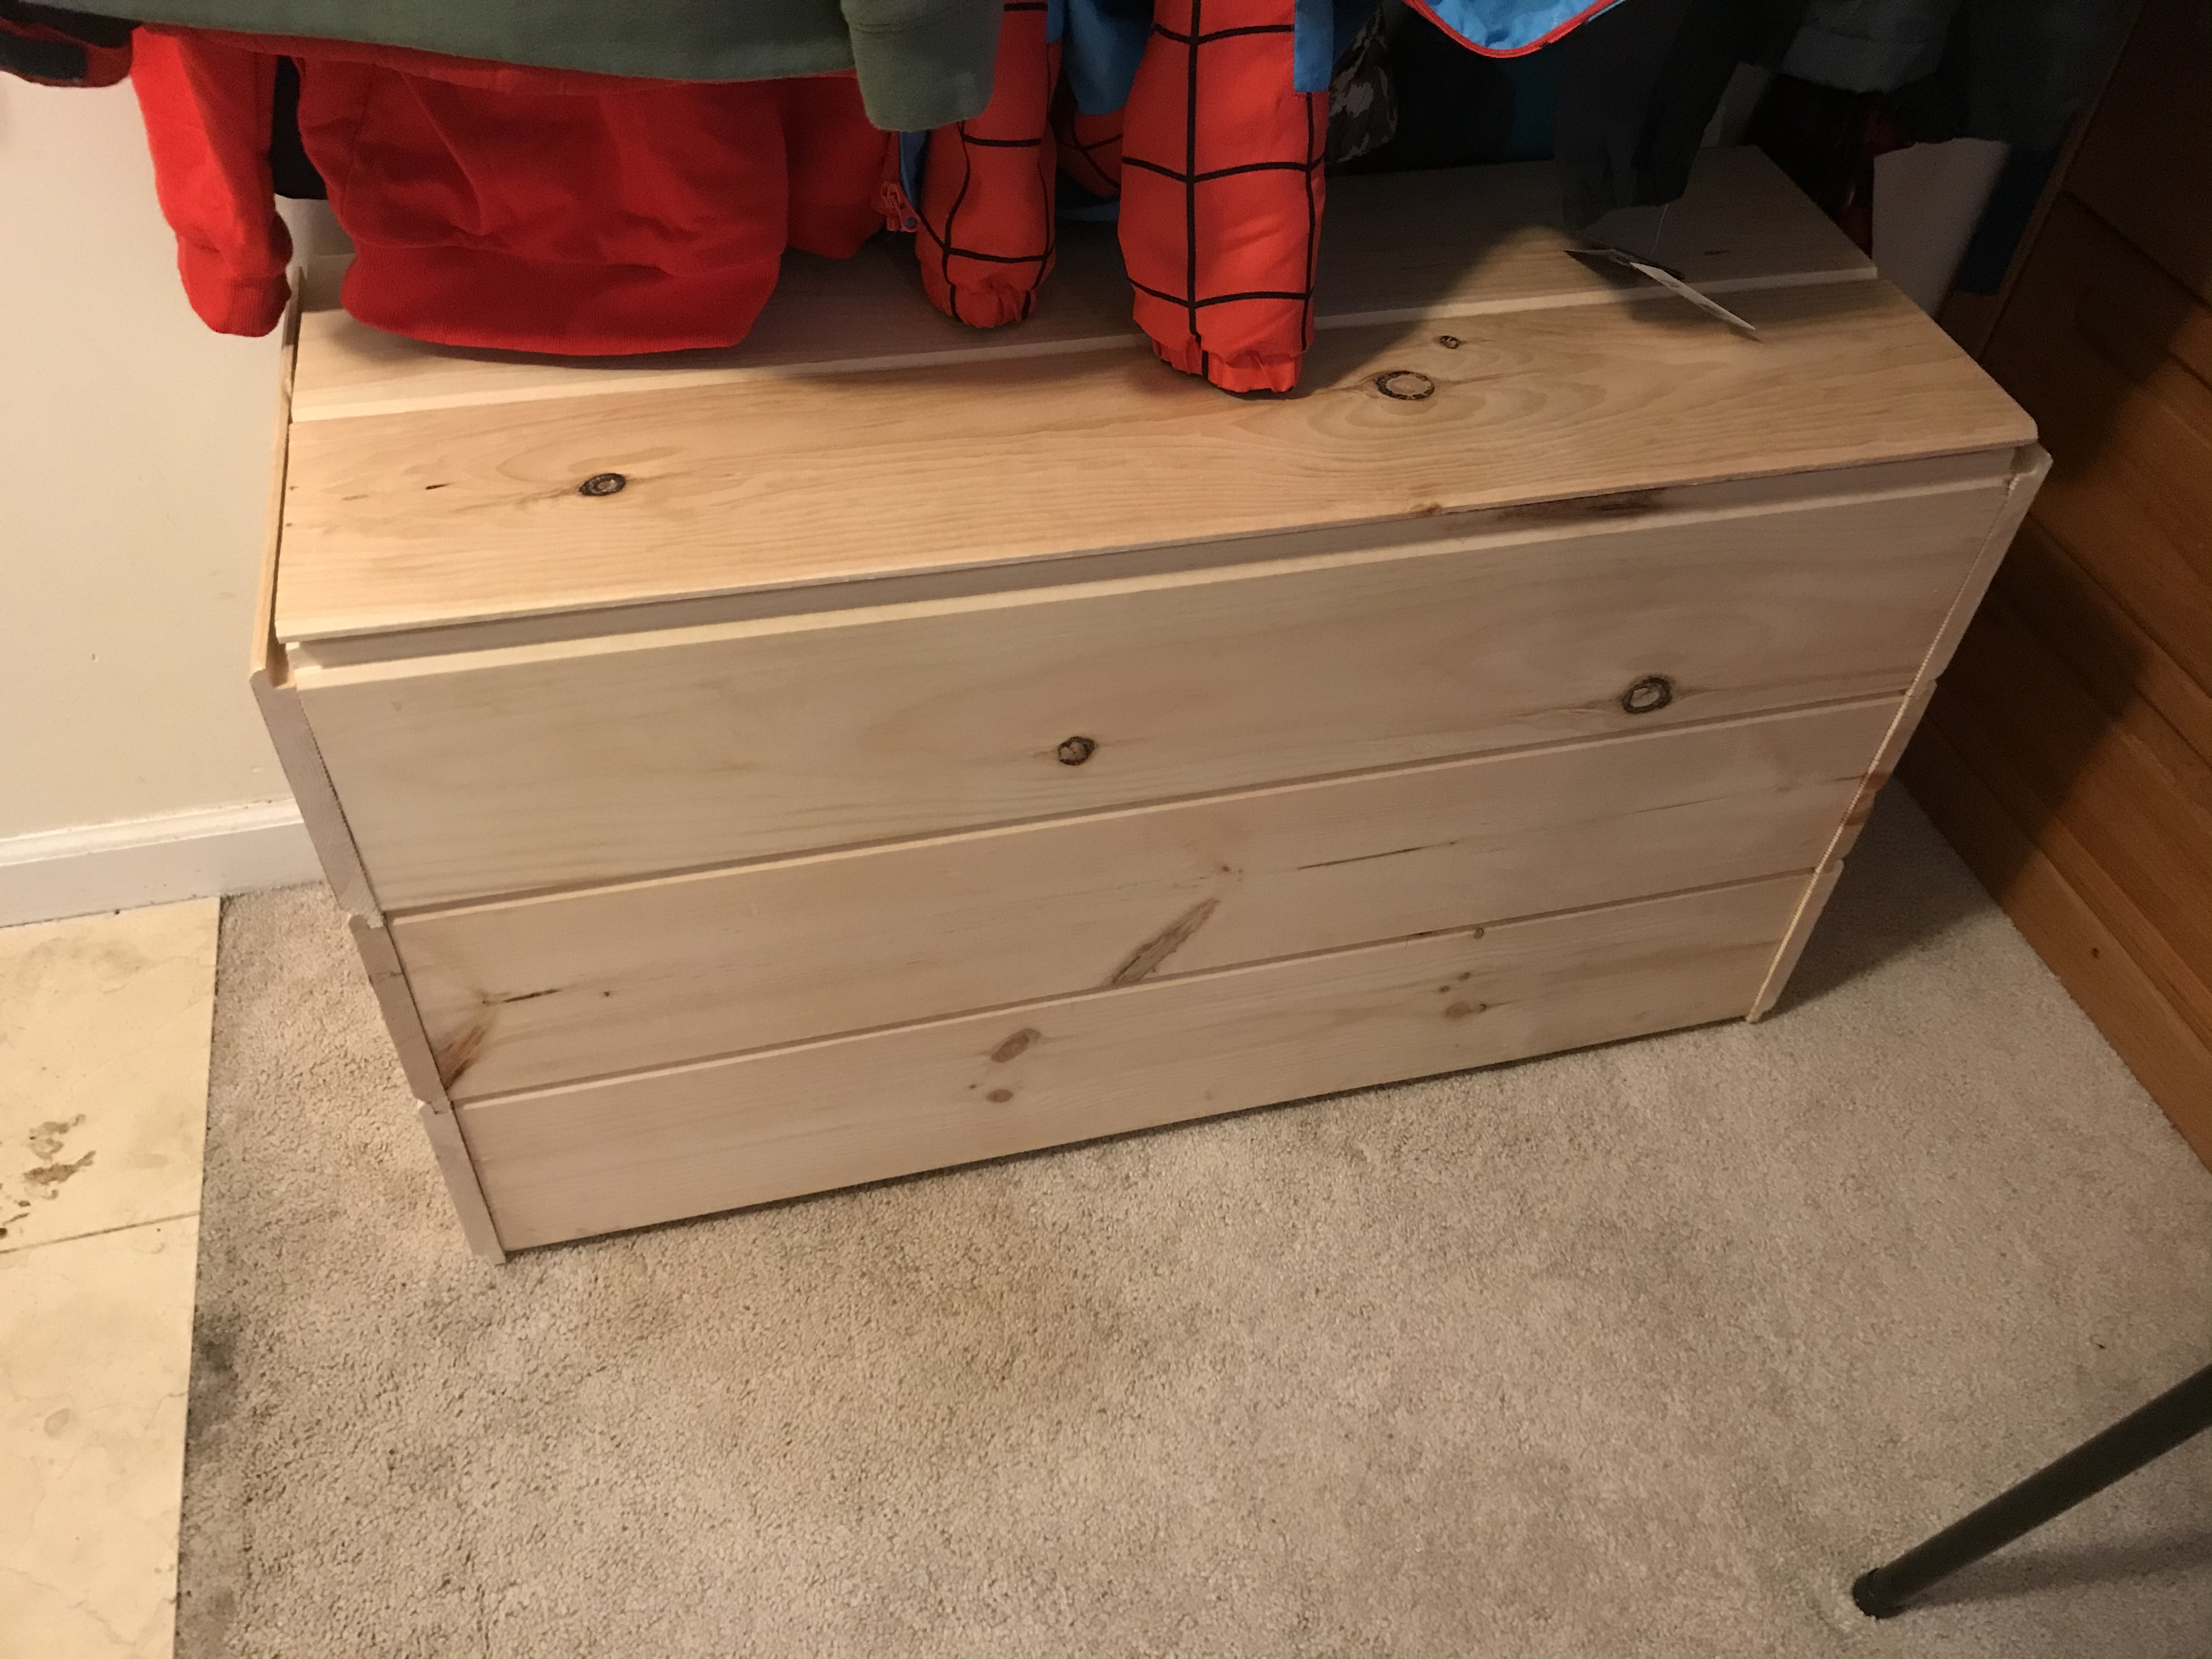
The box, finished and in place! I was so glad to finally get it finished but also really glad that I think it looks really cool! It will be something we take when we move and the look of it is better than a plywood version or something. What did all the wood cost me to do this? Less than 50$! I think a store would charge easily 150-200 for something half as sturdy as this. Biggest benefit to me was that the little man helped me the whole time so he got to use tools, watch me use them and have fun doing his own little project with the scrap wood left over. The wife loves it and now all of our shoes fit in it with the lid closed! That was huge, our shoe collection was starting to get overwhelming lol.

Do you want to get paid, in crypto, for searching the internet? Try using and signing up for Presearch to earn some great crypto! I've currently got 2,345 PRE tokens, with a market value of $249.13. It doesn't sound like a lot but when you search using sites like Google you get paid $0! Join Presearch to break Google's stranglehold on the internet searches. If you'd like to sign up, use my referral link!
https://www.presearch.org/signup?rid=513043
