Tutorial para decorar ganchos con temática navideña /Tutorial to decorate hooks with a Christmas theme
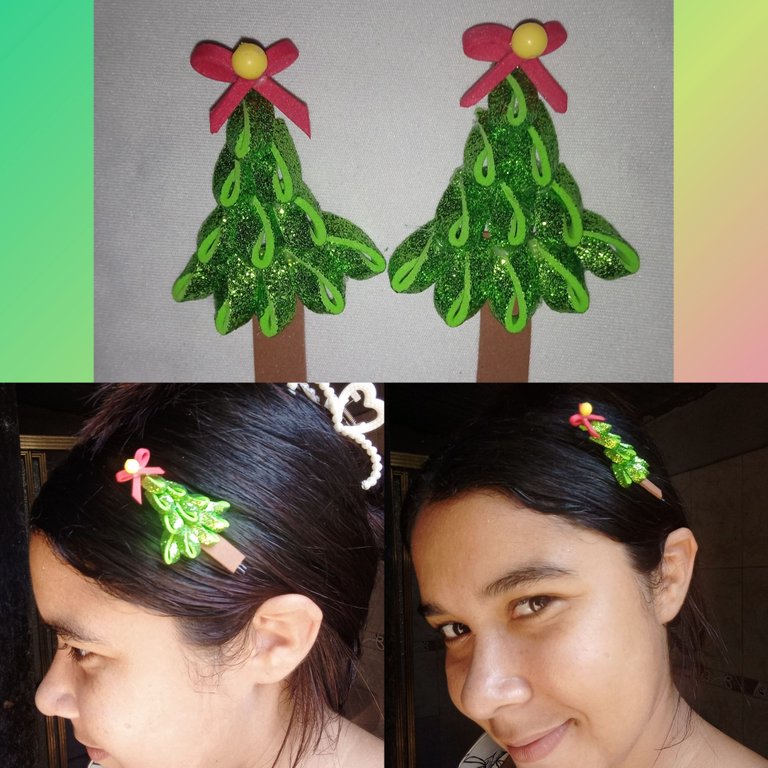
Buenas tardes mis hermosos amigos lectores y creadores de contenido de esta maravillosa comunidad @jewerly ,hoy les quiero compartir un tutorial de cómo decore unos ganchos con temática de arbolito de navidad ,estos ganchos son ideales para que nuestras niñas luzcan en la nueva época navideña que está próxima a llegar , a continuación les contaré cada paso que realice
Good afternoon my beautiful friends readers and content creators of this wonderful community @jewerly ,today I want to share a tutorial on how to decorate some Christmas tree themed hooks ,these hooks are ideal for our girls to look in the new Christmas season that is about to arrive , then I will tell you each step that I performed
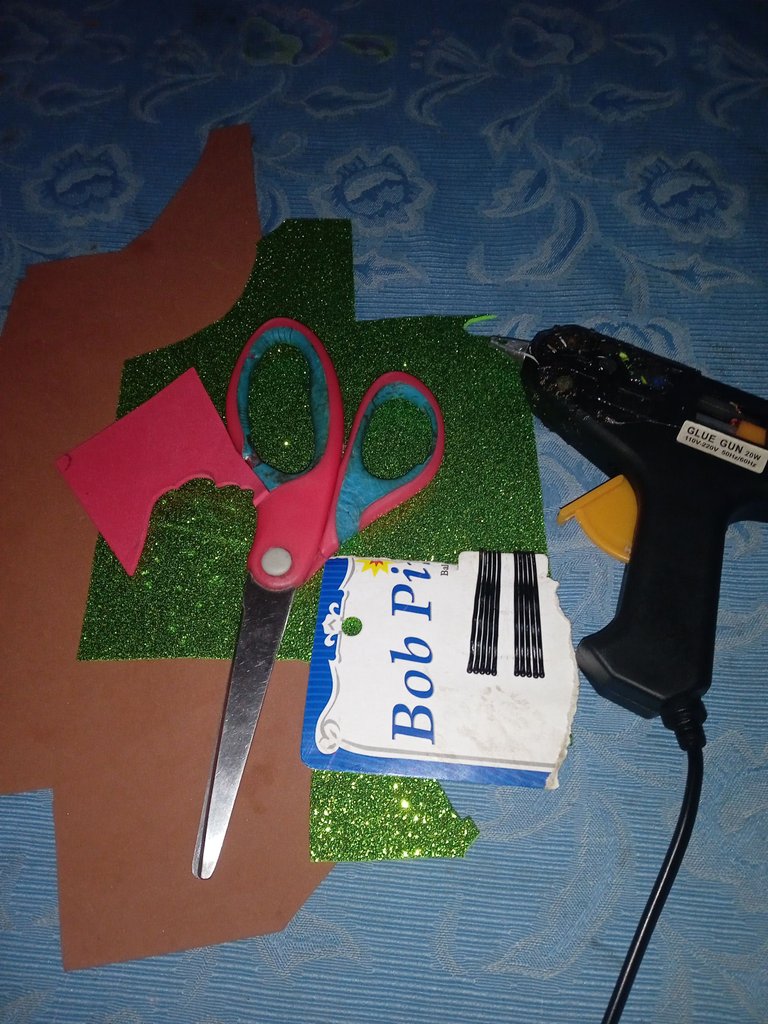
Materiales que utilice :
-Ganchos para decorar
-Foamis
-Silicon en barra
-Tijera
-Piedra plástica
Materials used :
-Hooks to decorate
-Foamis
-Silicon stick
-Scissors
-Plastic stone
A continuación los pasos a seguir:
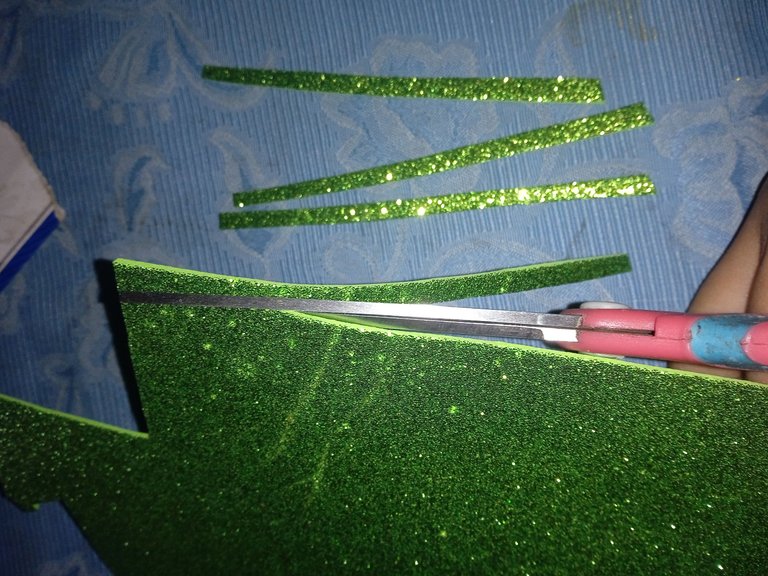
Iniciaremos tomando nuestro foamis escarchado y vamos a recortar varias tiras bien delgadas para que nuestro arbolito quede hermoso y no quede extravagante, las tiras tienen 5 centímetros de largo , en total recortaremos 22 tiras ,que dividiremos en 11 para un arbolito y 11 para el otro debido a que realice dos decoraciones , y me gusta siempre trabajar con pars
Here are the steps to follow:
We will start by taking our frosted foamis and we will cut several very thin strips so that our tree is beautiful and not extravagant, the strips are 5 centimeters long, in total we will cut 22 strips, which will be divided into 11 for one tree and 11 for the other because I made two decorations, and I always like to work with pars
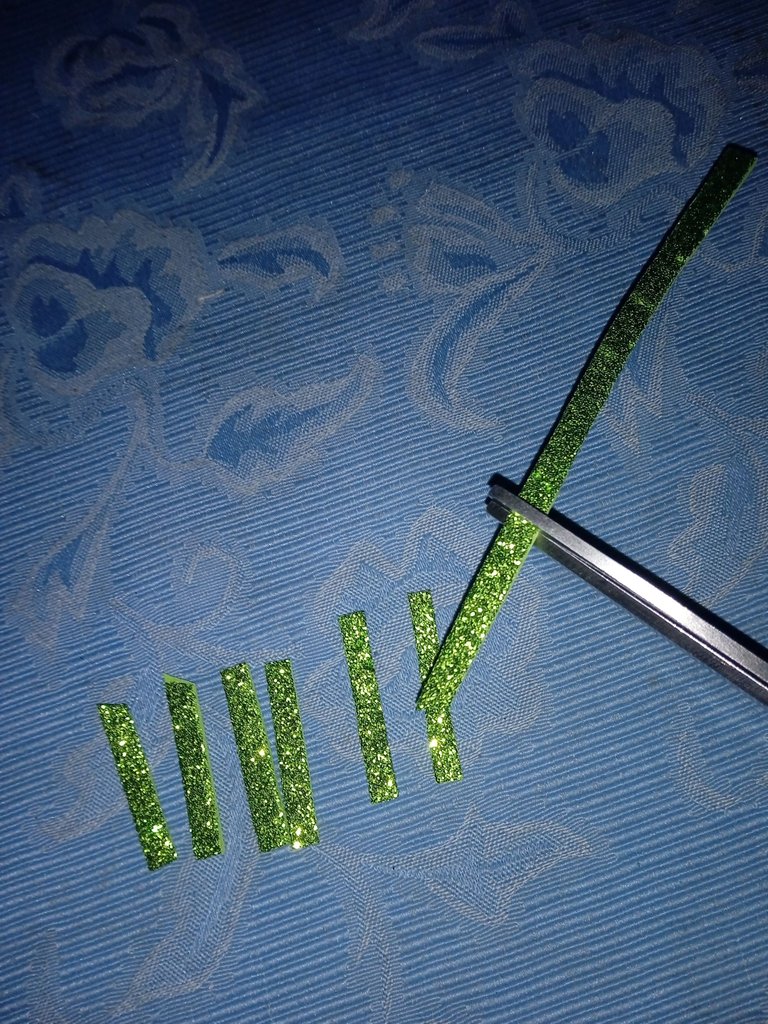
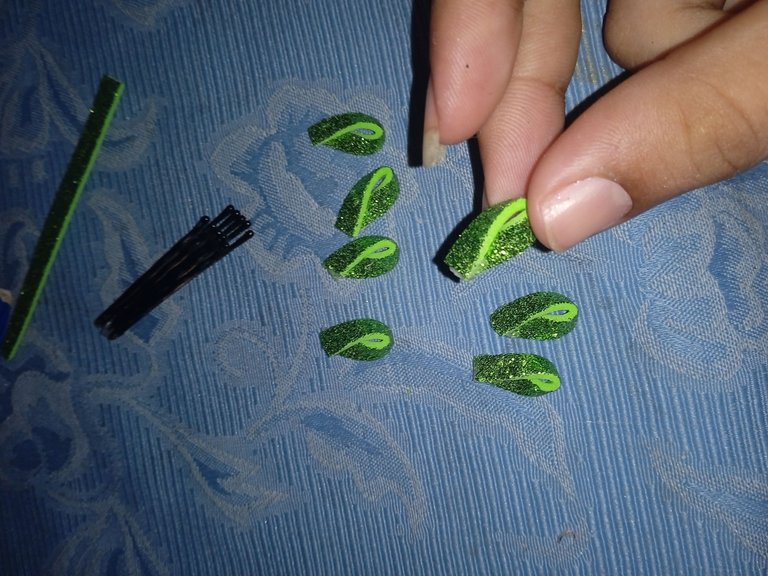
Luego que tengamos listos nuestras mini tiras , vamos a continuar añadiendo silicón en una punta y pegando inmediatamente la otra punta formando así una forma parecida a una hoja o una gota, aseguremos nos que queden bien pegadas, por eso les recomiendo siempre trabajar con silicón en barra ya que su pega es rápida
After we have our mini strips ready, we will continue adding silicone on one end and immediately gluing the other end forming a shape similar to a leaf or a drop, let's make sure they are well glued, so I recommend always working with silicone stick as its glue is fast.
Luego continuaremos formando la parte de abajo de el arbolito ,tomamos las piezas que realizamos en el paso anterior y comenzamos a pegar una al lado de la otra , para la parte de abajo de el árbol utilice 5 pétalos (gotas)
Then we will continue forming the bottom of the tree, we take the pieces we made in the previous step and start gluing one next to the other, for the bottom of the tree use 5 petals (drops).
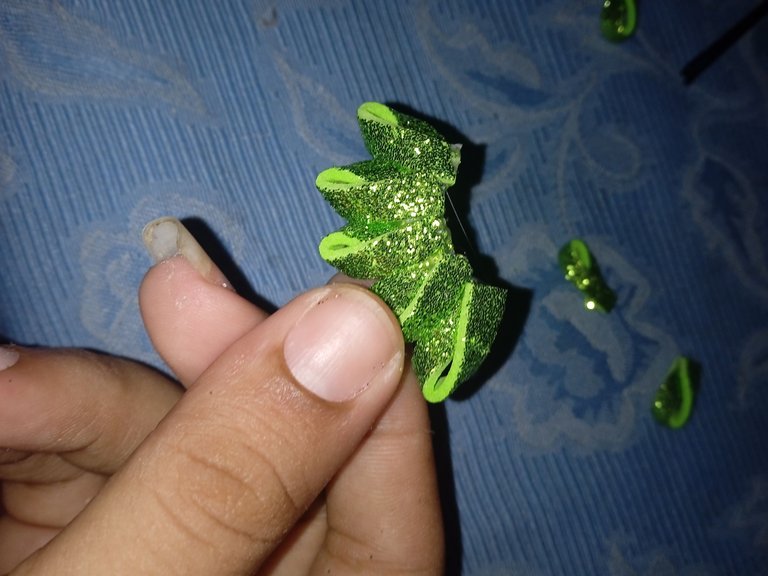
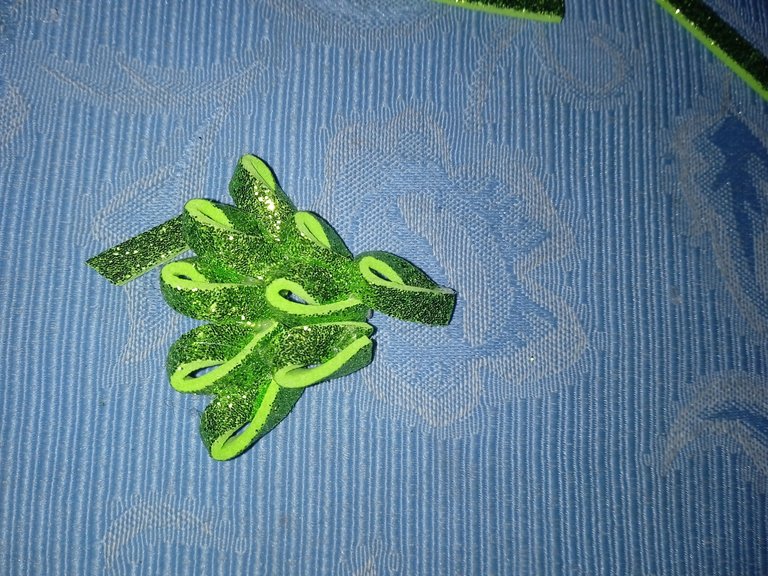
Luego continúe pegando las demas piezas de el arbolito , en la parte que le sigue a la base pegue 3 luego en la siguiente fila continúe pegando 2 más hasta llegar al final de el copo que solo pegue 1 ,dejando de este modo el gancho sencillo y pequeño ya que los ganchos son pequeños
Then continue gluing the other pieces of the tree, in the part that follows the base glue 3, then in the next row continue gluing 2 more until you reach the end of the flake that only glue 1, thus leaving the simple and small hook as the hooks are small.
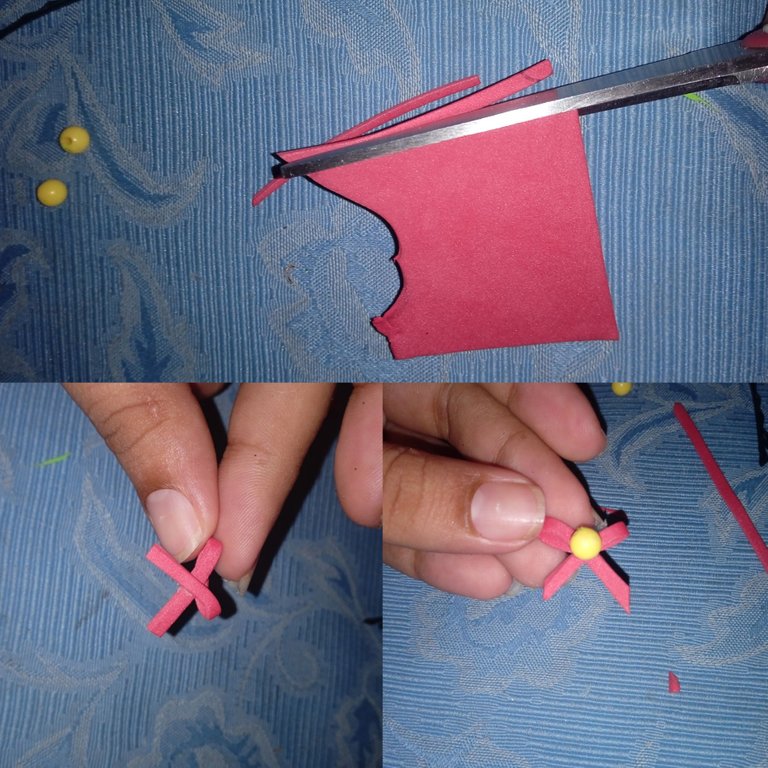
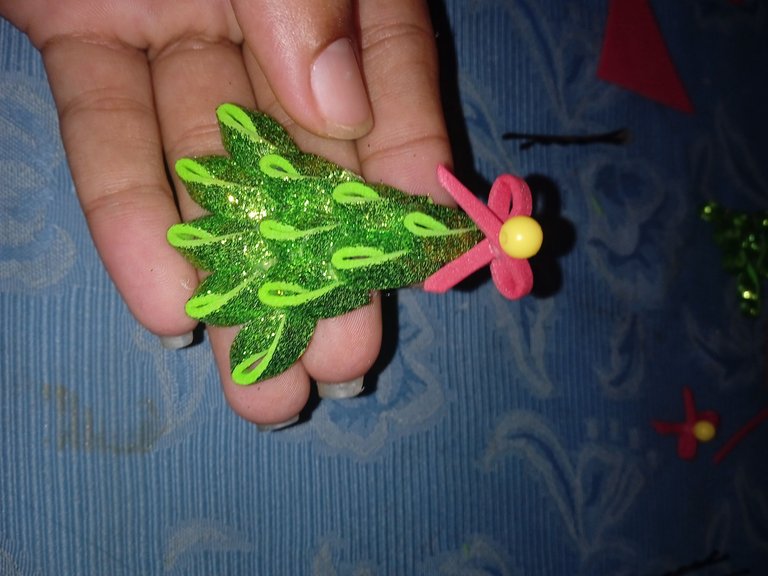
Luego que tengamos listo nuestro arbolito vamos a continuar con la decoración final de el árbol navideño , tomamos el foamis rojo y recortamos dos tiras ,una vez que tengamos las tiras listas vamos a continuar armando un pequeño lazo ,para finalizar el lazo tomamos una piedra plástica y la pegamos en todo el centro de el lazo
After we have our tree ready we will continue with the final decoration of the Christmas tree, we take the red foamis and cut two strips, once we have the strips ready we will continue assembling a small bow, to finish the bow we take a plastic stone and glue it around the center of the bow.
Finalmente continuaremos pegando en el copo de el árbol el lazo para adornar , también pueden utilizar como opción una pequeña estrella
Finally, we will continue gluing the ribbon on the tree flake to decorate it, you can also use a small star as an option.
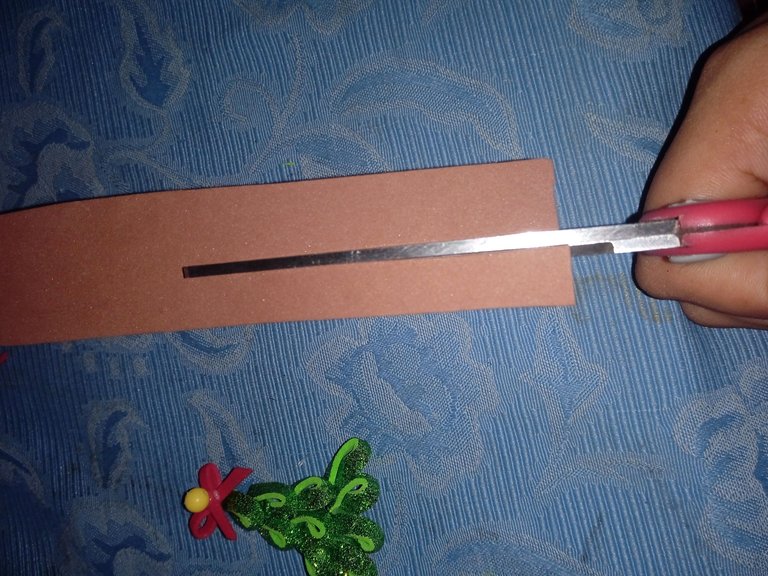
Luego continúe recortando una pequeña tira de foamis color marrón para realizar el tallo o tronco de el arbolito para decorar la parte de abajo de el árbol y cubrir todo el gancho
Then continue cutting a small strip of brown foamis to make the stem or trunk of the tree to decorate the bottom of the tree and cover the whole hook.
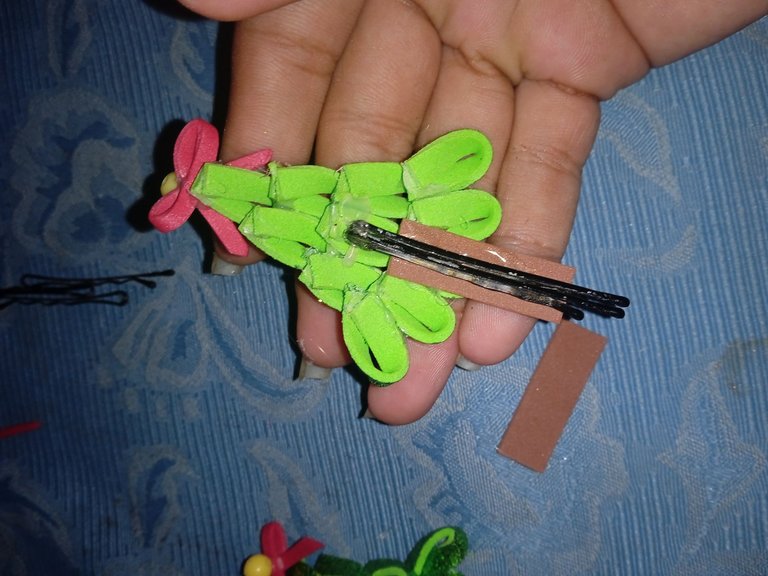
Luego continúe pegando el tallo al arbolito y seguido de esta paso tomé el gancho y lo pegue en la parte de atrás de el arbolito culminando así de este modo mi decoración de el gancho
I then continued by gluing the stem to the tree and followed this step by taking the hook and gluing it to the back of the tree, thus completing my hook decoration.
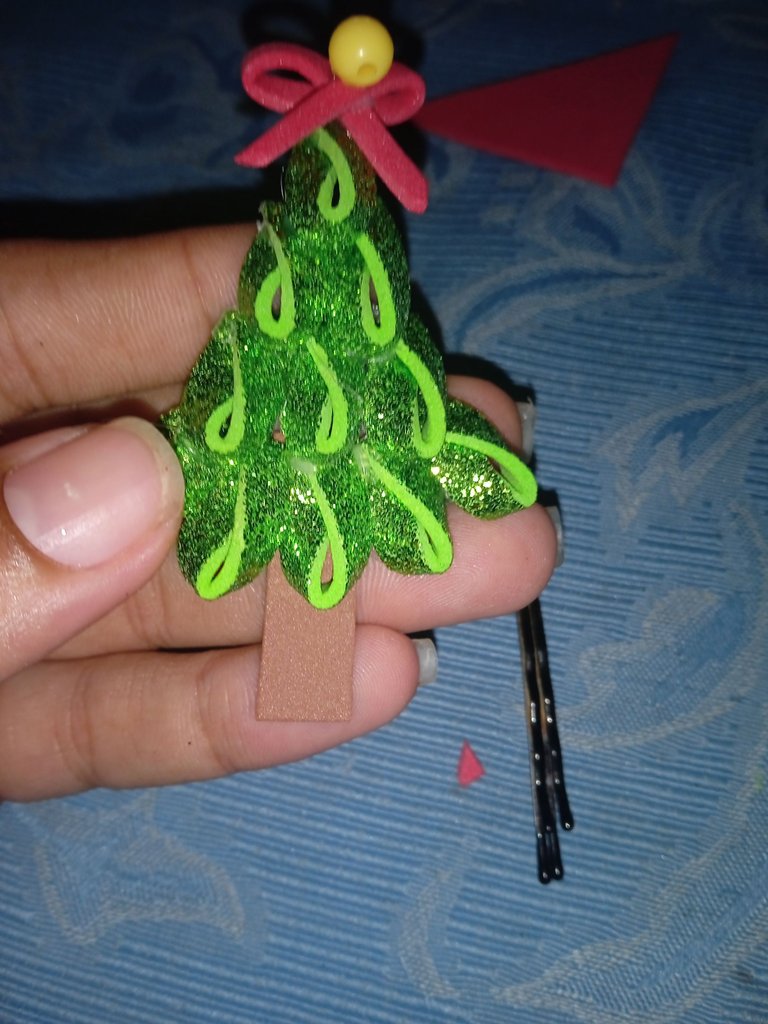
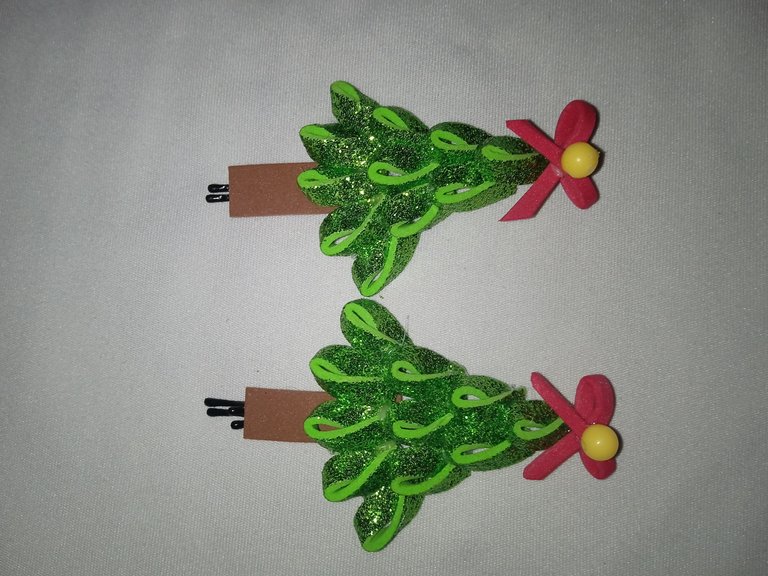
Este es el resultado final de mi decoración de ganchos ,les invito que puedan realizar lo desde sus hogares y lucir uno en esta época navideña que está próxima a llegar , las fotos las tomé desde mi teléfono Redmi 9C y los textos los traduje con el traductor DeepL ,les agradezco por su amable atención ,nos vemos en el siguiente post ,abrazos desde la distancia
This is the final result of my decoration of hooks, I invite you to make it from your homes and look one in this Christmas season that is coming soon, the photos were taken from my Redmi 9C phone and the texts were translated with the translator DeepL, I thank you for your kind attention, see you in the next post, hugs from afar.
Muy hermoso los ganchos de arbolito de navidad, me encanta el brillo como se ve, y los lazos, quedo muy hermoso, gran trabajo.
Muchas gracias amiga
Está hermoso el gancho. Muy original y perfecto para la época navideña ❤️
Muchas gracias amiga
Me encanta cómo dosplayed los procedimientos y el resultado es impresionante. gracias por compartir
Gracias amiga
TE QUEDARON MUY BONITOS TUS GANCHOS, Y SOBRETODO PARA LUCIRLOS EN ESTAS FECHAS. SALUDOS.