Splinterlands art contest / Janni Rebel / FanArt
Arte Digital | Digital Art
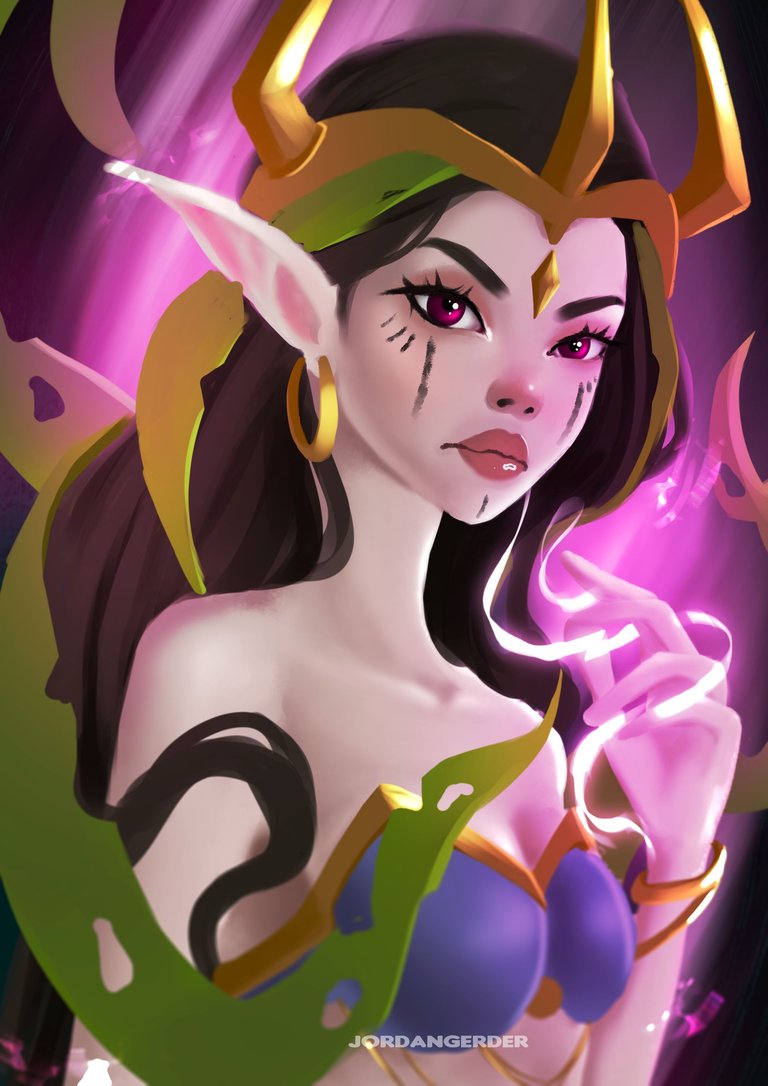
Hello people. How are you doing today? Happy New Year 2025, this is my first publication of the year, I hope to be more active in the community, this is among my tasks to complete, present my new entry for the art contest prepared by @splinterlands the creation of these characters in my style me I love it too much, I think I lost count of how much time I have been creating art for Splinterlands and I really love doing it too much...
Let's see a little about the creation process, it's always good to see what's behind each art, come with me⏩⏩⏩...
Materiales | Materials
- Desktop computer
- Tableta Huion H950P
- Programa Adobe Photoshop 2019
- Ordenador de mesa
- Huion H950P tablet
- Adobe Photoshop 2019 program
Proceso | Process
Paso 1
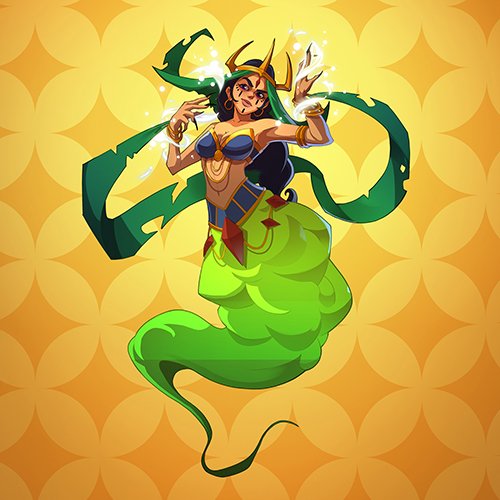
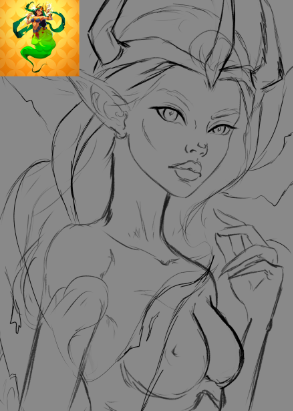
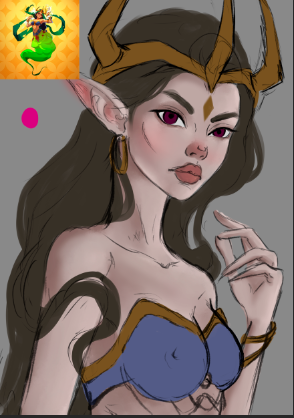
- Inciamos con un bosquejo de lo que sería el personaje agregué el arte orginal a un extremo para captar todas las partes y no perder ningun detalle, asi es como resulta mas facil su creación:
Step 1
- We started with a sketch of what the character would be. I added the original art to one end to capture all the parts and not lose any details, this is how its creation is easier:
Paso 2
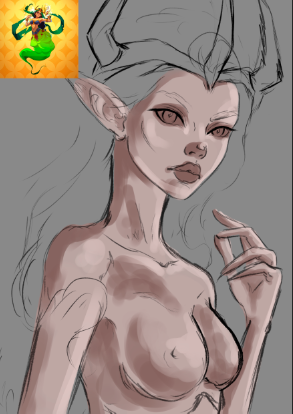
- Una vez que conseguimos un bosquejo mas claro, o donde se aprecie el personaje al cual agregaremos color, es momento de pasar a la siguiente etapa donde se seleccionan tres tonos de color no muy saturados para empezar a crear volumen en su piel:
Step 2
- Once we get a clearer sketch, or where the character to whom we will add color can be seen, it is time to move on to the next stage where three not very saturated color tones are selected to begin creating volume in their skin:
Paso 3
- Es momento de mezclar los parches de color que agregué anteriormente (este paso lo hago con la herramienta dedo), para luego suavizar un poco con un pincel difuso, y asi es como conseguimos una piel mas trabajada:
Step 3
- It's time to mix the color patches that I added previously (I do this step with the finger tool), and then soften a little with a diffuse brush, and this is how we get a more polished skin:
Paso 4
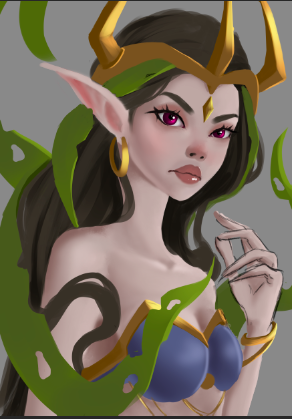
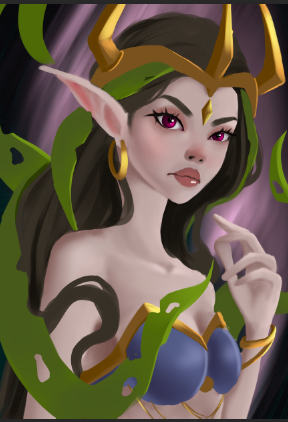
- Ya anteriormente habia agregado colores base sobre el metal, ropa, ojos y labios,ahora en este paso le di volumen y detallé cada una de estas partes, sus ojos fucsia estaban fuera de la combiancion de colores del personaje asi que decidi combinarlo con el fondo y si que se miraba muy bien...
Step 4
- I had previously added base colors on the metal, clothes, eyes and lips, now in this step I gave volume and detailed each of these parts, his fuchsia eyes were outside the color combination of the character so I decided to combine it with the background and it did look very good...

Paso final
- Para finalizar todo el proceso de creación agregué detalles finales como brillos, mas luces y ajustes totales de color.
Final step
- To finalize the entire creation process, I added final details such as highlights, more highlights and total color adjustments.
We got an incredible result, I really enjoyed the creation process. I hope you liked it, I have elaborated it with love for all the viewers who visit this publication, see you in the next one 😍
𝑮𝒓𝒂𝒄𝒊𝒂𝒔 𝒑𝒐𝒓 𝒗𝒊𝒔𝒊𝒕𝒂𝒓 𝒎𝒊 𝒃𝒍𝒐𝒈, 𝒂𝒑𝒓𝒆𝒄𝒊𝒐 𝒎𝒖𝒄𝒉𝒐 𝒕𝒖 𝒂𝒑𝒐𝒚𝒐 / 𝑻𝒉𝒂𝒏𝒌 𝒚𝒐𝒖 𝒇𝒐𝒓 𝒗𝒊𝒔𝒊𝒕𝒊𝒏𝒈 𝒎𝒚 𝒃𝒍𝒐𝒈, 𝑰 𝒓𝒆𝒂𝒍𝒍𝒚 𝒂𝒑𝒑𝒓𝒆𝒄𝒊𝒂𝒕𝒆 𝒚𝒐𝒖𝒓 𝒔𝒖𝒑𝒑𝒐𝒓𝒕.
TWITTER ⚪ NFT SHOWROOM ⚪ INSTAGRAM ⚪ DISCORD



https://x.com/AlienArtHive/status/1875635815625408846
Thanks for sharing! - @isaria
