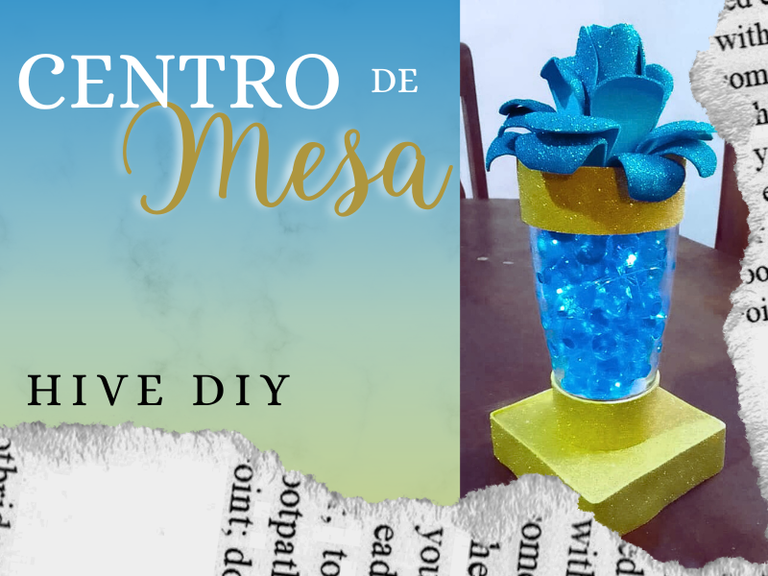
CENTRO DE MESA TIPO LAMPARA [ESP-ENG]

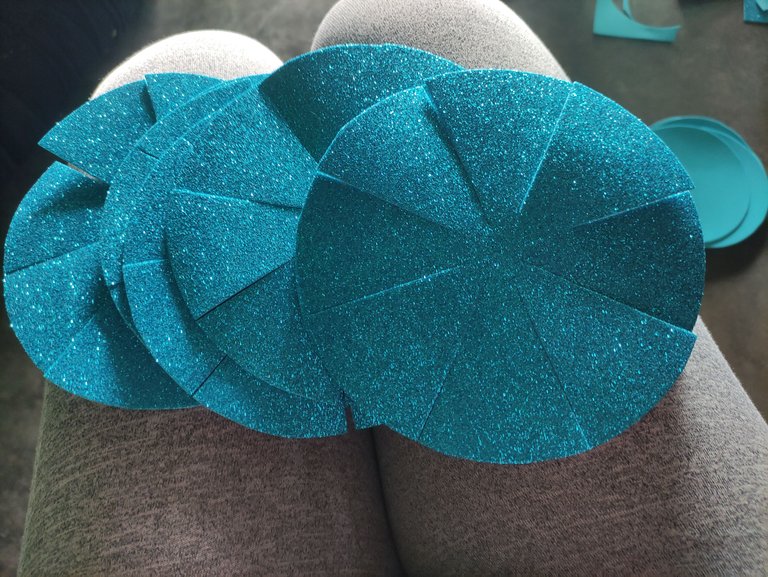
▪️ Lo primero que hice trazar y recortar círculos para los pétalos de las floreas, cada flor está formada de 3 pétalos, en total hice 9 flores, cada círculo era de 15 cm, luego tracé líneas para sacar 8 pétalos de cada círculo.
The first thing I did was to trace and cut out circles for the petals of the flowers, each flower is made up of 3 petals, in total I made 9 flowers, each circle was 15 cm, then I traced lines to draw 8 petals from each circle.
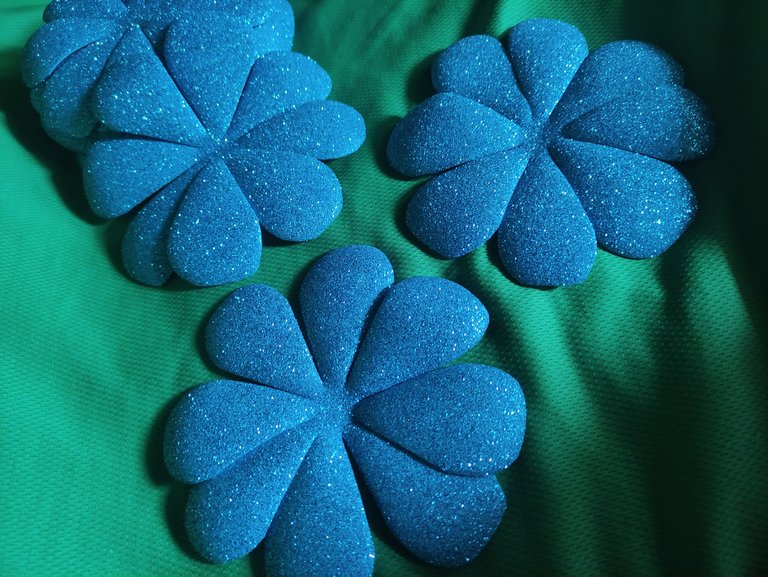
▪️ Ahora se da forma a cada pétalo al redondear los bordes, además pasé cada círculo por calor para dar un mejor aspecto, es la primera cada de calor que le daremos a la flor, al estar formada nuevamente la pasaremos por calor.
Now shape each petal by rounding the edges, I also pass each circle by heat to give a better appearance, this is the first heat we will give to the flower, when it is formed again we will pass it by heat.
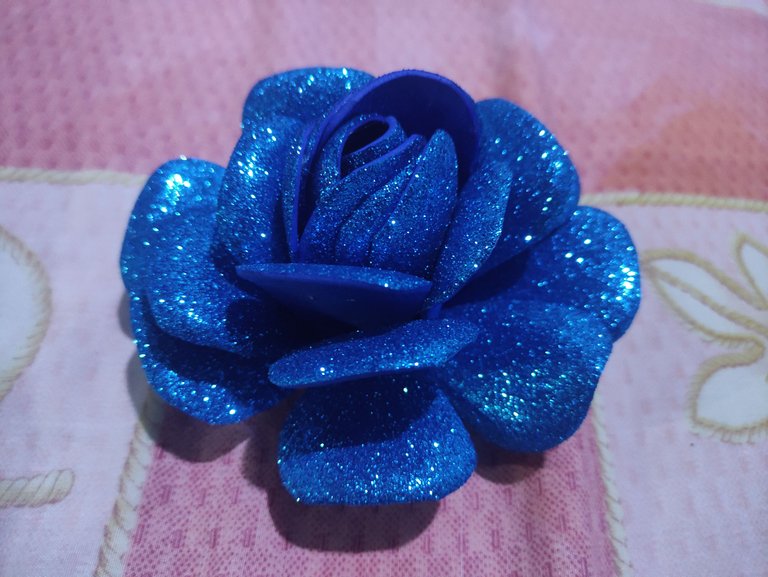
▪️ Iremos formando la flor capa por capa, iniciamos por la capa central que debe estar cerrada, incorporamos una segunda capa de pétalos y finalizamos con la tercera capa que es más abierta, al secar por completo el pegamento aplicamos la segunda capa de calor, esto lo hice con una plancha de cabello a temperatura baja, pasé la plancha por cada pétalo para dar forma rizada y endurecer el foami.
We will form the flower layer by layer, we start with the central layer that must be closed, we incorporate a second layer of petals and finish with the third layer which is more open, when the glue dries completely we apply the second layer of heat, I did this with a hair iron at low temperature, I passed the iron through each petal to give a curly shape and harden the foami.

▪️ La base son cuadrados de cartón unidos, en total apilé cuatro cuadrados de 10 cm y cubrí con foami dorado brillante, hice ese proceso para las 9 bases.
The base are cardboard squares joined together, in total I stacked four 10 cm squares and covered with shiny gold foami, I did that process for the 9 bases.
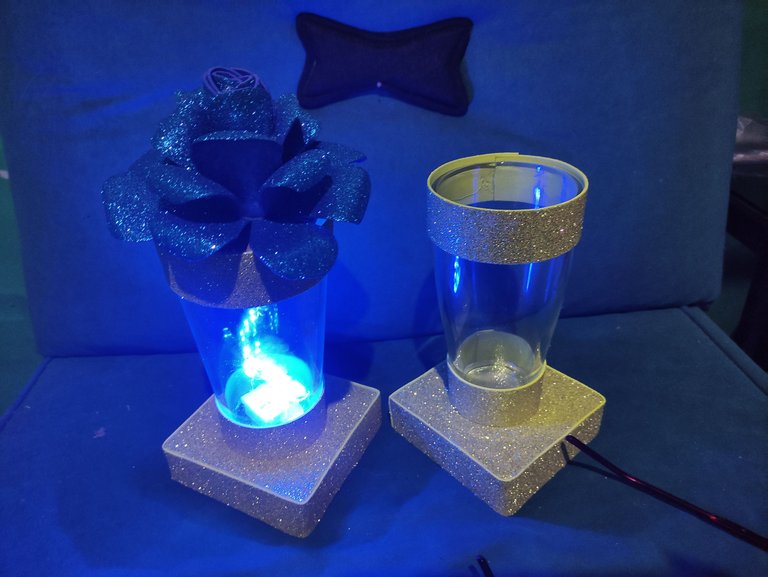
▪️ Probé como se verían las luces de hada y por supuesto la batería quedaba expuesta, la oculté con una tira de foami dorado de 3 cm al final de vaso de vidrio, también pegué otra tira al inicio del vaso para ocultar la base de las flores, en la parte interna coloqué cartón para proteger la batería de la humedad de las bolitas de gel con las cuales llené los centros de mesa.
I tested how the fairy lights would look and of course the battery was exposed, I hid it with a 3 cm strip of gold foami at the end of the glass vase, I also glued another strip at the beginning of the glass to hide the base of the flowers, on the inside I placed cardboard to protect the battery from the moisture of the gel balls with which I filled the centerpieces.
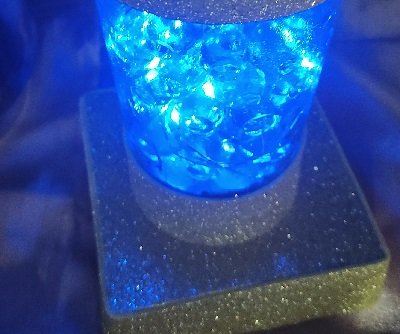
▪️ Las bolitas de gel deben crecer días antes para poder usarlas, las deben dejar crecer en agua, para armar el centro de mesa coloqué la luce de hada, oculté la batería con cartón, llené con el gel mientras enredaba las luces, coloqué otra capa de cartón y pegué la flor.
The gel balls must grow days before to be able to use them, let them grow in water, to assemble the centerpiece I placed the fairy light, hid the battery with cardboard, filled it with the gel while tangling the lights, placed another layer of cardboard and glued the flower.

¿Qué necesitas?
What you need?

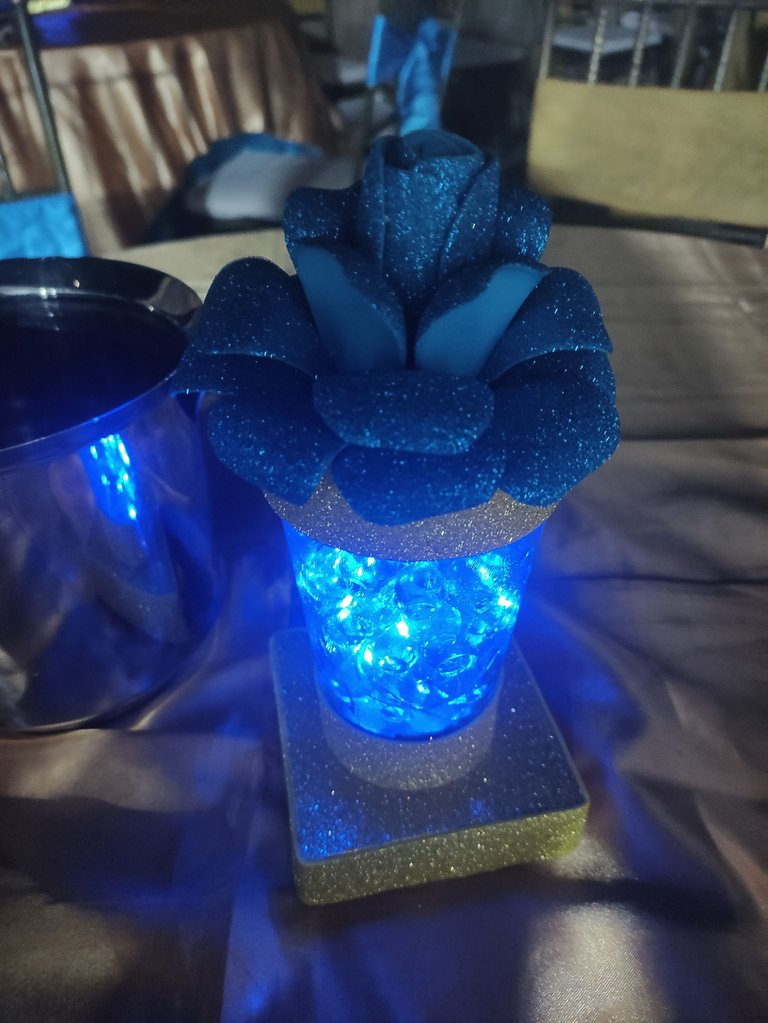
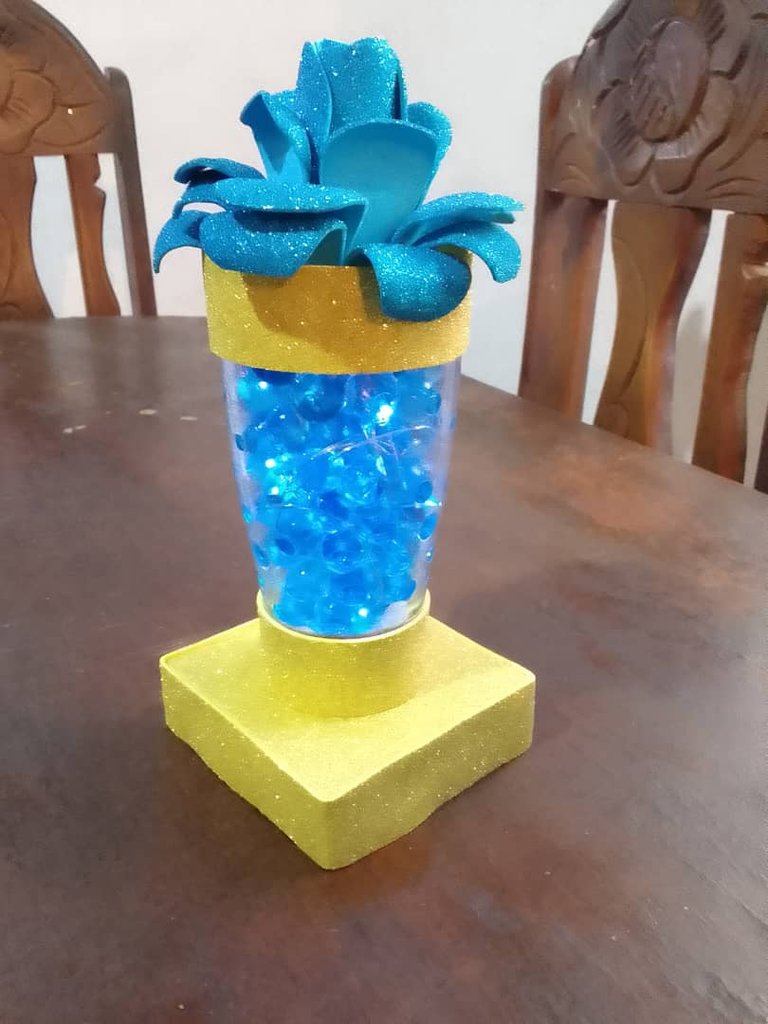



Imágenes tomadas desde mi POCO X3. || Images taken from my POCO X3.
Separadores hechos en Canva. || Dividers made in Canva.
Ediciones hechas en Canva. || Editions made in Canva.
Vídeos convertidos en gif || Videos converted to gif IMG2GO
Translator Deepl.
From Venezuela, our witness drives decentralization and the adoption of Web3 technology, creating opportunities for the local community and contributing to the global ecosystem. // Desde Venezuela, nuestro testigo impulsa la descentralización y la adopción de la tecnología Web3, generando oportunidades para la comunidad local y contribuyendo al ecosistema global.
Sigue, contacta y se parte del testigo en: // Follow, contact and be part of the witness in:
Gracias por el apoyo.
Thank you for using Canva, come join the Canva Lovers Community @hive-168915
!HUG
Oh si, pasaré por la comunidad.
Hermoso lo que has creado, me encanta esta manualidad para decorar mis espacios, Dios bendiga tus manos.
Amén amiga, que hermosas palabras, bendiciones para ti.
Saludos @jennyzer bendiciones hermoso el centro de mesa, como todo lo que haces hermoso..Un abrazo
Muchísimas gracias por el comentario.
Que hermosura, y tu paso a paso genial... Y sobre todo económico los materiales y se logra una bella manualidad.. Hermoso
Con dedicación y creatividad se pueden lograr hermosas manualidades, gracias por comentar.
demasiado bello, incluso para mi habitacion.
Si, y además puedes alumbrarlos con otros colores, gracias por comentar.
Gracias por el apoyo.