Canasta para San Valentín. || Basket for Valentine's Day.
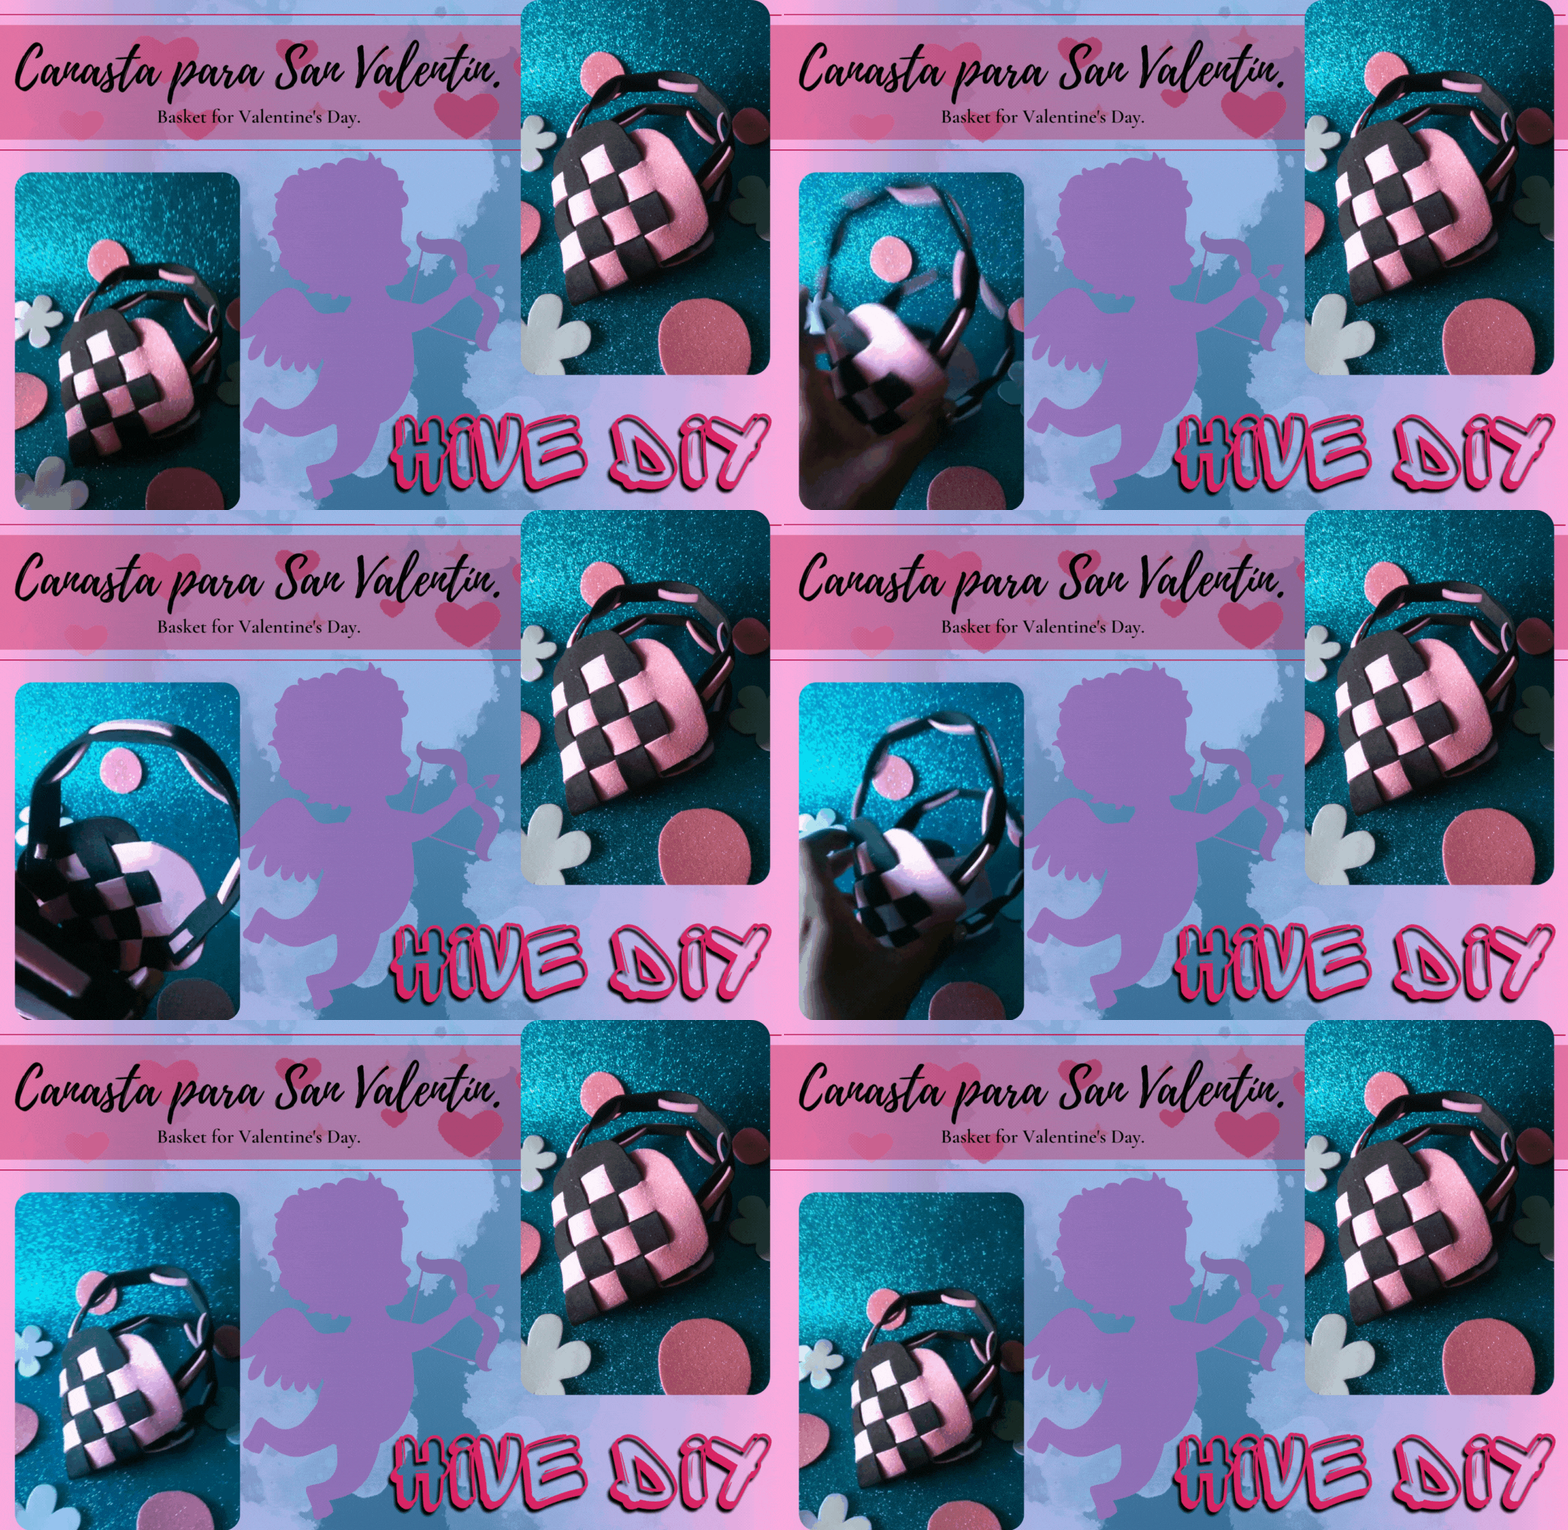
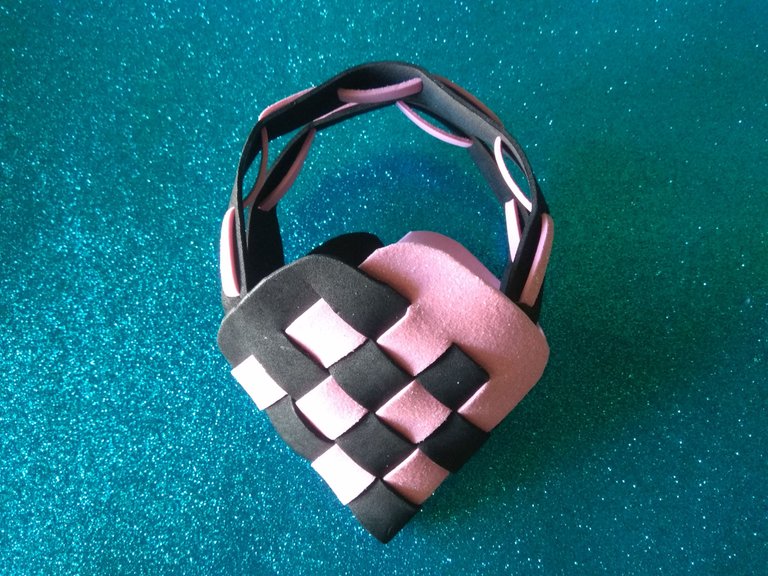
¿Qué creen? ya iniciaron las manualidades con tema San Valentín en mi blog, feliz inicio de semana querida comunidad creativa, como leen hoy les compartiré un tutorial en pocos pasos para hacer una canasta en forma de corazón, esta manualidad les permitirá ir calentando motores para esta celebración, no me tomó más de 30 minutos crear esta simple canasta que como ven tienen un acabado impecable, lo mejor de todo es que no necesitas mucho para hacerla.
What do you think? Valentine's Day themed crafts have already started on my blog, happy start of the week dear creative community, as you read today I will share with you a tutorial in a few steps to make a heart-shaped basket, this craft will allow you to warm up for this celebration, it took me no more than 30 minutes to create this simple basket that as you can see has an impeccable finish, best of all is that you do not need much to make it.
Les recomiendo usar esta canasta para llenar de dulces y obsequiar, aunque también sería un lindo presente en una fiesta del amor y la amistad, como es fácil y económica de hacer es la opción indicada, es un placer ofrecer opciones simples para que muchos de ustedes se animen a realizarlas, recuerden que el mejor regalo será aquel hecho de corazón, mejor aún si inviertes tiempo extra en el esa persona especial seguro lo apreciará, los dejo con el procedimiento.
I recommend using this basket to fill with candy and give as a gift, although it would also be a nice present at a party of love and friendship, as it is easy and economical to make is the right choice, it is my pleasure to offer simple options for many of you are encouraged to make them, remember that the best gift will be one made from the heart, even better if you invest extra time in that special person will surely appreciate it, I leave you with the procedure.


Materiales: || Materials:
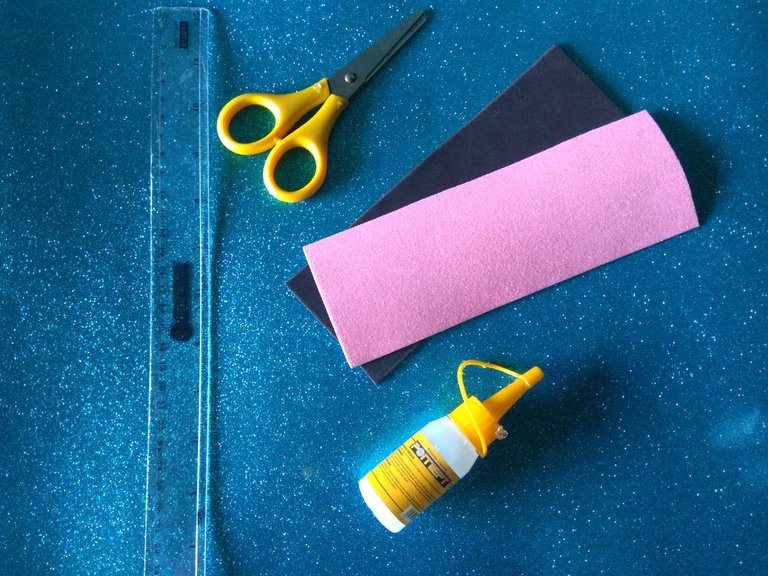
▪️ Foami color de su preferencia (usé rosado y negro), silicón líquido, tijeras, regla geométrica, lápiz.
▪️ Foami in the color of your choice (I used pink and black), liquid silicone, scissors, geometric ruler, pencil.

Paso a paso: || Step by step:
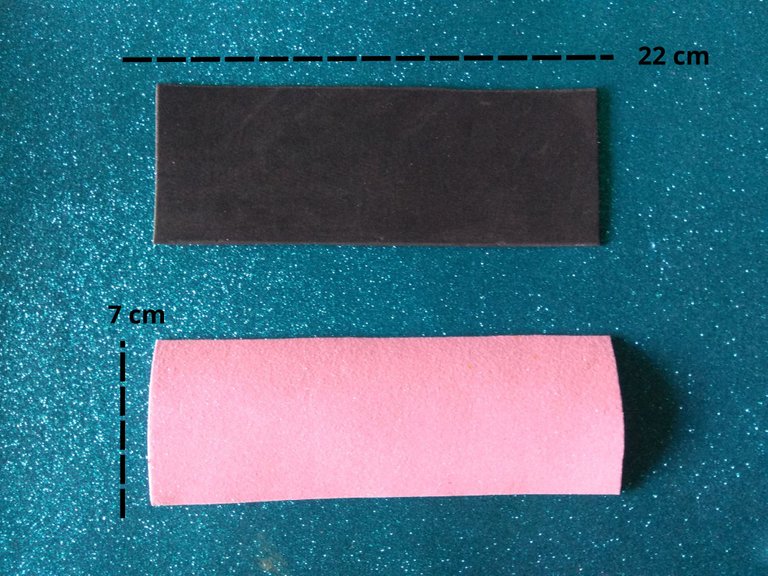
Para el primer paso recortaremos dos cintas de foami, ambas deben tener unas medidas de 22 cm x 7 cm, recuerden que los colores del foami que usen es de su elección, aunque les recomiendo combinar rojo con blanco, yo no tenía así que tuve que improvisar, luego hice unos cortes en los foamis dejando 1,5 cm de espacio, en los extremos dejé 2 cm.
For the first step we will cut two foami ribbons, both should measure 22 cm x 7 cm, remember that the colors of the foami you use is your choice, although I recommend combining red with white, I did not have so I had to improvise, then I made some cuts in the foamis leaving 1.5 cm of space, at the ends I left 2 cm.
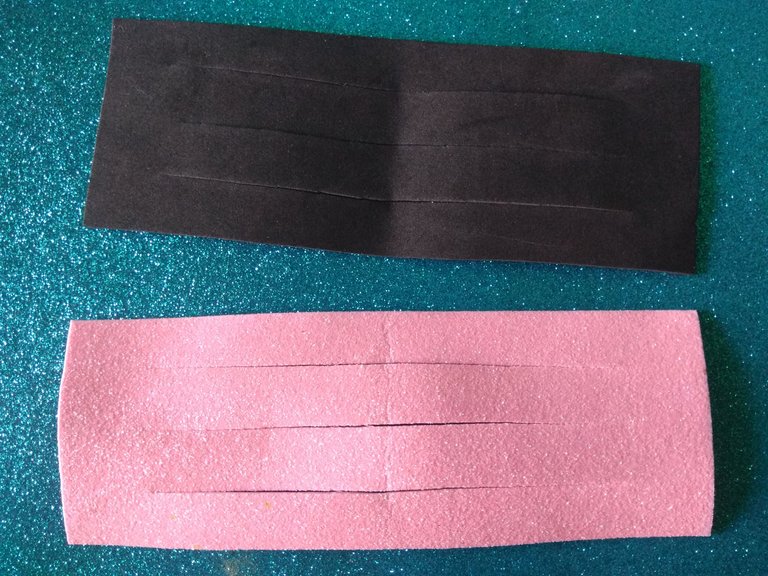
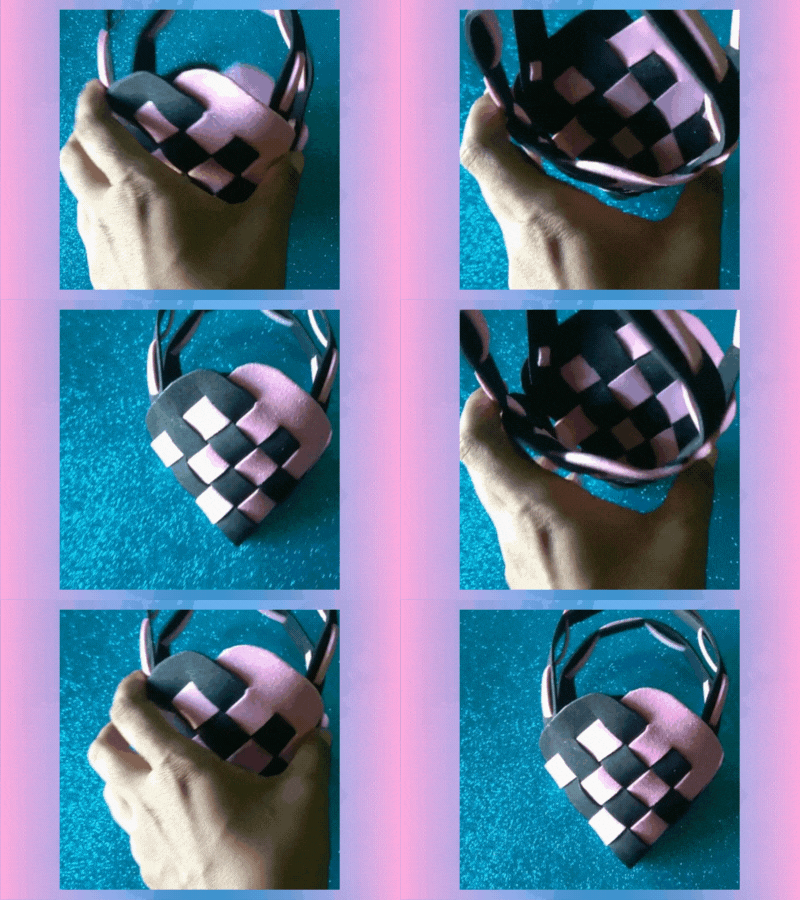
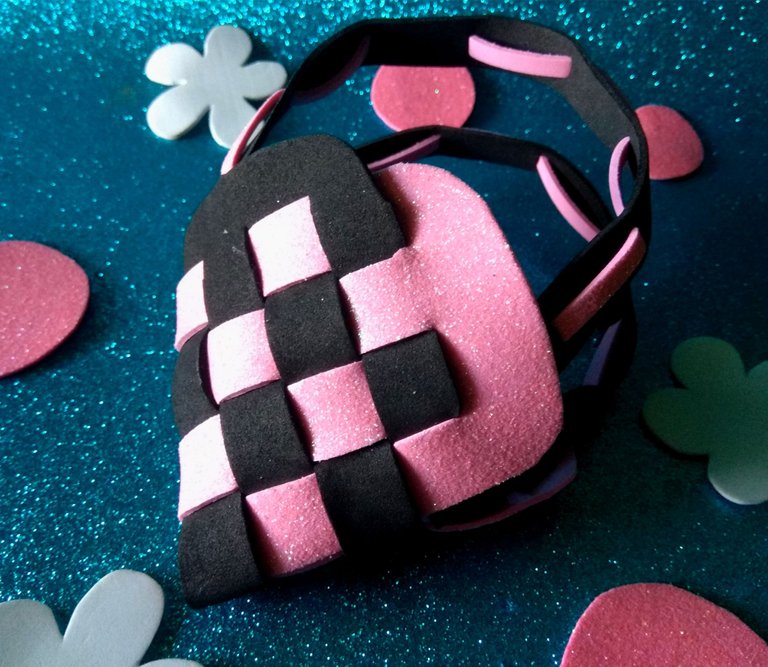
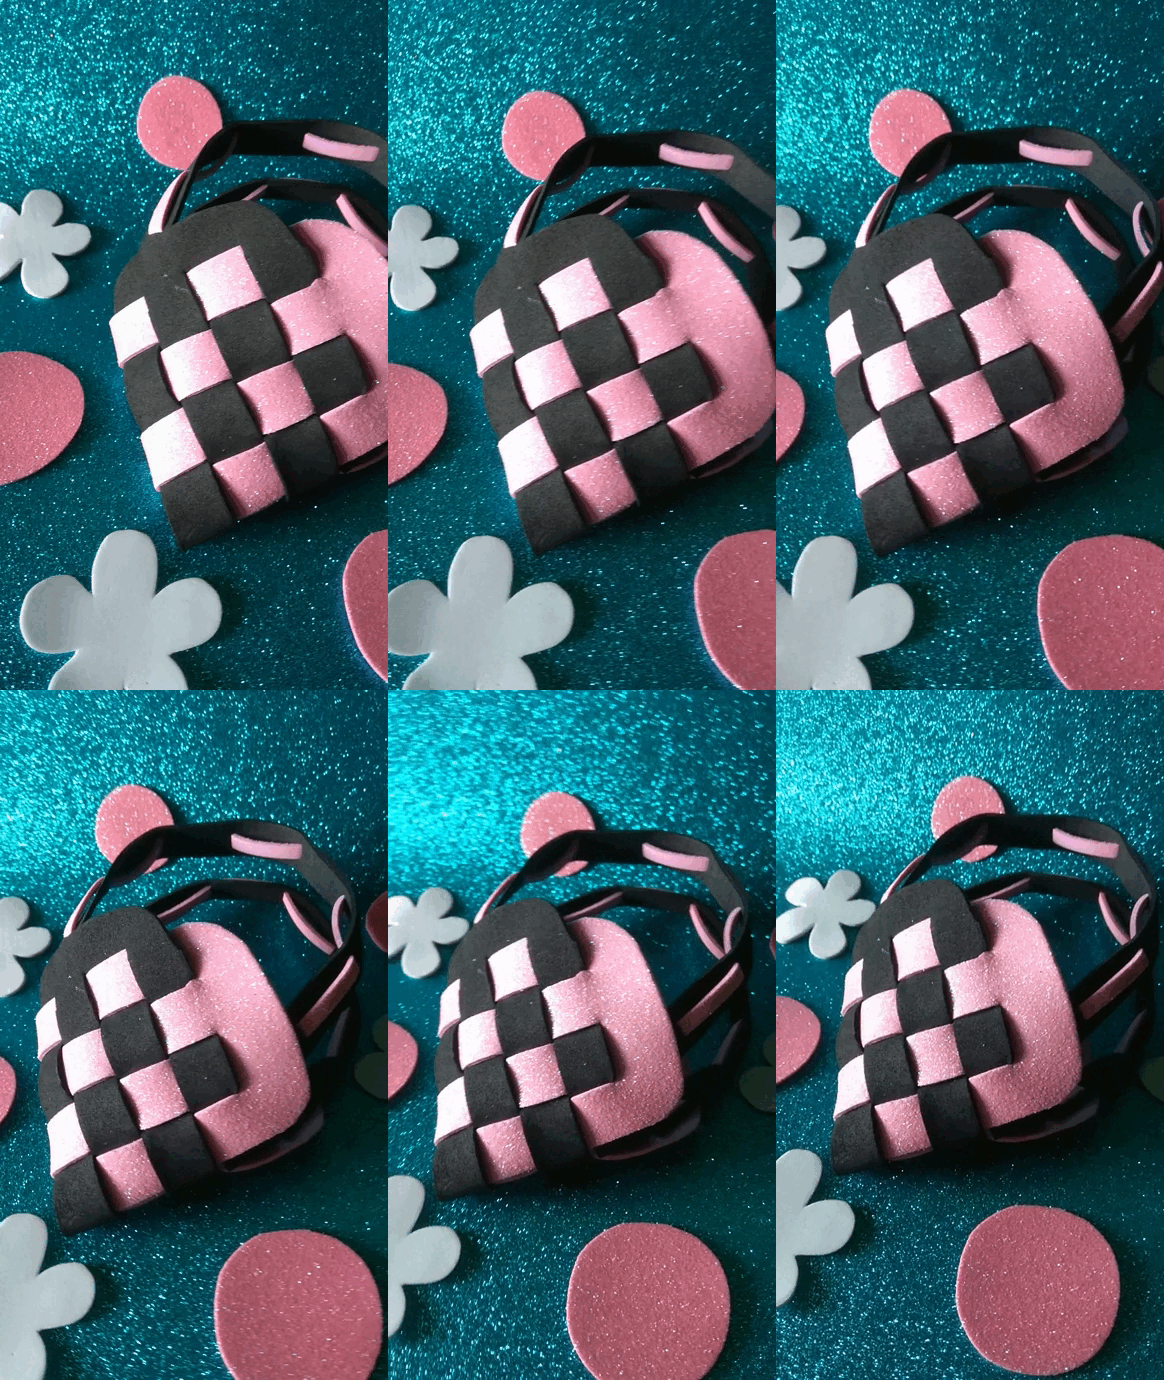
El proceso de crear la canasta es más simple de lo que parece, como ven al hacer los cortes obtenemos 4 tiras en cada pieza de foami, la idea es ir entrelazando, la primera tira rosada debe ir entre la tira negra, luego la segunda tira negra deberá ir entre la tira rosada, este proceso se va intercalando hasta lograr la forma final, deben redondear las puntas del corazón para una mayor exactitud en su forma.
The process of creating the basket is simpler than it seems, as you can see when making the cuts we get 4 strips in each piece of foami, the idea is to go intertwining, the first pink strip should go between the black strip, then the second black strip should go between the pink strip, this process is interspersed until the final shape, you must round the ends of the heart for greater accuracy in its shape.
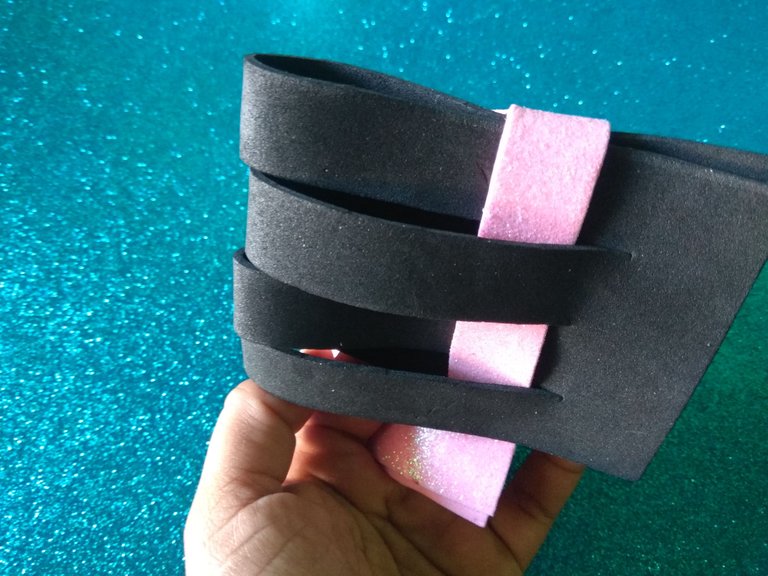
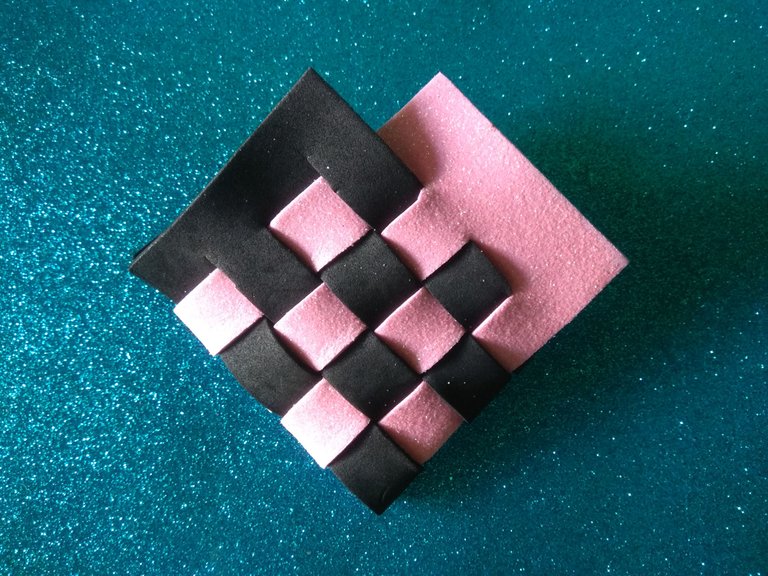
Hacer los tirantes es el otro paso, recorté dos tiras de unos 20 cm de alto, no serán muy anchas las medidas es 1,5 cm, recorté dos tiras más, pero en color rosado estás deben ser finas, para entrelazar las tiras rosadas entre las negras deben hacer pequeños cortes dejando un espacio entre ellos, luego introducirán la tira hasta llegar al final, peguen cada extremo para que no se suelte.
To make the straps is the other step, I cut two strips of about 20 cm high, they will not be very wide, the measures are 1.5 cm, I cut two more strips, but in pink color, they must be thin, to intertwine the pink strips between the black ones, make small cuts leaving a space between them, then introduce the strip until the end, glue each end so that it does not come loose.
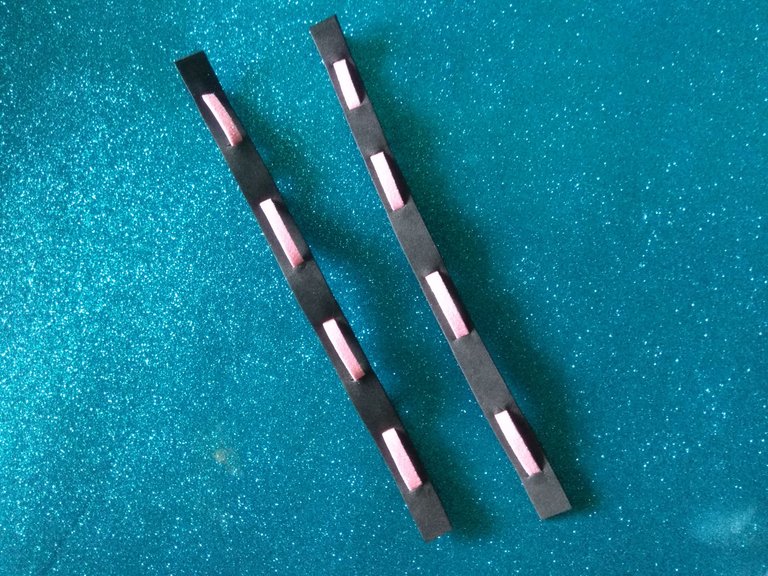
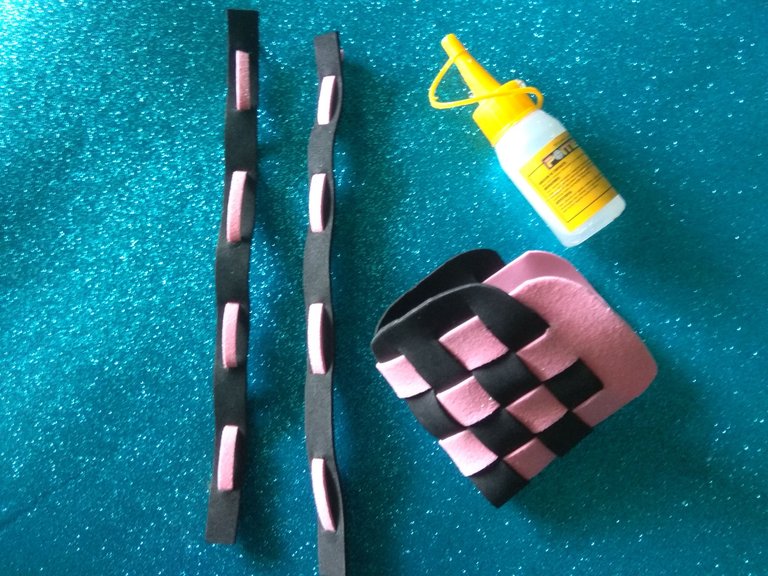
Por supuesto el último paso es pegar las tiras a la pequeña canasta con forma de corazón, pueden usar silicón líquido o caliente el que tengan a la mano, con pasos muy simples pueden hacer un lindo presente para San Valentín, un detalle que a cualquiera encantará.
Of course the last step is to glue the strips to the small heart-shaped basket, you can use liquid or hot silicone, with very simple steps you can make a nice present for Valentine's Day, a detail that anyone will love.




Vayamos alistando los preparativos para San Valentín, esa persona especial merece lo mejor, desde ya pon en práctica esas habilidades creativas, créeme un detalle hecho por ti le encantará, puedes considerar este tutorial que es fácil y requiere de pocos materiales, quiero saber en los comentarios que opinas de este tutorial, gracias por llegar hasta aquí.
Let's get ready for Valentine's Day, that special person deserves the best, put into practice those creative skills, believe me a detail made by you will love it, you can consider this tutorial that is easy and requires few materials, I want to know in the comments what you think of this tutorial, thanks for coming here.


Imágenes tomadas desde mi Xiaomi Redmi Note 4. || Images taken from my Xiaomi Redmi Note 4.
Separadores hechos en Canva. || Dividers made in Canva.
Ediciones hechas en Canva. || Editions made in Canva.
Vídeos convertidos en gif || Videos converted to gif IMG2GO
Translator Deepl.
0
0
0.000
https://twitter.com/978351312407547905/status/1620226803578339328
The rewards earned on this comment will go directly to the people sharing the post on Twitter as long as they are registered with @poshtoken. Sign up at https://hiveposh.com.
Hola @jennyzer. Te quedó muy linda la canasta. Un paso a paso muy bien explicado. ¡Saludos!
Gracias por tu comentario.
Pocos materiales y una forma práctica para obsequiar!
Gracias por compartir amiga✨
Practico y muy fácil de hacer como me gustan los tutoriales ajaja, gracias por comentar.
This is awesome..so I can form a basket this way! Excellent and wonderful. I gonna give it a try. Permit me to notify you when done. Also permit me to reblogg this post. February 14 is loading. With this, someone gonna receive some gifts. Hehe
Thanks for your comment, and I'd love to hear that you managed to make this cute basket.
Wow, I will.
me encanta tu idea, es ideal para cualquier detalllito. :)
Un detallito para una persona especial, en eso pensé al hacer esta manualidad, gracias por comentar.