Aretes de fruta 3D. || 3D fruit earrings.
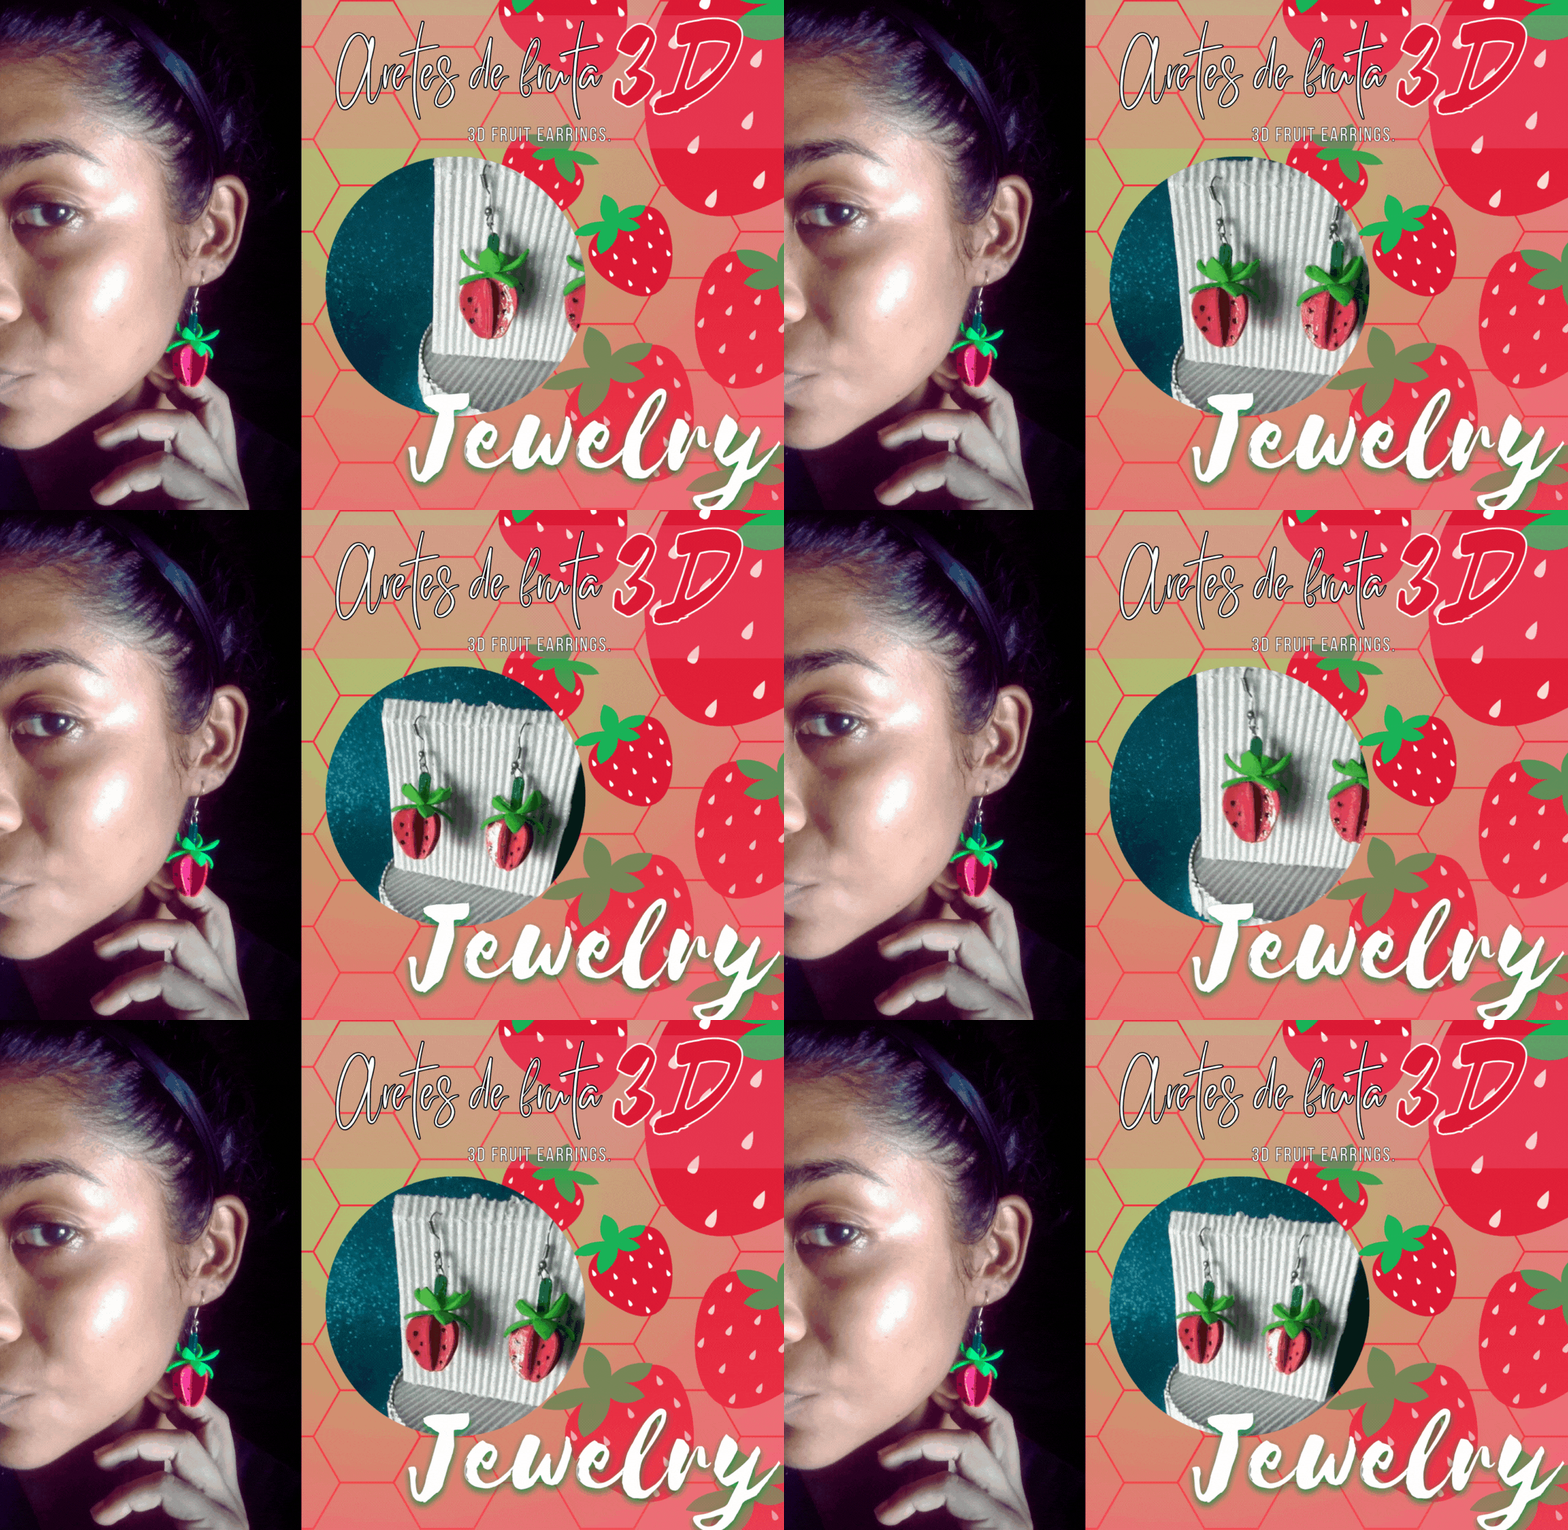
Cuanto tiempo sin compartir un accesorio fácil y hermoso en esta comunidad, estoy de regreso con un tutorial que lleva mi sello, sin complicaciones, como en la mayoría de mis manualidades la estrella es el foami, la versatilidad de este material me fascina hace que mi mente vuele y piense en mil opciones creativas, hoy es día de aretes frutales, la fruta es la fresa en un tamaño pequeño y con un toque de brillo, el acabado 3D lo logré pegando capas de foami sobre una base con forma de fresa, pero esto lo verán mejor en los pasos.
Long time no share an easy and beautiful accessory in this community, I'm back with a tutorial that bears my stamp, without complications, as in most of my crafts the star is the foami, the versatility of this material fascinates me makes my mind fly and think of a thousand creative options, today is fruit earrings day, the fruit is the strawberry in a small size and with a touch of glitter, the 3D finish was achieved by gluing layers of foami on a strawberry shaped base, but this will see it better in the steps.
Las frutas que pueden hacer son muchas, las que más les gusten al saber la técnica para lograr el efecto 3D, podrán crear una infinidad de formas, si miran bien los aretes esta fruta en miniatura tiene un toque tierno, pueden hacerlas más pequeñas y se verán mejor, disfruten del tutorial.
The fruits that you can make are many, the ones you like the most by knowing the technique to achieve the 3D effect, you can create an infinite number of shapes, if you look closely at the earrings this miniature fruit has a tender touch, you can make them smaller and they will look better, enjoy the tutorial.


Materiales: || Materials:
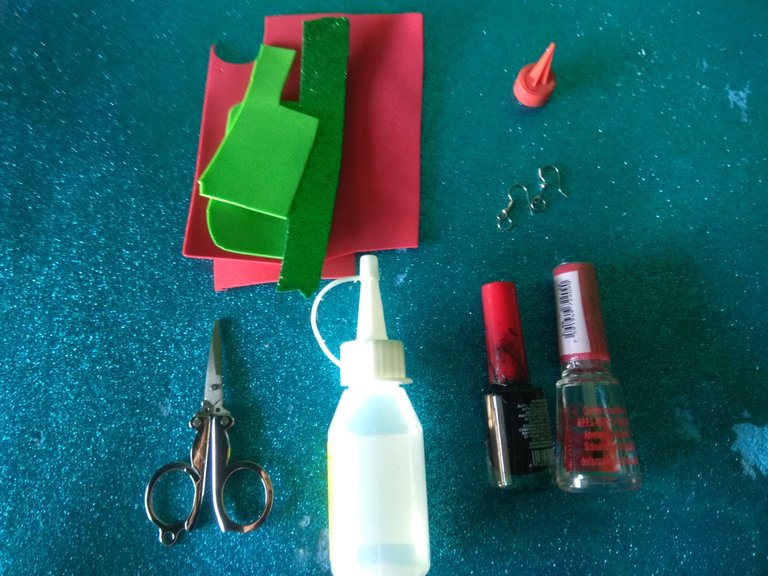
▪️ Foami rojo y verde, par de anzuelos, tijeras, silicón líquido, lápiz, hoja de papel, pintura en esmalte negra, brillo en esmalte, objeto con punta afilada.
▪️ Red and green foami, pair of hooks, scissors, liquid silicone, pencil, sheet of paper, black enamel paint, enamel glitter, object with sharp point.


Paso a paso: || Step by step:
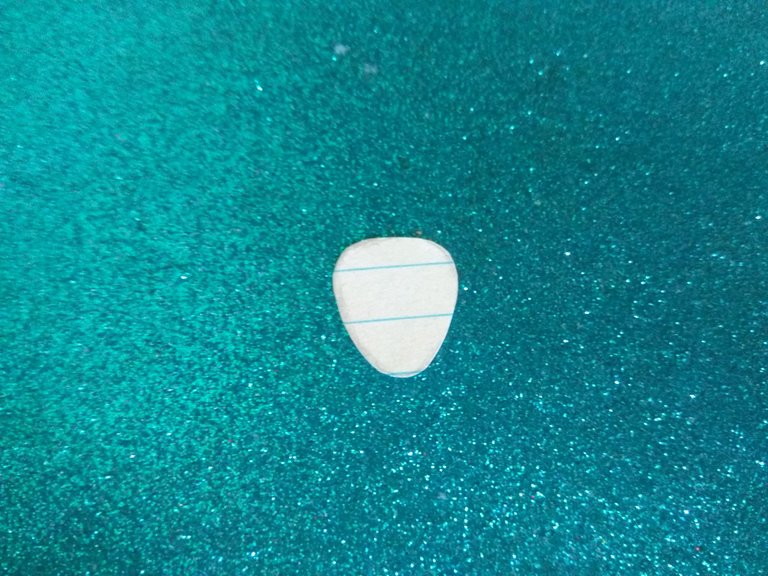
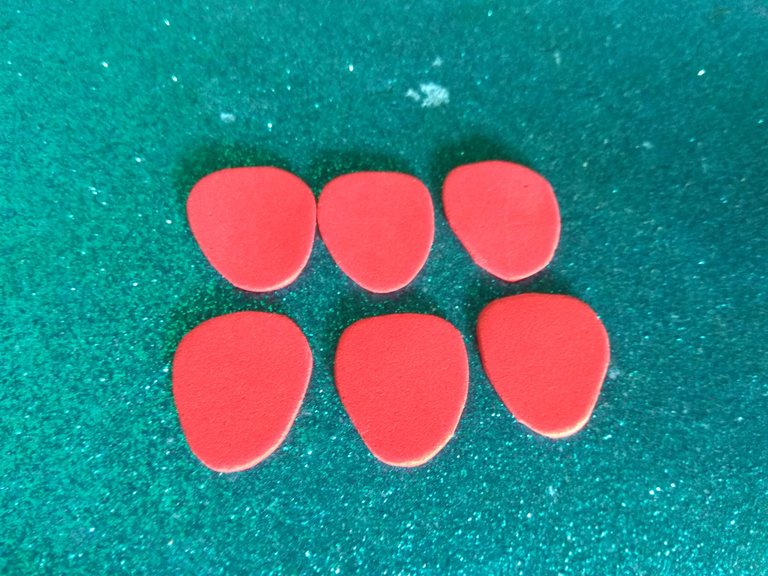
Hice un patrón con la forma de una fresa, usé como referencia de tamaño un rectángulo de 2 cm del tracé el patrón, lo recorté y remarqué sobre el foami rojo unas 6 veces, 3 piezas por arete.
I made a pattern in the shape of a strawberry, I used as a size reference a 2 cm rectangle from which I traced the pattern, cut it out and traced it on the red foami about 6 times, 3 pieces per earring.
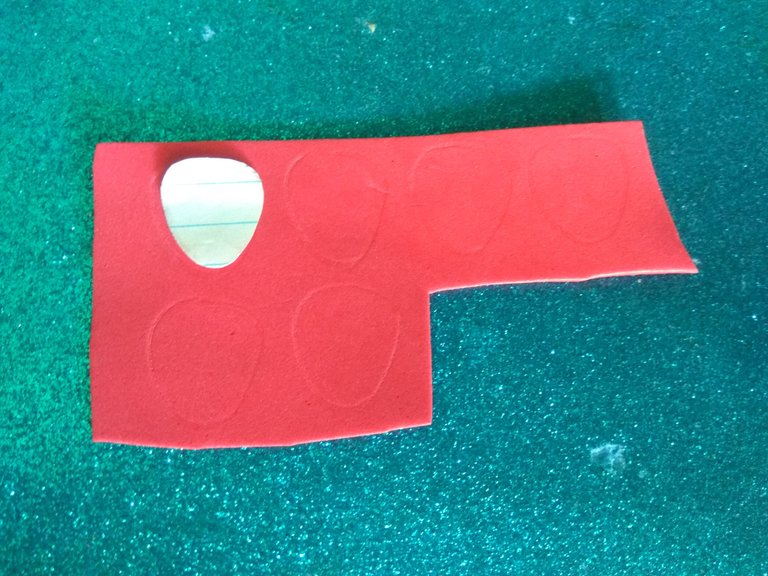
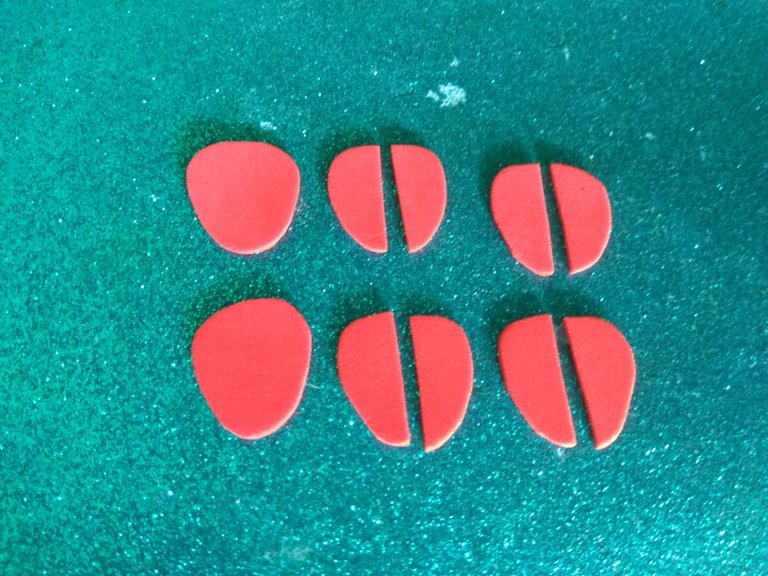
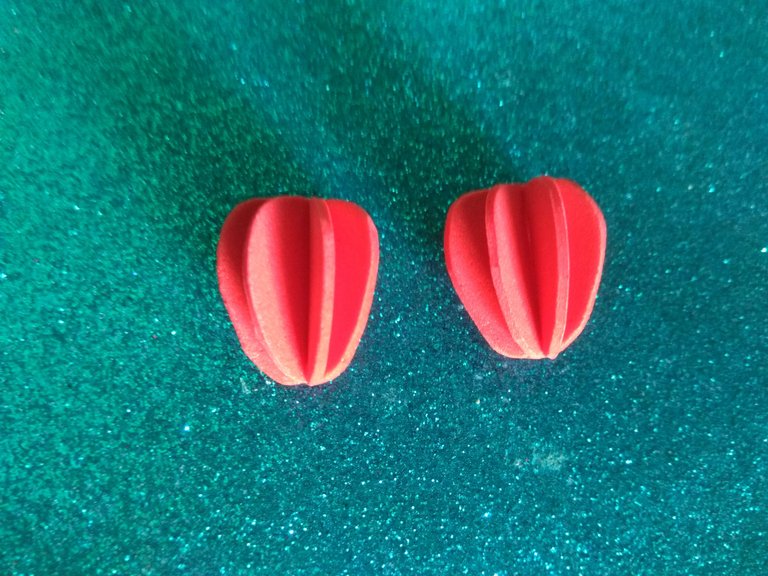
Recorté todas las piezas, ahora deben dejar 2 piezas como base y las demás dividirlas como se muestra en la imagen.
I cut out all the pieces, now you should leave 2 pieces as a base and divide the rest as shown in the image.
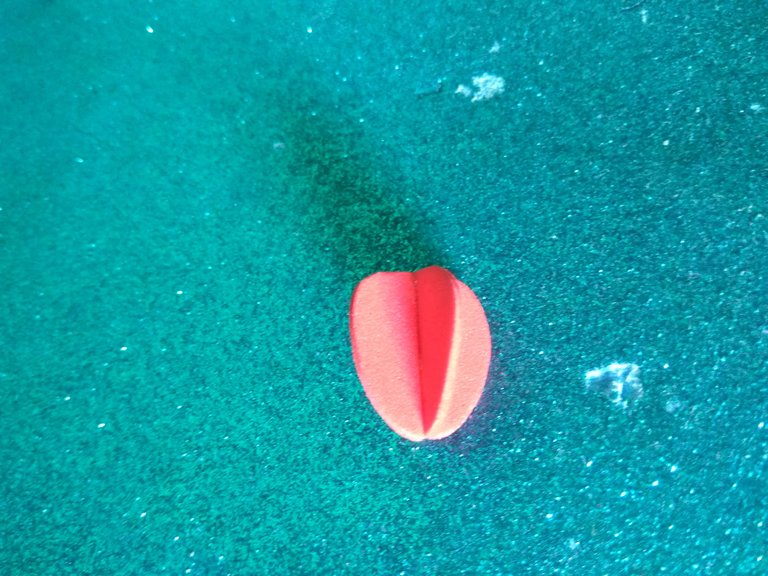
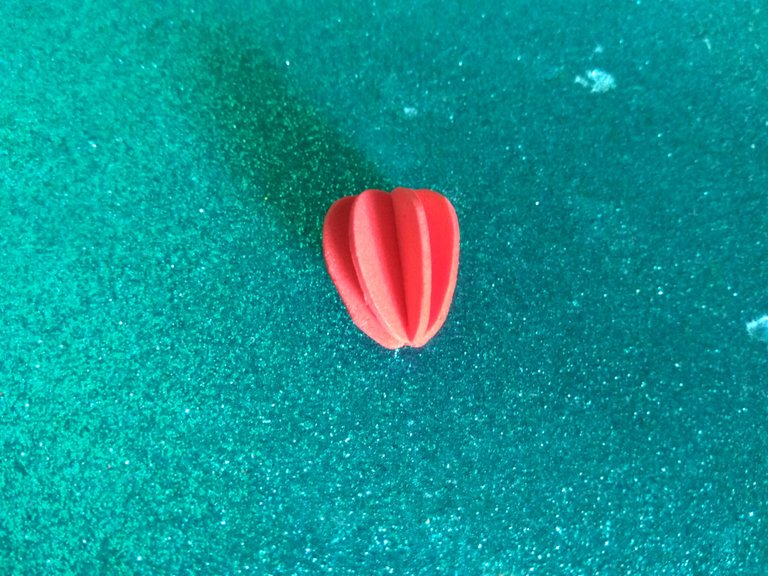
Sobre la base de pegaremos una de las mitades situándola en el centro, pegaremos otra forma una cruz, al secar pegaremos las mitades restantes.
On the base we will glue one of the halves, placing it in the center, we will glue another one in the form of a cross, when dry we will glue the remaining halves.
Para las hojas usé un cuadrado de 2 cm y recorte una forma con 4 hojas asegurándome de que encajara con la fresa, las pasé por calor para lograr que las puntas de rizaran y la pieza tuviera una estructura más resistente.
For the leaves I used a 2 cm square and cut out a shape with 4 leaves, making sure that it would fit the cutter, and then I heated them to make the tips curl and give the piece a more resistant structure.
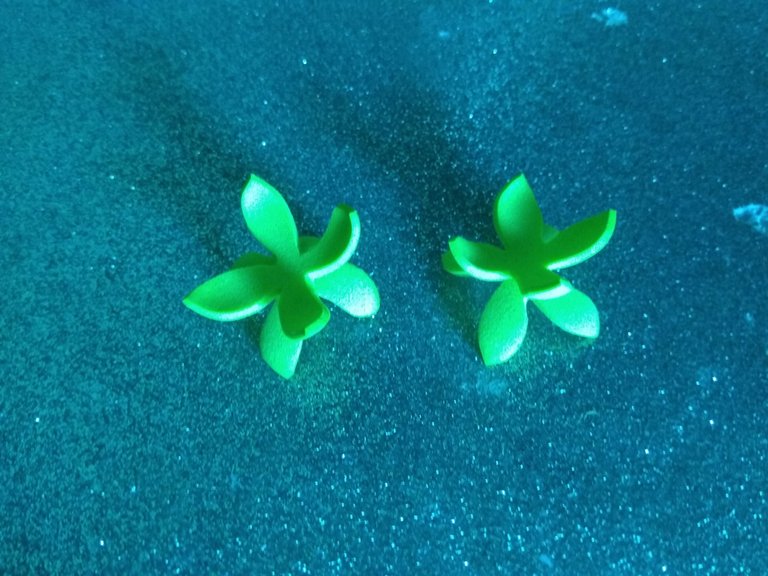
Ahora siguen los toques decorativos, pegar las hojas, pintar puntos negros, pasar una capa de brillo, y claro pegar los anzuelos usando una fina tira de foami.
Now come the decorative touches, gluing the leaves, painting black dots, applying a layer of glitter, and of course gluing the hooks using a thin strip of foami.
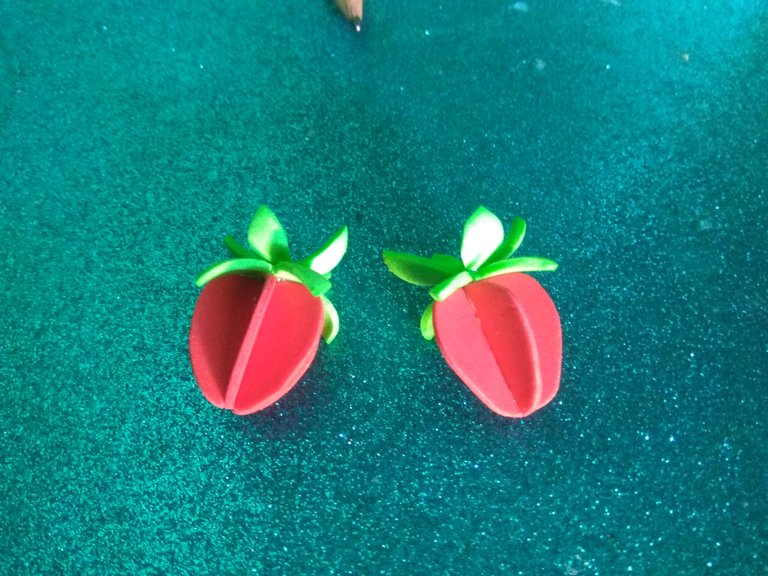
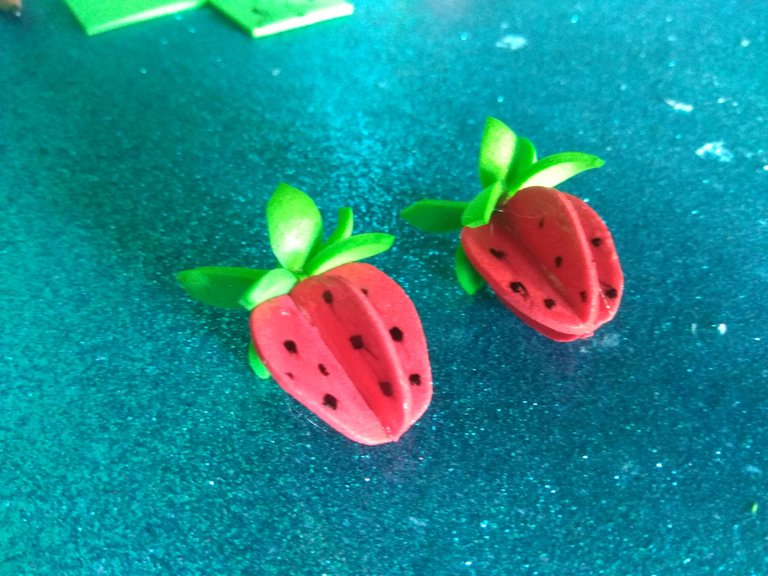


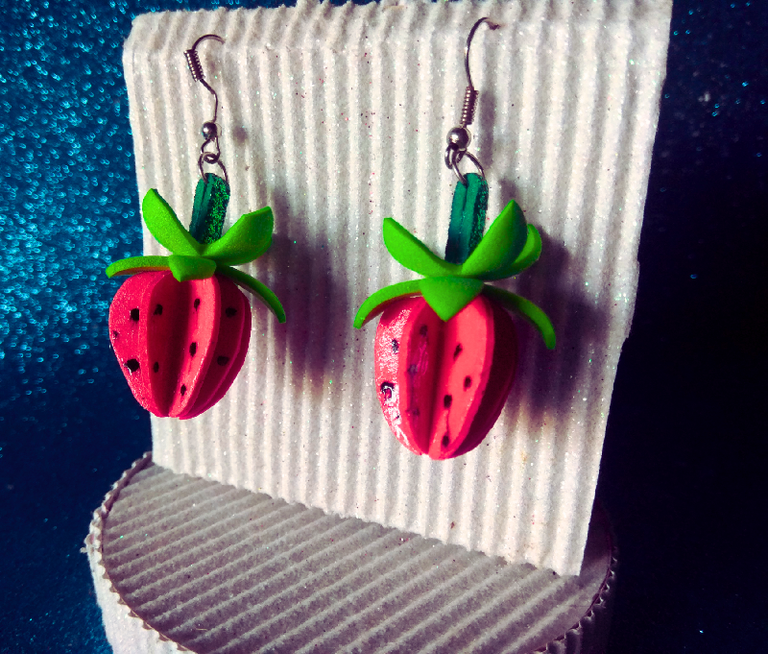

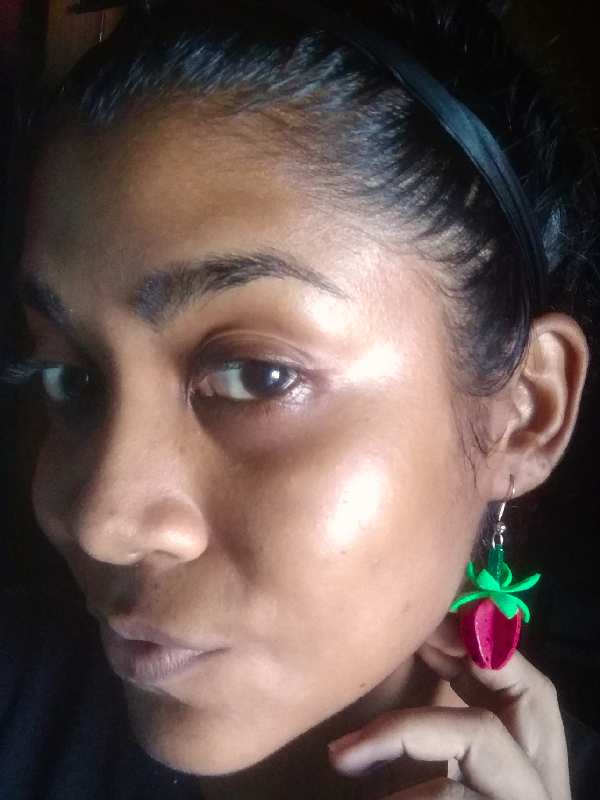


No pueden negar que las frutas en miniatura tienen su lindura, como ven son muy fáciles de hacer estos aretes, y no requiere de mucho todos materiales accesibles, has la fruta que más te guste ya conoces la técnica para lograr el efecto 3D, sigue los pasos al pie de la letra y no tendrás inconvenientes, dime en los comentarios si usarías estas chuladas, gracias por llegar hasta aquí.
You can not deny that miniature fruits have their cuteness, as you can see they are very easy to make these earrings, and does not require much all accessible materials, have the fruit that you like, you already know the technique to achieve the 3D effect, follow the steps to the letter and you will not have problems, tell me in the comments if you would use these cool things, thanks for coming here.


Imágenes tomadas desde mi Xiaomi Redmi Note 4. || Images taken from my Xiaomi Redmi Note 4.
Separadores hechos en Canva. || Dividers made in Canva.
Ediciones hechas en Canva. || Editions made in Canva.
Vídeos convertidos en gif || Videos converted to gif IMG2GO
Translator Deepl.
0
0
0.000
Hermosa tarea creativa está que presentas hoy . Saludos
Gracias por comentar.
Congratulations, your post has been upvoted by @dsc-r2cornell, which is the curating account for @R2cornell's Discord Community.
Enhorabuena, su "post" ha sido "up-voted" por @dsc-r2cornell, que es la "cuenta curating" de la Comunidad de la Discordia de @R2cornell.
Gracias por el apoyo.
Gracias por el apoyo.
Que bonitos amiga!
Gracias, gracias me alegro de que te gustara.
The use of enamel paint for adding the tiny black seeds to the strawberries is a great details that enhance the overall design. Keep up the great work.
Gracias por el apoyo.
Congratulations @jennyzer! You have completed the following achievement on the Hive blockchain And have been rewarded with New badge(s)
Your next payout target is 19000 HP.
The unit is Hive Power equivalent because post and comment rewards can be split into HP and HBD
You can view your badges on your board and compare yourself to others in the Ranking
If you no longer want to receive notifications, reply to this comment with the word
STOPCheck out our last posts:
Quedaron muy lindos esos zarcillos, a simple vista ni siquiera parece que están hechos con foami. ¡te felicito! 💗
Cierto, no me había dado cuenta de eso creo que se debe al brillo que le di con el esmalte que los endurece, gracias por comentar.
Están muy lindo mana saludos
Saludos para ti, gracias por comentar.
Hola estan muy bellos amiga.. una pregunta como haces para publicar el video?
Te refieres a los gifs, primero debes convertir los vídeos que grabes en gif yo uso una plataforma llamada img2go, gracias por comentar.