1962 VW Beetle Project --- Part 5
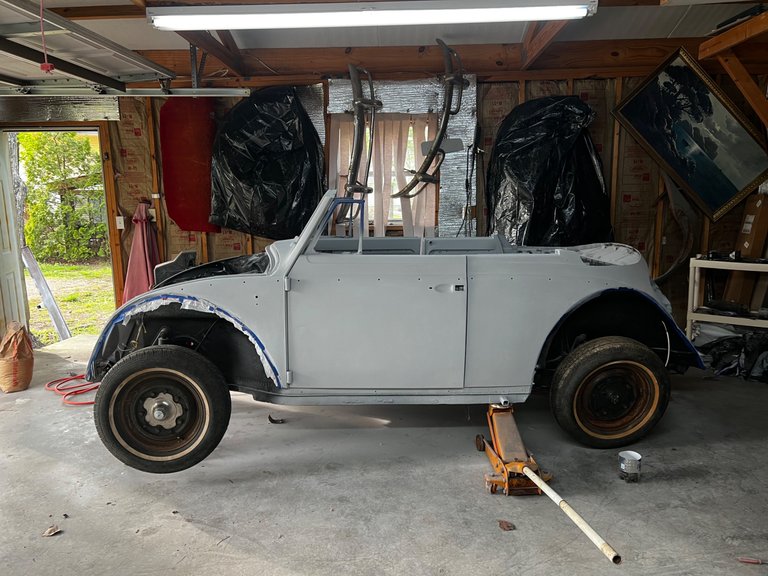
Helloo hivers, It's been a little longer than usual for this next update, guess I was waiting on a little more exciting things to come, sanding, sanding, and more sanding doesn't make for a very exciting post. But anyway, I got the wheels on and the Steering wheel put back on and she's alive!!! We took her for a little spin around the neighborhood just to see how everything works, or doesn't work. Turns out everything i've done so far is working great! SHE GOES AND STOPS!!

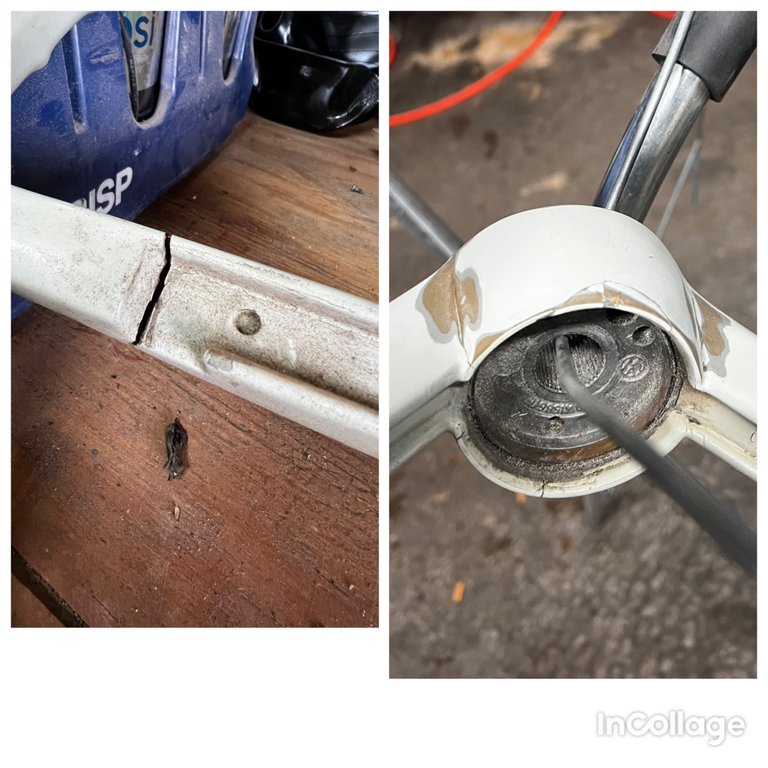
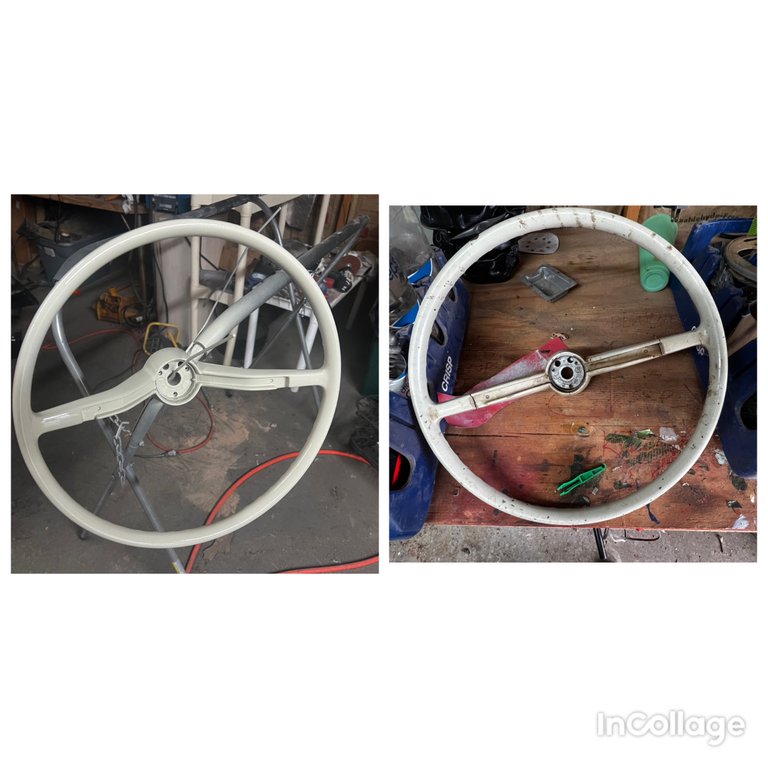
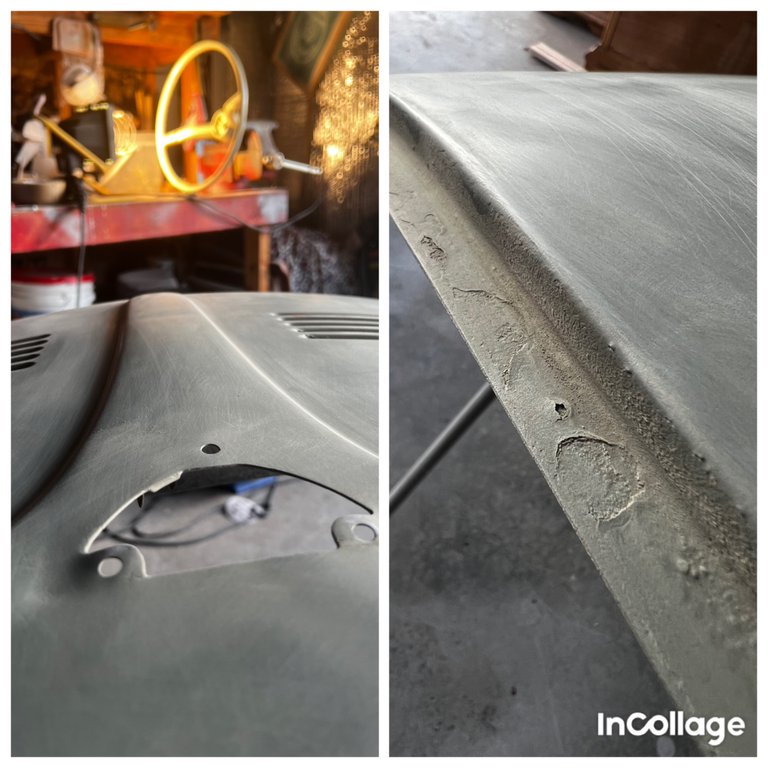
The Steering wheel has taken me quite some time to get looking decent. Filled the cracks with Steel Stick and sanded down.
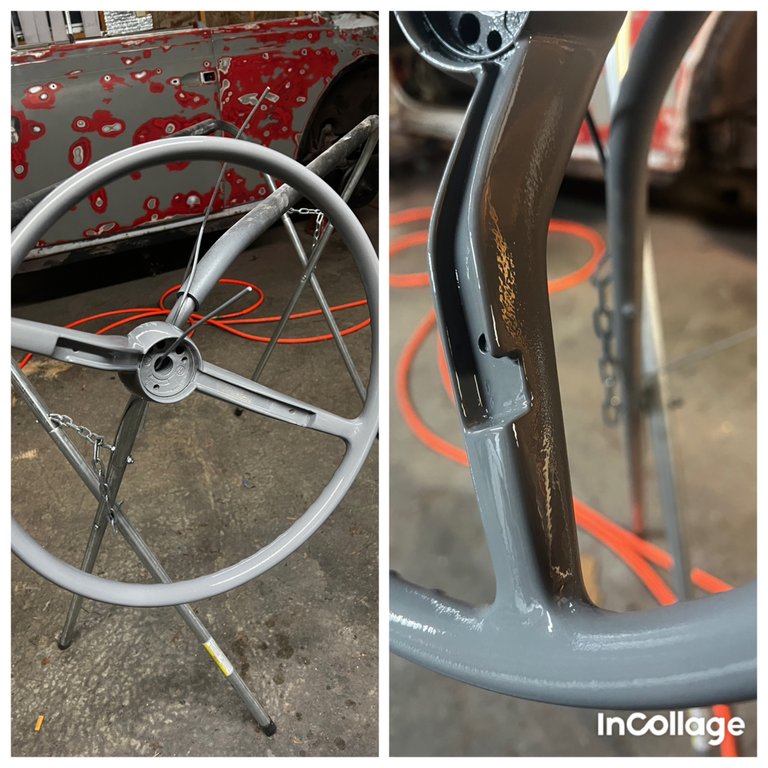
One round of primer.
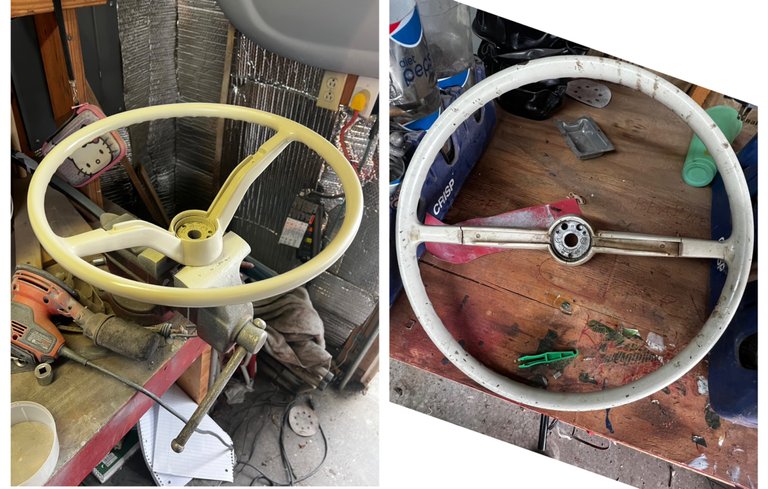
I had to redo this several times.....
Got the turn signal switch disassembled and painted.
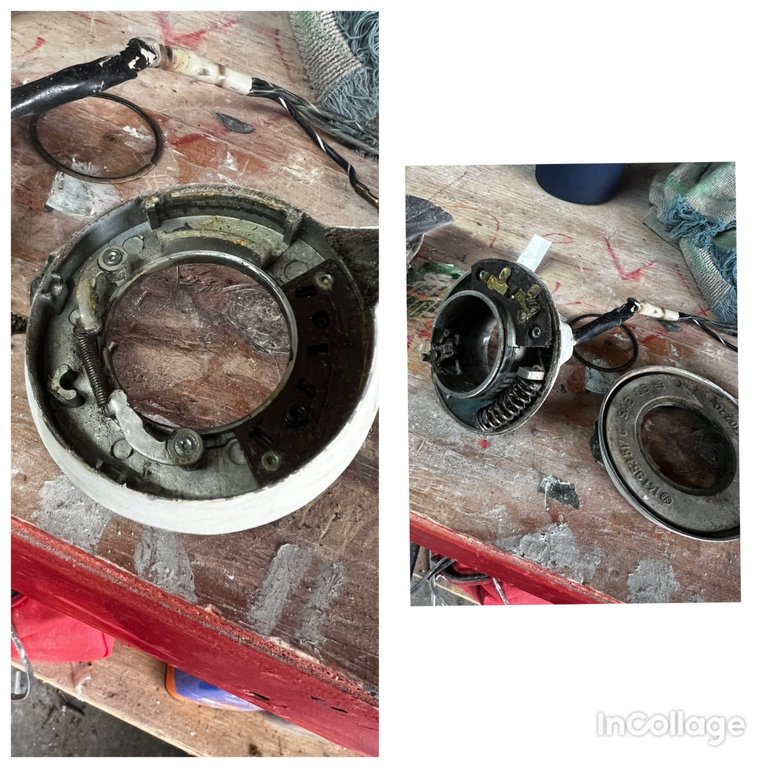
Before and after.
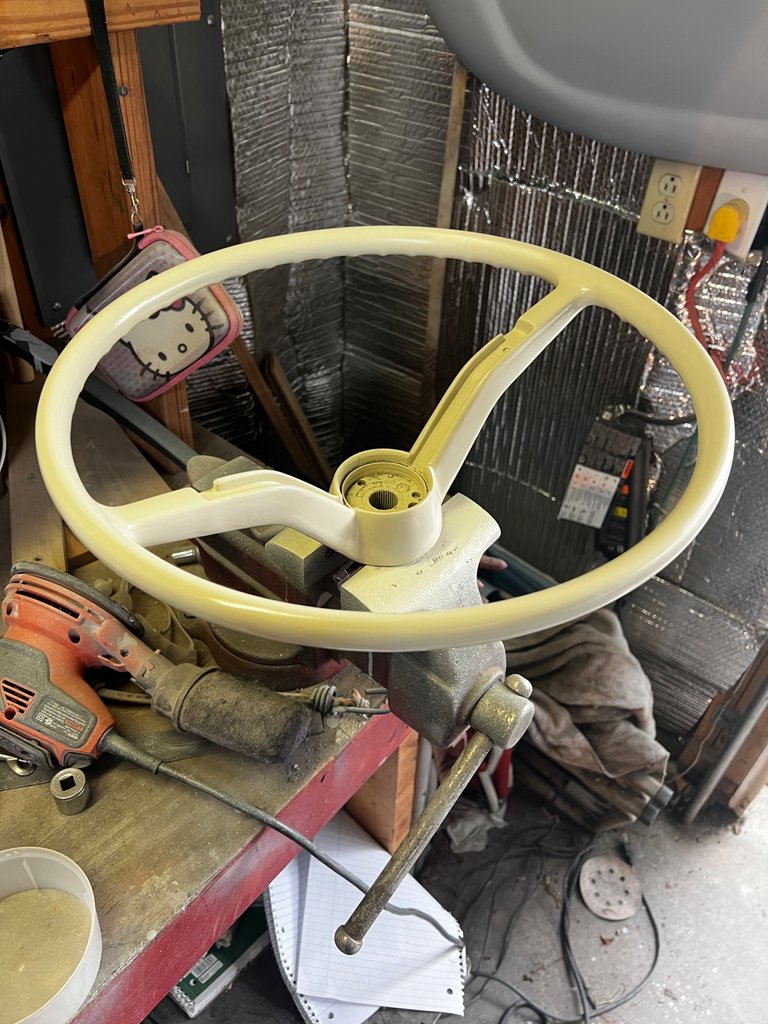
Final done wheel. I learned the hard way to wait to paint until the temperature is warm enough for paint to dry properly.
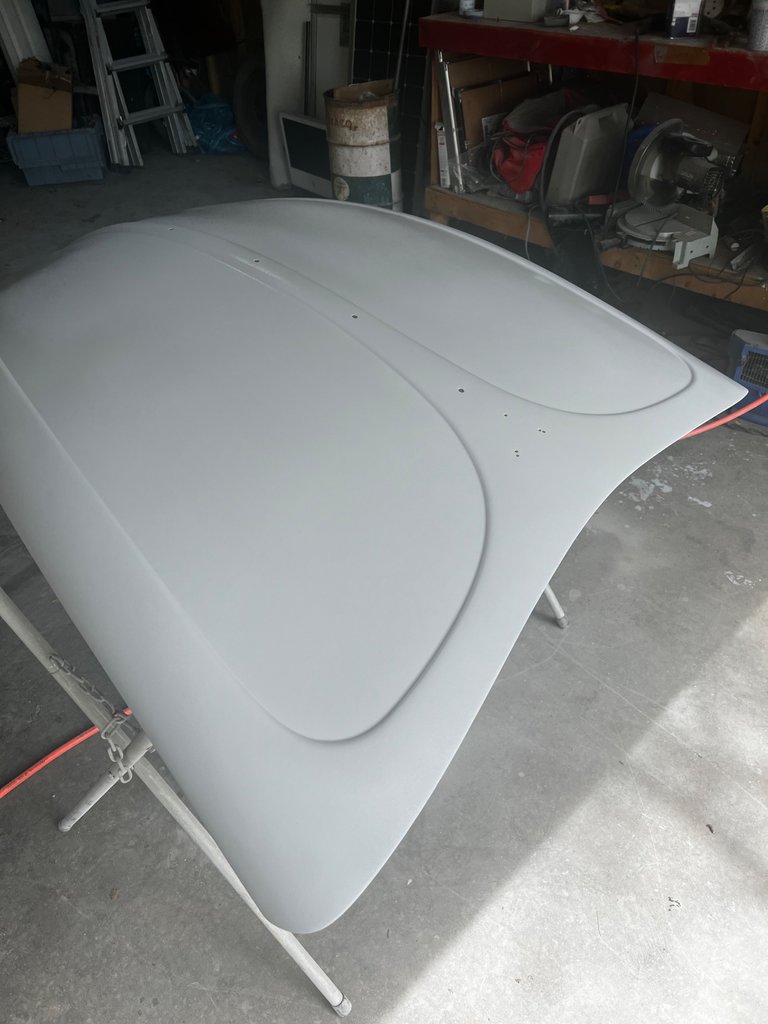
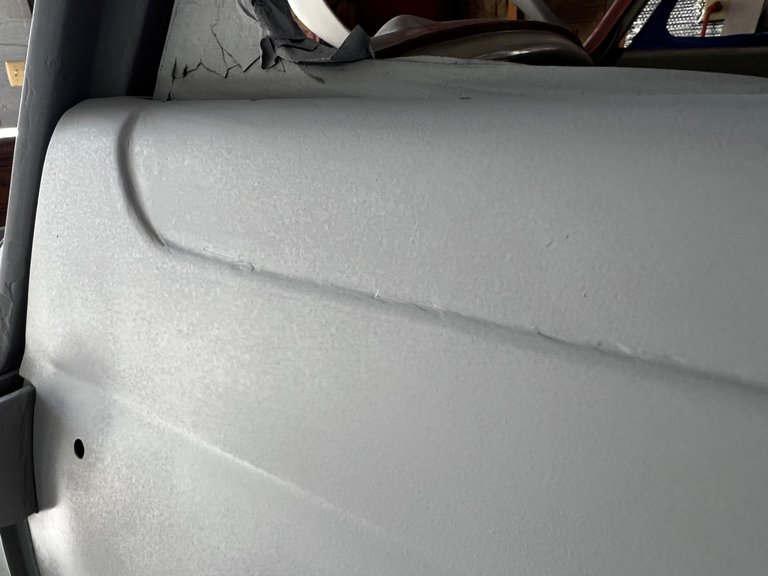
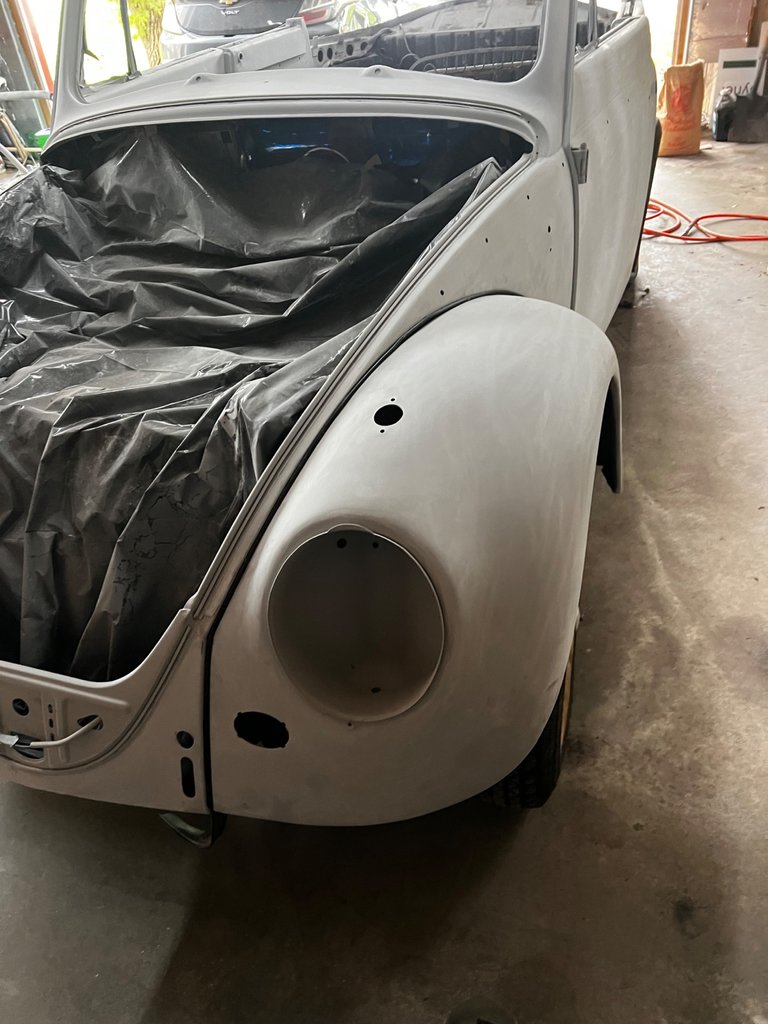
The Decklid came out nice after this round of sanding and priming.
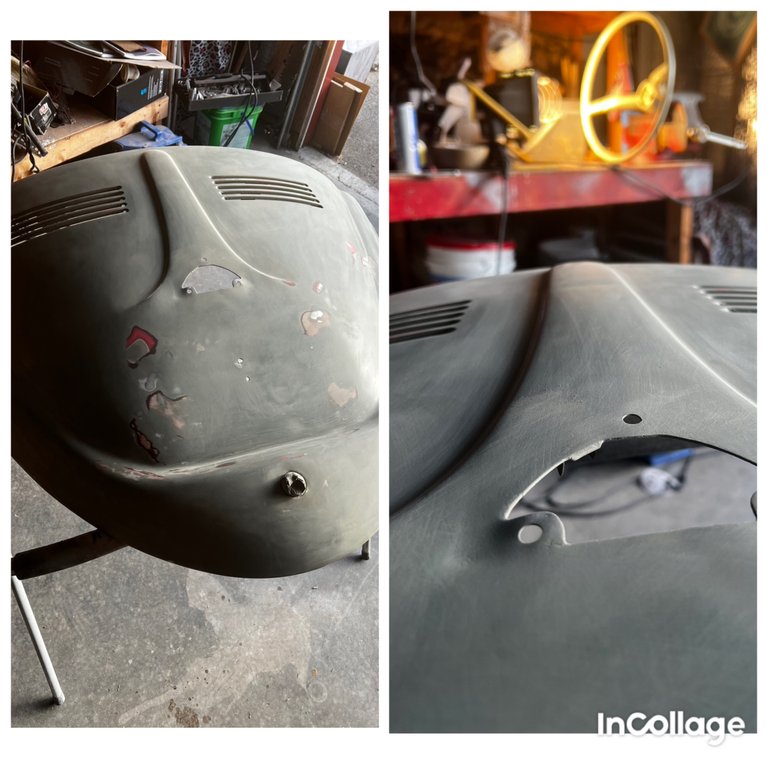
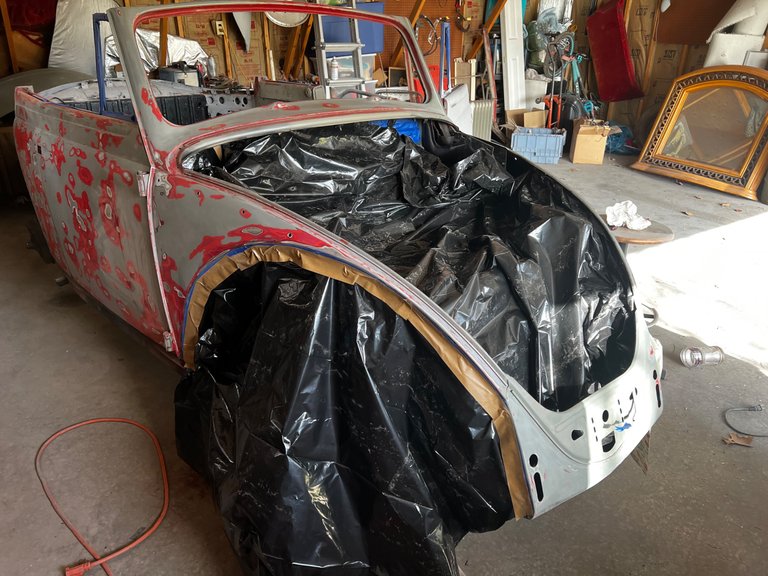
Quick round of etching primer on the bare metal spots.
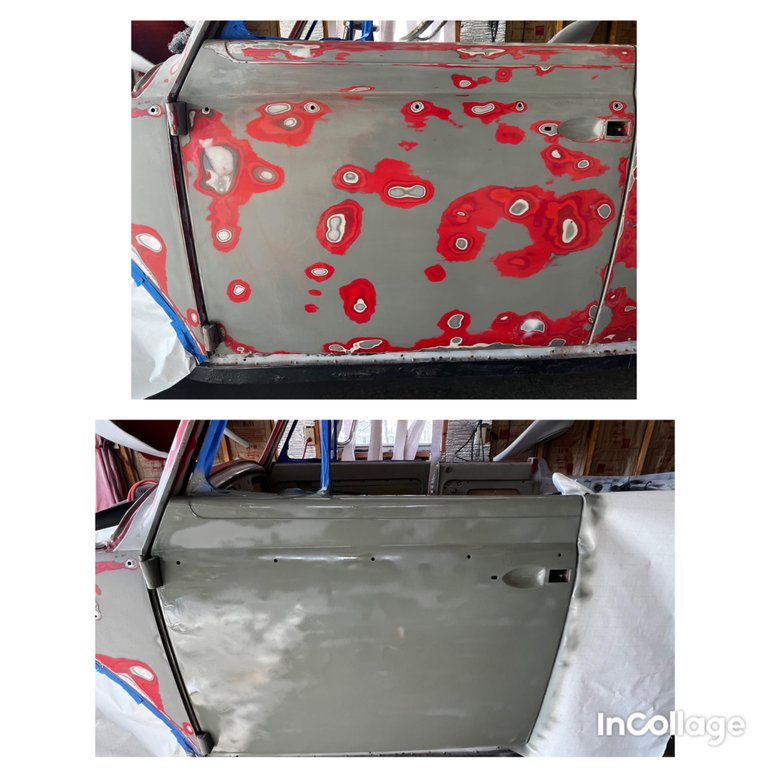
So much sanding.....
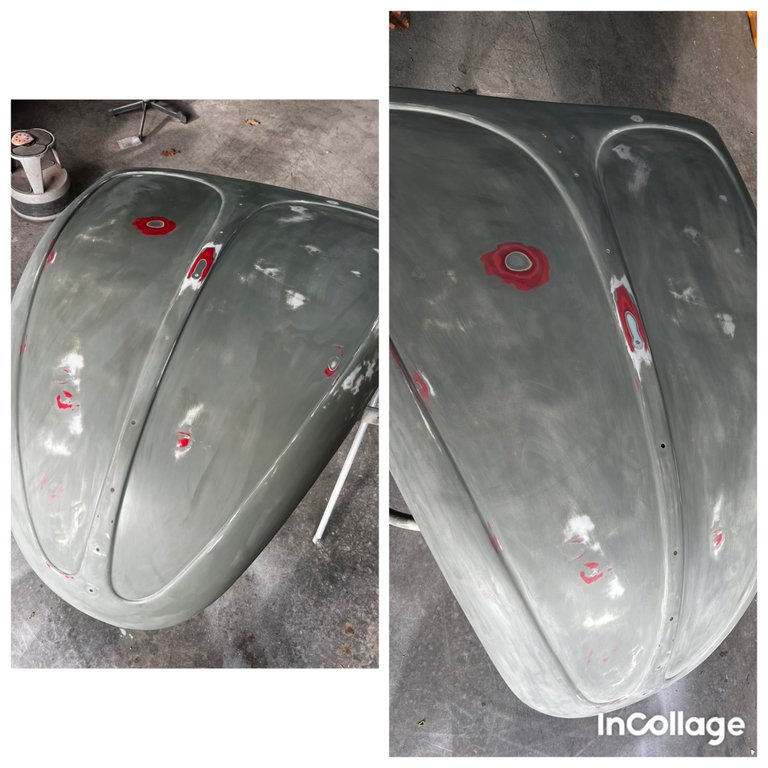
Nice primer coat.
Some of the small imperfections I'm just leaving, It's a 62 year old car, i'm not going to get it perfect.
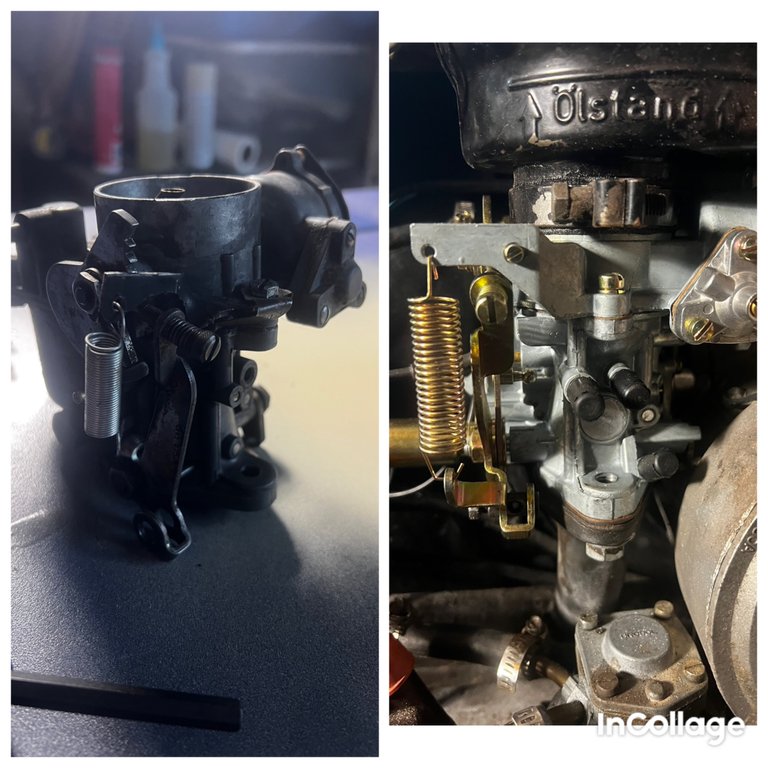
I struggled for a good month with the old carburetor but couldn't get the motor to stay running. Maybe the old 6V Choke?
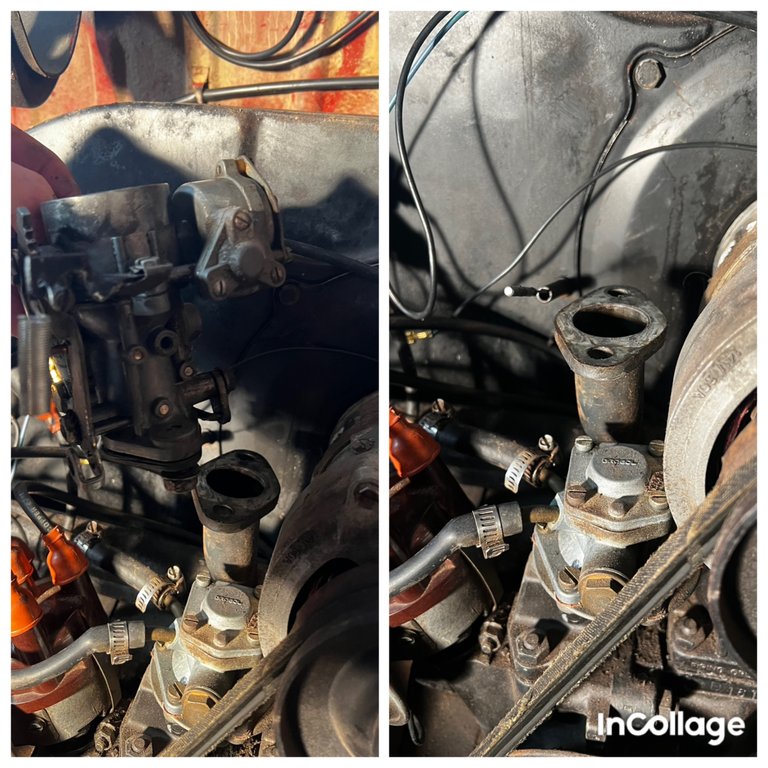
A New updated carburetor got her running like new!
New spark plugs installed!
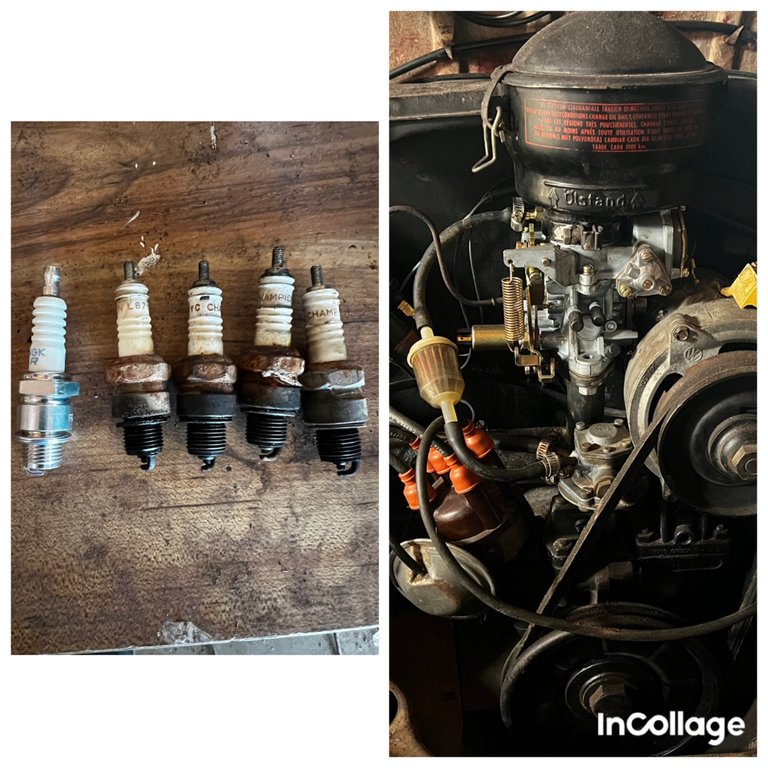
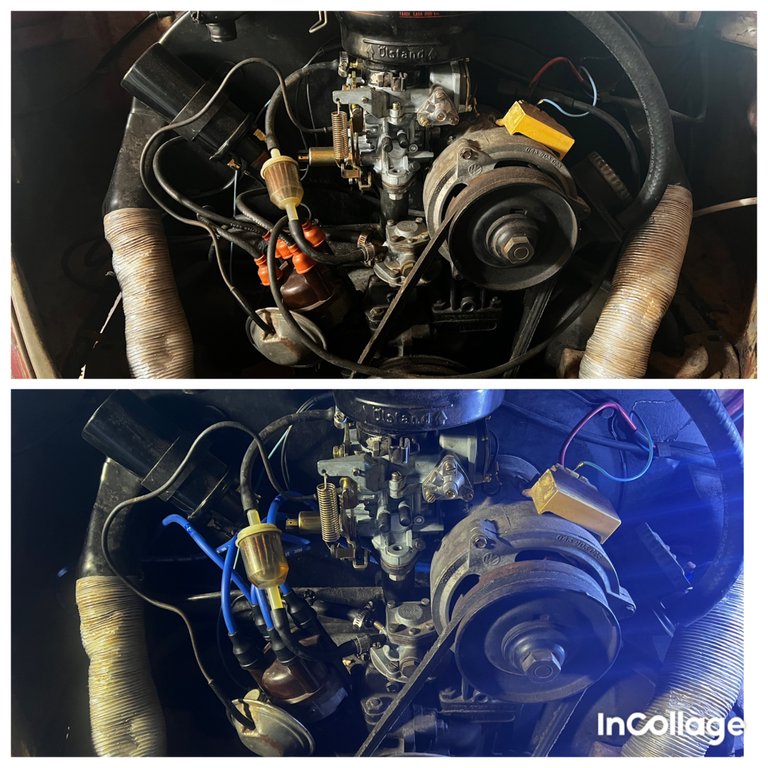
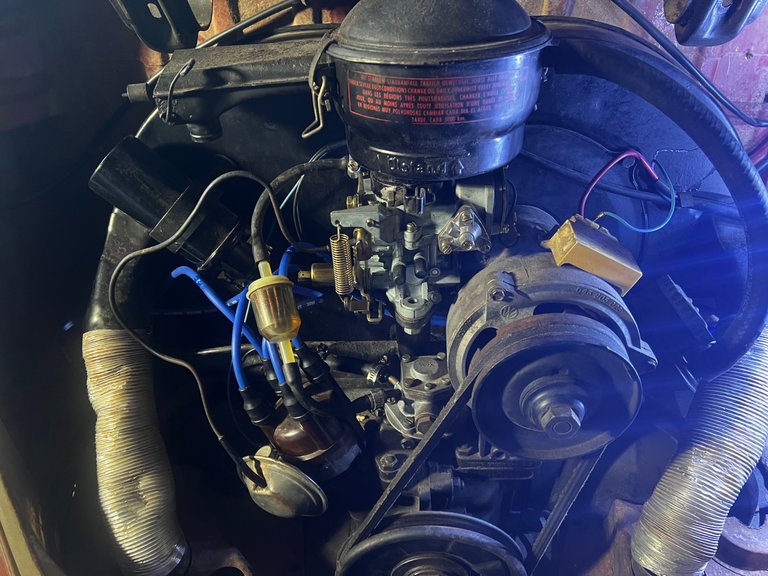
New plugs and wires and she runs great!
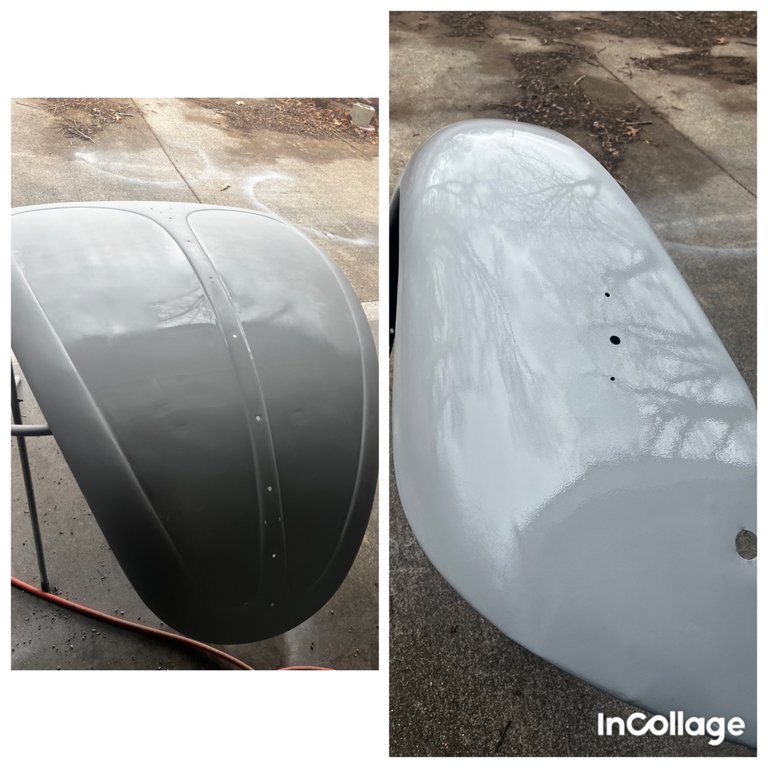
SO MUCH SANDING...
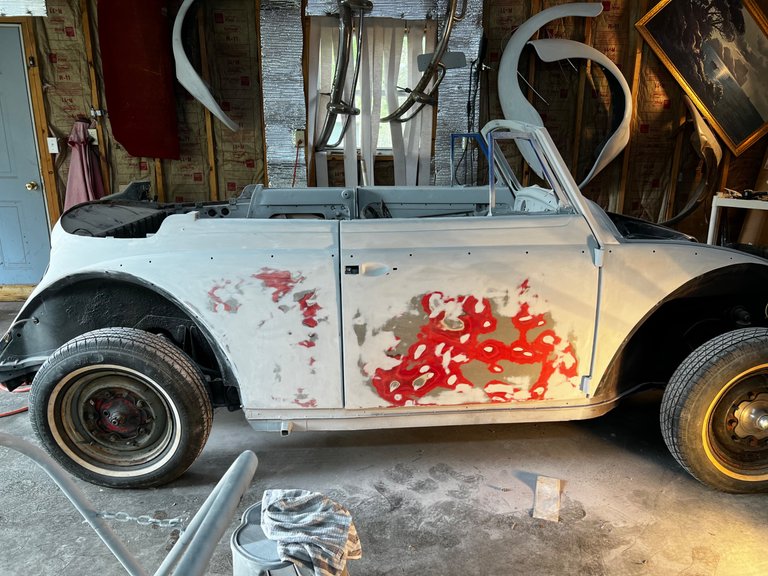
Still some spots to flatten out. Not sure i'll ever get all of this perfect....
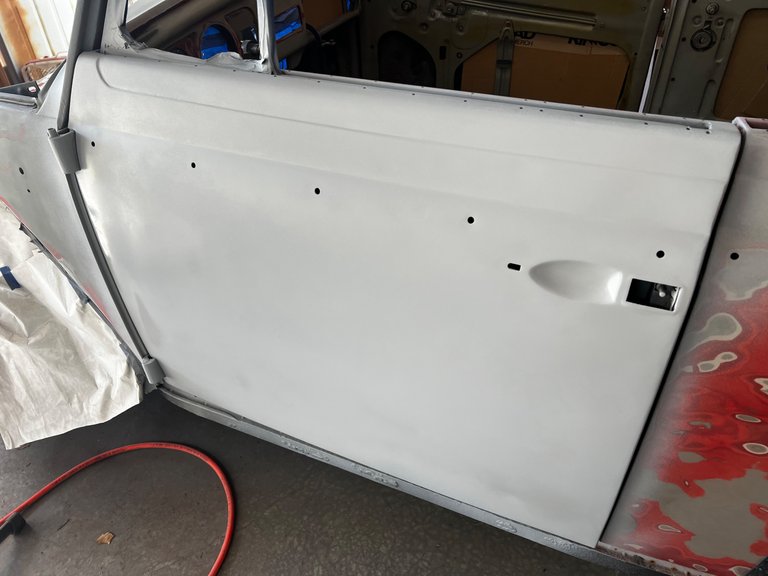
Most Surfaces sanded some and primed up!
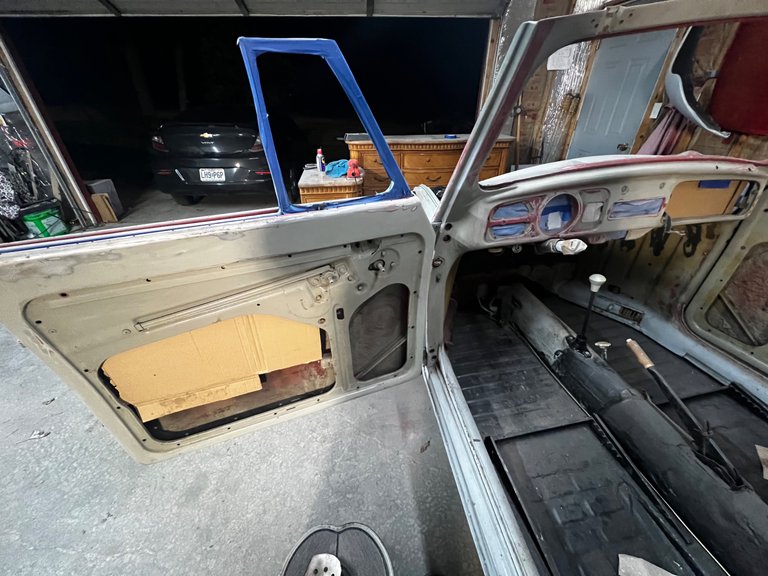
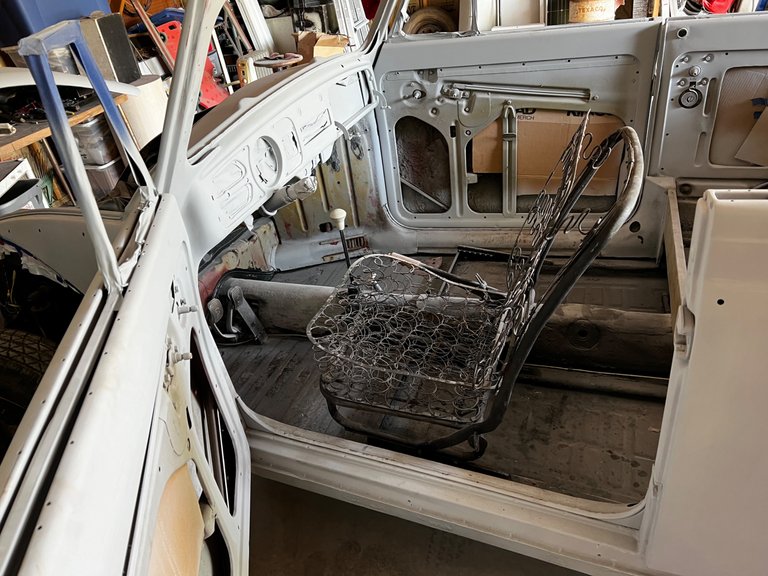
Put the seat frame back in to be able to sit.
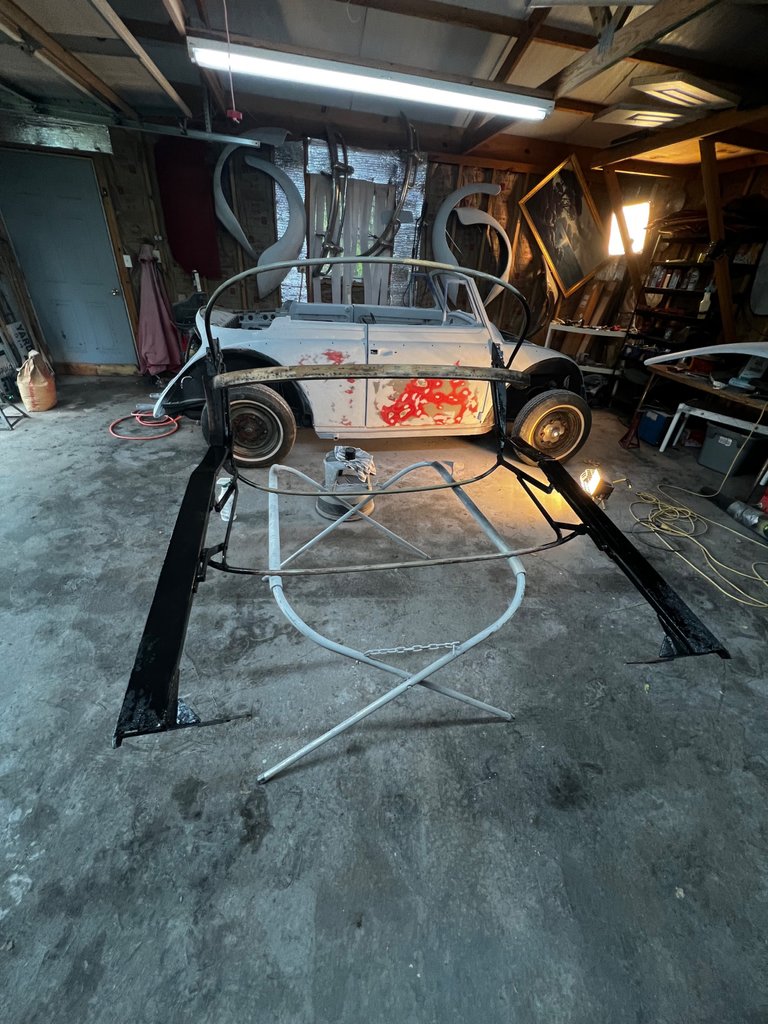
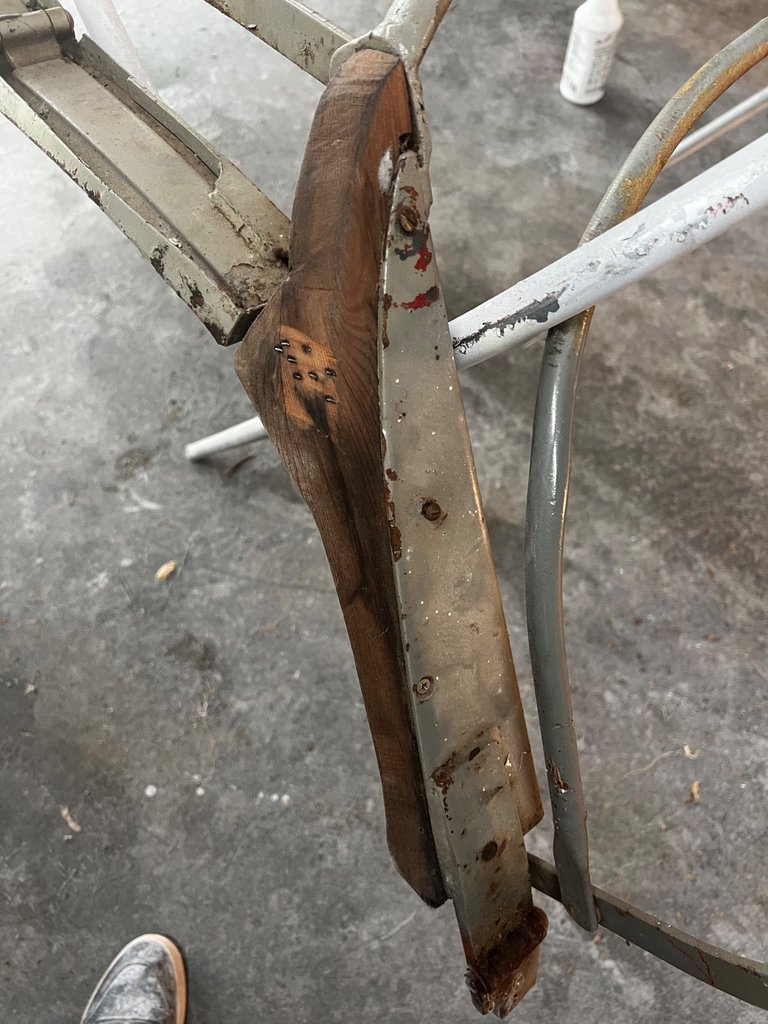
Got the convertible frame put back together with the front bow re-attached.
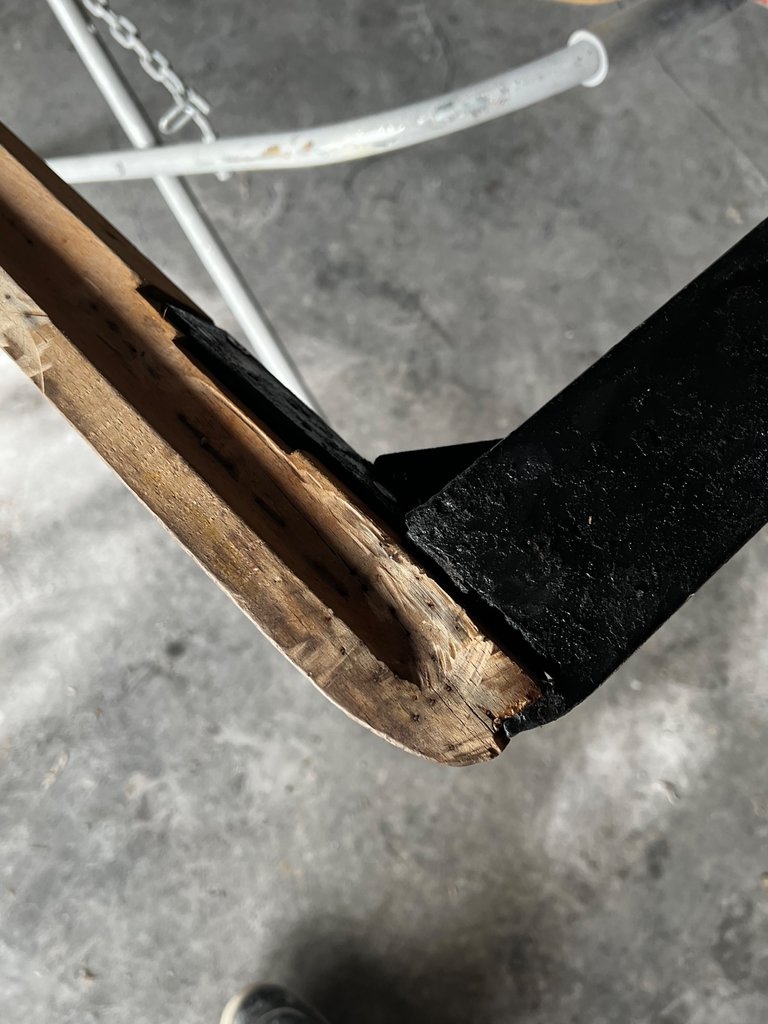
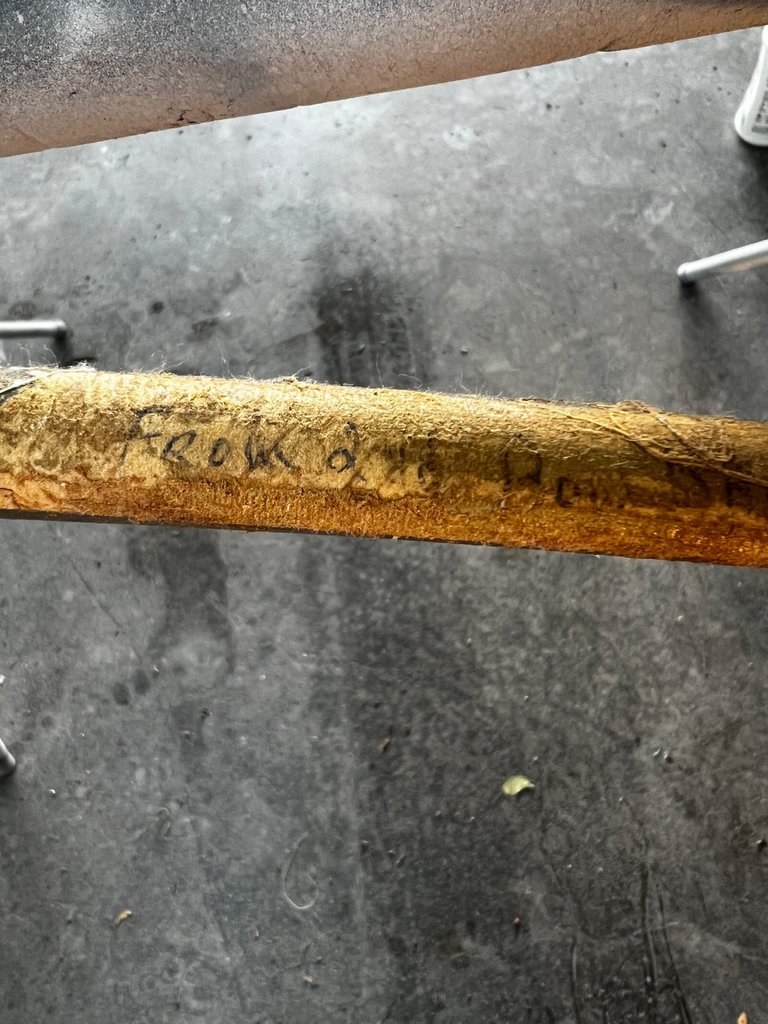
A little bit of ephemera I didn't notice the first time looking at the frame.
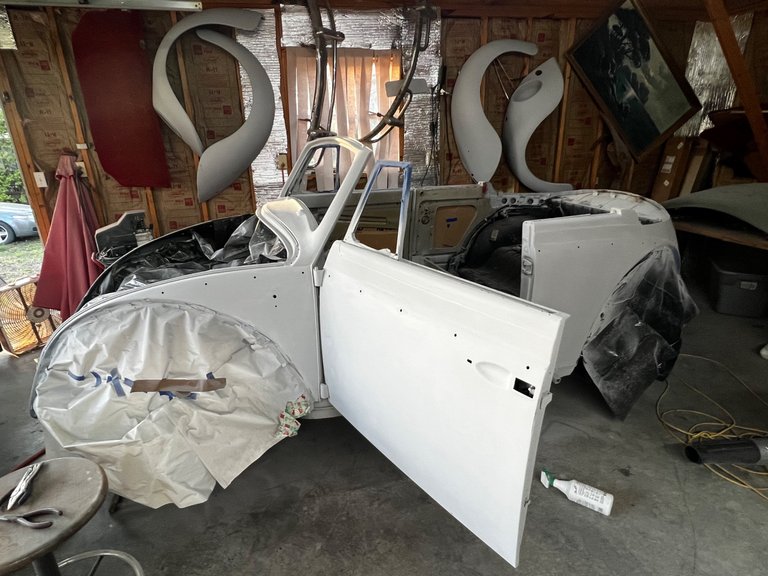
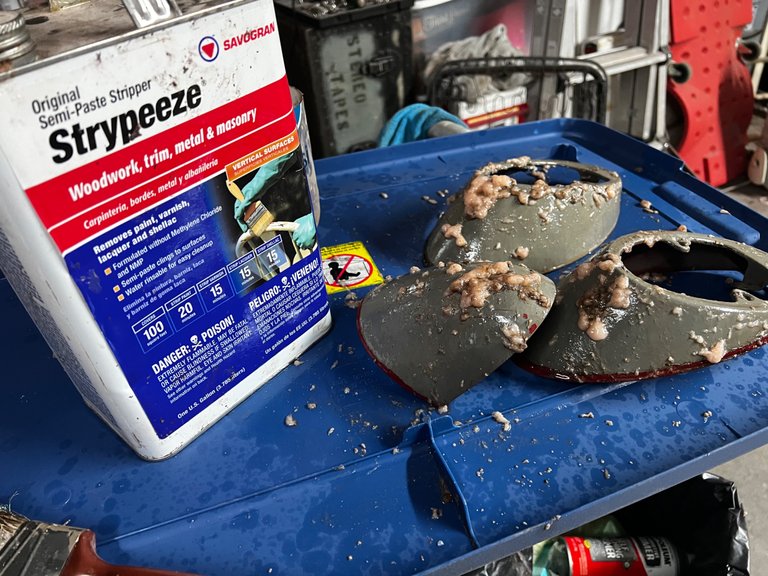
Got the last bit of paint removed from all the removable parts.
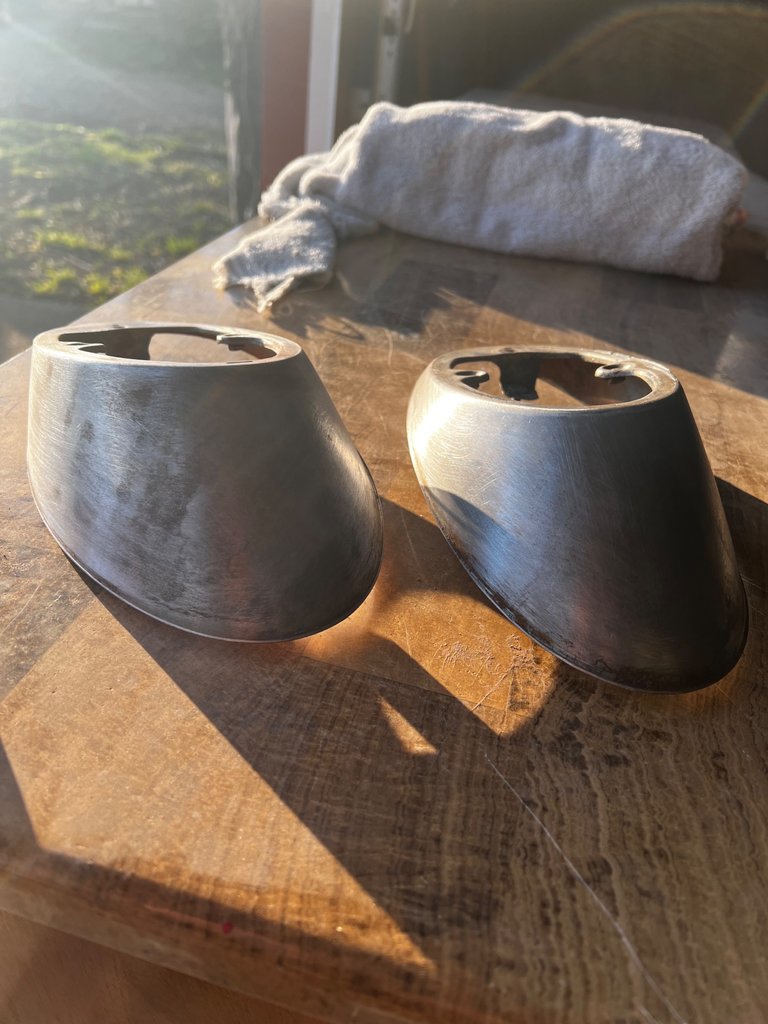
Ready for some paint!
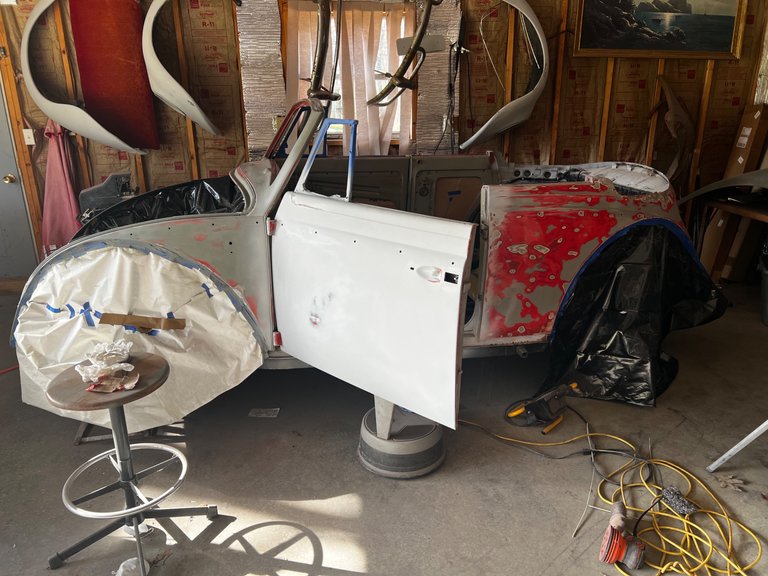
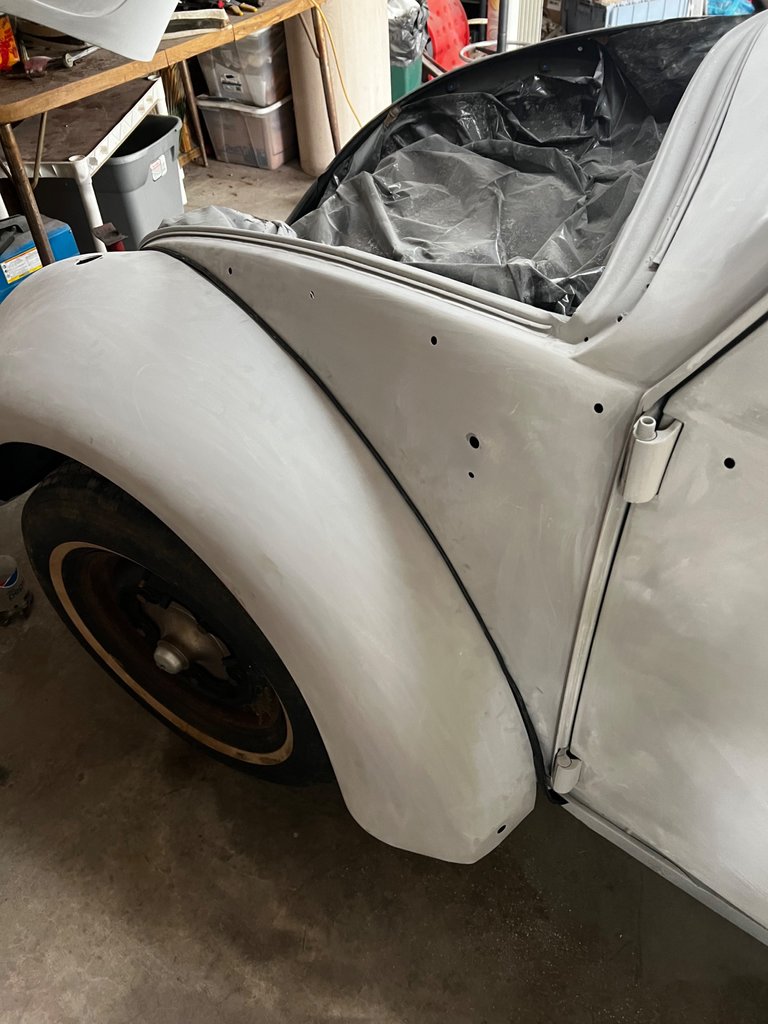
Did a quick test fit of the drivers side fender. Needs a little modification.....
Most everything has a good coat of primer!
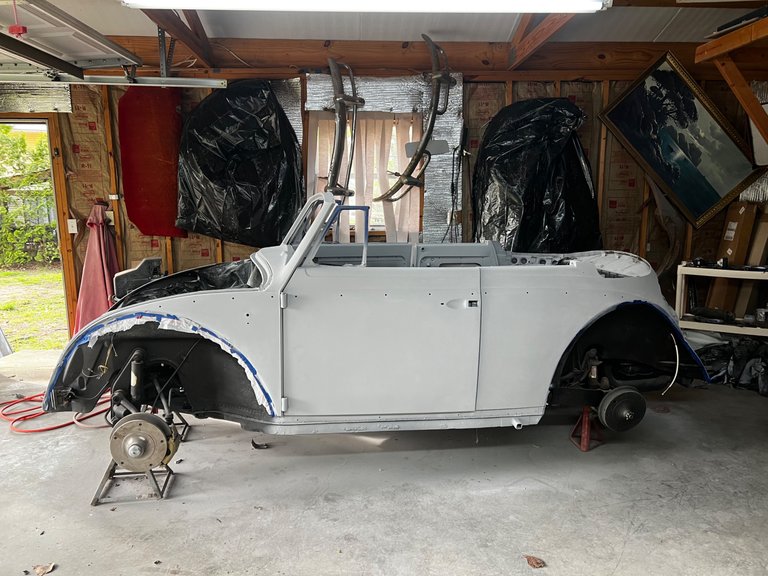
Still so much more sanding to do!
Stay tuned for the another update!
Thanks for stopping by!