[ESP-ENG] Creativo Reposamuñecas para el Teclado / Creative Wrist Rest for Keyboard
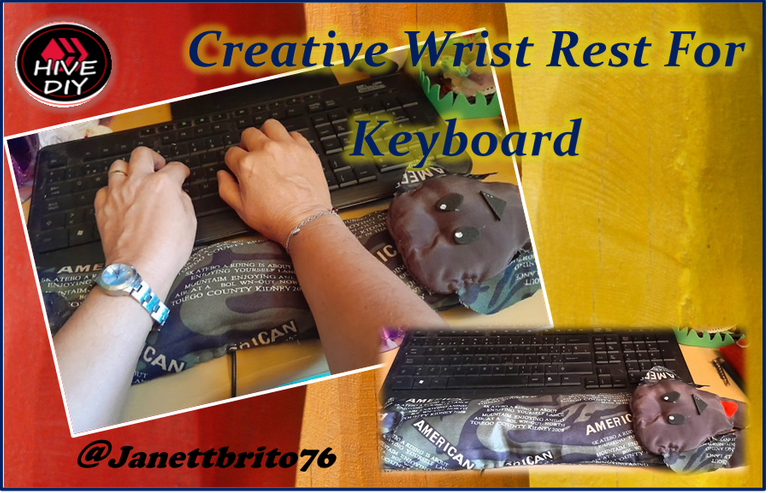

Hola mis queridos amigos feliz Miércoles para todos, espero hayan pasado un lindo y productivo día. Bienvenidos nuevamente a mi blog. En esta oportunidad les voy a compartir el paso a paso de como realizar un creativo reposamuñecas para el teclado,es ideal para aquellas personas que trabajan durante horas frente al computador, este reposamuñecas evita que nuestras manos queden entumecidas y adoloridas, ademas te ayuda alzar tus muñecas para que no rocen con la mesa y así evitar los trastornos musculoesqueléticos,la sobrecarga muscular y evitarnos el síndrome del túnel carpiano. Hoy en día existen almohadillas que traen estos reposamuñecas no solo para el teclado sino también para el ratón, pero hoy les traigo esta estupenda idea para que realicen sus propios reposamuñecas, el cual lo puedes rellenar con arroz o con guata, lo mejor de todo es que lo puedes personalizar, ya que lo puedes hacer con tela o con fieltro de los colores que mas te gusten. Este reposamuñecas lo realice especialmente para mi hijo mayor ya que el comenzó a estudiar en la universidad y sus clases son online y debe de estar varias horas en la computadora realizando sus actividades. Bueno,no te pierdas el paso a paso para hacer este creativo reposamuñecas. Vamos manos a la obra !!

Hello my dear friends happy Wednesday to all, I hope you have had a nice and productive day. Welcome back to my blog. In this opportunity I am going to share the step by step of how to make a creative wrist rest for the keyboard, it is ideal for those people who work for hours in front of the computer, this wrist rest prevents our hands from being numb and sore, it also helps you raise your wrists so that they do not rub against the table and thus avoid musculoskeletal disorders, muscular overload and avoid carpal tunnel syndrome. Today there are pads that bring these wrist rests not only for the keyboard but also for the mouse, but today I bring you this great idea to make your own wrist rests, which you can fill with rice or wadding, the best of all is that you can personalize it, since you can do it with fabric or with felt of the colors that you like the most. I made this wrist rest especially for my eldest son since he started studying at the university and his classes are online and he must spend several hours on the computer doing his activities. Well, don't miss the step by step to make this creative wrist rest. Let's get to work!!


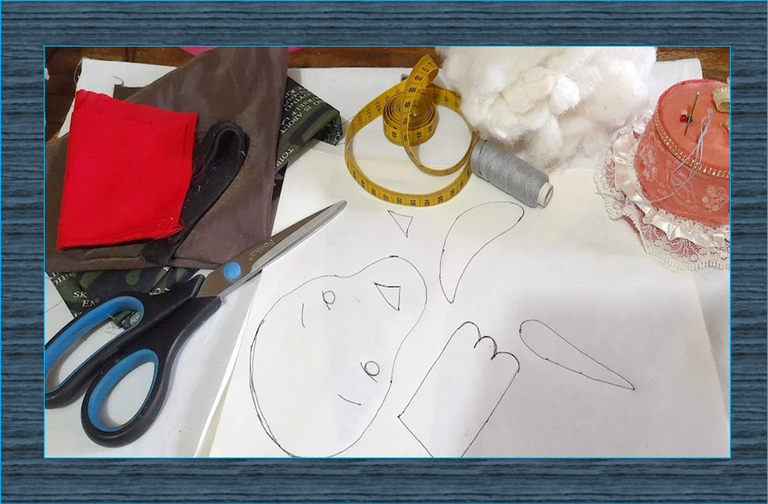
- Tela (de tu preferencia)
- Cinta metrica
- Hilo/aguja
- Guata
- Tijera

- Fabric (of your choice)
- Measuring tape
- Needle thread
- wadding
- Scissor


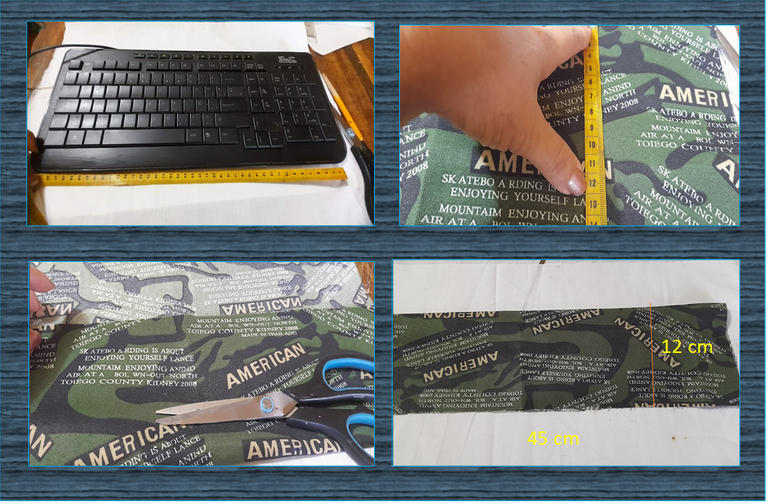
1: Iniciamos midiendo el largo de nuestro teclado, luego marcamos en la tela el ancho y largo deseado el cual debe ser del largo de nuestro teclado, doblamos la tela y cortamos.

1: We start by measuring the length of our keyboard, then we mark the desired width and length on the fabric, which should be the length of our keyboard, we fold the fabric and cut.


2: Luego copiamos cada uno de los patrones de nuestro perrito sobre las telas doblada, marcamos y recortamos.

2:Then we copy each of the patterns of our puppy on the folded fabrics, we mark and cut out.
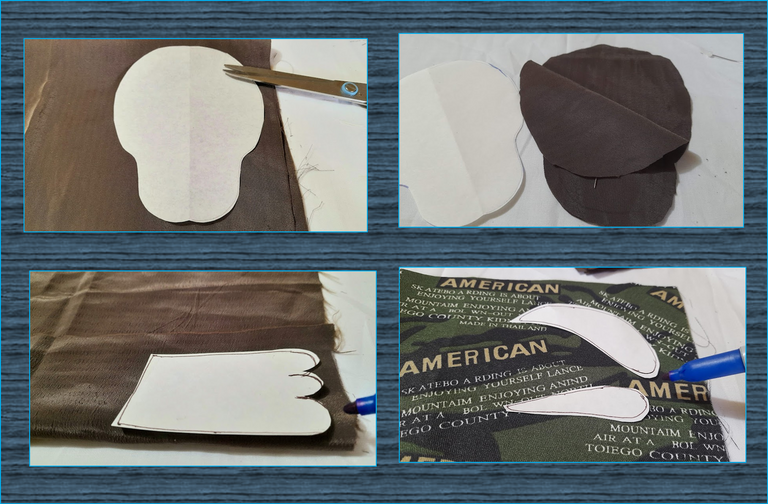
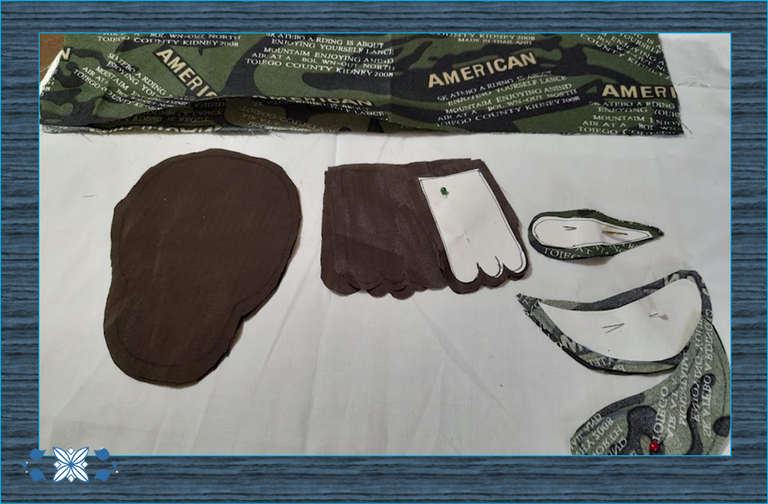


3: Una vez ya cortadas todas las piezas, procedemos a coser cada pieza, luego le damos la vuelta, recuerden dejar una abertura para luego poder rellenar con la guata.

3: Once all the pieces have been cut, we proceed to sew each piece, then we turn it over, remember to leave an opening so that we can later fill it with the wadding.
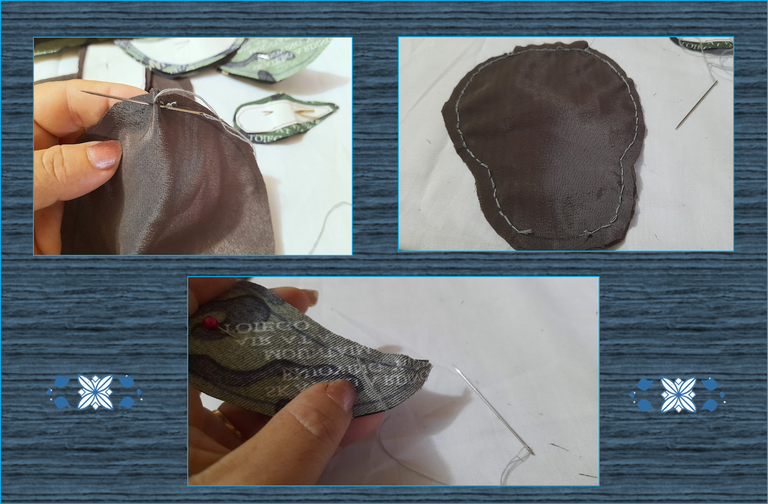
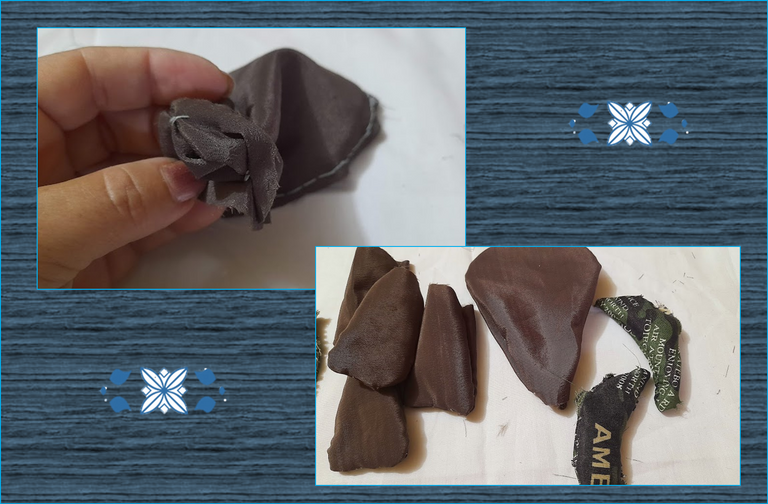


4: Ahora procedemos a colocar en el trozo de tela cortado anteriormente (la barriga de nuestro perrito) las patitas, sujetamos con unos alfileres como puedes ver en las imágenes, seguidamente procedemos a coser por todo el alrededor dejando una abertura para poder darle la vuelta y luego procedemos a rellenarlo.

4: Now we proceed to place the legs on the piece of fabric cut previously (the belly of our puppy), we fasten them with some pins as you can see in the images, then we proceed to sew all around, leaving an opening to be able to turn it over and then We proceed to fill it.
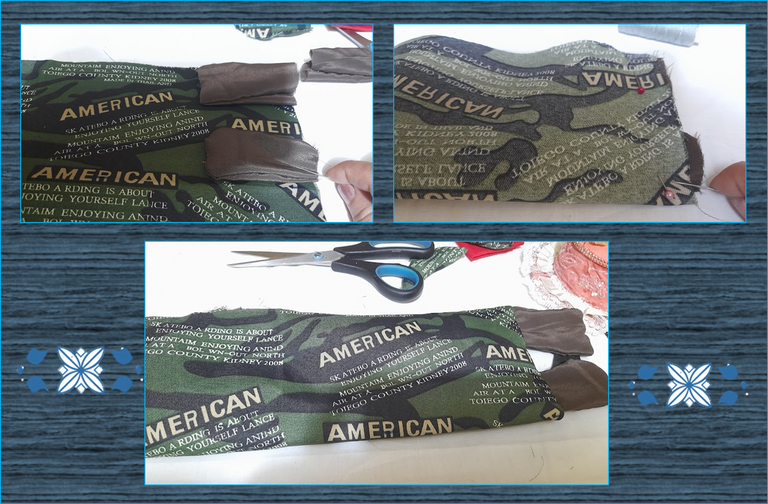
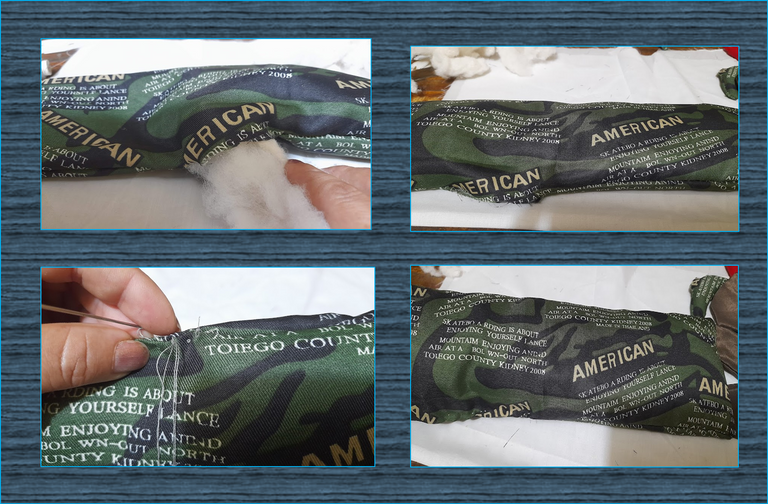


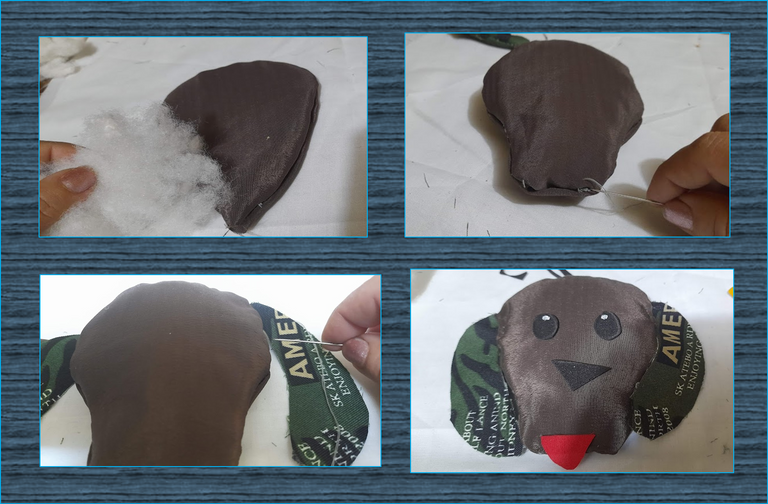
5: Para finalizar procedemos a rellenar la cabeza de guata y seguidamente cosemos sus orejas, ojos nariz y boca a la cabeza, luego cosemos la cabeza al cuerpo de nuestro perrito y
una colita, como pueden ver en las imágenes.

5: To finish we proceed to fill the head with wadding and then we sew its ears, eyes, nose and mouth to the head, then we sew the head to the body of our puppy and
a tail, as you can see in the images.
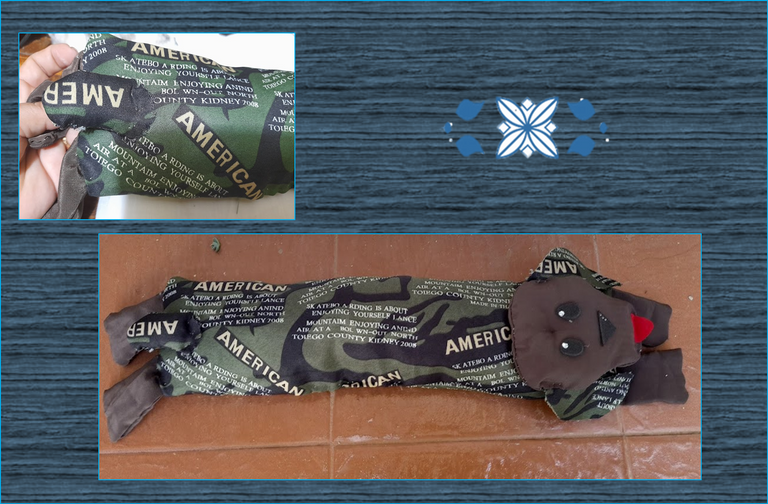

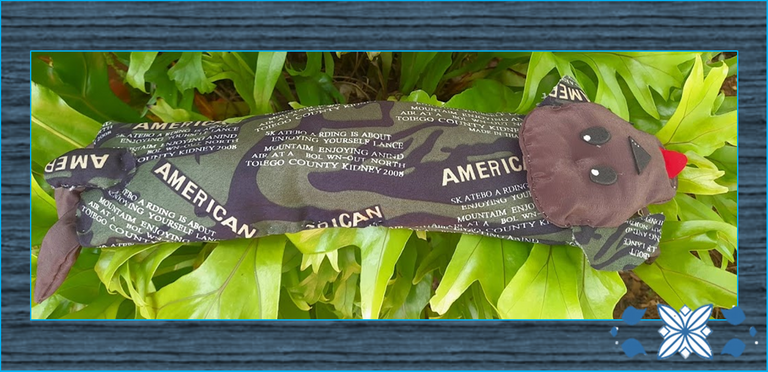
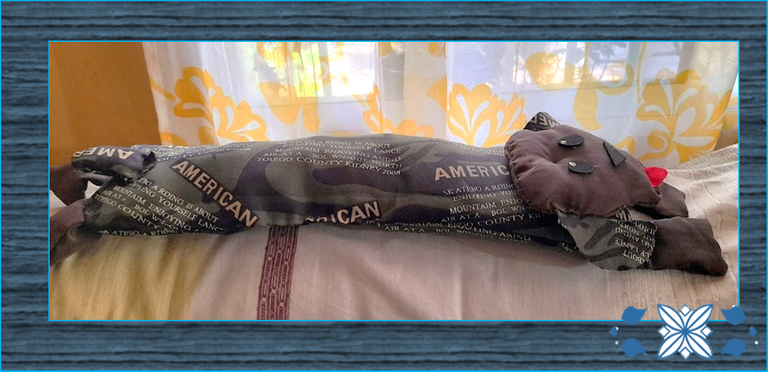
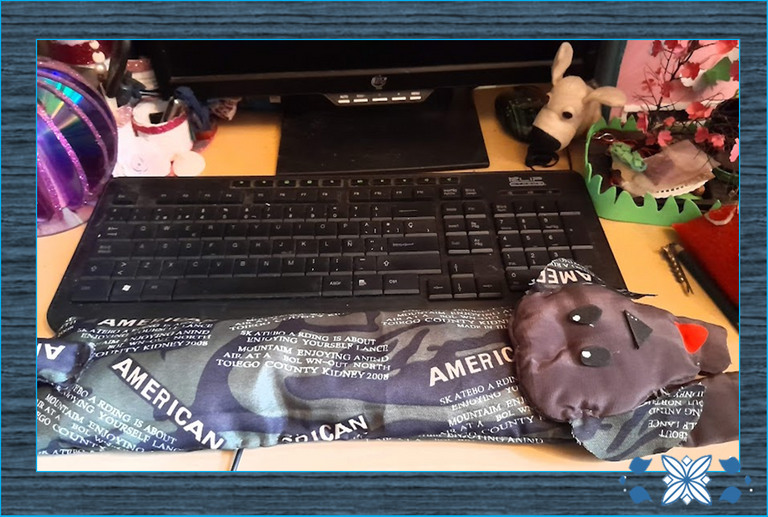
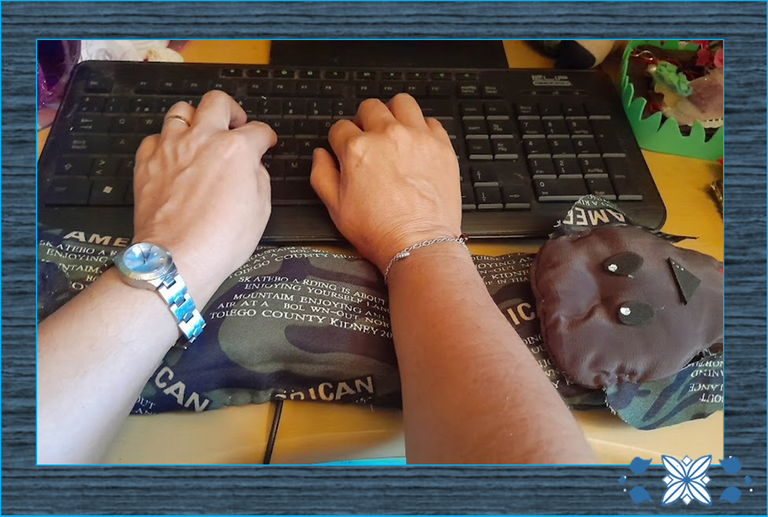
Listo, este es el resultado final de mi creativo reposamuñecas para el teclado. Espero se animen a realizar su propio reposamuñecas.
¡Espero les haya gustado mi proyecto de hoy!!
¡Hasta una próxima publicación!

Done, this is the final result of my creative wrist rest for the keyboard. I hope you are encouraged to make your own wrist rest.
I hope you liked my project today!!
Until a next publication!
Fuente portada
Fuente Separador

Las fotografías fueron tomadas con un teléfono inteligente Samsung A12, el texto fue traducido al ingles con el traductor de Google.
El banner fue diseñado en canvas

The photographs were taken with a Samsung A12 smartphone, the text was translated into English with the Google translator.
The banner was designed on canvas


Quedo muy hermoso además de ser un excelente idea, a menudo no nos preocupamos por esas cosas, pero marcan una diferencia con el tiempo.
Saludos y éxito !
Estamos conectadas..! Hoy hice este mismo proyecto... Te quedó genial, sigue así. Nos seguimos viendo x aquí.
Yay! 🤗
Your content has been boosted with Ecency Points, by @janettbrito76.
Use Ecency daily to boost your growth on platform!
Support Ecency
Vote for new Proposal
Delegate HP and earn more