[ENG-ESP] Funny Pou Mascot Topper // Divertido Topper de la Mascota Pou
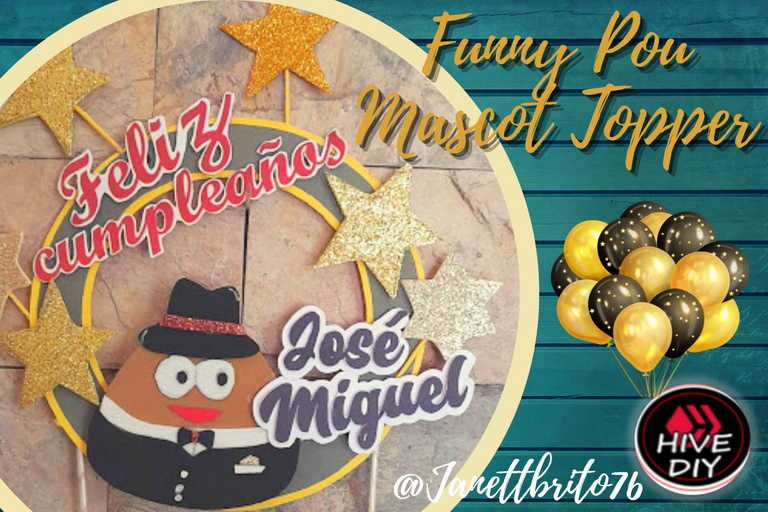

Greetings to all my creative Hive friends and especially to my dear and appreciated friends of this beautiful and great #HiveDiy community. I hope this beautiful week will be of much enthusiasm, creativity and above all many blessings for all of you. I wish from the bottom of my heart lots of health and positive energies to all my #Hivediy friends.
Tonight I am going to share with you the step by step of a fun and creative topper that I made with love and affection for the birthday cake of my dear youngest son José Miguel, who is celebrating his 15th birthday today.... I tell you that he was the one who chose his theme to make his topper, which is about Pou, a character of a virtual pet that he had on his tablet with which he had a lot of fun because he said that he could feed that pet, give him his vaccine, play with him and even bathe him and to remember those times as a child he decided to make his birthday of his funny pet Pou.
Well dear creative friends, don't miss the step by step to make this fun and creative birthday topper. Let's get to work!
Let's get started!!!

Saludos para todos mis amigos creativos del Hive y especialmente a mis queridos y apreciados amigos de esta hermosa y estupenda comunidad de #HiveDiy. Espero que está linda semana les sea de mucho entusiasmo, creatividad y sobretodo de muchas bendiciones para todos. Les deseo de todo corazón mucha salud y energías positivas a todos mis amigos del #Hive.
En esta noche les voy a compartir el paso a paso de un divertido y creativo topper que realice con mucho amor y cariño para la torta de cumpleaños de mi querido hijo menor José Miguel, que hoy esta cumpliendo sus 15 años que rápido pasa el tiempo..., les cuento que él fue el que escogió su temática para que le hiciera su topper, el cual trata de Pou un personaje de una mascota virtual que el tenia en su table con la cual se divertida mucho ya que el decía que a esa mascota le podía dar de comer, ponerle su vacuna, jugar con el y hasta bañarlo y para recordar esos tiempos de niño decidió hacer su cumpleaños de su divertida mascota Pou.
Bueno queridos amigos creativos, no te pierdas el paso a paso para hacer este divertido y creativo topper de cumpleaños. Vamos manos a la obra !!
¡¡Comencemos!!



- EVA rubber (black, gold, white, brown, red, brown, red)
- Cardboard
- Yellow cardboard
- Silicon
- Scissors
- Sticks of height
- White paint
- Pou figure

- Goma eva (negro, dorado, blanco, marrón, rojo)
- Cartón
- Cartulina amarilla
- Silicon
- Tijera
- Palitos de altura
- pintura blanca
- Figura de Pou
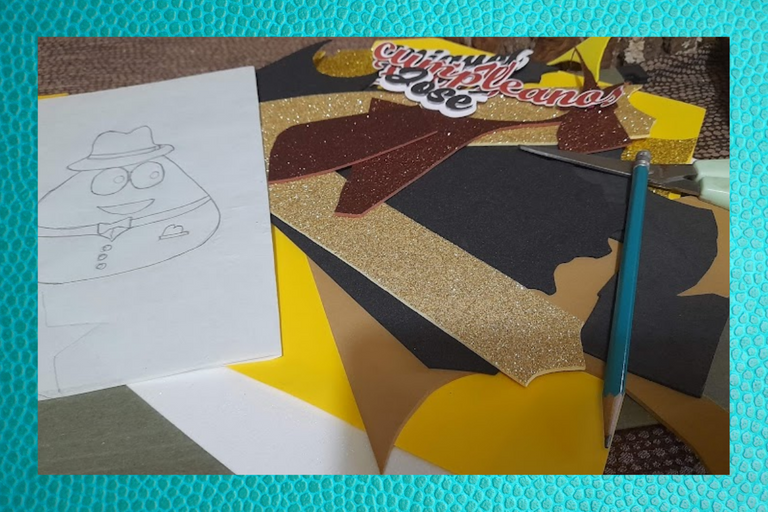


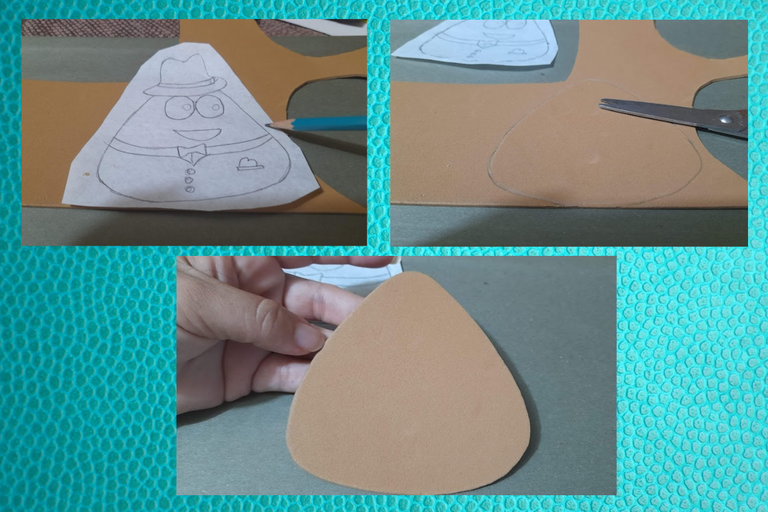
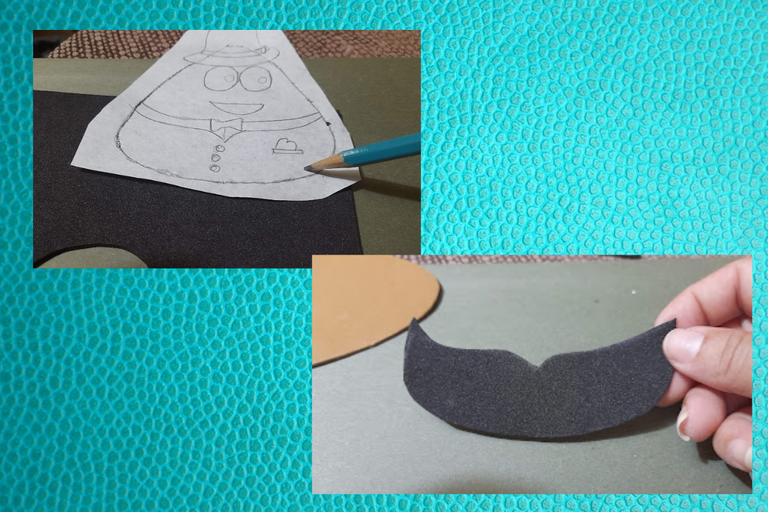
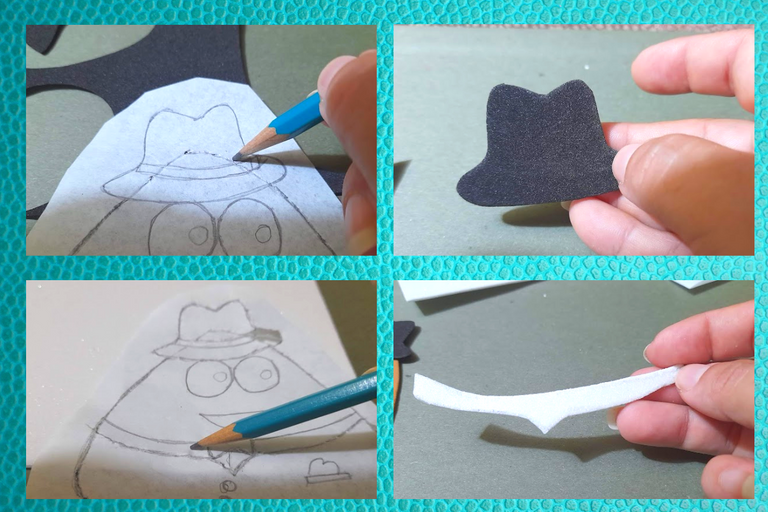
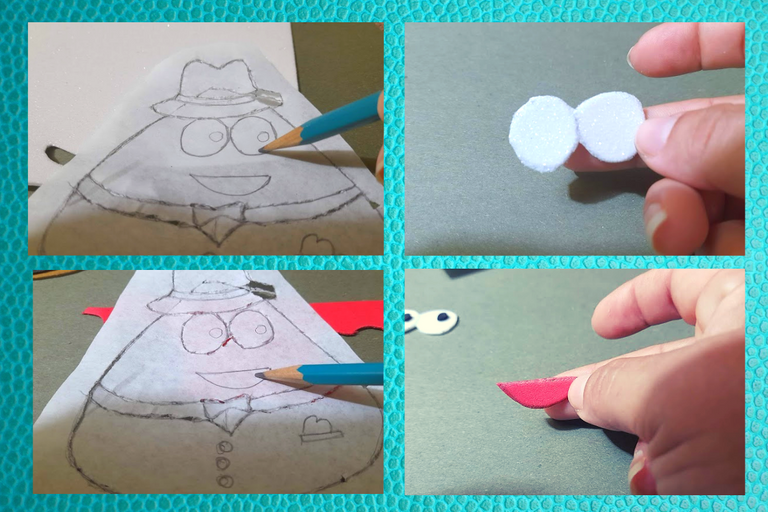
1: We start making our character Pou, first we mark the body of pou in the brown eva rubber and cut out, then in the black eva rubber we mark his suit and hat and cut out, then we mark his shirt and eyes in the white eva rubber and the mouth in the red eva rubber and cut out.

1: Comenzamos realizando nuestro personaje Pou, primeramente marcamos el cuerpo de pou en la goma eva marrón y recortamos, luego en la goma eva negro marcamos su traje y sombrero y recortamos, seguidamente marcamos su camisa y ojos en la goma eva blanco y la boca en la goma eva rojo y recortamos.


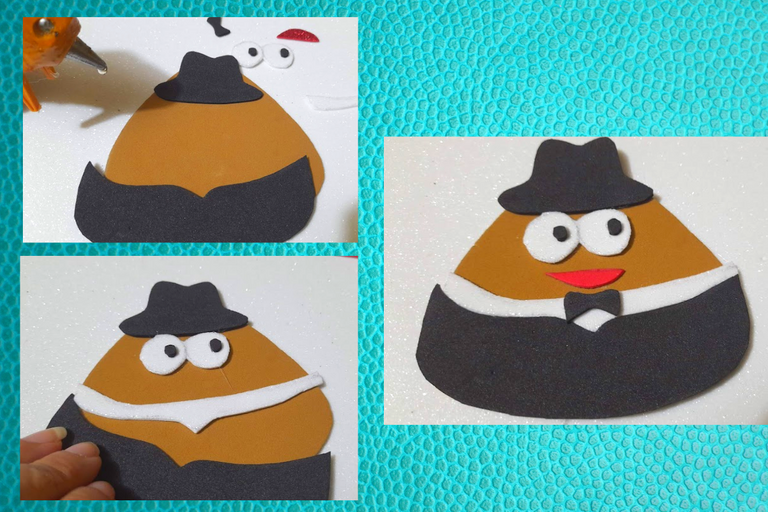
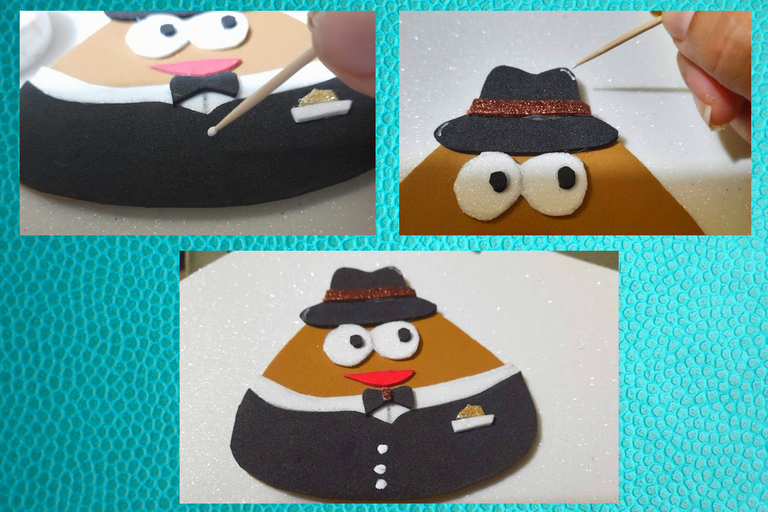
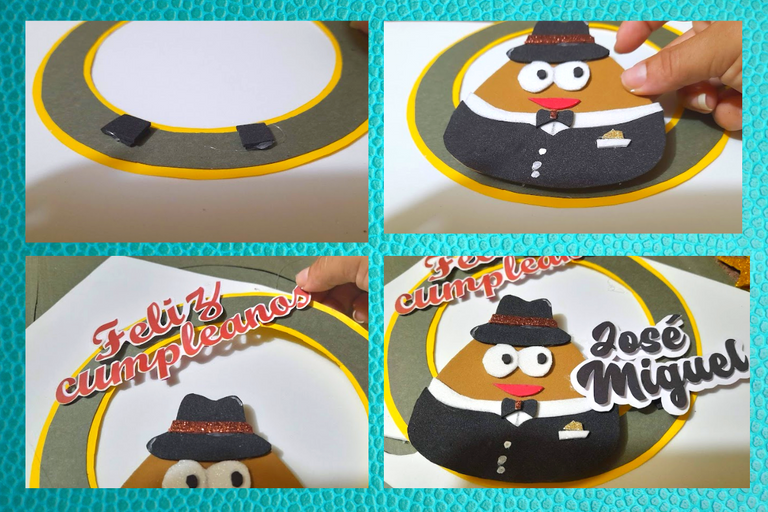
2: Then we proceed to glue each of the pieces already cut to assemble our character pou, with the help of a toothpick we make some details in his costume and hat.

2: Luego procedemos a pegar cada una de las piezas ya recortadas para armar nuestro personaje pou, con la ayuda de un palillo le realizamos algunos detallitos en su traje y en su sombrero.


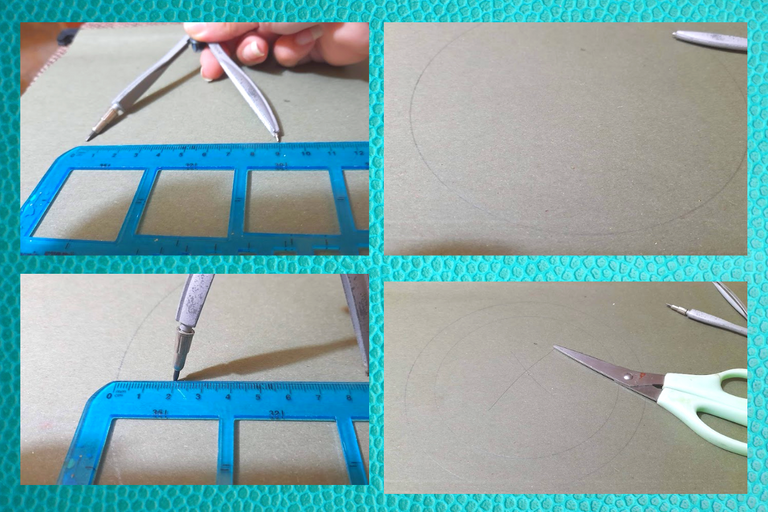
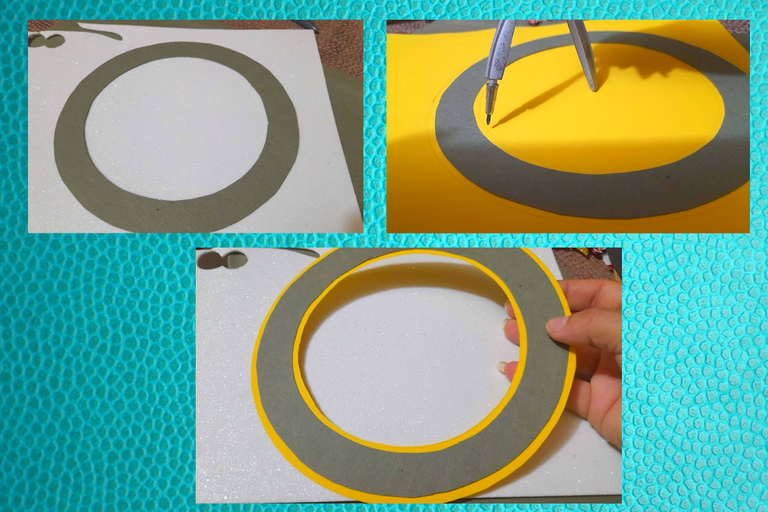
3: To make the base of the topper we take the green cardboard and make a circle of 9 centimeters radius, then inside that circle we make another circle of 7 centimeters radius, then we cut out the center of the circle as you can see in the images, then we paste that base on the yellow cardboard and cut leaving 0.5 centimeters of edge, then proceed to paste our character pou and the letters, so that the image of pou and the letters have a little height we paste a few squares of foami on the back or on the same base.

3: Para realizar la base del topper tomamos el cartón verde y realizamos un circulo de 9 centímetros de radio, luego dentro de ese círculos realizamos otro circulo de 7 centímetro de radio, seguidamente recortamos el centro del circulo como pueden ver en las imágenes, después esa base la pegamos en la cartulina amarilla y recortamos dejando 0,5 centímetros de borde, luego procedemos a pegar a nuestro personaje pou y las letras, para que la imagen de pou y las letras tenga un poco de altura le pegamos unos cuadritos de foami por la parte de atrás o en la misma base.


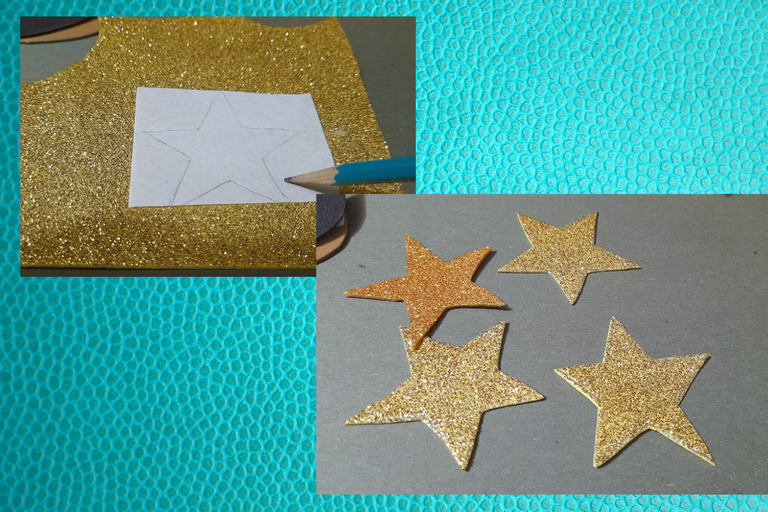
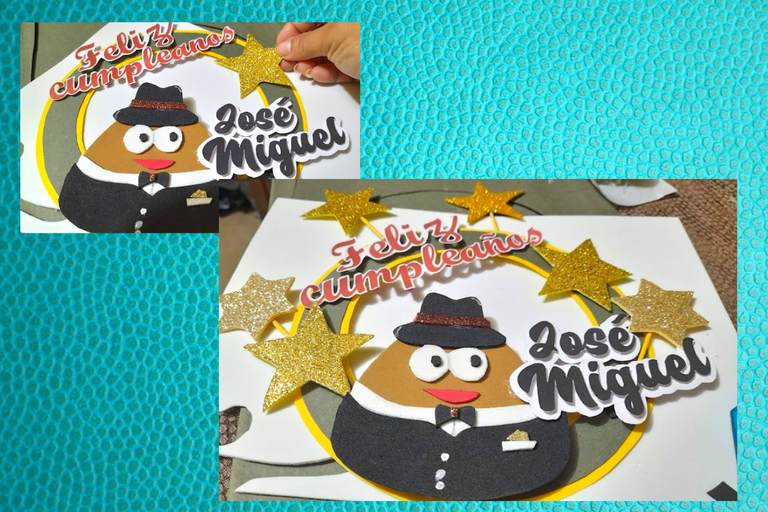
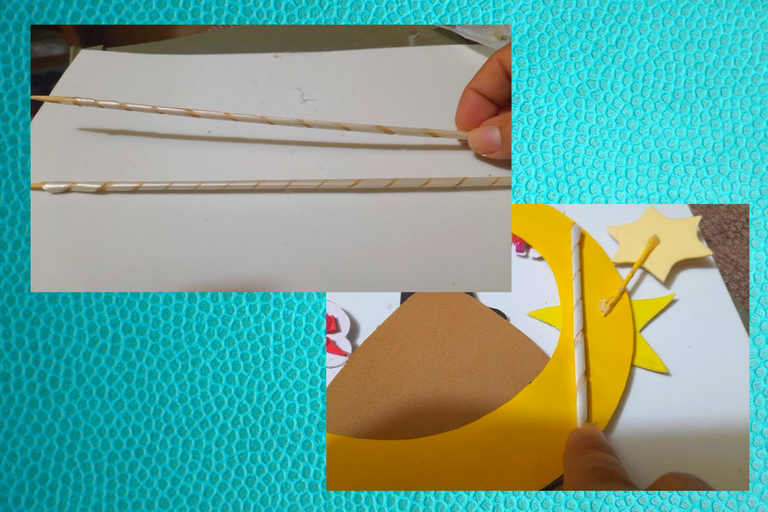
4: To decorate a little more our topper we made some nice golden eva rubber stars, then we glued them to our topper and finally we took two high sticks and lined it with tape and then we glued them on the back of the topper.

4: Para decorar un poco más nuestro topper le realizamos unas lindas estrellas de goma eva dorada, luego las pegamos a nuestro topper y para finalizar tomamos dos palitos de altura y lo forramos con cinta y luego los pegamos por la parte de atrás del topper.


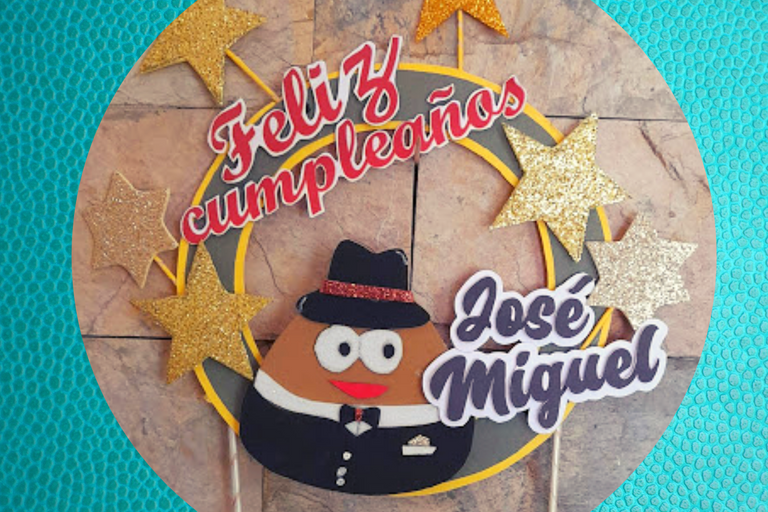
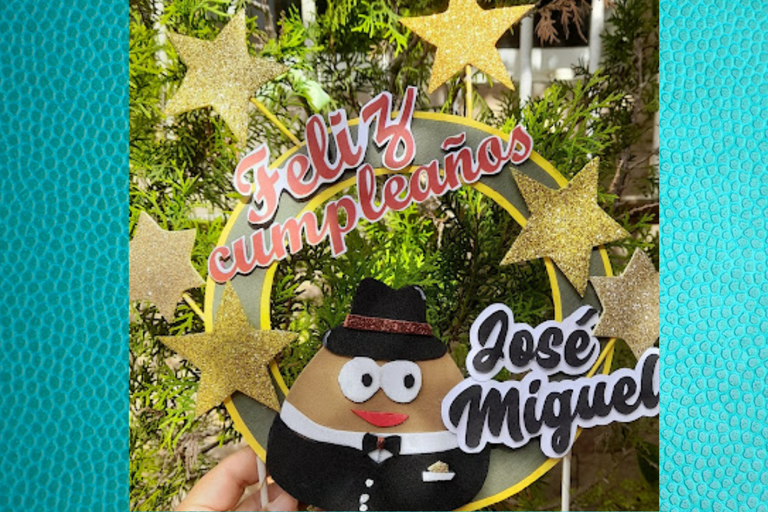
This is the final result of my fun and creative topper for my son José Miguel's cake, I hope you loved my project today!
My creative friends, see you next time!

Este es el resultado final de mi divertido y creativo topper para la torta de mi hijo José Miguel. ¡Espero les haya encantado mi proyecto del día de hoy !
¡ Mis creativos Amigos, hasta una próxima publicación !
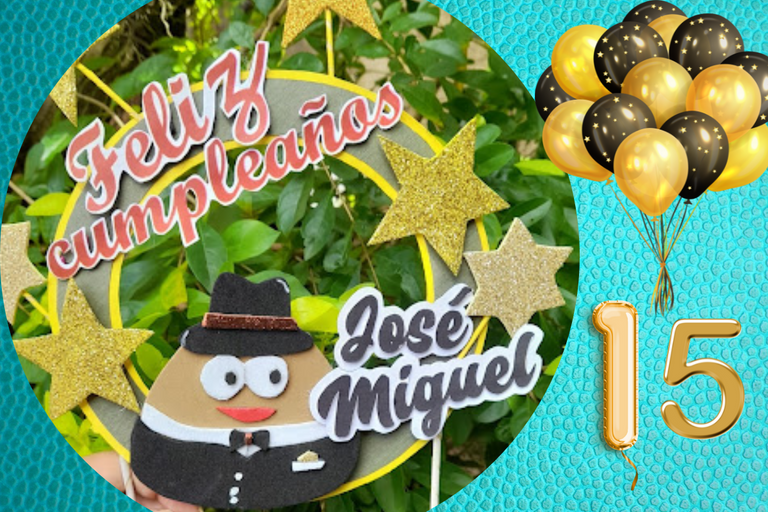
Portada y plantillas elaboradas en canva
Fuente Separador
Imagen referencial


The photographs were taken with a Samsung A12 smartphone, the text was translated into English with the Google translator.link
The banner was designed on canvas link

Las fotografías fueron tomadas con un teléfono inteligente Samsung A12, el texto fue traducido al ingles con el traductor de Google.link
El banner fue diseñado en canvas link


Thank you for sharing this amazing post on HIVE!
Your content got selected by our fellow curator @rezoanulvibes & you just received a little thank you via an upvote from our non-profit curation initiative!
You will be featured in one of our recurring curation compilations and on our pinterest boards! Both are aiming to offer you a stage to widen your audience within and outside of the DIY scene of hive.
Join the official DIYHub community on HIVE and show us more of your amazing work and feel free to connect with us and other DIYers via our discord server: https://discord.gg/mY5uCfQ !
If you want to support our goal to motivate other DIY/art/music/homesteading/... creators just delegate to us and earn 100% of your curation rewards!
Stay creative & hive on!