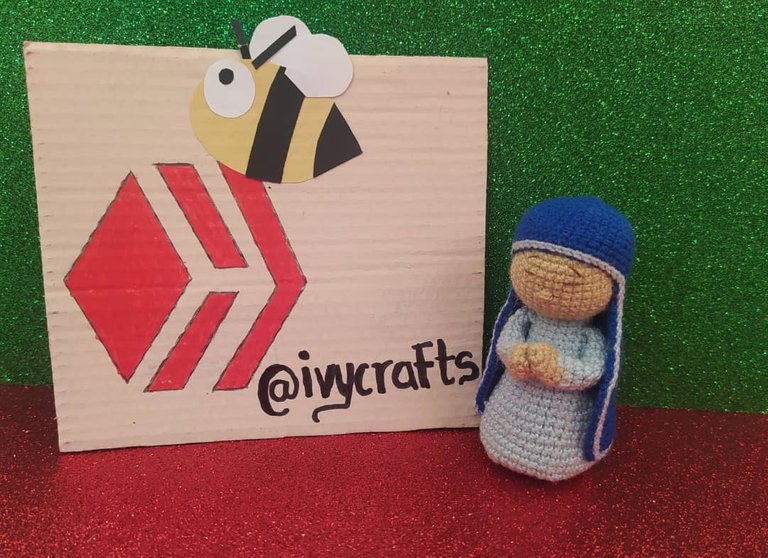
[ENG-SPA]The Virgin Mary (Second present for my brother )//La Virgen María(Segundo regalo para mi hermano)

Head and body:
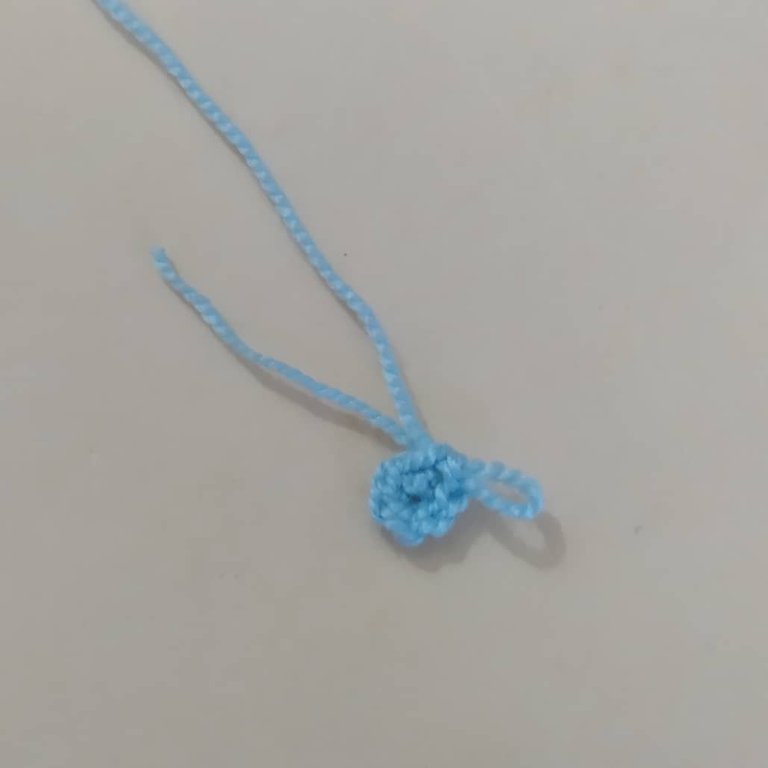
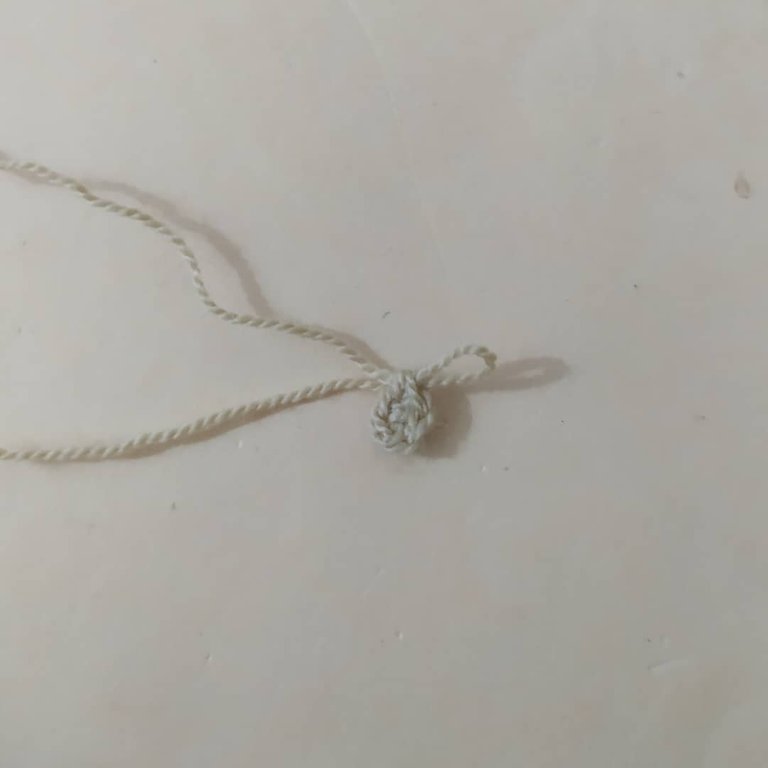
With the light blue yarn I started with a magic ring of 6 low stitches. I made increases in the next round.
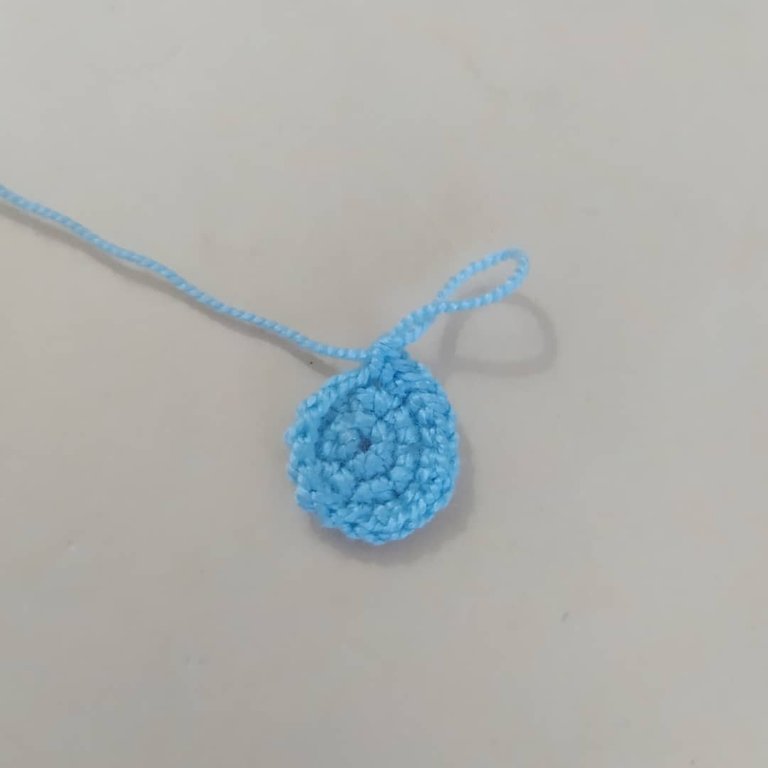
I continued making increases.

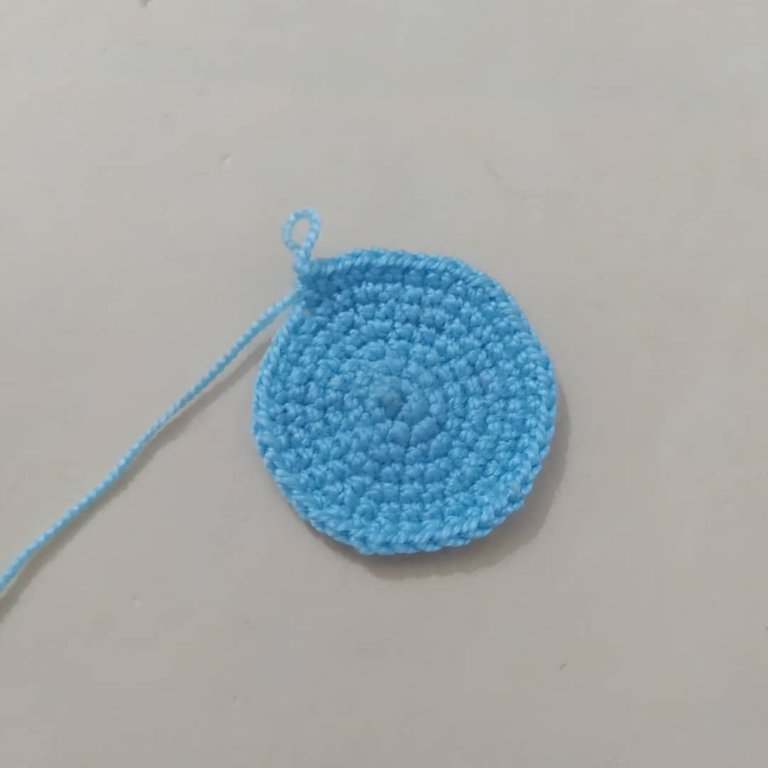
Once I had the desired size, I knitted a few rounds of low stitches to start shaping it.
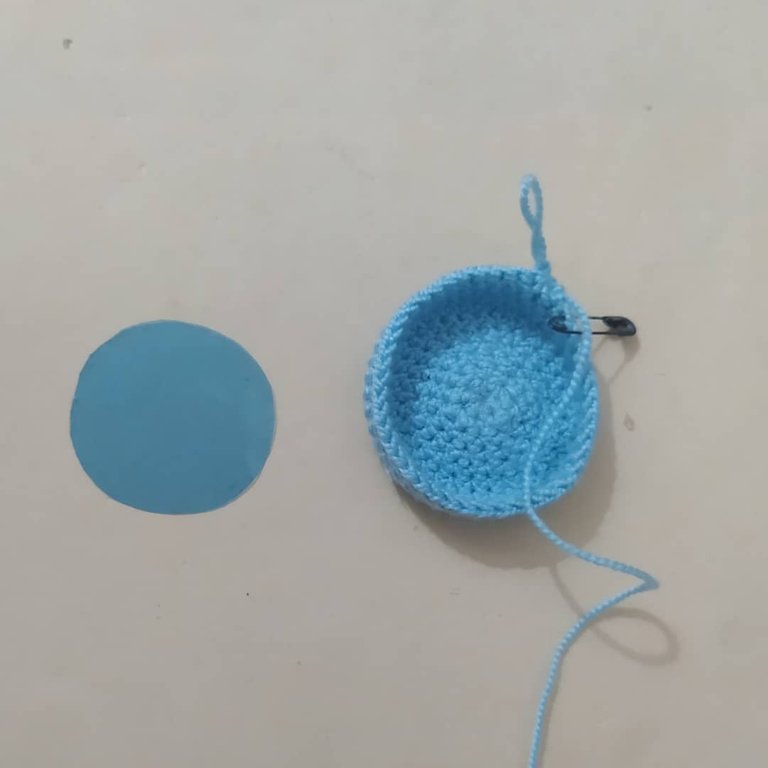
I took my acetate and cut out a circle the size of the base and glued it to the base with liquid silicone to give the body stability.
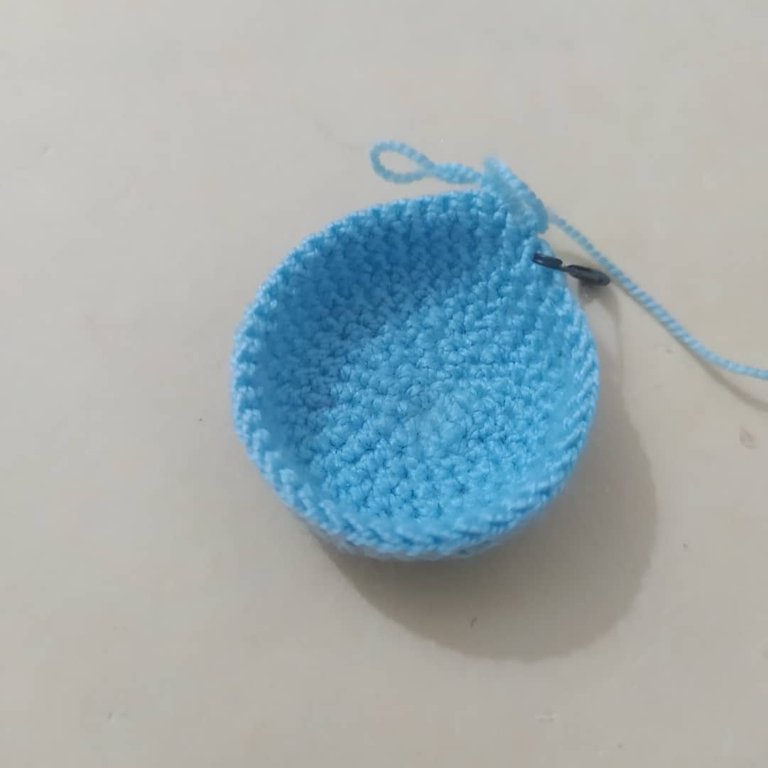
I made a decrease row, in the next row I knit a double crochet.
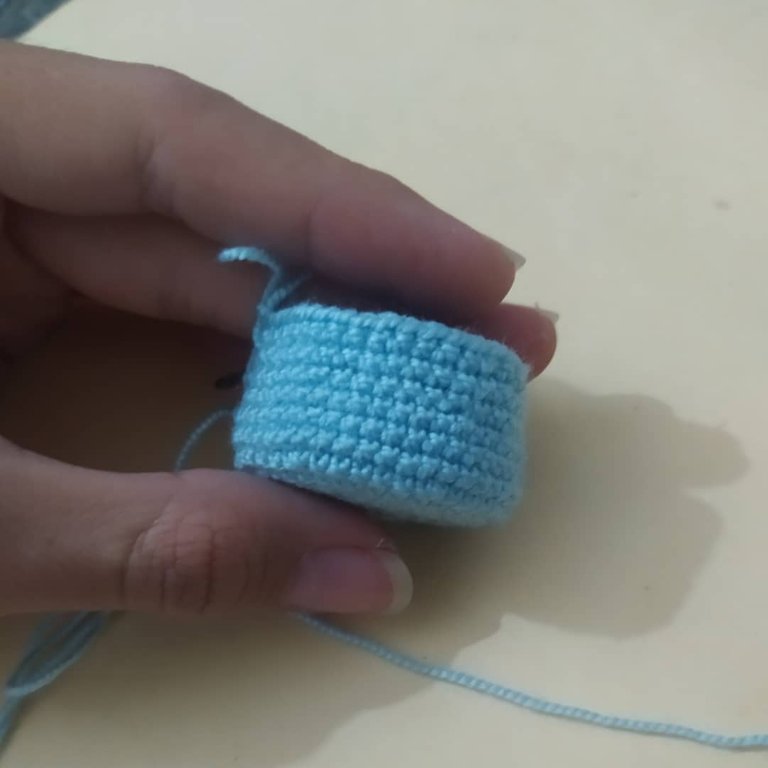
I continued making one row of decreases and one row of single crochet.
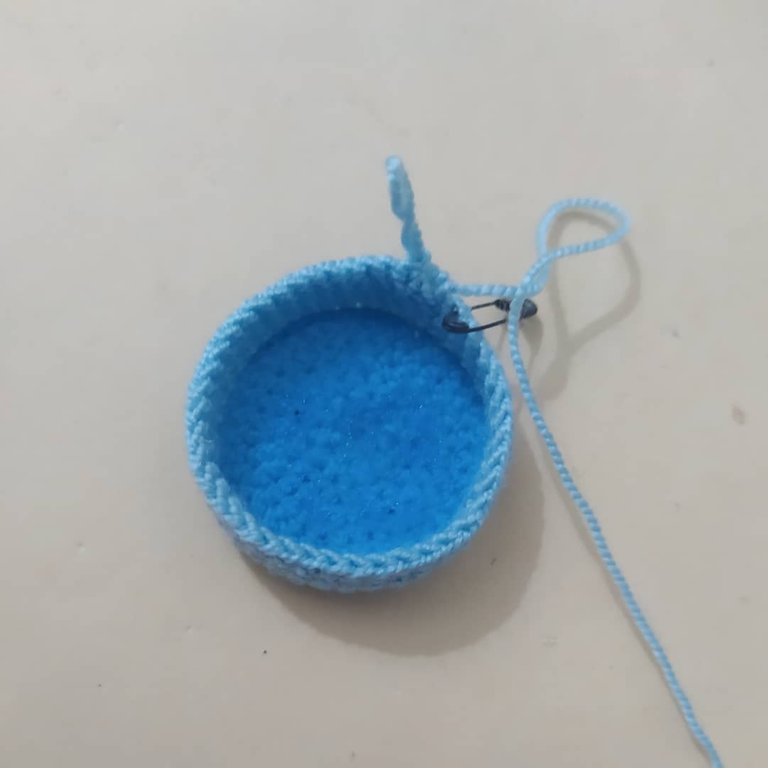
I filled the body well and continued doing the previous step until the body was almost closed.


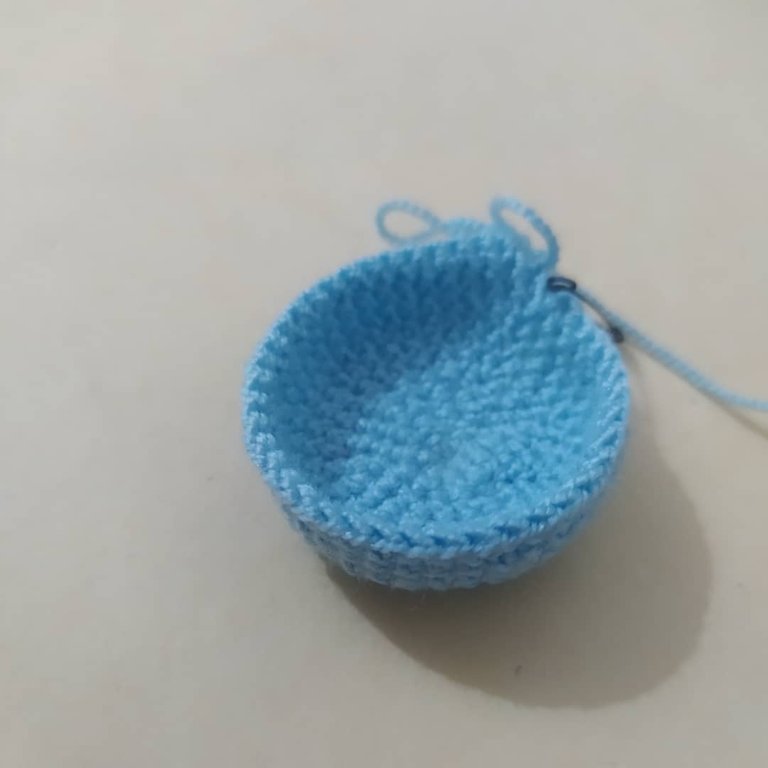
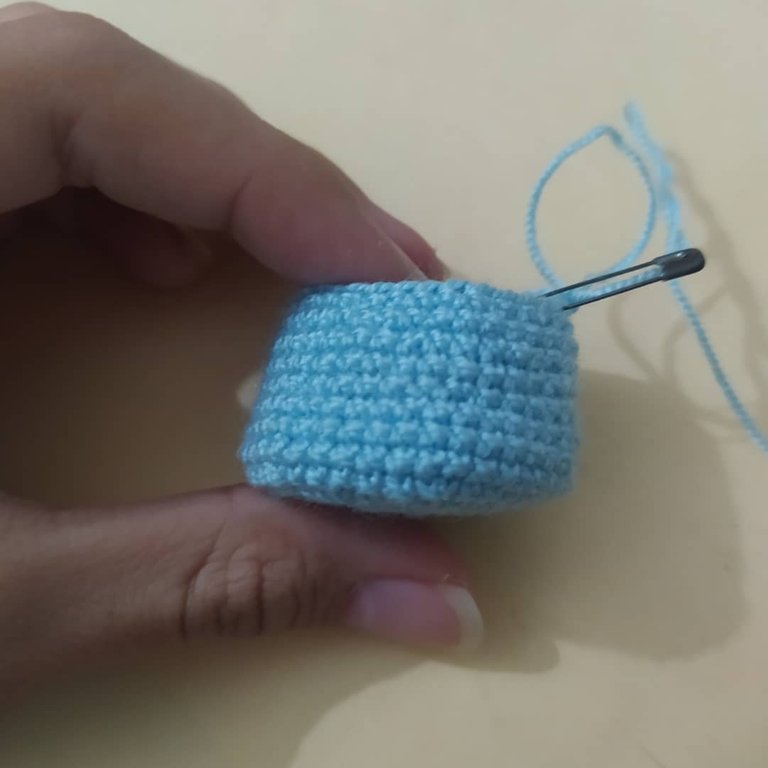
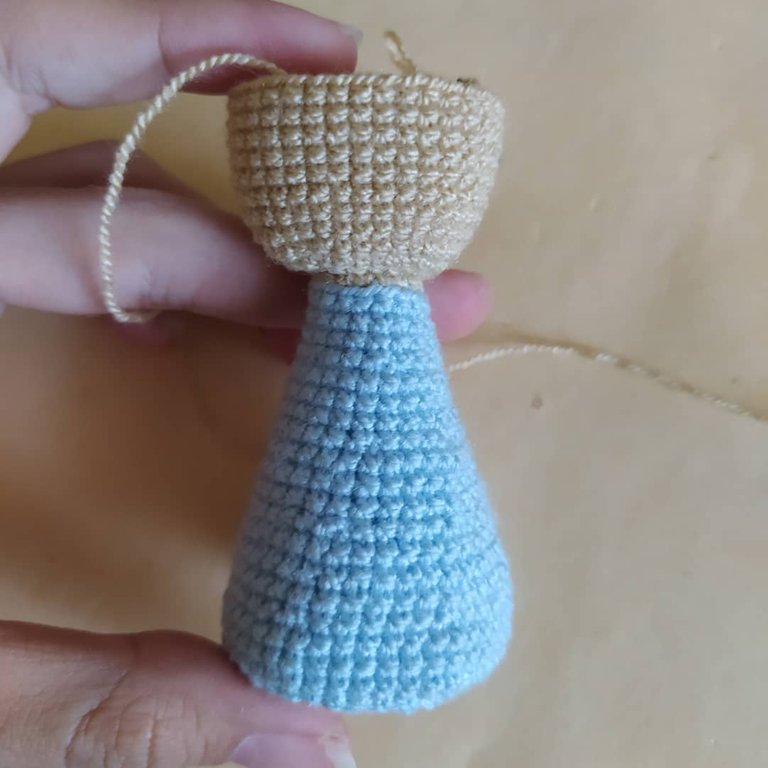
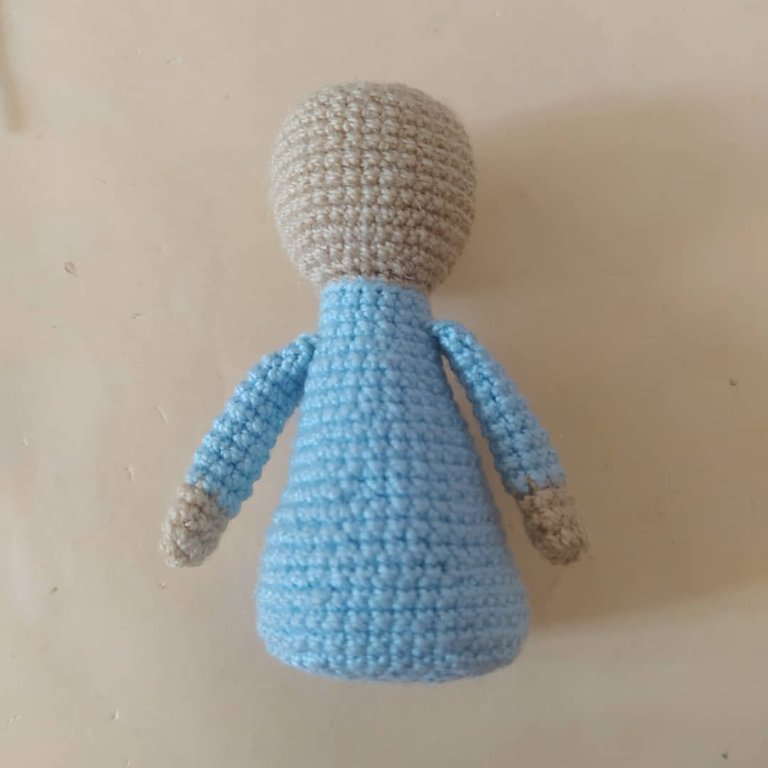
I decreased until I had 18 single crochet stitches left. I changed the color to beige and made 18 single crochet stitches taking only the back strand. Then I made 18 single crochet stitches taking the front strand.
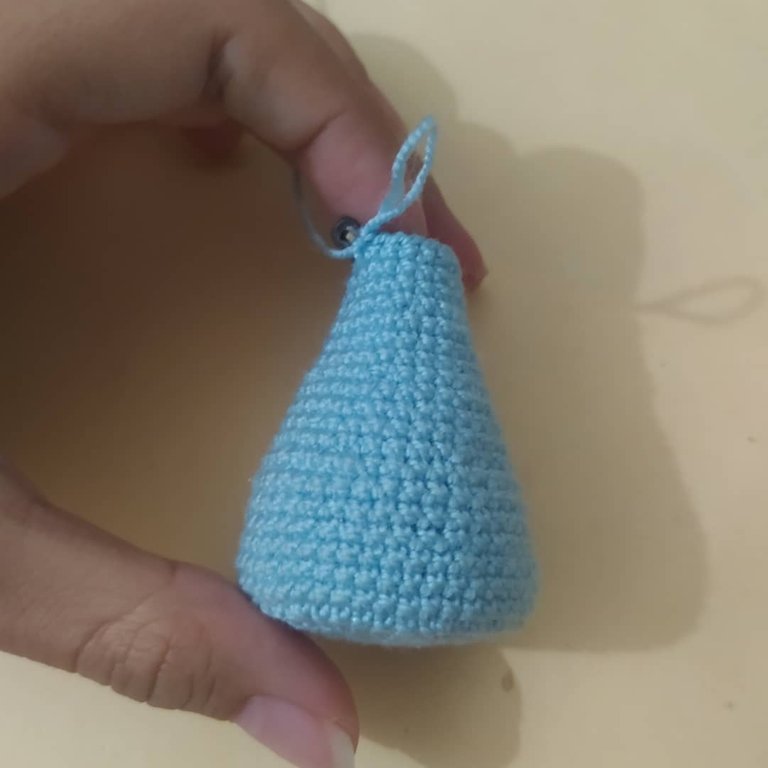
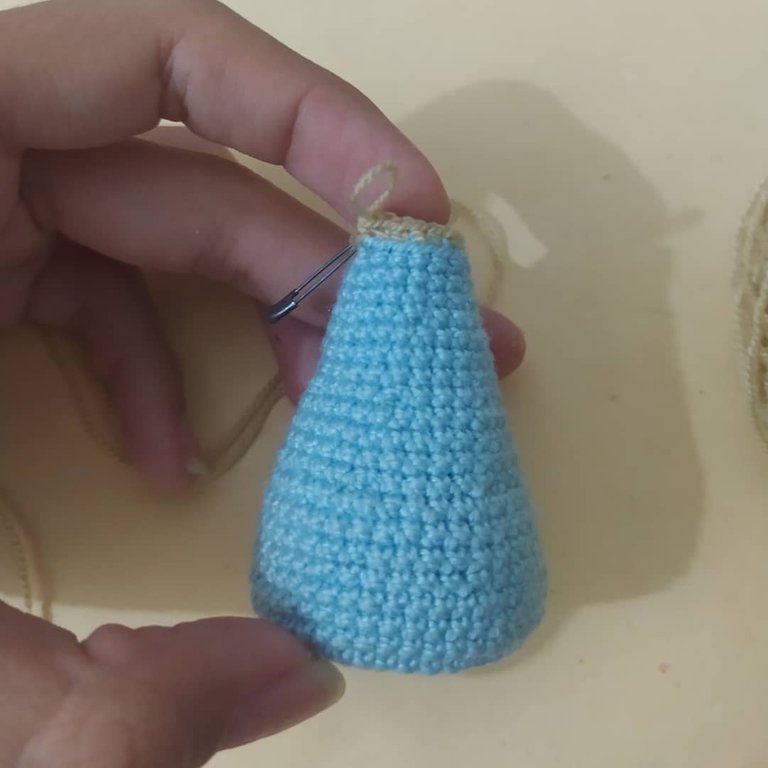
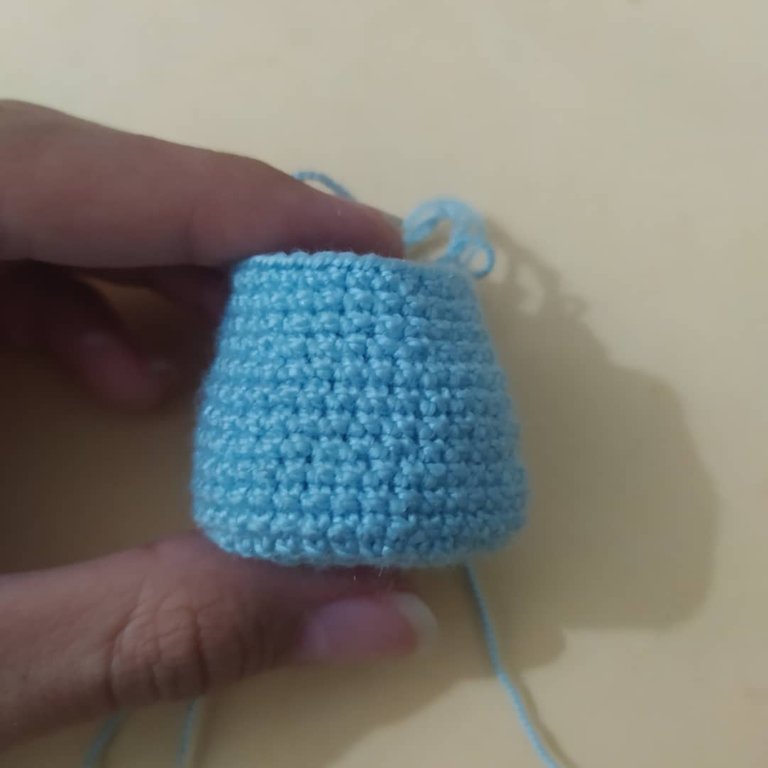
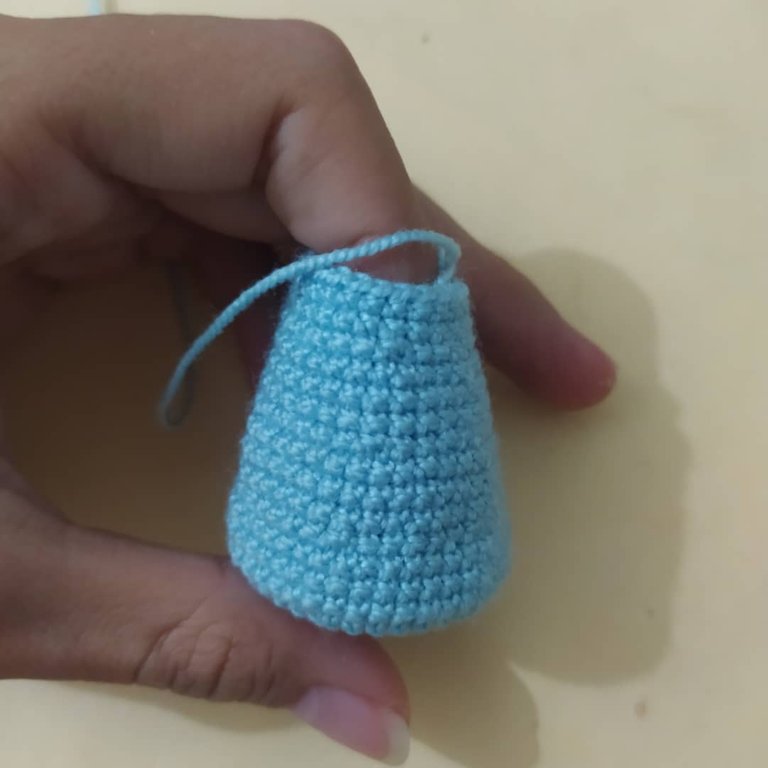
I began to increase again to form the head.
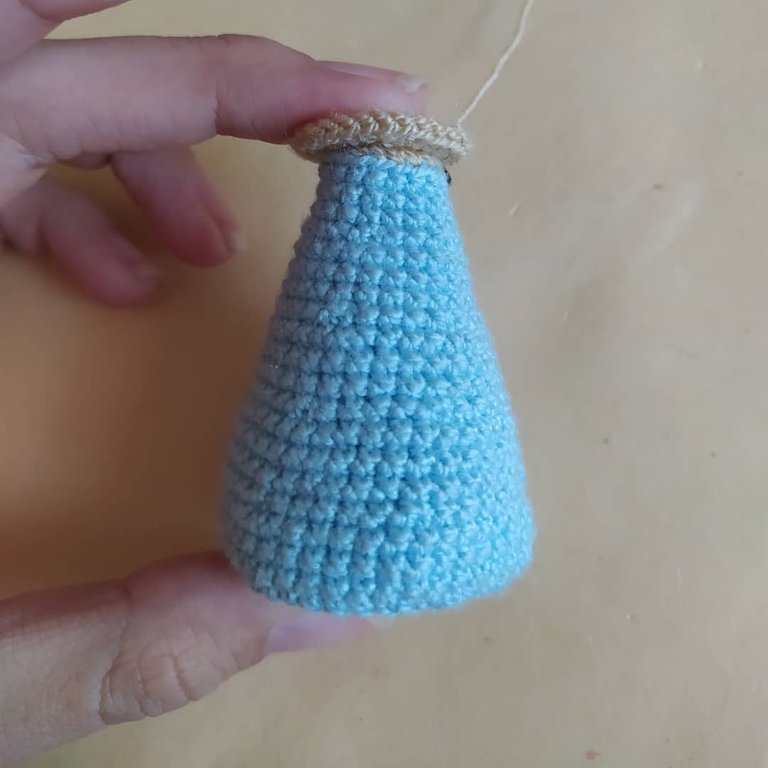
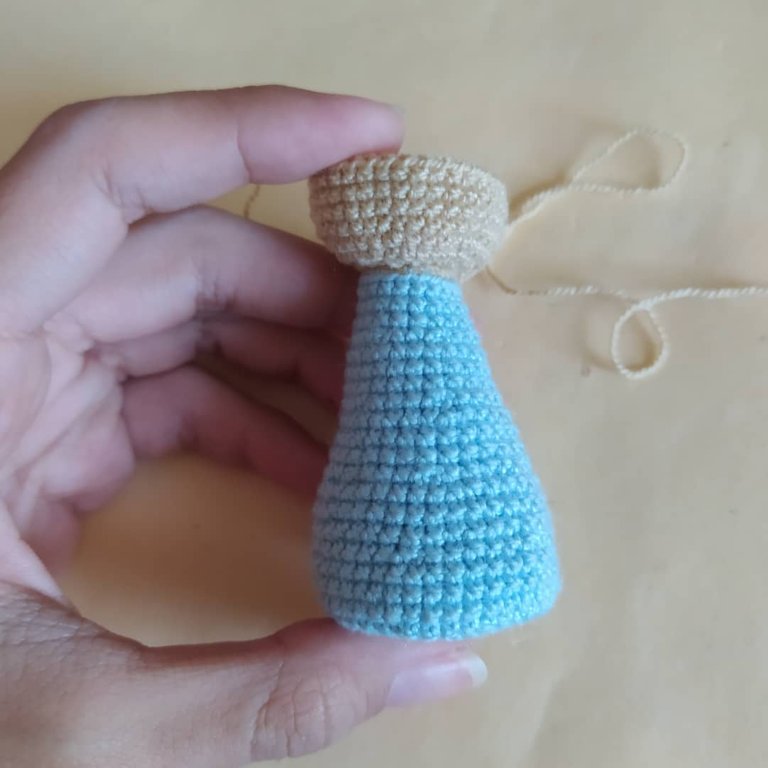
I knitted loops of low stitches to obtain the desired size.
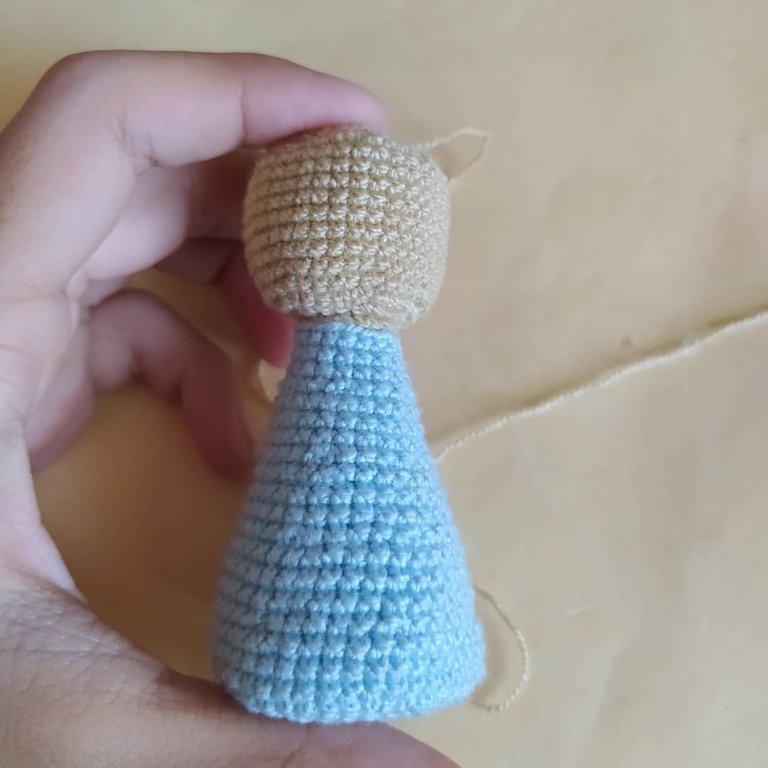
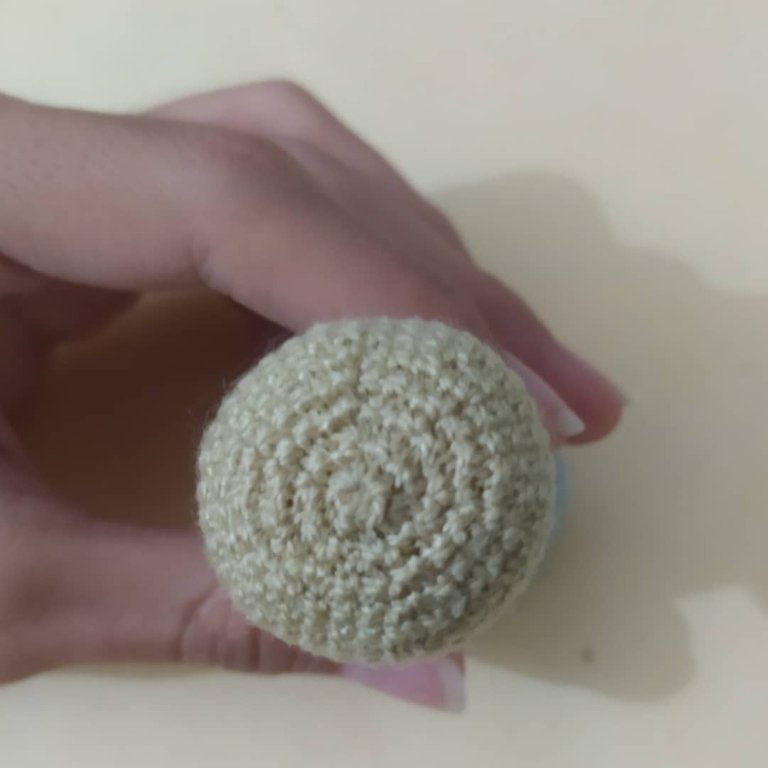
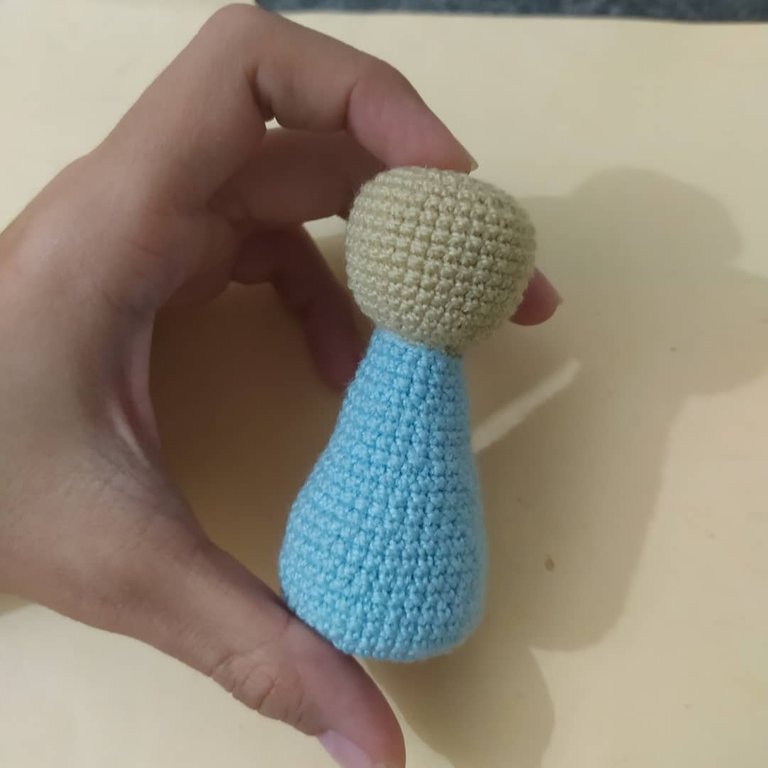
I filled in the head, then decreased until it was completely closed.
Arms:
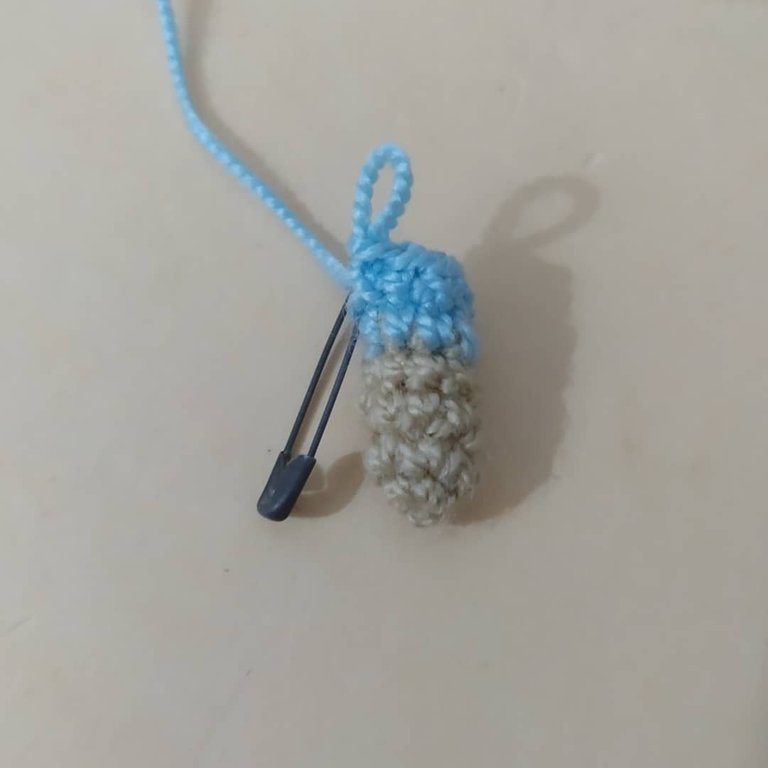
I started with the beige yarn making 4 low stitches in a magic ring, then did one round of increases, then two rounds of just low stitches and switched to light blue.
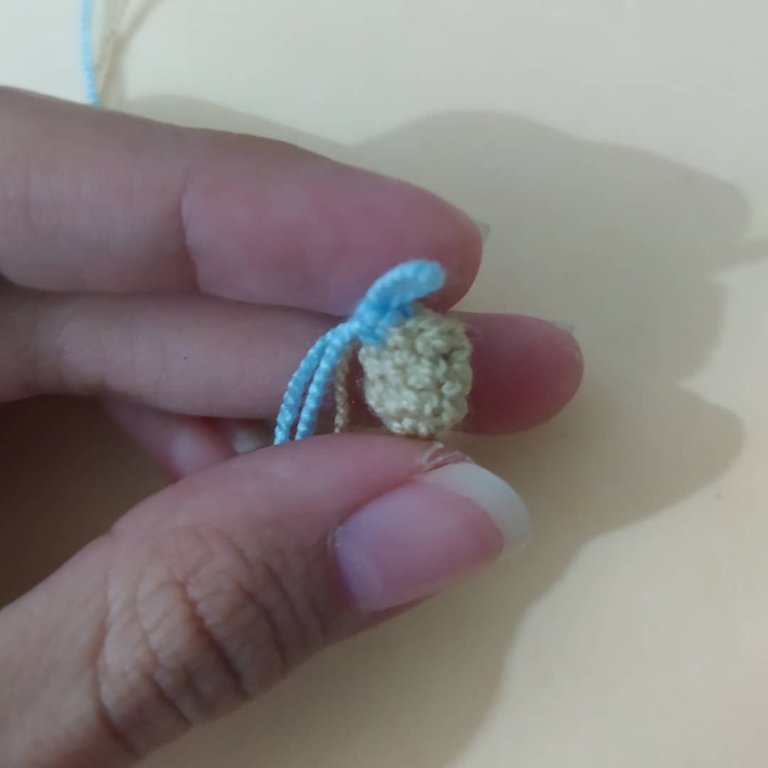
With the light blue yarn I made 9 rows of only single crochet, I did the process a second time to obtain the second arm.
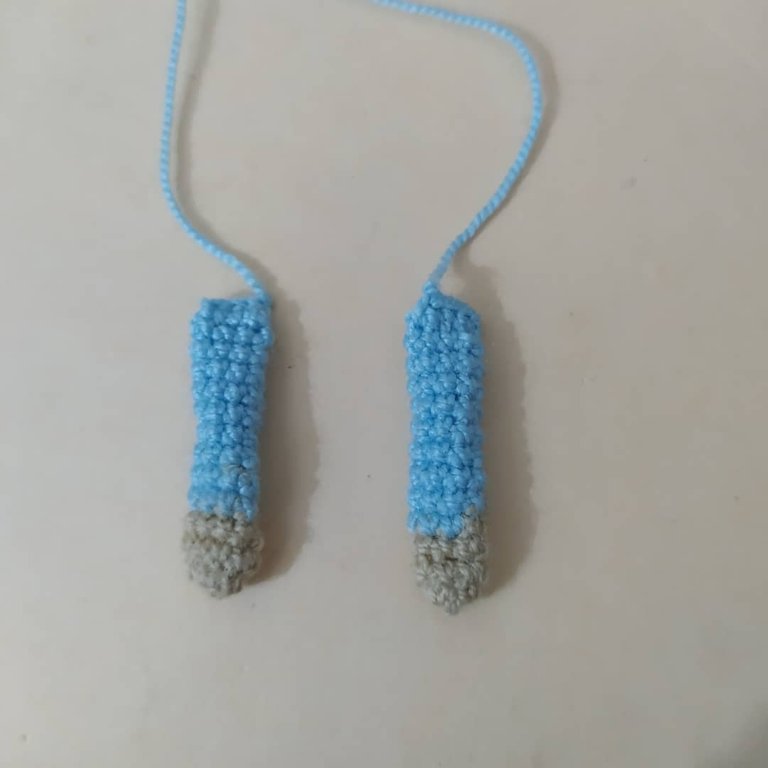
I sewed the arms to the body.
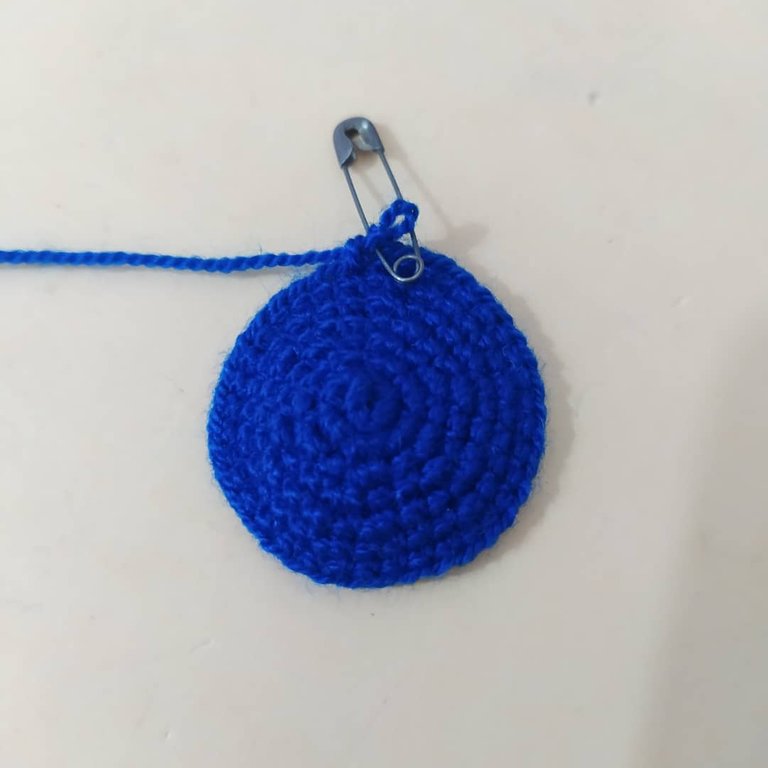
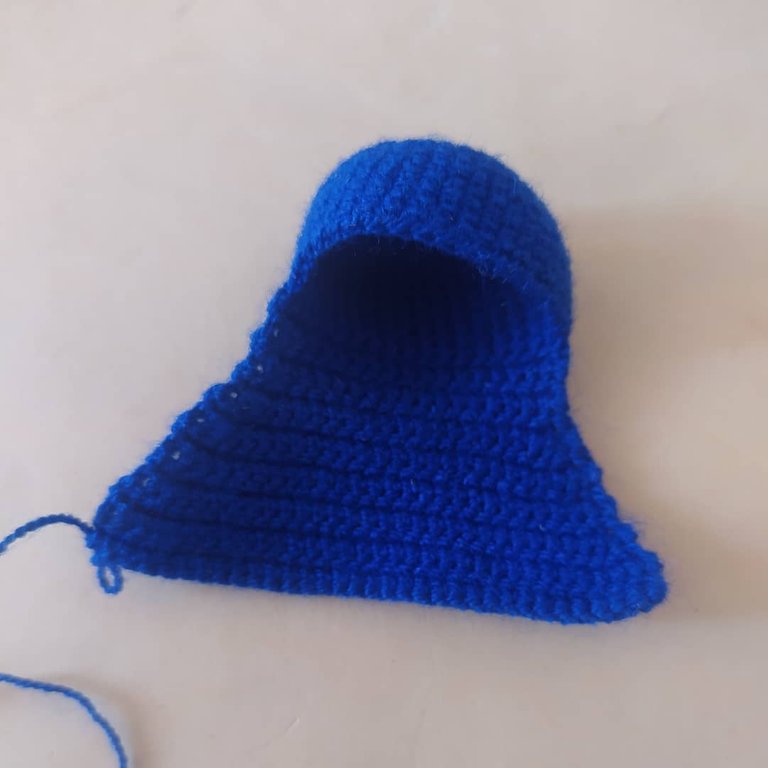
Mantle:
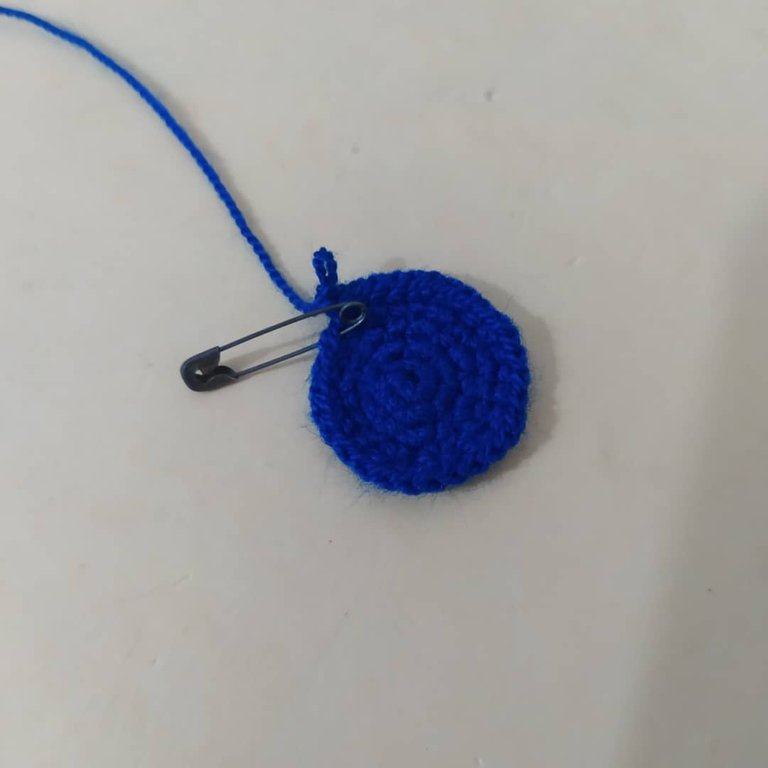
With the dark blue yarn I started the mantle with a magic ring of 6 low stitches. Then I made increases.
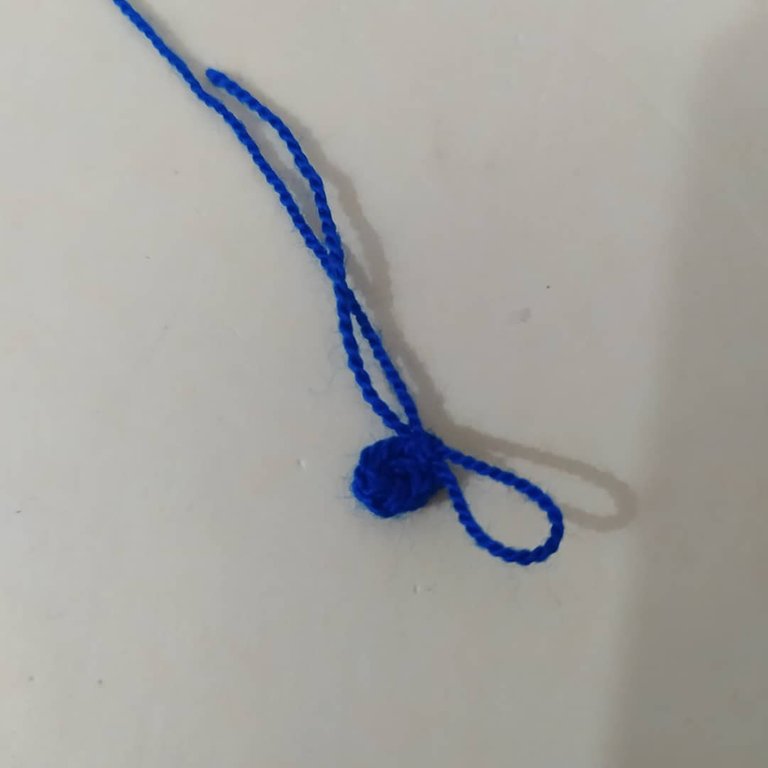
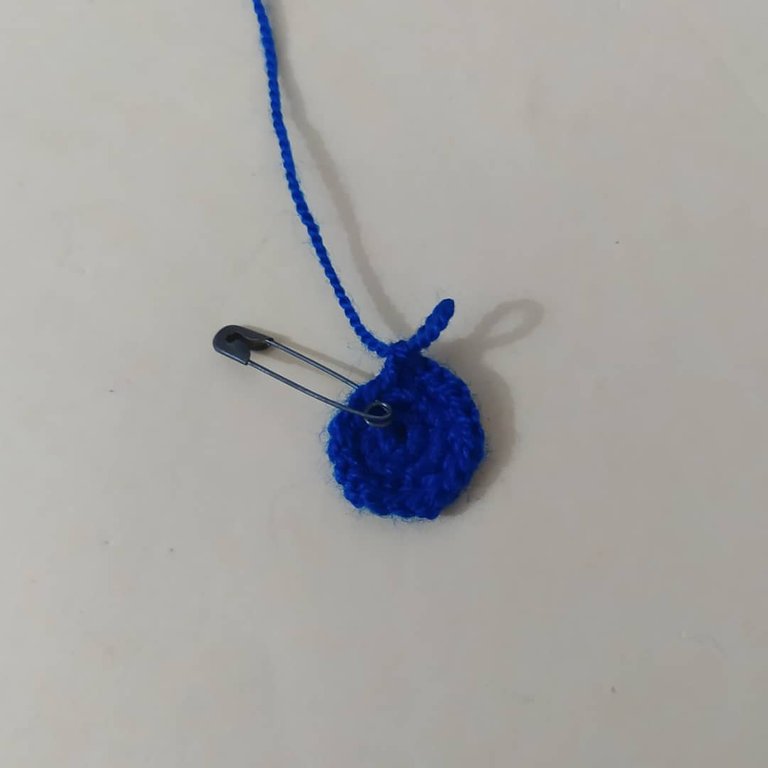
I continued to increase until I obtained the size of the head.
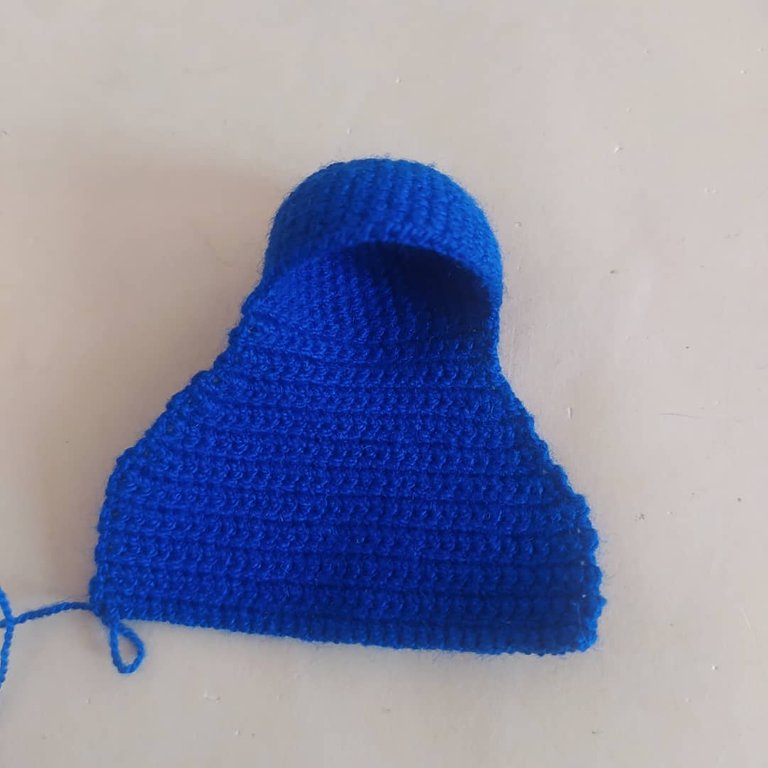
I knit 7 rows of single crochet. Here I stopped knitting in a spiral and started knitting in rows. I knit 18 single crochet loops.
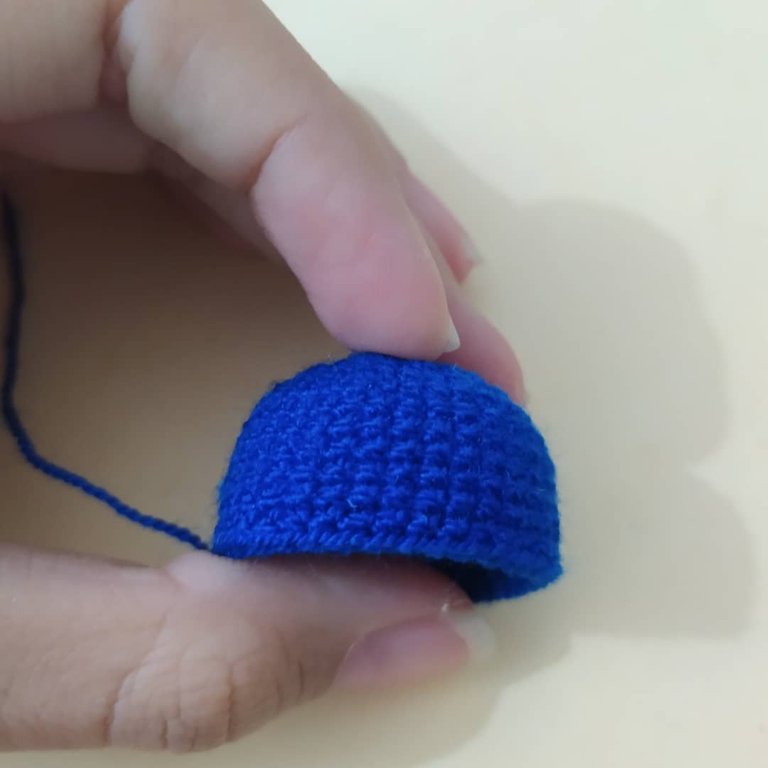
I made 4 rows of 18 single crochet stitches. Then I made four rows of increases.
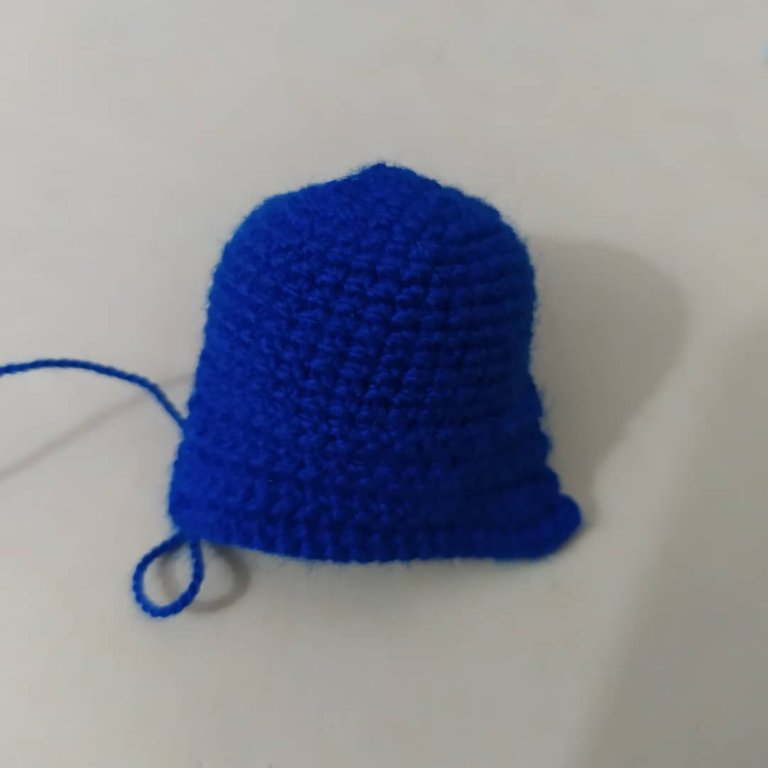

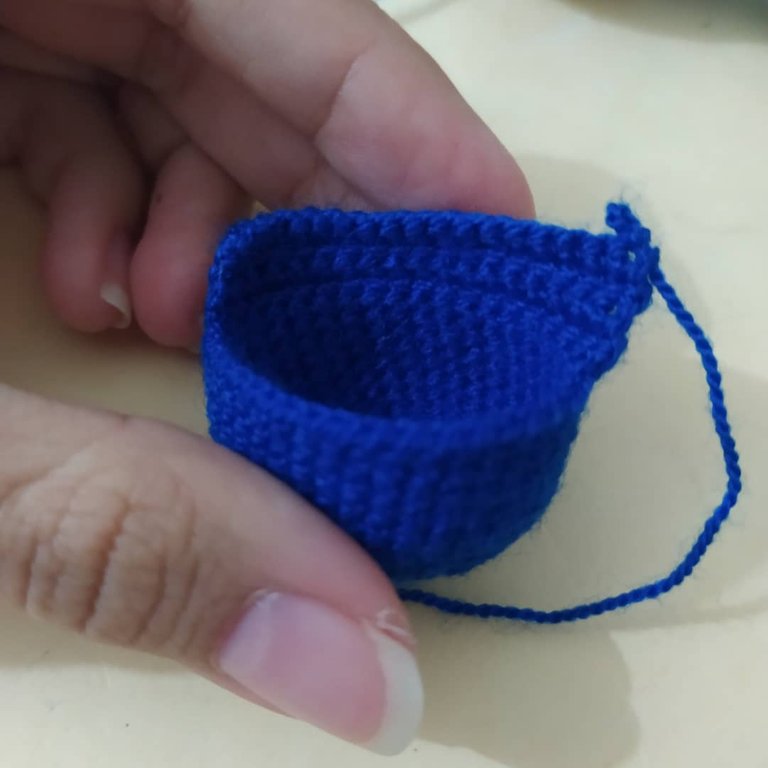
I continued to knit two rounds of single crochet and then continued to increase. I made nine rows of single crochet. I closed the work.
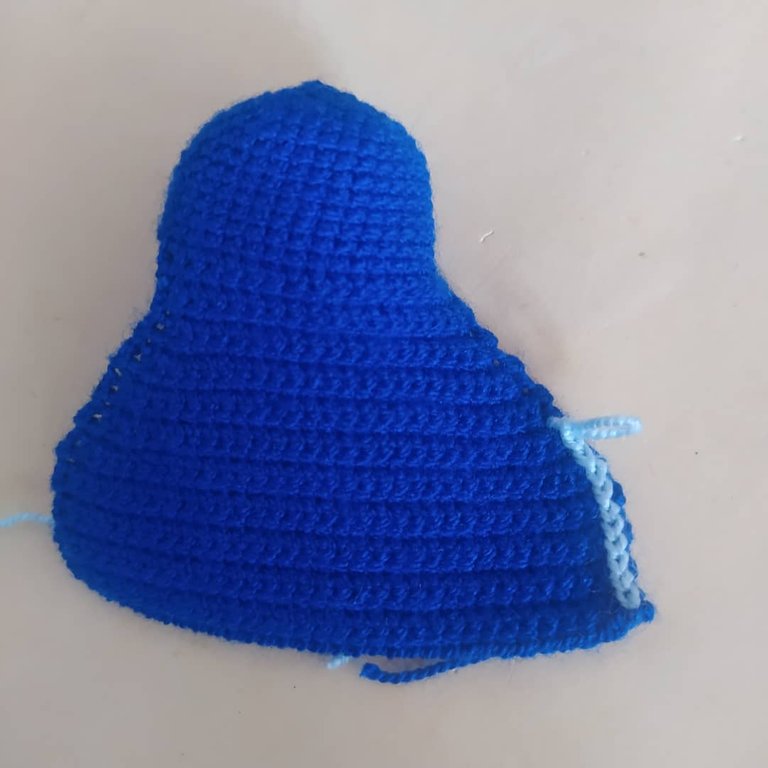
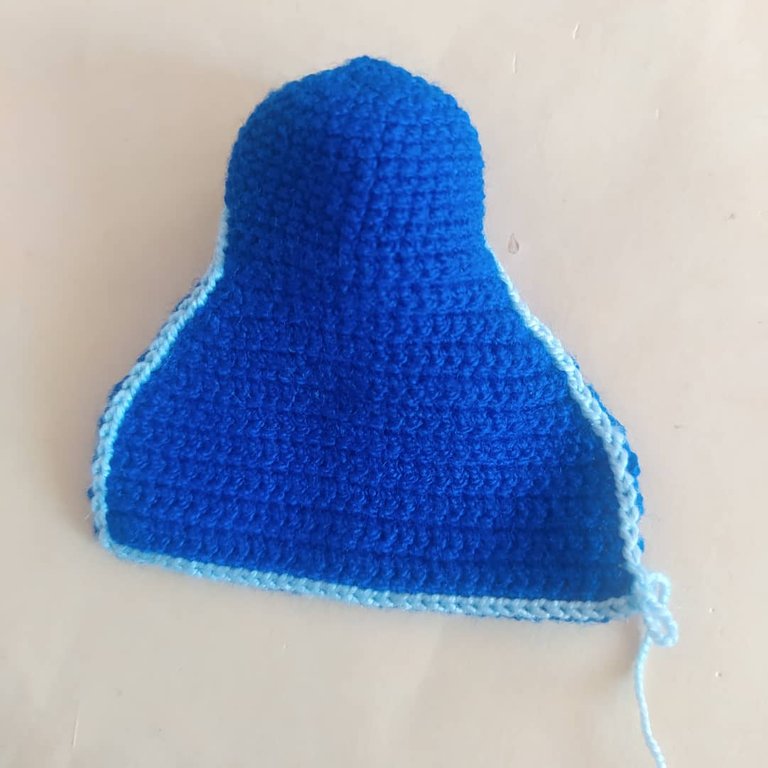
I took the light blue yarn again, and knitted the entire edge of the blanket. I closed and hid all the excess strands.
I sewed the hands.
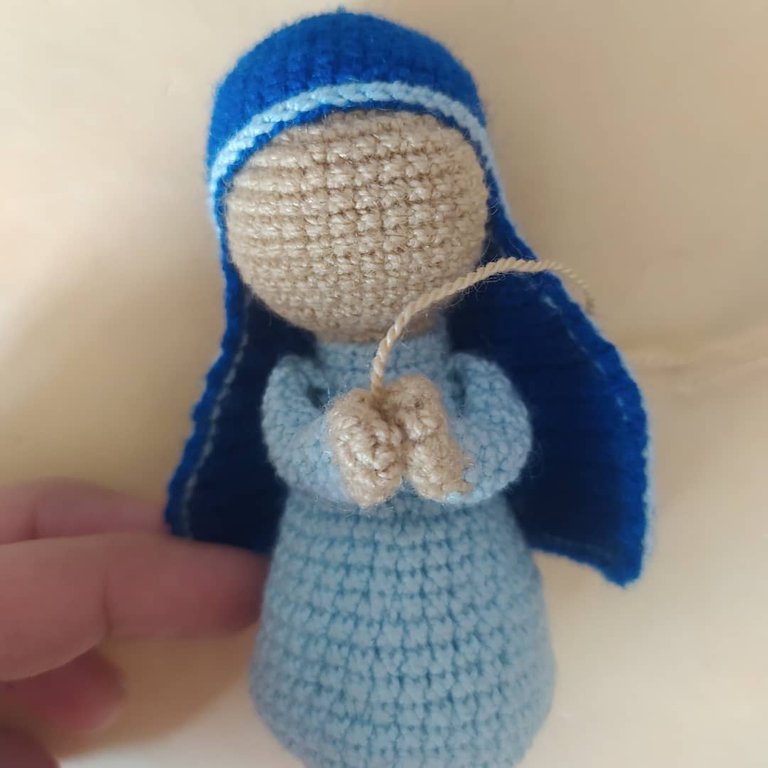
With brown sewing thread I embroidered her face. I sewed the mantle with light blue sewing thread.
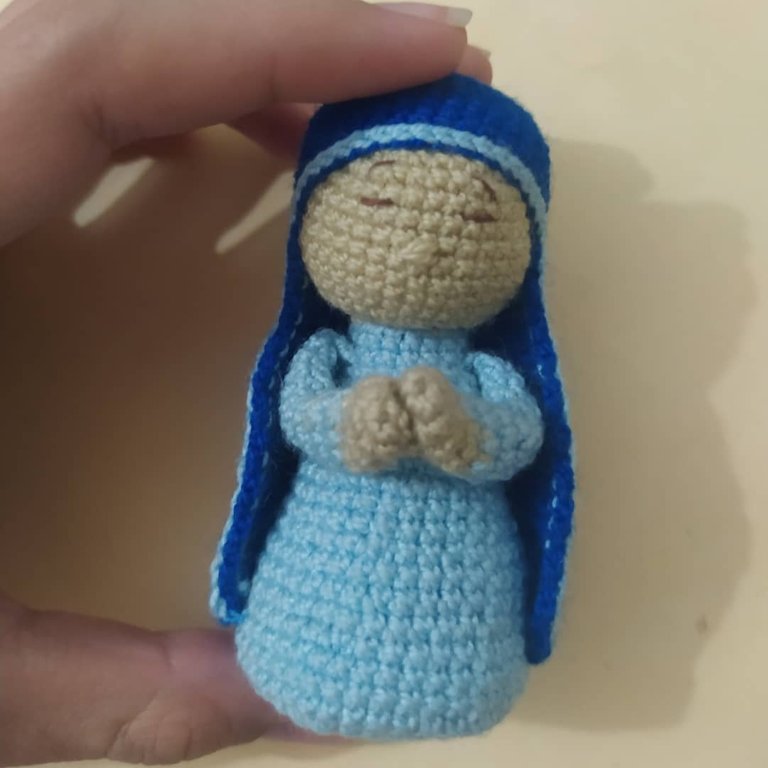
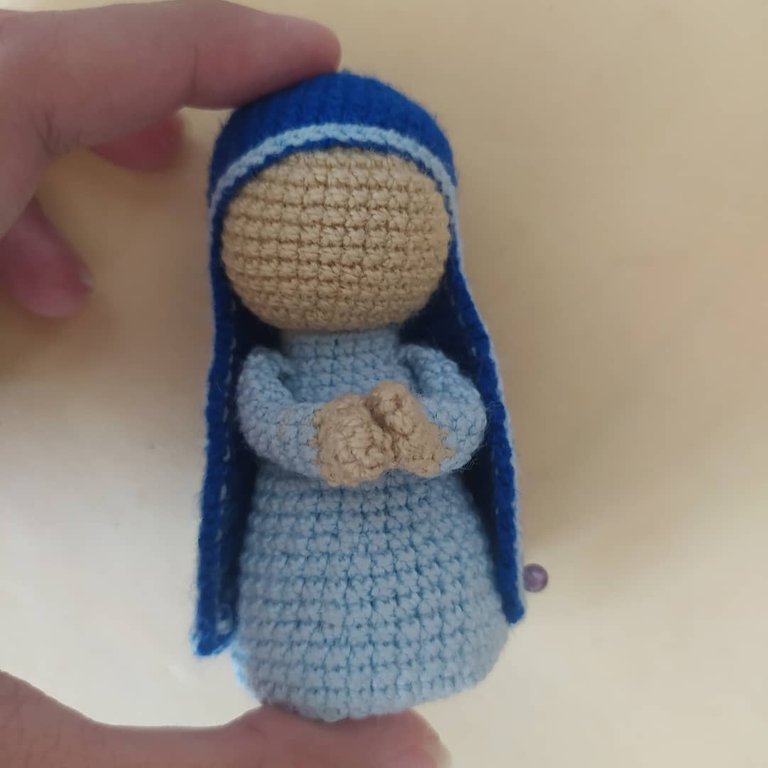
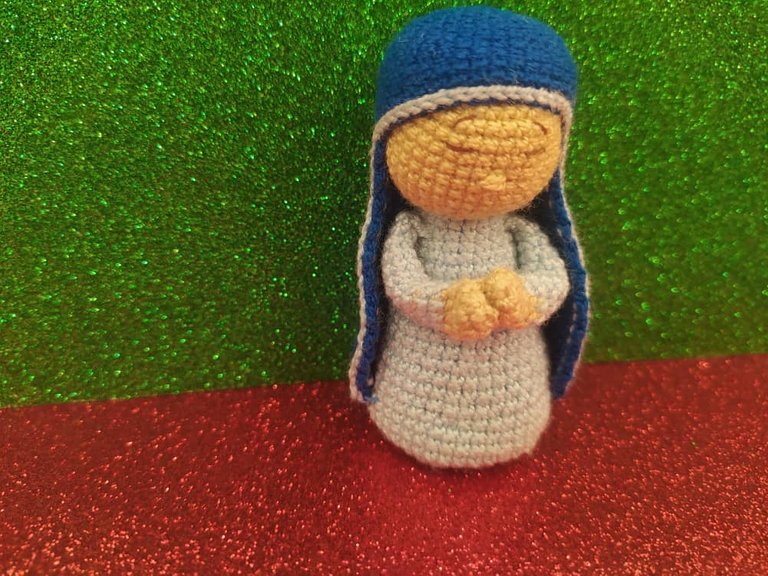
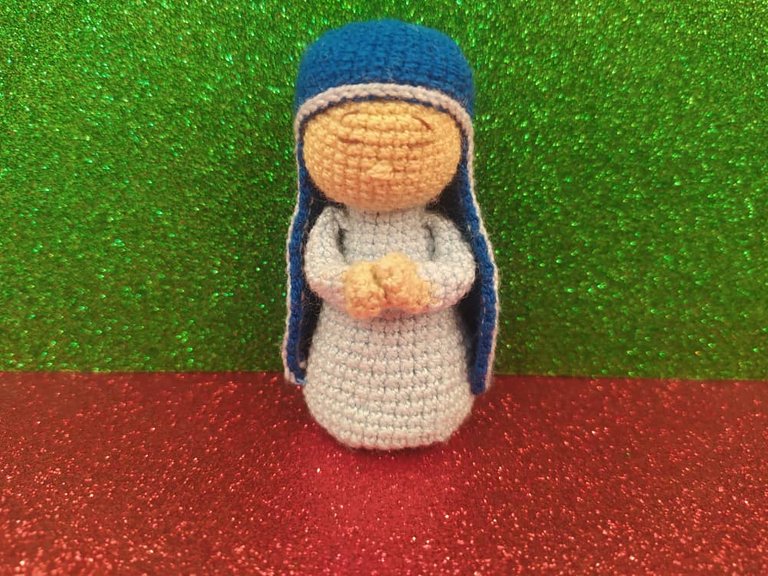
And this is how my Virgin looked like.
I hope you liked my Madonna and I hope my little brother likes it too. I'm very excited and I'm trying to be fast so that I also have time to give a gift to my dad and also to be able to participate in the contest proposed by @irenenavarroart.
🎄AHORA EN ESPAÑOL.🎄
Cabeza y cuerpo:
Con el hilo azul claro inicié con un anillo mágico de 6 puntos bajos. Hice aumentos en la siguiente vuelta.
Continué haciendo aumentos.
Después de tener el tamaño deseado hice vueltas de puntos bajos para comenzarle a dar forma.
Agarré mi acetato y recorté un círculo del tamaño de la base y la pegué en la base con silicón líquido para darle estabilidad al cuerpo.
Hice una vuelta de disminución, en la siguiente vuelta hice de puntos bajos.
Seguí haciendo una vuelta de disminuciones, y otra de puntos bajos.
Rellené bien el cuerpo y continué haciendo el paso anterior hasta tener casi el cuerpo cerrado.
Disminuí hasta que me quedaran 18 puntos bajos. Cambié de color a beige e hice 18 puntos bajos tomando solo la hebra trasera. Luego hice 18 puntos bajos tomando la hebra delantera.
Comencé a aumentar nuevamente para formar la cabeza.
Hice vueltas de puntos bajos para obtener el tamaño deseado.
Rellené la cabeza, después disminuciones hasta haberla cerrado completamente.
Brazos:
Comencé con el hilo beige haciendo 4 puntos bajos en un anillo mágico, luego hice una vuelta de aumentos, después dos vueltas de solo puntos bajos y cambié al color azul claro.
Con el hilo de color azul claro hice 9 vueltas de solo puntos bajos, el proceso lo hice una segunda vez para obtener el segundo brazo.
Cosí los brazos al cuerpo.
Manto:
Con el hilo azul oscuro inicié el manto con un anillo mágico de 6 puntos bajos. Luego hice aumentos.
Seguí aumentando hasta obtener el tamaño de la cabeza.
Hice 7 vueltas de puntos bajos. Aquí dejé de tejer en espiral y comencé tejer en filas. Hice 18 puntos bajos.
Hice 4 vueltas de 18 puntos bajos. Después hice cuatro vueltas de aumentos.
Continué haciendo dos vueltas de puntos bajos y luego seguí aumentando. Hice nueve vueltas de solo puntos bajos. Cerré la labor.
Tomé el hilo azul claro nuevamente, e hice puntos rasos por toda la orilla de la manta. Cerré y escondí todas las hebras sobrantes.
Cosí las manos.
Con hilo de coser marrón le bordé la cara. Le cosí el manto con hilo de coser azul claro.
Y así quedó mi Virgen.
Espero les haya gustado mi Virgen y espero que a mi hermanito también le guste. Estoy muy emocionada y trato de ser veloz para que también me dé tiempo de hacerle un regalo a mi papá y también de poder participar en el concurso que propuso @irenenavarroart.
You have reached the end of my post. Thanks for reading me❤️ Have a nice day 😊❤️ If you need help do not hesitate to write me on my Discord Ivycrafts#0396.❤️
Has llegado al final de mi publicación. Gracias por leerme❤️ Ten un lindo día 😊❤️ Si necesitas ayuda no dudes en escribirme a mi Discord Ivycrafts#0396.❤️
Text and photos are my authorship. Text translated with DeepL. Photos taken with my Xiaomi Redmi 8. Gif created with Canva.
Texto y fotos son de mi autoría. Texto traducido con DeepL. Fotos sacadas con mi Xiaomi Redmi 8. Gif creado con Canva.


Has sido votado por
PROYECTO ENLACE
'Conectando Ideas y Comunidades'
PROYECTO ENLACE es un proyecto de curación de habla hispana enfocado en recompensar contenido de calidad y apoyar autores en su proceso de crecimiento en HIVE.
Creemos y apostamos por el futuro de esta gran plataforma, y estamos muy emocionados de poder hacerla crecer junto a esta comunidad. Así que te invitamos a usar nuestra etiqueta ENLACE y estar atento a todas las actividades que tenemos preparadas y que estaremos publicando en breve.
¿QUIERES AUTOMATIZAR TUS GANANCIAS DE CURACIÓN? SE PARTE DEL PROYECTO ENLACE APOYANDO A NUESTRO TRAIL EN HIVE.VOTE INGRESA AQUÍ PARA CONOCER LOS DETALLES.
¿QUIERES INVERTIR ENLACE? DESCUBRE COMO HACERLO Y GENERAR INGRESOS DE FORMA SEMANAL MEDIANTE TU DELEGACIÓN DE HP AQUÍ TE EXPLICAMOS COMO.
Te invitamos a participar en nuestro servidor de Discord: https://discord.gg/3S9y7BbWfS
Atentamente
EQUIPO ENLACE 2021
Congratulations @ivycrafts! You have completed the following achievement on the Hive blockchain and have been rewarded with new badge(s):
Your next target is to reach 1500 upvotes.
You can view your badges on your board and compare yourself to others in the Ranking
If you no longer want to receive notifications, reply to this comment with the word
STOPTo support your work, I also upvoted your post!
Check out the last post from @hivebuzz:
Thanks @hivebuzz 🐝❤️
De nada @ivycrafts, es un placer 😊🌹 ¡Gracias por su participación de lesiones!
https://twitter.com/IvyArtGurumi/status/1468977021137084429
The rewards earned on this comment will go directly to the person sharing the post on Twitter as long as they are registered with @poshtoken. Sign up at https://hiveposh.com.
Me encanto tu post, se nota tu dedicación a la hora de hacer tu manualidad, excelente. Que tengas un feliz y bendecido día 🙏
Muchísimas gracias ❤️ agradecida con tu bello comentario. Feliz y bendecido día ❤️
That is really cute! You are really talented. You could probably open up a shot and do this for a living. 🤗
Thank you so much, I have tried to sell but the only one who buys from me is my best friend, already the others say I sell everything expensive. As if the workmanship is not worth it 🥺.
Wow beautiful really beautiful thanks for sharing
Thanks!!!❤️
¡Felicitaciones!
1. Invierte en el PROYECTO ENTROPÍA y recibe ganancias semanalmente. Entra aquí para más información.
3. Suscríbete a nuestra COMUNIDAD, apoya al trail de @Entropia y así podrás ganar recompensas de curación de forma automática. Entra aquí para más información sobre nuestro trail.
4. Creación de cuentas nuevas de Hive aquí.
5. Visita nuestro canal de Youtube.
Atentamente
El equipo de curación del PROYECTO ENTROPÍA
Hola @ivycrafts es un gusto saludarte. Te felicito por tu hermosa creación,me gustó mucho, es una figura muy delicada con un acabado muy prolijo. Gracias por compartir el paso a paso con nosotros, estoy segura que lo usaré algún día. Saludos.
Muchísimas gracias @kattycrochet. Me alegra mucho que te haya gustado. Feliz y bendecido Sábado ❤️
Muy lindo. Me encantó.
Muchísimas gracias ❤️