Como lograr una torta marmoleada con cacao suave, humedad y muy deliciosa. (Esp/Eng)
Definitivamente la torta marmoleada con chocolate es de favoritas, me recuerda a mi infancia unos panqué cuadrados llamados once- once que se acostumbraba comer en la merienda con una malta fría o un vaso de leche, la suavidad y lo húmedo que eran y se te desmoronaba en la boca de una manera tan sutil, que eran inigualables, ahora de adulto que realizó tortas siempre busco esa suavidad y humedad en mis tortas, pero por mucho tiempo no lo lograba por qué la parte de chocolate sentía que dejaba muy seca la preparación, hasta que por fin conseguí el secreto se trata de hidratar el cacao antes de agregarlo, el un poquito de agua caliente o aceite y crear una especie de pasta de chocolate, que por estar hidratada no le resta humedad a nuestro pastel.
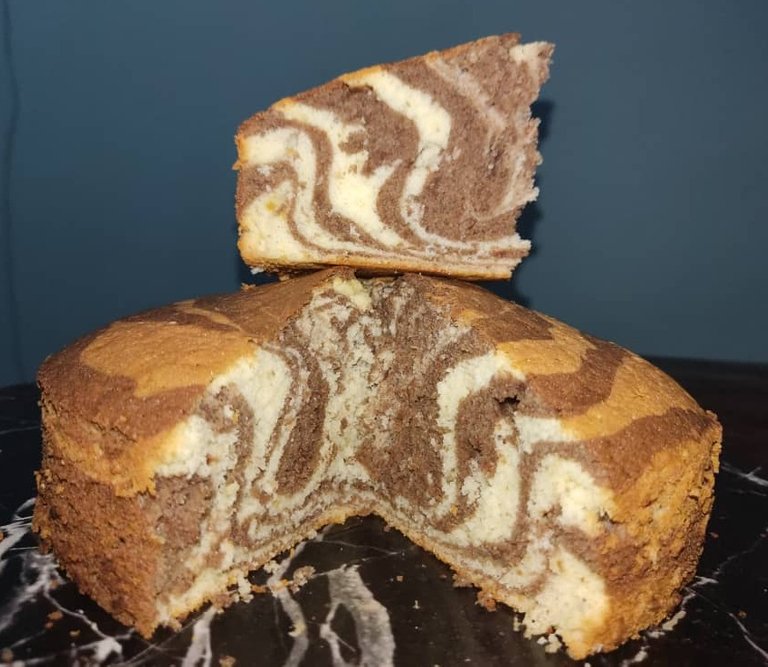
Les cuento que el camión del panqué pasaba 1 vez por semana por la panadería de mi papa, yo como toda niña pila le agarraba hasta la hora al camión, para saborear los panques fresco y recién llegados, ahora todavía se pueden comprar en algunos establecimientos pero no son tan comunes y accesibles como en los viejos tiempos, además que para mí el sabor ya no es igual, así que me conformo con hacer mis torta marmoladas que a mi hija le encantan y lo sustituyen bastante bien, por eso hoy quise compartir esta técnica para que la intenten en casa y vean la gran diferencia que se percibe en el resultado final de la preparación de nuestra torta al hidratar el cacao por unos minutos, así que vamos con esta maravillosa combinación de sabores de hoy.
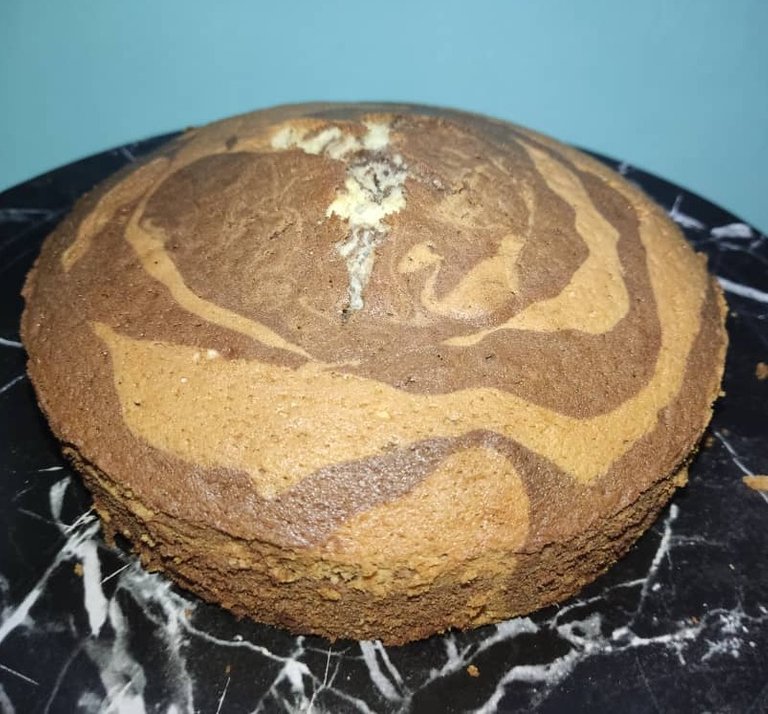
Primero que nada, tendremos lista una mezcla de torta de vainilla, yo la realizo de la siguiente manera
100% harina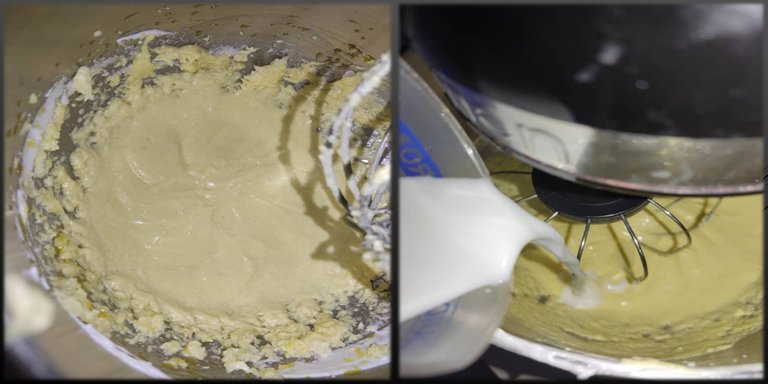
Luego agregamos la esencia parte de la harina con el resto de la leche, integramos primero con la paleta o batidor de mano y luego por 1 minuto con la batidora para eliminar cualquier grumo. En este momento agregaremos nuestras claras con una paleta poco a poco para que no pierdan el volumen.
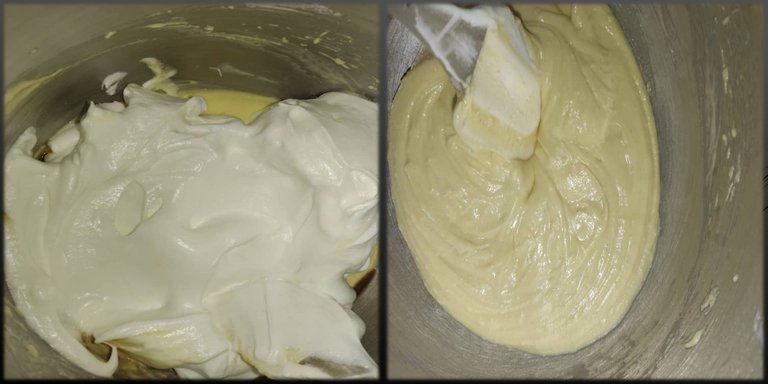
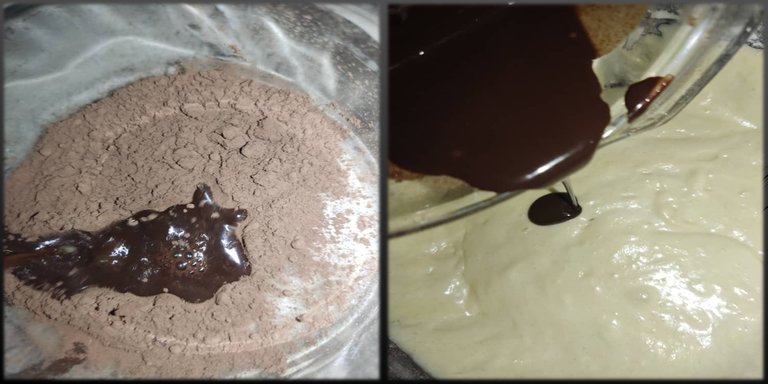
A continuación, dividimos nuestra masa en dos partes iguales, a mí me gusta pesarla para mayor exactitud, ahora hidratamos nuestro cacao con agua caliente o aceite, realizaremos una especie de crema e incorporamos a una de nuestra parte de mezcla con una paleta para no bajar su volumen, de forma envolvente.
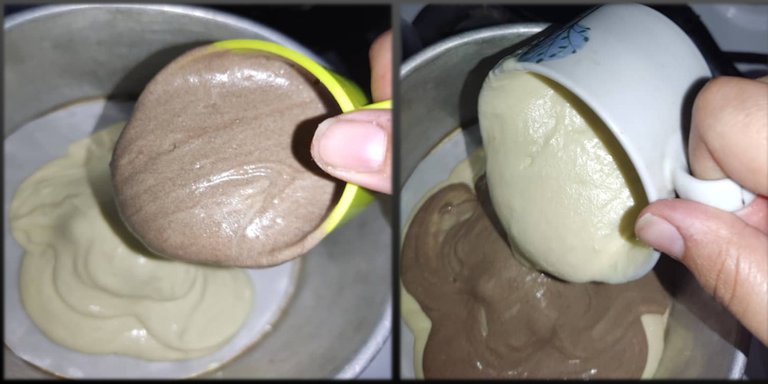
En el molde previamente engrasado, añadimos una taza de mezcla de vainilla y sobre esta una taza de la mezcla de chocolate. Repetimos los mismos pasos hasta terminar con las dos mezclas.
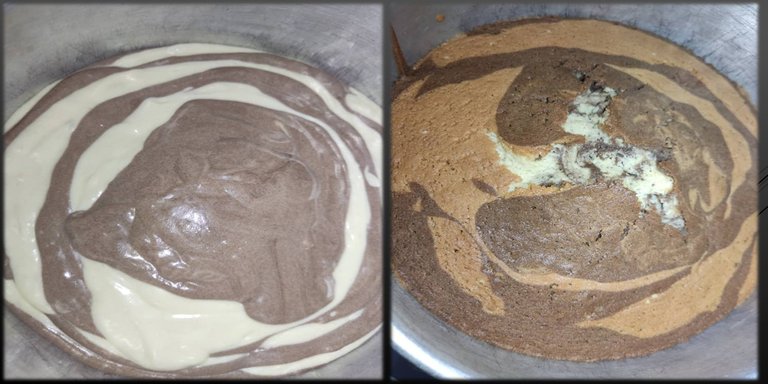
Esta se cocinará en un tiempo aproximado de 30 minutos. Recordemos que esto varía según nuestro horno. No abrir el horno durante la cocción, sabremos que nuestra torta está lista porque se desprende de las paredes del molde y tiene un color dorado, Al retirar del horno dejamos que se enfrié y desmoldamos.
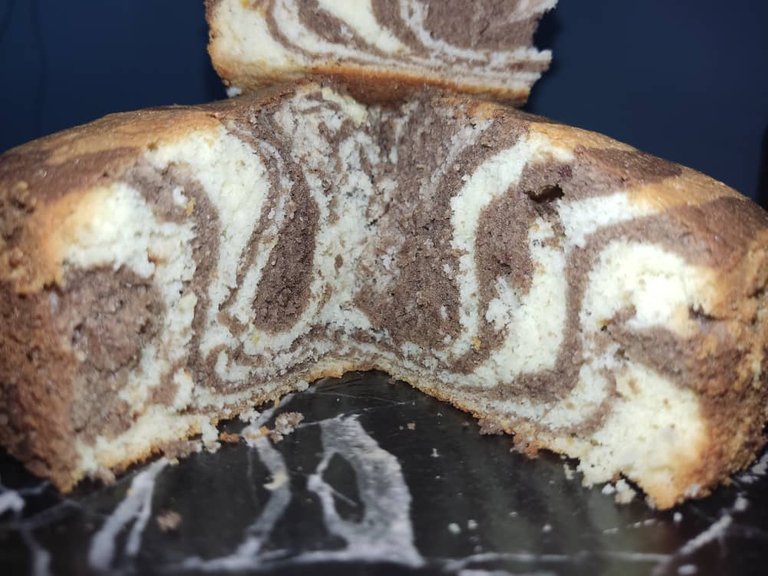
El resultado final
Todas las imágenes son de mi propiedad, tomadas con la cámara de mi teléfono Poco X3 Pro y otras están publicadas en mis Instagram personal Valeria.sweet.and.cake. Traducido con https://www.deepl.com/es/translator


Les cuento que el camión del panqué pasaba 1 vez por semana por la panadería de mi papa, yo como toda niña pila le agarraba hasta la hora al camión, para saborear los panques fresco y recién llegados, ahora todavía se pueden comprar en algunos establecimientos pero no son tan comunes y accesibles como en los viejos tiempos, además que para mí el sabor ya no es igual, así que me conformo con hacer mis torta marmoladas que a mi hija le encantan y lo sustituyen bastante bien, por eso hoy quise compartir esta técnica para que la intenten en casa y vean la gran diferencia que se percibe en el resultado final de la preparación de nuestra torta al hidratar el cacao por unos minutos, así que vamos con esta maravillosa combinación de sabores de hoy.

**Torta Marmoleada **
Primero que nada, tendremos lista una mezcla de torta de vainilla, yo la realizo de la siguiente manera
100% harina
100% Azúcar
50% Margarina
50% liquido
1 huevo por cada 100 gramos de harina
Levantamos las claras a punto de nieve con la mitad del azúcar y reservamos. En la batidora o con una paleta cremamos la margarina con el azúcar, hasta que la preparación tome un color blanquecino, agregamos la yemas y parte de la leche.

Luego agregamos la esencia parte de la harina con el resto de la leche, integramos primero con la paleta o batidor de mano y luego por 1 minuto con la batidora para eliminar cualquier grumo. En este momento agregaremos nuestras claras con una paleta poco a poco para que no pierdan el volumen.

A continuación, dividimos nuestra masa en dos partes iguales, a mí me gusta pesarla para mayor exactitud, ahora hidratamos nuestro cacao con agua caliente o aceite, realizaremos una especie de crema e incorporamos a una de nuestra parte de mezcla con una paleta para no bajar su volumen, de forma envolvente.

En el molde previamente engrasado, añadimos una taza de mezcla de vainilla y sobre esta una taza de la mezcla de chocolate. Repetimos los mismos pasos hasta terminar con las dos mezclas.

Esta se cocinará en un tiempo aproximado de 30 minutos. Recordemos que esto varía según nuestro horno. No abrir el horno durante la cocción, sabremos que nuestra torta está lista porque se desprende de las paredes del molde y tiene un color dorado, Al retirar del horno dejamos que se enfrié y desmoldamos.


English
Definitely the marbled cake with chocolate is a favorite, it reminds me of my childhood a square pancake called eleven-eleven that used to be eaten at snack time with a cold malt or a glass of milk, the softness and moistness that were and crumbled in your mouth in such a subtle way, they were unmatched, now as an adult who made cakes I always look for that softness and moisture in my cakes, but for a long time I could not achieve it because the chocolate part felt that it left the preparation too dry, until I finally got the secret is to hydrate the cocoa before adding it, the a little bit of hot water or oil and create a kind of chocolate paste, which by being hydrated does not detract moisture to our cake.

I tell you that the pancake truck used to pass by my dad's bakery once a week, I like every little girl used to catch the truck until the hour, to savor the fresh and just arrived pancakes, now you can still buy them in some establishments but they are not as common and accessible as in the old days, plus for me the taste is no longer the same, so I'm content with making my marble cakes that my daughter loves and replace it quite well, so today I wanted to share this technique so you can try it at home and see the big difference that is perceived in the final result of the preparation of our cake by hydrating the cocoa for a few minutes, so let's go with this wonderful combination of flavors today.

First of all, we will have a vanilla cake mix ready, I do it as follows
100% flour
Then we add the essence part of the flour with the rest of the milk, we integrate first with the paddle or hand beater and then for 1 minute with the mixer to eliminate any lumps. At this moment we will add our egg whites with a paddle little by little so that they do not lose volume.

Next, we divide our dough into two equal parts, I like to weigh it for greater accuracy, now we hydrate our cocoa with hot water or oil, we will make a kind of cream and incorporate one of our part of the mixture with a paddle so as not to lower its volume, in an enveloping way.

In the previously greased mold, add a cup of vanilla mixture and on top of it a cup of the chocolate mixture. Repeat the same steps until both mixtures are finished.

It will cook in approximately 30 minutes. Remember that this varies according to your oven. Do not open the oven during cooking, we will know that our cake is ready because it comes off the walls of the mold and has a golden color, When removing from the oven let it cool and unmold.

The final result

All images are my own, taken with my Poco X3 Pro phone camera and others are posted on my personal Instagram Valeria.sweet.and.cake. Translated with https://www.deepl.com/es/translator


I tell you that the pancake truck used to pass by my dad's bakery once a week, I like every little girl used to catch the truck until the hour, to savor the fresh and just arrived pancakes, now you can still buy them in some establishments but they are not as common and accessible as in the old days, plus for me the taste is no longer the same, so I'm content with making my marble cakes that my daughter loves and replace it quite well, so today I wanted to share this technique so you can try it at home and see the big difference that is perceived in the final result of the preparation of our cake by hydrating the cocoa for a few minutes, so let's go with this wonderful combination of flavors today.

** Marbled Cake **
First of all, we will have a vanilla cake mix ready, I do it as follows
100% flour
100% Sugar
50% Margarine
50% liquid
1 egg per 100 grams of flour
Beat the egg whites until stiff with half of the sugar and set aside. In the mixer or with a paddle, cream the margarine with the sugar until the preparation takes a whitish color, add the egg yolks and part of the milk.

Then we add the essence part of the flour with the rest of the milk, we integrate first with the paddle or hand beater and then for 1 minute with the mixer to eliminate any lumps. At this moment we will add our egg whites with a paddle little by little so that they do not lose volume.

Next, we divide our dough into two equal parts, I like to weigh it for greater accuracy, now we hydrate our cocoa with hot water or oil, we will make a kind of cream and incorporate one of our part of the mixture with a paddle so as not to lower its volume, in an enveloping way.

In the previously greased mold, add a cup of vanilla mixture and on top of it a cup of the chocolate mixture. Repeat the same steps until both mixtures are finished.

It will cook in approximately 30 minutes. Remember that this varies according to your oven. Do not open the oven during cooking, we will know that our cake is ready because it comes off the walls of the mold and has a golden color, When removing from the oven let it cool and unmold.


0
0
0.000
Muy buena receta amiga, me encanto todo el procedimiento, y sobretodo el dato del chocolate, de verdad que quisiera intentarlo. Saluditos!!!!!!!
Hola!! si ese procedimiento te permite obtener mejores resultados!! Y queda deliciosa y esponjosa!
Gracias por compartir 😃 la receta amiga @irenebarreto se ve quedo muy deliciosa 😋.
Hola!! Amiga si estaba deliciosa.Seguro si la haces te encantará!! 😊
delicious 😋
😊😊
Your content has been voted as a part of Encouragement program. Keep up the good work!
Use Ecency daily to boost your growth on platform!
Support Ecency
Vote for new Proposal
Delegate HP and earn more
Gracias por el apoyo 😊