Creating my 2025 calendar | [ENG |ESP]
Creating my 2025 calendar
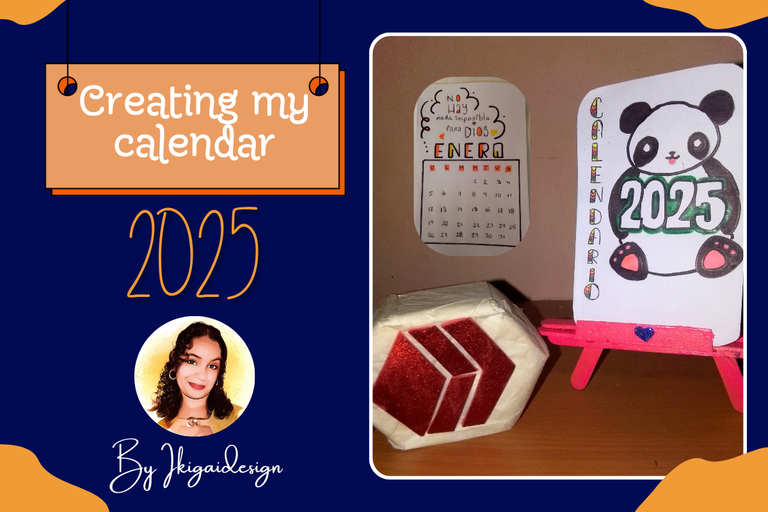
Yes, friends, as you read, I'm already getting ahead of myself, and I've decided to make my calendar for this new year, manually, by hand. I confess it has been quite a process, but as I always say, it's worth it to see the final result.
For this calendar I used the following materials:
📌 Popsicle sticks
📌 White sheets of paper
📌 Markers
📌 Scissors
📌 Glue
📌 Graphite pencil
📌 Ink pencil
📌 Silicone
📌 White glue
Procedure:
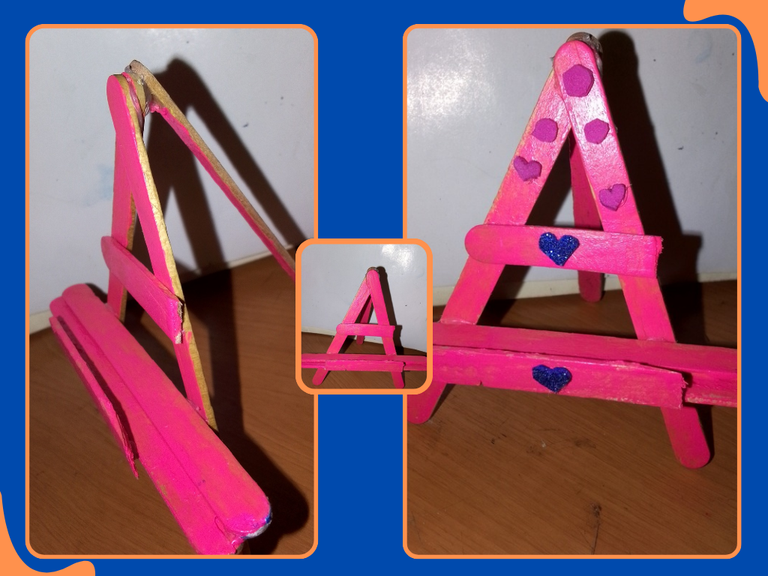
To start, I took my popsicle sticks to create the base of the calendar, for this I took two popsicles and glued them together in a triangular shape with silicone, then I took other popsicles for the bottom, sorry I didn't take photos of the step by step of this process, but it's simple, just as you see in the photos.
With this, I proceeded to manually create my monthly calendar, taking a small piece of white paper, first I outlined it with my graphite pencil, and then with the ink pen, I highlighted the letters.
I also used pink and yellow markers to highlight the name of each month.
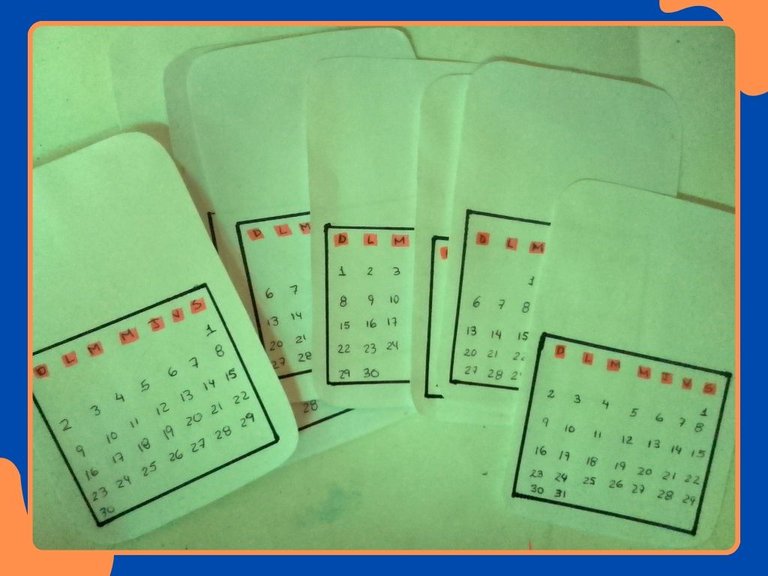
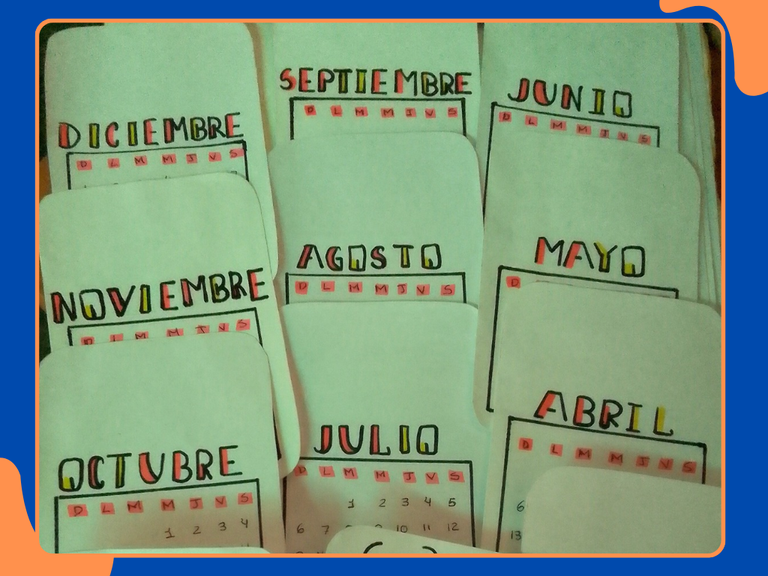
But since this is a special calendar, personalized for me, I wanted to add a positive phrase to each month, to read it all month long. It's a nice way to attract this beautiful energy, with little motivational phrases.
To do this, I did the same process, with my graphite pencil and then with ink. You might wonder why I do it this way. Well, it's easy, just in case I make a mistake, I can erase it and do it again, and then with the ink I can highlight it a little more, so it looks better, don't you think so...
Here I also applied highlights with markers, between pink, yellow, black and a little bit of red, placing different shapes to decorate.
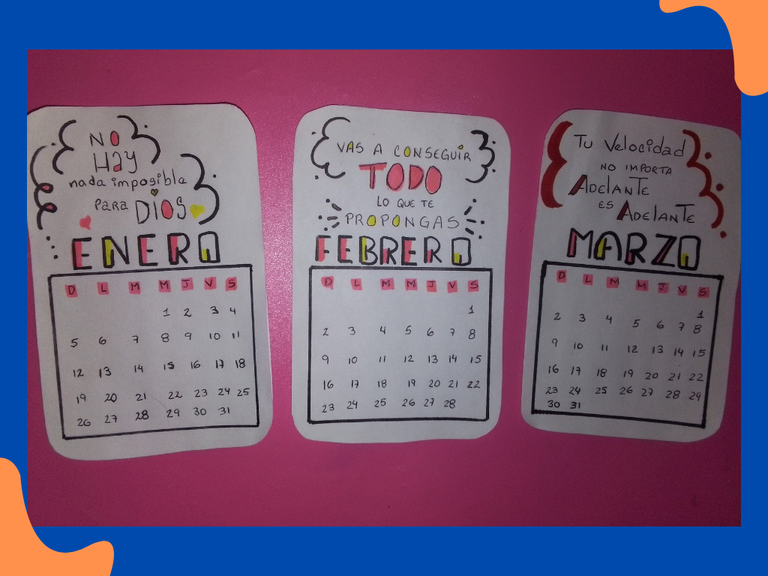
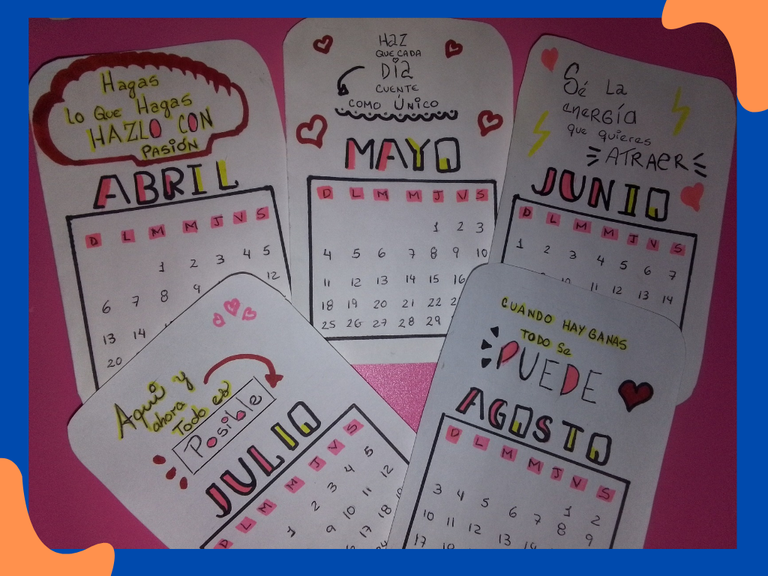
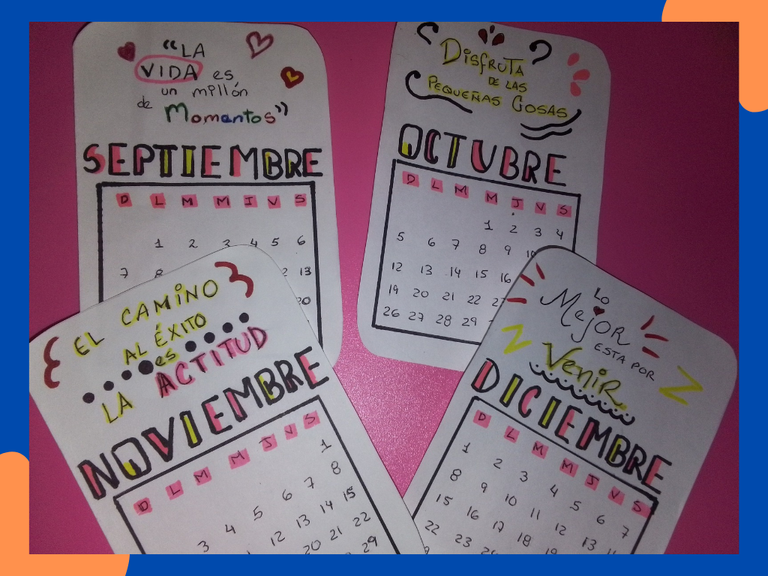
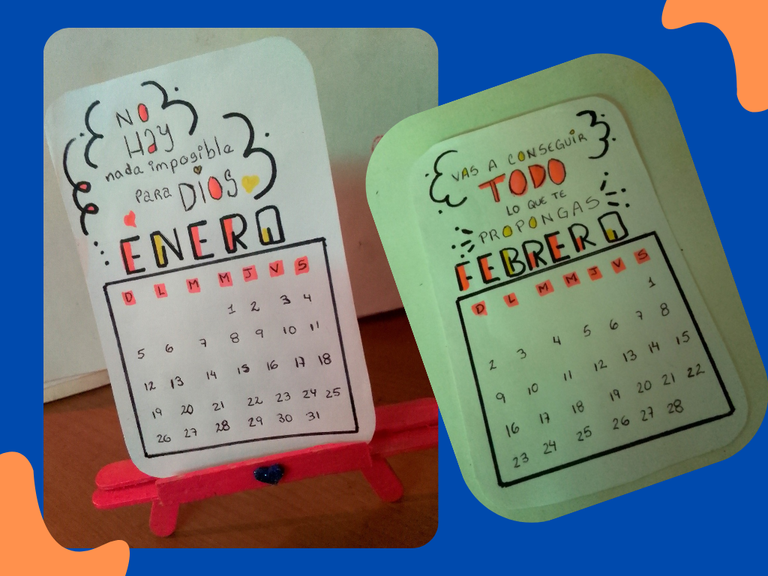
It took me some time to do it, it has its details, it didn't turn out perfect, I feel like I should add some other support so it doesn't come off, but well, I'll do that later.
The important thing is that I finished it, it was what I wanted to do for a while, and I'm glad I achieved it, it's those little achievements, that one should feel satisfied to achieve... I know you understand me 😁💪
To finish I made a small cover, with this panda bear, and that's how it turned out🤪
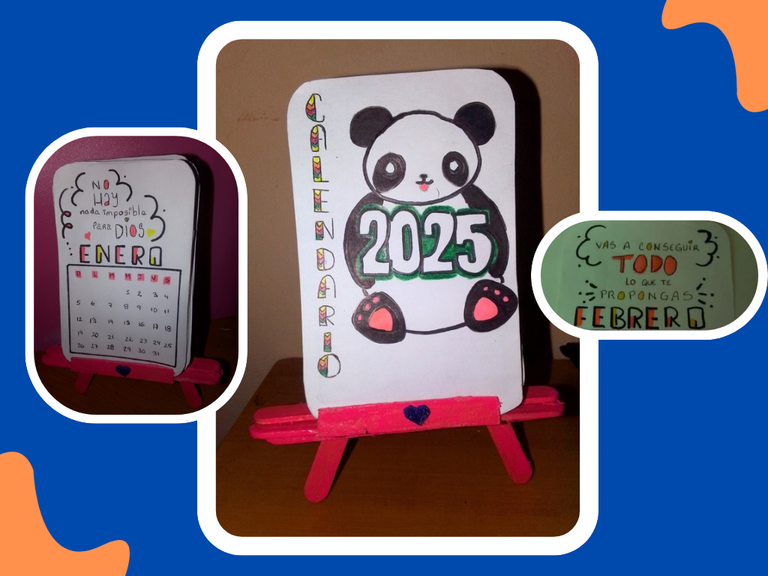
Well friends, I hope you liked it as much as I did, and that you dare to make your own calendar, it's an entertaining, creative and relaxing task, why not!!
❤️The important thing is to let yourself be carried away by your imagination❤️
SPANISH VERSION
Creando mi calendario 2025
Si amigos, así cómo lo leen, ya me estoy adelantando, y he decidido hacer mi calendario para este nuevo año, de forma manual, a pulso, confieso a sido todo un proceso, pero cómo siempre digo, vale la pena, por ver el resultado final.
Para este calendario use los siguientes materiales:
📌 Paletas de helado
📌 Hojas blancas
📌 Marcadores
📌 Tijera
📌 Pega
📌 Lápiz grafito
📌 Lápiz de tinta
📌 Silicón
📌 Pega blanca
Procedimiento:
Para iniciar, tome mis paletas de helado para crear la base del calendario, para esto tome dos paletas y con silicona las pegue en forma triángular, seguidamente tome otras paletas para la parte de abajo, disculpen que no tome fotos del paso a paso de este proceso, pero es sencillo, asi tal cual lo ven en las fotos.

Ya con esto, procedí a realizar de forma manual,mi calendario de cada mes, tomando un papel blanco pequeño, con mi lápiz grafito primero lo fui remarcando, y luego con el de tinta, resalte las letras.
Use marcadores rosado y amarillo también para resaltar, el nombre de cada mes.


Pero cómo este es un calendario especial, personalizado para mí, quise agregar a cada mes, una frase positiva, para leerlo todo el mes, es una bonita forma de atraer esa hermosa energía, con pequeñas frases motivadoras.
Para ello, realice el mismo proceso, con mi lápiz grafito y luego de tinta, se preguntarán, porque lo hago así, bueno fácil, por si acaso me equivoco, puedo borrar y volverlo hacer, y así con el de tinta ya remarcarlo, un poco más, y que se vea mejor, no les parece...
Aquí también aplique los resaltes con marcadores, entre rosado, amarillo, el negro y bueno un poco de rojo, colocando por otra parte, distintas formas para decorar.


Me tomó algo de tiempo hacerlo, tiene sus detalles, no quedo perfecto, siento que debo agregarle algún otro soporte para que no se salga, pero bueno eso lo haré más adelante.
Lo importante es que lo termine, era lo que quería hacer desde hace un tiempo, y me alegro haberlo logrado, son esos pequeños logros, que uno debe sentirse satisfecho de conseguirlo...yo sé que ustedes me entienden 😁💪
Para finalizar hice una pequeña portada, con este oso panda, y tal me quedo🤪

Bueno amigos, espero les haya gustado cómo a mí, y se atrevan hacer su calendario manual, es una tarea entretenida, creativa y relajante, porque no!!😁
❤️Lo importante es dejarse llevar por la imaginación❤️
RECURSO / RESOURCE:
Pictures: Photos Tecno Pop 7
Translation/Traducción:👉 DeepL Traductor
Edition/Edición:Cover and banner with Canva /Portada y banner con Canva
Edition/Edición :Canva Separator/Separador Canva

Hola amiga bella, es una gran idea. Con esa organización, las cosas irán marchando muy bien. Te quedo lindo 😘
Así es, es una buena forma para organizarse, gracias por pasar, saludos.😁
Wow! This is impressive and your calendar looks really nice. The time and effort you put into making this was worth it. Well done and thanks for sharing.
Yes, it took me some time, but it was definitely worth it, I liked the result, thanks for the support, greetings.
This is really nice and also education, thank you for sharing this knowledge with us,I guess am going to try it also at least for my kids.
That's good, the truth is yes, it's creative and even fun, I hope you get encouraged and do it, greetings
Esta muy bonito me encanto, tiene muchas frases motivadoras para que declares un año excelente.
Así mismo es, muchas gracias, me alegro de que te guste, saludos.
Ay ñomio pero mira qué coquette te quedó! Me encanta 🤩💕
Si verdad, sobre todo mi osito panda jajaja anímate hacer el tuyo amiga, seguro te va a quedar súper, tú eres muy creativa y dibujas bonito ❤️🔥
muy creativo, lindo y útil
very creative, cute and useful
Muchas gracias, así es, lindo y creativo, saludos.