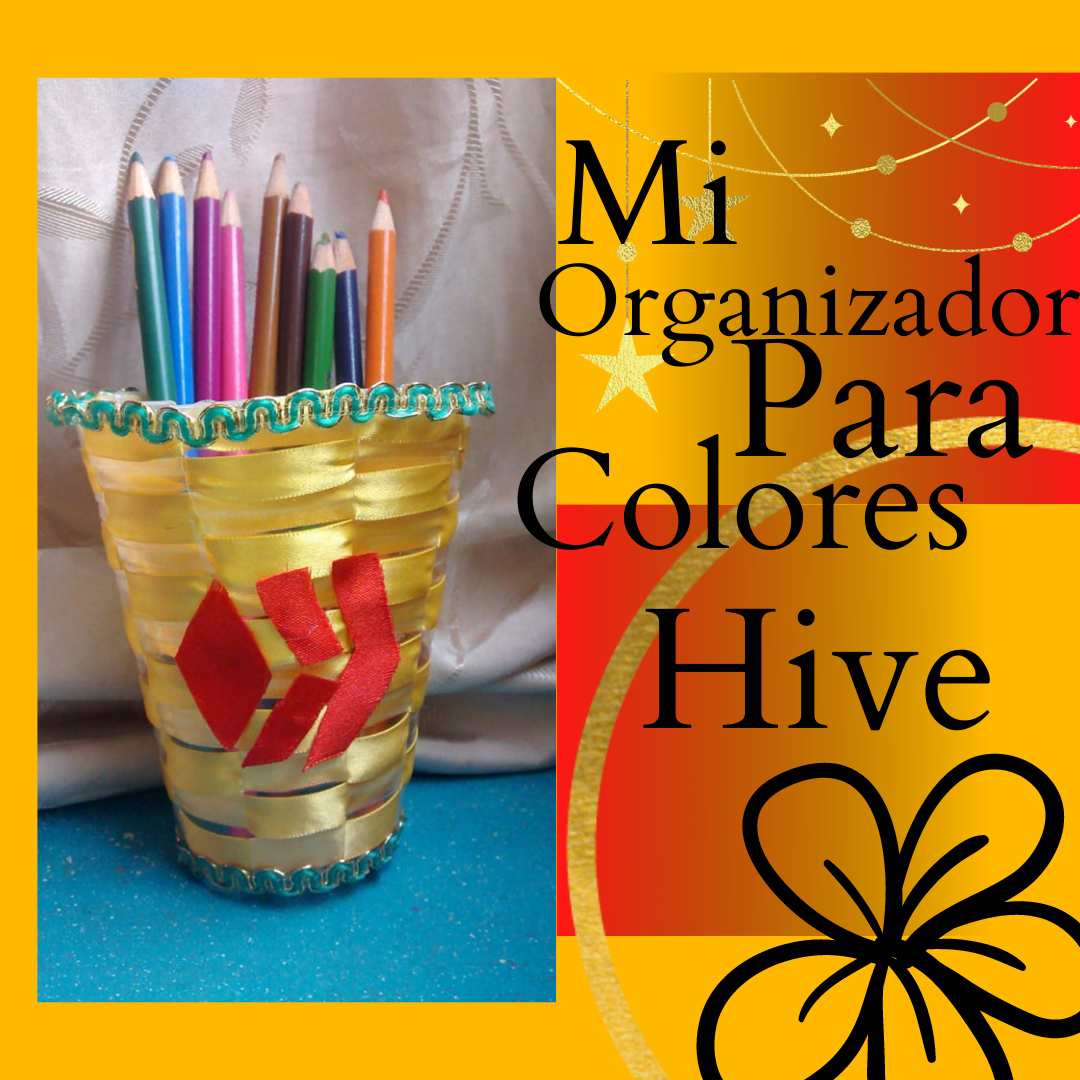
[ESP-ENG] Mi Organizador Para Colores Hive | My Hive Color Organizer

Greetings My beautiful family of Hive, I hope everyone is very well, Today I want to share with you all this organizer that I made for my colors, because I did not have a specific place to place them, and they were lost, then I made this incredible idea, let's see the step by step to make it, let's start:


-Materiales:
-Cinta del color preferido.
-Un vaso plástico.
-Tijera.
-Cinta color rojo.
-Silicón.
-Encaje.
-Paso 1: Cortamos cuidadosamente el vaso plástico en tiras, desde arriba hacia la parte final del vaso, seguido de esto, realizamos dos agujeros en la parte trasera del vaso.
-Materials:
-Preferred color ribbon.
-Plastic cup.
-Scissors.
-Red ribbon.
-Silicone.
-Lace.
-Step 1: Carefully cut the plastic cup into strips, from the top towards the end of the cup, followed by making two holes in the back of the cup.

.png)
-Paso 2: Por los agujeros realizados vamos a introducir la cinta, y luego realizamos un nudo, para que no se salga la cinta al momento de comenzar a forrar nuestro vaso. Procedemos a pasar de manera intercalada la cinta por cada tira cortada del vaso, ordenadamente, cuidadosamente, de manera pulcra, para que el resultado sea lindo.
-Step 2: Through the holes we are going to insert the ribbon, and then we tie a knot, so that the ribbon does not come out when we start lining our glass. We proceed to pass the ribbon through each cut strip of the glass, neatly, carefully and neatly, so that the result is beautiful.

.png)
-Paso 3: Dibujamos el logo de Hive en nuestra cinta roja, la cortamos cuidadosamente, ya que cortar esta cinta es algo complicado, luego con silicón, pegamos el logo Hive a nuestro Organizador. El encaje lo cortamos a la medida del vaso, tanta en la superficie como la parte trasera y la pegamos al vaso.
-Step 3: We draw the Hive logo on our red ribbon, we cut it carefully, since cutting this ribbon is somewhat complicated, then with silicone, we glue the Hive logo to our Organizer. We cut the lace to the size of the glass, both on the surface and on the back and glue it to the glass.

This is my final result, I hope you liked it as much as I did, thank you all for reading my post, blessings to all of you, I love you all very much.
.png)

All photos are my Authored, and edited from canva.


Congratulations @hy389! You received a personal badge!
You can view your badges on your board and compare yourself to others in the Ranking
Check out our last posts:
Congratulations @hy389! You received a personal badge!
You can view your badges on your board and compare yourself to others in the Ranking
Check out our last posts:
Congratulations @hy389! You received a personal badge!
You can view your badges on your board and compare yourself to others in the Ranking
Check out our last posts: