REPLICA DEL TITANIC HEHO CON MATERIAL DE PROVECHO - REPLICA OF THE TITANIC MADE WITH USE MATERIAL (ESP//ENG) @hectorher

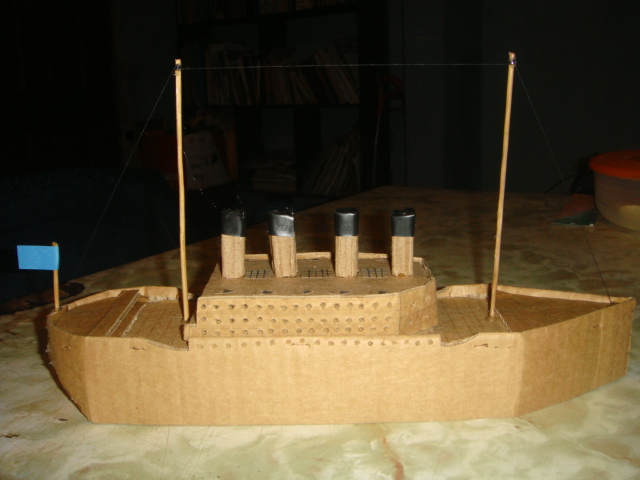
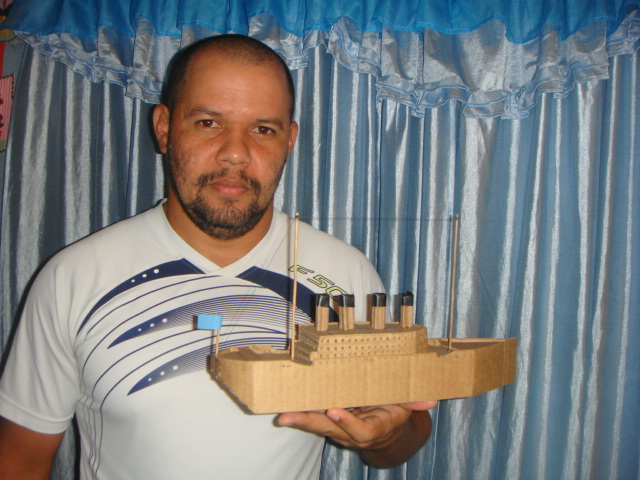
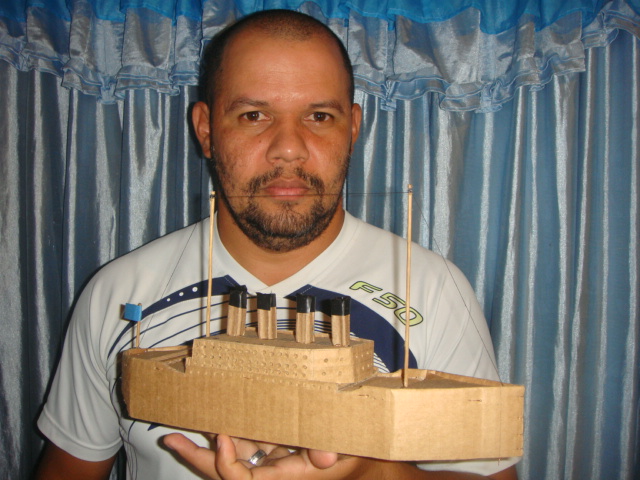
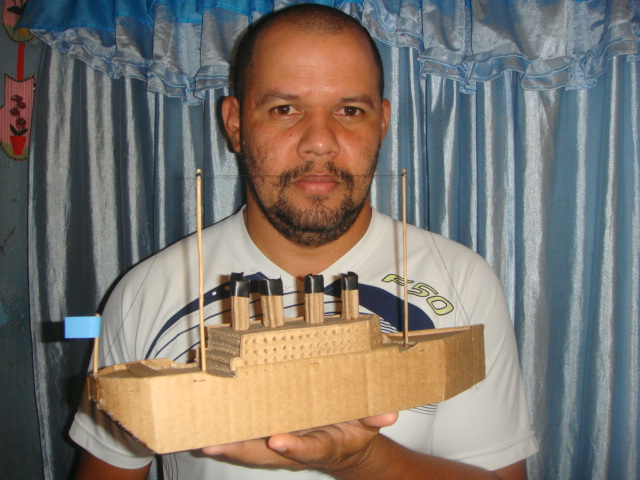
Un cordial saludo amigos de hive, mi trabajo creativo de hoy consiste en la elaboración de una pequeña maqueta de una réplica del famoso trasatlánticos llamado TITANIC, esta misma realizada con material de provecho espero les guste.
MATERIALESCarton.Silicón.Reglas.Tijeras.Lápices.Yesquero.Exacto.Compas.Hilo.2 palillos de altura.
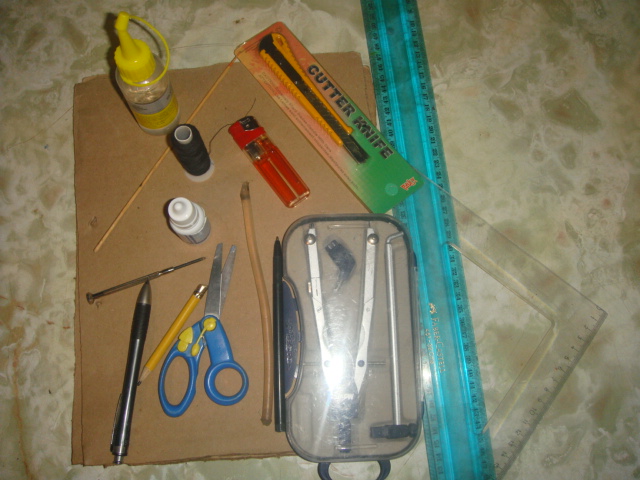
PASO A PASOUtilizando cartón iniciaremos por marcar y recortar un rectángulo de 35cms de largo por 20cms de ancho, en el cual dibujaremos y seguidamente recortaremos la cubierta y los laterales de nuestro pequeño titanic así como se muestra a continuación.En nuestro rectángulo de cartón ahora marcaremos un rectángulo de 8cms de ancho por 35cms de largo dejando a cada lado de este 6cms, es decir que el rectángulo a marcar previamente debe ir centrado en nuestro cartón.
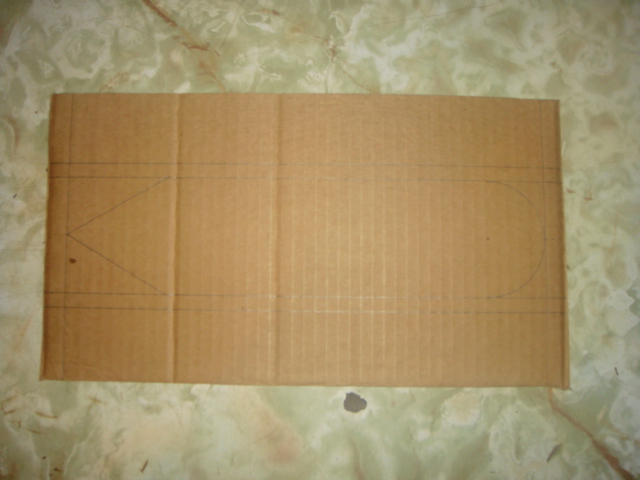
Ahora a nuestro rectángulo marcado en el carton lo reduciremos a 33cms dejando a cada extremo 1cm, luego procederemos a marcar la mitad de esta a lo largo y en un extremo marcaremos un triangulo a gusto de cada quien, yo lo hice de 7cms de altura y en el otro extremo marcar un medio circulo a tamaño de cada quien yo en el mío lo hice de un radio de 4cms.
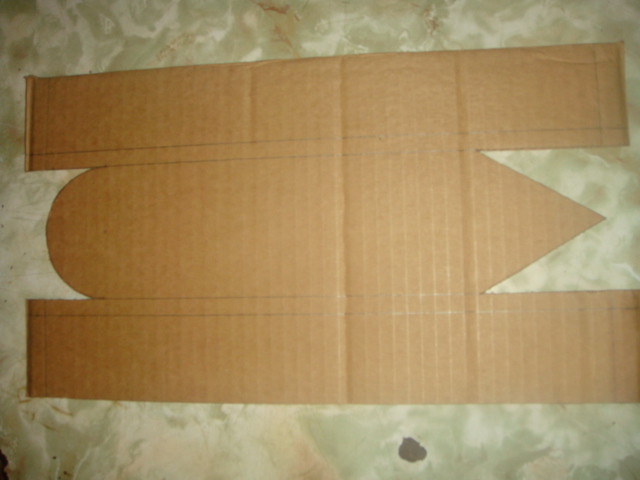
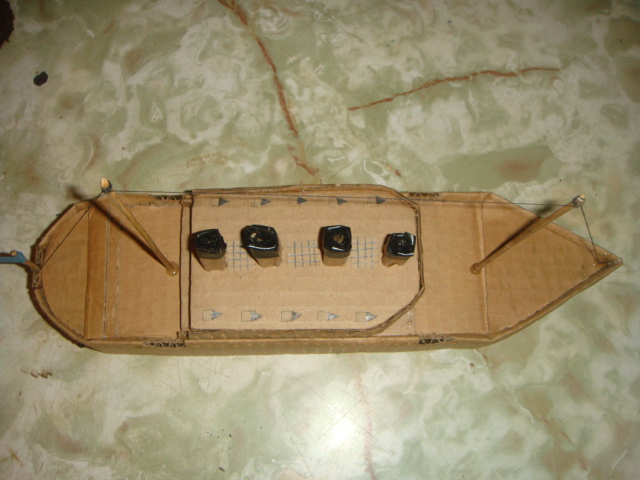
Procederemos al doble de nuestro carton ya marcado para así dar forma al cuerpo de nuestro pequeño titanic como se muestra en estas figura, al doblar todo en la parte trasera haremos un pequeño corte para simular el doble del casco donde por lo general están situadas las propelas.
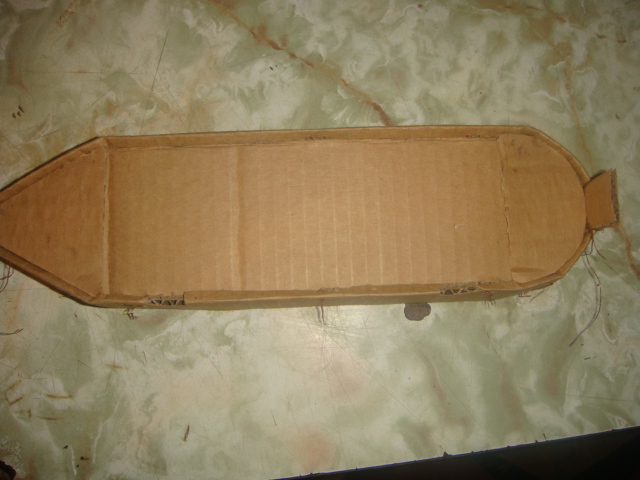
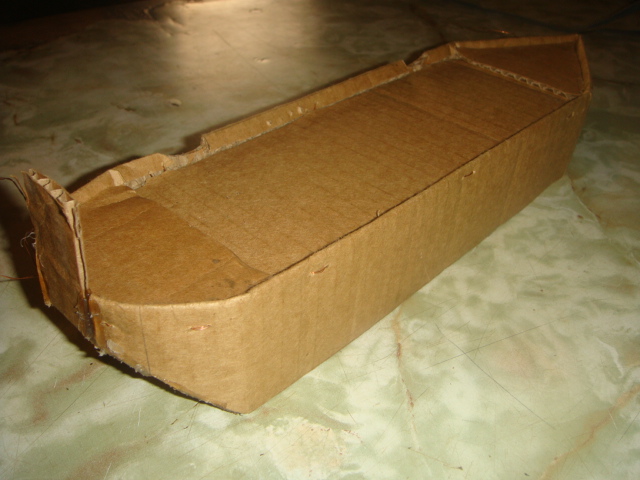
En la parte central de la cubierta tomaremos unos 13cms y haremos unos cortes de media luna simulando las barandillas al exterior del mismo y en los 13cms centrales haremos pequeños orificios que serian.
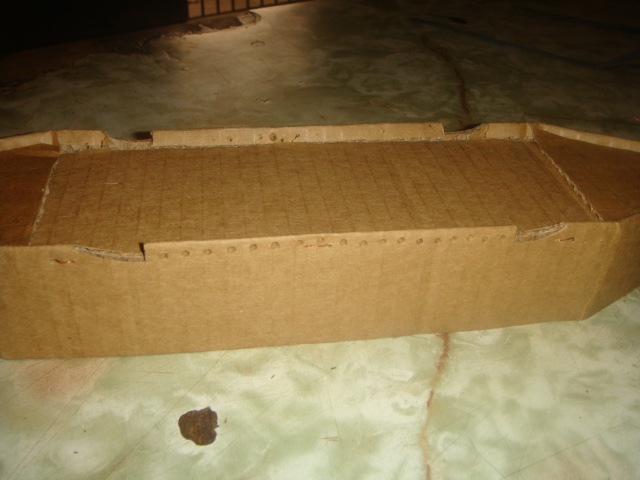
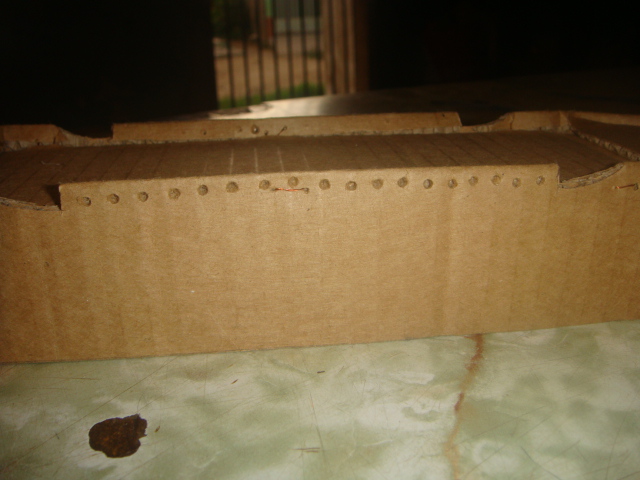
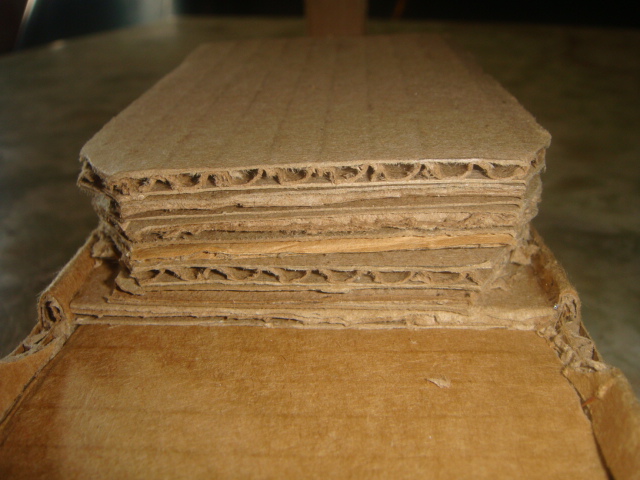
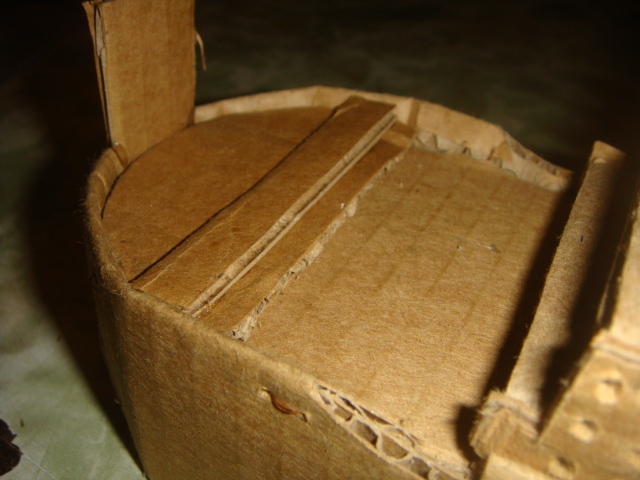
Seguidamente cortaremos un trozo de carton de 13cms de largo por 8cms de ancho y lo colocaremos en la parte central de la cubierta para iniciar el cuerpo de habitaciones, cabinas y demás de nuestro titanis, luego cortaremos dos trozos mas de 13cms de largo por 6,5 de ancho y uno de 13cms de largo por 8cms de ancho y colocaremos uno sobre del otro alternando cada uno de estos y por ultimo cortaremos dos trozos mas de 12cms de largo por 6,5 de ancho y uno de 12 cms de largo por 8cms de ancho y seguiremos alternando estos.
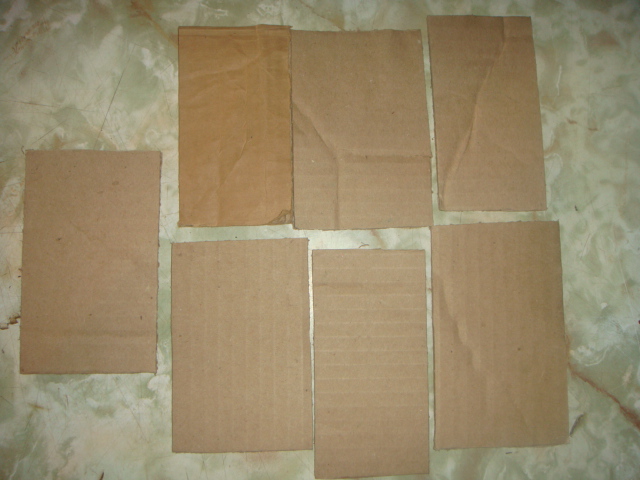
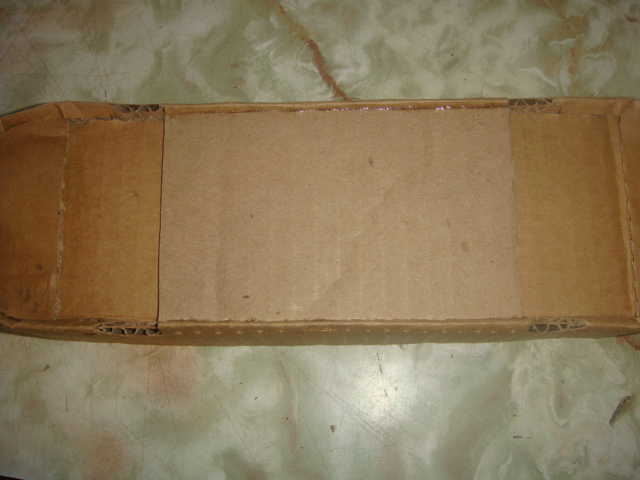
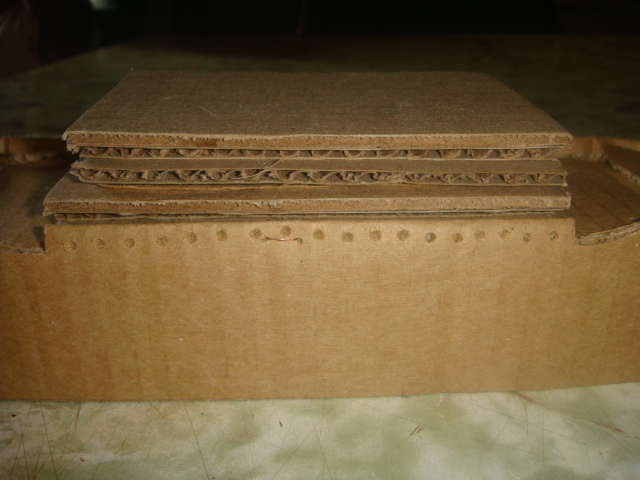
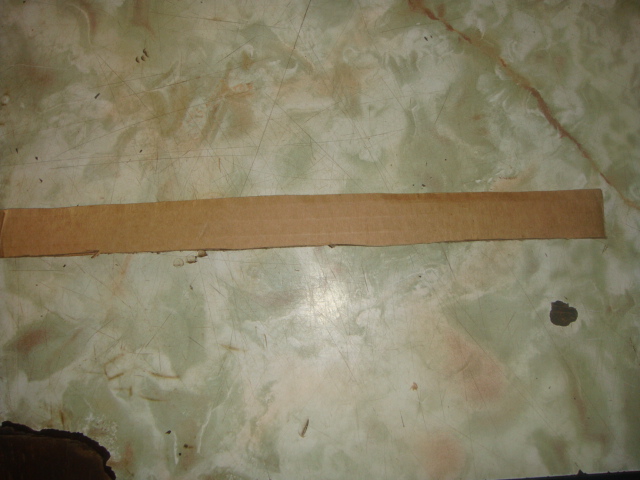
Después de tener esto fijado procederemos a cortar las esquinas de la parte delantera de estos para luego forrar con una tira de carton en la cuales hicimos una serie de orificios para simular las ventanas.
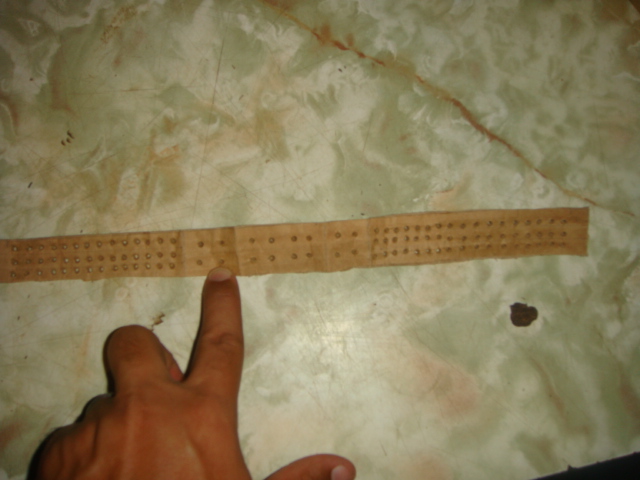
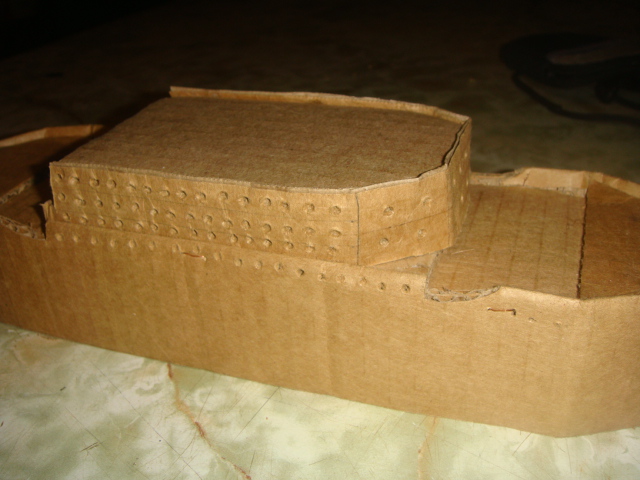
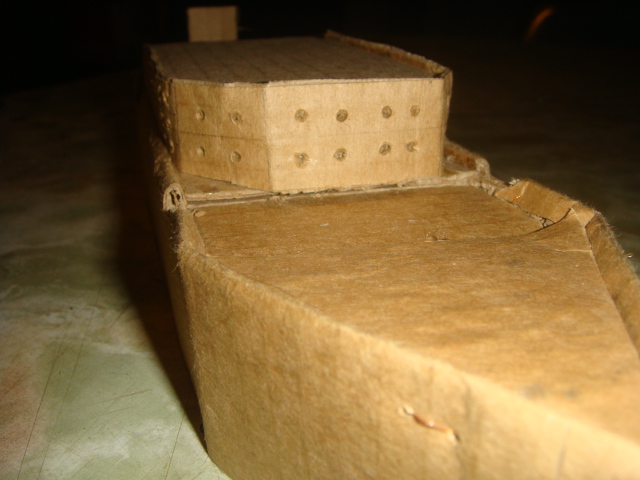
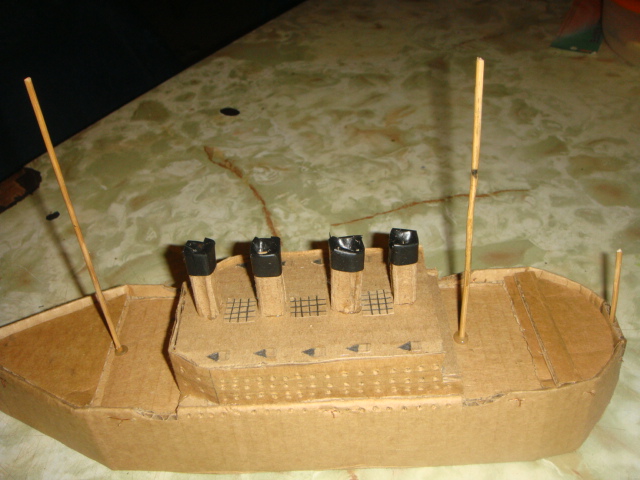
Para simular las calderas cortaremos 4 trozos de carton de 3,5cms por 3,5cms, enrollaremos y marcaremos arriba con un color negro para distinguirlas y procederemos a fijar en la parte superior tomando una distancia entre ellas de igual longitud.
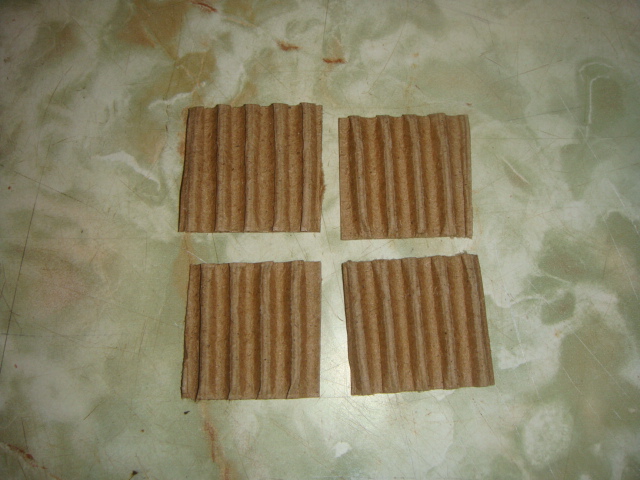
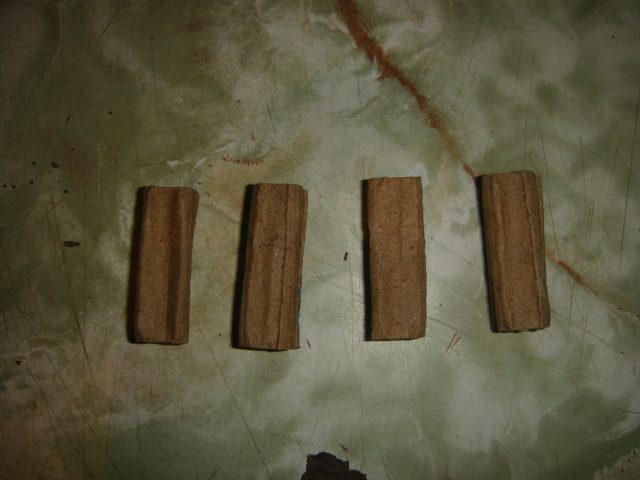
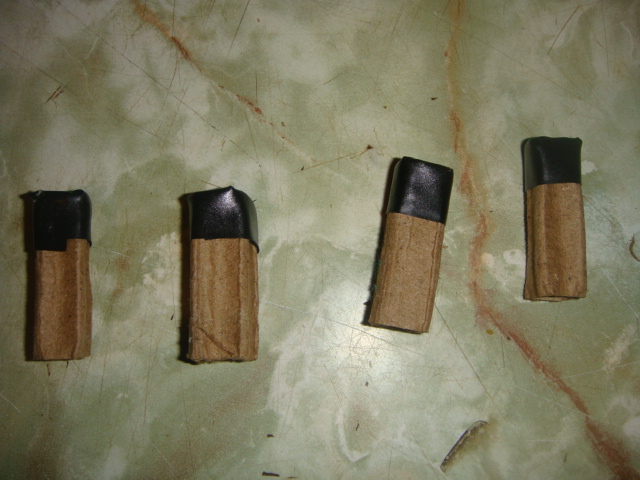
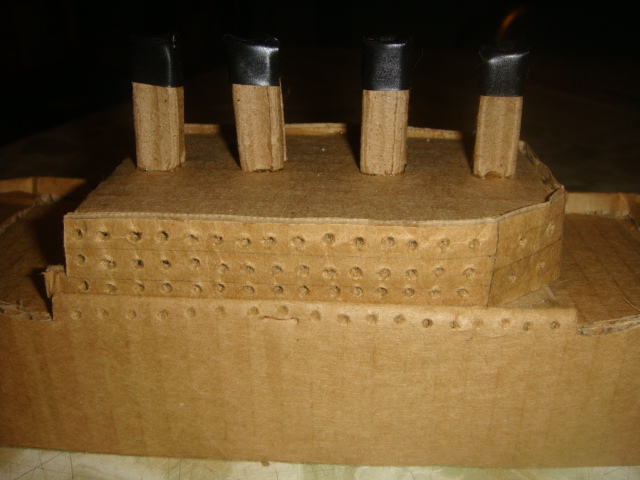
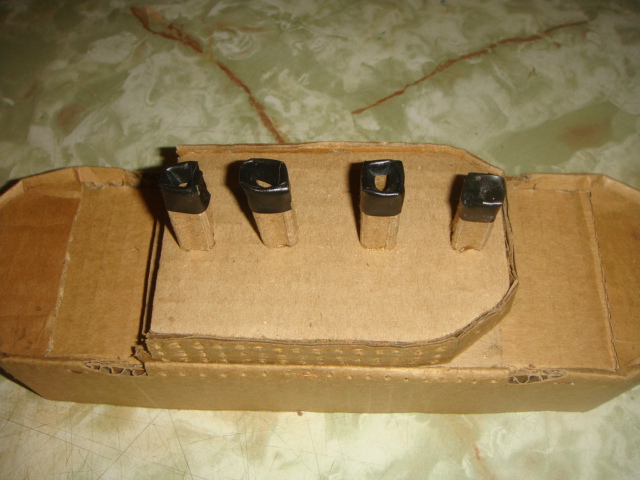
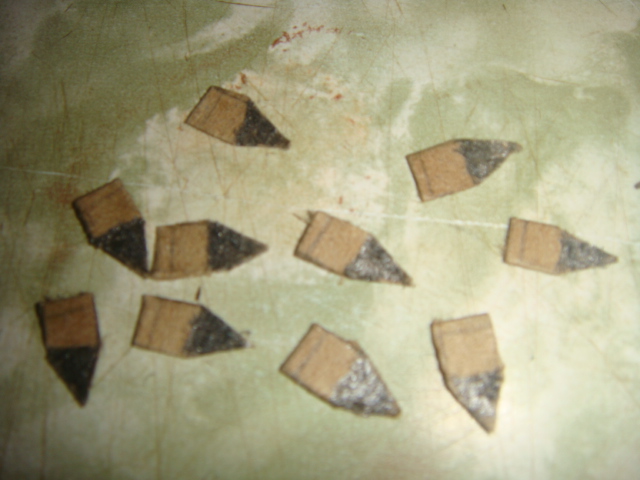
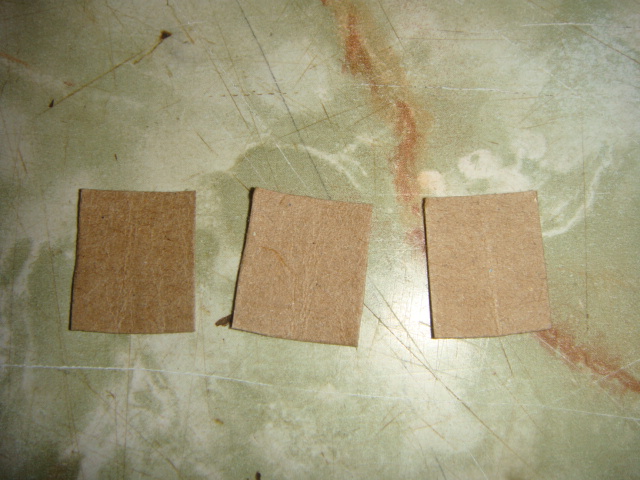
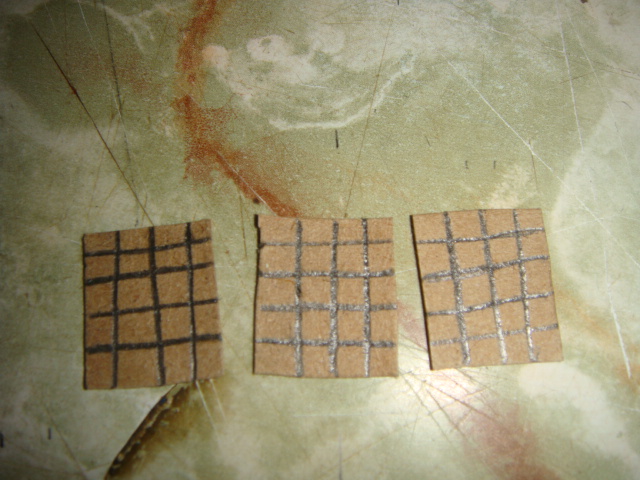
Cortaremos pequeños trozos de carton para simular los pequeños botes salvavidas y las rejillas de ventilación en la parte superior del mismo y procederemos a fijarlas.
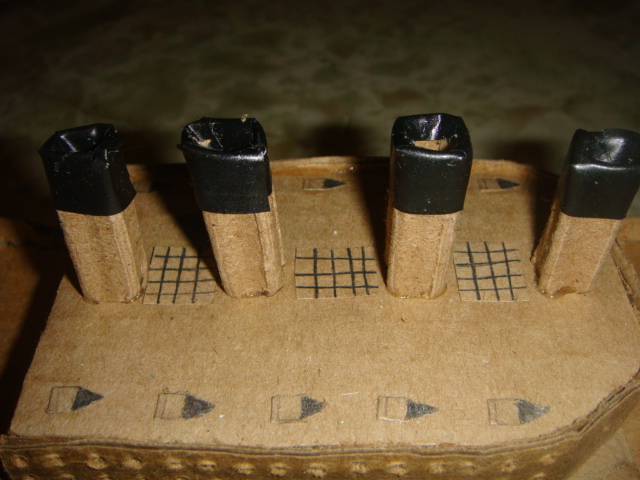
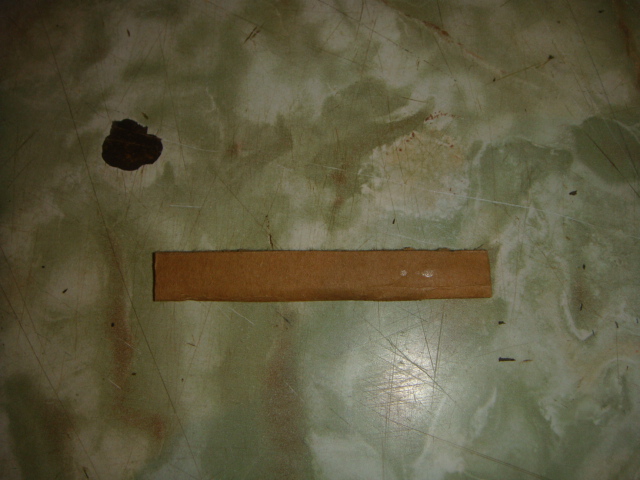
Ya por ultimo cortaremos una pequeña tira de carton de 8cms y colocaremos en la parte de atrás para simular la pasarela, colocaremos los palillos de altura como los mástiles de nuestro titanic y la bandera del mismo y ya está listo, espero les allá gustado, hasta la próxima, saludos.
Electronic-terrorism, voice to skull and neuro monitoring on Hive and Steem. You can ignore this, but your going to wish you didnt soon. This is happening whether you believe it or not. https://ecency.com/fyrstikken/@fairandbalanced/i-am-the-only-motherfucker-on-the-internet-pointing-to-a-direct-source-for-voice-to-skull-electronic-terrorism
Admiro tu paciencia en los detalles, te quedó genial! felicidades.
Congratulations @hectorher! You have completed the following achievement on the Hive blockchain and have been rewarded with new badge(s) :
Your next target is to reach 50 upvotes.
Your next target is to reach 400 upvotes.
You can view your badges on your board and compare yourself to others in the Ranking
If you no longer want to receive notifications, reply to this comment with the word
STOPTo support your work, I also upvoted your post!
Check out the last post from @hivebuzz: