DIY/ Constructing A PVC Pipe Cloth Display Hanger.
It's been a while since I have always wanted to make a cloth display hanger with PVC pipes, but there was no need for it, so I just kept postponing until yesterday when a younger sister in my compound started lamenting to me about the cost of a wooden display hanger she priced in the neighborhood.
She recently started selling thrift and needed a hanger for display. I advised she check online for a steel hanger, and she complained about the quality of the steel being used; it bends or breaks easily, so the thought of making the PVC pipe hanger crossed my mind again.
I told her about it, and she doubted if using pipes would make something strong enough for displaying clothes. I have not made one before and can't tell if it would do, but giving it a try won't be a bad idea. Moreover, making one wouldn't even cost ¼ the price of the wooden hanger so I made one as a gift. I sketched what the display hanger would look like and wrote the material needed.
- 2½ lengths of PVC pipe.
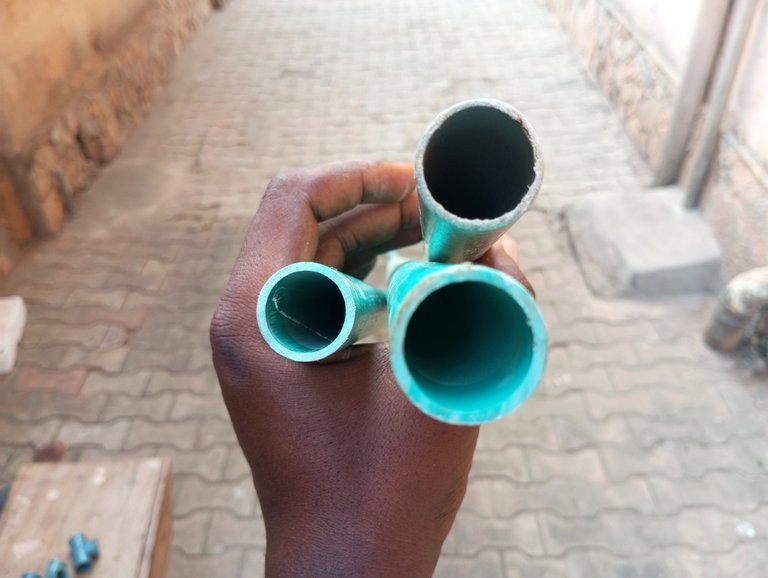
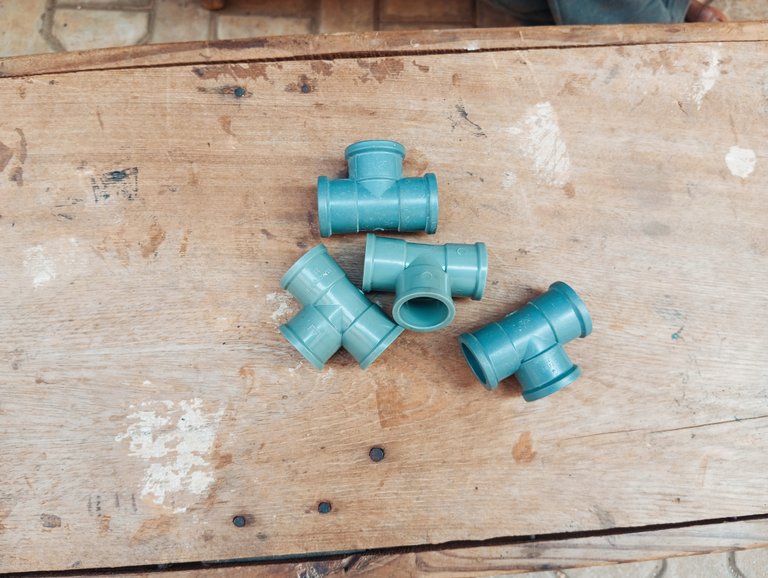
- 4 pcs of T socket
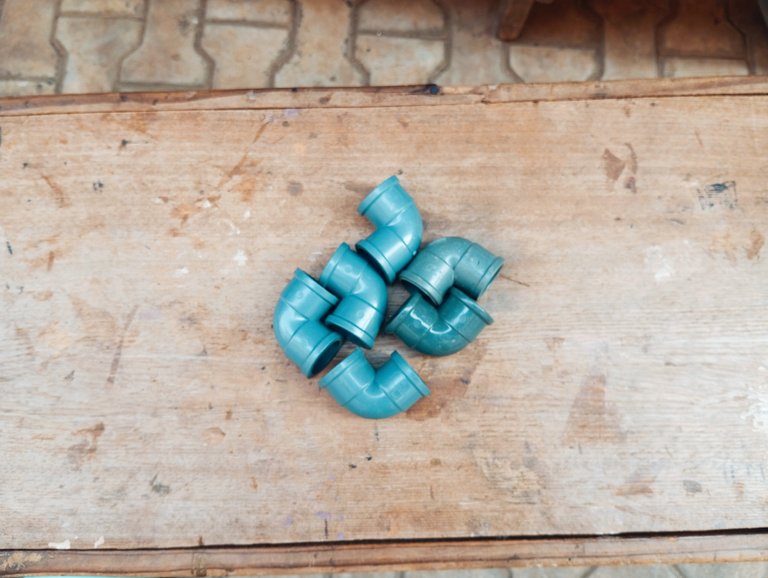
- 4 pcs elbow socket
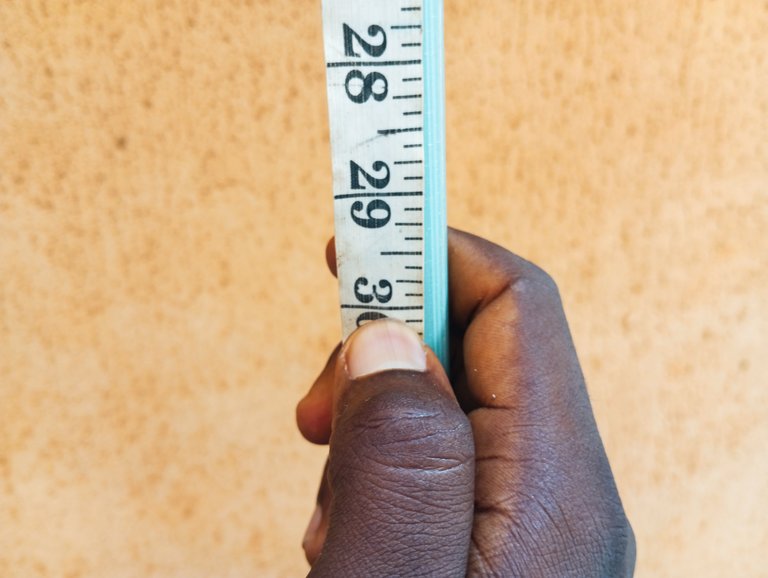
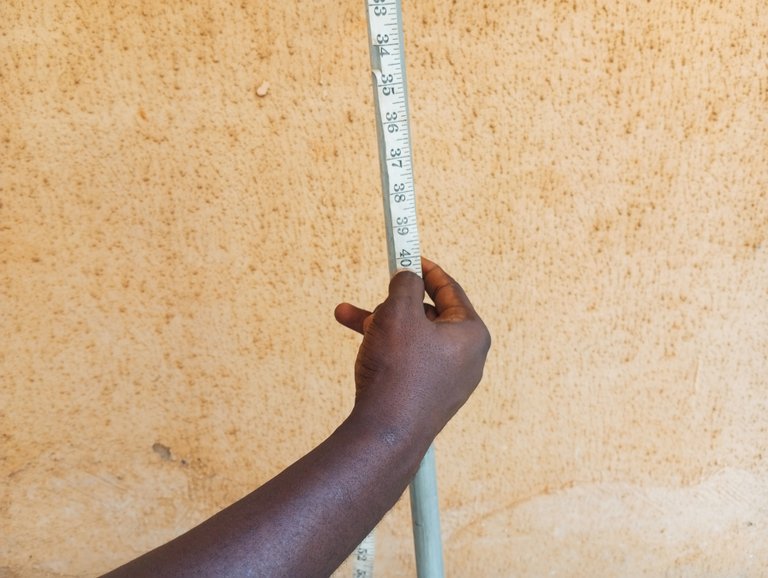
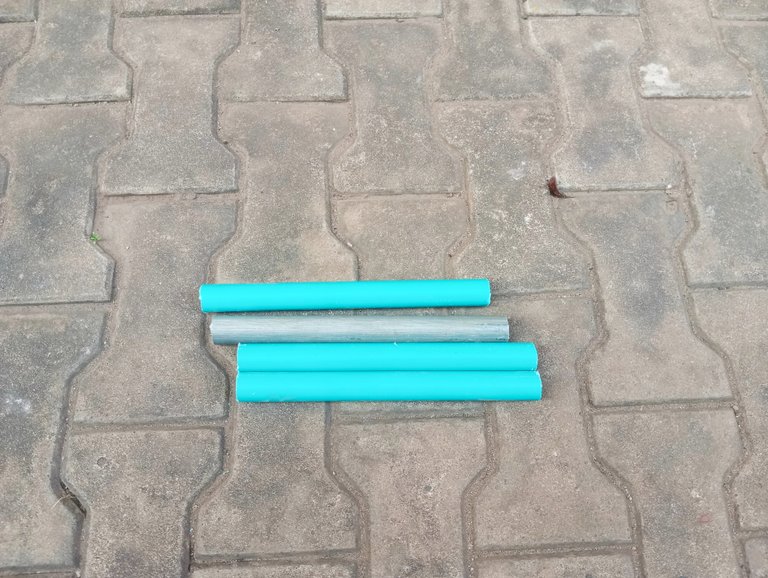
After getting the materials, I did the measurements of the PVC pipe length, showing her what it would look like before constructing. She chose the height to be 60 inches and 40 inches for the width. I marked the measurements of the sizes needed on the PVC pipe and started cutting.
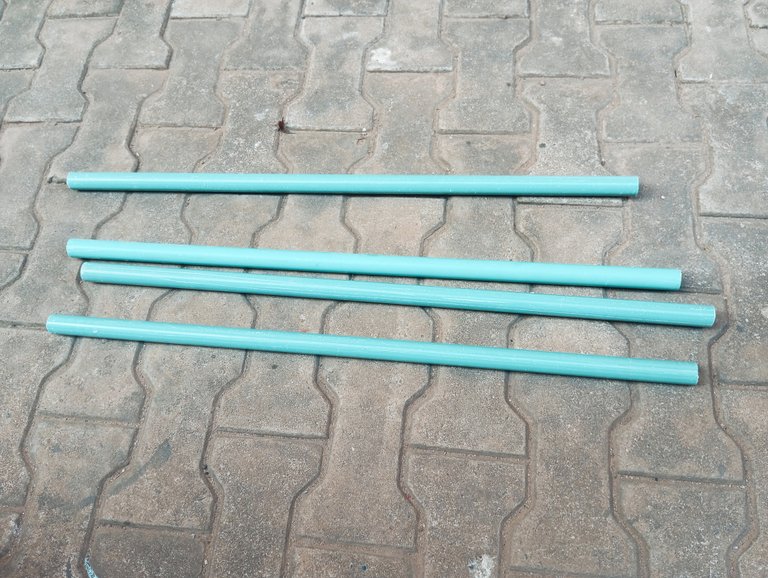
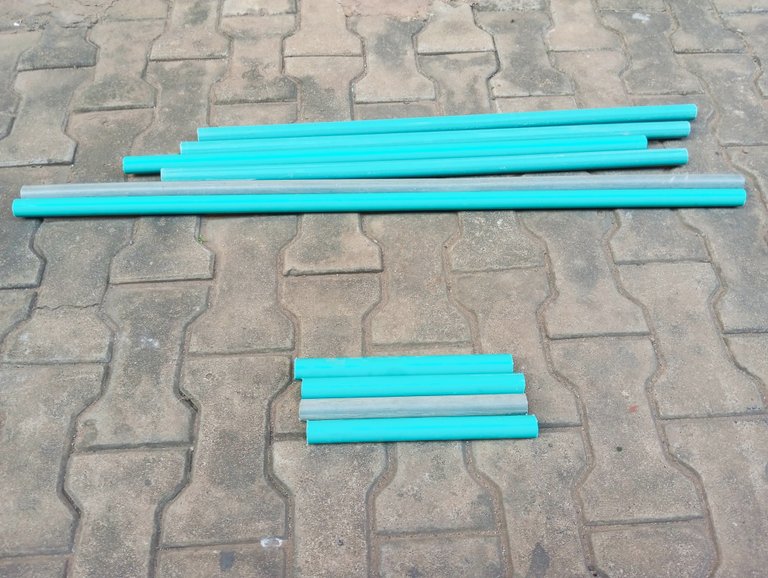
- I cut out 4 pieces of 30 inches for the height because it's going to be two steps. I would join 2 pieces of 30 inches to still get 60 inches.
 |  |
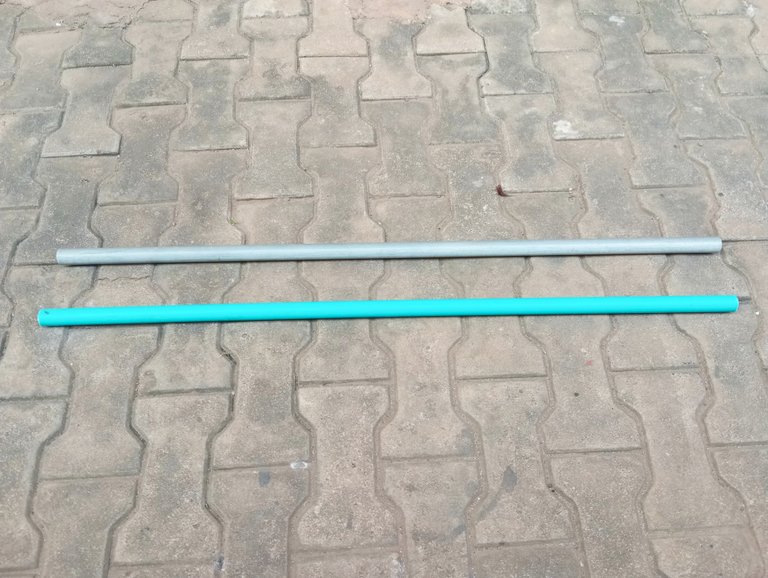
- I cut out 2 pieces of 40 inches for the width.
 |  |
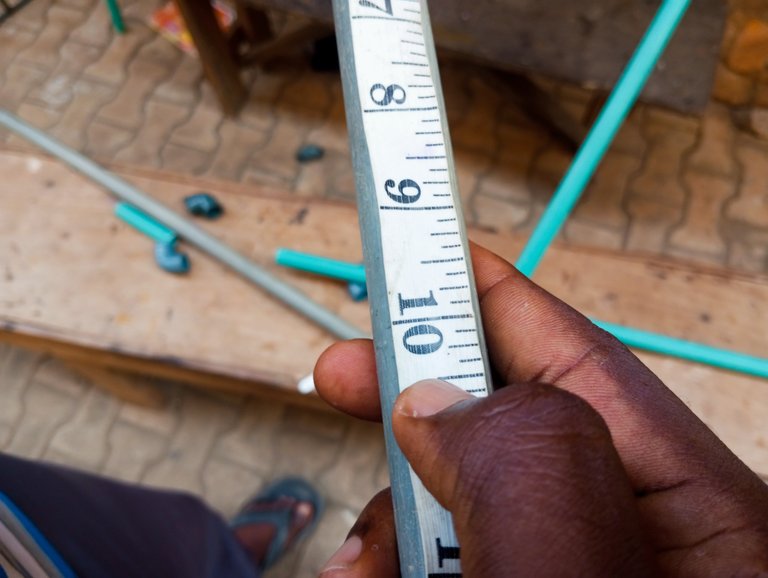
- I cut out 4 pieces of 10 inches for the base. I used that long size because it must be strong enough to support the whole cloth rack.
 |  |
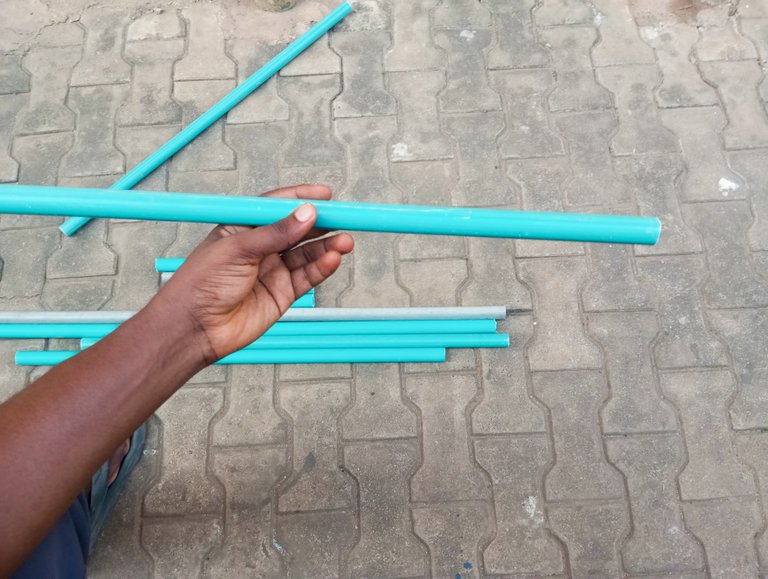
After cutting the PVC pipe, I started joining them but without applying gum, so that makes the cloth hanger collapsible. It can be dismantled and rearranged any time.
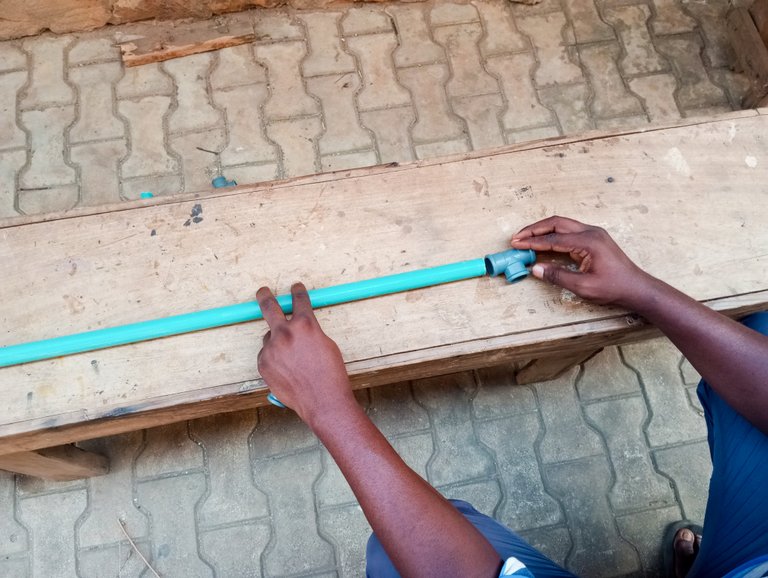
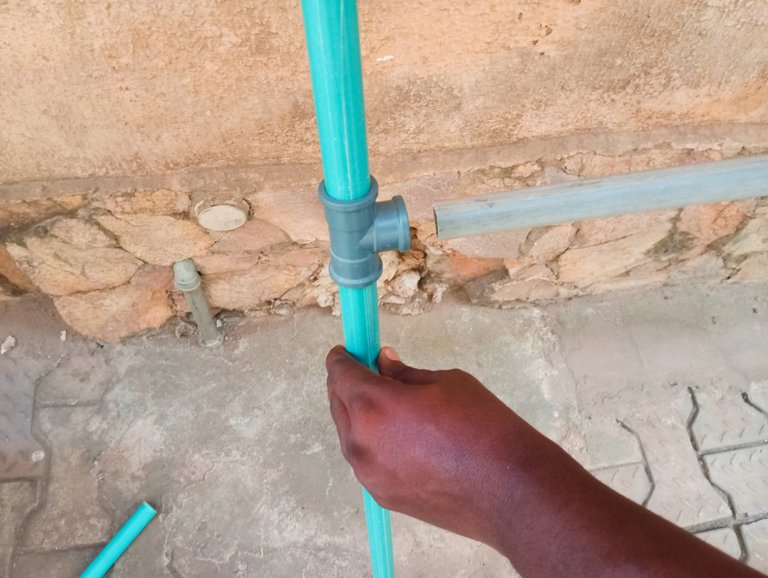
- I joined 2 pieces of the 30-inch pipes with a T-socket.
 |  |
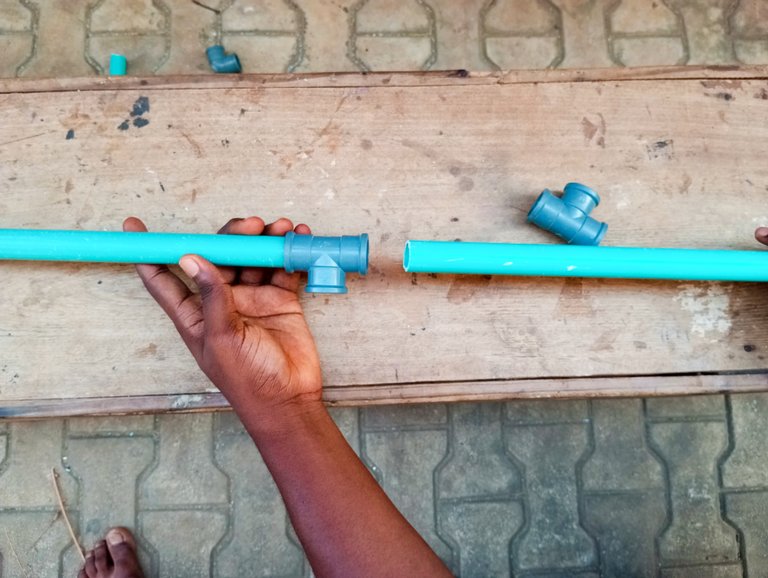
- I joined the other as well, making 2 pieces of 60-inch pipe.
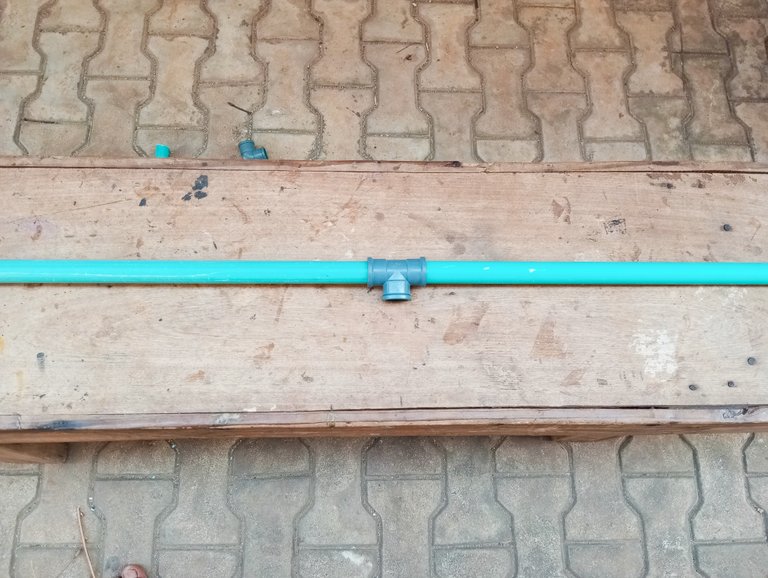 | 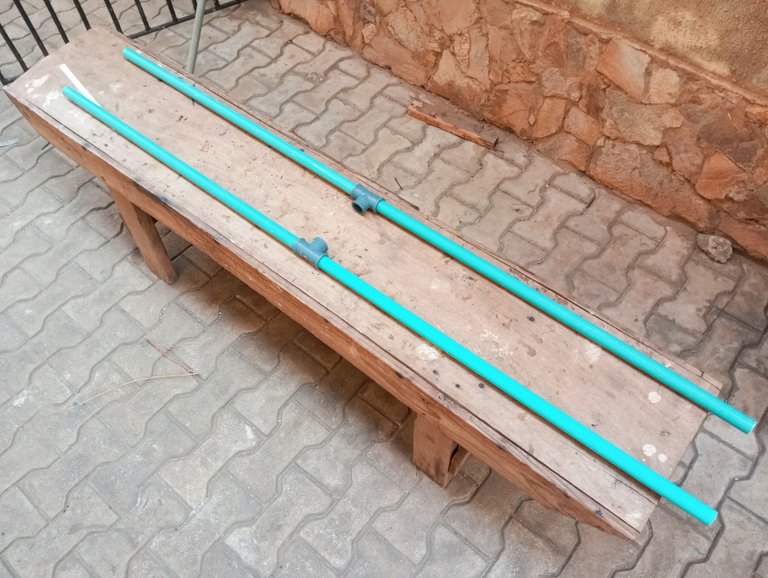 |
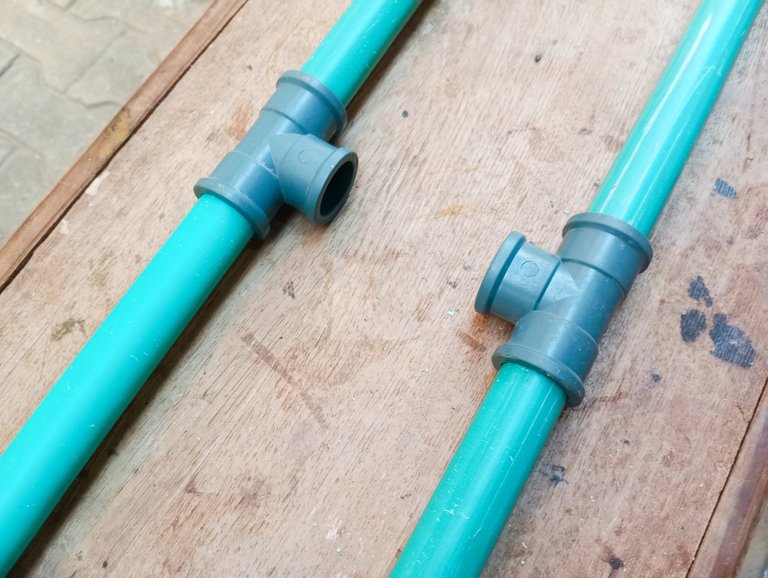
- I put an elbow socket each at the same end of the 60 inches.
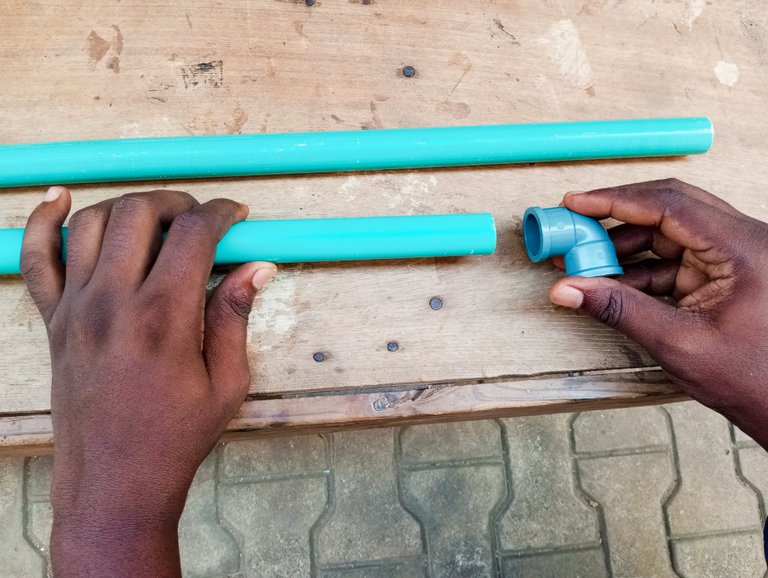 | 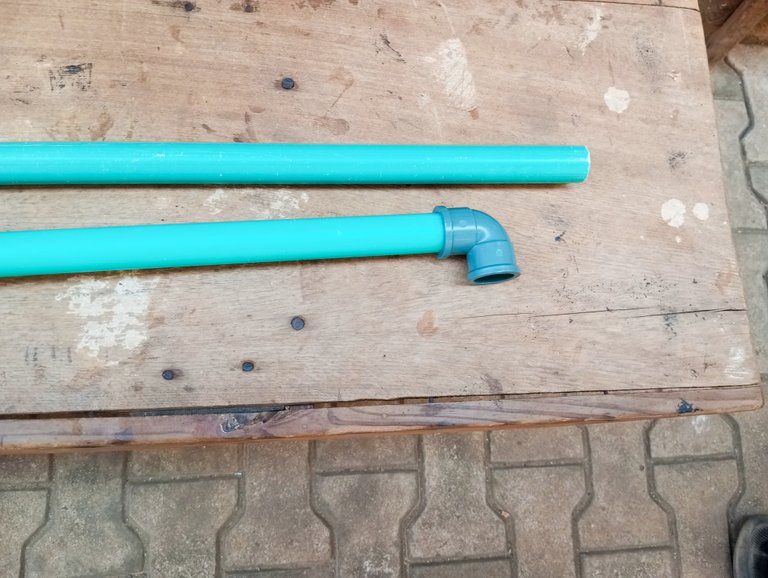 |
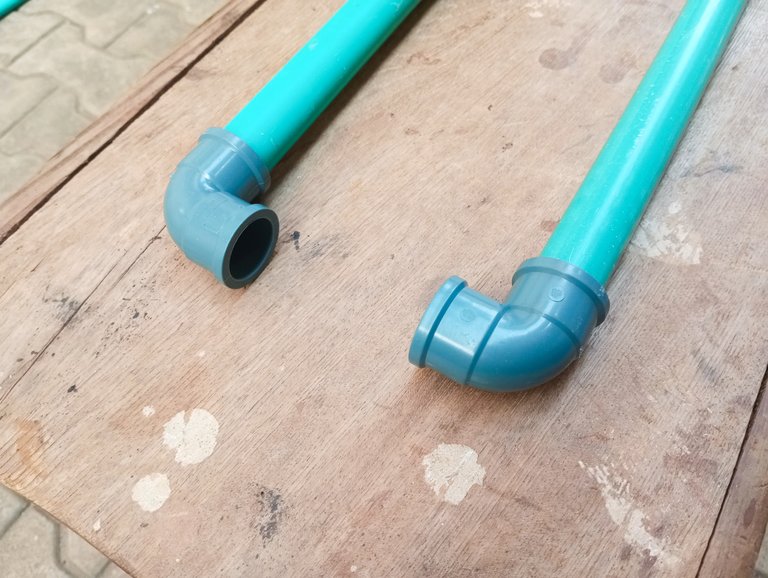 | 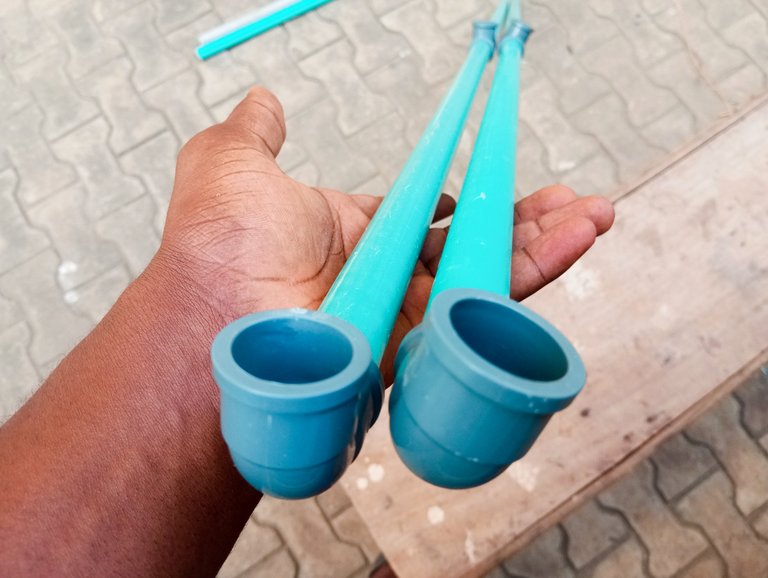 |
- I inserted one of the 40 inches pipe into the elbows.
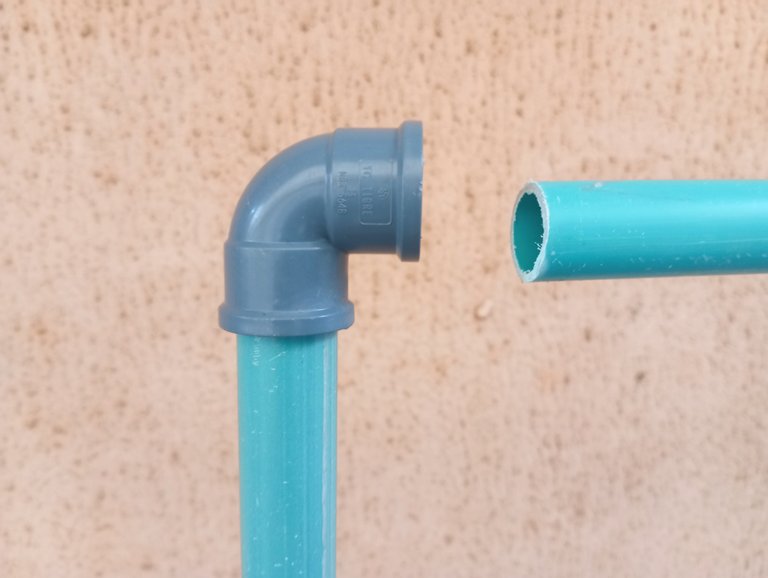 | 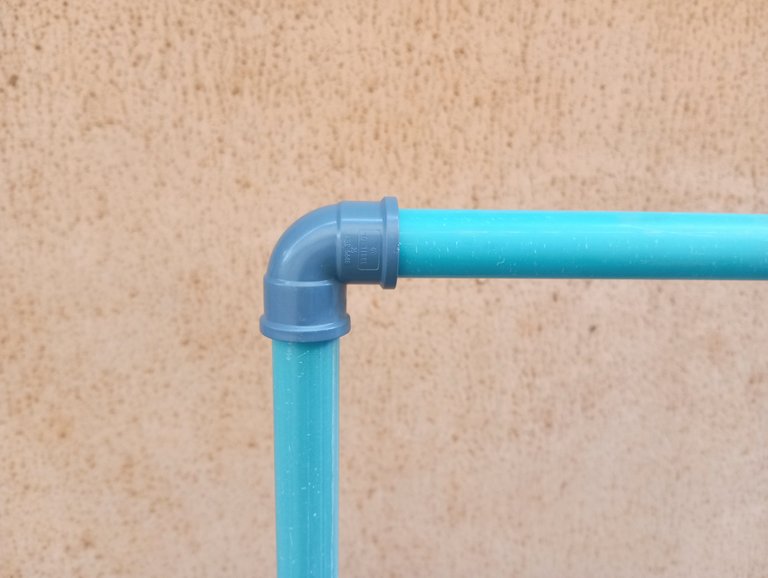 |
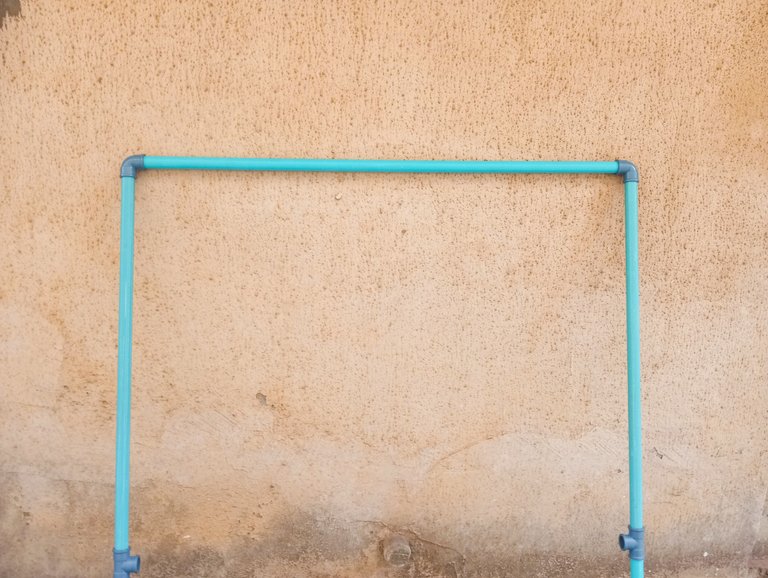 | 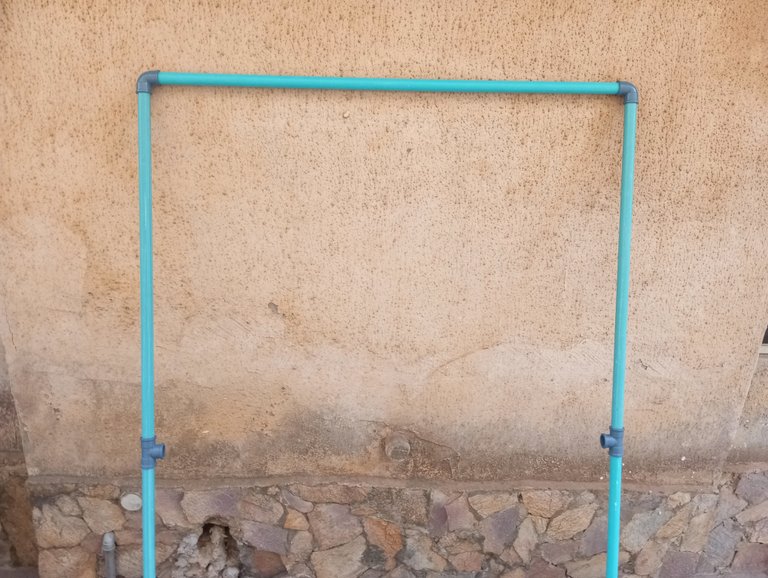 |
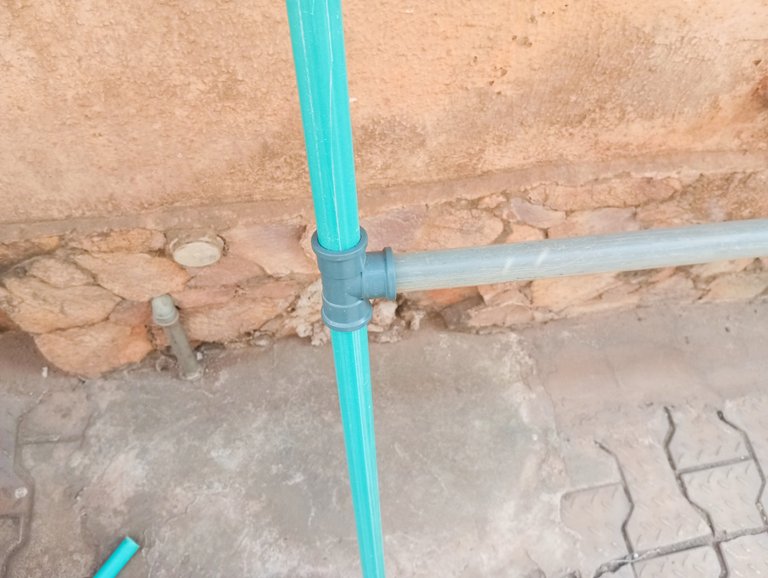
- I also inserted another 40-inch pipe into the T-opening used to join the 30-inch pipes.
 |  |
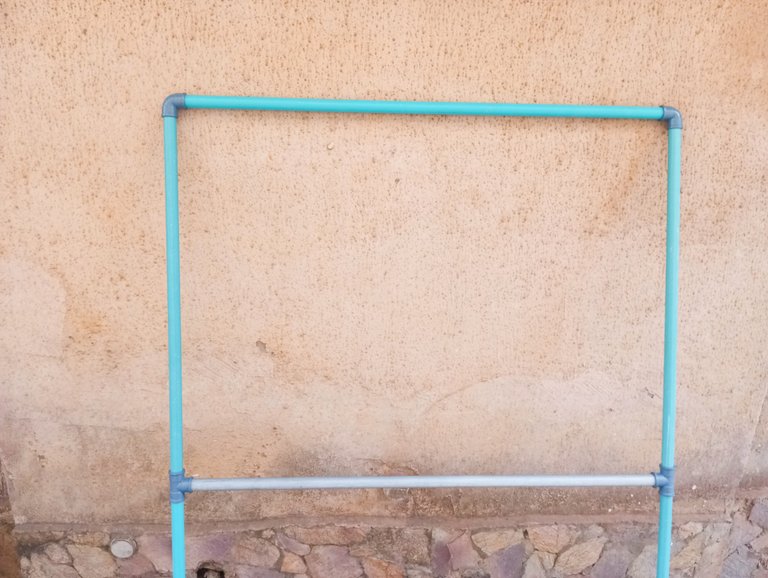
- For the legs, I closed the base end of the pipe with a T-socket.
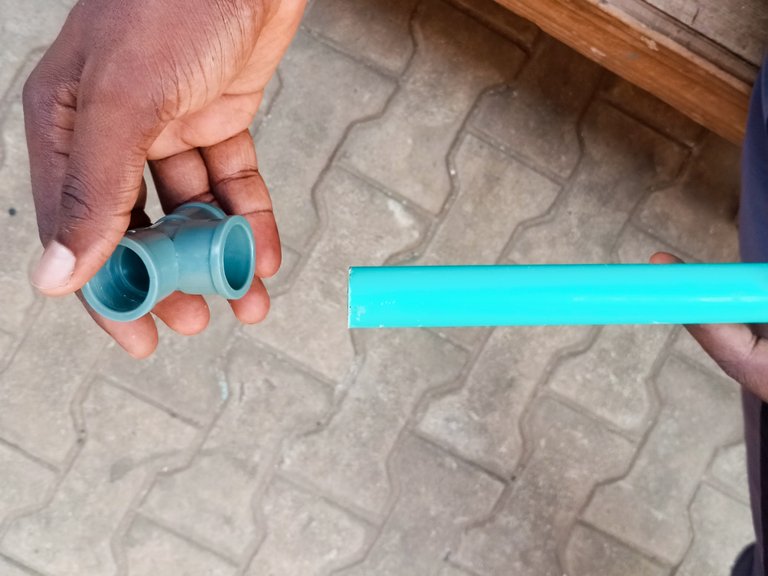 | 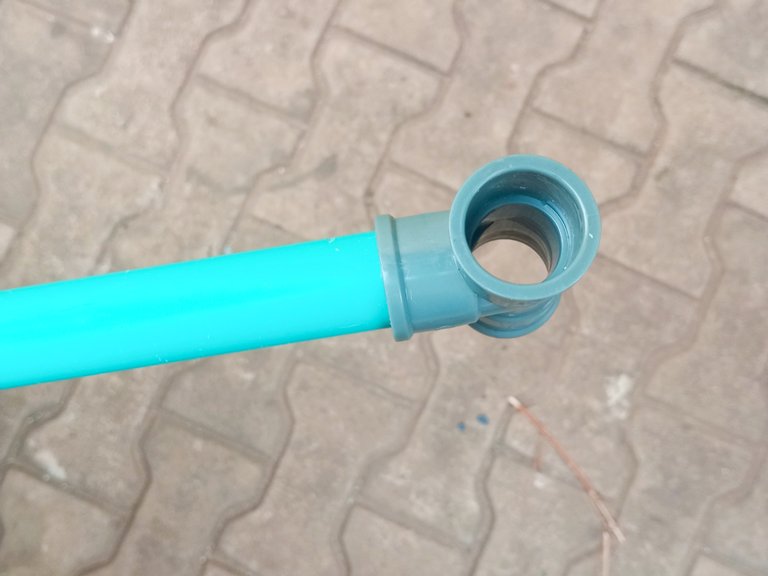 |
- I inserted the T-socket at both legs.
 | 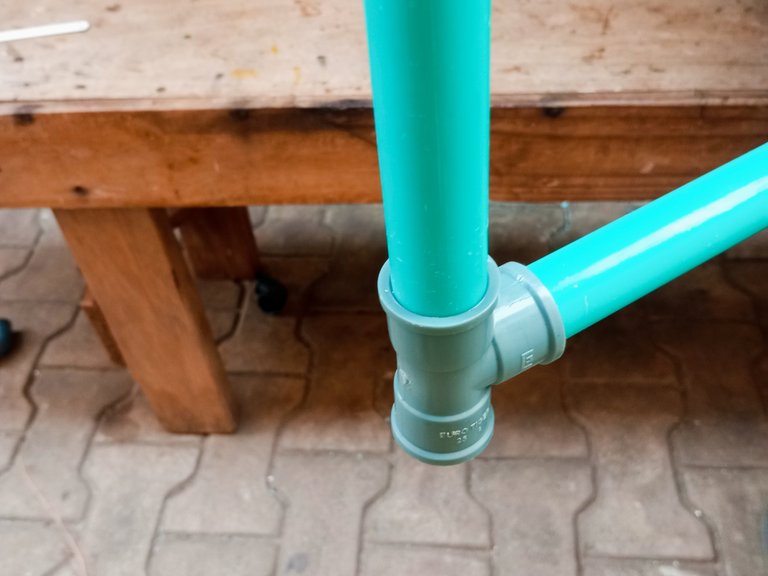 |
- I inserted the 10-inch pipes at both ends of the T socket for both legs.
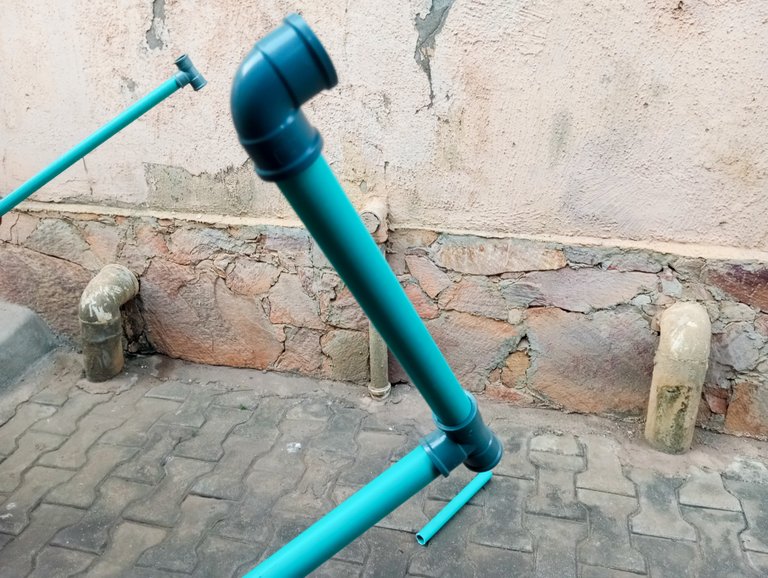
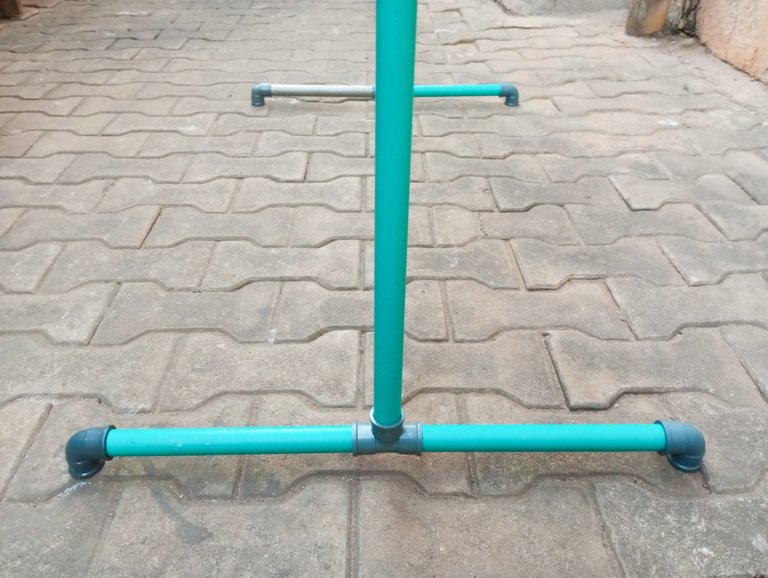 | 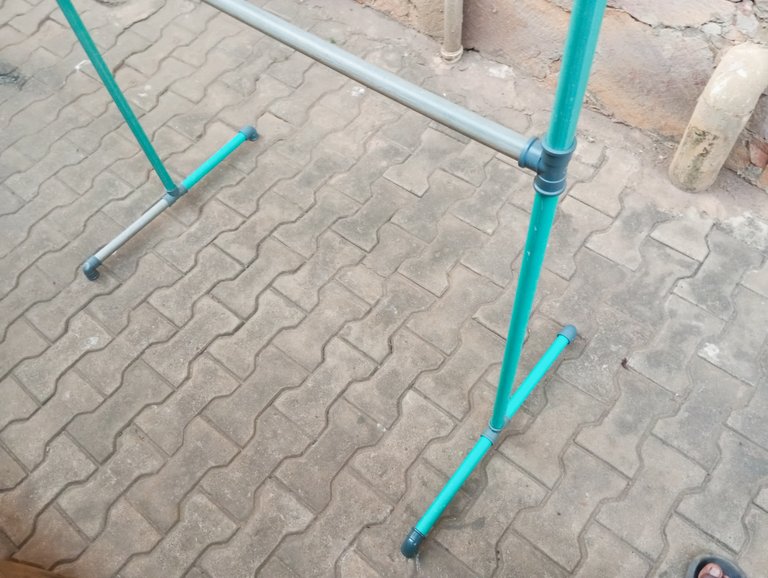 |
- Finally, I covered the ends of the 10-inch pipes with an elbow to give the cloth hanger a balance.
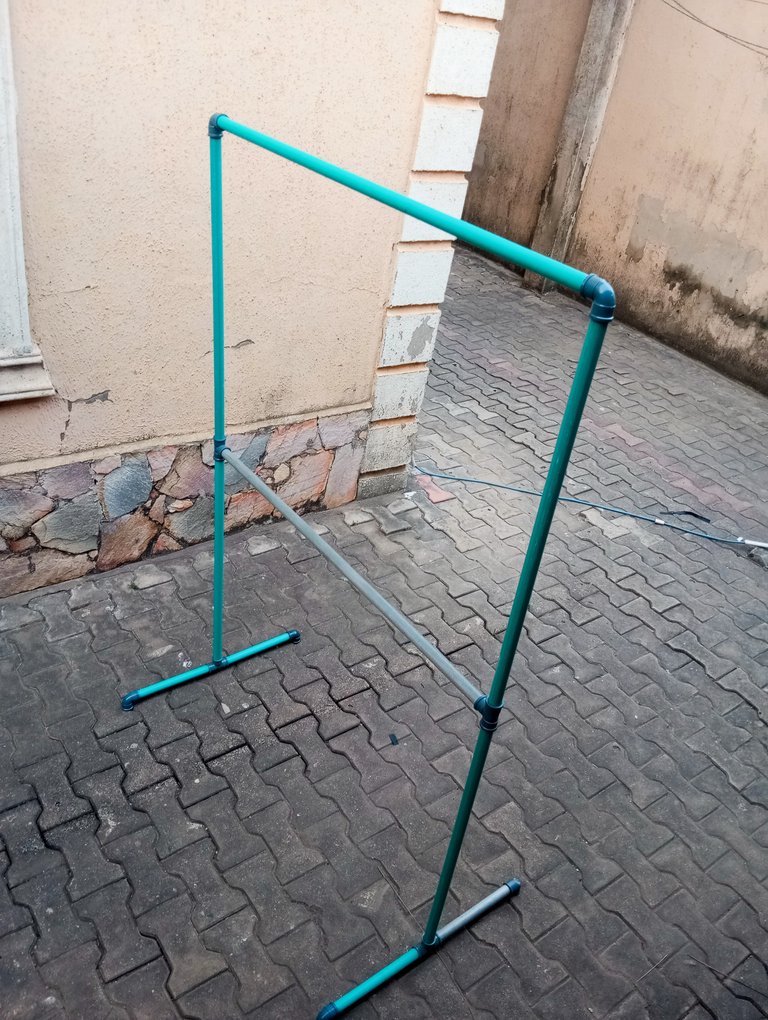 | 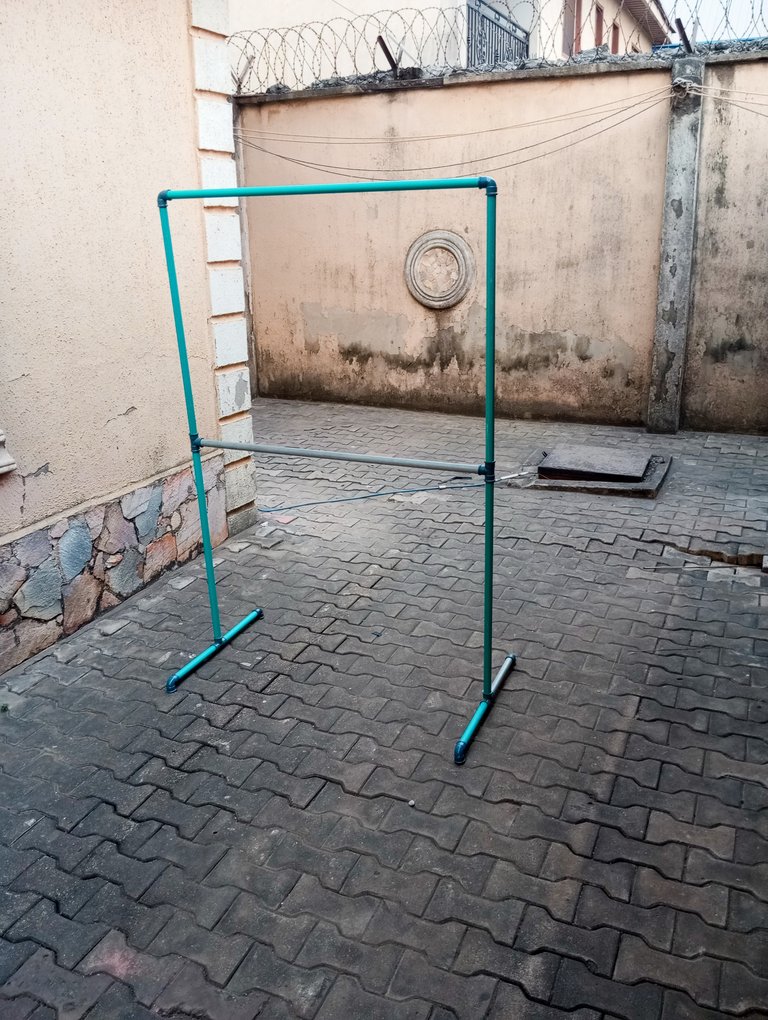 |
I hung a few clothes on the hanger, and it was really cool.
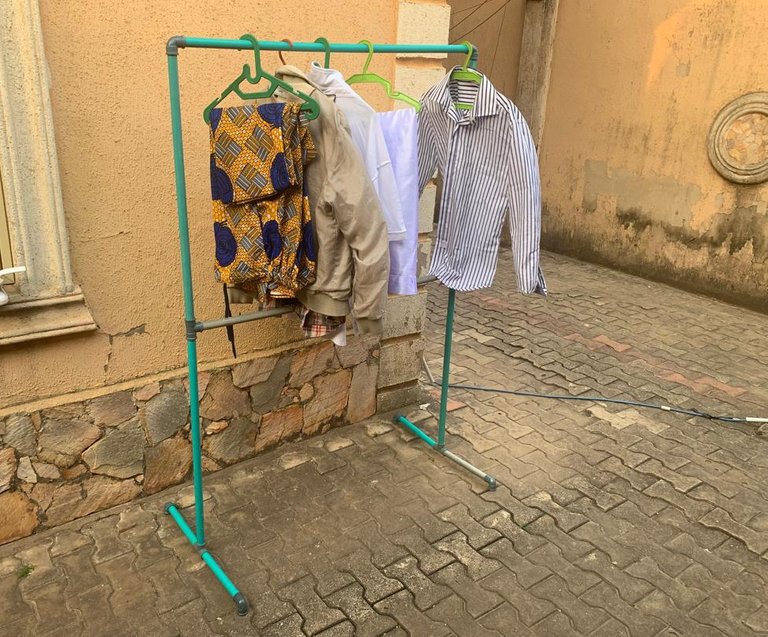 | 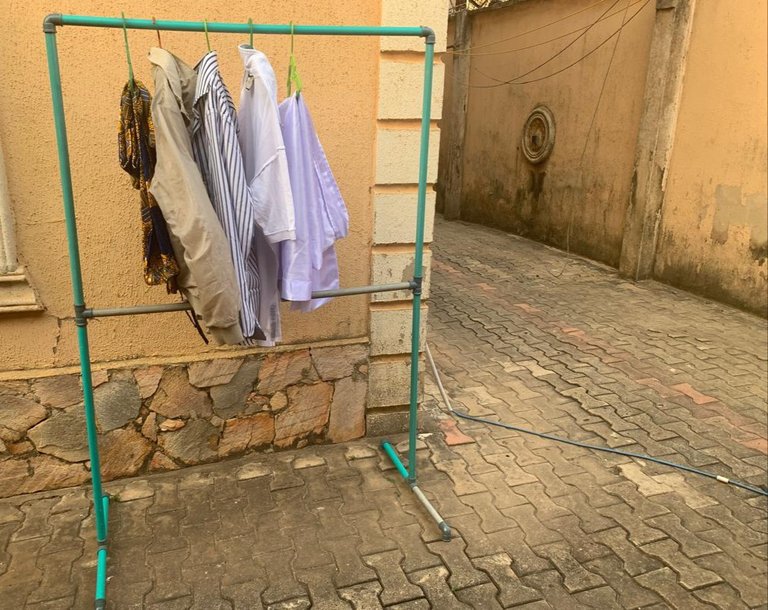 |
I would have loved to spray it, but the cost of the spray paint is too much, so I just let it be for now. It can be sprayed anytime.
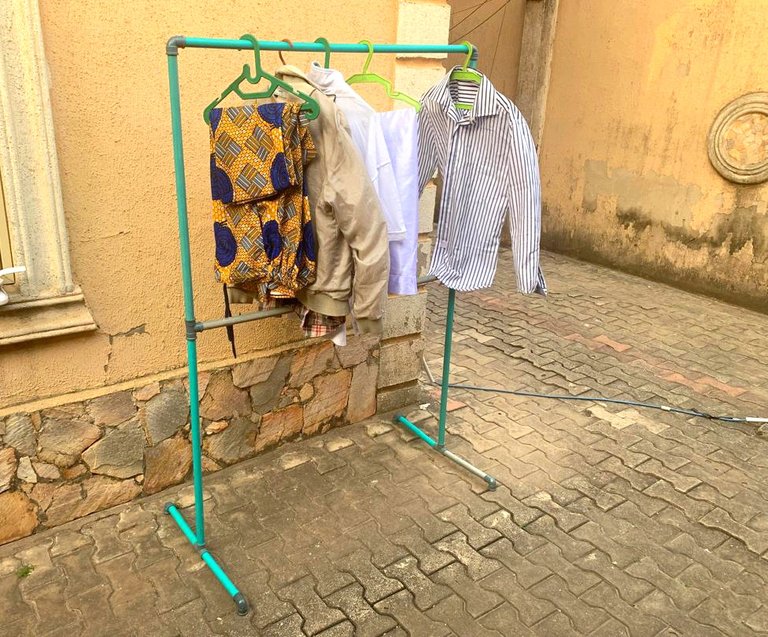
Let me know what you think about the cloth display hanger in the comment section.
All Image Are Mine.
Well done. !BBH
Thanks, glad you like it too. Cheers.
The PVC pipe hanger came out nice. I was confused at first but when I saw the end result, I was like "this is good" 😁
Lolz, it makes no sense from the beginning really but the result came out super great.
Yeah it did
Such a smart and budget-friendly solution. The use of PVC pipes makes it both sturdy and easy to assemble. Great job.
Yes, it's really good. You can move around easily and it costs very less compared to what's been sold out there.
It's making sense o, one could even go ahead to spray paint it with the colour of choice, amazing !diy
Yes ooo, you can spray it with any color you want. As a tailor, you can use this for displaying or organizing the clothes you are done with.
Thanks for the visit...
Exactly, I can, it's cheaper than the fancy ones
You can query your personal balance by
!DIYSTATSThis is really creative. It won't cost much and it's saves a lot.
Yeah, it doesn't cost much ooo. I spent less than 4k and even have some of the materials left.
Wow.
That's nice
This is a great idea and less cost
Wooden hanging coat almost $8
Yes, bro. Even some cost more and their quality is terrible.
It's so creative, nice one
Thanks a lot.
Love the creative thinking,
Thanks a lot.