Step-by-step tutorial: Makeup using blue, black and silver [ESP//ING]
(Edited)
HOLA MI LINDA COMUNIDAD
HELLO MY BEAUTIFUL COMMUNITY
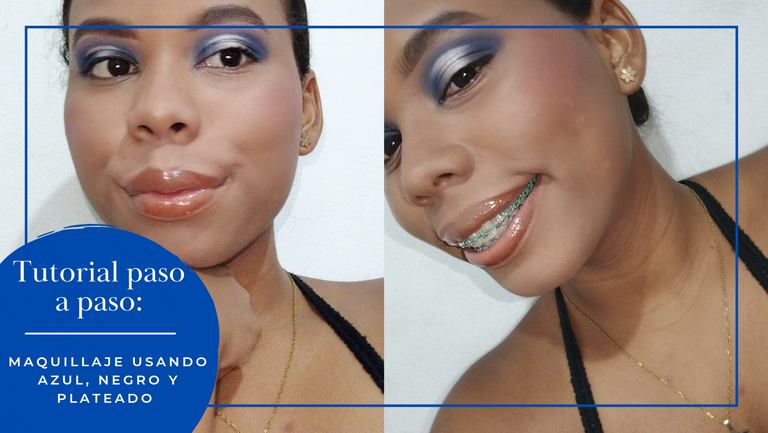
Cómo bien saben, el maquillaje y yo nos hemos unido bastante últimamente, todo el tiempo libre que tengo es usado básicamente para bailar y probar nuevos estilos de maquillaje que quiero dominar, a veces esas pruebas terminan en grandes errores llenos de frustración y otra veces (como hoy) en un lindo tutorial que decido compartir con ustedes, pues los resultados superan mis expectativas. El día de hoy les traigo un maquillaje negro, azul y plateado, con un estilo algo diferente y hecho muchísimo cariño, así que, aquí vamos:
As you well know, makeup and I have been getting pretty close lately, all the free time I have is basically used to dance and try new makeup styles that I want to master, sometimes those tests end up in big mistakes full of frustration and other times (like today) in a nice tutorial that I decide to share with you, because the results exceed my expectations. Today I bring you a black, blue and silver makeup, with a different style and made with a lot of love, so here we go:
PASO A PASO | STEP BY STEP
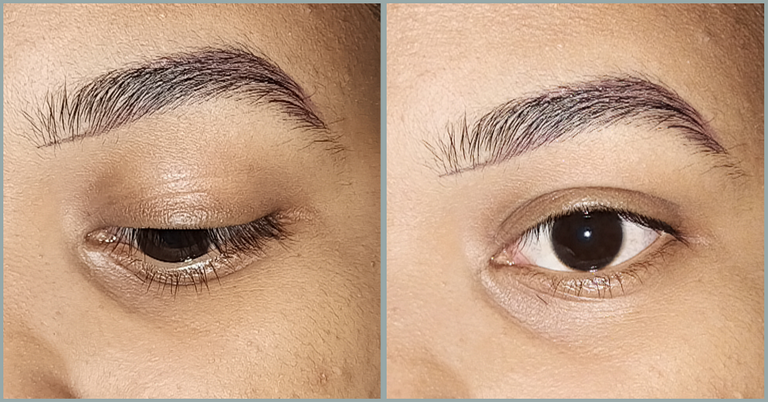
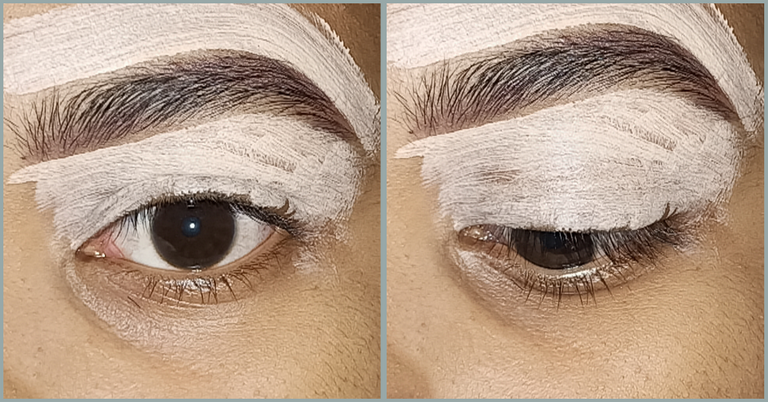
Lo primero que debemos hacer es limpiar e hidratar nuestro rostro, en esta oportunidad no tome fotos de esa parte, aún así es algo que siempre debemos hacer, una vez que nuestro rostro está listo para todo lo viene, iniciamos maquillando nuestras cejas, peinadolas, dándoles forma y rellenando los pequeños espacios que pueden existir. Luego de eso vamos a corregir las y expandir hemos un poco de ese mismo corrector hacia nuestro párpado de esta forma lo preparamos para aplicar las sombras.
The first thing we must do is to clean and moisturize our face, this time I didn't take pictures of that part, even so it is something we should always do, once our face is ready for everything that comes, we start making up our eyebrows, combing them, giving them shape and filling the small spaces that may exist. After that we are going to correct the eyebrows and expand the same concealer to our eyelid, this way we prepare it to apply the shadows.
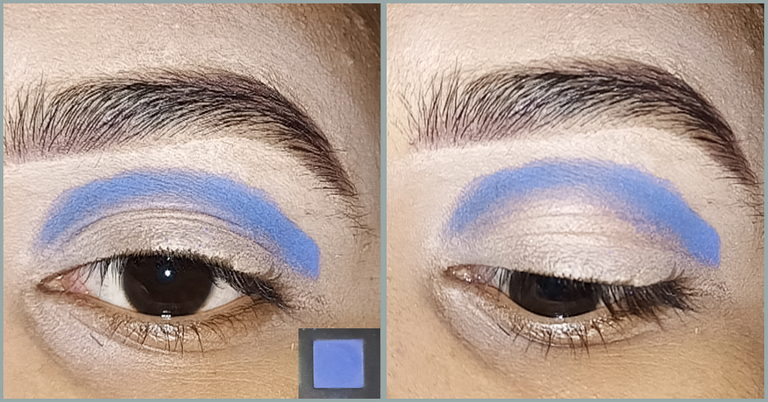
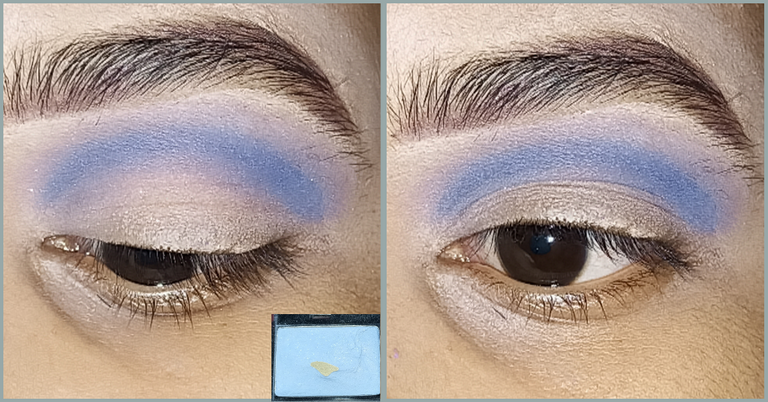
Una vez aplicado y difuminado nuestro corrector, comenzamos a aplicar una sombra azul oscura en movientos de punteo para saturar el color y haciendo un pequeño arco con ella, desde nuestro lagrimal hasta la esquina externa de nuestro ojo. Luego difuminaremos ese arco con un azul mucho más claro y en movimientos circulares. Recuerda que debes tener mucha paciencia en este paso.
Once we have applied and blended our concealer, we start applying a dark blue shadow in stippling motions to saturate the color and making a small arc with it, from our tear trough to the outer corner of our eye. Then we will blend that arc with a much lighter blue in circular movements. Remember to be very patient in this step.
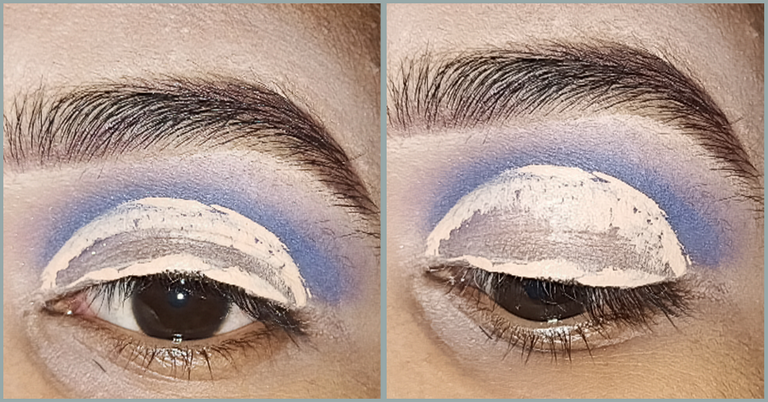
Ahora debemos hacer un corte de cuenca. La forma que yo siempre recomiendo para esto, es hacer un pequeño delineado con corrector líquido, luego miramos hacia arriba y de esa forma crearemos unas líneas guía, esas líneas guía las iremos rellenando poco a poco con el mismo corrector, de forma que nuestro resultado sea similar al de la foto que se encuentra acá abajo.
Now we need to do a socket cut. The way I always recommend for this, is to make a small outline with liquid concealer, then we look up and that way we will create some guide lines, those guide lines we will fill them little by little with the same concealer, so that our result is similar to the one in the picture below.
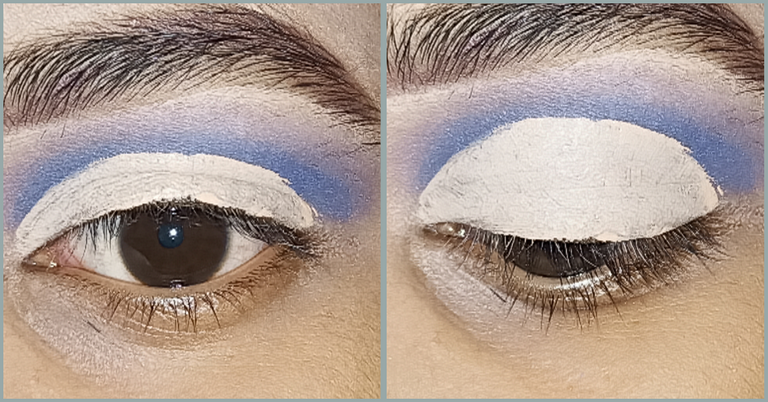
Ahora aplicaremos un color negro, que irá con movimientos de punteo en nuestro lagrimal y en la esquina externa de nuestro ojo, su aplicación debe ser bastante limitada, evitando que toque el centro, en la foto lo verás un poco mejor. Ahora en el espacio que tenemos libre, aplicaremos un color plateado brillante.
Now we will apply a black color, which will go with stippling movements in our tear and in the outer corner of our eye, its application should be quite limited, avoiding that it touches the center, in the photo you will see it a little better. Now in the space we have free, we will apply a shiny silver color.
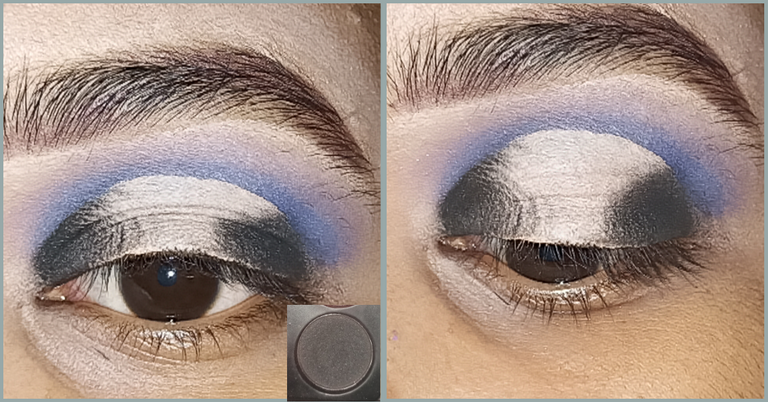
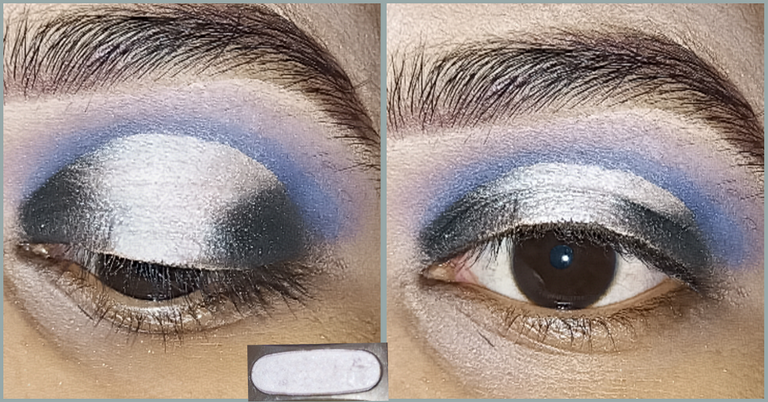
Para dar los toques finales a nuestro ojo, por encima del color negro aplicaremos un azul oscuro, tratando de difuminar con él un poco el color negro, de forma que el azul sobresalga hacia dónde se encuentra el plateado. Es un poco extraño este paso, pero espero que con las fotos lo entiendas un poco mejor.
To give the final touches to our eye, above the black color we will apply a dark blue, trying to blur with it a little the black color, so that the blue stands out to where the silver is. It's a bit strange this step, but I hope that with the pictures you will understand it a little better.
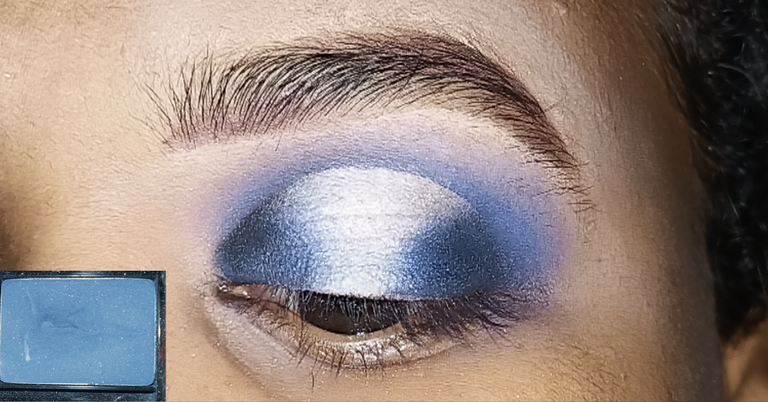
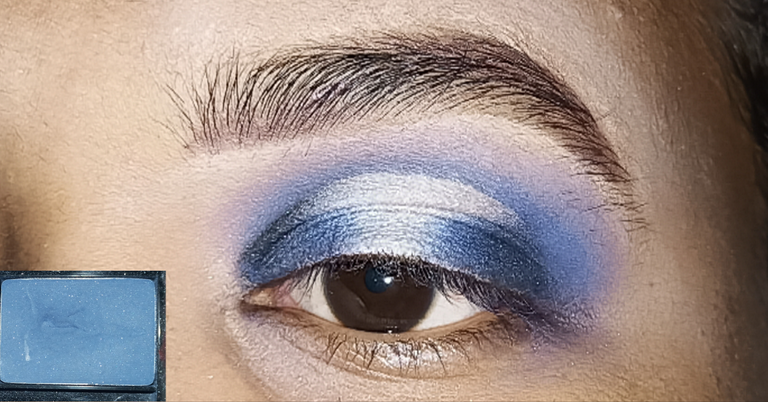
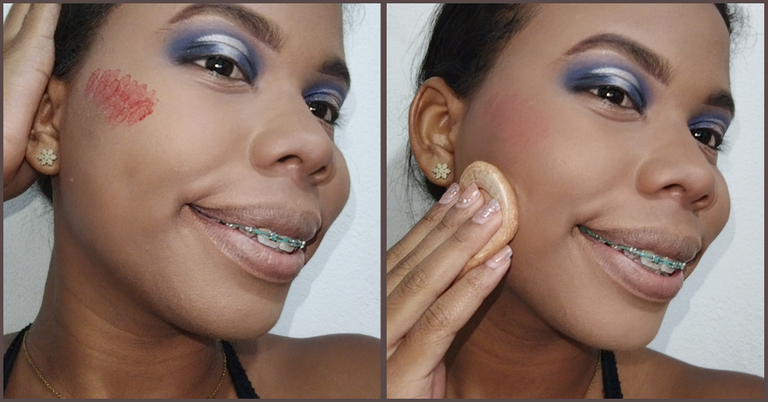
Yo nuestros ojos están listos iniciamos, con nuestra piel, para ello corrijo mis zonas problemáticas con un corrector naranja (ojeras y bozo) y aplico base en el resto de mi rostro (si planeas salir con este maquillaje recuerda extenderla por cuello y orejitas). Luego de esto, realizaré un contorno en mejillas y nariz, aplicaré rubor líquido y por último sellaré todo con productos en polvo.
I our eyes are ready we start, with our skin, for this I correct my problem areas with an orange concealer (dark circles and bozo) and apply foundation on the rest of my face (if you plan to go out with this makeup remember to extend it on the neck and ears). After this, I will contour my cheeks and nose, apply liquid blush and finally seal everything with powder products.
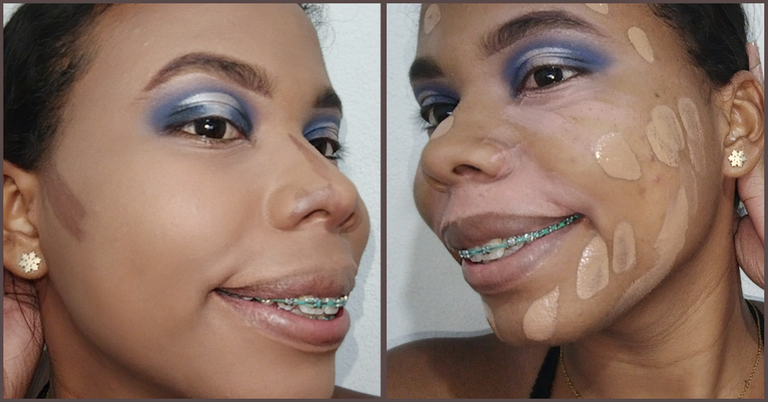
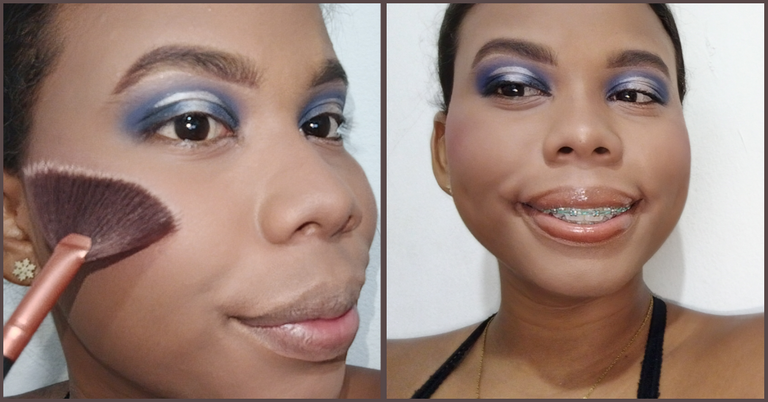
Aplicamos iluminador, labial y listo, puedes incluir pestañas para darle mayor impacto, yo no las coloqué porque las rompí sin querer antes del tutorial😢 R.I.P pestañitas de Gaby💔
Apply highlighter, lipstick and ready, you can include eyelashes to give it more impact, I didn't put them because I broke them by accident before the tutorial😢 R.I.P Gaby💔 eyelashes.
Fotos finales | Final photos
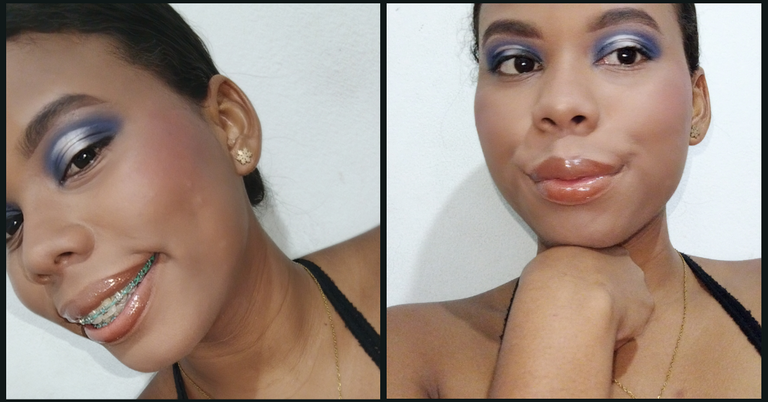
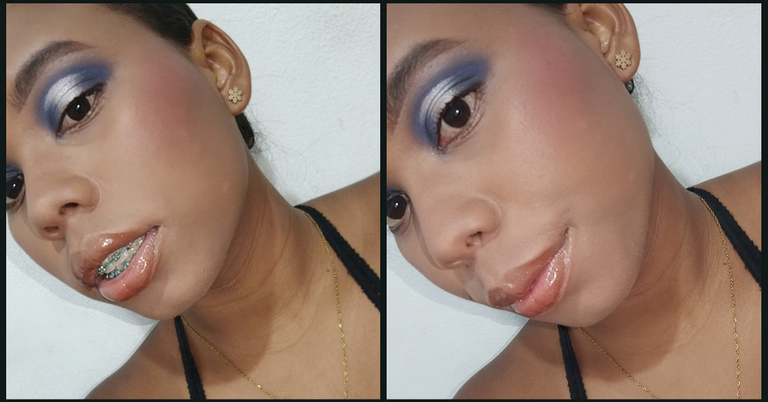
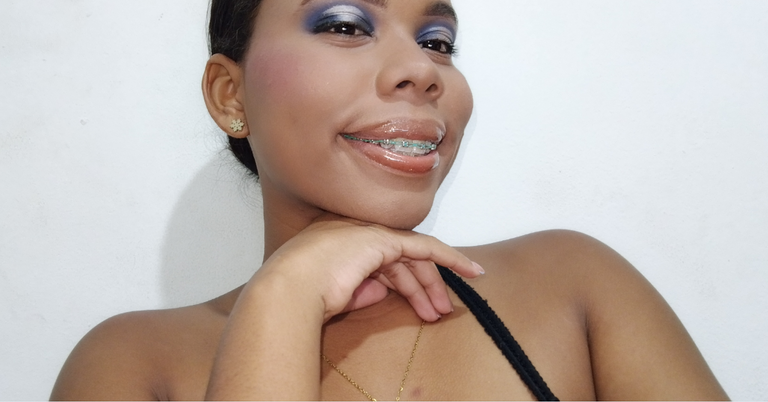
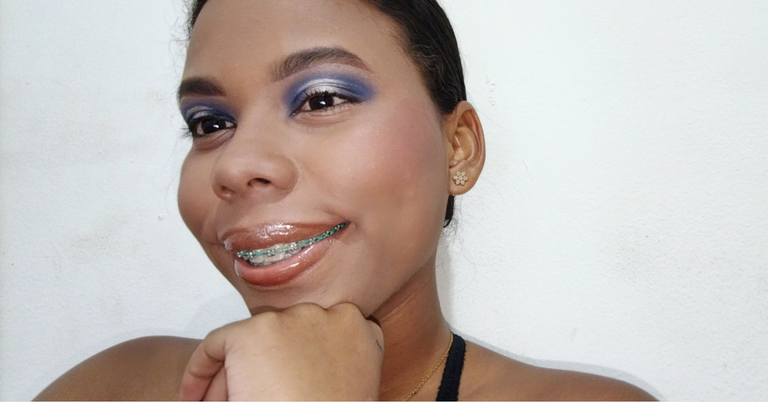
Y bueno esta fue mi pequeña propuesta para un maquillaje en tonos fríos (negro, azul y plateado) perfecto para quienes tienen ojos azules y desean realizar su mirada, aún así, no se preocupen ojos marrones, como ven, a nosotros también nos queda perfecto. ¿Y tú? ¿Probarías este look?. Si llegaste hasta aquí:
And well this was my little proposal for a makeup in cool tones (black, blue and silver) perfect for those who have blue eyes and want to make their look, even so, don't worry brown eyes, as you can see, it looks perfect on us too. And you, would you try this look. If you made it this far:
Gracias por leerme y hasta un próximo post
Thanks for reading and see you in a future post
Traducción: Deepl. // Traslation: Deepl.

419
2
0.009 PAL
Your content has been voted as a part of Encouragement program. Keep up the good work!
Use Ecency daily to boost your growth on platform!
Support Ecency
Vote for new Proposal
Delegate HP and earn more
Congratulations @gabyr02! You have completed the following achievement on the Hive blockchain and have been rewarded with new badge(s):
Your next target is to reach 1000 upvotes.
You can view your badges on your board and compare yourself to others in the Ranking
If you no longer want to receive notifications, reply to this comment with the word
STOPTo support your work, I also upvoted your post!
Check out the last post from @hivebuzz:
Support the HiveBuzz project. Vote for our proposal!