[ESP//ING] Step by step tutorial: Semi cut crease in warm tones.
(Edited)
💕Hola mi linda comunidad 💕
💕Hello my beautiful community 💕
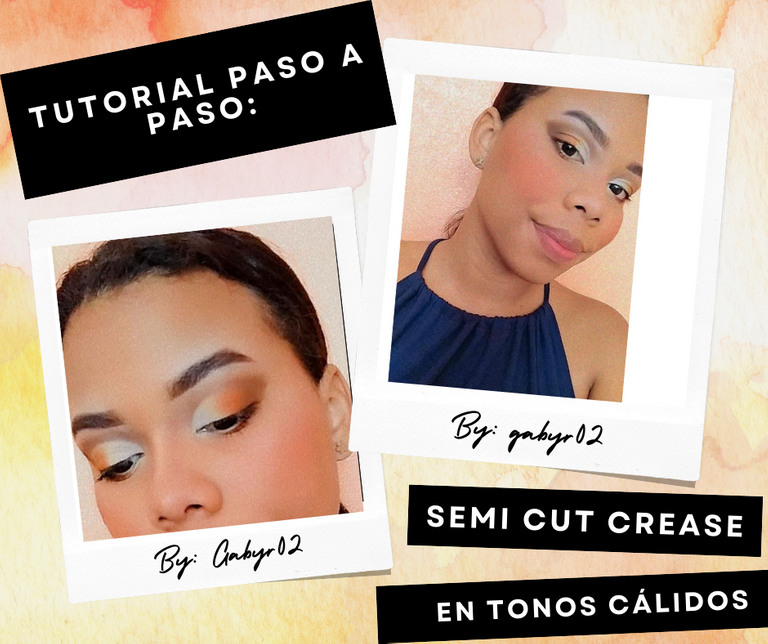
For me, warm tones are one of the most beautiful that the color palette offers us, I really feel very fond of orange, brown, red, yellow tones, they give me a kind of calm. I find them classic and at the same time full of life, that's why today I decided to use some of them and offer you this little tutorial of a semi cut crease in warm tones so here we go:

Paso a paso | Step by step
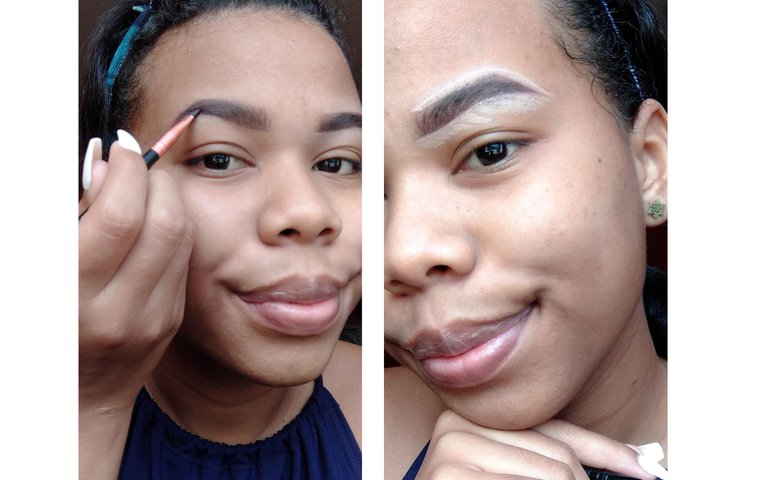
Como siempre inicio mi maquillaje con mis cuatro pasos básicos: maquillar / rellenar y corregir me cejas, aplicarme un corrector claro en todo mi párpado y sellar el corrector con una sombra similar al tono de mi piel. En esta ocasión como pueden notar, mis cejitas están un poco feas y me disculpo por eso🤭 pero todo tiene un motivo y es que estoy tratando de dejarlas crecer para ir a hacerme la depilación con cera, que como les he mencionado antes, me asusta un poco porque en anteriores ocasiones me han quemado, pero aquí estoy dispuesta intentarlo nuevamente. En fin eso no es lo importante jaja aquí les dejo fotos de los 4 pasos básicos.
As always I start my makeup with my four basic steps: make up / fill in and correct my eyebrows, apply a light concealer on my eyelid and seal the concealer with a shadow similar to my skin tone. This time as you can notice, my eyebrows are a bit ugly and I apologize for that🤭 but everything has a reason and it's that I'm trying to let them grow and go for waxing, which as I mentioned before, scares me a bit because in previous occasions they have burned me, but here I am willing to try it again. Anyway that's not the important thing haha here are some pictures of the 4 basic steps.
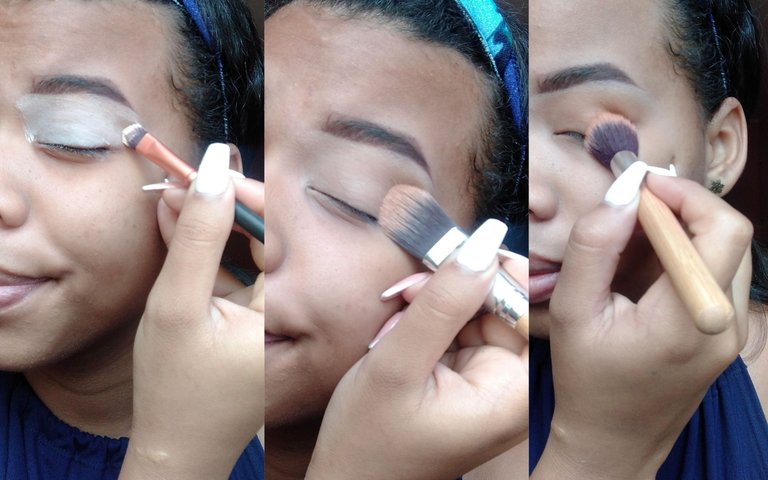
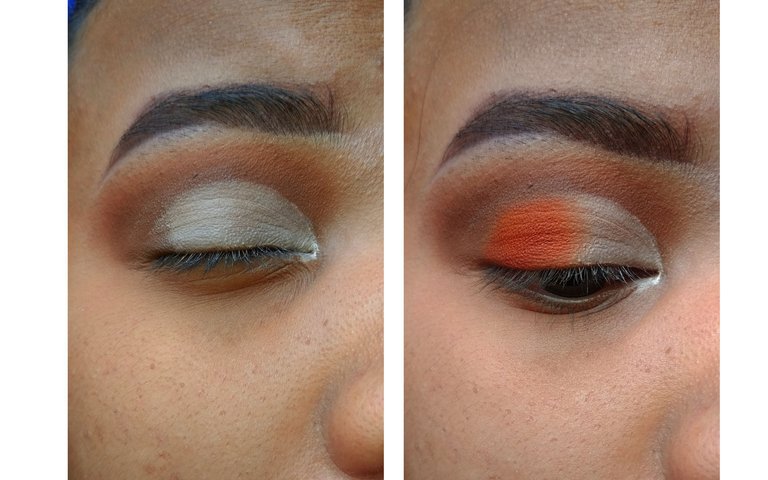
Ahora que ya tengo mis cejas y mi párpado listo para trabajar comienzo colocar un marrón oscuro a toques, la idea es saturar bastante este marrón y así tenga mucha más intensidad; luego de eso tomé un marrón mucho más claro y lo usé para difuminar mi marrón oscuro. Este paso es el que más tiempo puede tomarte así que hazlo con paciencia para que veas buenos resultados.
Ahora haremos un corte de cuenca con un corrector claro, sí lo deseas antes de aplicar el corrector puedes usar un poco de desmaquillante para limpiar la zona así tú corte quedará mucho más limpio. Este corte debes hacerlo un poco más allá de tu pupila casi llegando a la parte externa de tu ojo, luego de eso, colocaras un poco de naranja desde donde está el final del corte hasta la mitad de tu pupila.
Now that I have my eyebrows and eyelid ready to work with I start applying a dark brown in touches, the idea is to saturate this brown a lot so it has much more intensity; after that I took a much lighter brown and used it to blend my dark brown. This step is the one that can take the most time so do it with patience to see good results. Now we will do a socket cut with a light concealer, if you wish before applying the concealer you can use some make-up remover to clean the area so your cut will be much cleaner. This cut should be done a little beyond your pupil almost reaching the outer part of your eye, after that, you will place a little orange from where the end of the cut is to the middle of your pupil.
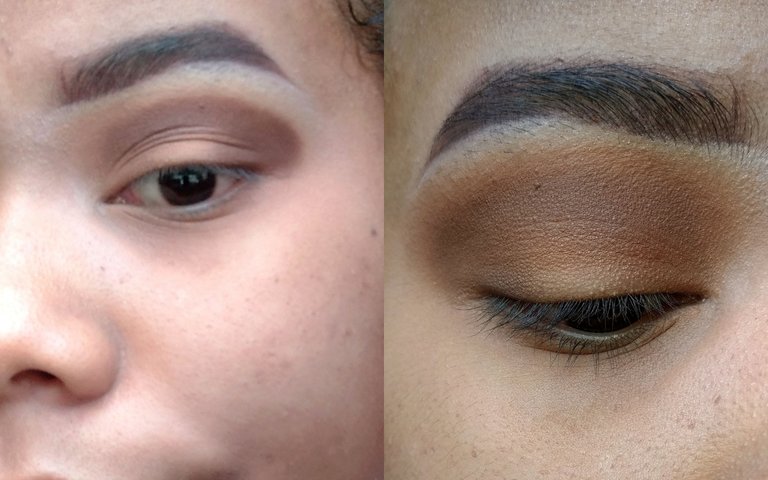
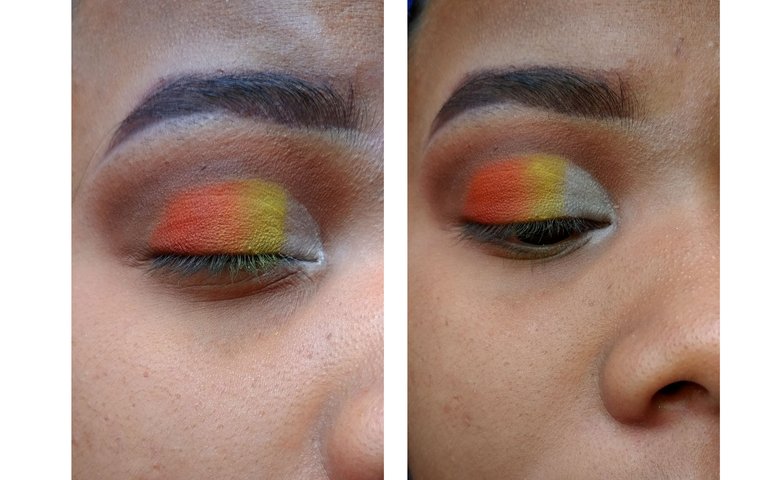
Ahora tomaremos un poco de amarillo y lo colocaremos en poca cantidad desde donde colocaste el naranja hasta un poco más del inicio de tu pupila; igual te dejaré fotos para que puedas observar bien hasta dónde coloqué mi amarillo. Ya por último solo colocaras un poco de blanco desde tu lagrimal hasta dónde comienza el amarillo, luego de esto puedes tomar una brocha limpia y pasarla suavemente desde el blanco hasta el naranja para integrar los colores un poco más.
Now we will take a little bit of yellow and place it in a small amount from where you placed the orange to a little more than the beginning of your pupil; I will leave pictures so you can see where I placed my yellow. Finally, just place a little bit of white from your eyelid to where the yellow begins, after this you can take a clean brush and pass it gently from the white to the orange to integrate the colors a little more.
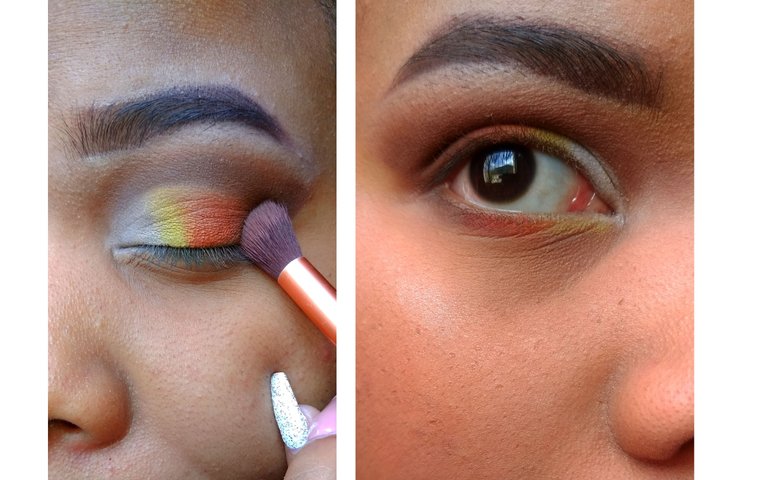
Ya para dar los últimos toques tomaremos un poco de marrón oscuro el mismo que usaste al principio del tutorial y lo colocaras en la parte externa del ojo, cerca de donde está el naranja. Trata de difuminar lo más que puedas los colores, tómate tu tiempo, la idea es que no se vea un corte entre el naranja y el marrón.
Por lo último oficialmente tomaremos un poco de marrón un poco de naranja y un poco de amarillo estos colores los colocaremos en ese mismo orden en nuestra línea de agua, en la foto podrás ver mejor este paso. Y listo. Ya queda de parte de cada uno si desea agregarle pestañas o rimel💕.
Now for the final touches we will take some dark brown, the same you used at the beginning of the tutorial and place it on the outer part of the eye, close to where the orange is. Try to blend the colors as much as you can, take your time, the idea is that you don't see a cut between the orange and the brown. Finally we will officially take a little bit of brown, a little bit of orange and a little bit of yellow, these colors will be placed in the same order in our water line, in the picture you can see better this step. And that's it. It's up to each one if you want to add eyelashes or mascara💕.
FINAL PHOTOS WITHOUT FILTER / FINAL PHOTOS WITH FILTER

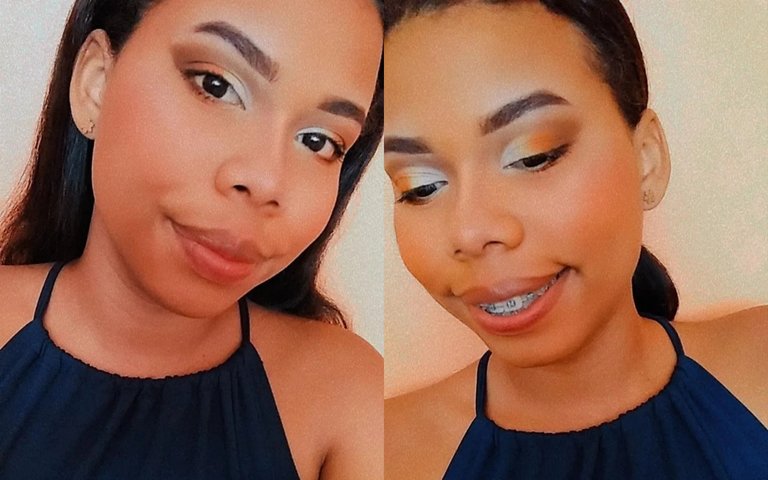
And well this was my proposal for a semi cut crease in warm tones, I hope you liked the result and inspired to do yours💕. If you made it this far:
Gracias por leerme y hasta un próximo post
Thanks for reading and see you in a future post
Traducción: Deepl. // Traslation: Deepl.

0
0
0.000
Me encantan los colores cálidos y todos los looks que se pueden hacer con estos tonos, este maquillaje te quedó muy bonito! Saludos.
@gigi8 Te entiendo perfectamente los colores cálidos son preciosos y nos ayudan a hacer looks Perfectos. Gracias por tu lindo comentario y gracias por leerme. Saludos y hasta pronto💕