Sculpture: pirate boat / Escultura: bote pirata [ENG/ESP]
Greetings to all friends of Hallazgo, this time I would like to share with you a type of publication that I usually share here in Hive, a publication about my sculptures.
Since a couple of days ago I have been working on a couple of figurines specifically for this hallazgo community, so today I will present them to you. They are a small ship and a pirate figurine:
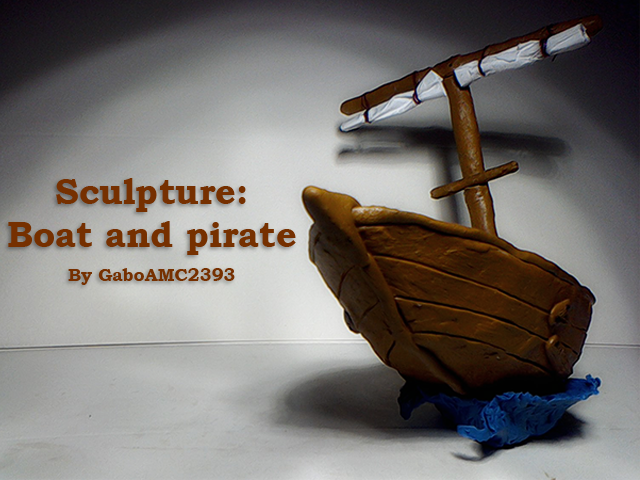
Those who belong to the community know that the roles used in the discord server are "Captain", "Pilot", "Crew". I found these roles very imaginative, but to let my imagination run wild, I didn't imagine them all as sailors, but as adventurous pirates in search of the greatest treasures of the seven seas. That's what inspired me for these figurines. All that said, let's get started.
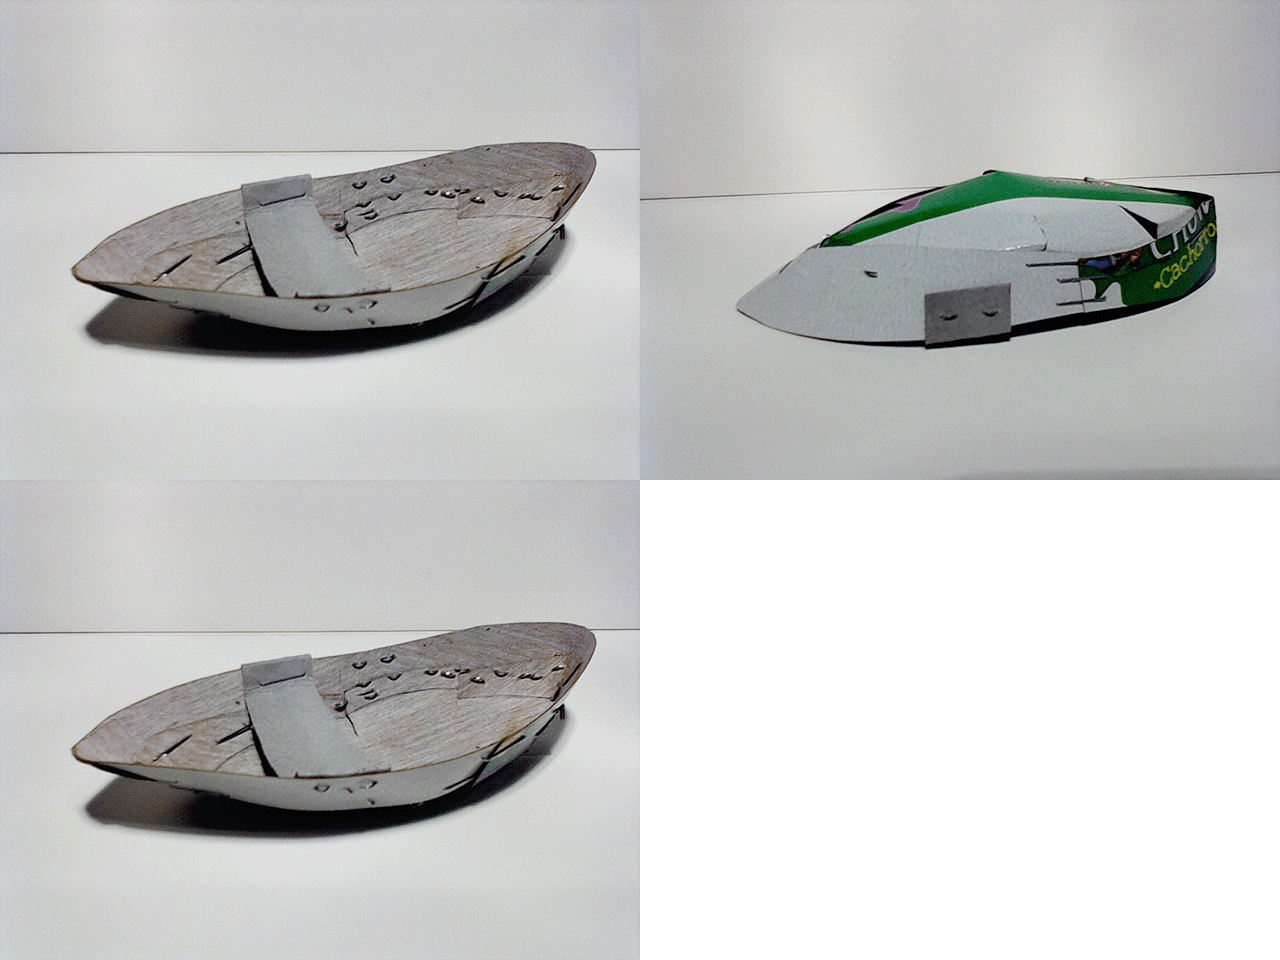
To start with the ship, I made a frame out of cardboard and staples, as seen in the image below:
With my framework ready, I only had to prepare brown plasticine to cover it.
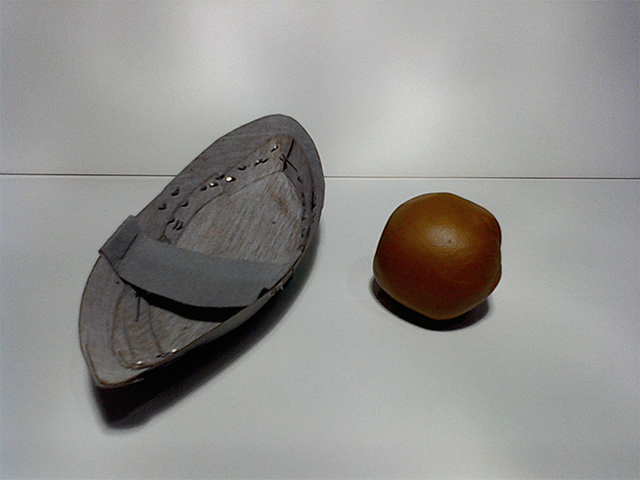
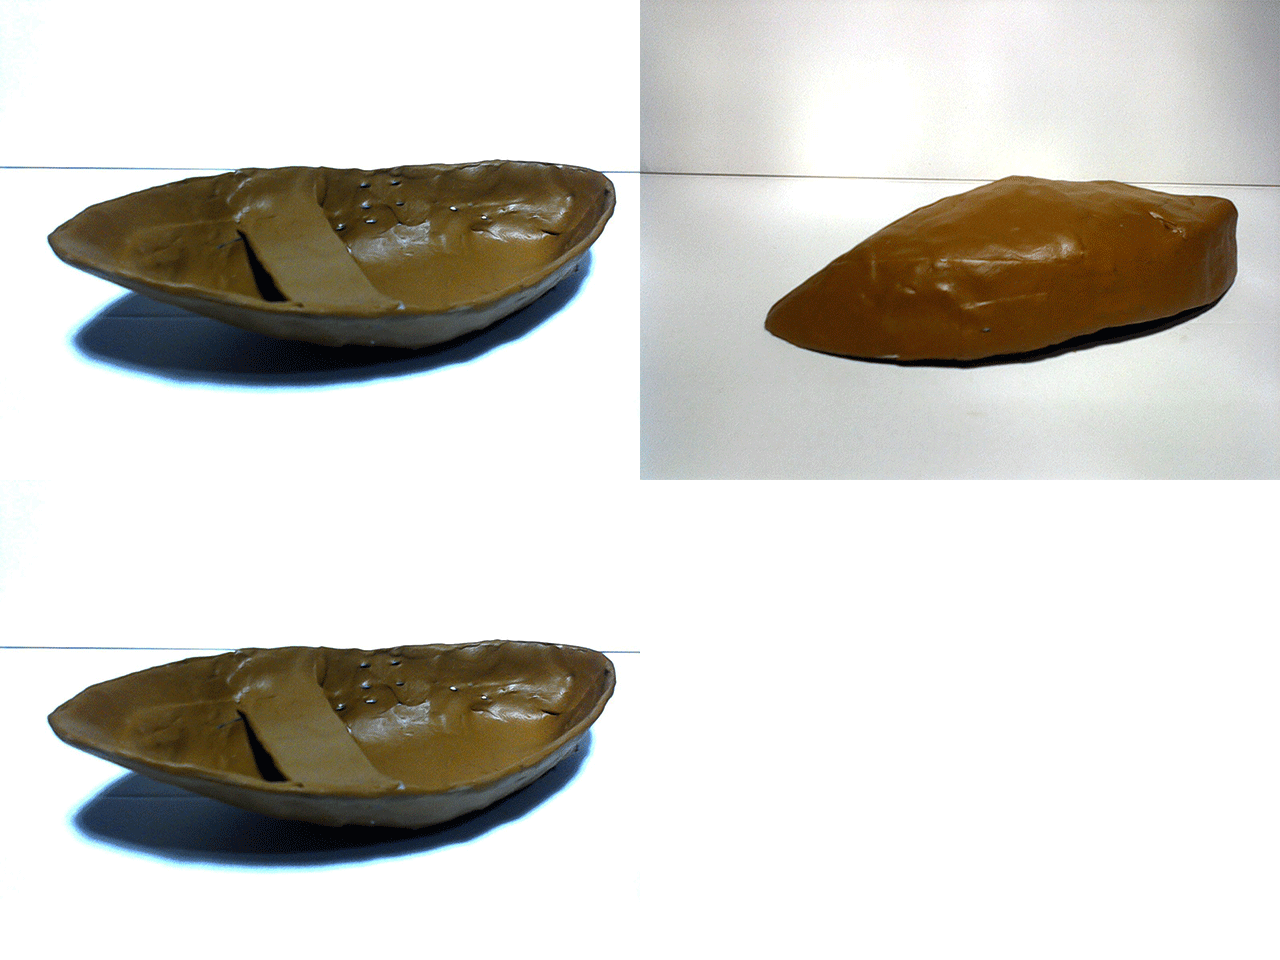
I stretched the plasticine all over, covering all areas of the cardboard.
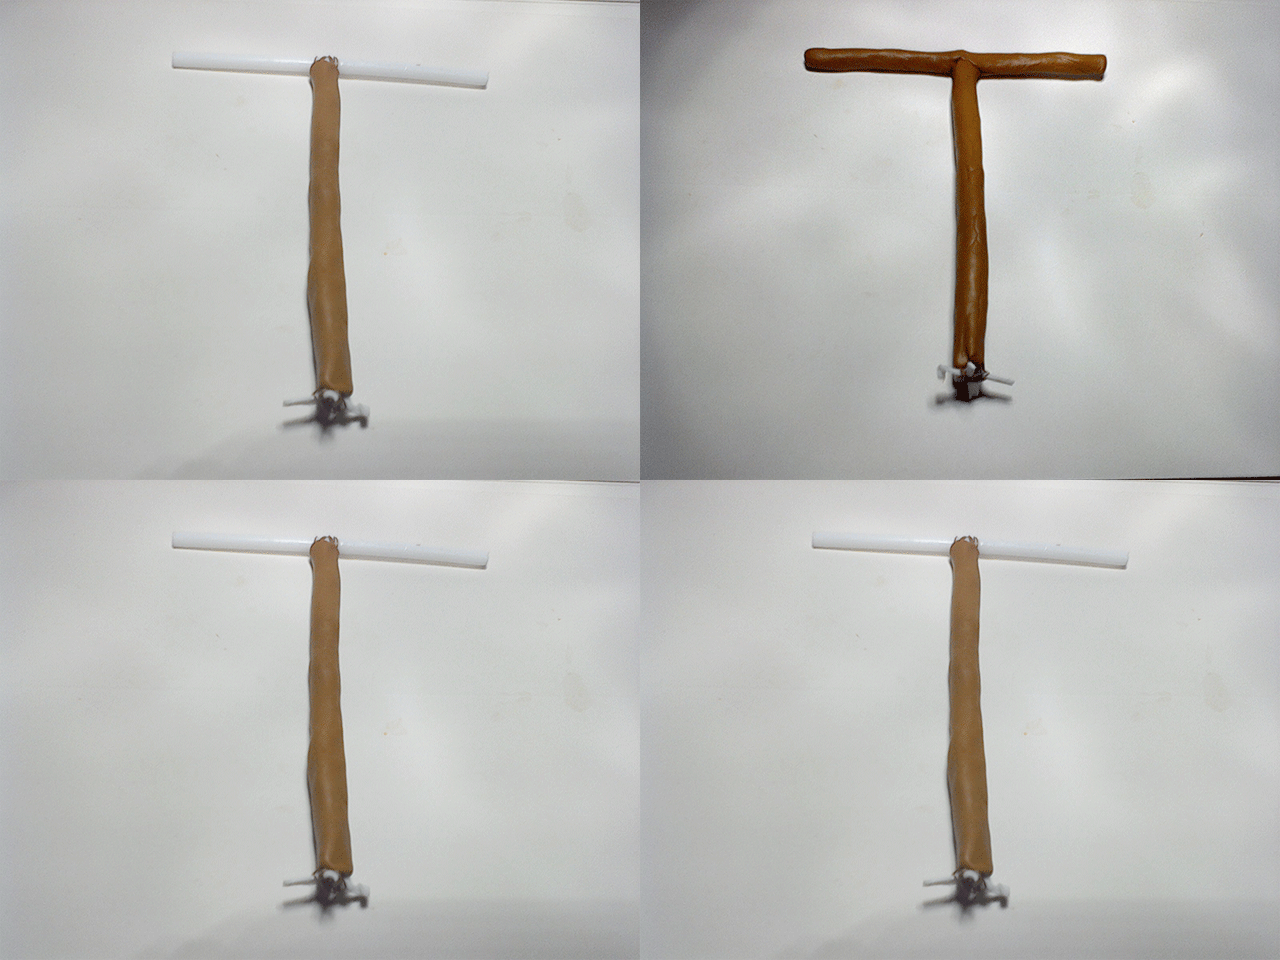
I also used two plastic sticks to make the mast of the boat. I used glue to adhere the two sticks and then covered them with brown play dough.
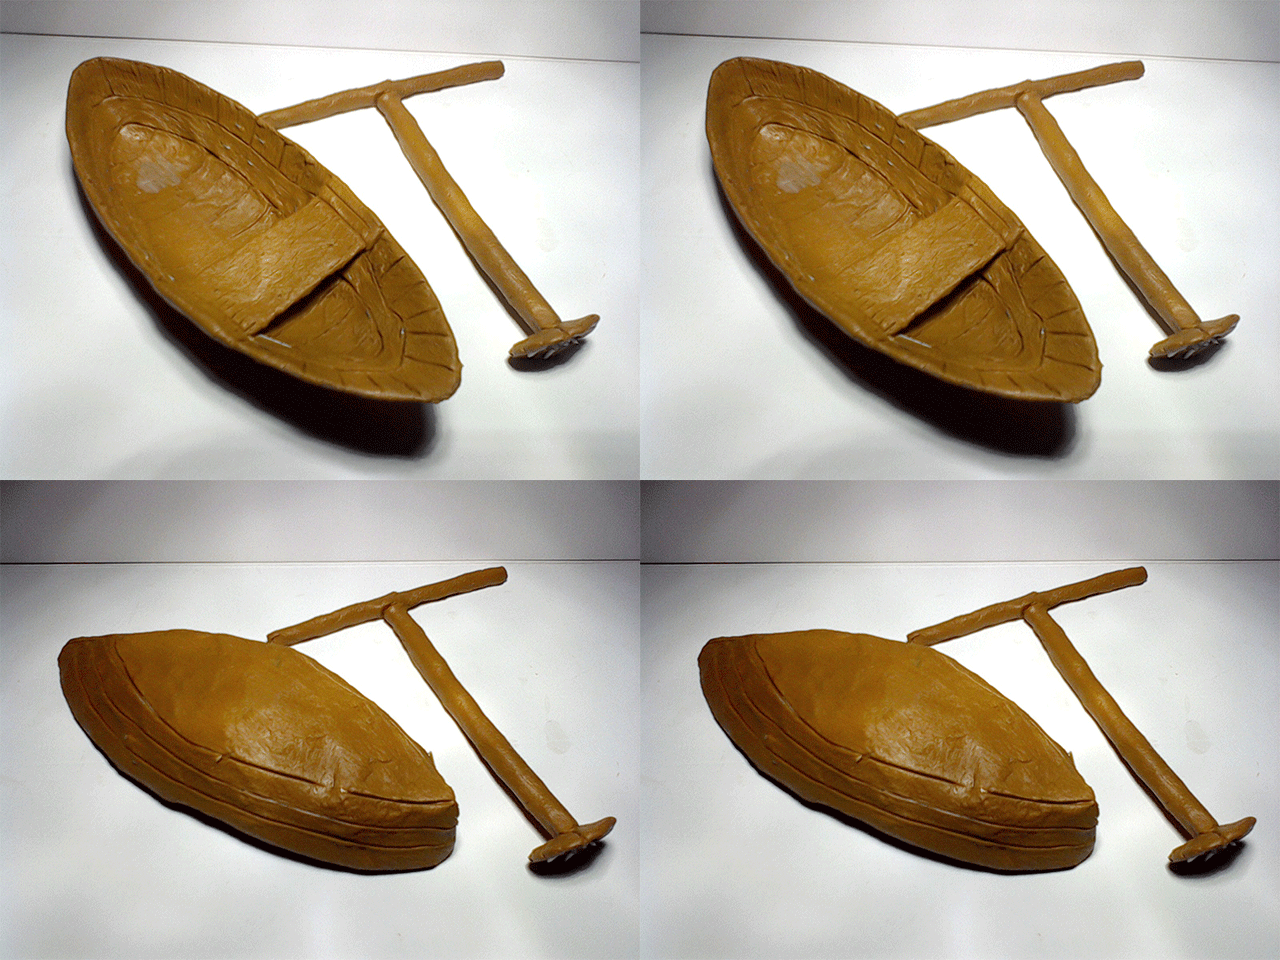
With the help of a needle, I began to make the shapes that the boat would have. As if I was drawing it, I made the lines of the planks and wooden slats of the boat. I did this both on the outside and inside of the boat.
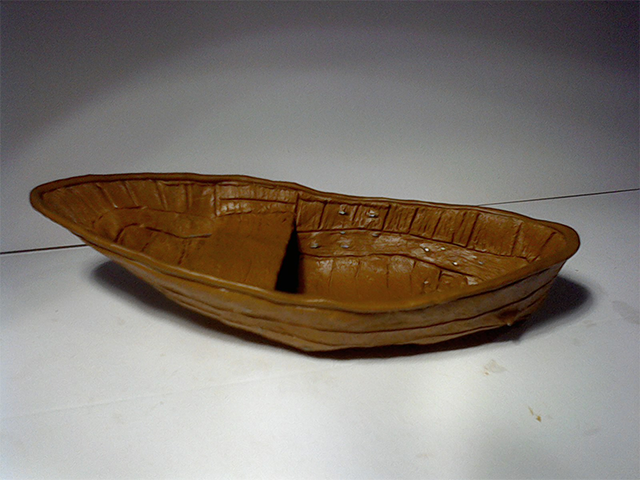
I stretched plasticine until I made a thin line with which I covered the entire edge of the pot.
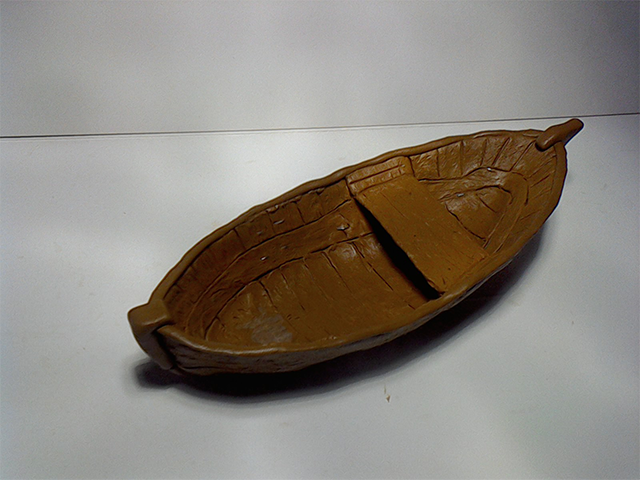
I also placed two ornaments on both the front and the back.
Obviously, I could not forget the bottom part, even if it is not going to be seen....
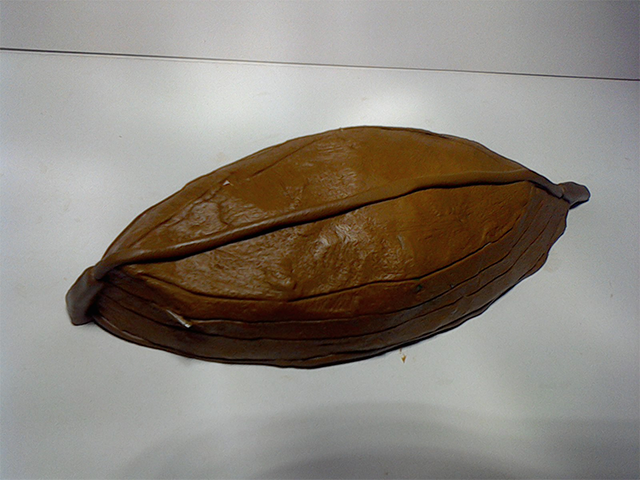
Like all boats, this one gets damaged and needs to be fixed, so I put several wooden patches on this little boat. This is to cover the staple marks that protrude from the figure; however, the patches look great.
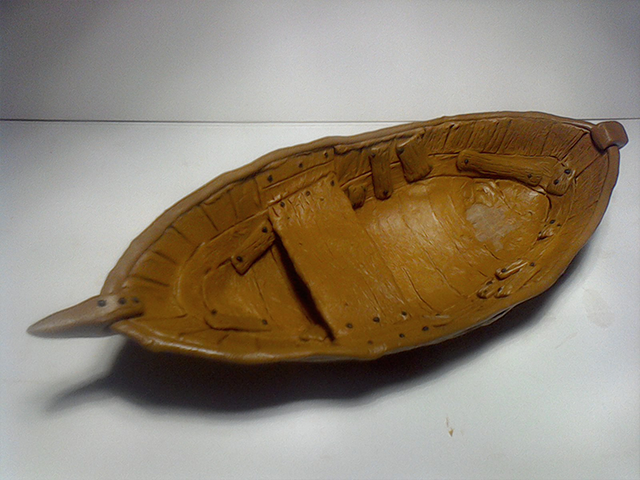
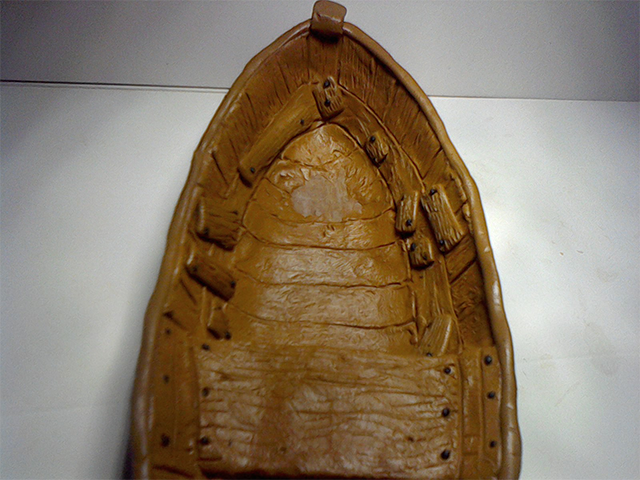
Once these details were ready, I put the ship's mast in place, helping myself with a little glue.
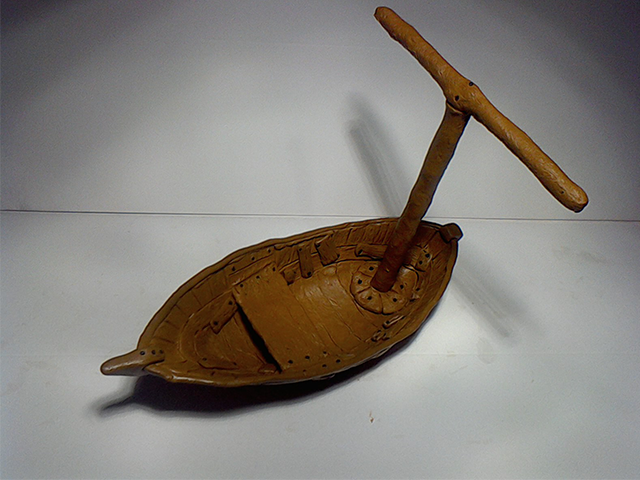
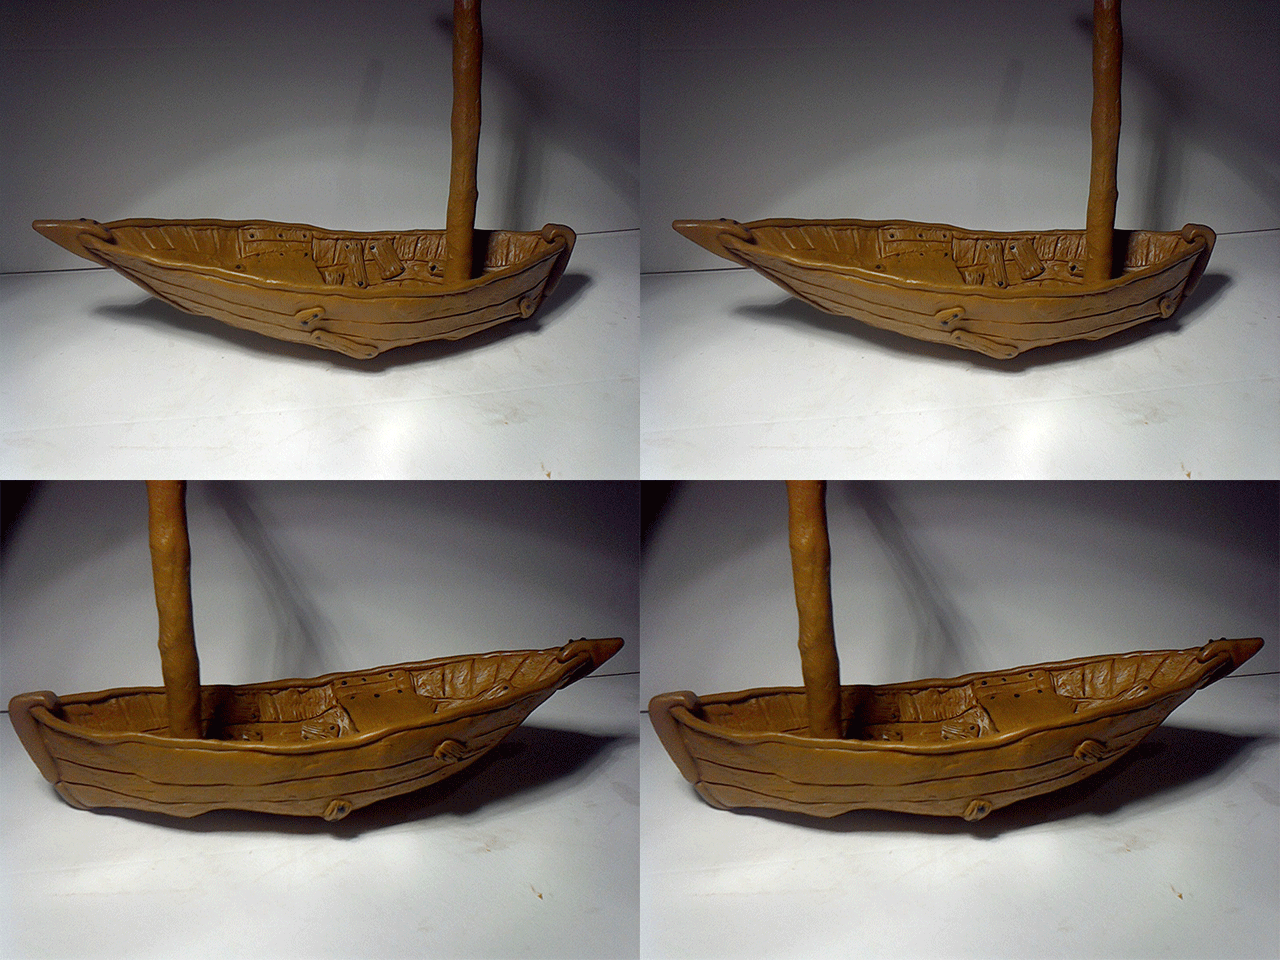
This is how all the wooden part of our little boat was left. Now we just need to add a few more details.
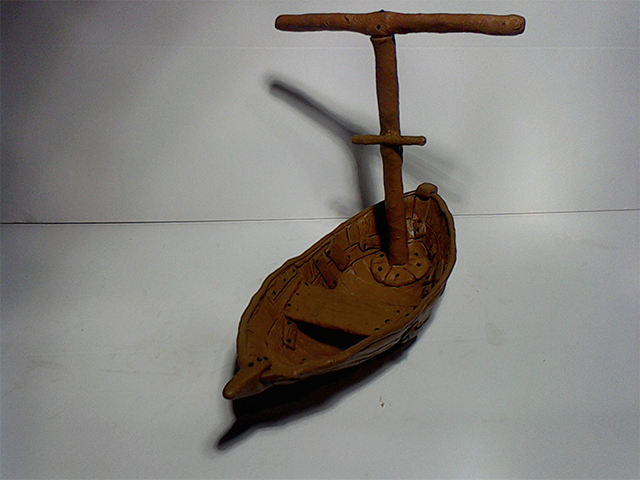
Like all boats, this one needs sails; however, placing them unfurled would prevent the whole design of the boat from being seen, so I placed them tucked in, just for visualization purposes:
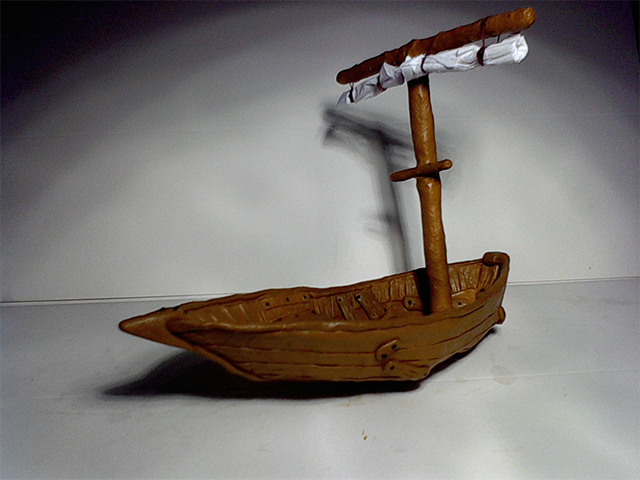
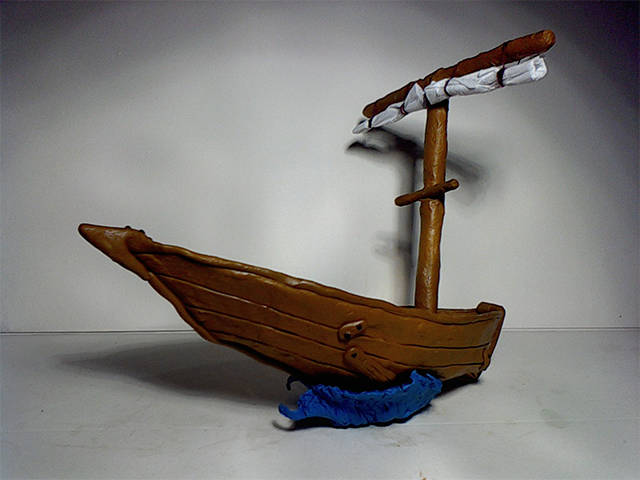
I also placed a base so that it could stand upright without any problem. A base that simulates sea water. Here are a few photos from different angles of our boat.
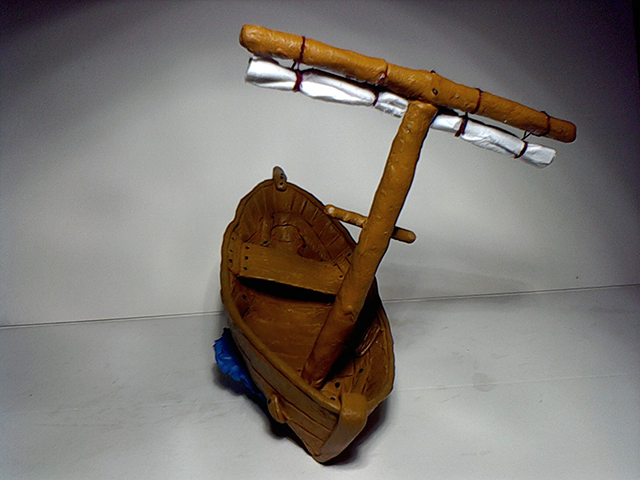
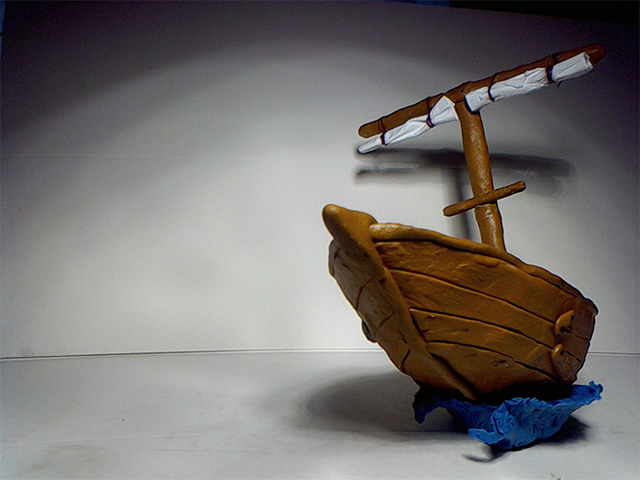
Well friends, that's all for now, what do you think? I have loved making this figurine and I must begin that I had to make it twice, because the first time I made it some insect (I imagine it was an insect), damaged it, making many little lines along the figure. However, I had the opportunity to improve details that I had forgotten to place before...
I invite you to leave your opinions about this figure in the comments, I will be happy to read them. I sincerely hope you like this little art project I'm working on. Without further ado, I will say goodbye then....
See you next time!
*****Versión en español*****
Saludos a todos amigos de Hallazgo, en esta ocasión me gustaría compartir con ustedes un tipo de publicación que suelo compartir por acá en Hive, una publicación sobre mis esculturas.
Desde hace un par de días estuve trabajando en un par de figuras específicamente para esta comunidad de hallazgo, así que hoy se las presentaré. Se trata de un pequeño barco y la figurita de un pirata:

Los que pertenecen a la comunidad saben que los roles que se usan en el servidor de discord son el de "Capitan", "Piloto", "Tripulación". Me parecieron muy imaginativos estos roles, pero para poner a volar la imaginación, no los imaginé a todos como marineros, sino como piratas aventureros en busca de hallar los tesoros más grandes de los siete mares. En eso me inspiré para estas figuritas. Dicho todo esto, comencemos.
Para comenzar con el barco, hice un armazón de cartón y grapas, como se observa en la imagen a continuación:

Con mi armazón listo, solo tuve que preparar plastilina de color marrón para luego cubrirlo.

Estiré la plastilina por todos lados, cubriendo todas las áreas del cartón.

También usé dos palillos de plástico para hacer el mástil del bote. Usé pegamento para adherir los dos palillos y luego los cubrí con plastilina marrón.

Con ayuda de una aguja, comencé a hacer las formas que tendría el bote. Como si estuviese dibujandolo, hice las lineas de las tablas y laminas de madera del bote. Hice esto tanto por fuera como por dentro del bote.

Estiré plastilina hasta hacer una fina linea con la que cubrí todo el borde del bote.

También coloqué dos adornos tanto en la parte de adelante, como en la parte trasera.

Obviamente, no podía olvidar la parte de abajo, aunque esta no se vaya a ver...

Como todo bote, este se daña y hay que arreglarlo, así que este botecito le coloqué varios parches de madera. Esto es para cubrir las marcas de las grapas que sobresalen de la figura; sin embargo, los parches lucen muy bien.


Una vez listo estos detalles, coloqué el mástil del barco en en su lugar, ayudándome con un poco de pegamento.


De esta manera quedó toda la parte de madera de nuestro barquito. Ahora solo falta agregar un par de detalles más.

Como todo barco, este necesita velas; sin embargo, colocárselas desplegadas impediría que se viese todo el diseño del barquito, así que las coloqué recogidas, solo por cuestión de visualización:

También le coloqué una base para que este pudiese mantenerse erguido sin ningún problema. Una base que simula el agua del mar. Les dejo unas cuantas fotos desde distintos ángulos de nuestro barco.


Bien amigos, esto ha sido todo por ahora. ¿Qué les ha parecido? A mi me ha encantado hacer esta figurita y debo comenzar que tuve que hacerla dos veces, porque la primera vez que la hice algún insecto (imagino que fue un insecto), la dañó, haciendole muchos rallitos a lo largo de la figura. Sin embargo, tuve la oportunidad de mejorar detalles que había olvidado colocar antes...
Los invito a dejar sus opiniones sobre esta figura en los comentarios, yo estaré encantado de leerlos. Espero de corazón que les guste este pequeño proyecto de arte en el que estoy trabajando. Sin más que agregar, me despido entonces...
¡Hasta la próxima!

Imagenes editadas con Photoshop
Fotos tomadas con tablet HP stream 7
Traducido con DeepL
Photos edited with Photoshop
Photos taken with HP stream 7 tablet
Translated with DeepL
Últimos tres post/Last three posts:
Three musketeers abandoned / Tres mosqueteros abandonados
From seed to table / De la siembra a la mesa
A walk around my plantation / Un paseo por mi plantación


Great step by step guide. Nice photos.
Hey glad you liked it, thanks for reading. Best regards!
Wow, tu publicación está genial @gaboamc2393. Te felicitamos, la vimos gracias al proyecto/comunidad @el-hallazgo, ellos la recomendaron con nosotros. ¡Sigue así!
Me alegra mucho que hayan considerado mi publicación. Muchas gracias @aliento y a @el-hallazgo por el apoyo. Lo aprecio mucho de verdad.
Hello, @gaboamc2393!
Your article was featured on our Daily Newsletter! You've been rewarded with 1000 liquid 'BUIDL' tokens - the native token for Build-it!
Build-it is a DIY (do it yourself) crafty social sharing platform that leverages Hive Network for scalability, decentralization, and lighting speed. DIY'ers earn 'BUIDL' tokens when publishing their DIY and How-to tutorial/craft on our website or simply by using one of our tags: #build-it #buidl and #diy respectively. Keep up the creative spirit and keep adding value to the blockchain! Interestingly we sponsor a weekly contest rewarding the best DIY projects with Hive and Buidl tokens respectively. Check it out HERE.
Deposit Hive to your Hive-Engine or TribalDex and purchase the token. The ticker is 'BUIDL', or click the quick links below
==> TribalDex
==> Hive-Engine
Connect with us on our friendly socials:
Twitter
Discord
@gaboamc2393
Hermano, me gustaron los detalles de tus esculturas. Hay es donde está el verdadero valor de lo que haces. Te felicito y espero ver más esculturas tuyas en el futuro.
Saludos @charsdesign, me alegra que te hayas pasado por acá y comentar mi publicación.
Ciertamente siempre he sido alguien muy obsesionado con los detalles, al punto de tratar de completar todos los detalles, incluso los que no se ven. Como dicen, todo está en los detalles.
Y sí, pronto seguiré compartiendo más trabajos. Tus comentarios siempre serán bienvenidos.
Saludos cordiales!
La verdad es que la primera escultura que es el barco pues me recordó a mi lectura del libro kon-tiki, porque me dio la impresión de ser una barca diseñada con todo el esmero del mundo, aunque con materiales limitados.
Se ve genial
Y me parece que ejemplificaste a Kelly al mil por ciento con ese cabello.... Gracias por regalarnos esto 👏
This post was shared and voted inside the discord by the curators team of discovery-it
Join our community! hive-193212
Discovery-it is also a Witness, vote for us here
Delegate to us for passive income. Check our 80% fee-back Program
Te felicitamos hermano, excelente trabajo, nos encanta ser parte de tu inspiración y gracias por ser parte de nuestro equipo, un gran abrazo te envía la familia de Hallazgo, ¡Saludos!
Para mi es un gusto poder apoyarlos en lo que pueda y esta es una manera de retribuirles el voto de confianza que tuvieron conmigo.
Saludos cordiales, amigos.
Definitivamente tu haces cosas geniales. Demasiado completo este post.
Hola hola! Muchas gracias por pasarte a ver y comentar mi publicación, me alegra mucho que te haya gustado. Yo encantado de poder compartir mi arte con todos ustedes. Saludos!
Congratulations @gaboamc2393! You have completed the following achievement on the Hive blockchain and have been rewarded with new badge(s) :
Your next target is to reach 700 comments.
You can view your badges on your board and compare yourself to others in the Ranking
If you no longer want to receive notifications, reply to this comment with the word
STOPTo support your work, I also upvoted your post!
🎈🎈🎈🎈🎈🎈🎈🎈🎈🎈🎈🎈🎈🎈🎈🎈🎈🎈🎈
Ok ok ook haasta que por fin logré ver las imágenes. Te lo he dicho, te lo vuelvo a decir y te lo diré mil veces ,todo lo que haces es INCREÍBLEMENTE MARAVILLOSO, fantástico ( creo que no te lo había dicho 🤔🤔 ja ja, bueno te lo diré a partir de ahora) bien explicado y el resultado una maravilla. Quedé hermosa ☺️🎈.
¡Me encantó!
Aaah la primera vez fuí devorada por las cucarachas.
🎈🎈🎈🎈🎈🎈🎈🎈🎈🎈🎈🎈🎈🎈🎈🎈🎈🎈🎈
Buenooooo pero si es nada mas y nada menos que la piloto de la tripulación! Jajaja me alegra mucho que te haya gustado. Aunque te devoraron las cucarachas, ciertamente la figurita quedó muy bien y logré el efecto deseado. Qué sorpreson el de esta mañana, supongo que es el efecto Kelly el que se cumplió en esta publicación jejeje.
Saludos estimada, bendiciones!
¡Qué bonitoooo todo esto, Gabo! ¡Te pasaste! Me encantó demasiado. Felicidades por tan dedicado trabajo.
¡Que bello te quedo! ,¡felicidades vale!.😃
viéndolo de otro punto, ya que te gusta escribir o hacer de todo; Podrías crear como tal tus propios personajes
y darle ese toque tan original.
!discovery 15
...and !WINE cause why not...
Congratulations, @stayten You Successfully Shared 0.100 WINE With @gaboamc2393.
You Earned 0.100 WINE As Curation Reward.
You Utilized 1/3 Successful Calls.
Contact Us : WINE Token Discord Channel
WINE Current Market Price : 0.140
As I always say, my brother from far, far away, thank you very much for the support and of course, for the wine. Cheers!