Panty tipo tanga en encaje [ESP - ENG]
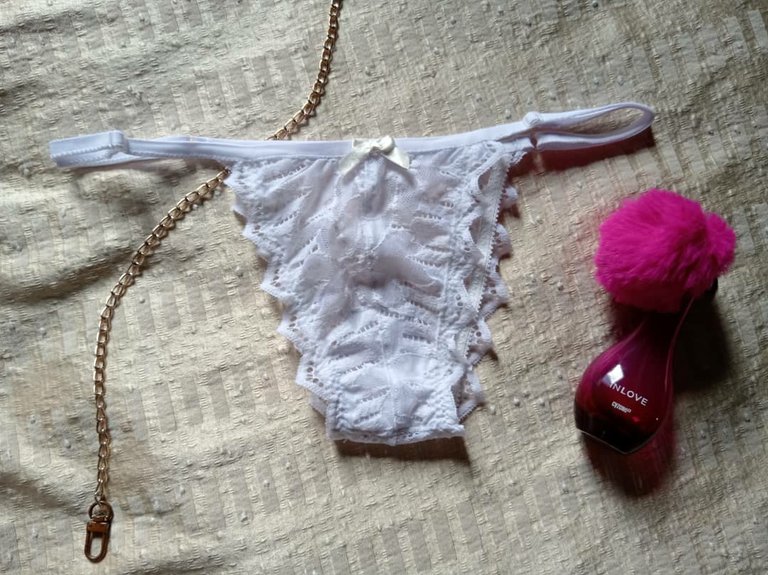

Hola mis queridos amigos de Hive, feliz martes para todos.
El día de hoy quiero compartir con ustedes la elaboración de una panty muy bonita y fácil de hacer, cuyos patrones pueden conseguir en el link que les dejaré al final de la publicación. Espero les guste, aquí tienen la lista de materiales a utilizar.

- Encaje elástico de 15 cm de ancho.
- Sesgo elástico.
- Morita.
- Aros y trabillas del tamaño del sesgo.
- Lazo decorativo.
- Tijeras, hilo, agujas.
- Moldes.
- Tela de algodón para la entrepierna.
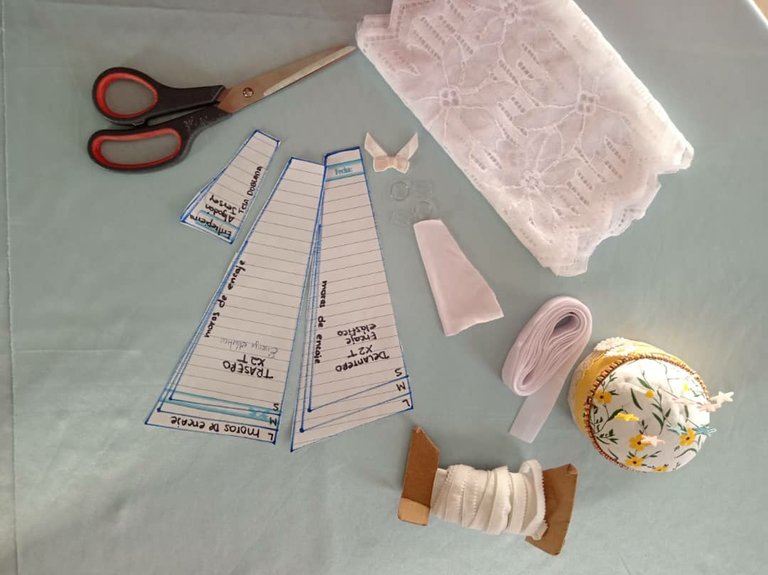

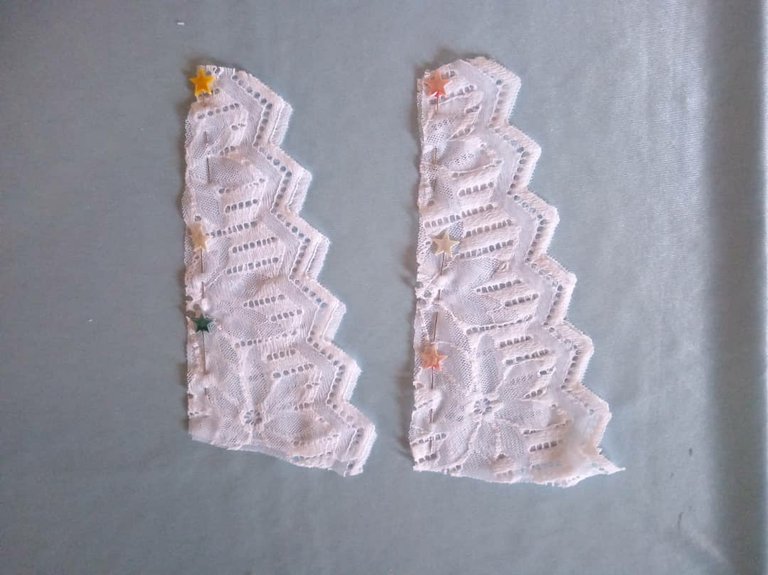
Como primer paso vamos a cortar las dos partes delanteras y traseras de la panty, con ayuda de los moldes. También procedemos a cortar la parte de la entrepierna en tela de algodón.
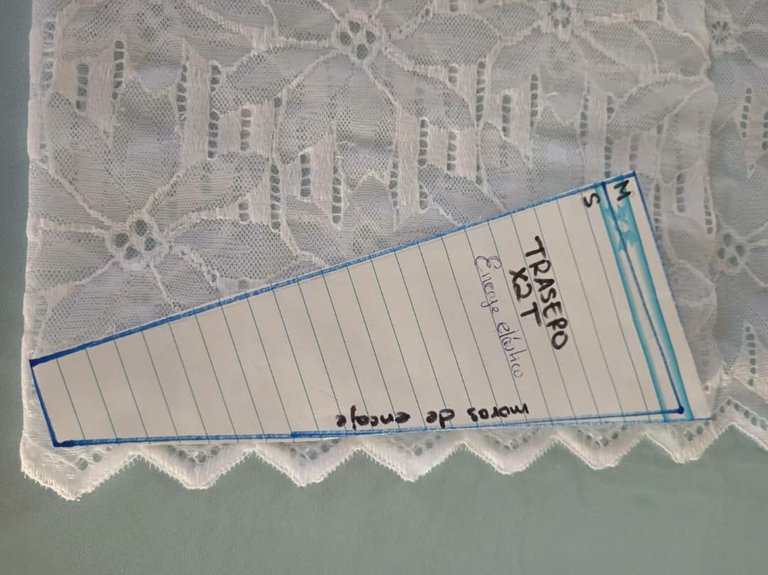
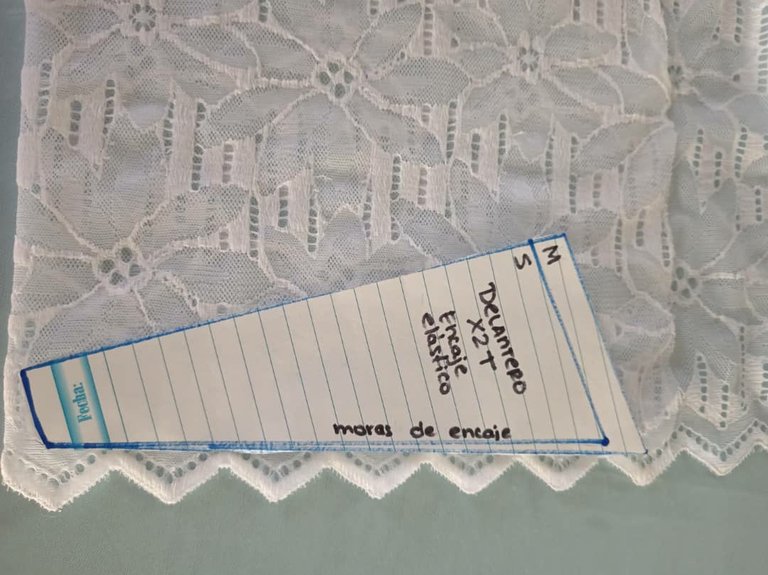
Luego continuamos uniendo las dos partes delanteras y traseras, cosemos y así nos debe de ir quedando.
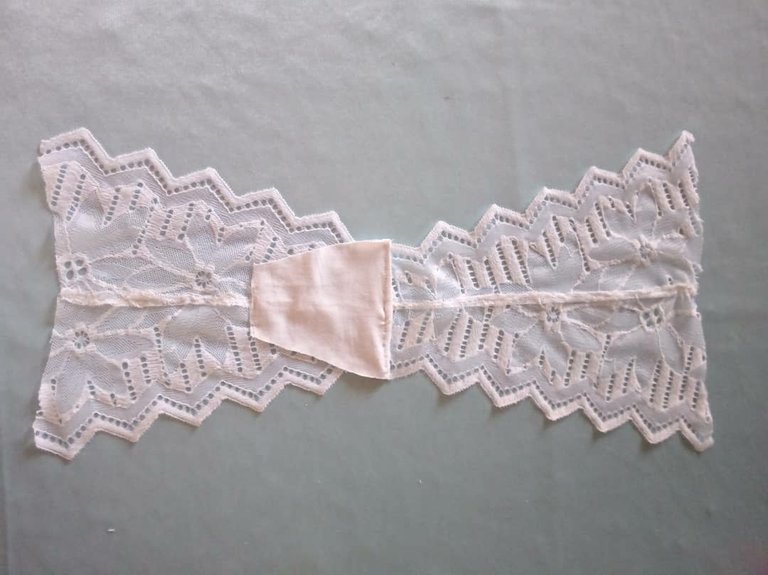
Continuamos uniendo la parte de la entrepierna con la pieza de algodón que cortamos previamente.
Luego de tener listas las piezas, procedemos a colocar la morita toda la parte de la pierna, al colocarla debemos ir estirando muy poco de 5 a 6 cm y pasamos la máquina de coser.
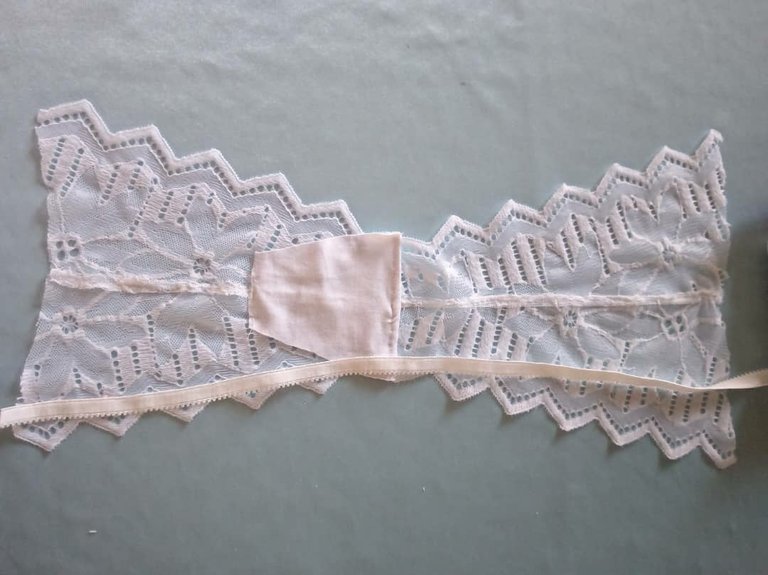
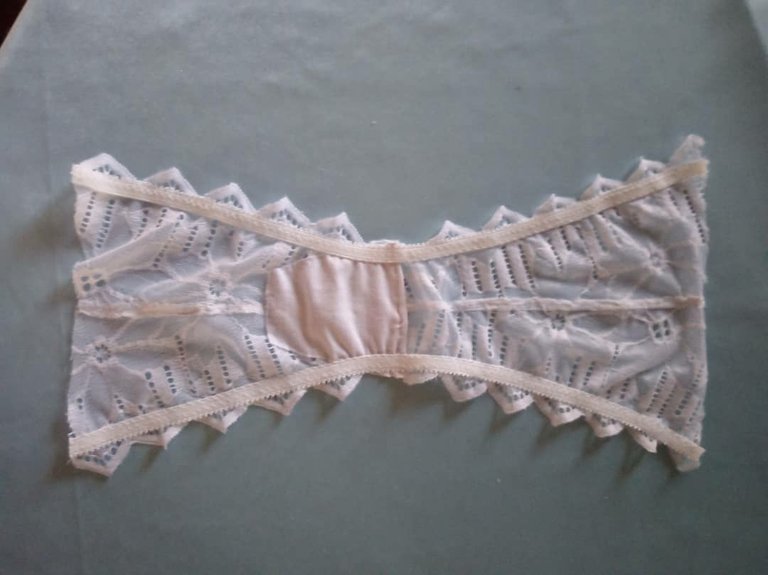
Para colocar en la parte delantera el sesgo debemos dejar 3 centímetros en cada lado para poder colocar el aro, en la parte delantera se estira de 5 a 6 cm al momento de pasar la costura con nuestra máquina de coser.
Y para colocar el sesgo en la parte trasera o posterior de la cintura se debe dejar una parte del sesgo, en este caso deje 36 centímetros en cada lado.
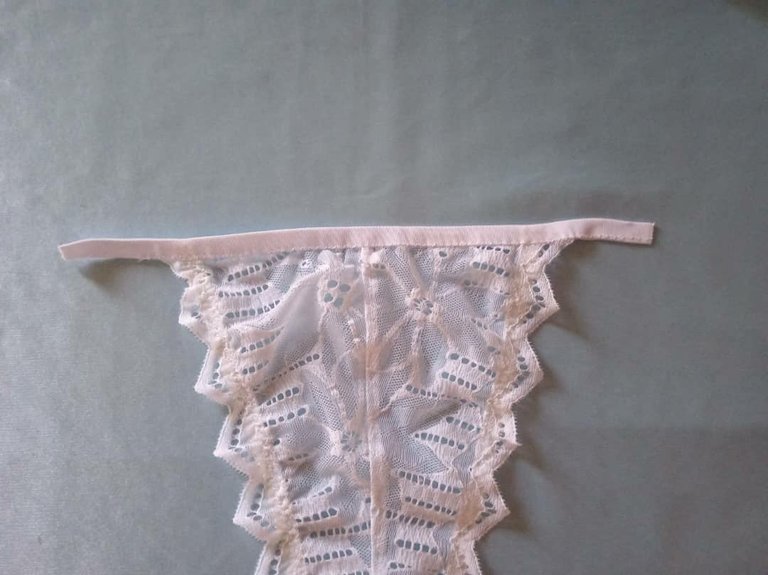
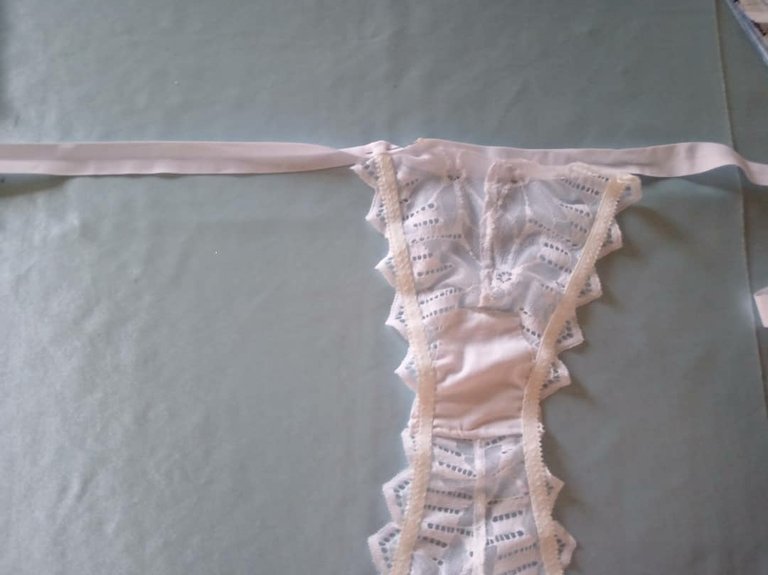
Se pasa la costura en los sesgos y luego se fija en la cintura. Armamos con la trabilla y el aro.
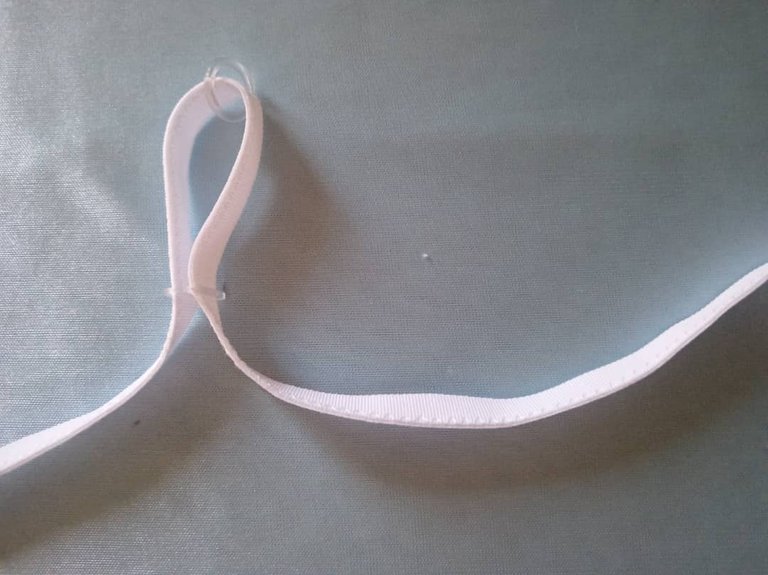
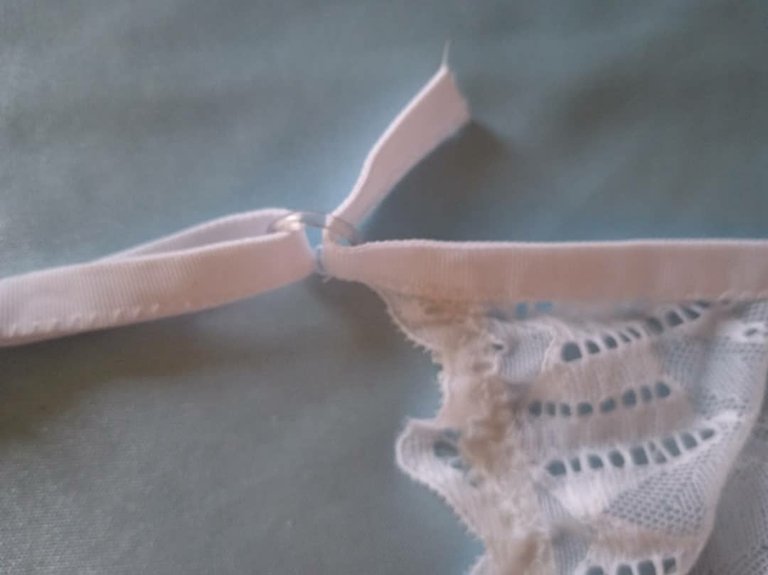
Unimos la parte posterior a la delantera por las tiras de la cintura y nos debe de quedar ya la panty armada. Por último y de manera opcional se puede colocar un lazo decorativo y con este paso quedará lista.
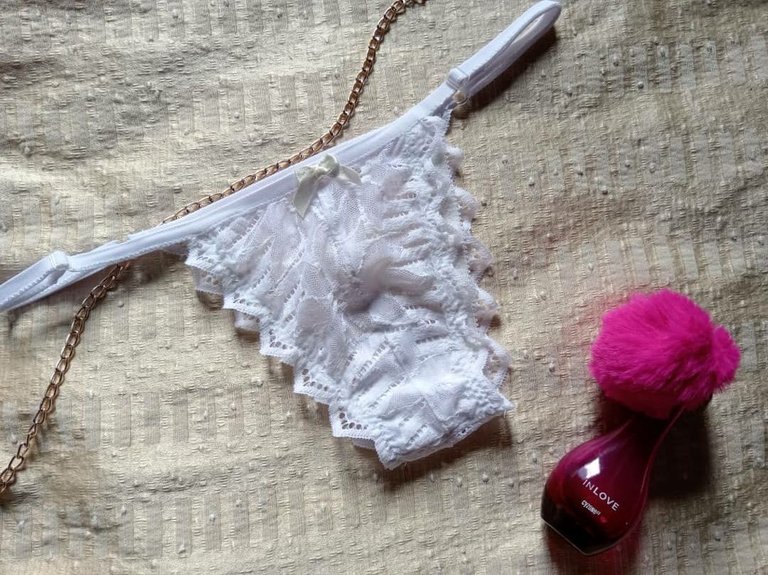
Está es una panty muy sexy que es ajustable en la cintura lo que hace que quede bien para casi cualquier tipo de cuerpo.
Decidí hacer este proyecto ya que hace unos días estaba con la idea de volver con la elaboración de lencería y al conseguir este molde me pareció perfecto para hacerlo.
Hasta aquí mi publicación del día de hoy, espero que les haya gustado, les deseo que tengan una muy buena semana y un feliz día y noche.

Hello my dear friends of Hive, happy Tuesday to all of you.
Today I want to share with you the making of a very nice and easy to make panty, whose patterns you can get in the link that I will leave at the end of the publication. I hope you like it, here is the list of materials to use.

- Elastic lace 15 cm wide.
- Elastic bias.
- Morita.
- Hoops and loops the size of the bias.
- Decorative bow.
- Scissors, thread, needles.
- Molds.
- Cotton fabric for the crotch.


As a first step we are going to cut the two front and back parts of the panty, with the help of the molds. We also proceed to cut the crotch part in cotton fabric.


Then we continue joining the two front and back parts, we sew and that's how it should be.

We continue joining the crotch part with the cotton piece we previously cut.

After having the pieces ready, we proceed to place the morita all the part of the leg, when placing it we must go stretching very little from 5 to 6 cm and we pass the sewing machine.


To place the bias binding on the front, we must leave 3 centimeters on each side to be able to place the hoop, in the front part it is stretched from 5 to 6 cm at the moment of passing the seam with our sewing machine.
And to place the bias in the back or back of the waist should be left a part of the bias, in this case leave 36 centimeters on each side.


The seam is passed on the bias binding and then fixed at the waist. We assemble with the belt loop and the hoop.


We join the back part to the front part by the strips at the waist and we should have the panty already assembled. Finally and optionally you can place a decorative bow and with this step the panty will be ready.

This is a very sexy panty that is adjustable at the waist which makes it fit almost any body type.
I decided to make this project because a few days ago I had the idea of going back to making lingerie and when I got this mold it seemed perfect for me to do it.
I hope you liked it, I wish you have a great week and a happy day and night.

--
Fotos tomadas de mi teléfono Xiaomi Redmi Note 6 Pro y mi teléfono Honor X8a || Photos taken from my Xiaomi Redmi Note 6 Pro phone and from my Hobor X8a phone.
Fuente del editor de imágenes || Image editor source
Hola @gabimramirez!! Muy bonito diseño, siempre se ve muy fina la lencería de encaje 🌷 me encantó!!!
Hola @imena 👋 si, el encaje color blanco hace que sea un prenda muy fina. Gracias por tu comentario.
Saludos
Wow wow wow, this is so beautiful, you did it like readymade, I love it, please I need one
Lindo diseño, la tela de encaje luce muy bien, además que lo haces ver muy fácil de hacer. Felicidades buen trabajo.