Bralette de encaje || Lace bralette
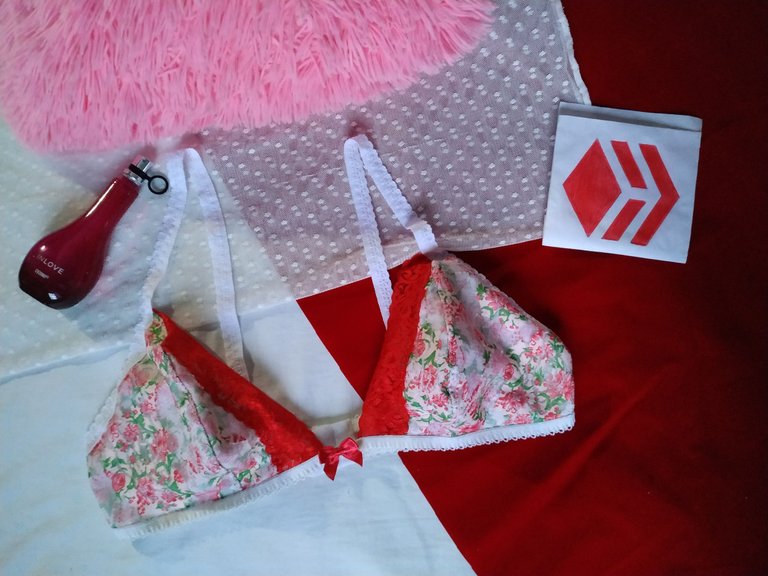
Hola queridos Hivers, feliz fin de semana. Hoy traigo un lindo diseño de bra que está muy de moda, elaborado en tela de encaje y además muy cómodo ya que no lleva varillas o relleno que a veces puede ser incómodo cuando lo usamos por largas horas.
Es muy sencillo de hacer y les daré el paso a paso de cómo elaborarlo, así que tomen sus tijeras y comencemos.
Hello dear Hivers, happy weekend. Today I bring you a cute bra design that is very fashionable, made in lace fabric and also very comfortable because it does not carry rods or padding that can sometimes be uncomfortable when we wear it for long hours.
It is very easy to make and I will give you the step by step of how to make it, so take your scissors and let's start.

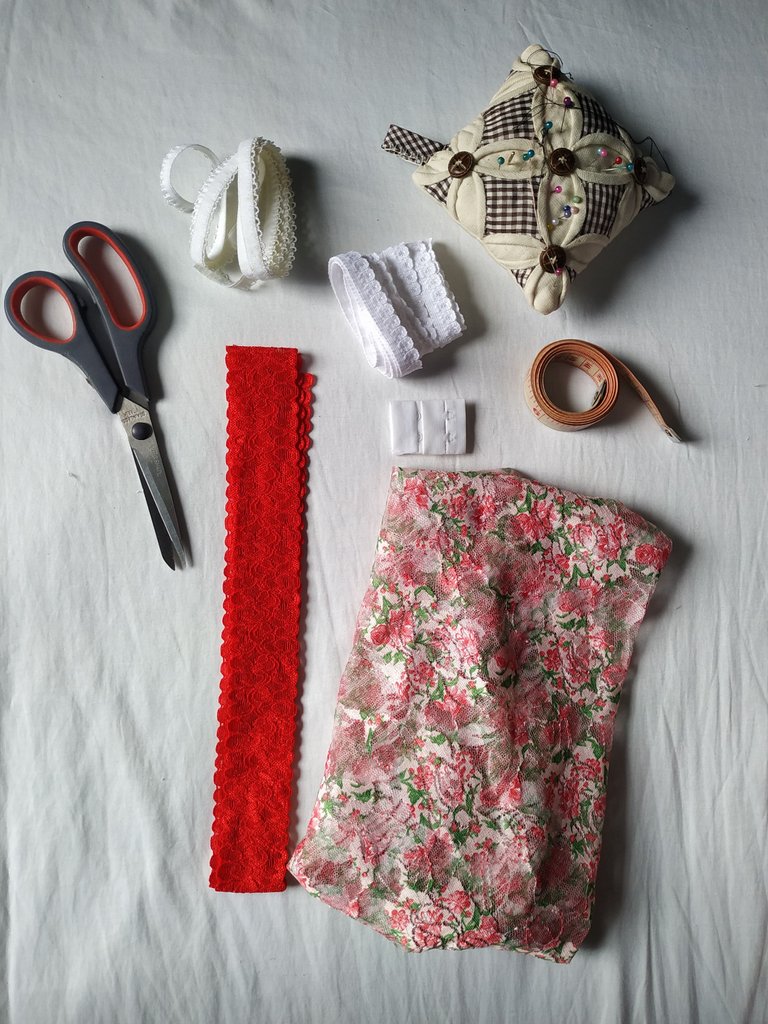
Tela de encaje elástico.
Encaje elástico de 3 centímetros de ancho.
Morita o encaje elástico de 1 cm de ancho.
Morita o encaje de 1/2 cm de ancho.
Tela de algodón para refuerzo.
1 lazo.
1 broche de espalda.
Hilo.
Agujas.
Alfileres.
Cinta métrica.
Elastic lace fabric.
Elastic lace 3 cm wide.
Morita or elastic lace of 1 cm wide.
Morita or 1/2 cm wide lace.
Cotton fabric for reinforcement.
1 bow.
1 back clasp.
Thread.
Needles.
Pins.
Tape measure.

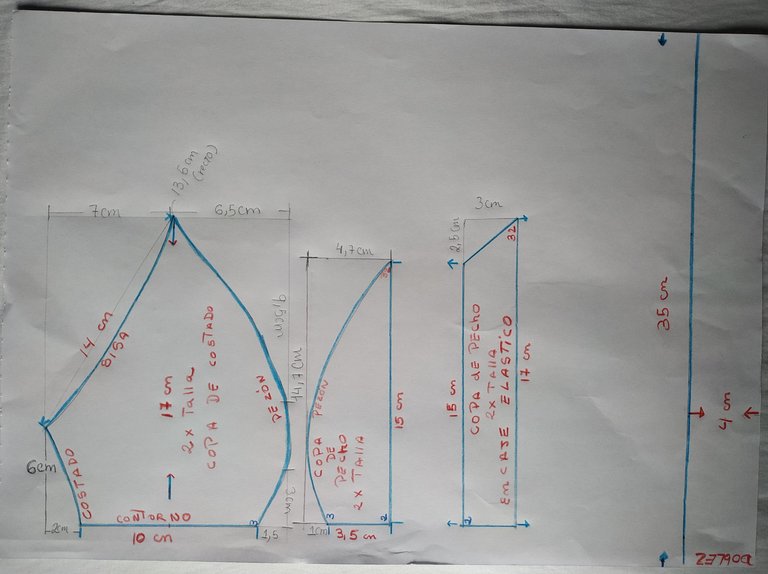
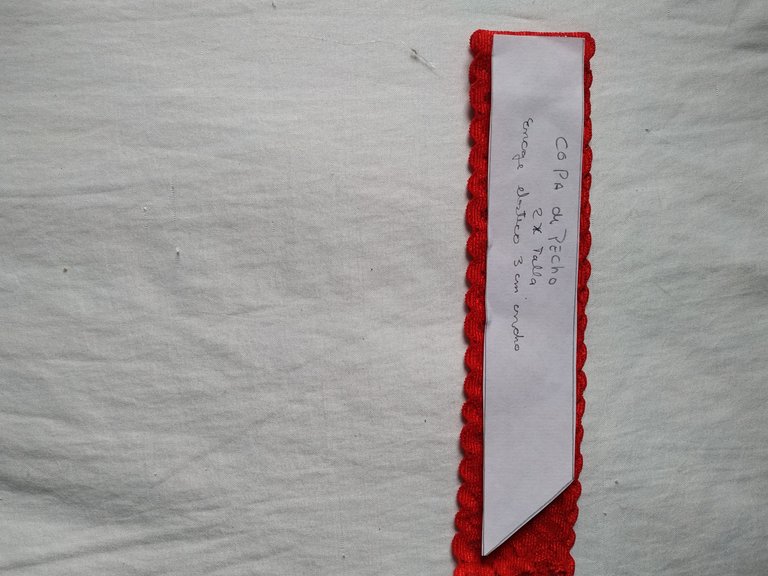
Lo primero que debemos hacer es nuestro molde, aquí les dejo el modelo de una talla 32.
The first thing to do is to make our mold, here is the model of a size 32.
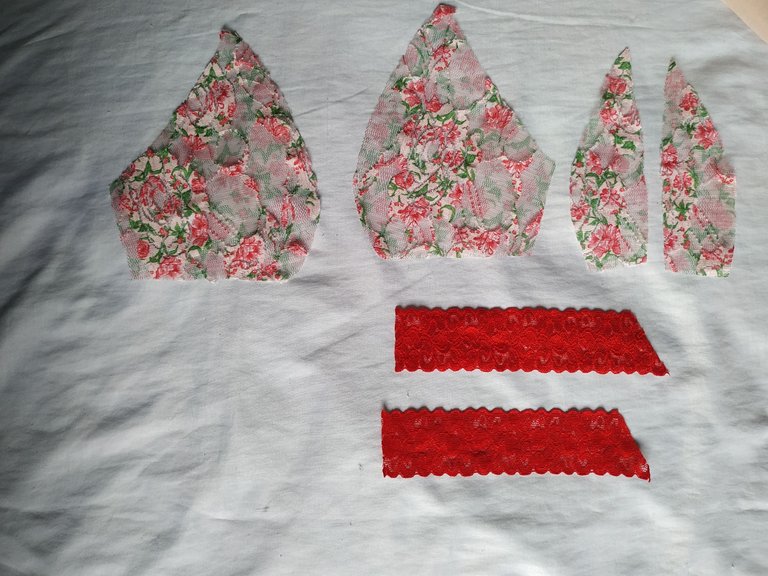
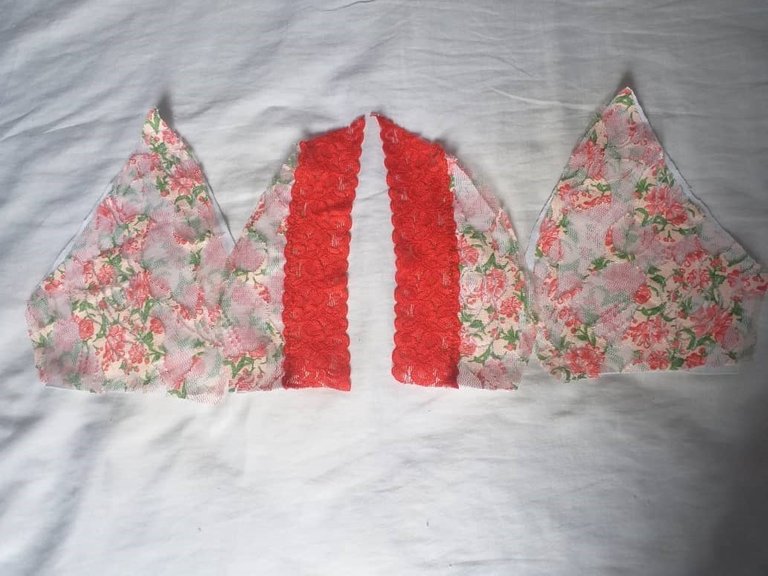
Recortamos las partes y las colocamos sobre la tela de encaje debemos sacar dos por cada pieza.
We cut out the parts and place them on the lace fabric, we must take out two for each piece.
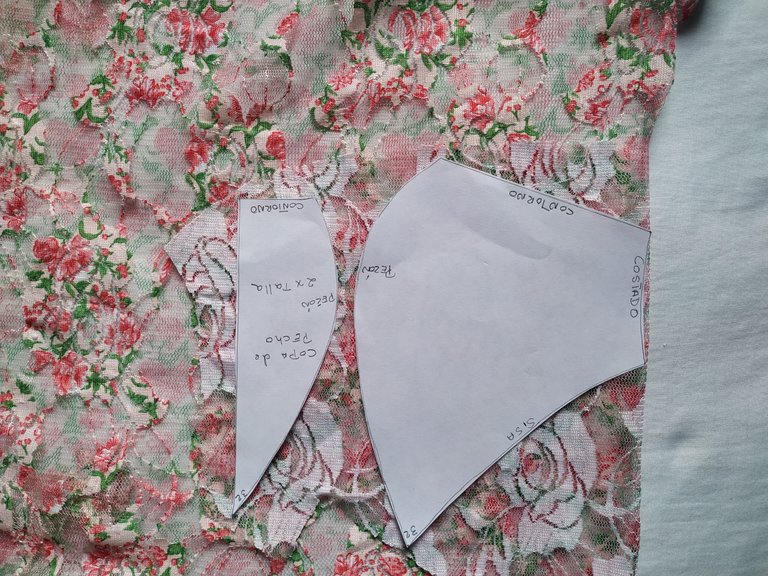
Al final nos quedarán 6 piezas.
In the end we will be left with 6 pieces.
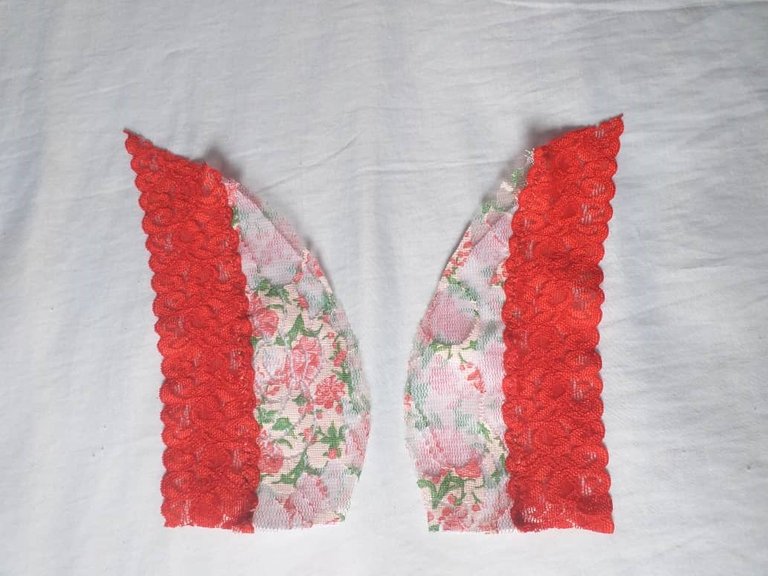
Unimos el encaje rojo de 3 cm de ancho con la parte recta de la copa de pecho pequeña. Cosemos de abajo hacia arriba.
Join the 3 cm wide red lace to the straight part of the small breast cup. Sew from bottom to top.
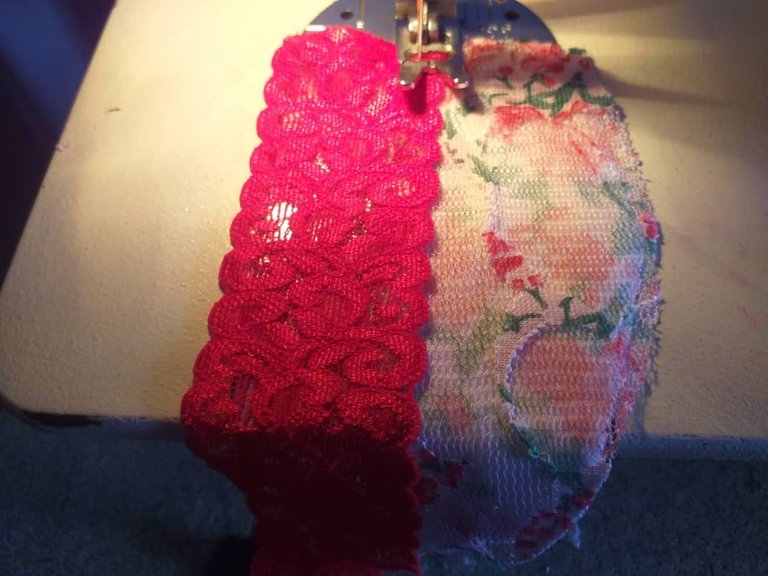
Luego unimos la pieza que acabamos de armar junto a la pieza grande como se muestra en la foto, cosemos por todo el costado.
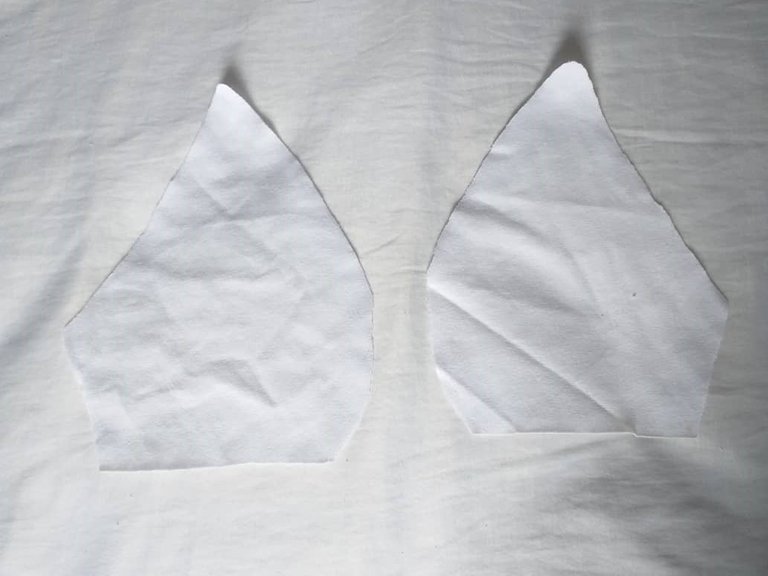
Con la tela de algodón le podemos hacer un refuerzo que se unirá a ambas copas por la parte de adentro.
Then we join the piece we have just assembled together with the large piece as shown in the photo, sew all along the side.
With the cotton fabric we can make a reinforcement that will be attached to both cups on the inside.
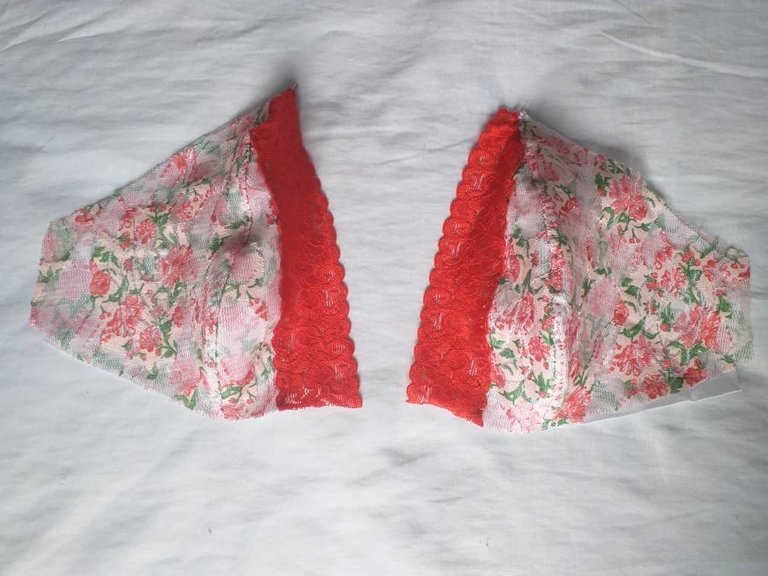
Colocamos a cada costado el encaje de 1 cm de ancho cómo se muestra en la foto, el encaje que he utilizado es morita pero pueden usar el de su preferencia.
Place the 1 cm wide lace on each side as shown in the picture, the lace I have used is morita but you can use the lace of your preference.
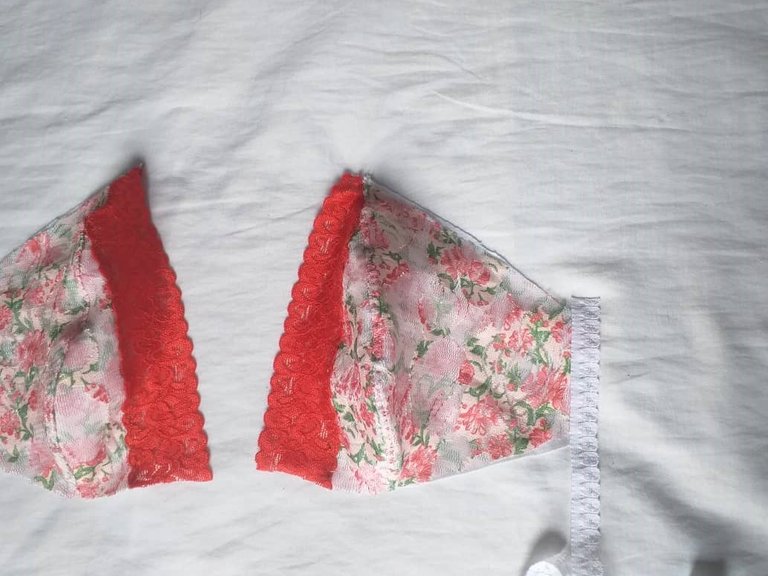
Luego de esto, tomamos el encaje de 1/2 cm de ancho y la medimos de 68 cm al cual le vamos a hacer una marca en la mitad con un alfiler a el cual se le deja un centímetro a cada lado para unir cada copa.
After this, we take the 1/2 cm wide lace and measure 68 cm to which we are going to make a mark in the middle with a pin and leave a centimeter on each side to join each cup.
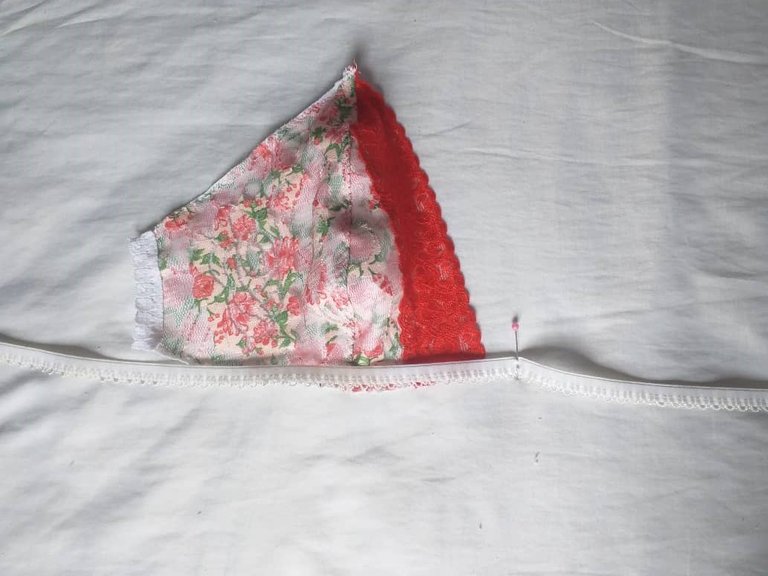
Cosemos y luego procedemos a colocar otro encaje, en este caso el de 1 cm de ancho por el costado, cuando lleguemos al final de la tela vamos a medir 42 cm que va a ser nuestra tira de bra y esta es la que se va a unir a la parte de atrás. Asimismo, al comienzo de este encaje se le coloca la segunda tira de contorno para que nos quede así.
We sew and then proceed to place another lace, in this case the 1 cm wide lace on the side, when we reach the end of the fabric we will measure 42 cm which will be our bra strip and this is the one that will be attached to the back. Also, at the beginning of this lace we place the second contour strip so that it looks like this.
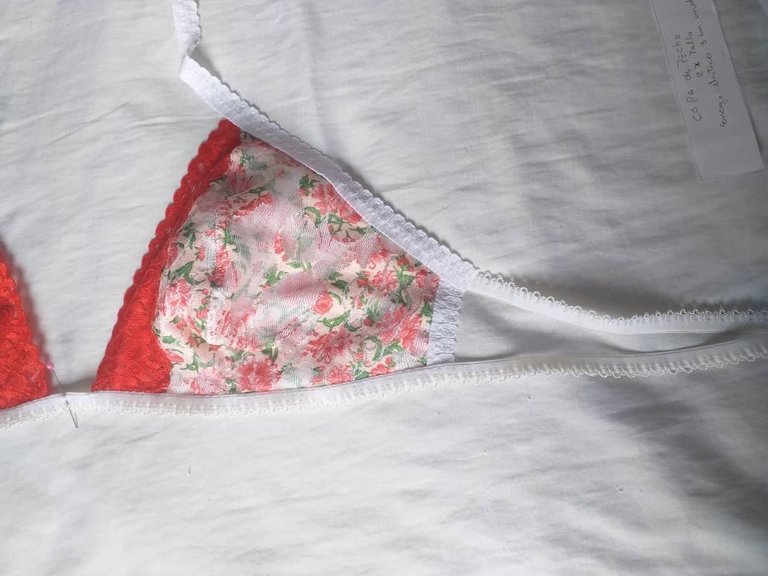
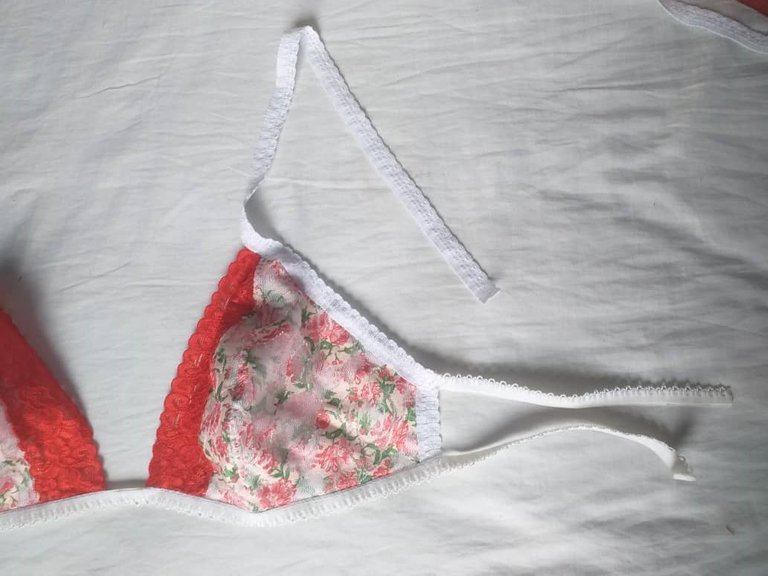
Igualamos las dos tiras del contorno para que nos quede del mismo tamaño y al lado izquierdo le vamos a coser una de las partes del broche de la espalda y en el lado derecho la otra parte.
We match the two strips of the outline so that they are the same size and we will sew one of the parts of the clasp of the back on the left side and the other part on the right side.
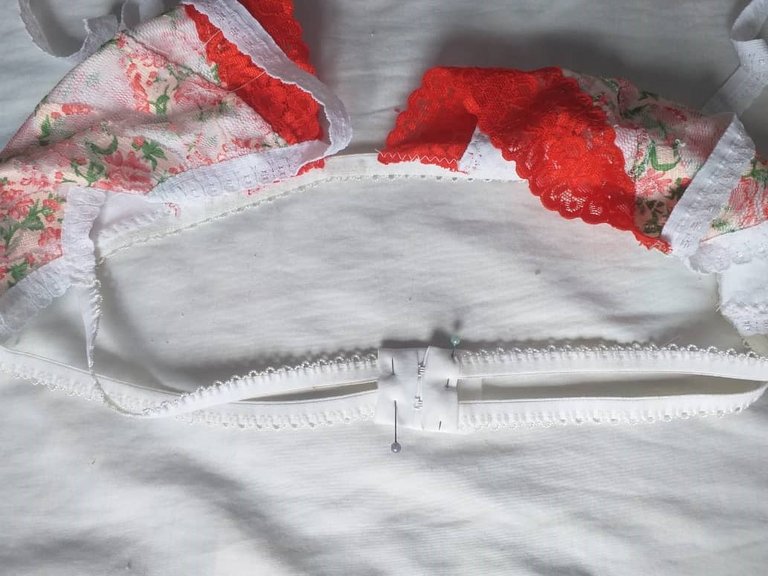
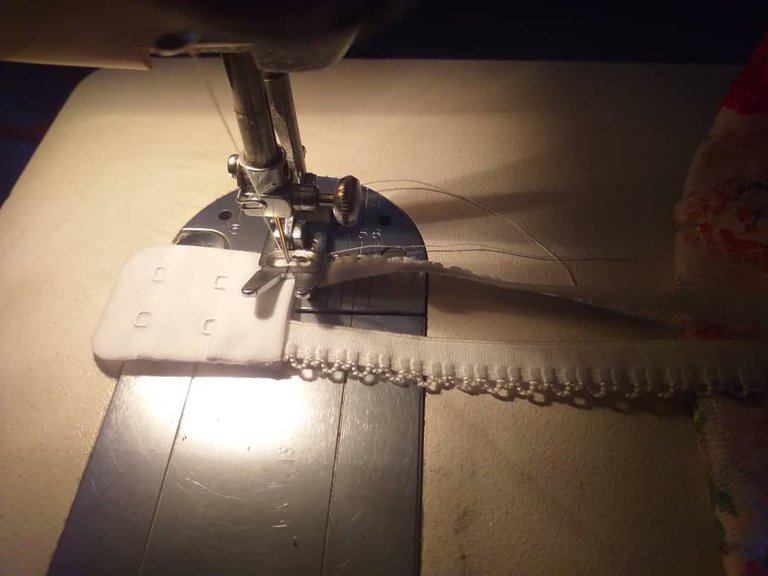
A la tira de contorno se le mide desde el broche 5 centímetros para unir la tira que va desde adelante hasta la espalda.
The contour strip is measured from the clasp 5 centimeters to join the strip that goes from the front to the back.
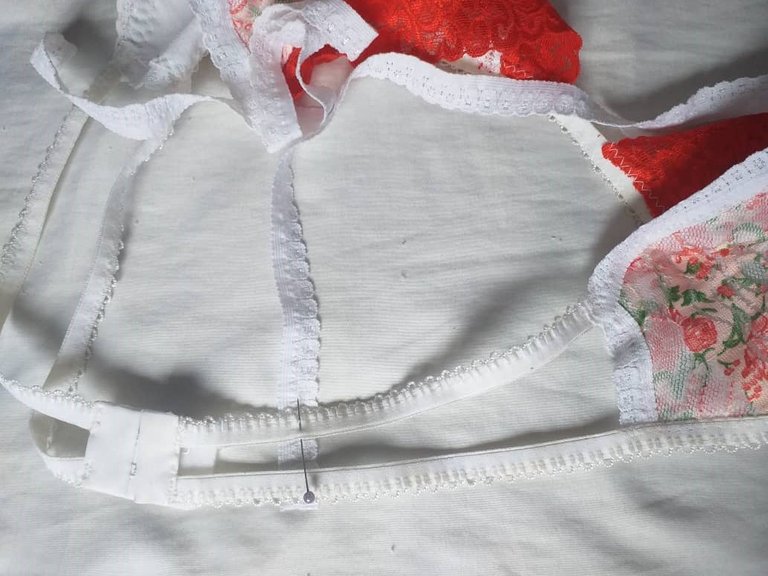
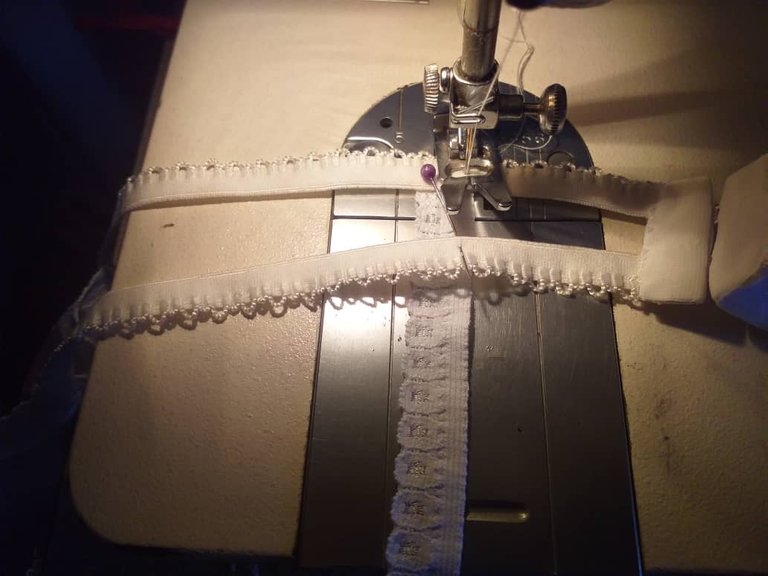
Por último podemos colocar un lazo para decorar y tendremos listo nuestro bralette.
Finally we can place a bow to decorate and we will have our bralette ready.
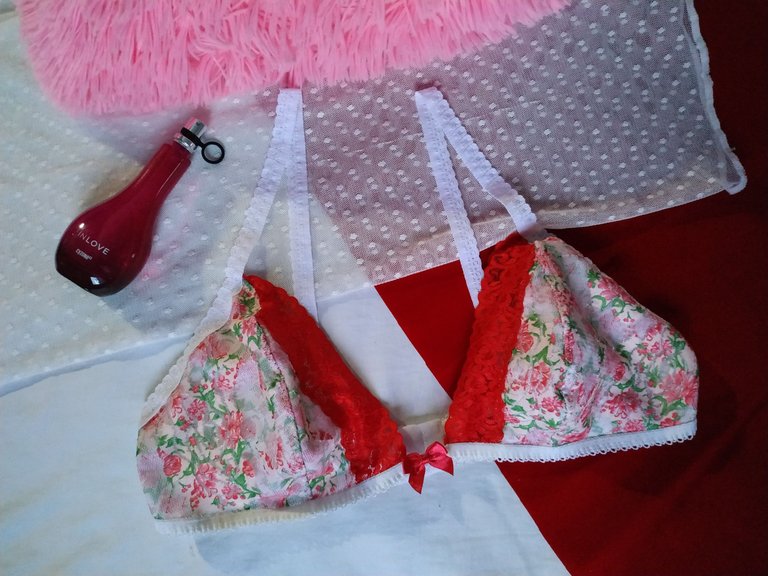
Espero les haya gustado la publicación y se animen a elaborarla, muchas gracias por leer mi blog.
Que tengan un lindo día y noche.
I hope you liked the publication and I encourage you to elaborate it, thank you very much for reading my blog.
Have a nice day and night.

Fotos tomadas de mi teléfono Xiaomi Redmi Note 6 Pro y mi teléfono Samsung J4 plus || Photos taken from my Xiaomi Redmi Note 6 Pro phone and my Samsung J4 plus phone
Fuente del editor de imágenes || Image editor source
Está hermoso, me gusta la tela que utilizaste es muy bonita. Excelente creación 🌹
Que hermoso amiga, la lencería es tan genial. Mientras más detalles de encaje tenga queda más linda 🥰. Me encantó el detalle de la doble tira en la espalda, es un buen recurso por si solo tenemos elástico finito para poner.
Buen proyecto, te felicito 💞.
Hola amiga, muchas gracias. La verdad los bralette se han convertido en mis favoritos por su comodidad.
Este proyecto está bellísimo me encanta, tomaré nota a ver si me decido hacer uno yo misma
Hola amiga muchas gracias, espero te animes a realizarlo, me encantaría ver el resultado.
Quedé enamorada de este bralette😍 increíble trabajo❤️
Lovely thanks for sharing
This bra is so beautiful, the colour of the fabric and the combination are topnotch, certainly it's gonna be comfortable.
Your pictures and the calculations of measurement on it are self explanatory.
Thanks for sharing this Masterpiece with us.
Hi, thank you very much for your comment, it really encourages me to keep sharing more projects like this.
You're welcome,I look forward to seeing more Beautiful project made by you.