Alfiletero de muñecas [ESP - ENG]
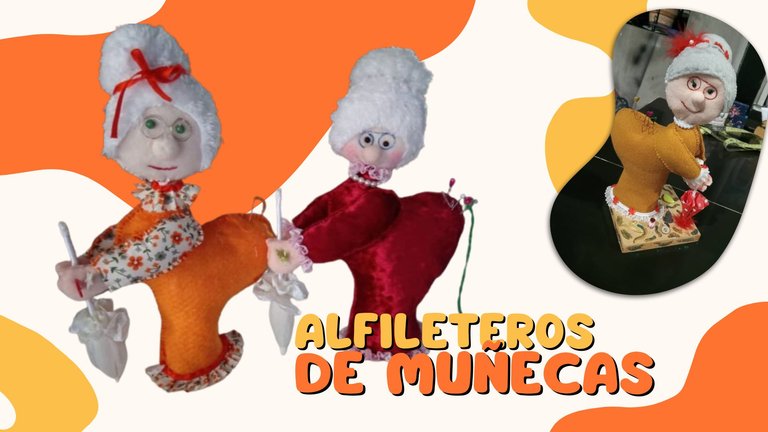

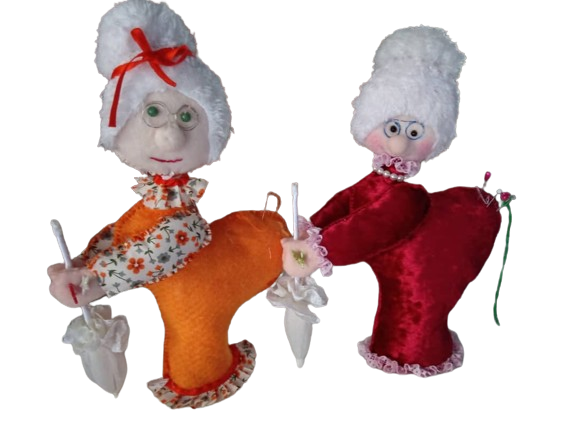
Hola amigos de Hive, les deseo un feliz inicio de semana a todos. Hoy quiero compartir con ustedes un nuevo proyecto que hice el fin de semana. Se trata de un alfiletero con forma de muñecas, un poco creativo pero también servirá como pieza de decoración en nuestro cuarto de costura.
Sin más, les dejo el paso a paso y los materiales a utilizar.

- Tela color piel.
- Tela de tu preferencia para la ropa de la muñeca.
- Tela tipo peluche.
- Alambre dulce.
- Hilo tipo Crochet.
- Patrones o moldes.
- Relleno, arena o piedritas pequeñas para el soporte.
- Tela tipo tul para el paraguas.

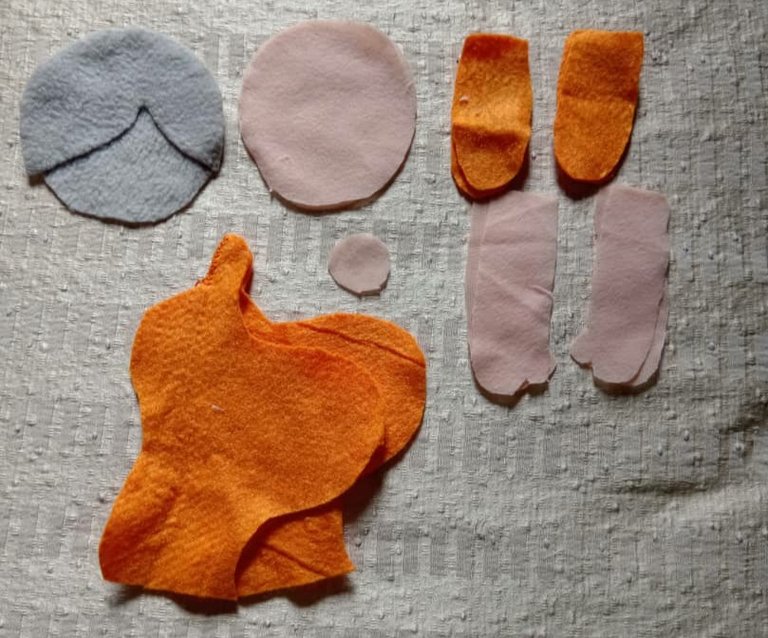
Para comenzar con la elaboración de las muñecas vamos a cortar las partes del patrón de la abuelita : El cuerpo y las manos.
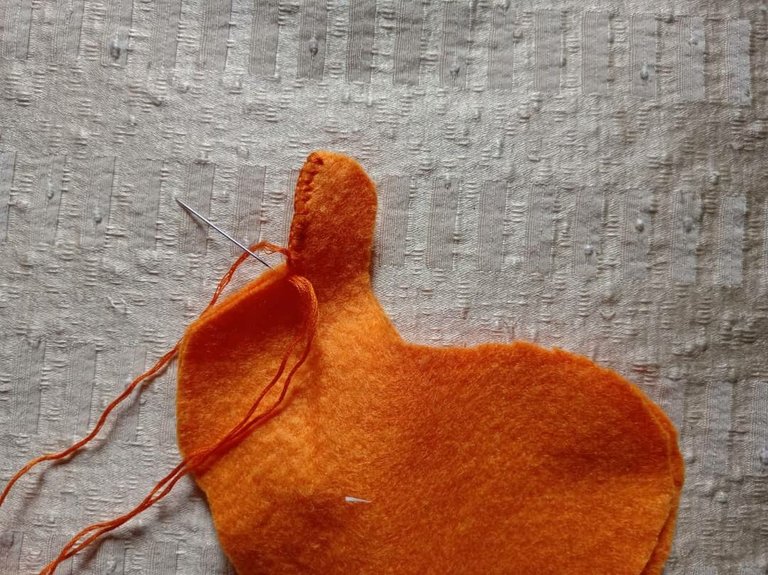
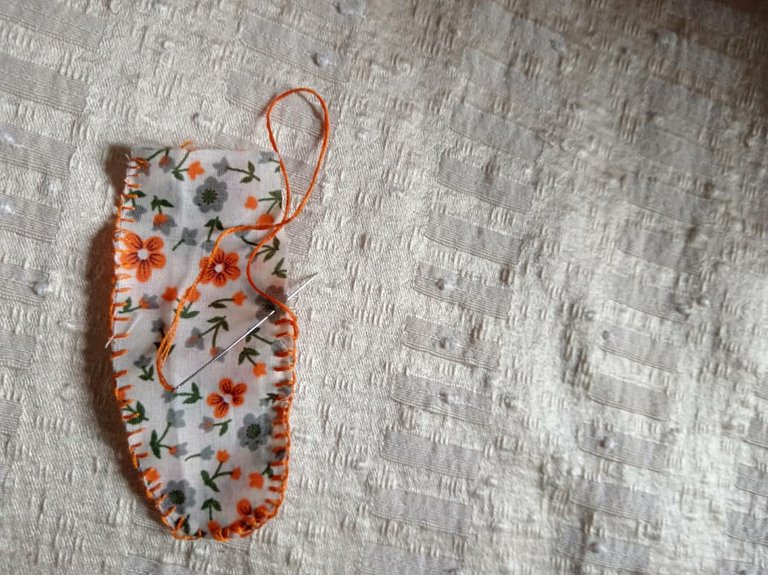
Para el cuerpo se cortan dos veces las piezas y se procede a unirlas, para ello vamos a utilizar la técnica de coser en punto de festón.
Continuamos con la base, la cual vamos a cortar en tela y en carton y luego coserla le introducimos una bolsa con arena o piedras pequeñas que nos servirán como soporte.
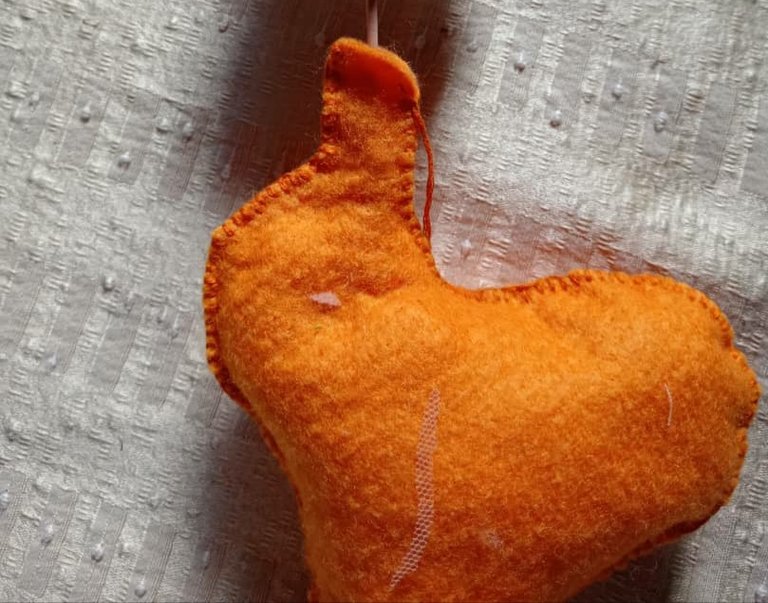
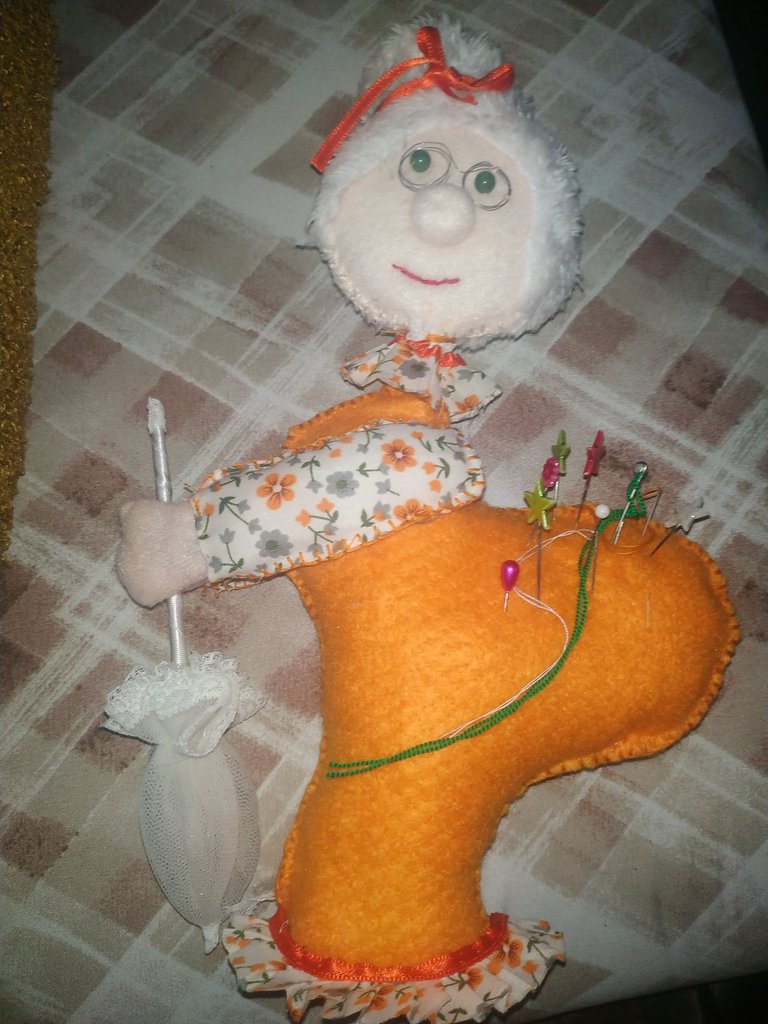
En la parte superior debemos colocar el relleno con algodón, para que quede "acolchado" y que nos sirva para insertar los alfileres.
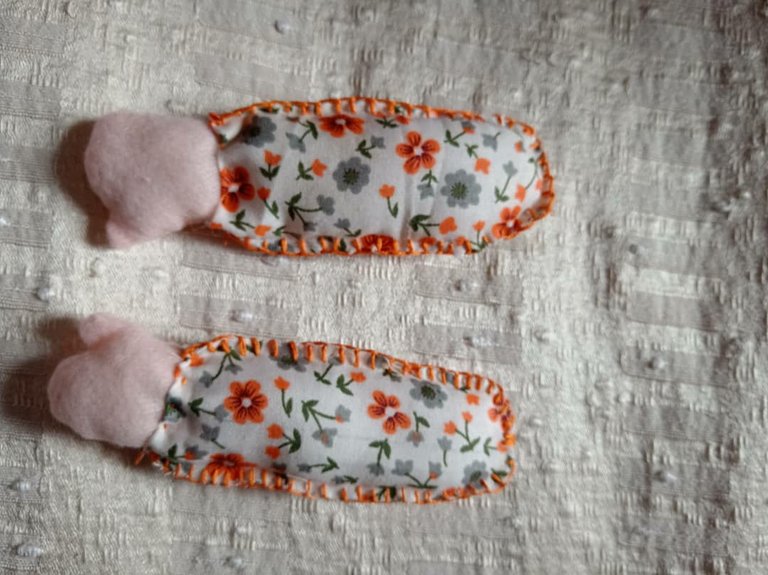
Luego para los brazos se corta en color piel las manos y se rellenan, también se cortan las piezas de la manga del vestido y unimos las manos.
Cuando tengamos este paso listo, a la manga se le agrega el relleno y por último se cierra con costura punto festón.
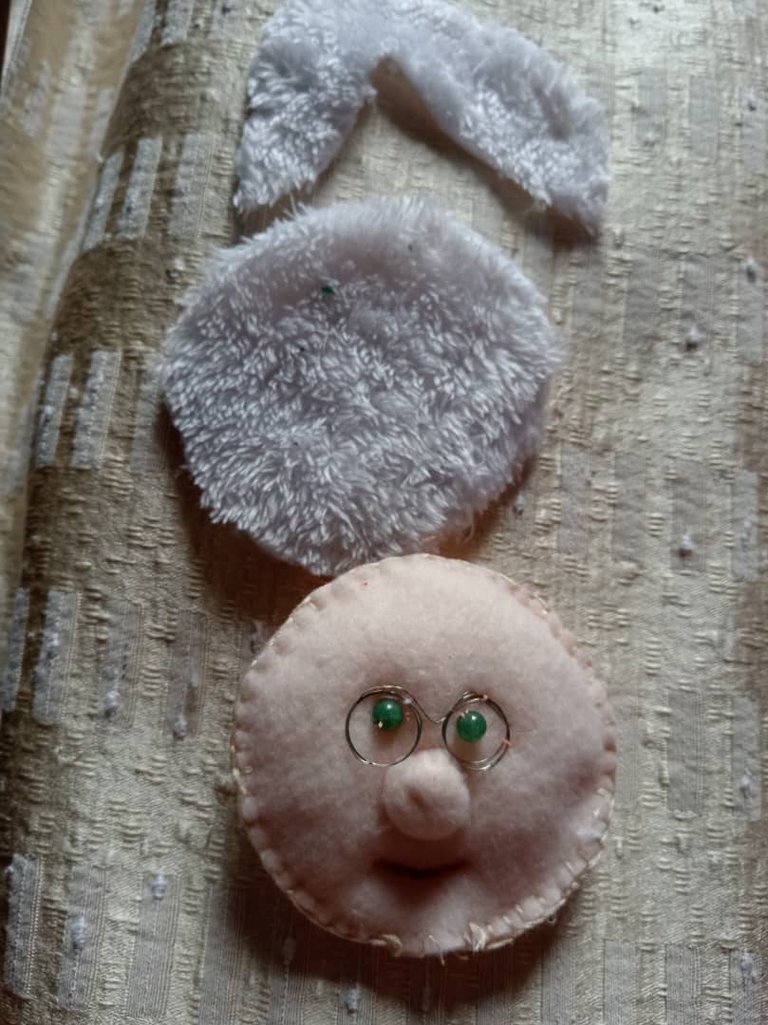
Para el rostro necesito dos piezas totalmente circulares, las mismas las voy a unir con costura tipo festón, también corto la pieza del cabello con tela color blanca y la cosemos a la cara de la muñeca.
Rellenamos y sacamos la forma de los ojos, nariz y boca.
Con el alambre dulce se hacen los anteojos, este es un material cuyas características le permiten realizar nudos y dobleces con alta flexibilidad, por lo tanto es muy fácil de trabajar y manipular.
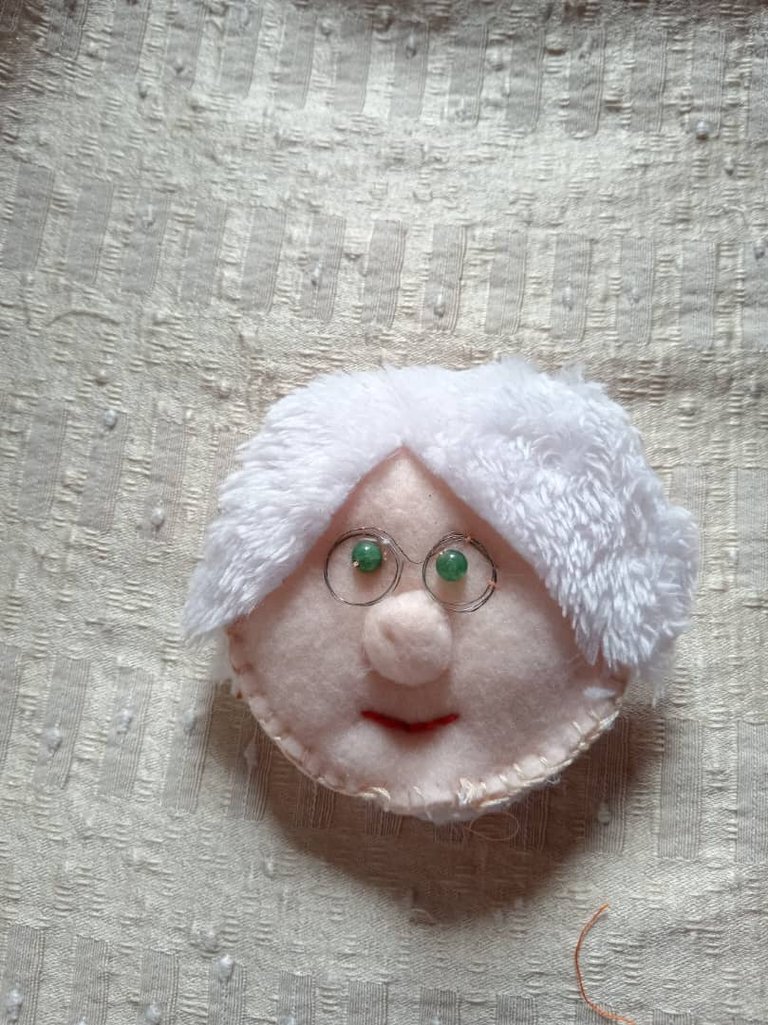
Se pegan al rostro de la muñeca para que sea una abuelita y procedemos a unir la cabeza que ya está terminada con el cuerpo.
Para ello le debemos que colocar una paleta o palo para que quede estable.
Continuamos uniendo los brazos a cada lado y para finalizar hacemos la sombrilla.
Para hacer la sombrilla, cortamos un circulo en la tela de tul y unimos a un pequeño palito previamente decorado.
Pegamos a ambas manos.
También podemos agregar unas pequeñas decoraciones al vestido y con esto finalizamos el proyecto.
Hasta aquí mi proyecto del día de hoy, espero les haya gustado y puedan comentar al respecto. Como siempre les deseo que tengan un buen día y noche.

Hello Hive friends, I wish you all a happy start of the week. Today I want to share with you a new project I made over the weekend. It is a pincushion in the shape of dolls, a bit creative but it will also serve as a decorative piece in our sewing room.
Without further ado, I leave you the step by step and the materials to use.
- Skin-colored fabric.
- Fabric of your preference for the doll's clothes.
- Plush fabric.
- Sweet wire.
- Crochet thread.
- Patterns or molds.
- Stuffing, sand or small pebbles for the support.
- Tulle type fabric for the umbrella.
To start with the elaboration of the dolls we will cut the parts of the pattern of the granny: the body and the hands.
For the body, the pieces are cut twice and then joined together using the scallop stitch sewing technique.
We continue with the base, which we will cut in fabric and cardboard and then sew it we introduce a bag with sand or small stones that will serve as a support.
At the top we must place the stuffing with cotton, so that it is "padded" and that will serve us to insert the pins.
Then for the arms, the hands are cut in skin color and stuffed, also the pieces of the sleeve of the dress are cut and the hands are joined.
When we have this step ready, we add the stuffing to the sleeve and finally we close it with scallop stitch.
For the face I need two completely circular pieces, I am going to join them with scallop stitching, I also cut the hair piece with white fabric and sew it to the doll's face.
We fill in and take the shape of the eyes, nose and mouth.
With the sweet wire we make the glasses, this is a material whose characteristics allow you to make knots and bends with high flexibility, so it is very easy to work and manipulate.
They are glued to the face of the doll to be a grandmother and we proceed to join the head that is already finished with the body.
To do this we must place a palette or stick to make it stable.
We continue joining the arms on each side and finally we make the umbrella.
To make the umbrella, cut a circle in the tulle fabric and attach it to a small stick previously decorated.
We glue it to both hands.
We can also add some small decorations to the dress and with this we finish the project.
So far this is my project for today, I hope you liked it and can comment on it. As always I wish you have a nice day and night.

Fotos tomadas de mi teléfono Xiaomi Redmi Note 6 Pro || Photos taken from my Xiaomi Redmi Note 6 Pro phone.
Fuente del editor de imágenes || Image editor source
Te quedo bien lindo y creativo.
Yo estaba por hace uno.
Pero justo hoy agarre un juguete de mi niña, muy lindo y que no usa bien esponjoso como alfileres y sirve de decoración, jejeje.
Si, de verdad que decora muy bien.
Gracias y saludos ☺️
Oh, por Dios. Es demasiado bello. Me encanta cada detalle, va más allá de ser solo un alfiletero.
Me encanta como hiciste los lentes,
Estas abuelitas tienen un carisma espectacular.
Gracias @karen.art por tan lindo comentario.
De verdad que los lentes le dan un toque a la abuelita, saludos. ☺️
See me oo I almost mistook it for something else. This is really creative dear
I can immagine how beautiful this is in your sawing room