Bathroom Renovation part 2
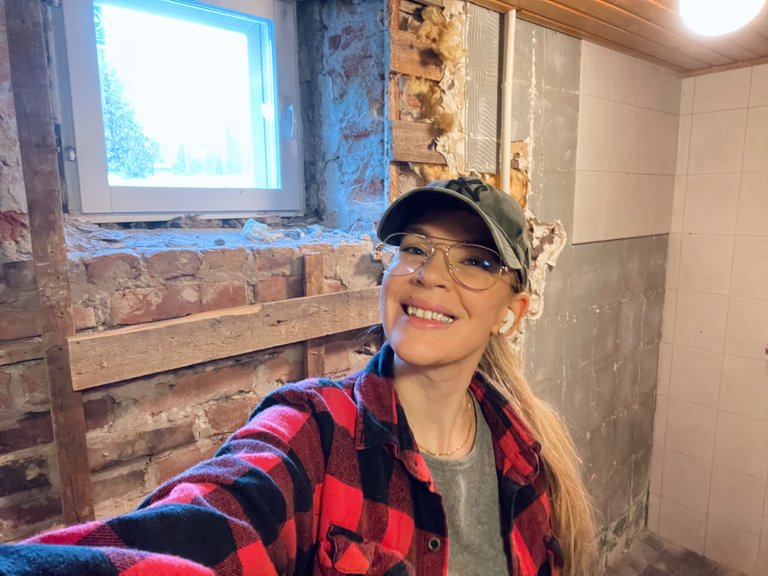 Hi, hey, you haven’t seen my mug in a while so here it is!
I’m using the word ’renovation’ very loosely here since all I’ve yet to do it demolition…
Feels like moving in quicksand with this project but I guess I have been able to do something when I look back on all the pictures. Sorry about how bad they are by the way, I am unable to take proper nice pictures when I’m in the thick of it, just quick phone snaps every time I’m working on something so I can assess my progress and have documentation for later.
Moving along with the demolition from where I left off in the previous post, revealing more of the pretty brick walls.
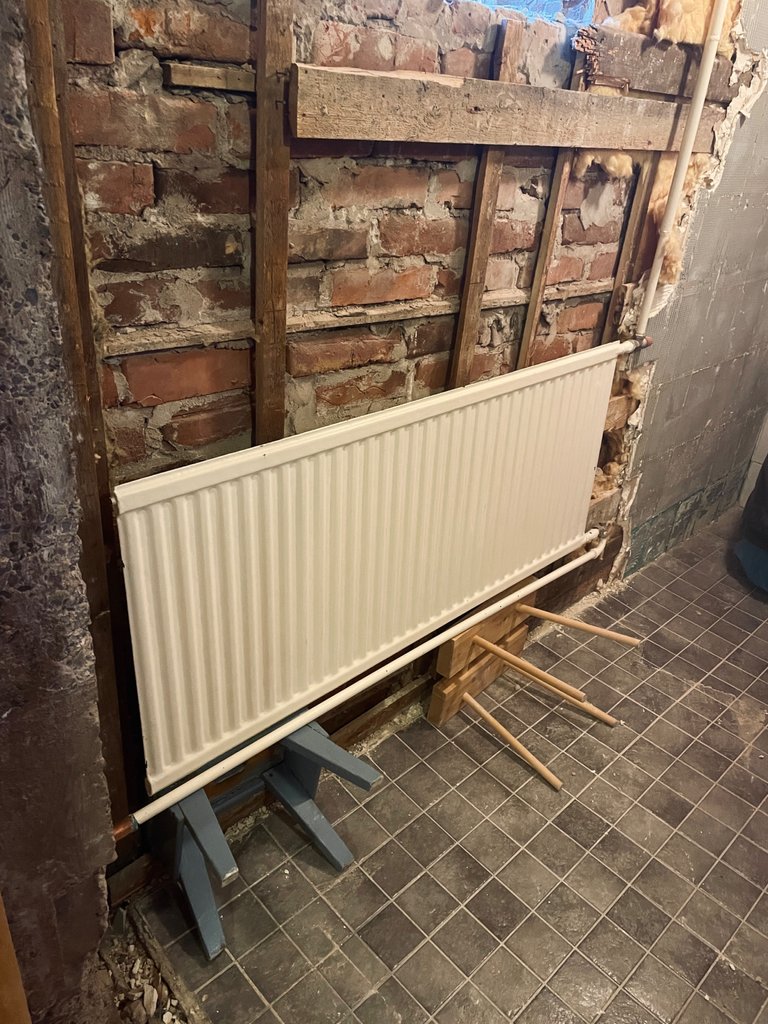
It took me several hours of careful prying and digging and chiseling to remove the two layers of tiles and drywall behind the radiator without taking it out. Sure it would have been easier in the long run but I have no idea how to do that, nor do I have the tools for it. It’s also -10°C outside and I don’t want to fuck up our heating system.
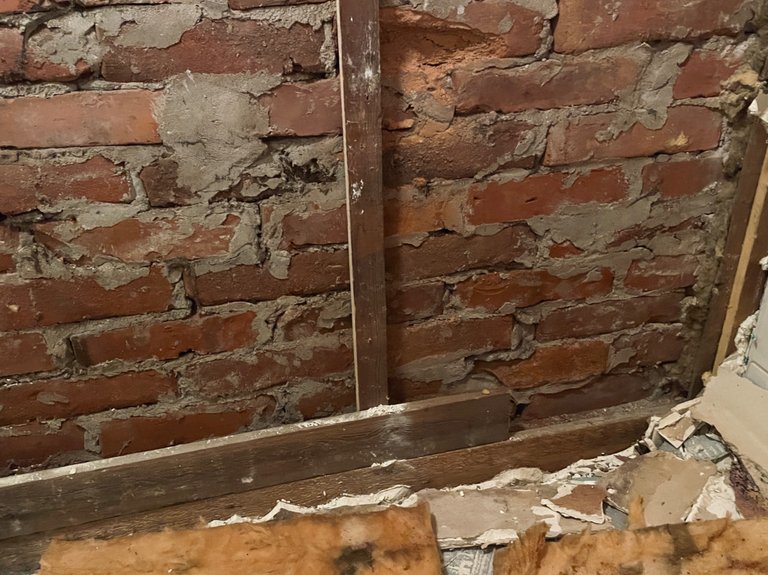
Jesus it’s disgusting to open up these walls with wet musty smelling insulation, rotten wood and moist drywall. I’m so happy I’m getting rid of all the nasty stuff.
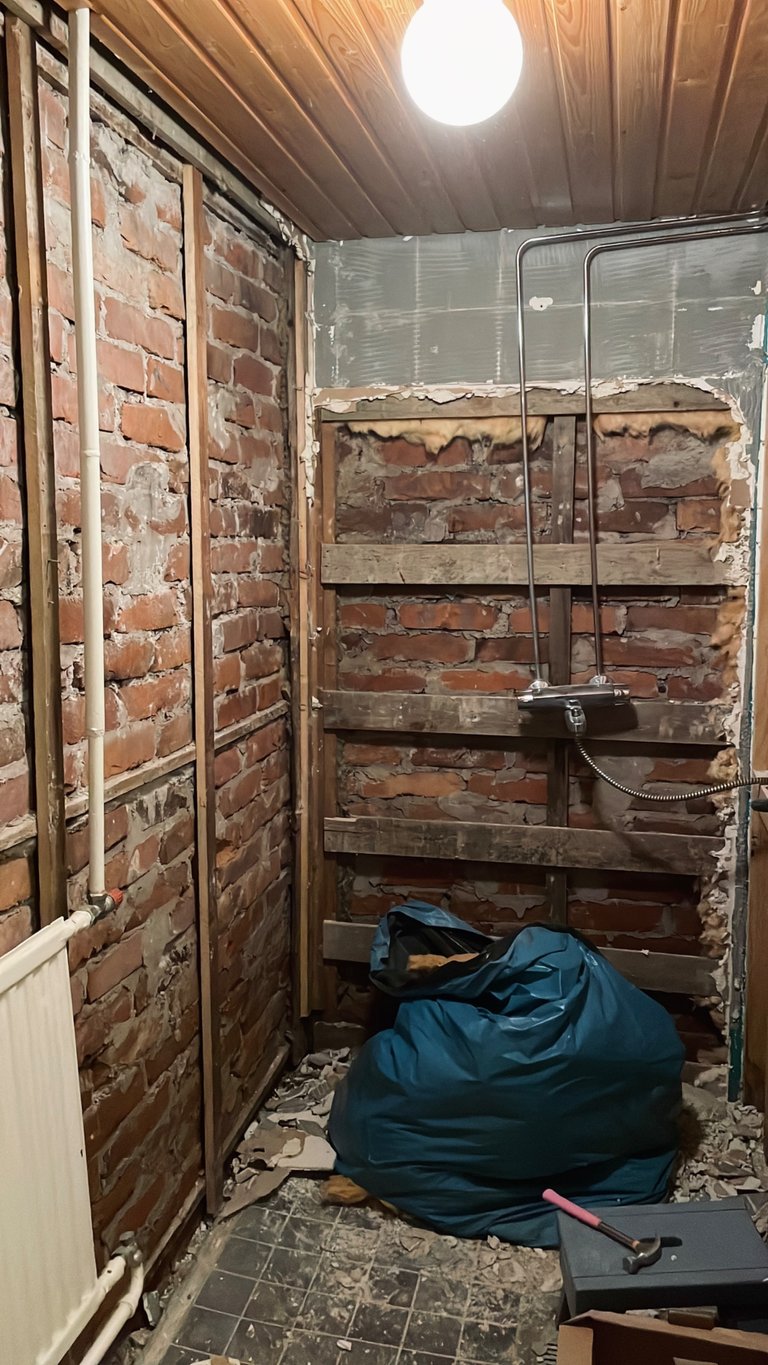
Even from these bad pictures you can see where the bricks and mortar are darker aka wet. This bottom corner is of course in the worst shape, and not because of the shower, this is all water from outside.
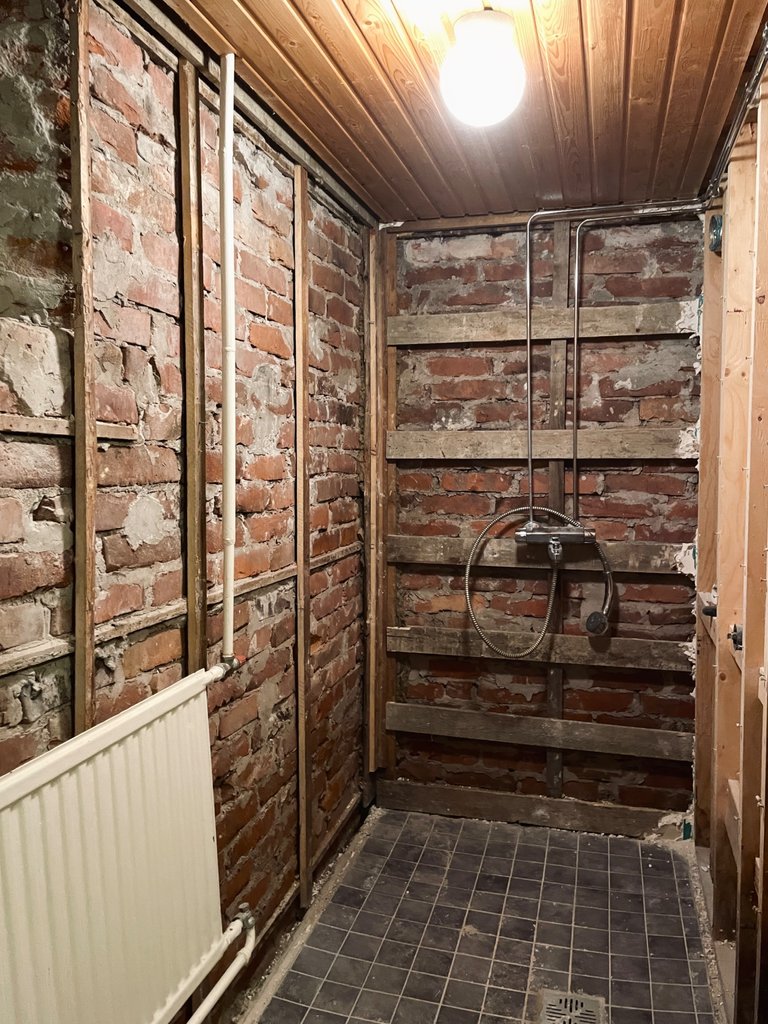
If we ignore all the dirt and remaining studs etc, this brick wall shower is definitely a vibe I’m starting to like. Getting inspired now! Next up I need to remove the whole wall between the shower and sauna, the wall where this whole ordeal started.
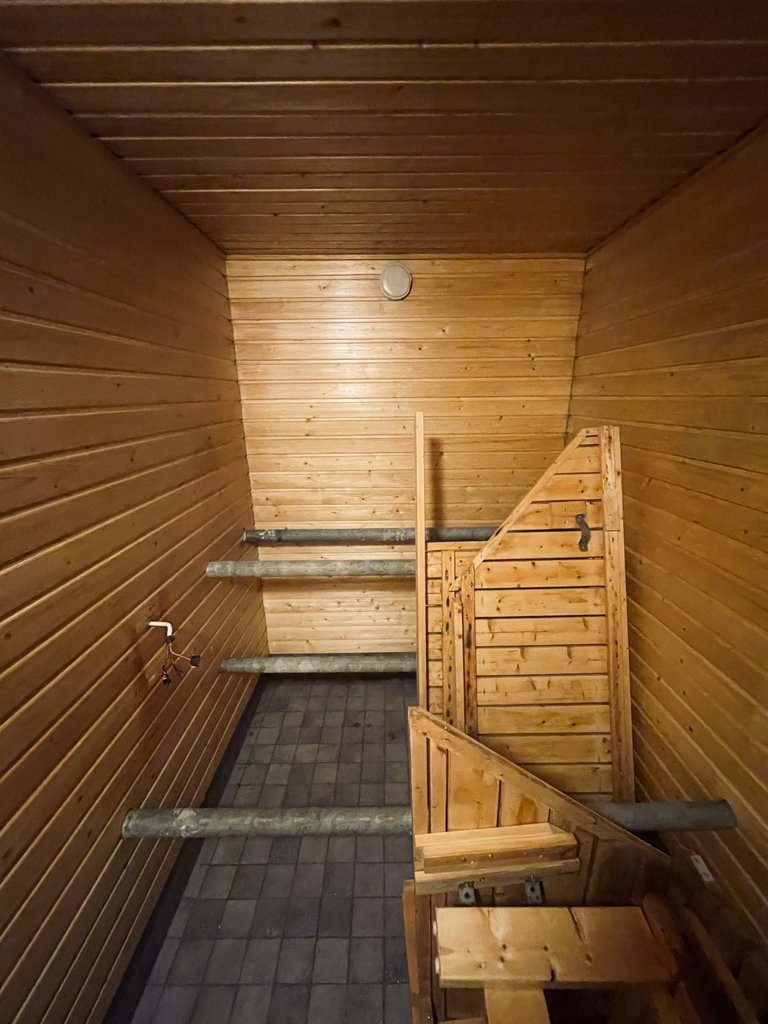
Since the inside wall is what holds up the support beams of the benches, I need to take them down first.
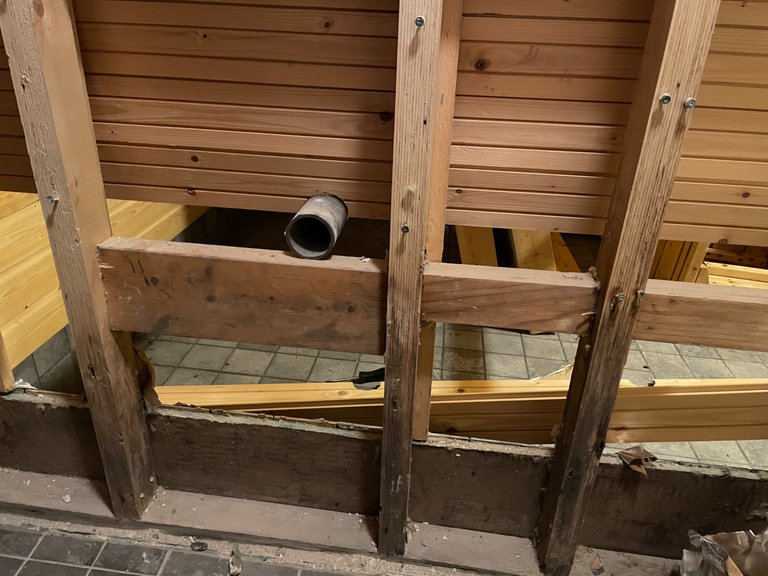
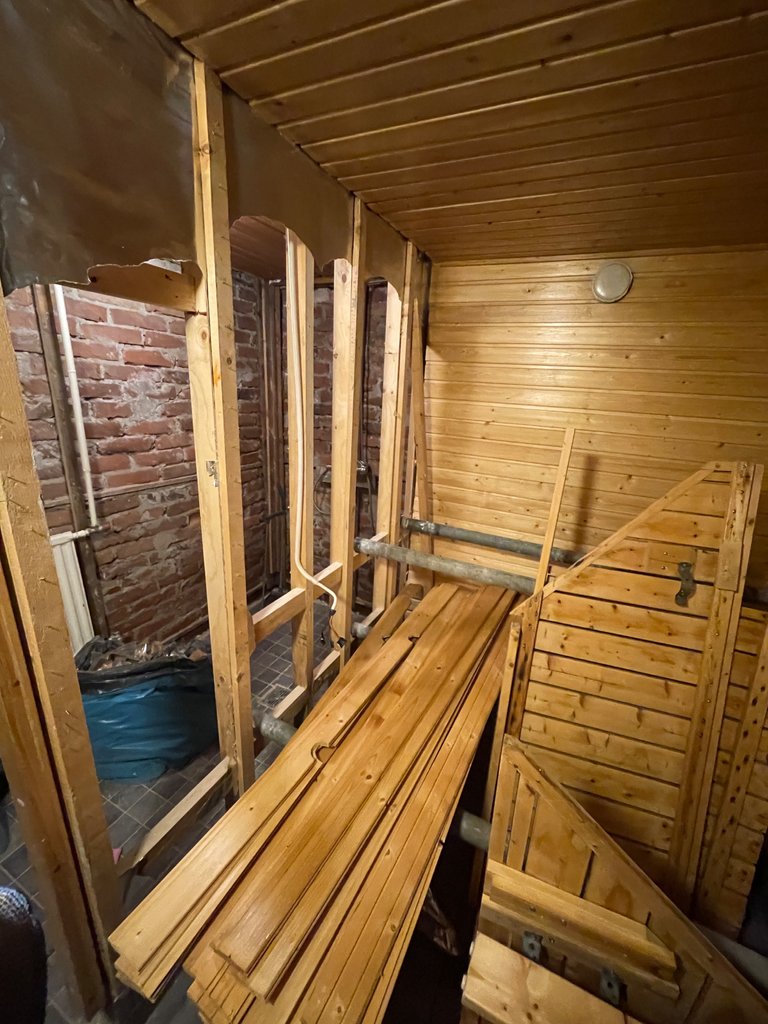
All the panels are coming off too because I need to reach behind them on the back wall. I’m stacking the panels neatly elsewhere and they will eventually be put back.
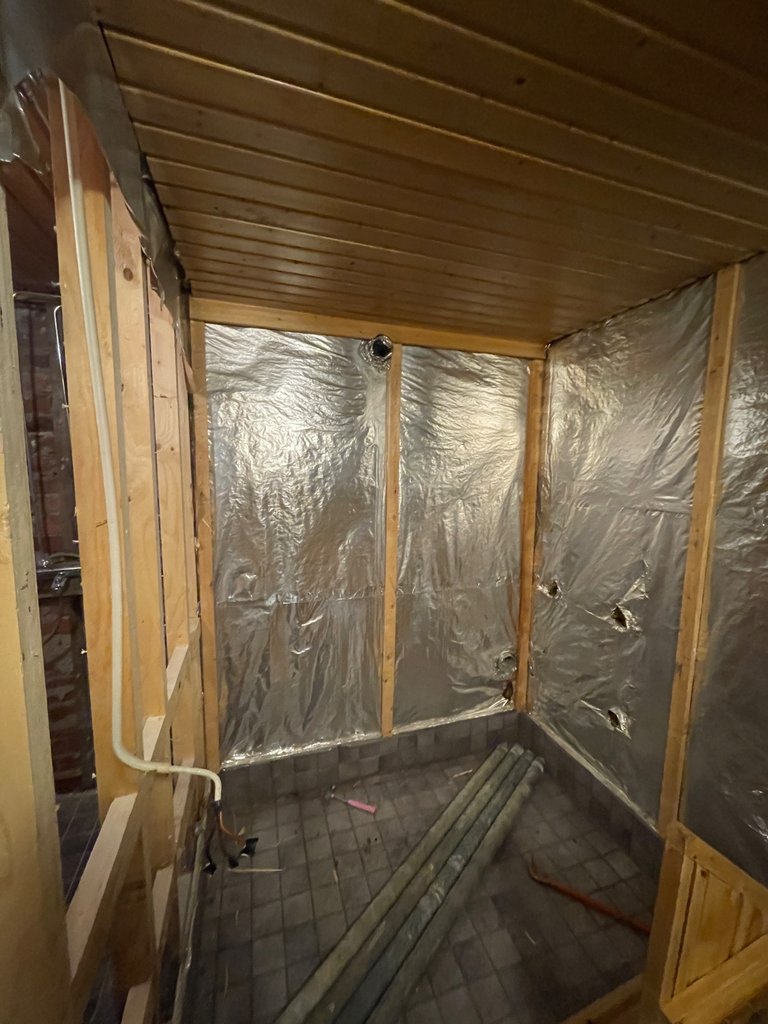
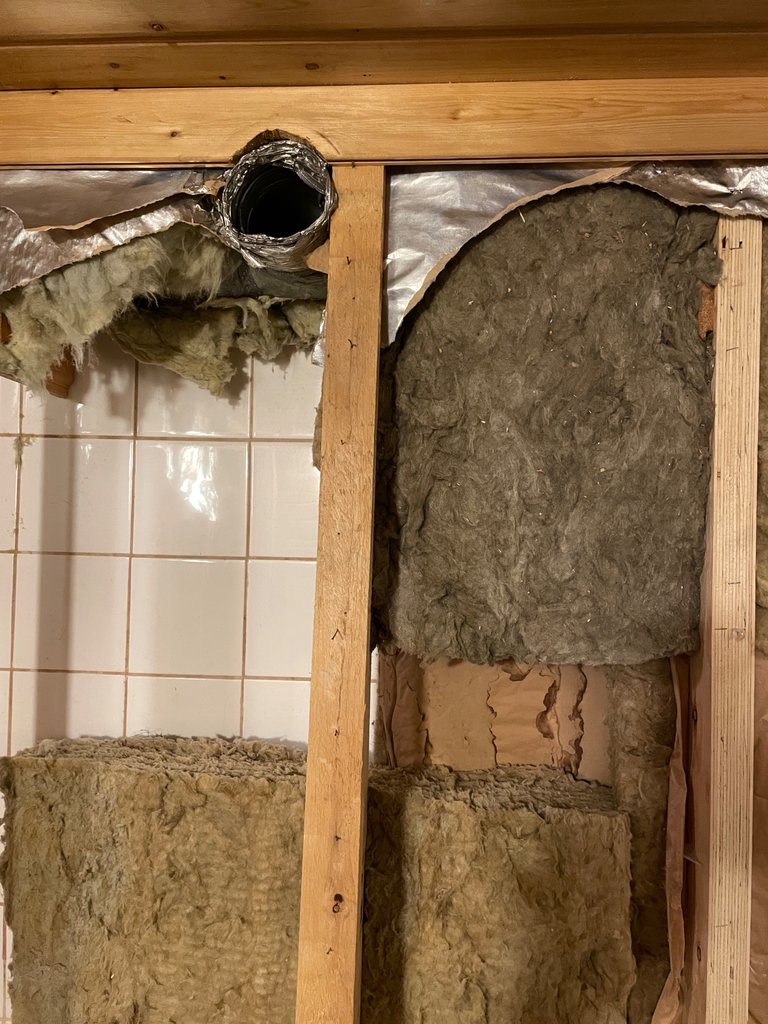
Every inch of free space behind the walls is stuffed with fiberglass insulation. I fucking hate this stuff and there is not a place in my house that I will willingly put anything like this in.
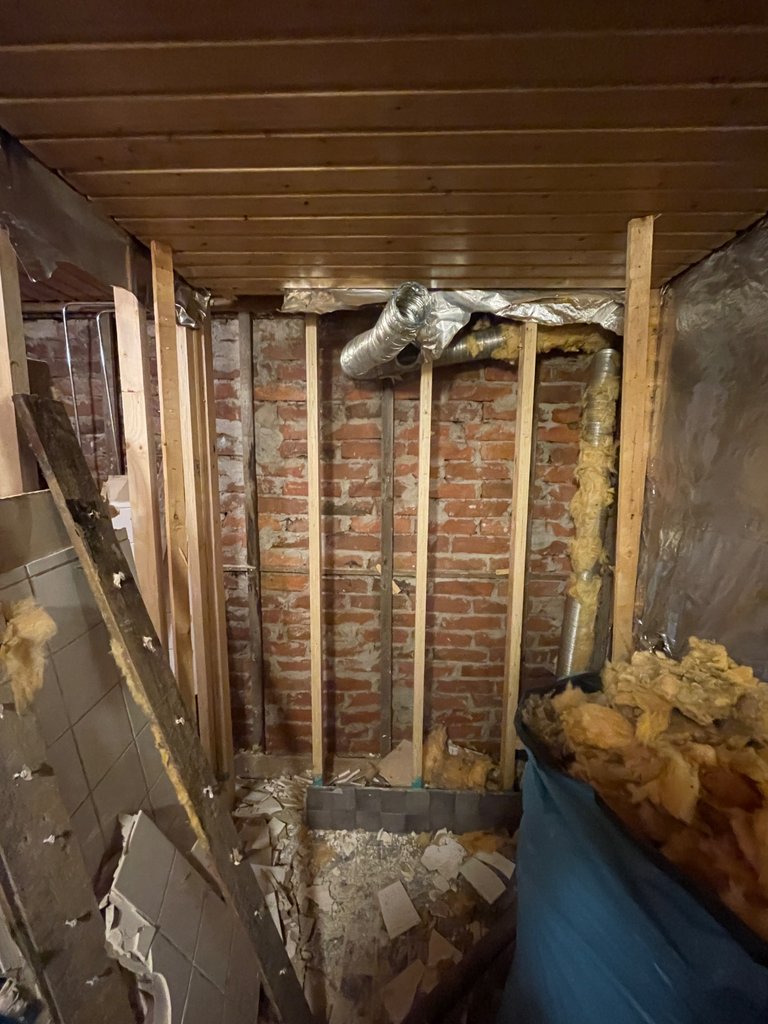
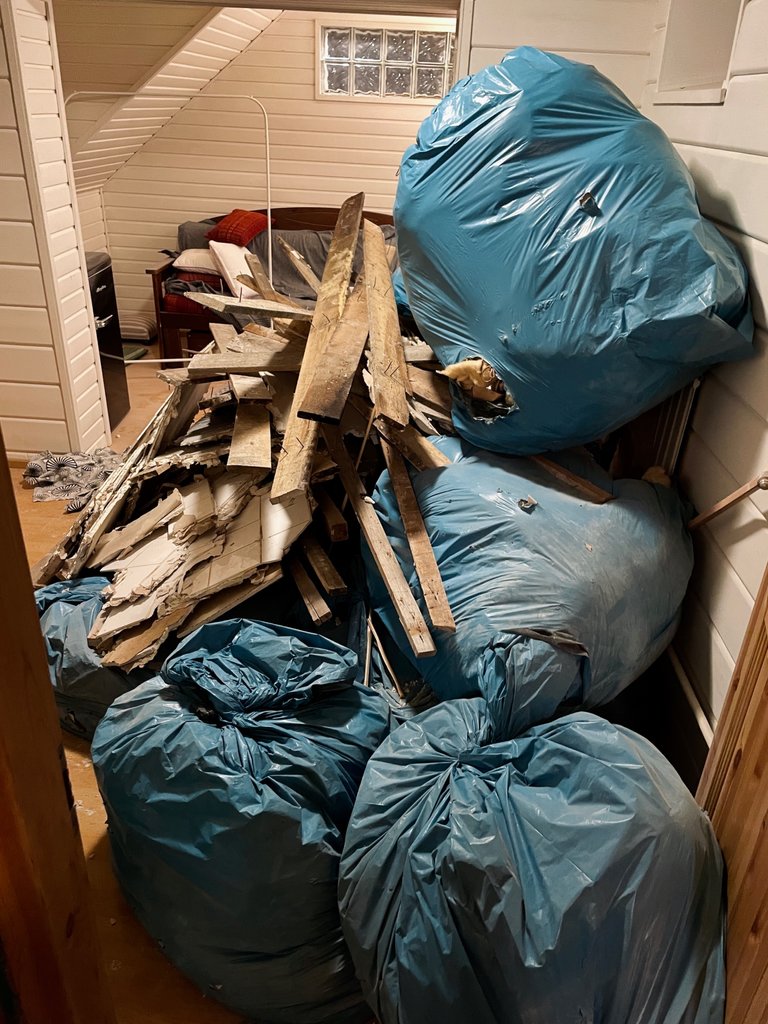
Trash, so much trash. This is the worst part of the whole thing when you realise how much shit you need to throw out. I’m of course saving anything that can still be used but here it’s not much; basically just some of the studs that were not moist.
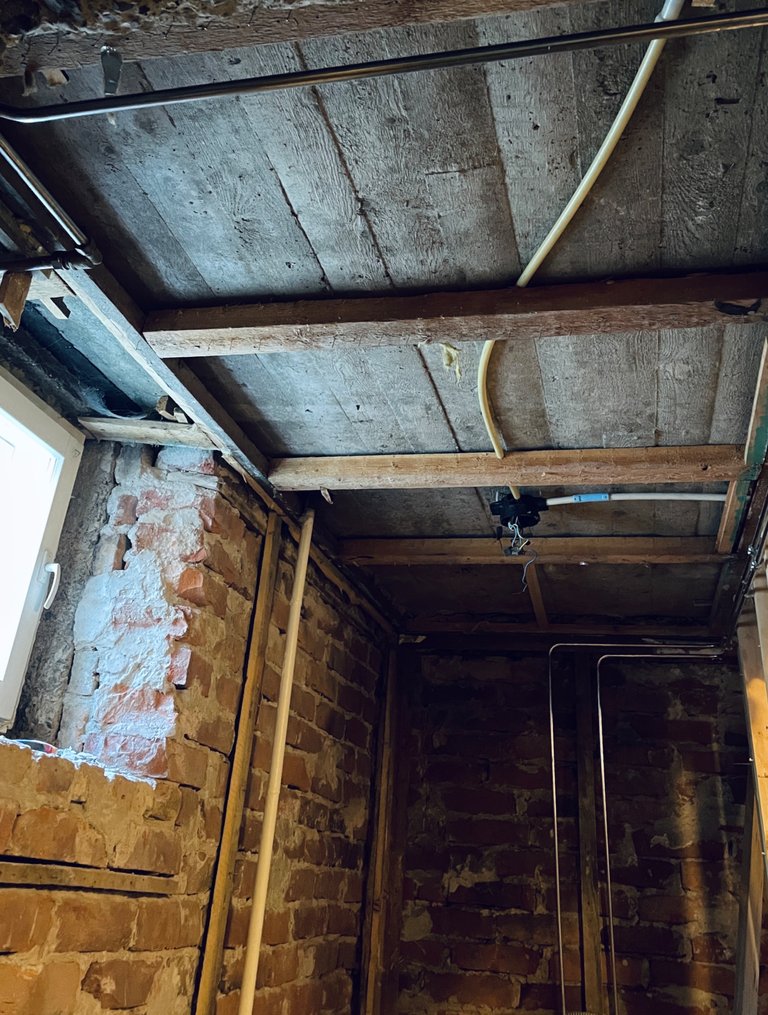
I took out the ceiling panels on the shower too and I’m not putting them back. The current plan is to leave some of the brick exposed, and lime plaster all the other walls and the ceiling. The floor tiles will stay even though I don’t like them.
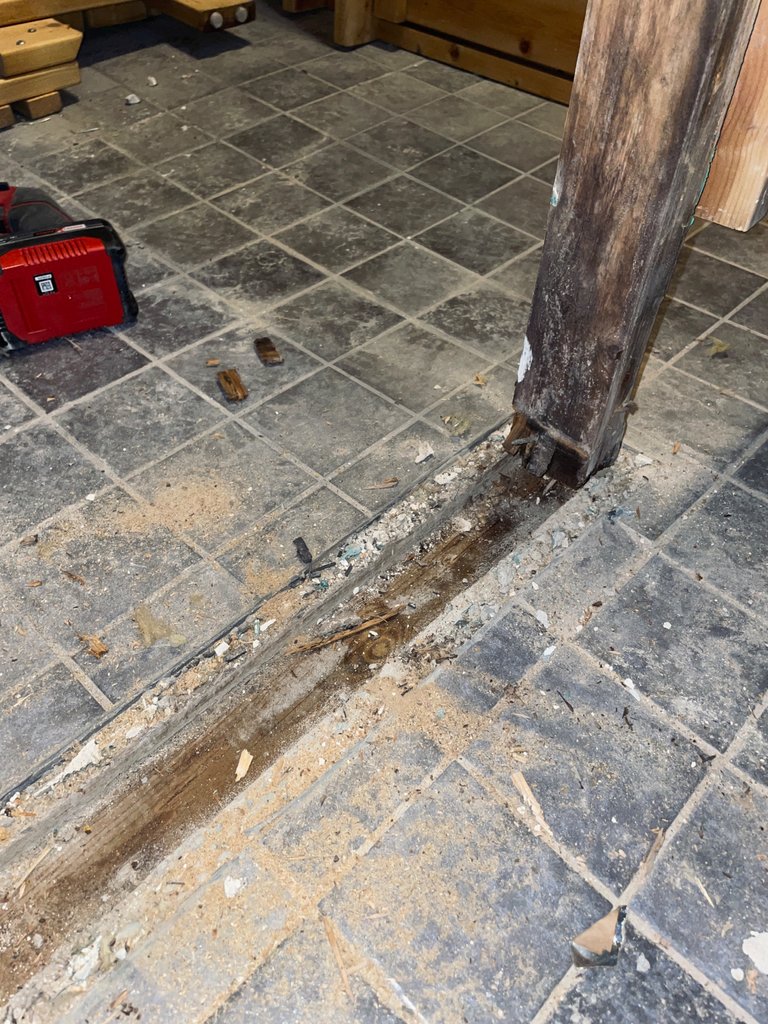
I nearly lost my marbles when I took out the bottom plate of the dividing wall, which was rotten, only to reveal that some idiot had left another plate under it and just poured more concrete around it.
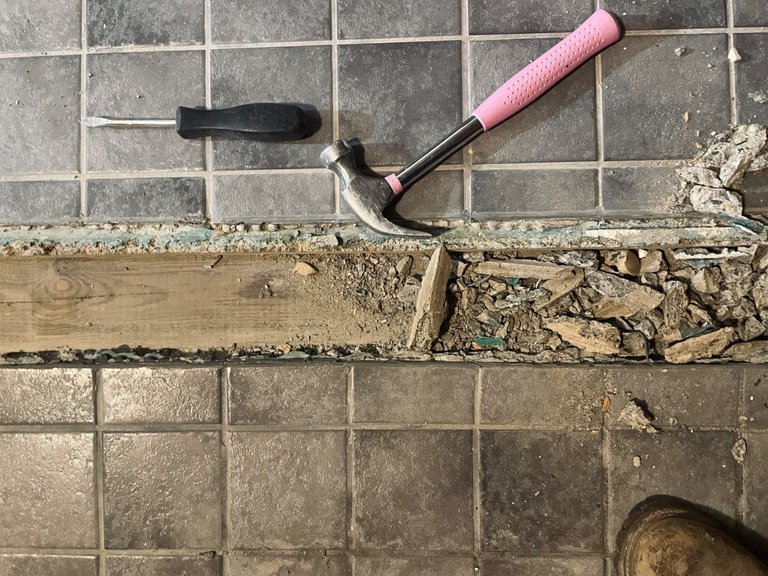
I had to chisel away the concrete before I could dig out the older rotten bottom plate. We’ll rebuild this wall from hollow concrete blocks so it will tolerate moisture a lot better.
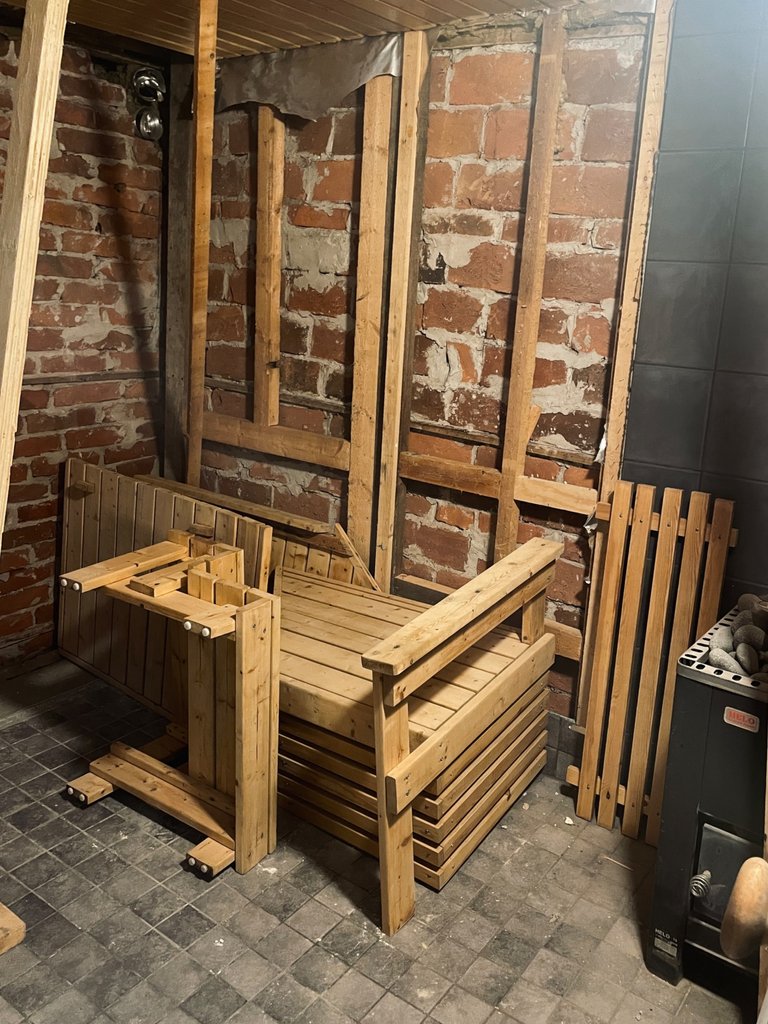
No sauna for us for weeks to come, we are lucky if it’s back up by Christmas.
For me this sometimes reckless looking destruction I cause is actually how I learn about construction. I’m inspecting every layer and judging what materials and techniques have stood the test of time (and elements) and which haven’t. When I get to actually build something back up, I can make better decitions than my predecessor.
@tipu curate 3
Upvoted 👌 (Mana: 25/75) Liquid rewards.
The demo part is like a negative treasure hunt: you find all kinds of gross shit underneath the layers as you work to get to the bare bones of the house instead of discovering treasures.⚒🧰⛏
You're making terrific progress! Keep up the hard work. We look forward to your posts and photos with all the steps @eveuncovered
Sometimes there are treasures too, I’m still hoping for gold!
Btw, your username is brilliant!
Wow! Looks like it's gonna be incredible at the end
I will try my best!
Interesting‼️
I can't hardly wait for part 3. This must be mind-blowing. 😍🙏
Looking forward to to seeing the finished work! Im sure it’d look beautiful
A lot of woooorkkk congrats! 🎊🎉
you are fucking bonkers! but kudos is due
That I am, but it usually pays off in the end after all the chaos.
I am sure it will look super,
One post I have been looking forward to lol. That is a lot of junk being tossed out and removed but once it is done it will be so much better. I admire what you are prepared to take on.
I’m glad to hear someone finds this interesting and I’m not just yelling into a void.
When I saw the first nasty insulation pieces living in my walls, there was really no turning back, I couldn’t just leave it there. So now I just have to push on because having no sauna is not an option!
Hi @eveuncovered . I am happy to be a part of this community and hope to make many friends here. Now I start my new life after prison. I will be grateful for your support.
I like where this is going! looks like a big project I'm catching up what you have going on here! 😀
Keep plowing through it! You got this. Looking forward to some of the rebuild pictures.