[ESP-ENG ] Perfect and nice case for my University ID - Student Essentials | Perfecto y lindo estuche para mi Carnet Universitario - Esencial para los Estudiantes
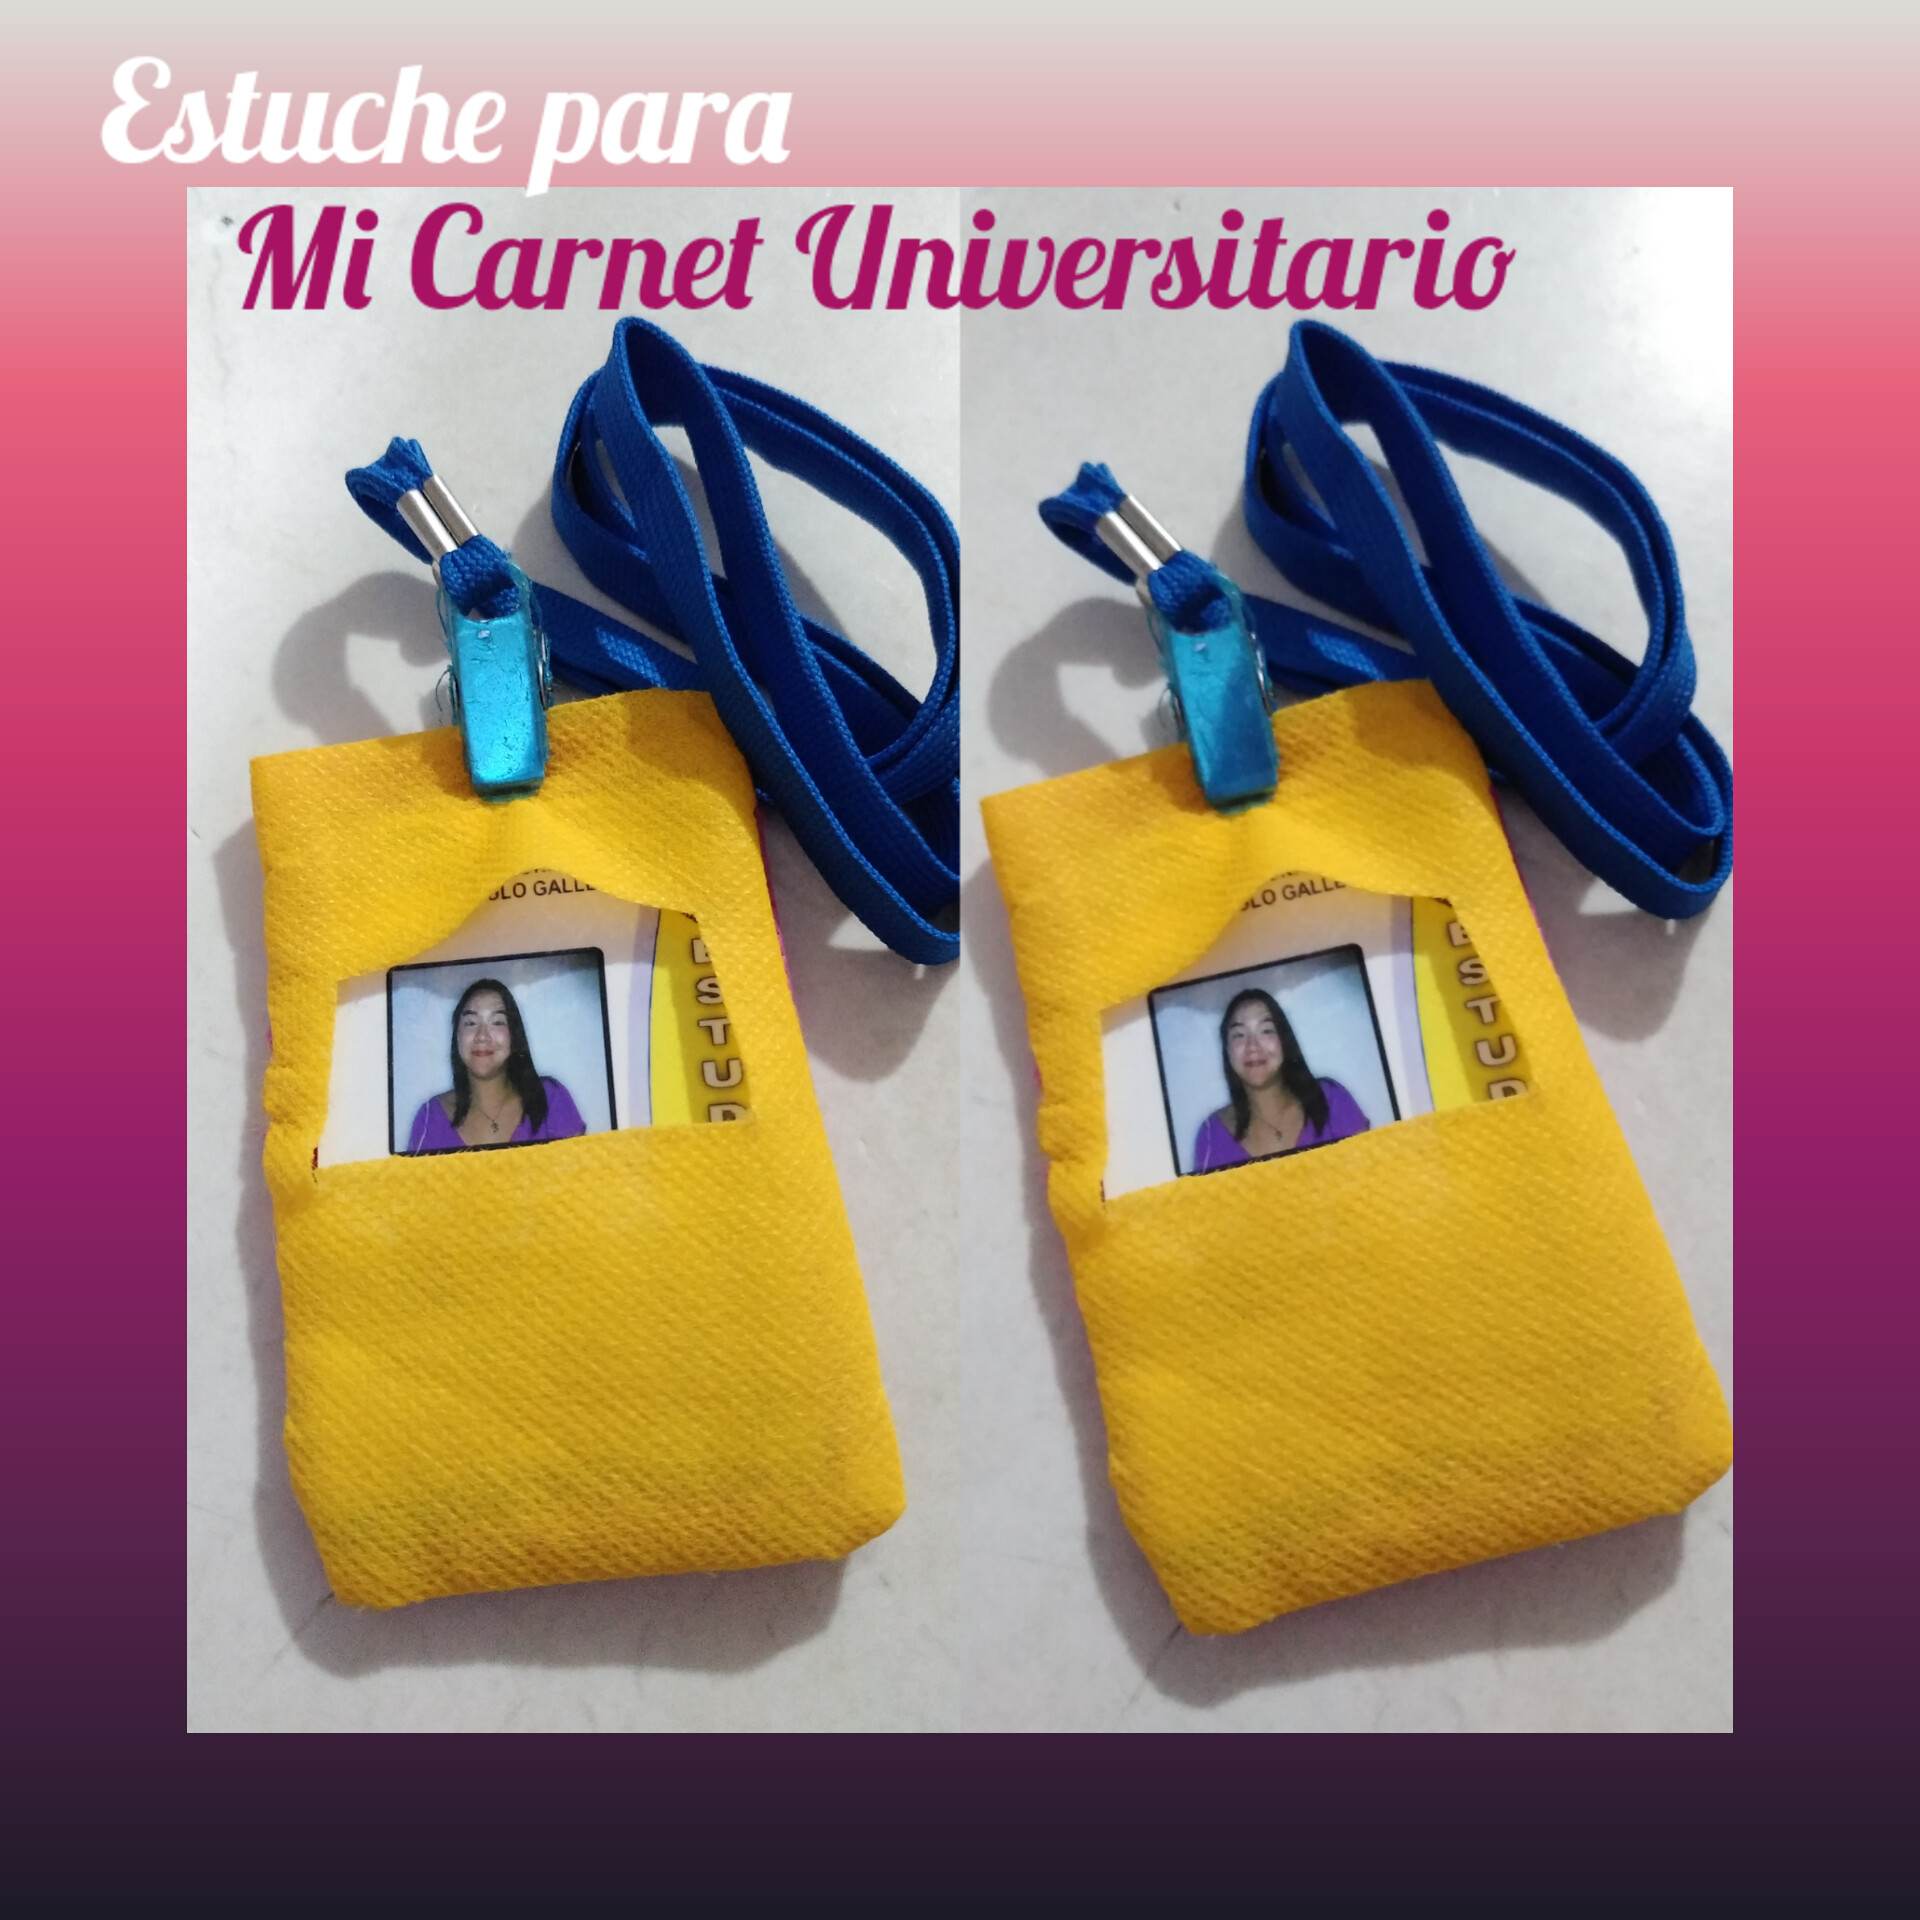
Welcome hive family once again to a new post, thank you for being part of my life. I am happy to share today in this beautiful community, I am happy to show you my creation today, the truth is that I am anxious, I tell you that I made a case for my university card, it is important to note that as university students this card is given to us to enter the facilities of the institution and also to pay our student ticket. So since it is something very delicate I decided to make a case for it where I will not lose it and it will always be in a safe place, I have lost it several times for not having a place or a bag where it can be fixed, but thank God I already have my case for my ID, so I am going to show you how to make it, let's start.
.jpg)
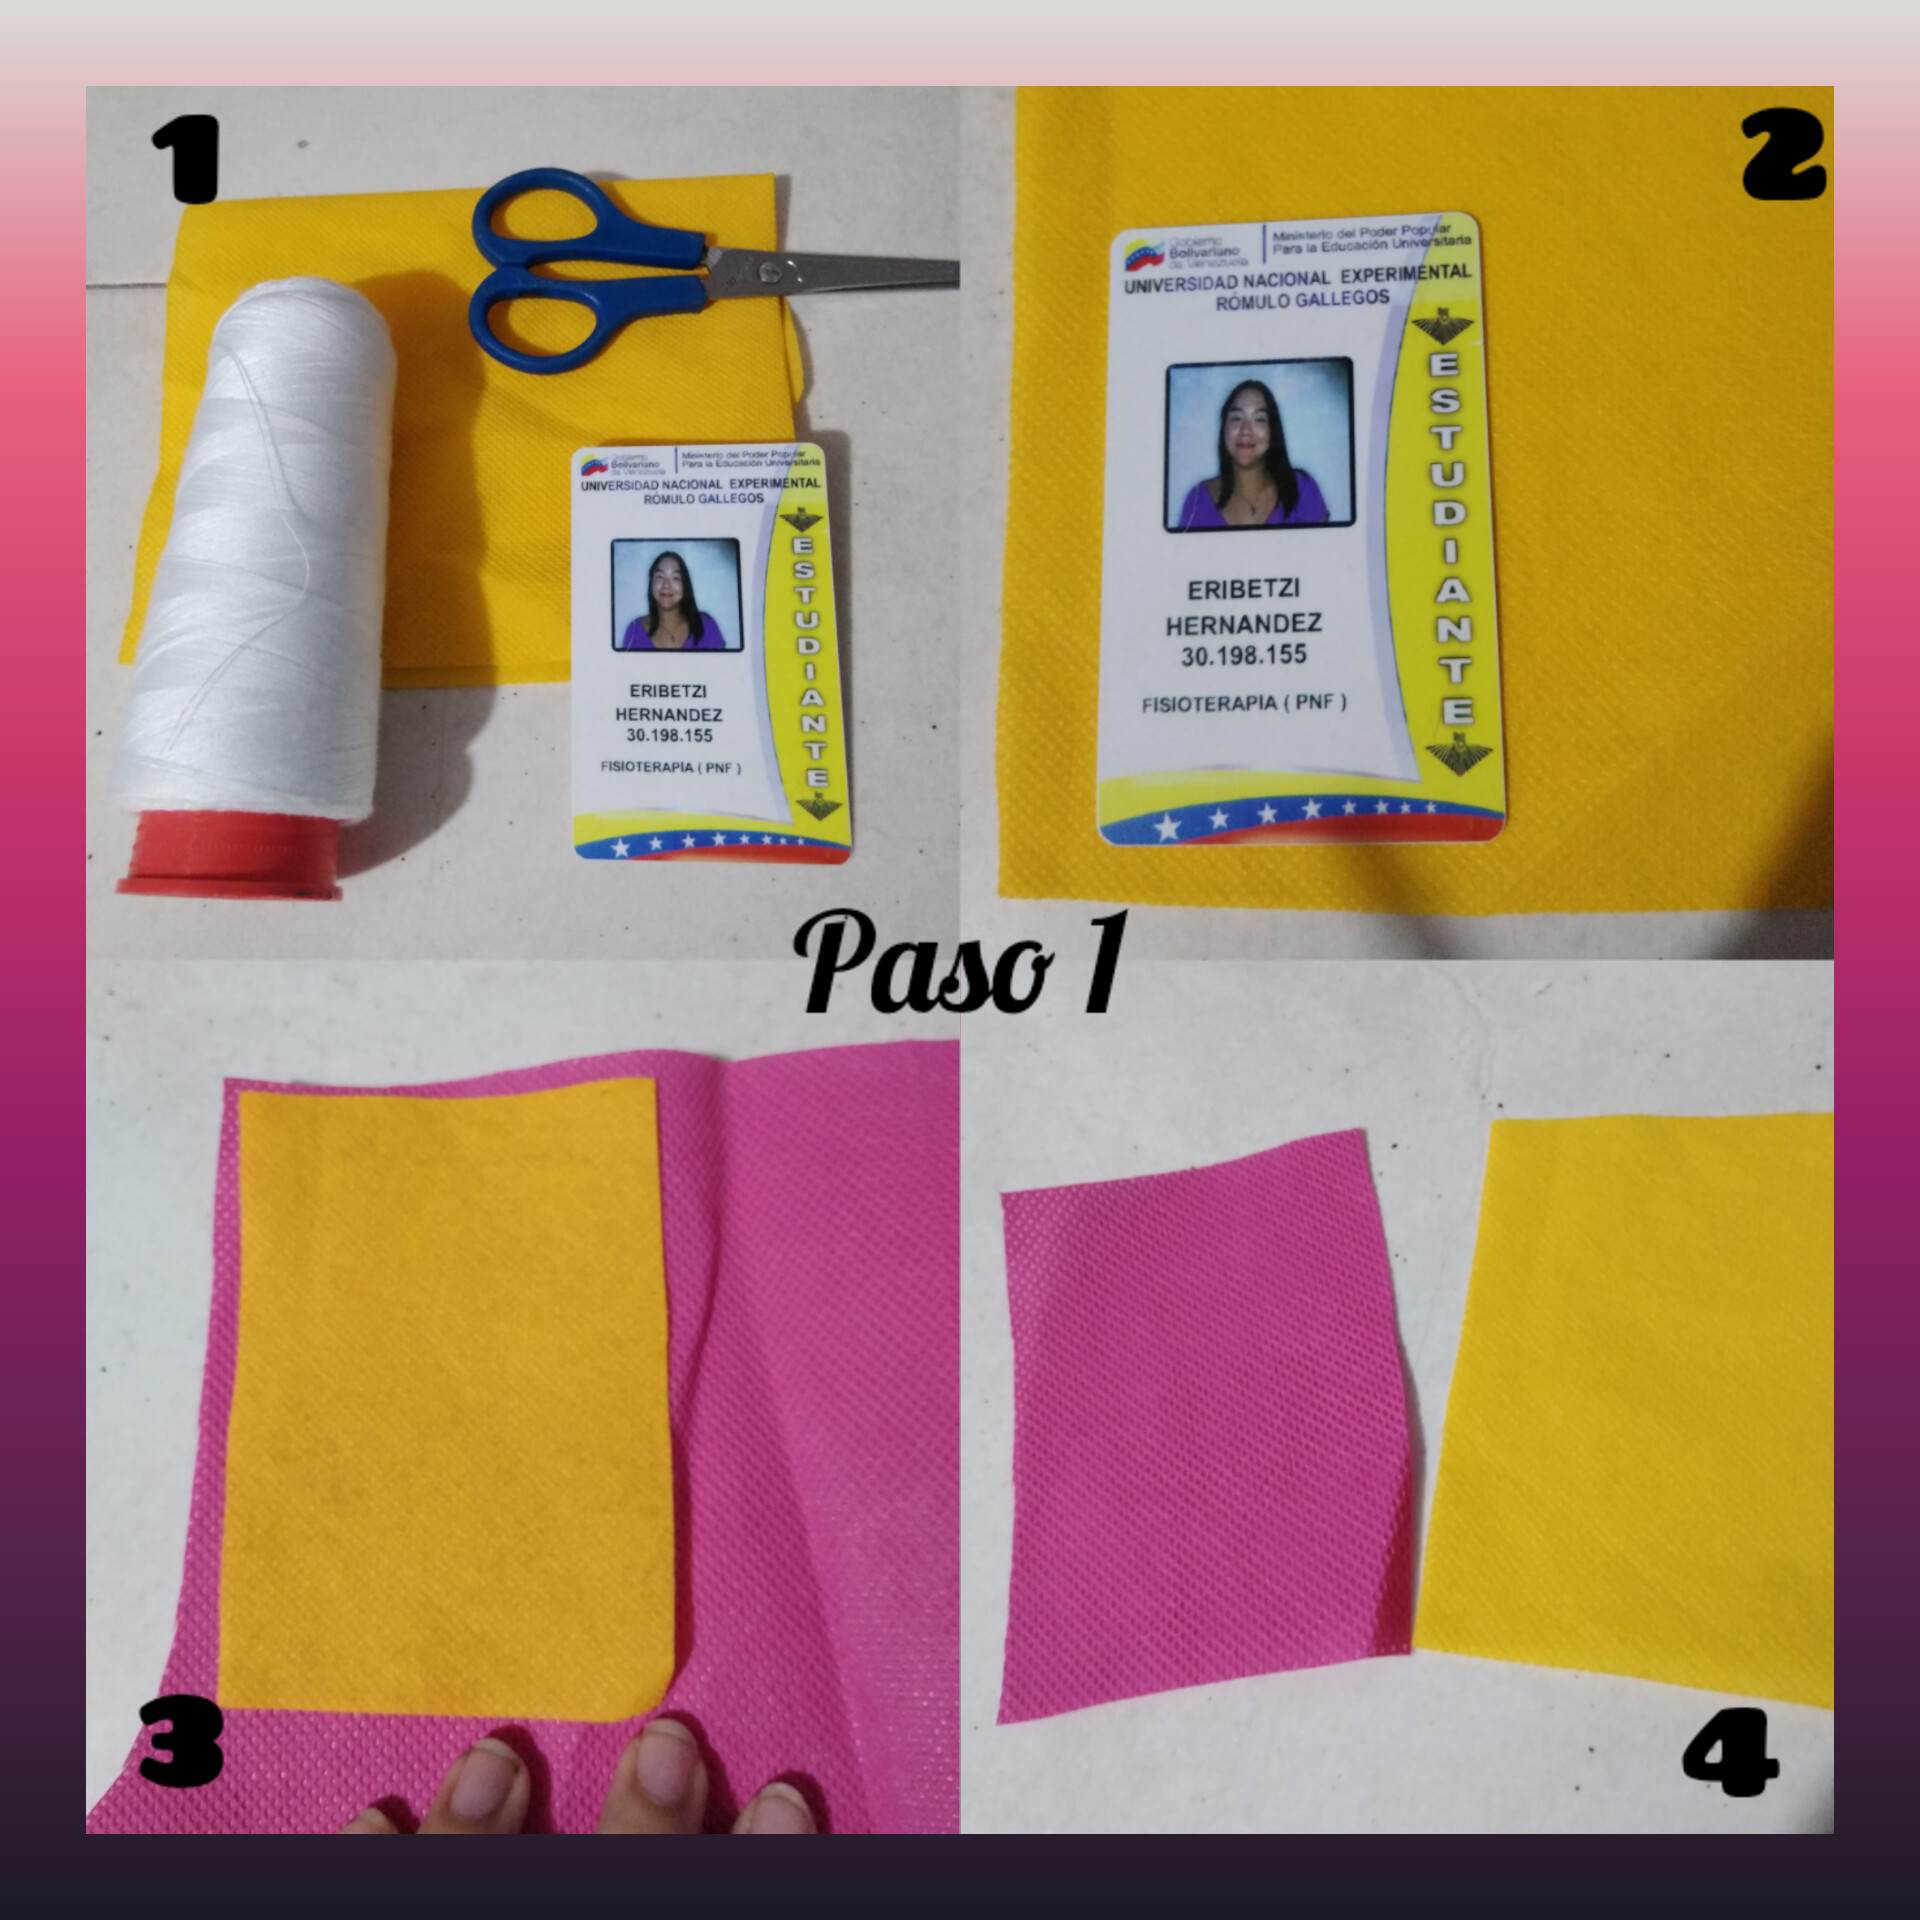
Paso 1: para realizar éste estuche vamos a necesitar una tela dura, en éste caso yo usé una tela quirúrgica ya que ella es dura y muy buena para hacer éste tipo de cosas. Elegí dos colores que tenía para hacer algo diferente, amarillo y fucsia, necesitamos tijera, hilo y aguja. Lo primero que haremos será colocar el carnet encima de la tela para cortar el tamaño de nuestro estuche, y como sabemos que el estuche debe tener dos lados, entonces vamos a cortar el lado amarillo pero también el lado fucsia, y así ya tendremos nuestras dos piezas fundamentales para realizar éste estuche.
Step 1: to make this case we are going to need a hard fabric, in this case I used a surgical fabric because it is hard and very good to make this kind of things. I chose two colors I had to make something different, yellow and fuchsia, we need scissors, thread and needle. The first thing we will do will be to place the card on top of the fabric to cut the size of our case, and as we know that the case must have two sides, then we will cut the yellow side but also the fuchsia side, and so we will have our two fundamental pieces to make this case.
.jpg)
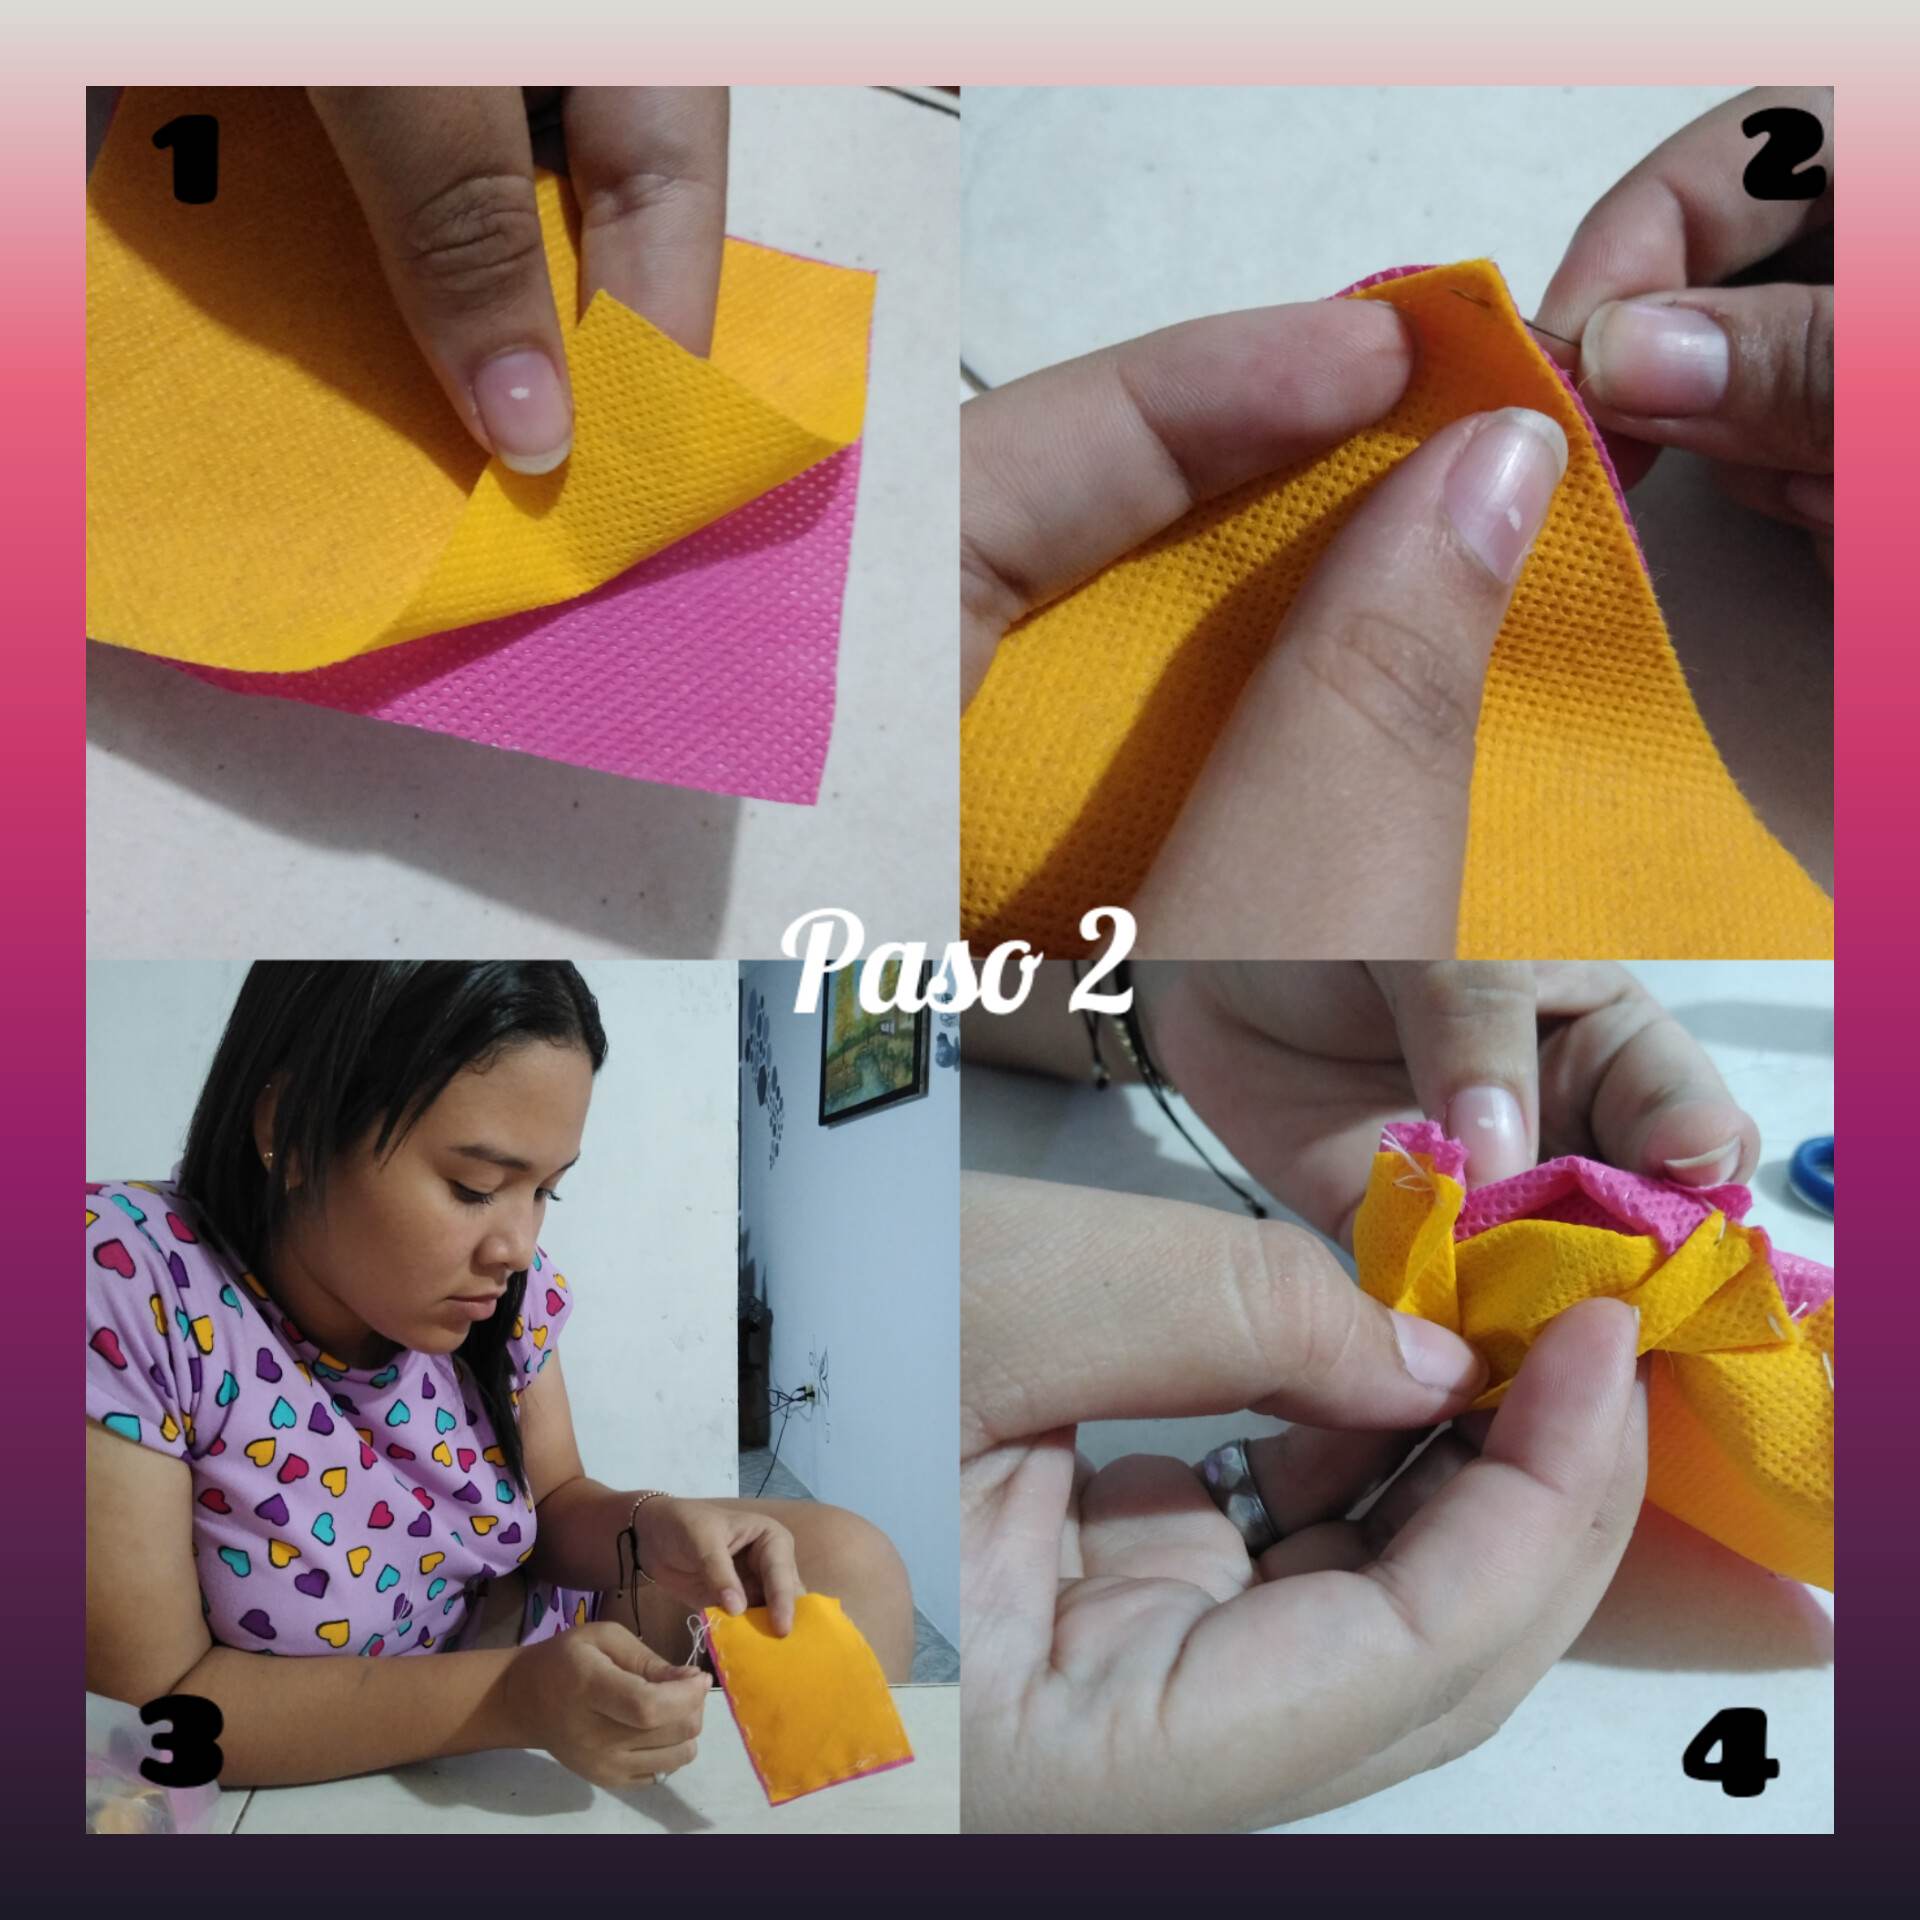
Paso 2: lo siguiente que haremos será colocar encima de la pieza fucsia, la pieza amarilla. Y lo que haremos será coser pro dentro todo el borde del estuche dejando así una abertura que será por dónde meteremos el carnet. Luego de haber cosido ésto cortaremos los excesos de hilo y volteamos nuestro estuche.
Step 2: the next thing to do is to place the yellow piece on top of the fuchsia piece. And what we will do is to sew inside all the edge of the case leaving an opening that will be where we will put the card. After sewing this, we will cut the excess thread and turn our case inside out.
.jpg)
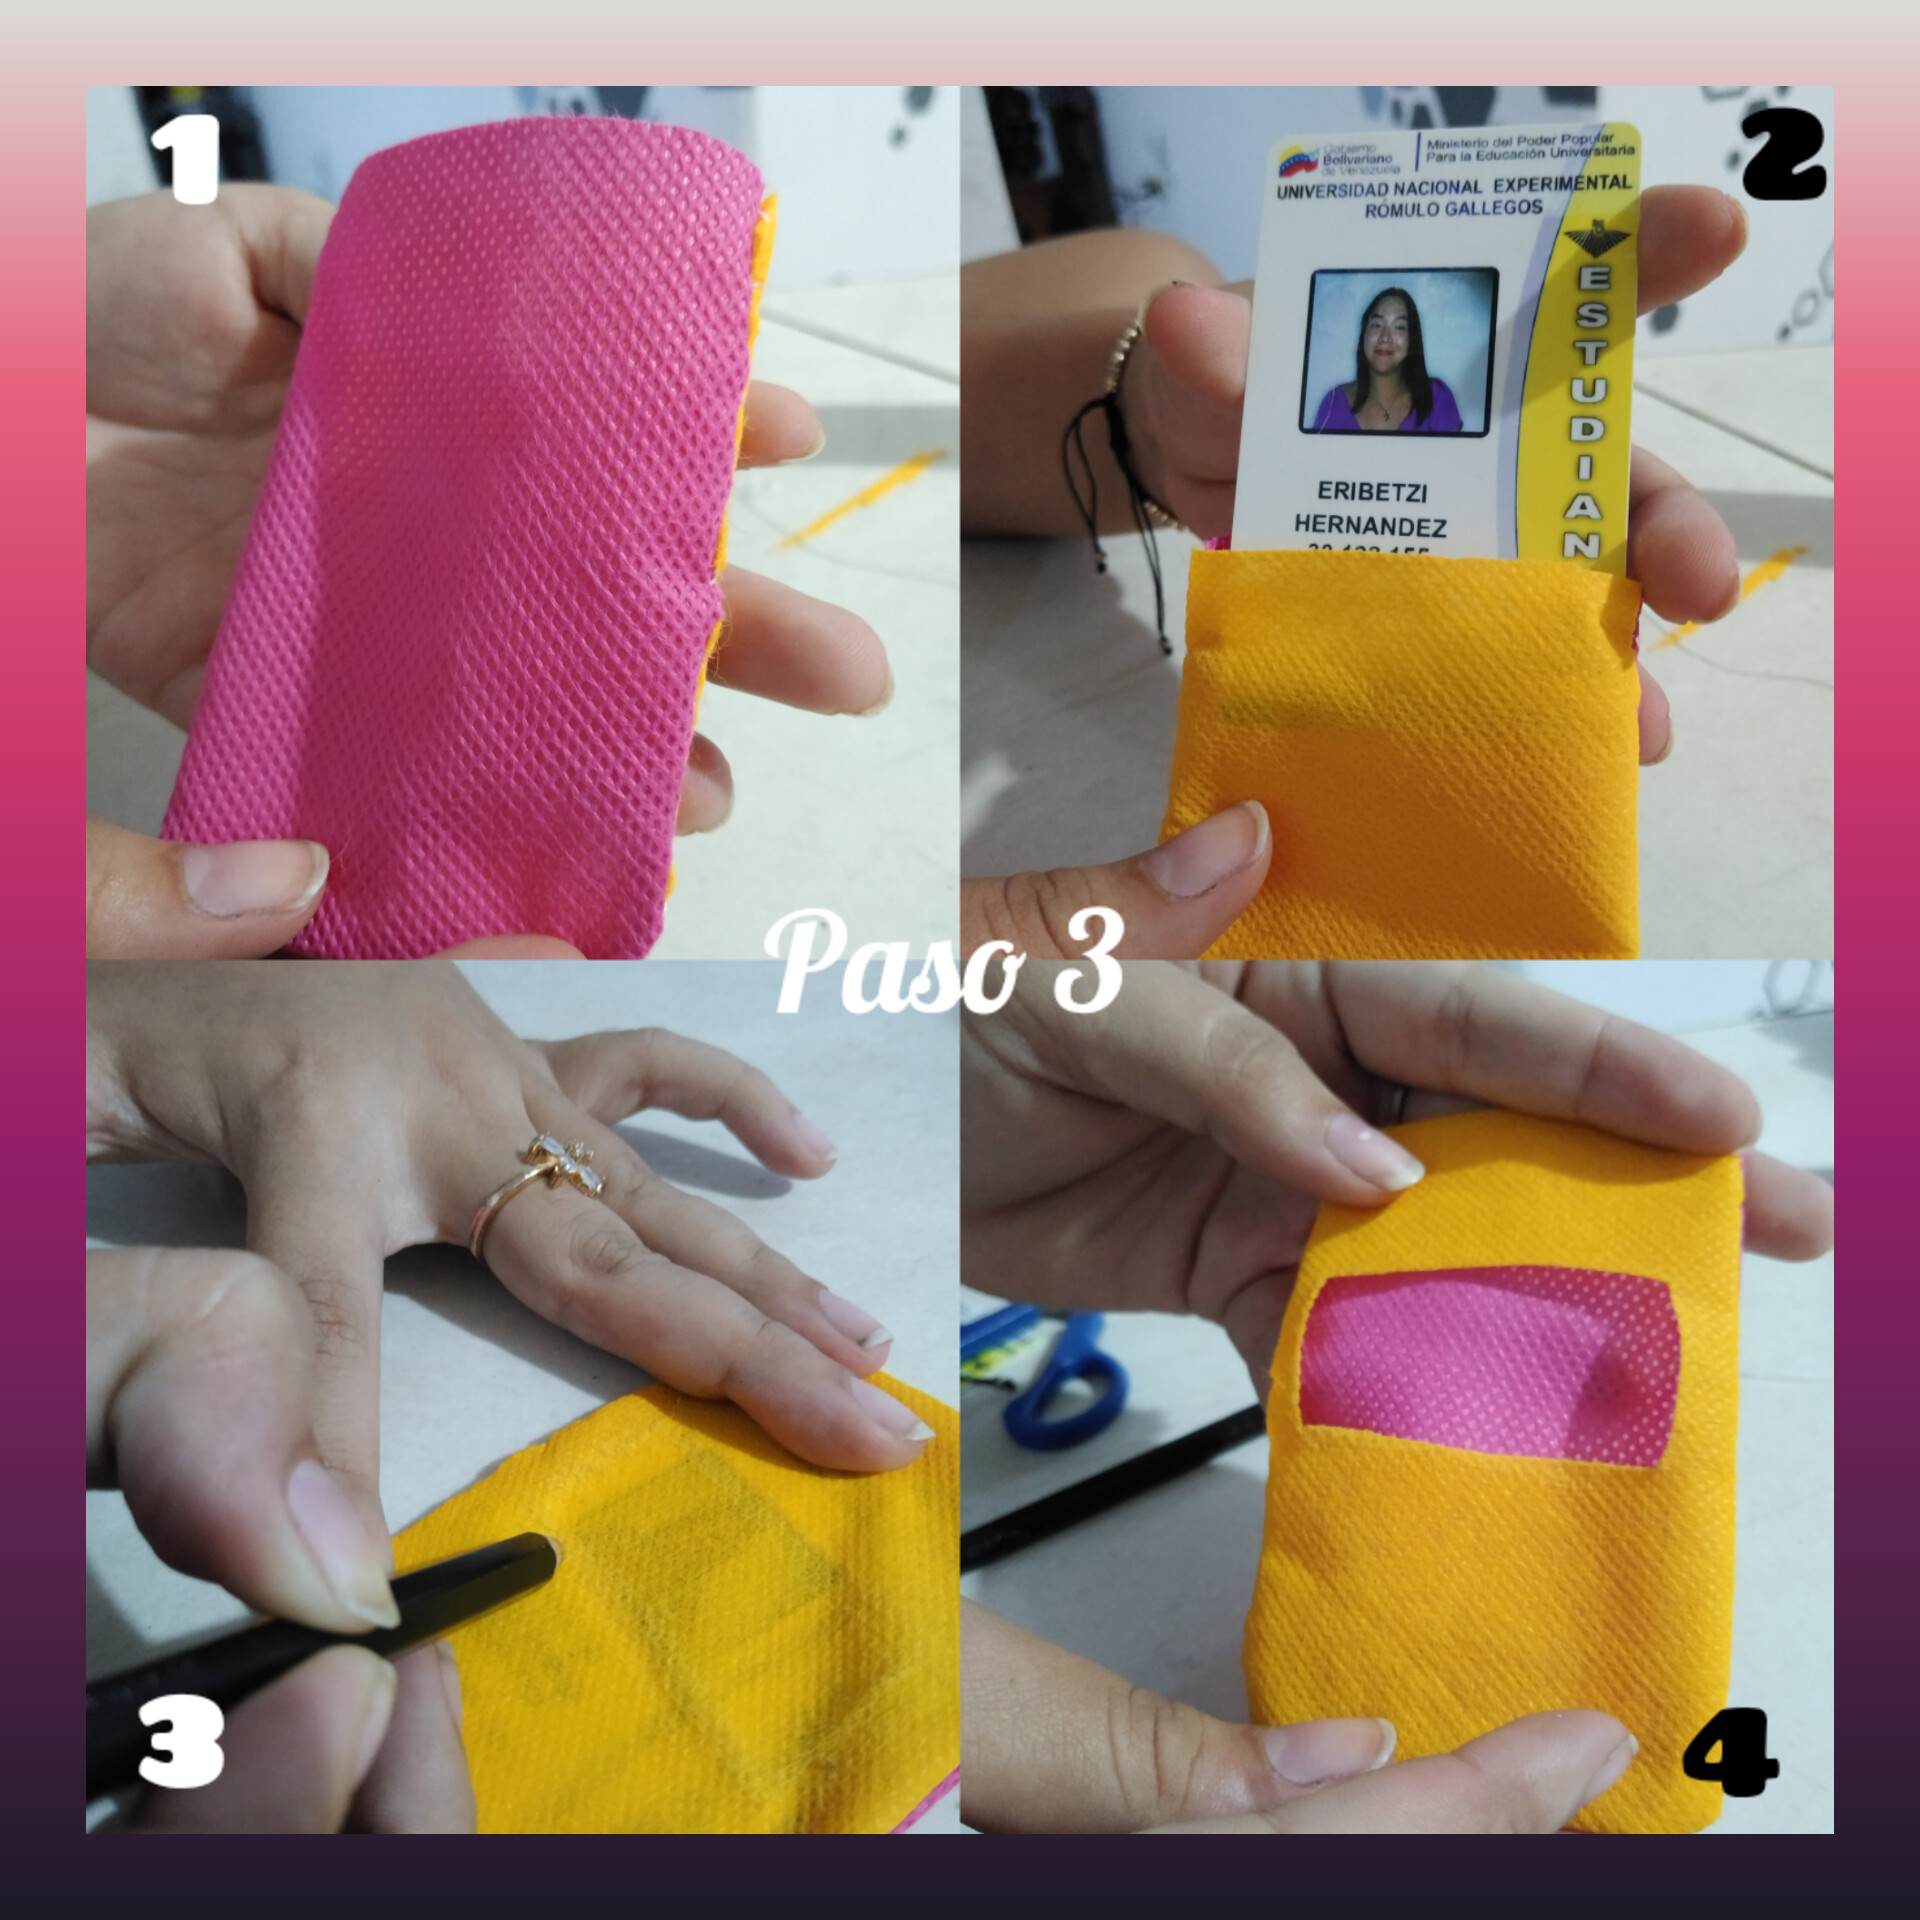
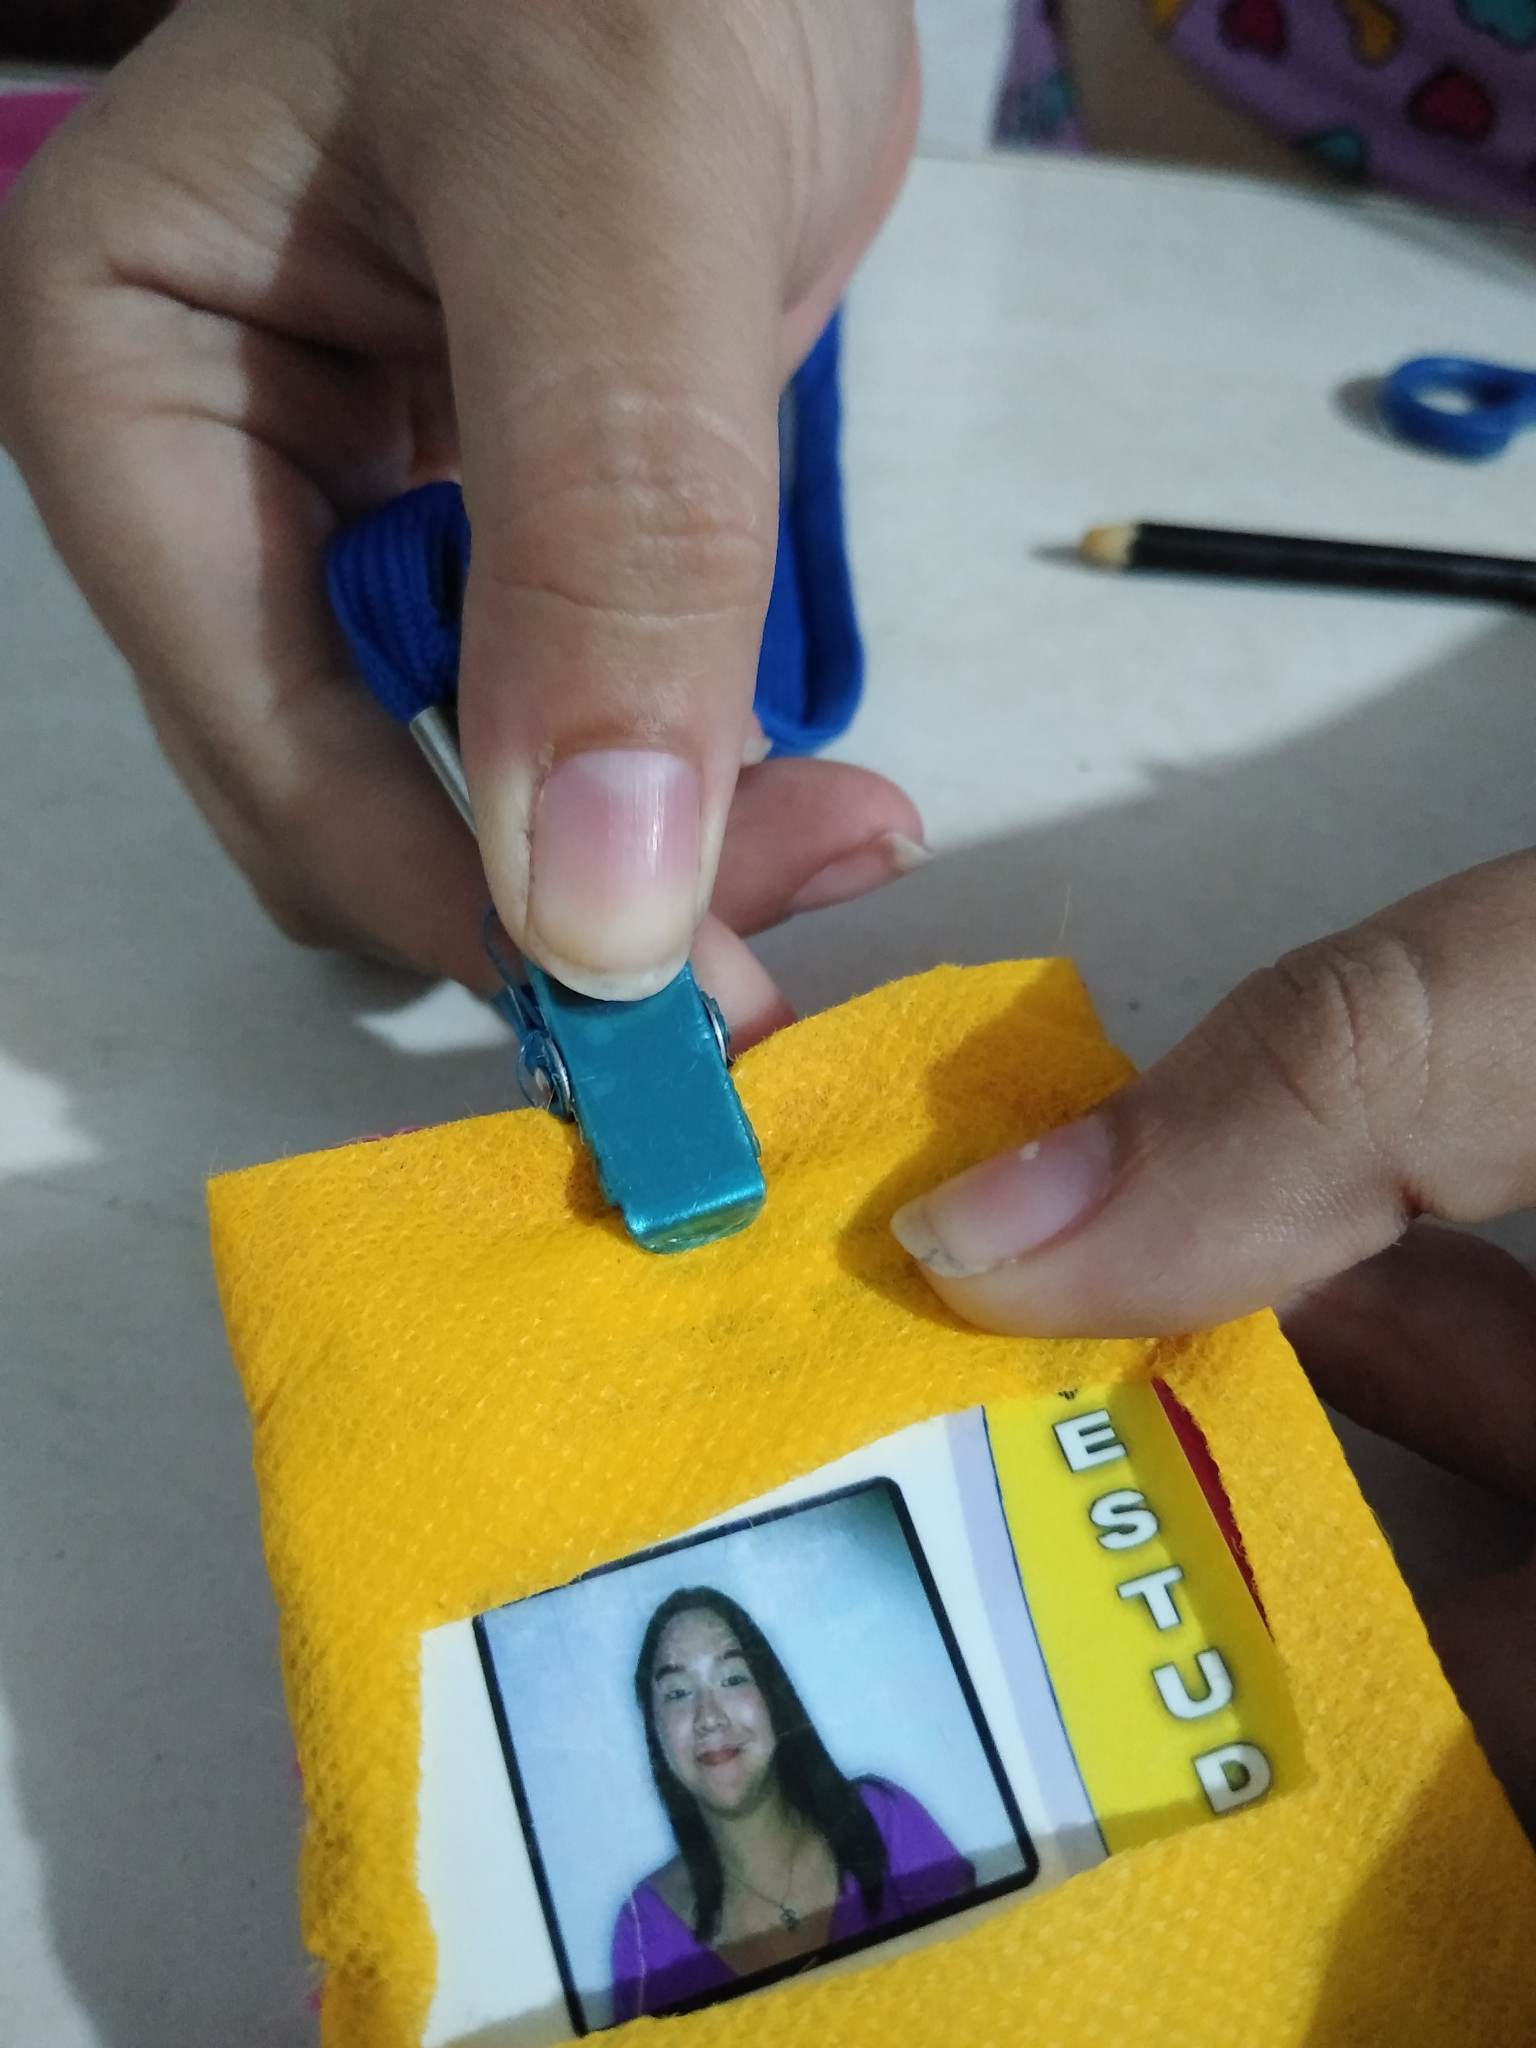
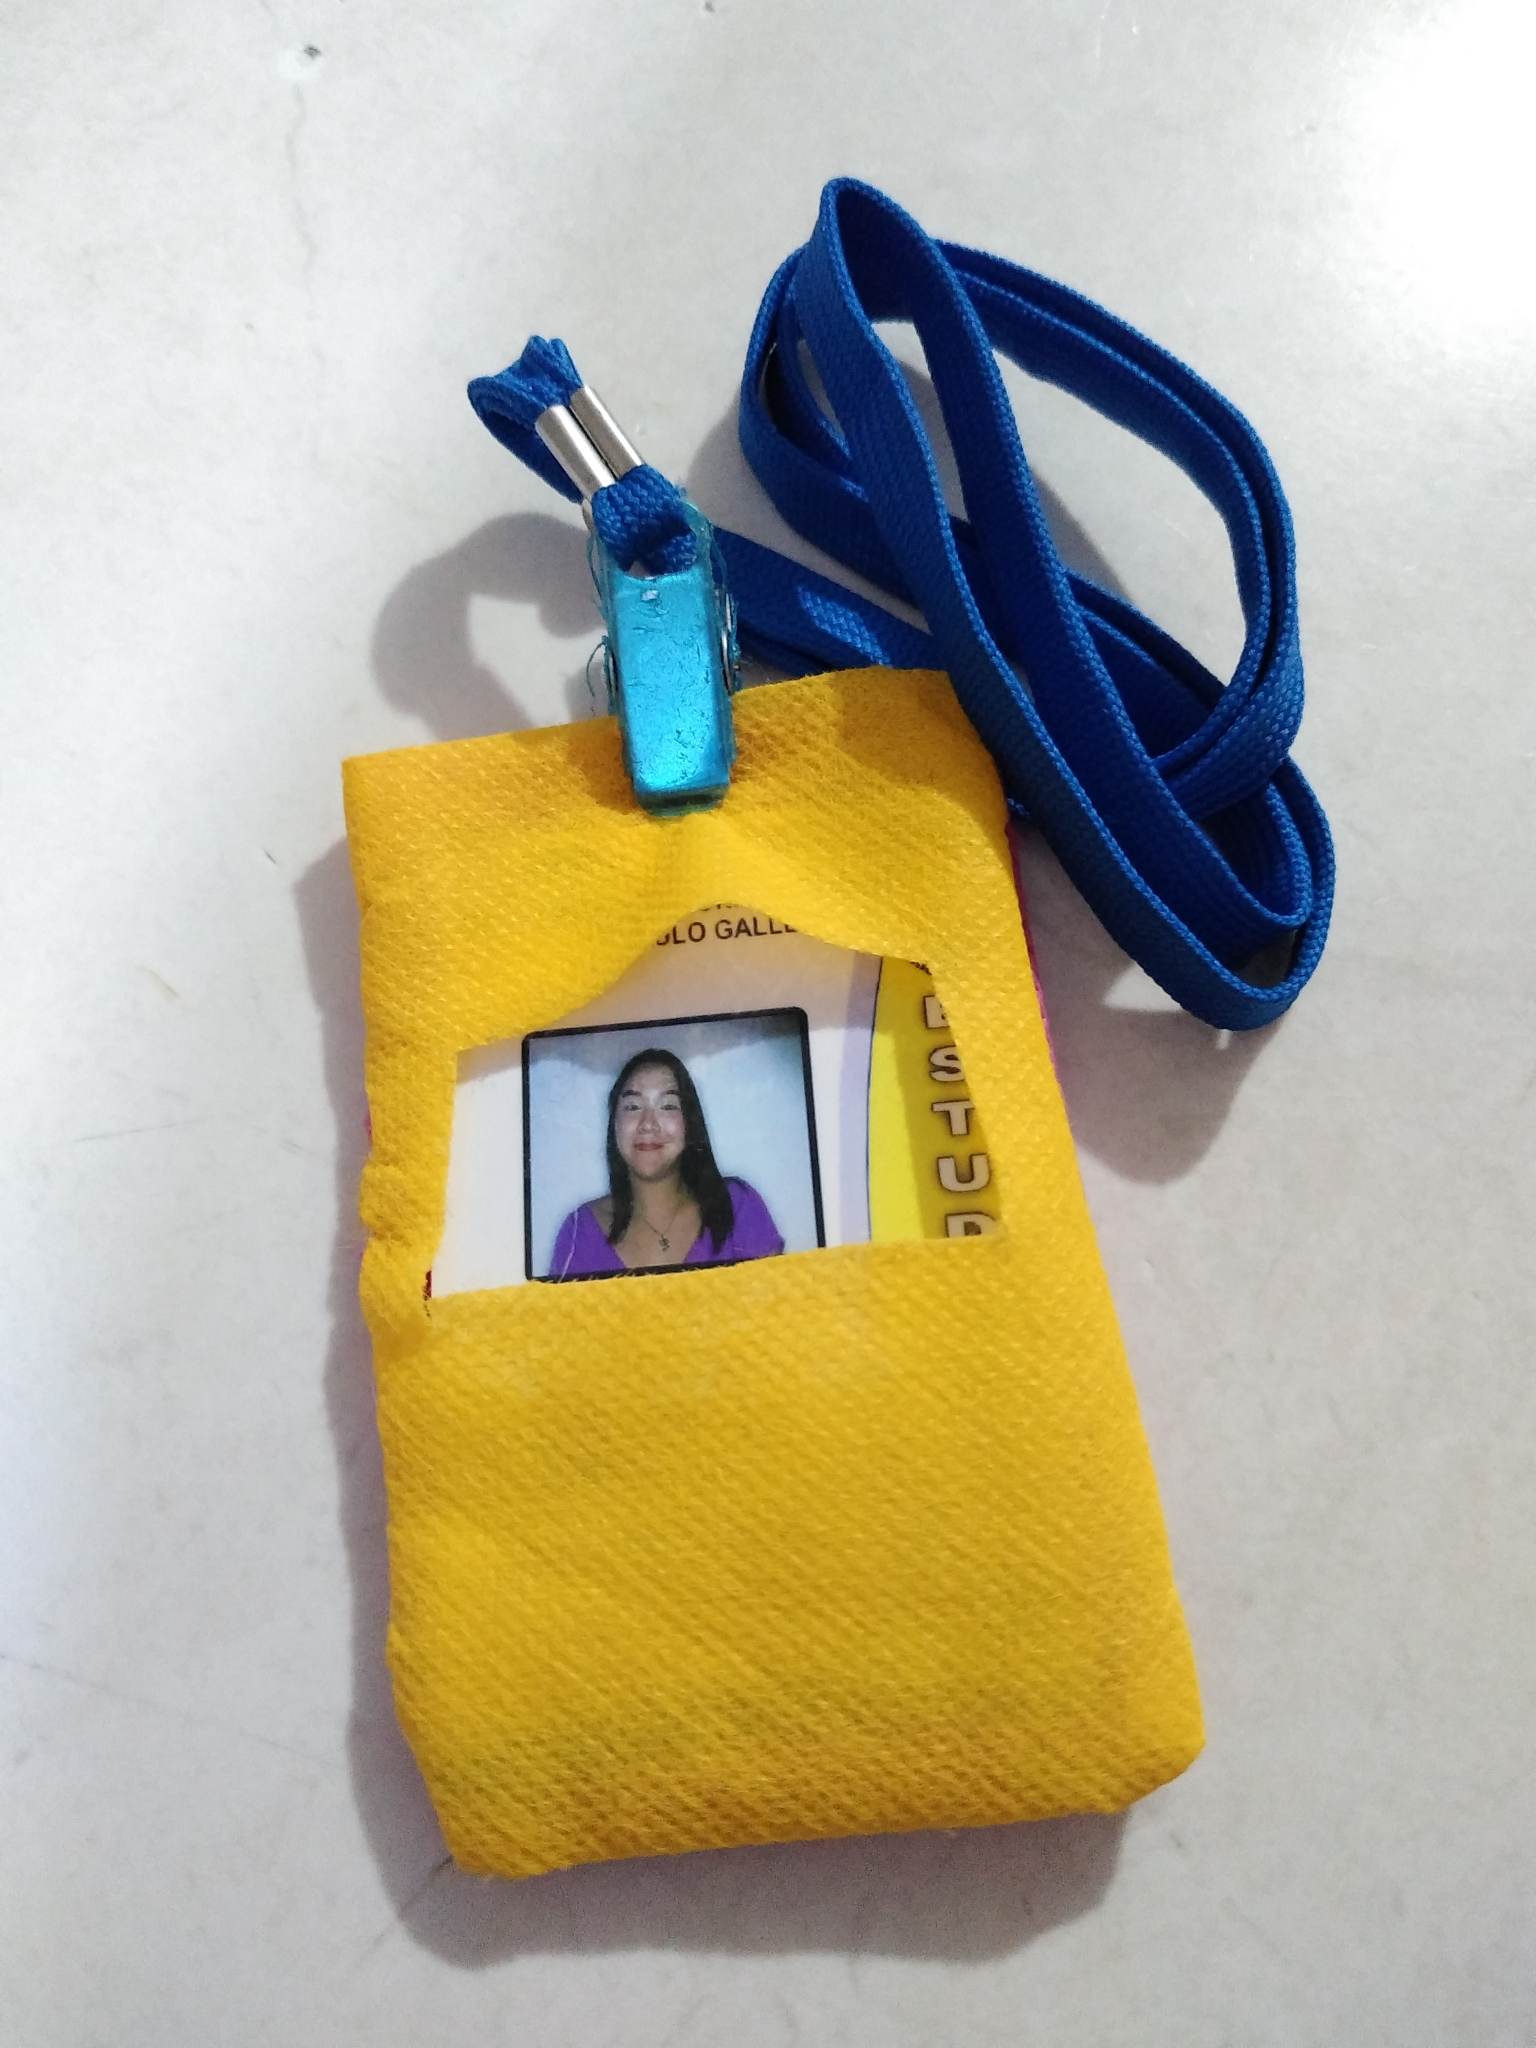
Paso 3: al tener ya cosido nuestro estuche, lo que haremos será meter el carnet para ver si queda bien y ajustado en el estuche. Luego de que veamos que si, lo siguiente que haremos será dibujar la parte por dónde está la foto para abrir un agujero y que el carnet se pueda ver sin necesidad de estarlo sacando tanto, ya que si vamos en el bus o estamos en la universidad, no será necesario sacarlo tanto, procurando que éste no se pierda, entonces ésta abertura nos ayudará mucho con nuestro carnet, así que de éste modo terminamos y concluimos colocando un gancho para sostener y guindarlo del cuello.
Step 3: once our case is sewn, what we will do is to put the ID card in to see if it fits well and tightly in the case. After we see that it is, the next thing we will do is to draw the part where the photo is to open a hole so that the ID card can be seen without having to take it out so much, because if we go on the bus or we are at the university, it will not be necessary to take it out so much, making sure that it does not get lost, then this opening will help us a lot with our ID card, so in this way we finish and conclude by placing a hook to hold and hang it from the neck.
.jpg)
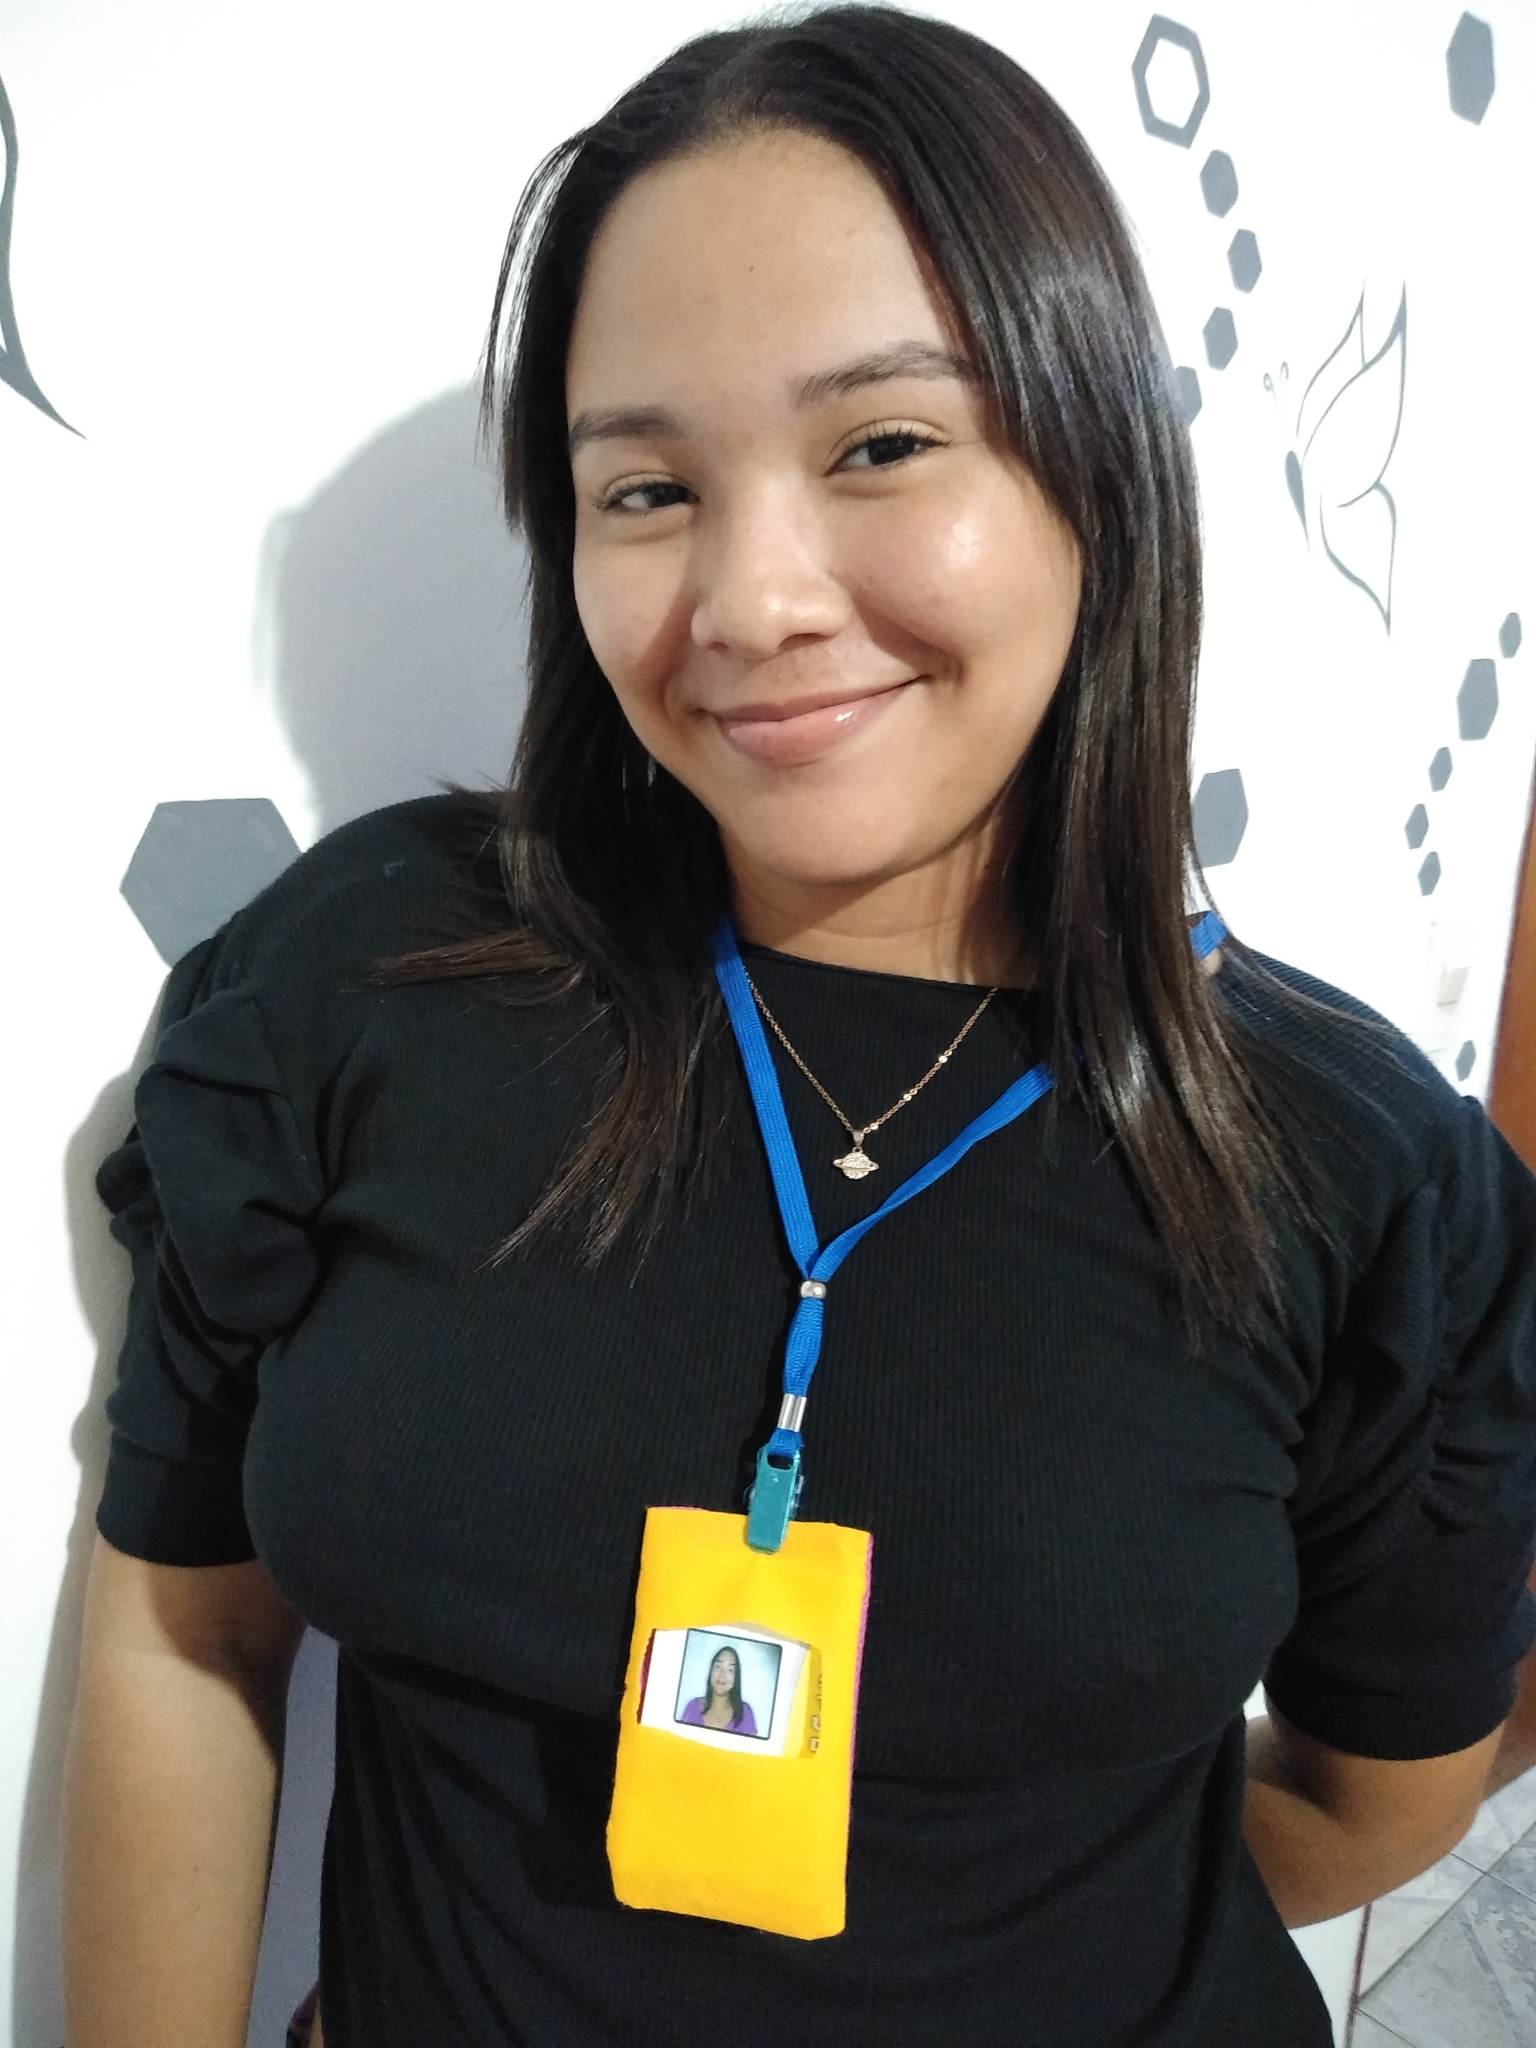
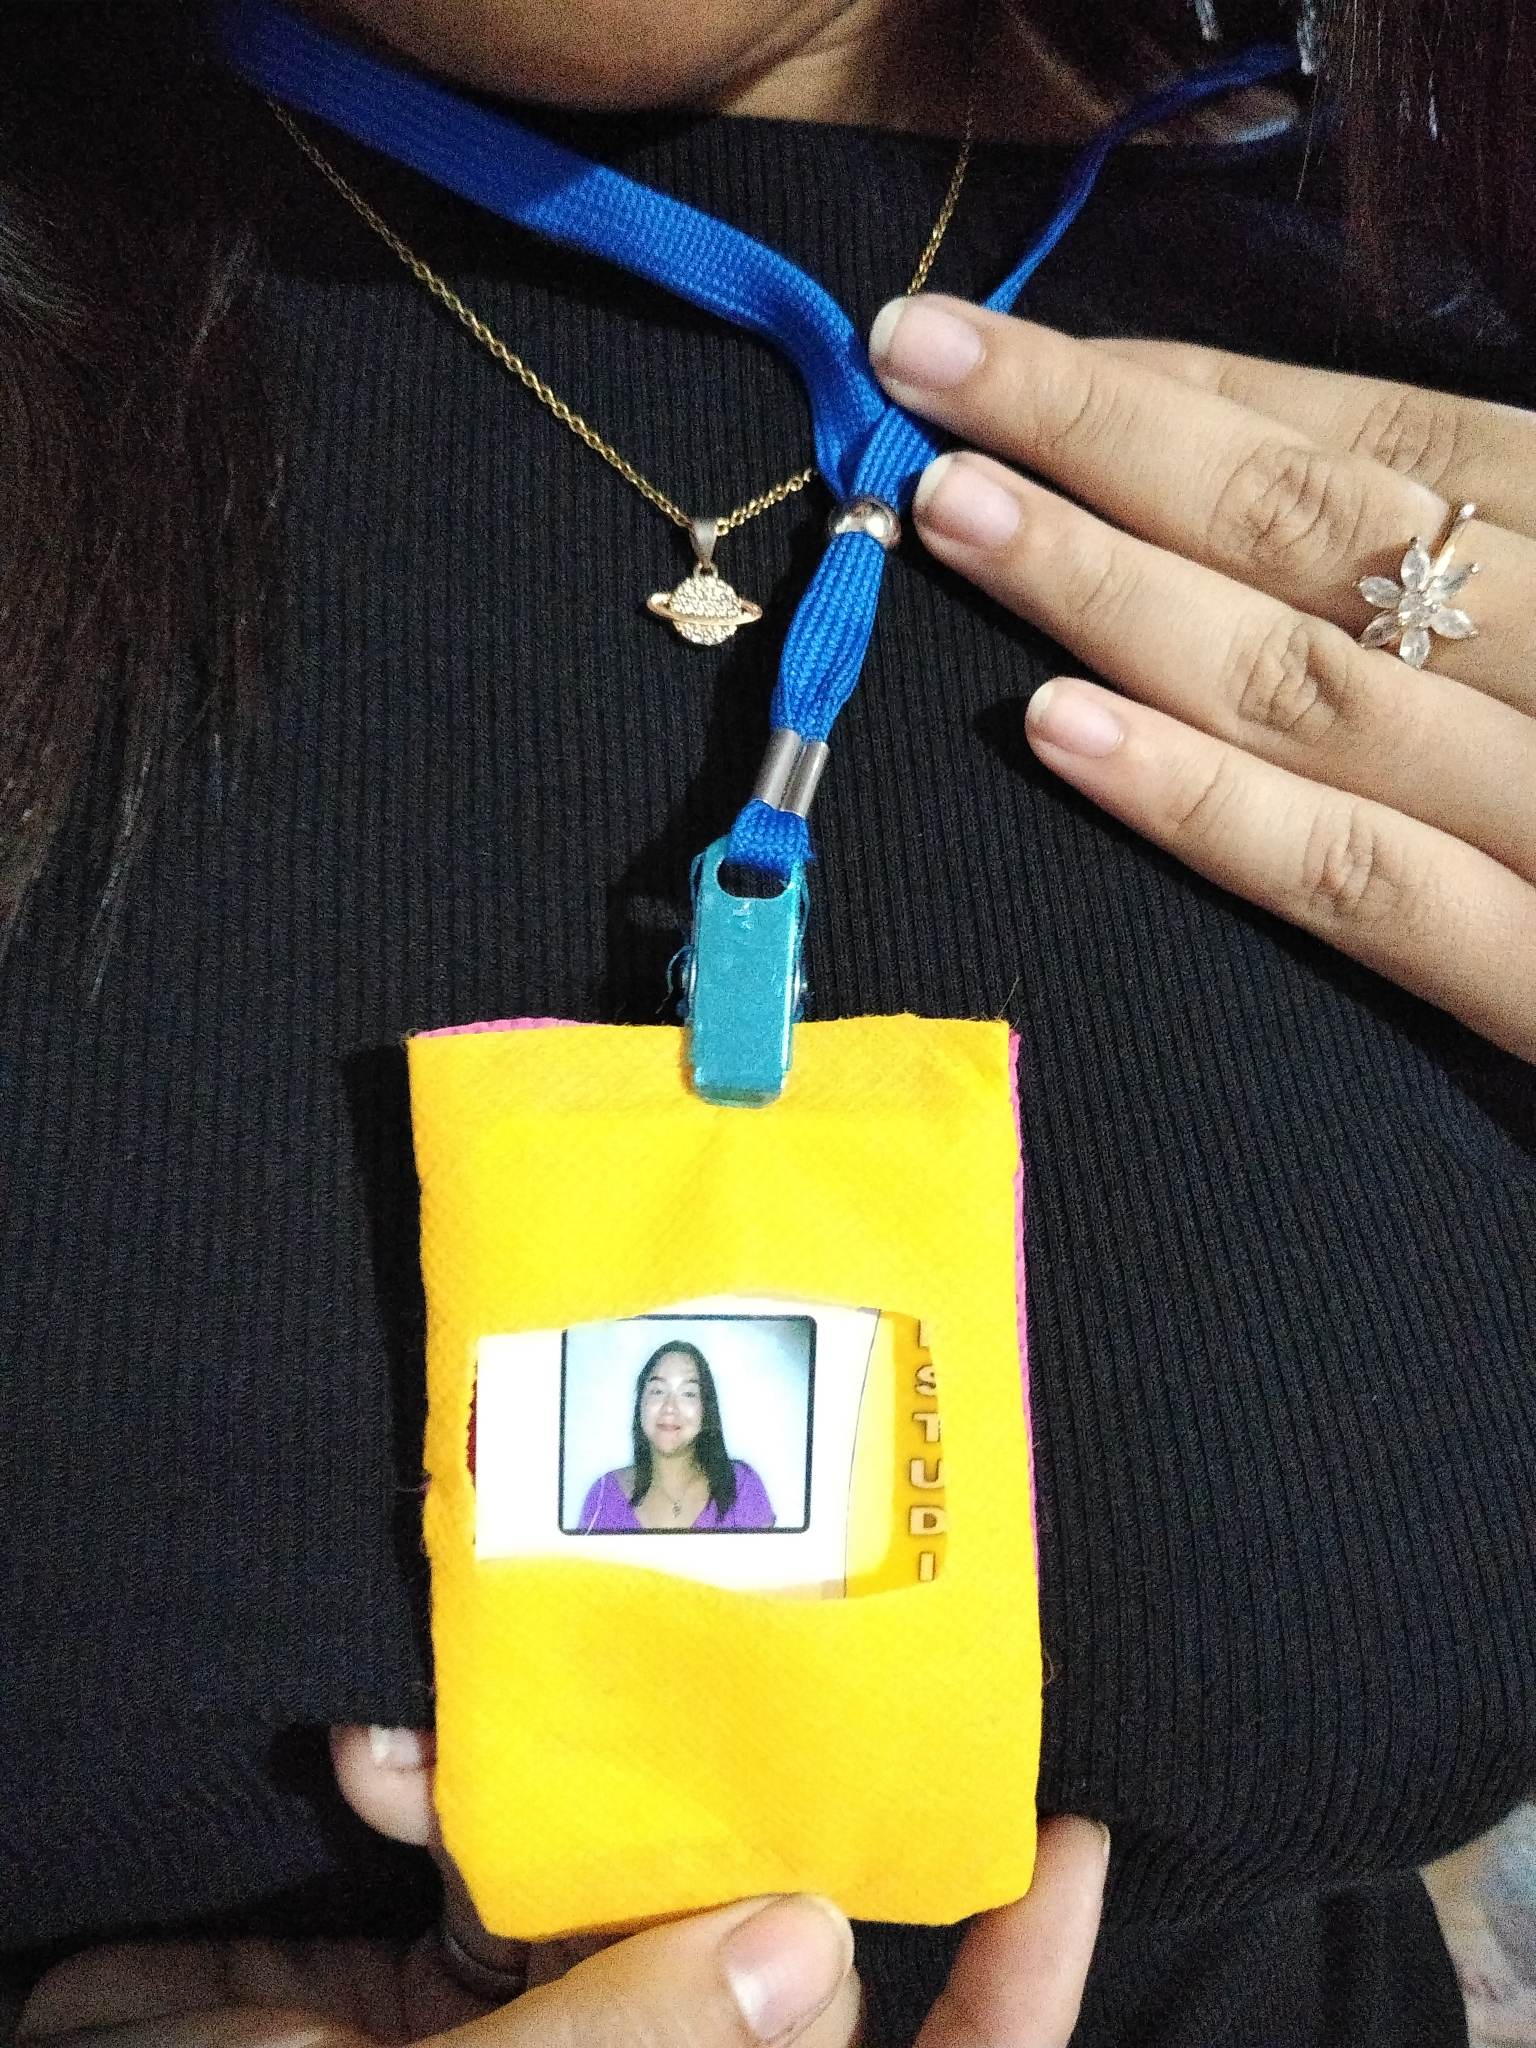
Final Result.
.jpg)

Are you prepared to make more of these when other university students ask for one? 😄
This is very cute and stylish and seems it would help to keep a better eye on it. Smart to use that pretty bright yellow too.
Thanks for sharing ~
Por supuesto que si estoy preparada para cuando me vengan a pedir que les haga uno, la verdad es una idea sensacional y necesaria para tener cuidado de nuestras pertenencias, gracias por sus lindas palabras, muchas bendiciones y saludos.
My pleasure ~ 😊