DIY: Un trabajo de altura, Elefante de pedrería / A work of excellence, Elephant of rhinestones (Esp/Eng)


[Esp]
¡Saludos comunidad DIY!
Hace más de un mes que venía trabajando en este proyecto, he tardado por el tema del costo de la pedrería y la cantidad de ellas que se necesitaron para cubrir todo el elefante, así que en la medida de mis posibilidades económicas fui comprando los materiales y avanzando.
Había tomado muchas pero muchas fotos, no sé en qué momento las eliminé por accidente de la memoria de mi teléfono, fue algo triste porque gran parte del proceso se perdió. Sin embargo pude rescatar las que presento hoy.
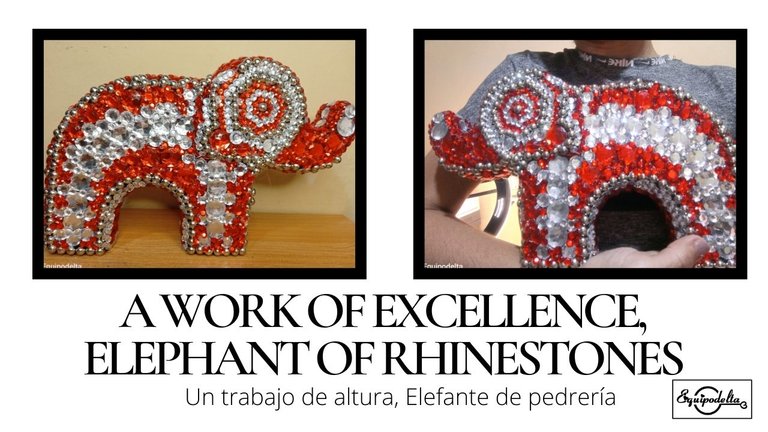
Me pareció una idea elegante hacer esta obra de arte, sin embargo no pensé que iba a gastar tanto en materiales. No quise abandonar, porque este elefante es para mí, para lucirlo en mi mesa, me encanta coleccionar elefantes, quería uno que se viera sofisticado y costoso y créanme que este lo es. Si fuera para ponerlo en venta su costo no bajaría de 50$ sin mucha ganancia.
A pesar de ello, lo mostré a dos personas y se enamoraron de él inmediatamente aun cuando estaba a medias, como sé que les gustó tanto y les debo su regalo de cumpleaños a cada uno, pues pienso que regalarles uno sería genial y lo apreciarían mucho. Claro, trataré de buscar un biscocho de cerámica más pequeño y diferentes. Así podría mostrarles otros modelos y procedimientos.
A través de este pude aprender muchas cosas, para los siguientes será más sencillo y mas satisfactorio.
! [English version]
Greetings community!
Greetings DIY community!
I've been working on this project for more than a month, it took me a while because of the cost of the rhinestones and the amount of them that were needed to cover the whole elephant, so as far as I could afford it, I was buying the materials and moving forward.
I had taken many, many photos, I do not know at what point I accidentally deleted them from the memory of my phone, it was sad because much of the process was lost. However, I was able to rescue the ones I present today.
I thought it was an elegant idea to make this work of art, however I didn't think I was going to spend so much on materials. I didn't want to give up, because this elephant is for me, to show it off on my table, I love collecting elephants, I wanted one that looked sophisticated and expensive and believe me this one is. If I were to put it up for sale its cost would not go below $50 without much profit.
Despite that, I showed it to two people and they fell in love with it immediately even though it was half made, since I know they liked it so much and I owe them each their birthday present, well I think giving them one would be great and they would appreciate it a lot. Of course, I will try to find a smaller and different ceramic bisque. Then I could show them other models and procedures.
Through this one I was able to learn many things, for the next ones it will be easier and more satisfying.

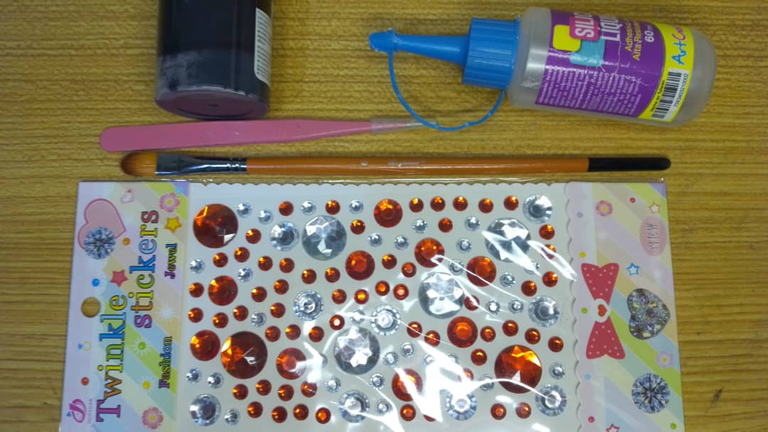
Materiales / Materials

| Spanish | English | |
| Pedrería de fantasía | Rhinestones | |
| Pintura al frío negro y pincel | Black cold paint and brush | |
| Pinza para pedrería | Pinza para pedrería | |
| Silicón líquido | Liquid silicone | |
| Biscocho de cerámica previamente lijado | Pre-sanded ceramic biscuit |


Paso a paso / Step by Step


Step 1️⃣/ Paso 1️⃣
 |  |
[Esp]
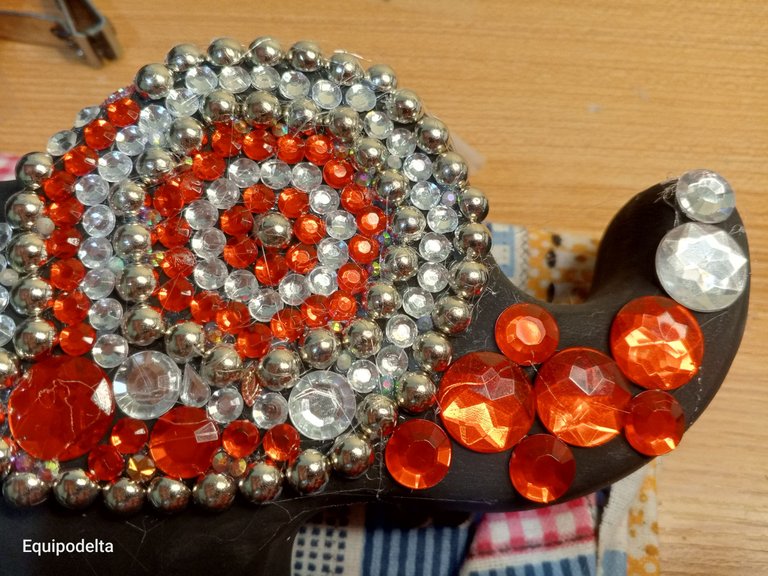
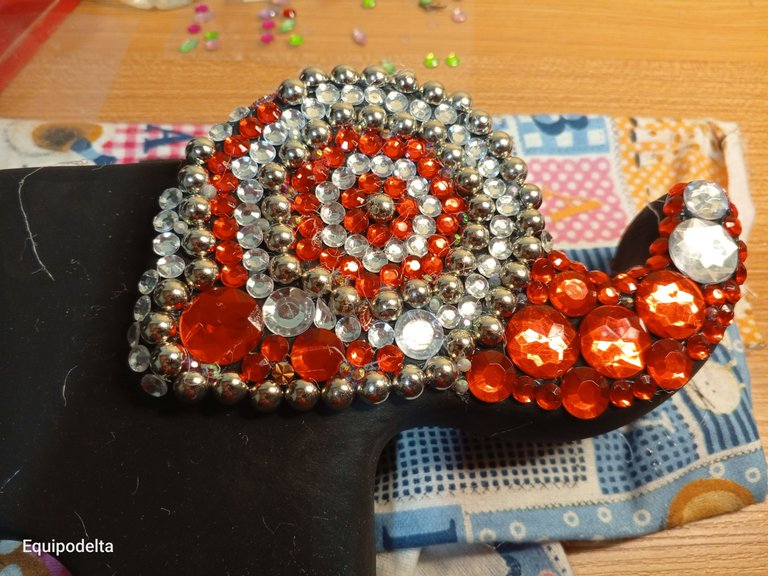
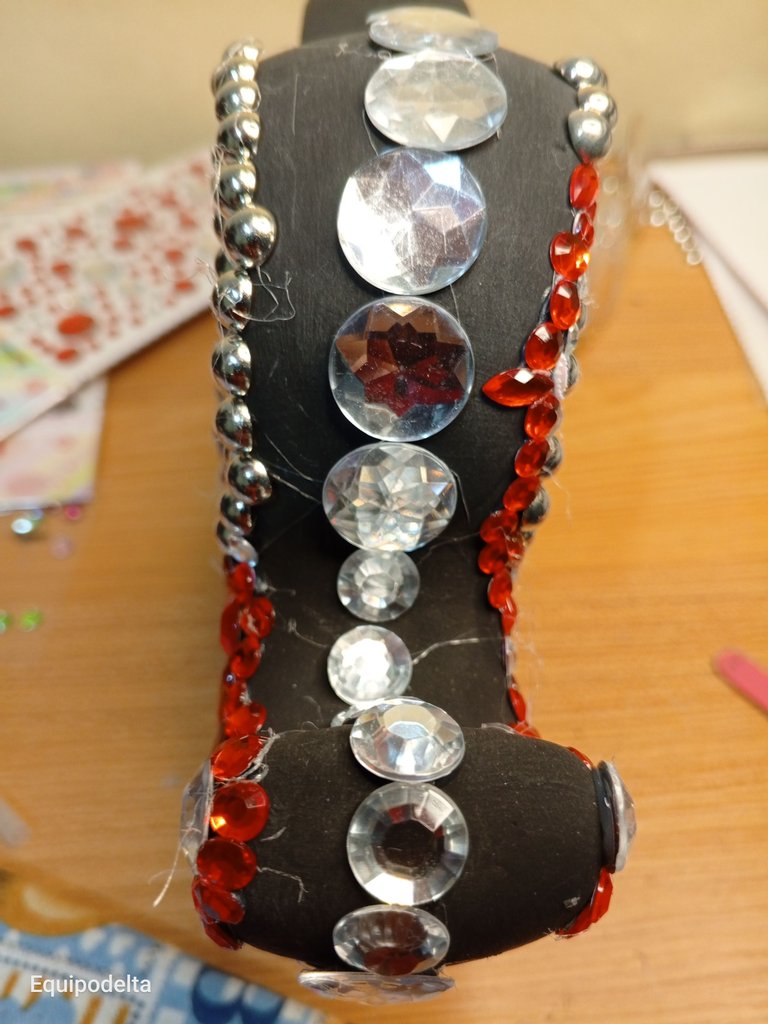
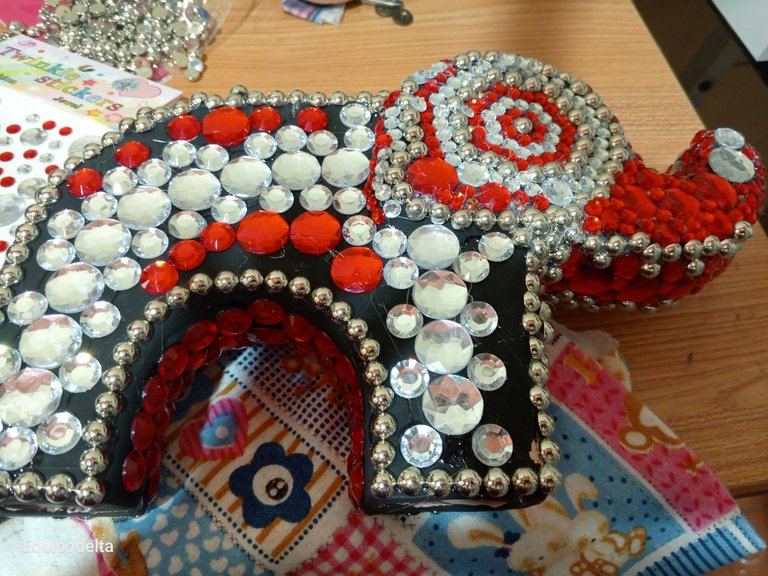
Antes que nada, recuerda lijar la pieza, lija el biscocho con una lija de agua para quitar las asperezas. Luego prepara tu pintura y cubre el elefante en su totalidad con ayuda del pincel. Deja secar.
Comienza a pegar la pedrería, elije una sección y deja que tu creatividad te guie. Yo comencé por el ojo.
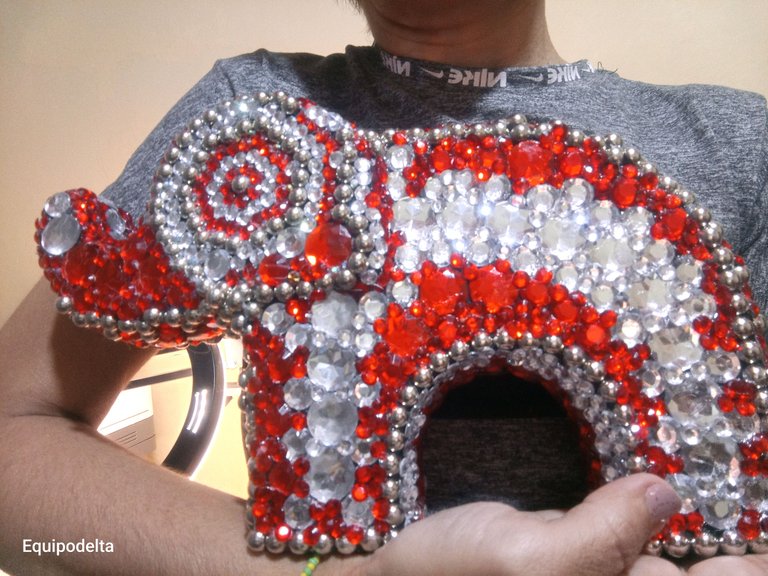
El biscocho no es muy prolijo, tiene sus imperfecciones, eso hizo que en cada lado se viera algo diferente. El elefante es grande como pudieron ver en la portada.
Trata en lo posible que en ambos lados de la pieza hagas el mismo diseño. También procura cubrir cada espacio de manera que no se vea el biscocho, o cubra lo mejor posible todos los espacios.
Utiliza una pedrería guía:
En mi caso usé piezas centrales marcándola con la pedrería más grande y a partir de ella fui cubriendo. No recomiendo el silicón caliente para este trabajo, porque deja muchos hilos y es muy difícil o casi imposible retirarlos de la pieza, en cambio, el silicón líquido, aunque de igual manera te puede dejar hilitos, puedes retirarlo con mayor facilidad.
! [English version]
First of all, remember to sand the piece, sand the bisque with water sandpaper to remove the roughness. Then prepare your paint and cover the elephant in its entirety with the help of the brush. Let it dry.
Start gluing the rhinestones, choose a section and let your creativity guide you. I started with the eye.
The bisque is not very neat, it has its imperfections, that made each side look different. The elephant is big as you can see on the cover.
Try as much as possible to do the same design on both sides of the piece. Also try to cover each space so that the bisque does not show, or cover all the spaces as well as possible.
Use a rhinestone guide:
In my case I used center pieces marking it with the largest rhinestone and from there I went covering. I do not recommend hot silicone for this work, because it leaves many threads and it is very difficult or almost impossible to remove them from the piece, on the other hand, liquid silicone, although it can still leave threads, can be removed more easily.

Step 2️⃣/ paso 2️⃣

 |  |
[Esp]
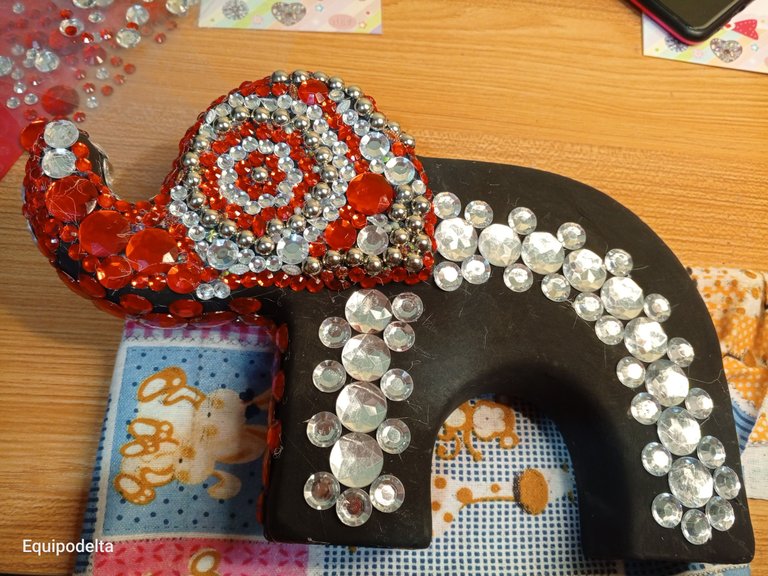
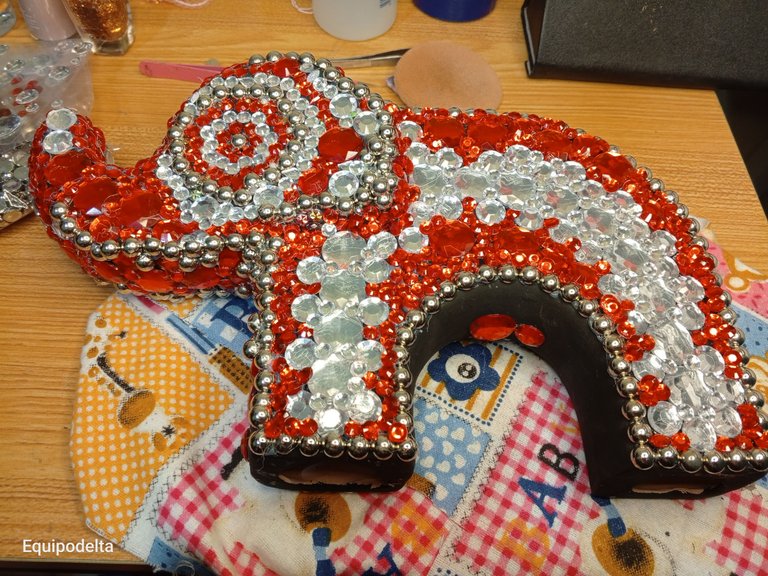
Es realmente satisfactorio ir pegando cada piedrita... Esto me recordó mucho al diamond painting, para quienes son fans.
Tuve que poner un mantel debajo de la pieza para no dañar o rayar las piezas que había pegado del otro lado, ya que cada vez que hacía un diseño de un lado, lo repetía en el otro.
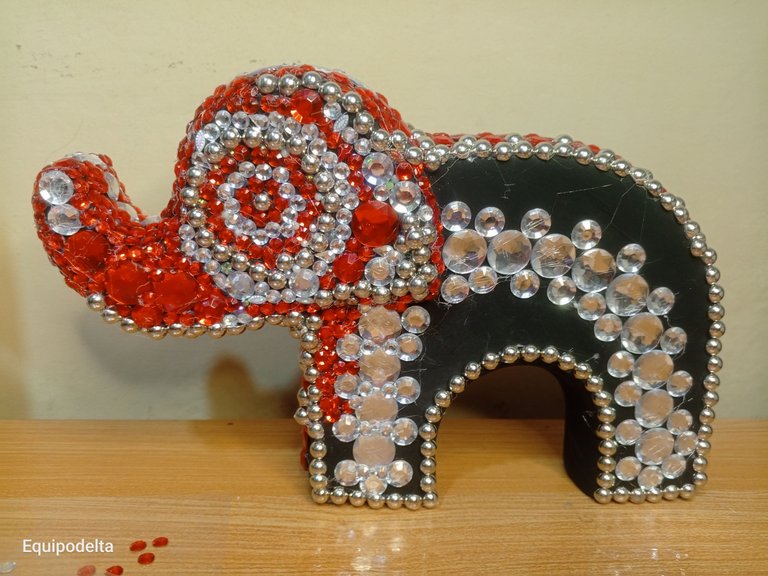
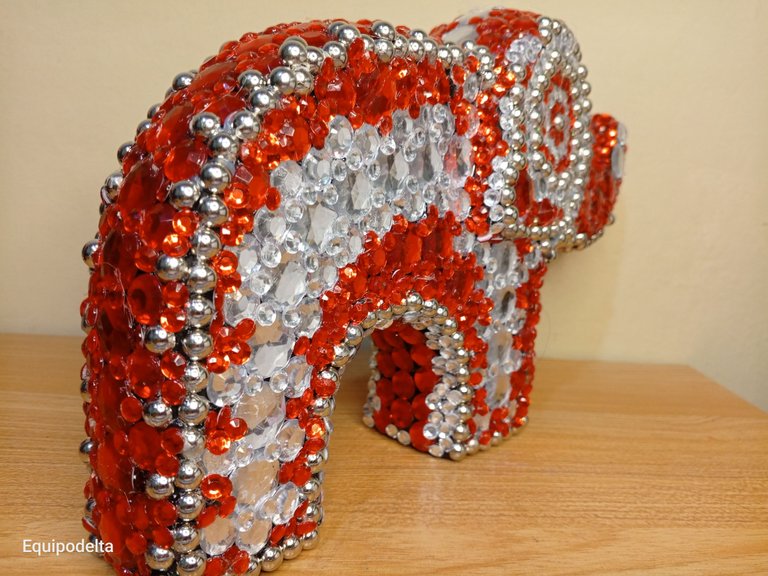
Coloco el diseño central, el que captura la mirada, este lo hice de color blanco (o plateado) con pedrería de las más grandes, fui pegando una a una. Luego comienzo a rellenar con pedrería pequeña de color rojo.
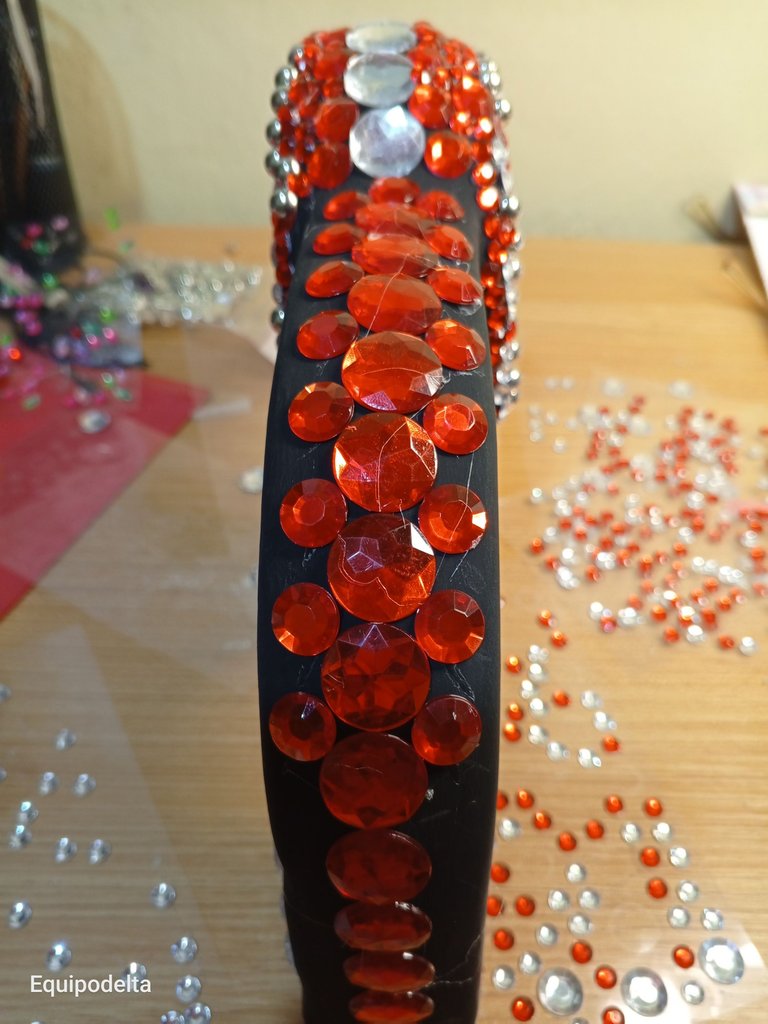
Al terminar cada lado, trabajé en la parte superior, del mismo modo.
! [English version]
It's really satisfying to glue each pebble.... This reminded me a lot of diamond painting, for those of you who are fans.
I had to put a tablecloth under the piece so as not to damage or scratch the pieces I had glued on the other side, since every time I made a design on one side, I repeated it on the other.
I put the central design, the one that catches the eye, this one I did in white (or silver) with the biggest rhinestones, I glued them one by one. Then I begin to fill in with small red rhinestones.
When I finished each side, I worked on the top, in the same way.

Step 3️⃣/ paso 3️⃣

 |  |
[Esp]
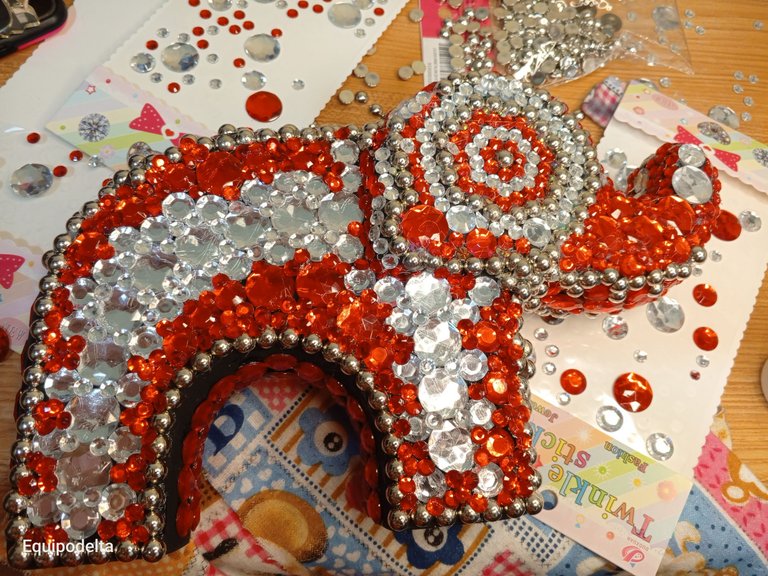
De pronto, trabajando con mucho orden, mi mesa se convirtió en un caos por completo con desorden y pedrería por todos lados.
Luego de cubrir las piezas, observé espacios donde se veía el color negro del biscocho y procedí a colocar más pedrería sobre ella.
! [English version]
Suddenly, working with a lot of order, my table became a complete chaos with clutter and rhinestones everywhere.
After covering the pieces, I noticed spaces where the black color of the bisque was showing and proceeded to place more rhinestones on it.

Step 4️⃣/ paso 4️⃣

 |  | |
 |  |
[Esp]
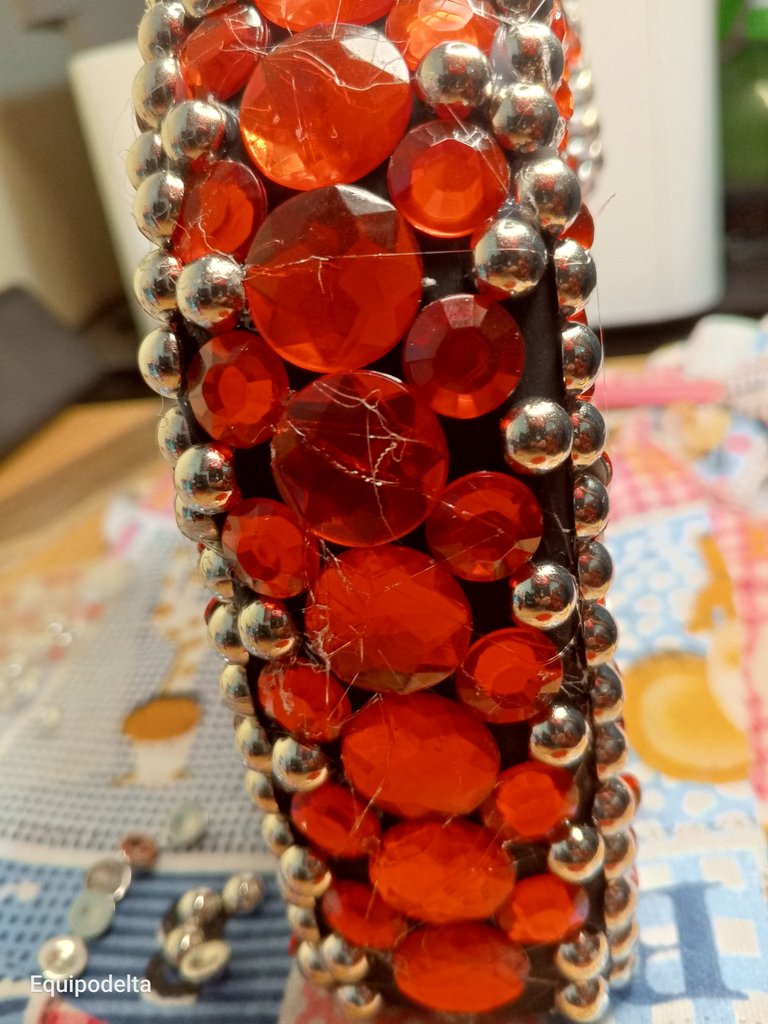
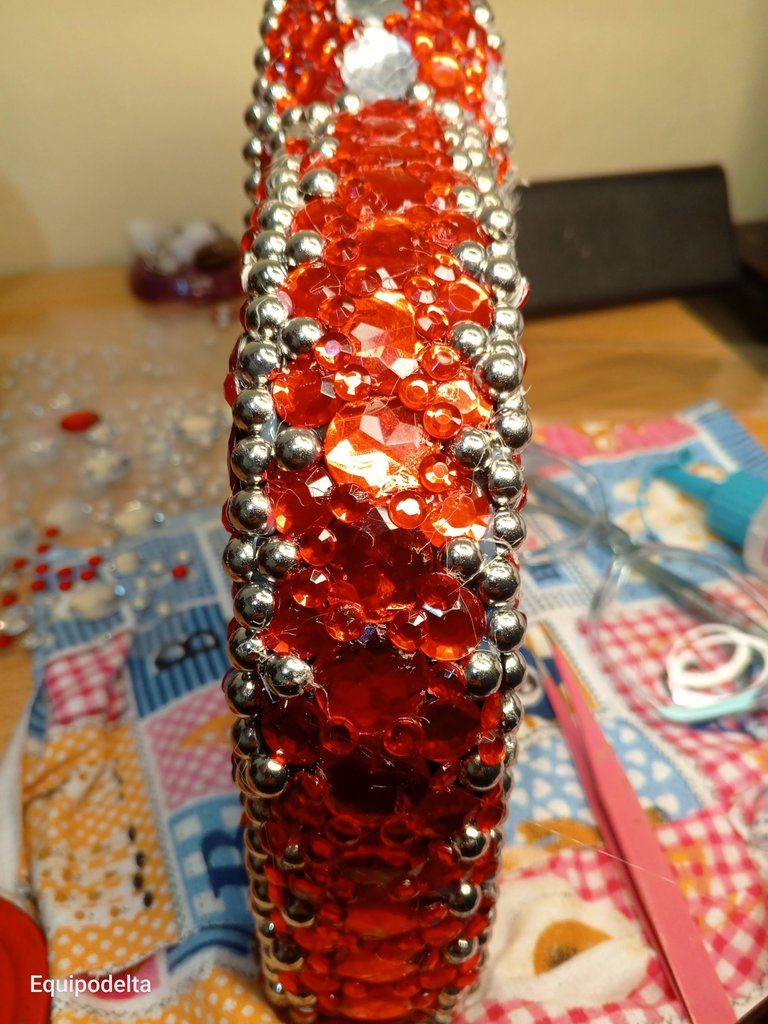
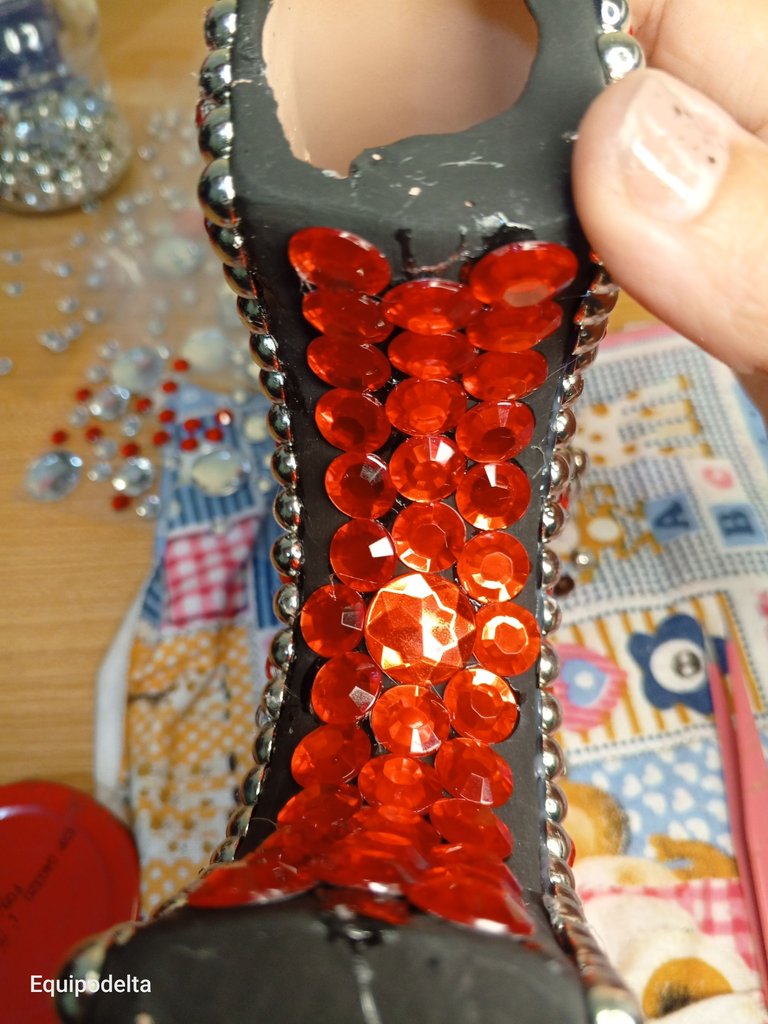
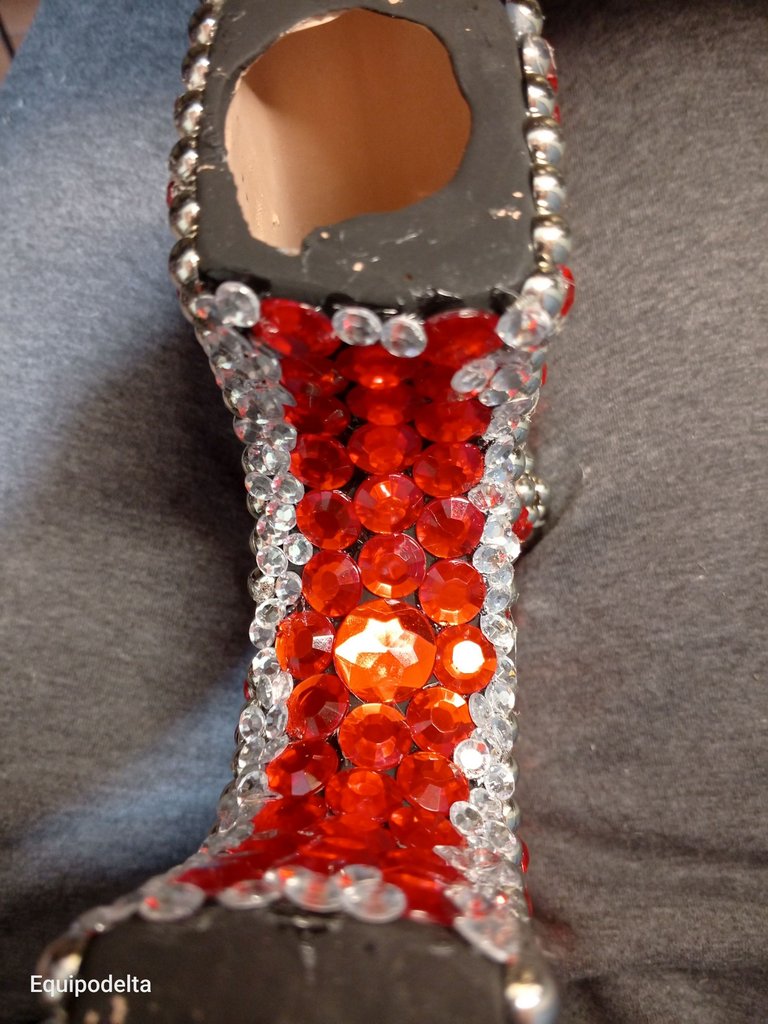
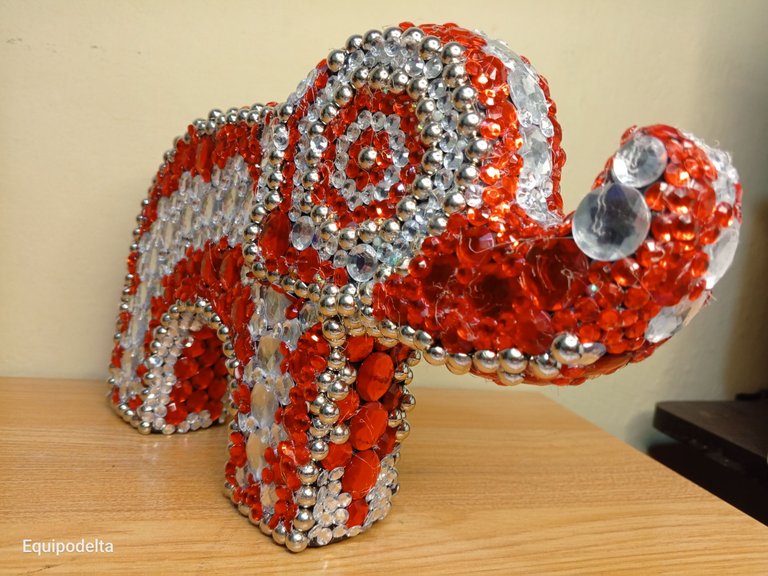
Después de cubrir toda la parte superior, no olvides cubrir la parte inferior, la parte de abajo de la pieza, pues así como mi profesora de técnicas del pintura al frío siempre nos recomendaba: Para que un trabajo se vea profesional, no olvides pintar también las partes que pudieran estar a la vista de alguna manera, incluyendo la base.
Para esto, procura que tu biscocho sea plano, sin relieve.
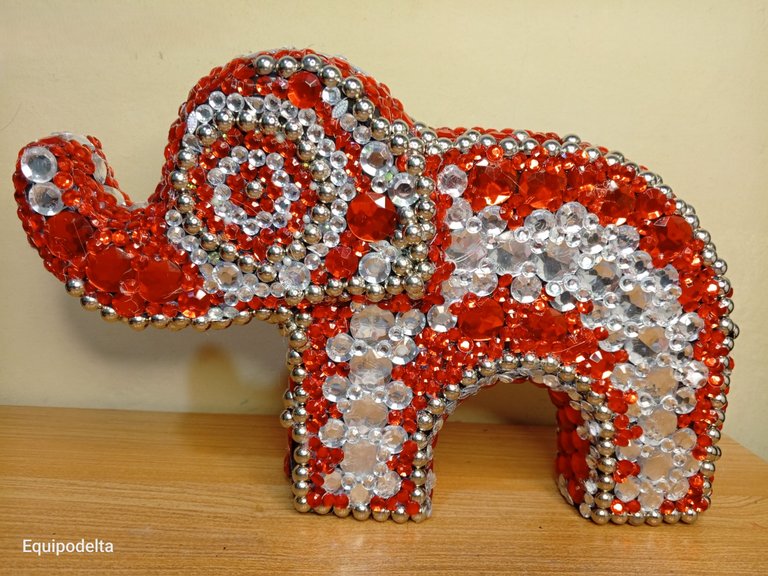
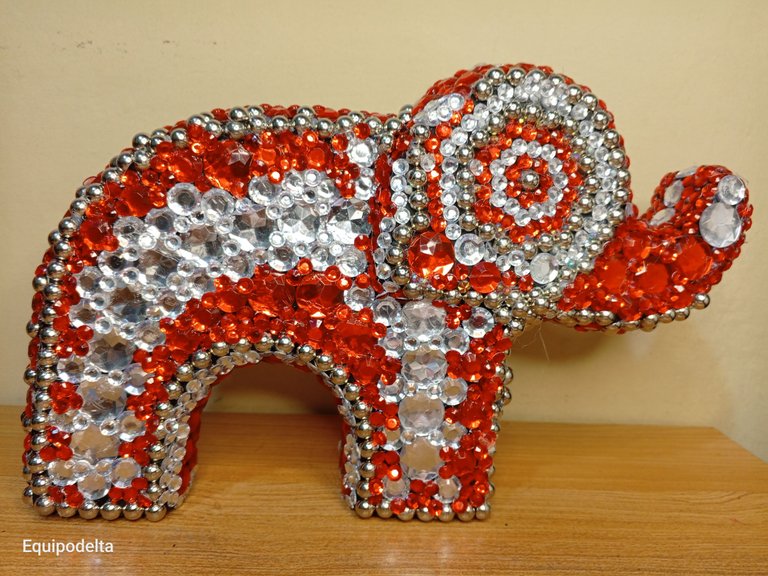
Este fue uno de mis proyectos más costosos que he elaborado y que también ha sido muy satisfactorio hacer ¿Lo volvería hacer? Si, de hecho haré dos más un poco más pequeños.
Espero les guste, en mi mesa se ve espectacular.
Nos vemos en mi siguiente publicación.
! [English version]
After covering the entire upper part, don't forget to cover the lower part, the bottom of the piece, as my teacher of cold painting techniques always recommended: For a work to look professional, don't forget to also paint the parts that might be visible in some way, including the base.
For this, make sure your bisque is flat, without relief.
This was one of my most expensive projects that I have made and it has also been very satisfying to do it again? Yes, in fact I will make two smaller ones.
I hope you like it, it looks spectacular on my table.
See you in my next post.
 |  |


Créditos / Credits




💜💜💜


![]() 👉
👉  👉
👉  👉
👉  👉
👉 
Here / Bríndame un café

Lindo elefante @equipodelta !! Un trabajo preciso y complejo !! Buen diseño creativo 👨🏻🎨
Hola querido! Me alegra que te guste. No veo la hora de poder hacer los otros.
An amazing art creation. Good afternoon and greetings.
This is indeed a work of excellence as you rightly put it. You made this look so easy. Your tutorial is great and just what one needs to make something this beautiful. Well done and thanks for sharing.
I am happy that it is to your liking. Soon I will buy the other pieces to make other models and present them on my blog.
Asombroso, me dejaste impresionada y mira el tamaño 😲 que gran trabajo de mucha paciencia y dedicacion para que quede tan bello, que pena que perdiste algunas fotos, pero quedaron las suficientes para poder apreciar la labor que has hecho con este elefante ❤️
Lo disfruté mucho querido Buhito. Me quedé loca buscando las fotos y no estaban, generalmente hasta hago respaldo en mi computadora y resulta que hasta las borré sin querer, afortunadamente pude rescatar estas, estoy reuniendo dinero para comprar los materiales para los siguientes y por supuesto que los voy a mostrar en mi blog.
Wow!! Es un trabajo hermoso, aparte muy muy detallado, requiere paciencia, creatividad, y también un muy buen gusto para organizar las piezas.
Está increíble
Hola linda, son mis colores favoritos, no veo la hora de presentar otros modelos, hay que reunir para compra de materiales. Me alegra que te guste.
Hello @equipodelta
I am sure the process is really need patience, and big detail to create great detail like that.
I enjoy your work. I hope you healthy there.
Success for you my friend
I am happy that it is to your liking. For now I am in good health thanks to God, I hope you are too, blessings.
Cultivando la paciencia, muy buen trabajo, obtuviste un gran resultado del arte final una técnica muy parecida al mosaico.
Hola Torrealba, de verdad que fui muy paciente en la espera que pudiera comprar el resto de los materiales. Quiero hacer otros. Me alegra que te guste.
Tienes razón, es muy parecida al mosaico.
Impresionante este trabajo , bello , bello ¡¡¡ yo también soy fans de los elefantes, conozco muchas personas que los coleccionan y debo decir que me parecen mágicos.
Realmente te quedó de lujo y lucirá hermoso en el lugar de tu hogar que escogiste para él. 🐘
Concuerdo con tu pensamiento, siento que son magicos y transmiten buenas vibras, ademas por su significado en el feng shui. Me alegra que sea de tu agrado.