[Esp-Eng] MAQUILLAJE PARA UNA NOCHE ESPECIAL|| MAKE-UP FOR A SPECIAL EVENING
Hola amigas y amigos.
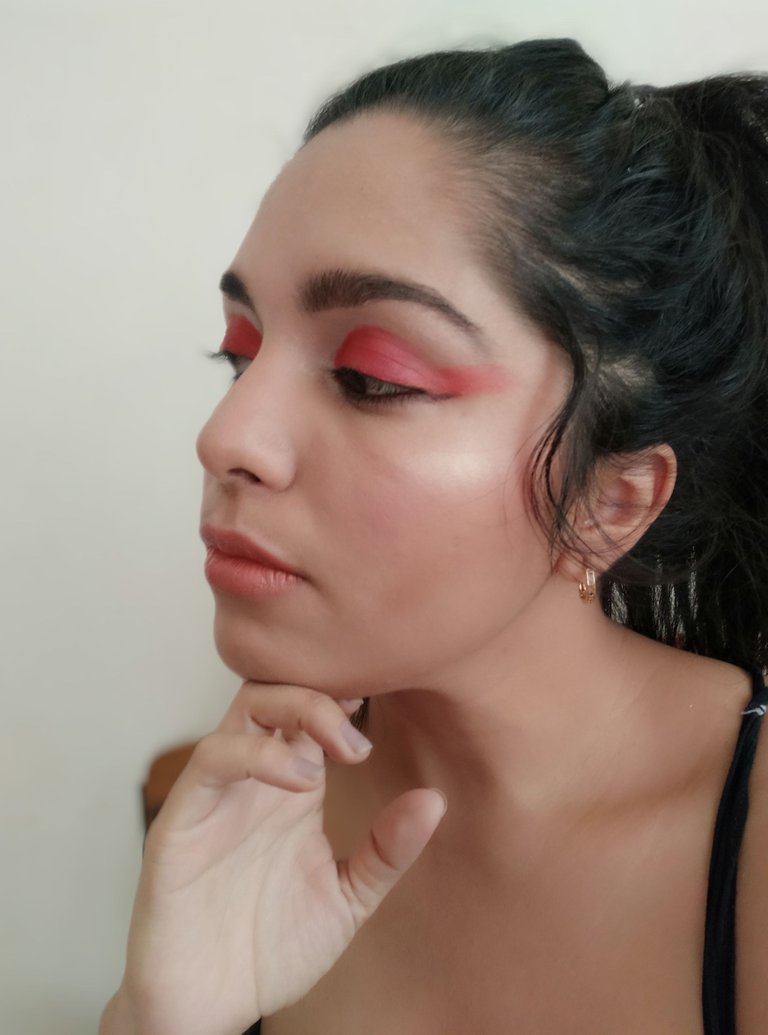
¿Cómo están el día de hoy? Yo estoy súper feliz de estar acá y compartir con ustedes con mucho amor este lindo maquillaje, perfecto para la noche o si eres más arriesgada (que yo no lo soy jaja) la tarde noche.
Sin más nada que agregar COMENCÉMOS...✨
Hello friends.
How are you today? I am super happy to be here and share with you with lots of love this cute makeup, perfect for the night or if you are more risky (which I am not haha) the evening.
Without anything else to add LET'S GET STARTED...✨....
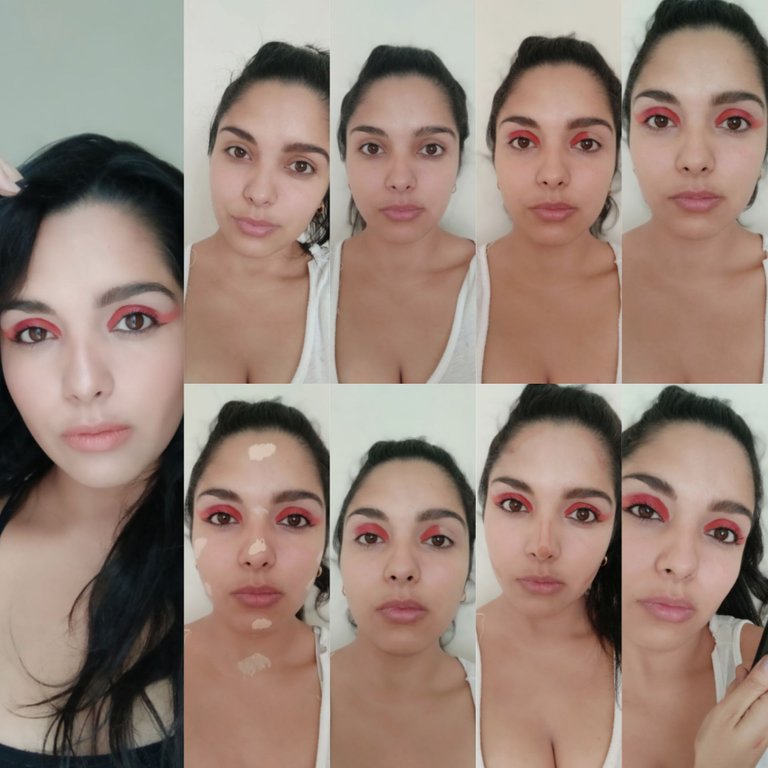
1• LIMPIA E HIDRATA TU PIEL
Lo primero que vamos a hacer es limpiar bien el rostro. Asegúrate de eliminar todas las impurezas y dejar el cutis lo más limpio posible. Después, aplicaremos un poquito de crema hidratante que dejaremos actuar antes de hacernos nuestro maquillaje.
2• DEFINE LAS CEJAS
3• PREPARA EL PARPADI CON UN PRIMER:
Aplica el primer o prebase en los párpados para que tu maquillaje dure más tiempo.
Esto también nos ayudará a que la sombra de ojos no se corra o se cuartee es necesario preparar el párpado con un eye primer o prebase.
4•APLICA LA SOMBRA PRINCIPAL EN EL PARPADO MOVIL:
Aplica la sombra principal en el párpado móvil, en este caso yo utilice un color crema. Esto lo hice utilizando una brocha gordita para aplicar el color principal en todo el párpado móvil.
TIPS: Para este paso utiliza el color más claro de los tres que hayas elegido. Es importante que las sombras que utilices sean de la misma gama cromática para lograr un resultado más profesional.
- APLICA UNA SOMBRA DE TRANSICIÓN:
Aplica la sombra más oscura en la esquina de la cuenca del ojo. Seguido de esto aplique la sombra con un tono siguiénte en el centro del ojo y aplique el tono más claro en la esquina interna de la cuenca del ojo. Al terminar este paso justo difumina suavemente para evitar que queden cortes.
- DIFUMINA LAS SOMBRAS:
En este paso, utiliza una brocha de pelo fino y tamaño medio para difuminar las sombras anteriores.
De esta forma, conseguirás unificar los distintos tonos y reducir las diferencias entre las distintas sombras, logrando un resultado mucho más natural Y MUCHO MAS PROFESIONAL.
7• ILUMINA CON UNA SOMBRA CLARITA:
Por último, elige una cuarta sombra muy clarita y luminosa para iluminar la zona del lagrimal y el arco de la ceja.
Con este paso lo que buscamos es definir las sombras y la mirada. Además, lo hacemos para conseguir un efecto más voluminoso y que el ojo se vea más grande.
1- CLEANSE AND MOISTURIZE YOUR SKIN
The first thing to do is to cleanse your face thoroughly. Make sure to remove all impurities and leave the skin as clean as possible. Then, apply a little bit of moisturizer and leave it on before applying your makeup.
2- DEFINE THE EYEBROWS
3- PREPARE THE EYELID WITH A PRIMER:
Apply primer or pre-base on the >eyelids so that your makeup lasts longer.
This will also help to prevent the eye shadow from smudging or cracking, it is necessary to prepare the eyelid with an eye primer.
4-APPLY THE MAIN SHADOW ON THE MOBILE EYELID:
Apply the main shadow on the mobile eyelid, in this case I used a cream color. I did this using a chubby brush to apply the main color all over the eyelid.
TIPS: For this step use the lightest of the three colors you have chosen. It is important that the shadows you use are in the same color range for a more professional result.
- APPLY A TRANSITION SHADOW:
Apply the darkest shadow in the corner of the eye socket. After this apply the shadow with a following shade in the center of the eye and apply the lighter shade in the inner corner of the eye socket. When you finish this step, just blend gently to avoid any cuts.
- BLEND THE SHADOWS:
In this step, use a fine-haired, medium-sized brush to blend the previous shadows.
In this way, you will be able to unify the different shades and reduce the differences between the different shadows, achieving a much more natural AND MUCH MORE PROFESSIONAL result.
7- ILLUMINATE WITH A LIGHT SHADE:
Finally, choose a fourth very light and luminous shade to illuminate the area of the tear trough and the arch of the eyebrow.
With this step what we are looking for is to define the shadows and the look. In addition, we do it to achieve a more voluminous effect and make the eye look bigger.
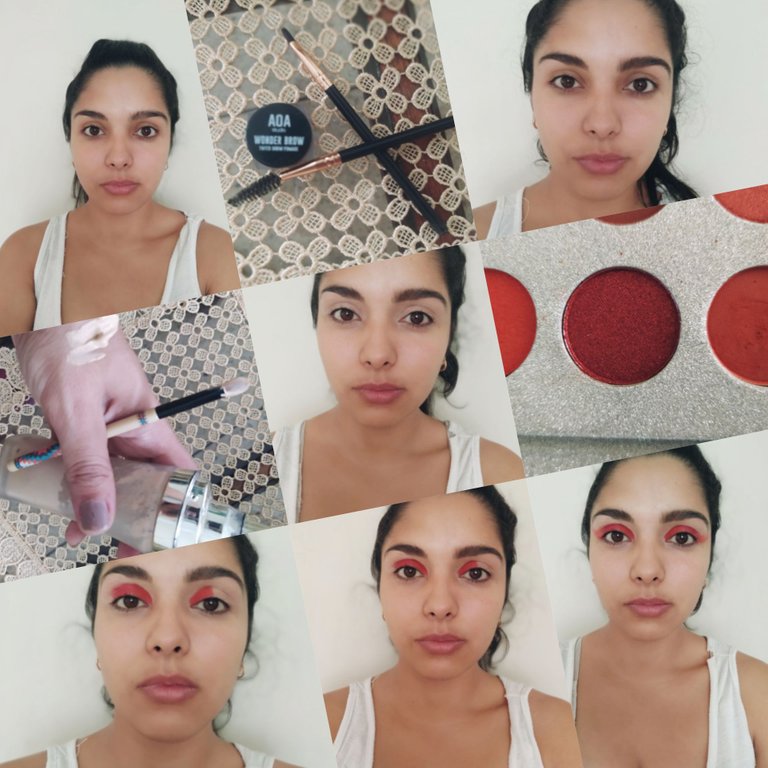
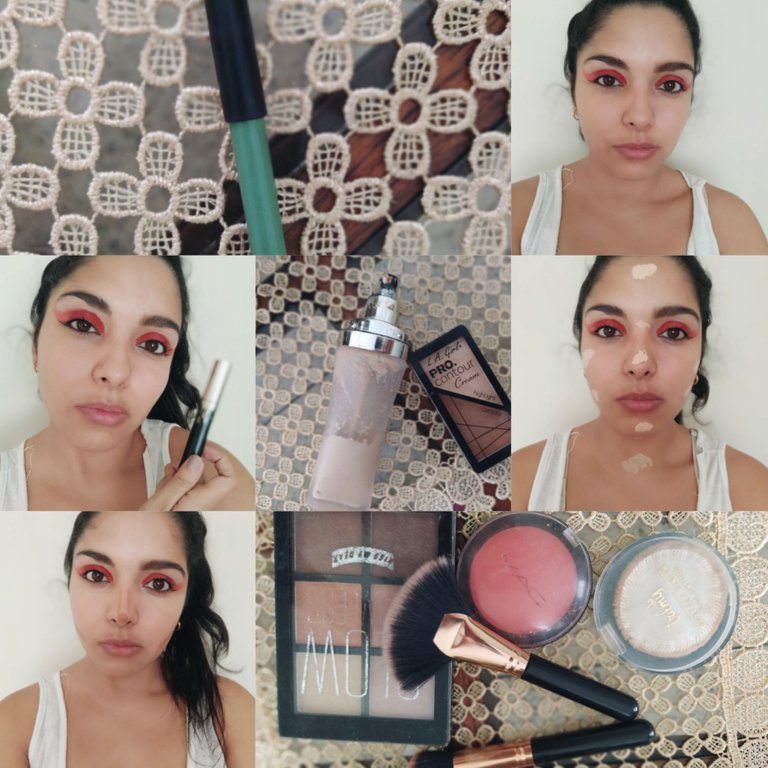
8•DALE VOLUMEN A TUS PESTAÑAS y DELINEA TU OJO CON LÁPIZ NEGRO.
9• UNIFICA EL TONO DE LA PIEL
10• SELLA LA BASE Y ELIMINA LOS BRILLOS
11• MAQUILLAJE DE LABIOS
8-GIVE VOLUME TO YOUR EYELASHES and LINE YOUR EYE WITH BLACK PENCIL.
9- EVENS SKIN TONE
10- SEALS THE FOUNDATION AND ELIMINATES SHINE.
11- LIP MAKE-UP
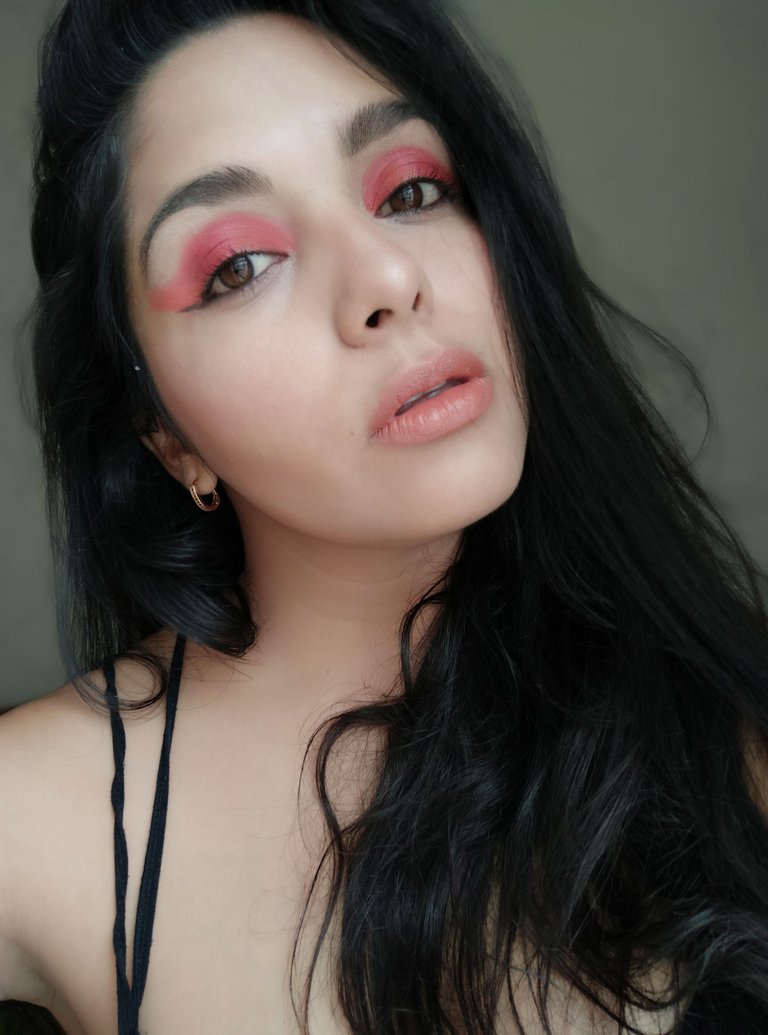
Cómo último paso disfruta de tu hermoso maquillaje y viste tu rostro de la mejor sonrisa que tenga, estoy segura que será parte importante de tu hermoso maquillaje. Gracias por acompañarme en este paso a paso, bye bye.
As a last step enjoy your beautiful makeup and dress your face with the best smile you have, I am sure it will be an important part of your beautiful makeup. Thank you for joining me in this step by step, bye bye.

- Traducido con www.DeepL.com/Translator || Translated with www.DeepL.com/Translator
Italic
-Todas las imágenes 📸 son de mi propiedad.
-All images 📸 are my property.
Congratulations @enmagabriela! You have completed the following achievement on the Hive blockchain and have been rewarded with new badge(s):
Your next target is to reach 6000 upvotes.
You can view your badges on your board and compare yourself to others in the Ranking
If you no longer want to receive notifications, reply to this comment with the word
STOPCheck out the last post from @hivebuzz: