[ESP-ENG] Gorro para bebe con retazos de tela/ Baby hat with fabric pieces
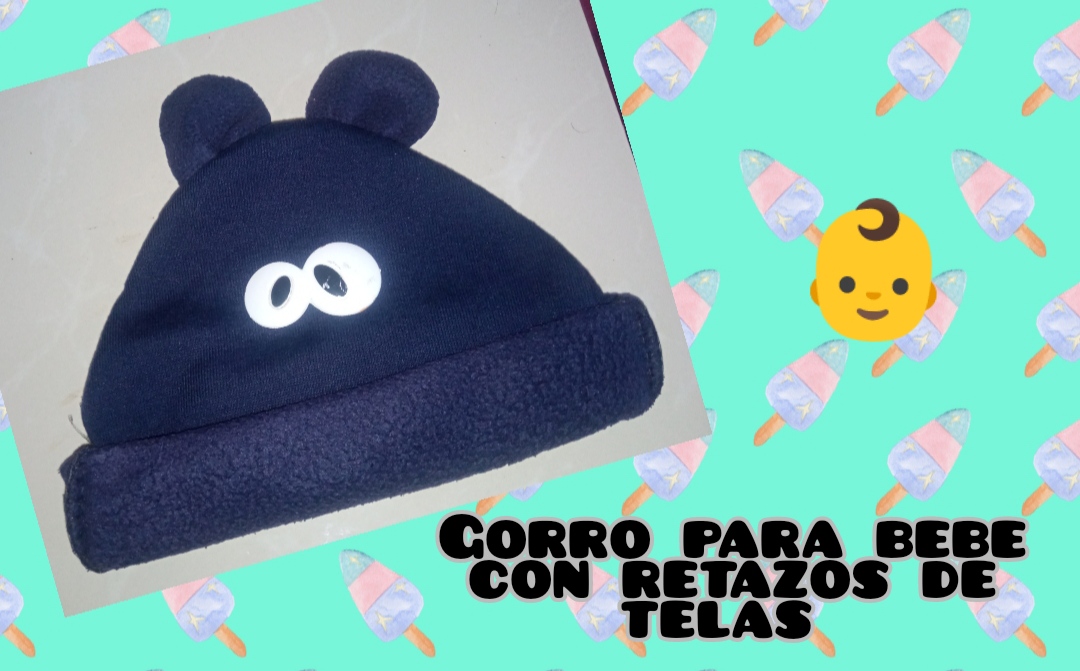
Feliz y bendecido día tengan todos ustedes hoy viernes cuando cerramos una semana laborar para iniciar el fin de semana quiero compartir con todos ustedes una idea muy creativa fácil y económica de laboral en casa donde solo utilizaremos pequeños retazos de tela quizás algún pantalón o pedazo de tela que hayas dejado de usar y puedas ahora elaborar este muy lindo diseño se trata de un lindo gorrito para bebé.
Happy and blessed day to all of you today, Friday, when we close a working week to start the weekend, I want to share with all of you a very creative, easy and economical idea to work at home where we will only use small pieces of fabric, perhaps some pants or piece of cloth that you have stopped using and can now make this very nice design, it is a cute hat for a baby.
This is a very easy design to make and for which we should not spend large amounts just using our imagination and our hands, if you don't have a sewing machine, don't worry either because we can make it with manual sewing, here I share a simple tutorial so that from home you can make this beautiful hat for your baby.
- Retazos de tela.
- Aguja e hilo.
- Tijera.
- hoja reciclada.
- ojitos plástico.
- Pieces of cloth.
- Needle and thread.
- Scissors.
- recycled sheet.
- plastic eyes.
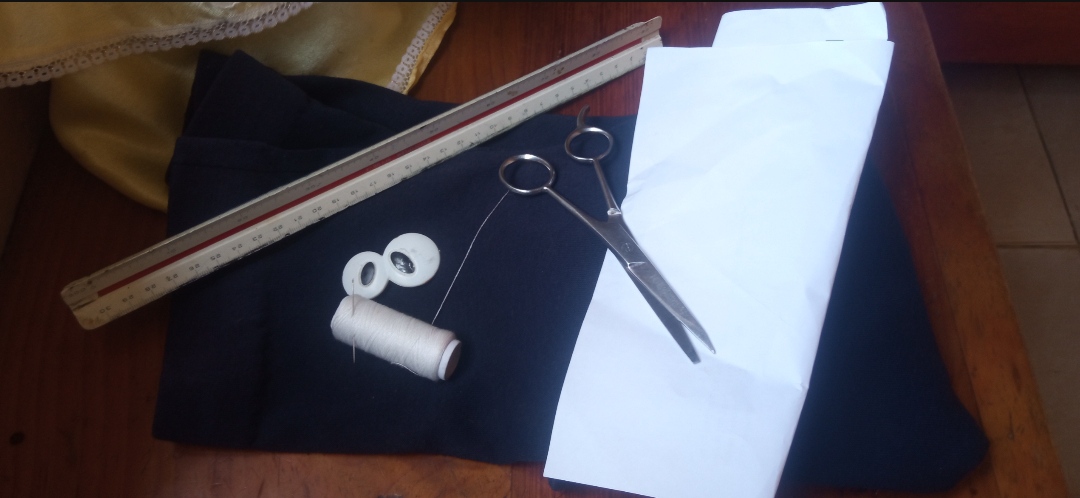
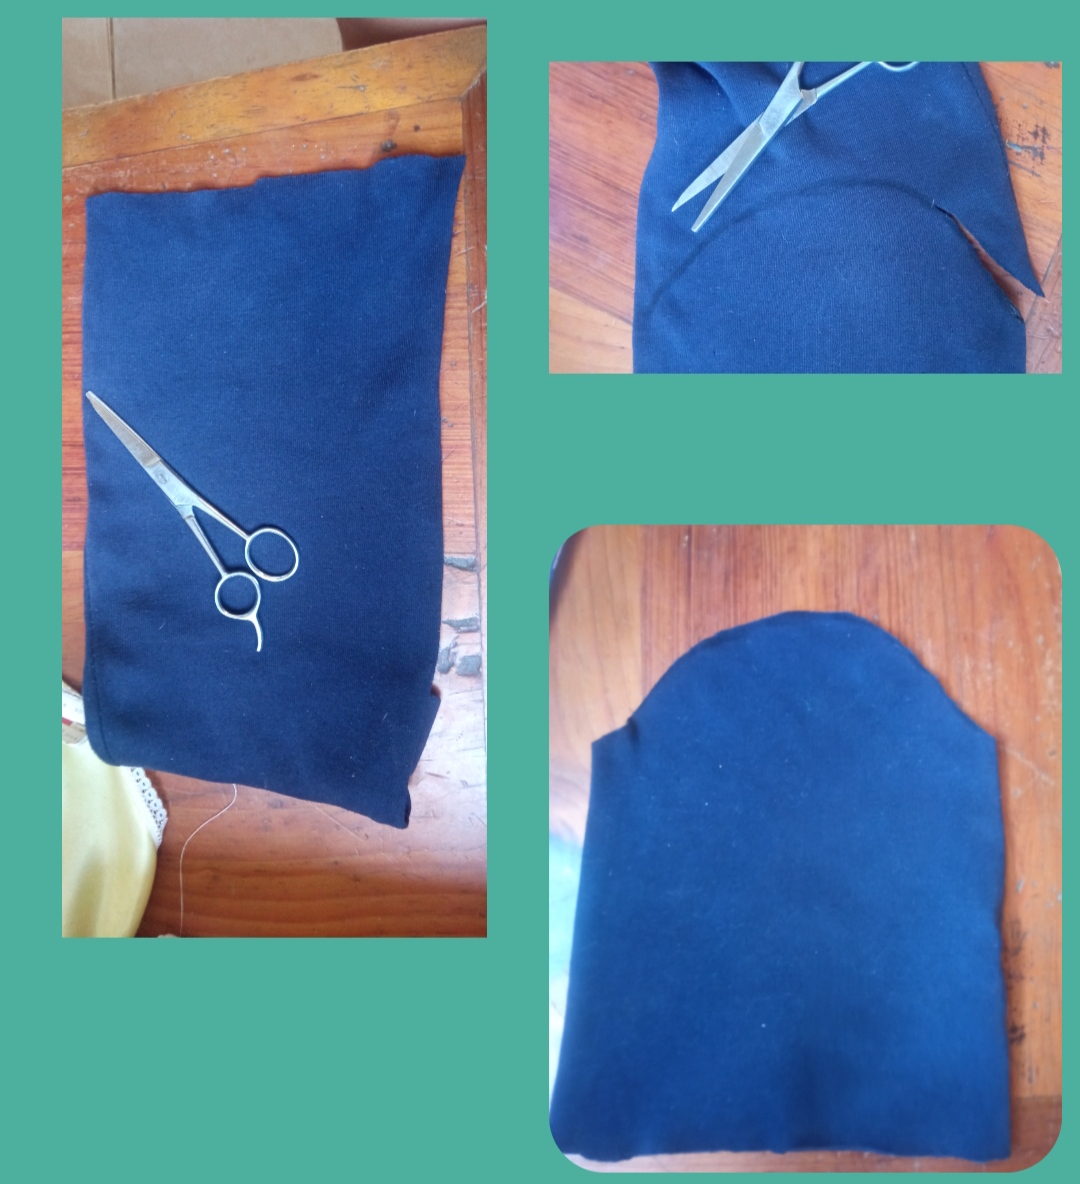
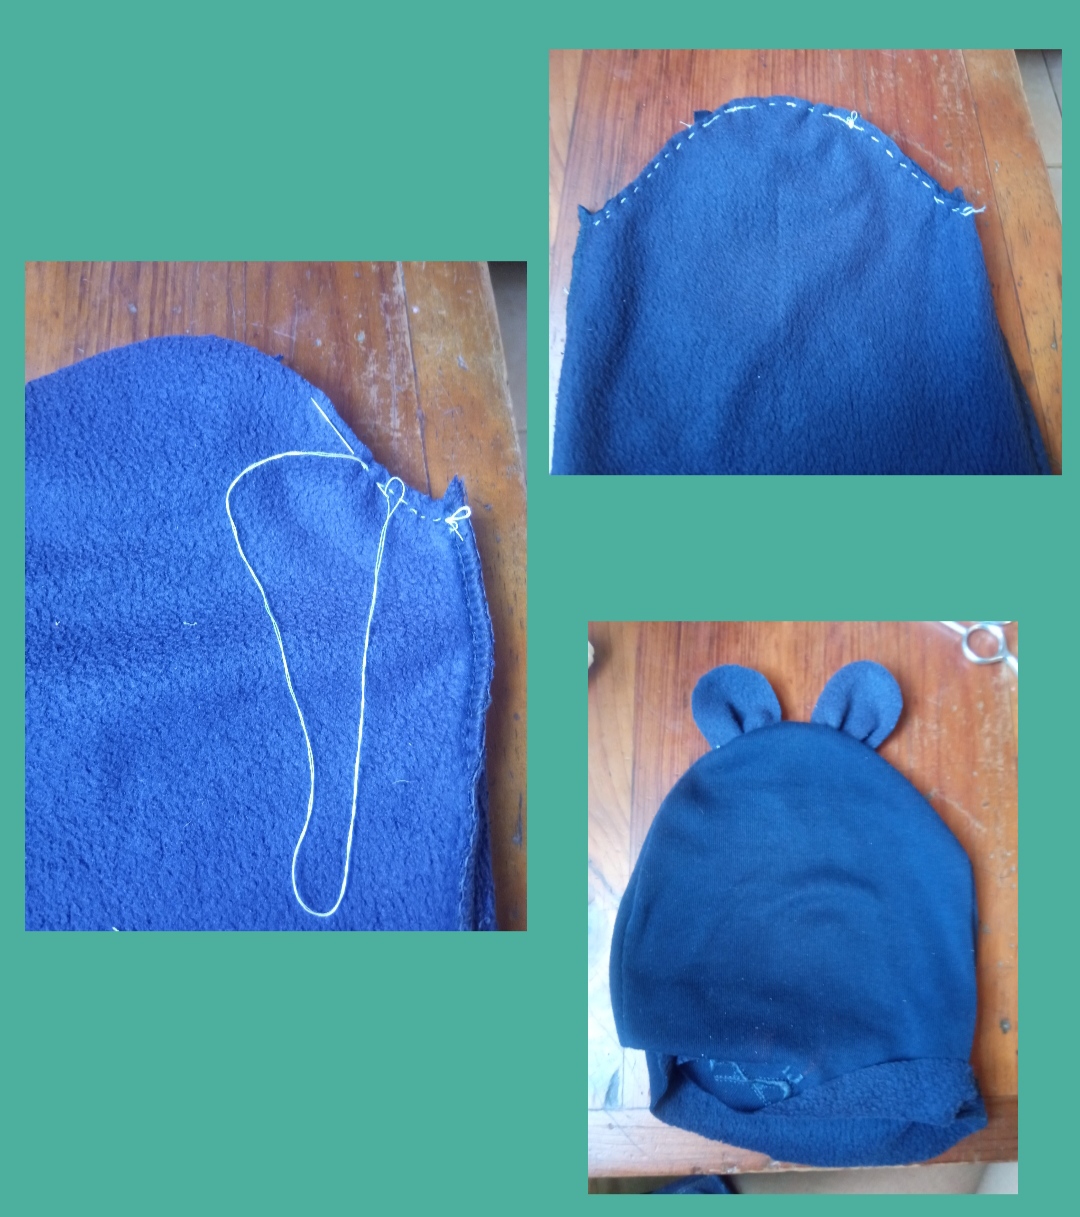
✴️ Paso 1: como pueden observar en los materiales yo utilizaré un pequeño pantalón de mi hijo grande el cual se dañó hace un tiempo pero no había querido tirarlo a la basura para este solo utilizaré una de las patas de este pantalón así que procedí a cortar la pata del pantalón y seguidamente con un objeto circular traste o marque una forma semicircular en uno de los extremos de la pata del pantalón y la otra parte o extremo nos quedará en forma lineal seguidamente podemos voltear esta tela para iniciar la costura Pero antes vamos al paso número 2.
✴️ Step 1: as you can see in the materials, I will use a small pair of pants belonging to my older son, which was damaged some time ago but I had not wanted to throw it away for this one. I will only use one of the legs of these pants, so I proceeded to cut the leg of the pants and then with a circular object, cut or mark a semicircular shape in one of the ends of the leg of the pants and the other part or end will remain linear, then we can turn this fabric over to start sewing But Let's go to step number 2 first.
✴️ Step 2: before starting to sew our beautiful hat, we will take the paper or recycled leaves and we will cut a small shape as you can see below.
We will use this mold to mark on the fabric and cut two equal pieces. These two small pieces will be cute little ears that we will add to our hat. For that, we will bend a little at their tips and separate the upper semicircular parts from our base, which we cut in the first step we will place the ears one next to the other and we will place the other layer on top to start the seam. This seam must be all over the edge of the semicircular shape and it must be above or including these two small pieces in this same seam.
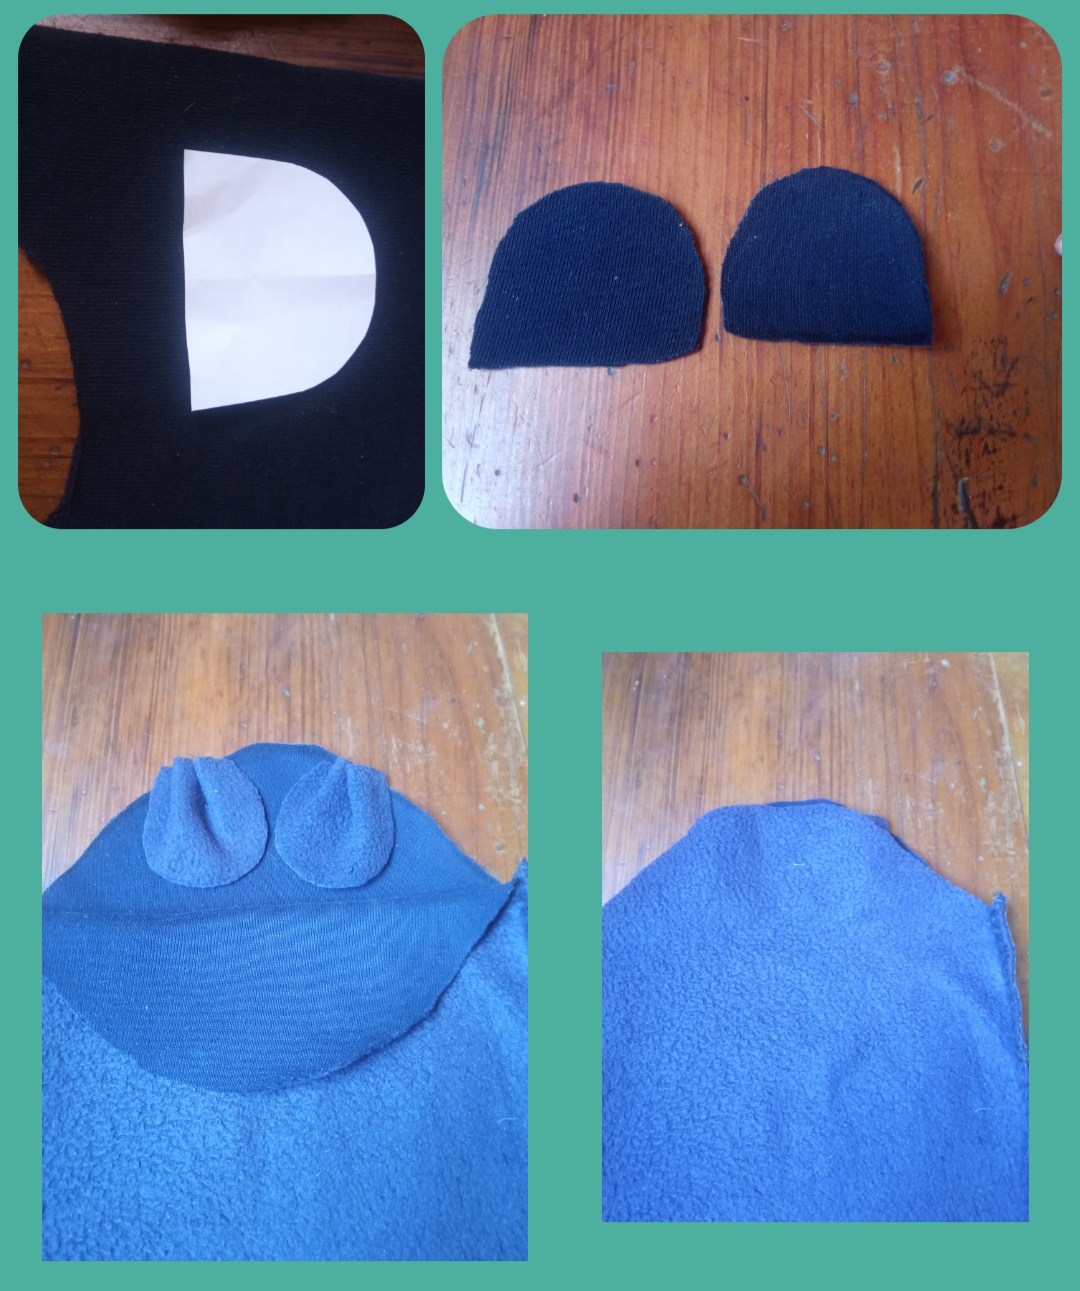
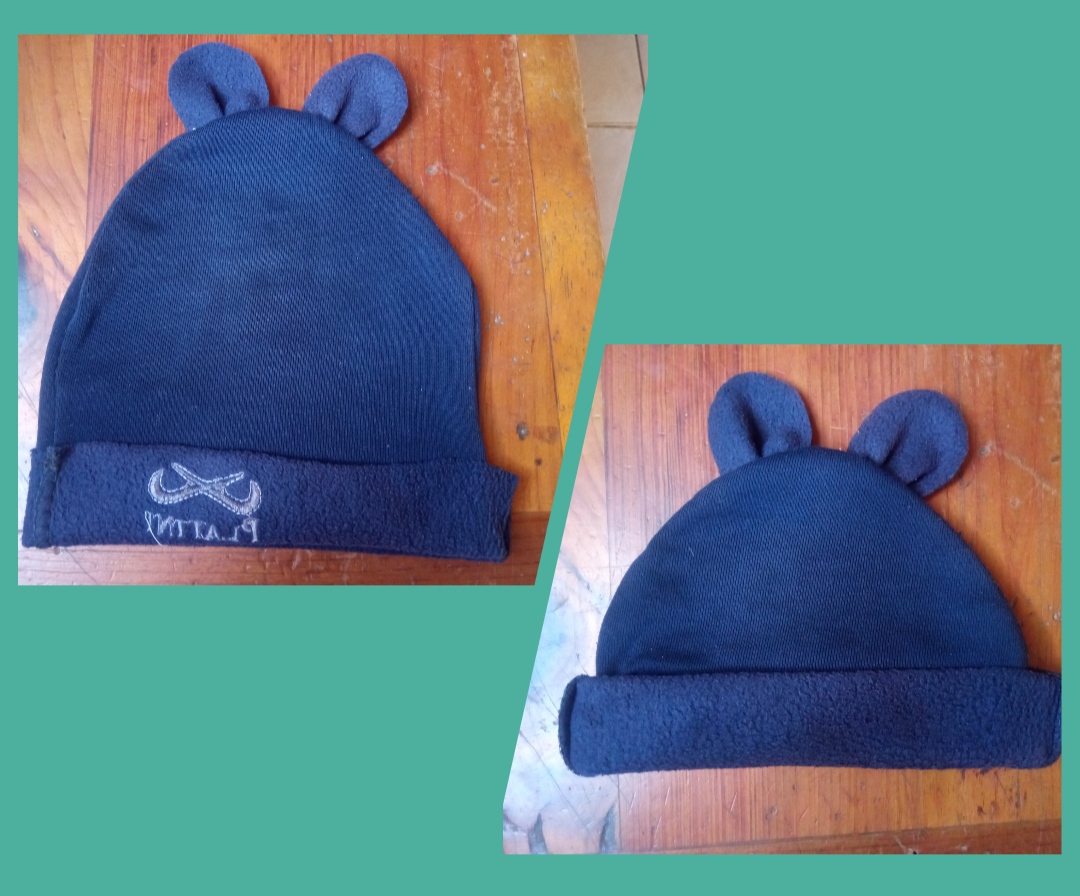
✴️ Paso 3: luego de terminada la costura solo por la parte en forma semicircular y será la parte superior de nuestro gozo procederemos a voltear nuestra tela y como podrán observar nos quedarán una linda forma con dos pequeñas orejitas en su parte superior. Si desea pueden realizar una costura por el borde de la tela en su parte posterior sino inicial a doblarlo de una vez el grosor del doblez dependerá de ustedes doblamos una y otra vez hasta que considere necesario.
✴️ Step 3: after finishing the sewing only for the semicircular part and it will be the upper part of our joy we will proceed to turn our fabric and as you can see we will have a nice shape with two small ears on top.
If you wish, you can sew a seam along the edge of the fabric on the back, but rather start folding it at once, the thickness of the fold will depend on you, we will fold it over and over again until you consider it necessary.
✴️ Paso 4: por último yo decidí colocarle unos pequeños ojitos de plástico que conseguí en unos juguetes viejos de mi pequeño esto podemos pegarlo con pega caliente la cual es muy fuerte de no poseer este tipo de ojos pueden realizarlo con tela o con algunos botones utilicemos nuestra imaginación y así culminamos nuestro hermoso y creativo gorro.
✴️ Step 4: finally I decided to put some little plastic eyes that I got from some of my little one's old toys. some buttons let's use our imagination and thus we culminate our beautiful and creative hat.
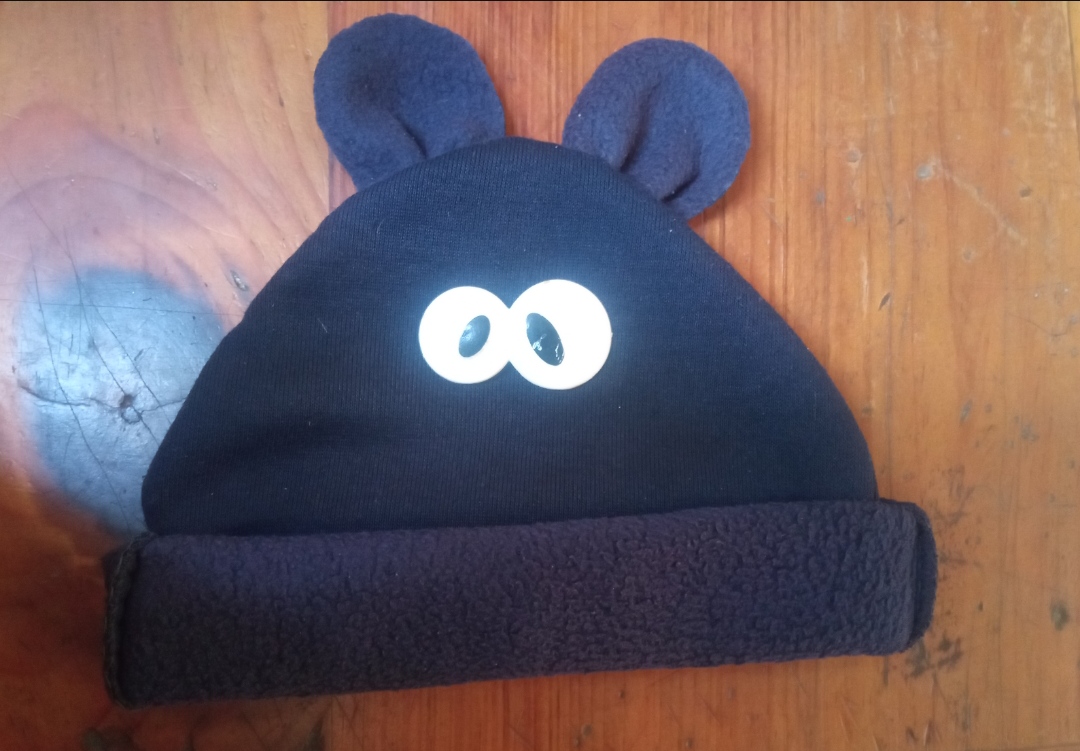
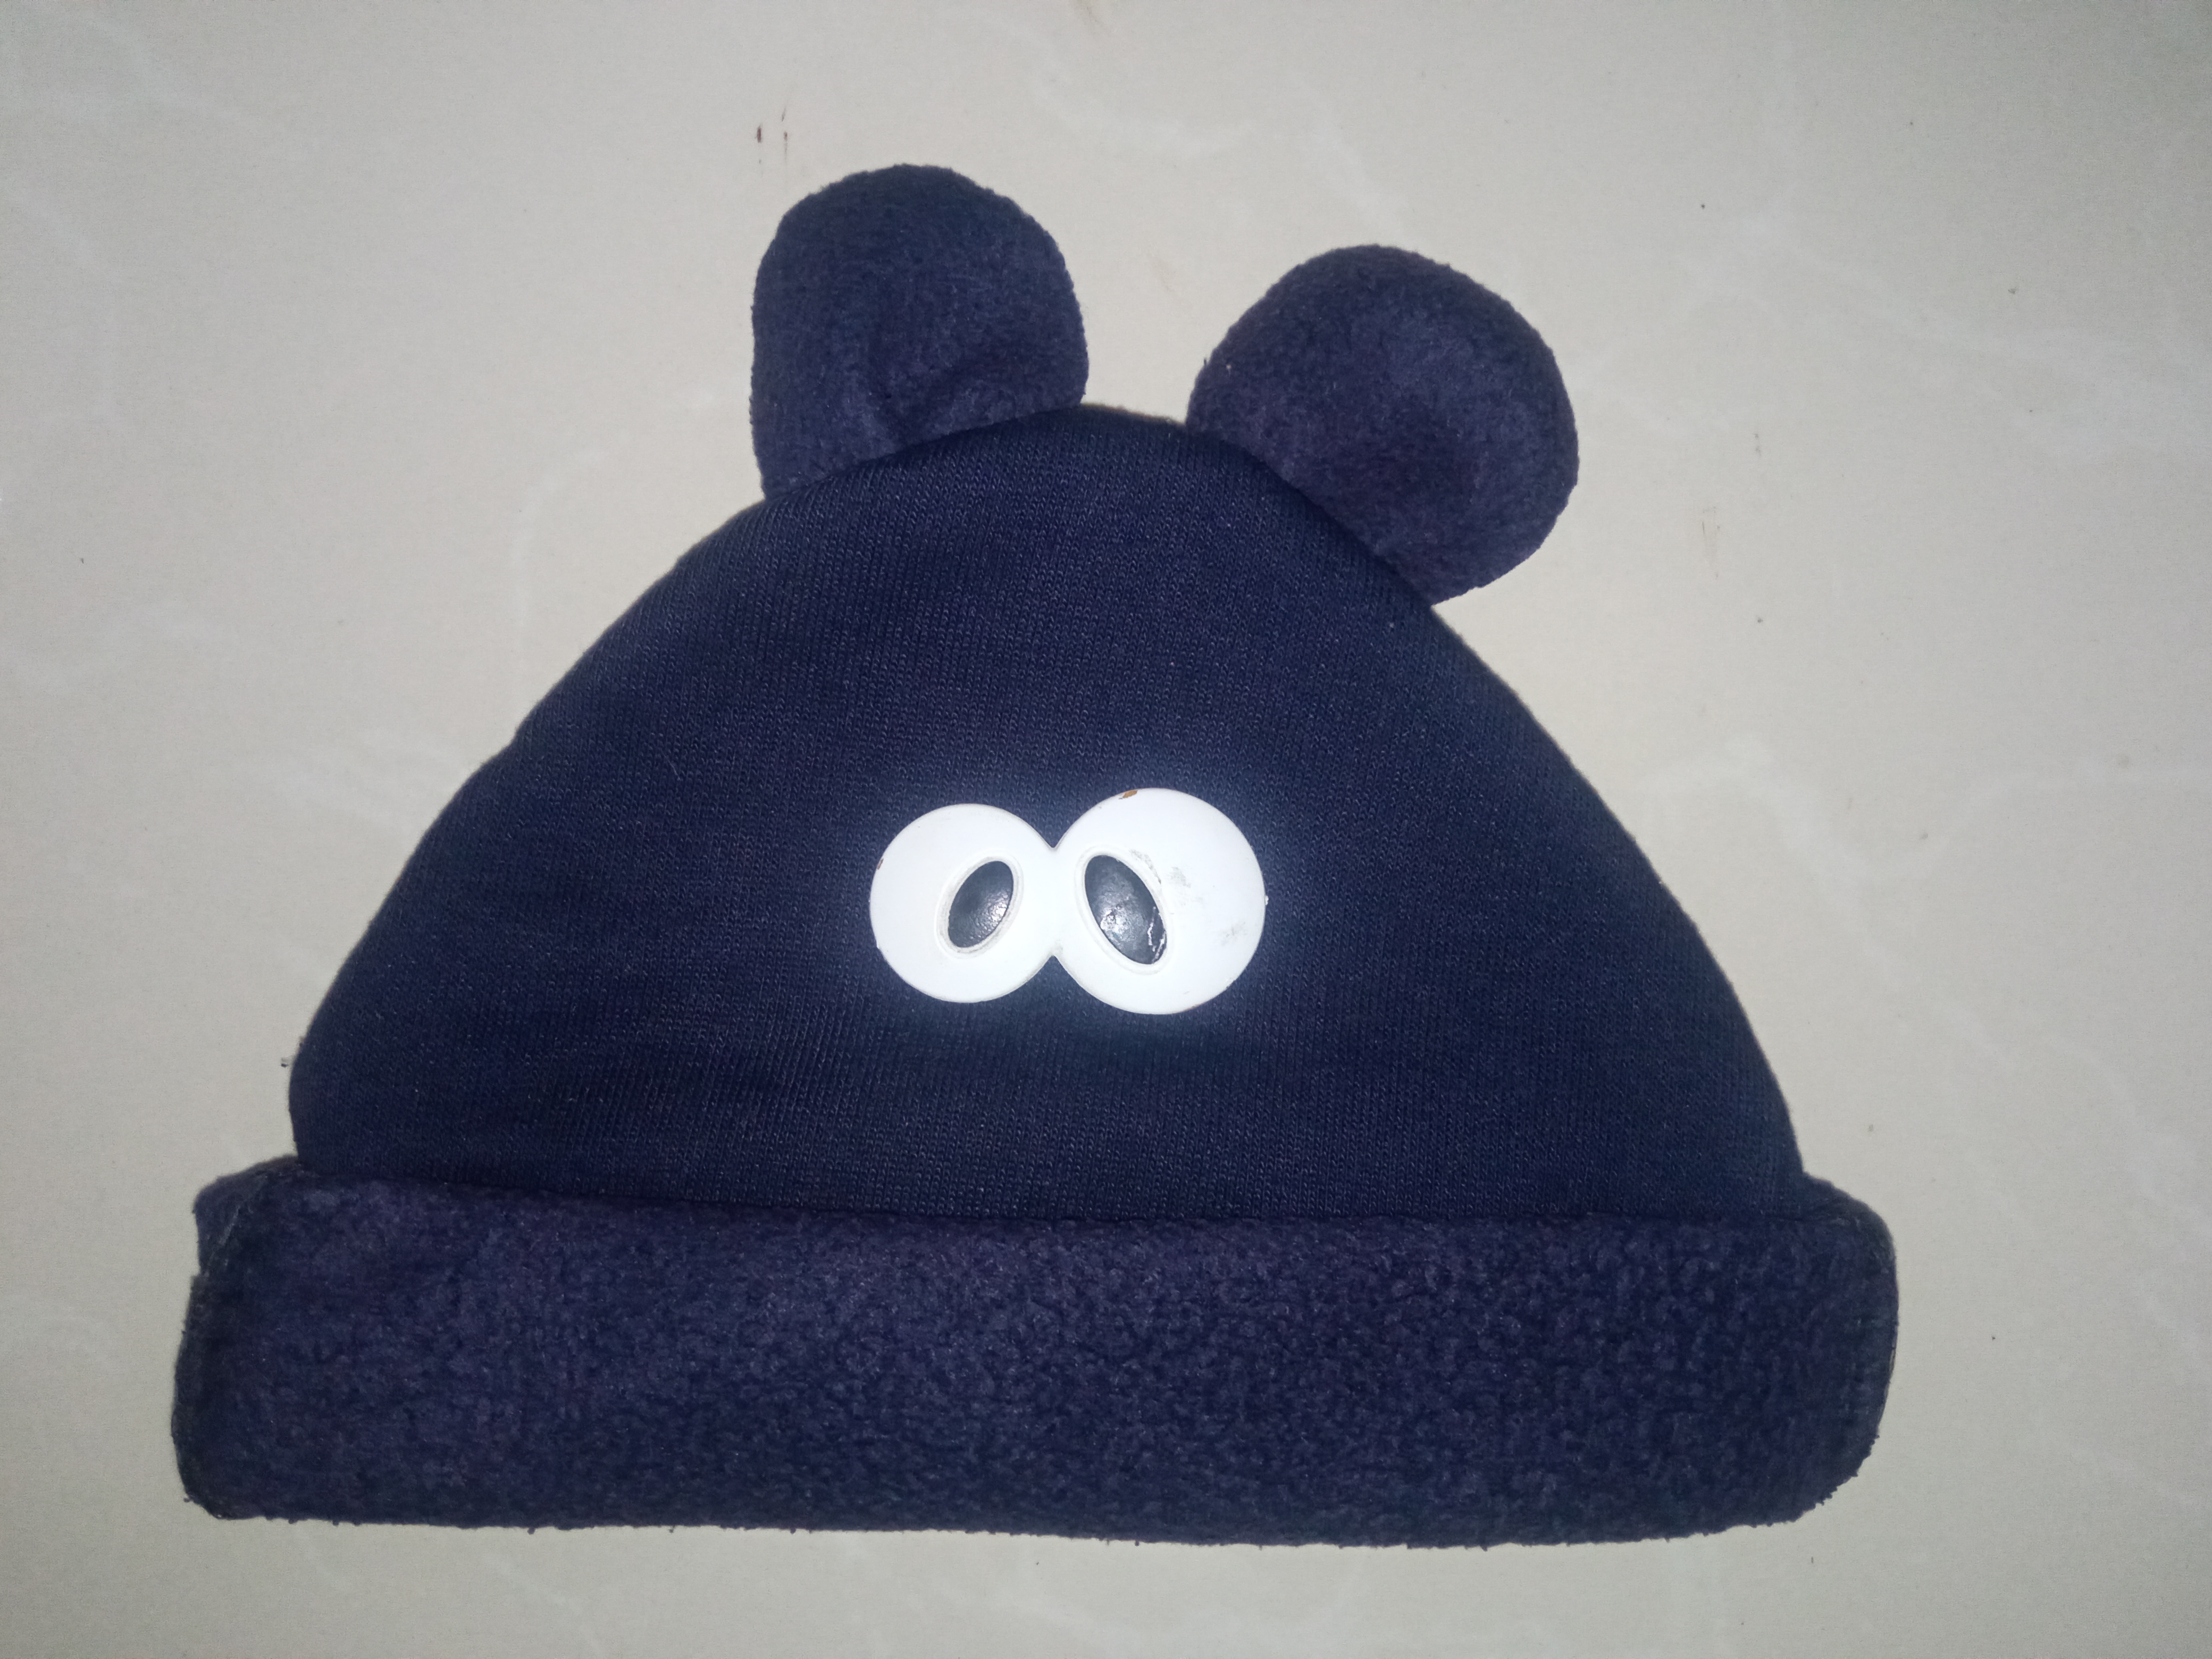
And what do you think of this preparation? It's really super easy, super cheap and it gives us a very cute and beautiful result, ideal for all those first-time moms who want and are eager to pamper that little gift that is their son. This is just an idea for you. They can give it their personal touch, perhaps if it's for a baby they can place a nice decoration bow or pretty fabric flowers.
Dear friends, this has been my elaboration today for all of you, which I hope will be liked by this beautiful community and I can make this simple tutorial useful at home. I say goodbye for this occasion, grateful for your visit.
greetings and blessings.
Todas las Fotos son de mi autoría y fueron tomadas con mi Celular Redmi 9
All Photos are my authorship and were taken with my Redmi 9 Cellphone
This is actually a very great piece of clothing; keeping the little one warm.
Well done
I'm glad you like it, thank you for your comment and support 😃
¡Felicidades! Esta publicación obtuvo upvote y fue compartido por @la-colmena, un proyecto de Curación Manual para la comunidad hispana de Hive que cuenta con el respaldo de @curie.
Si te gusta el trabajo que hacemos, te invitamos a darle tu voto a este comentario y a votar como testigo por La Colmena.
Si quieres saber más sobre nuestro proyecto, te invitamos a acompañarnos en nuestro servidor de Discord.
Que bonito ha quedado este gorrito. Me gustó el diseño de los óbito en el medio del gorro. Muy único! Saludos.