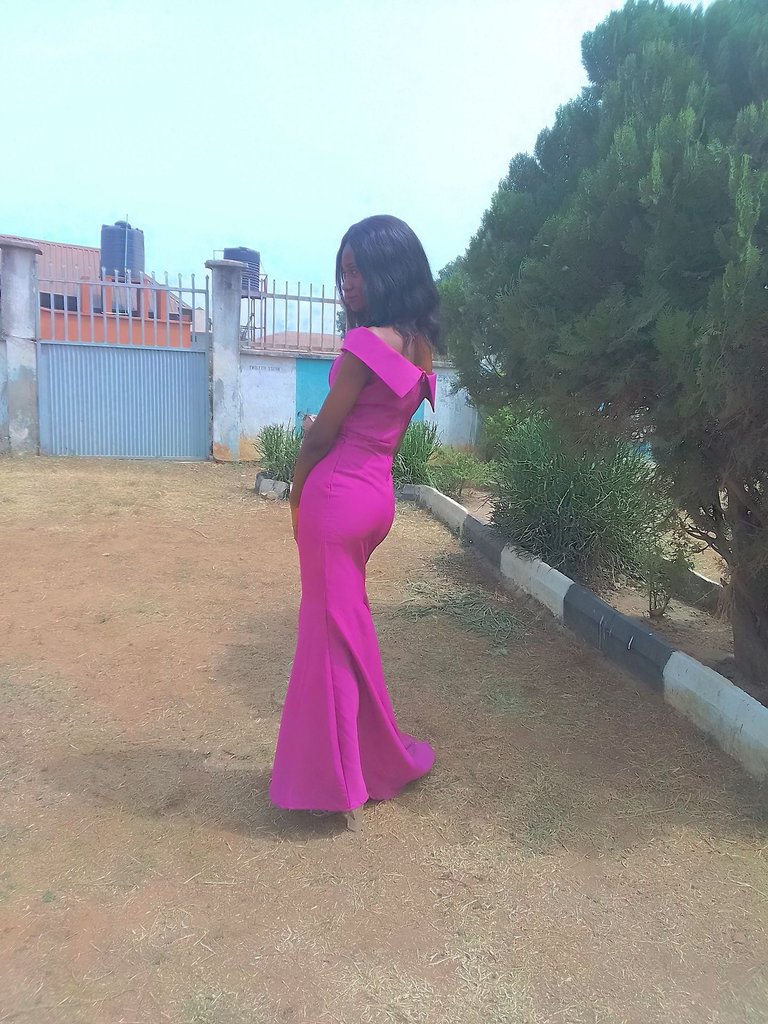
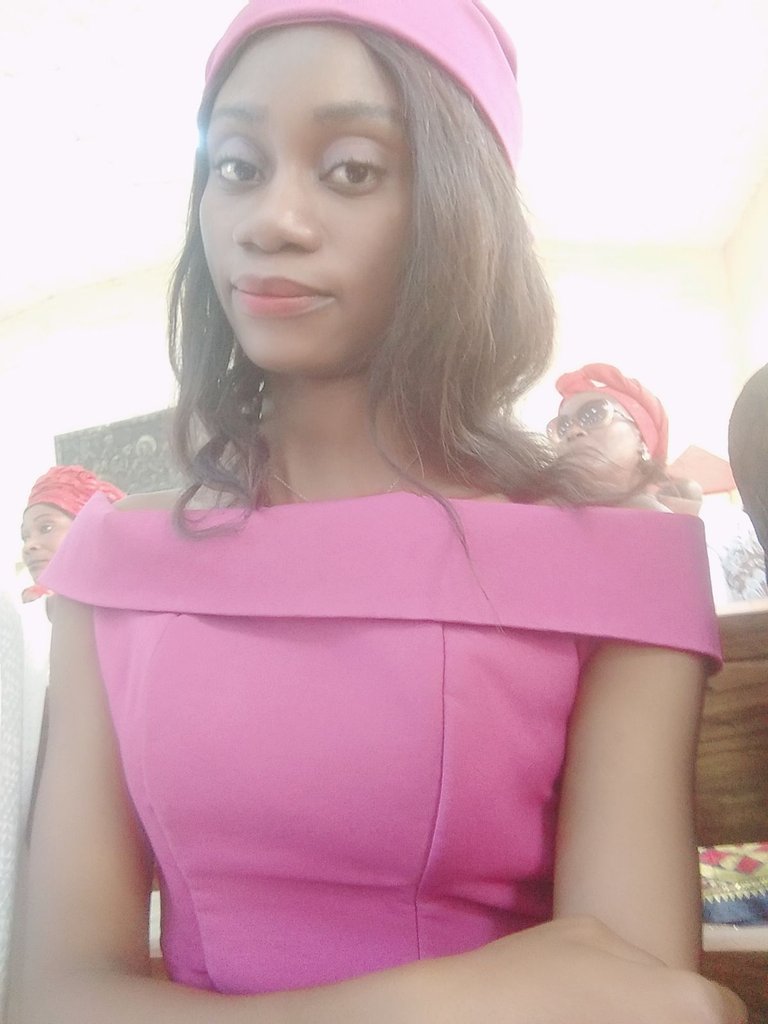
A mermaid gown I wore to my friend's wedding ceremony.
Hello everyone, good morning,I welcome you all to my blog. Hope you are doing great??. It is another beautiful day,thanks to God for the gift of life**.
In life we need to be there for one another, family and friends especially through our presence being felt. A friend of mine whom we have been friends from way back Secondary School and went to the same University sent me her Invitation card (I.V) on whatsapp around early December,this is a thing of joy, and then she asked if I was coming home, though I planned to travel home to celebrate Christmas, but since her wedding is to take place on 27th of January, I have no choice than to wait till then to cut cost because transport fare is on the high side now.
I began to think of the cloth to wear, since they chose three colours which is peach, magenta and white, so I looked for styles on Pinterest, I came across a mermaid gown sewn with duchess material. I looked through the market to get it but the ones I saw was a bit dull and not close to the colour I had seen online, but I saw a crepe which was the exact magenta I wanted, then I picked it, got 3 yards at the rate of #4,500, since I have chosen the style I want, I started the cutting.
The measurement
Bust (BST)-34inches
Waist (WST)-26inches
Half length (HL)-15inches
Nipple point(NP)- 6inches
Underburst length (UBL)-12inches
Burst point(BP)-10 inches
Bust is 34inches divided by two is 17 and I added 4 inches allowance.
I cut the front first, using my brown paper folded into two, it's an off shoulder but will be having a cape, I removed 5 inches from the top since it's off shoulder, marked out the half length which is 15 inches before cutting out I added 1/2 inch as sewing allowance, another 1/2 inch to join the upper part to the lower part and remaining 1/2 inch to turn the linen.
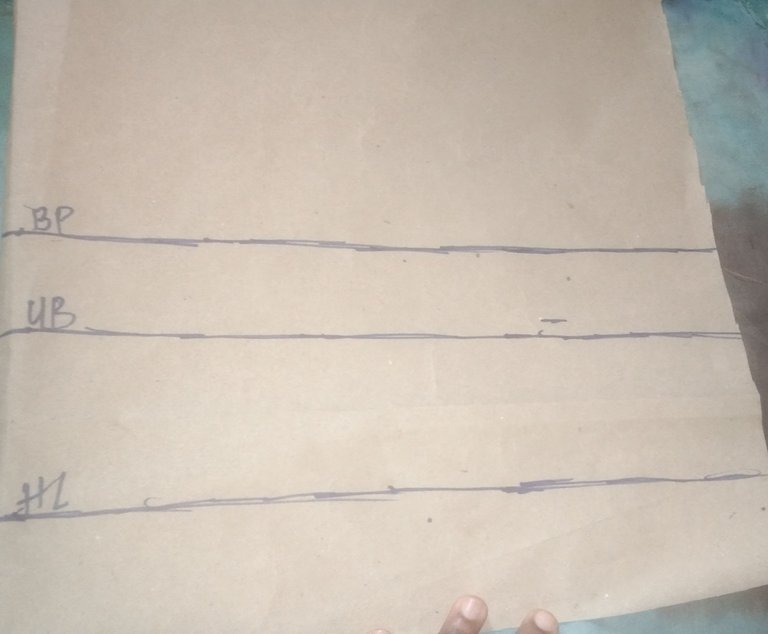
Then I marked out the nipple to nipple which is 6 divided by two to give 3 and 1/2 inch as allowance on both dart (the joining of the dart)
Mark 1 inch on the left and 1 inch on the right side of the Underburst (UB)
Mark 1/2 inch on the waist line(wl)
On the Burst line (BL) come down by 0.5 inches to avoid pointing effects(you can use 1 inch is if you are on the big size)
0.5 inches on the neck line of the offshoulder (on both sides of the line)
On the Burst line (BL) come up again by 0.5 inches
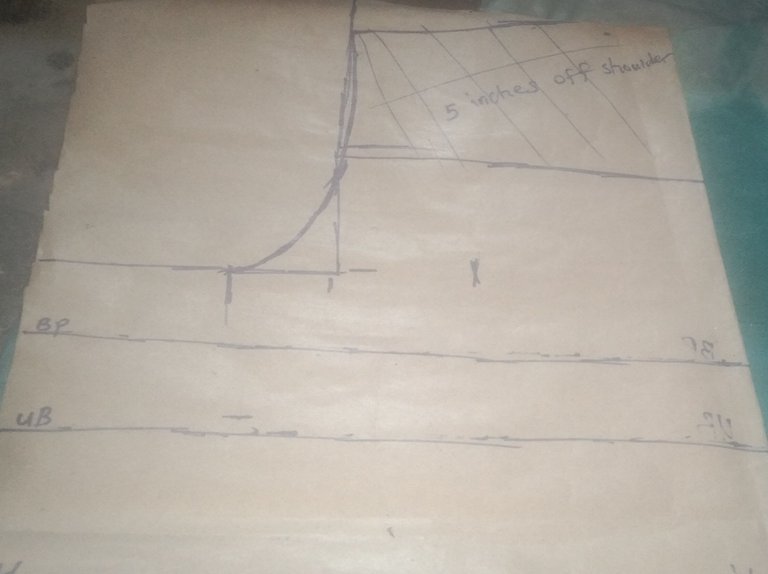
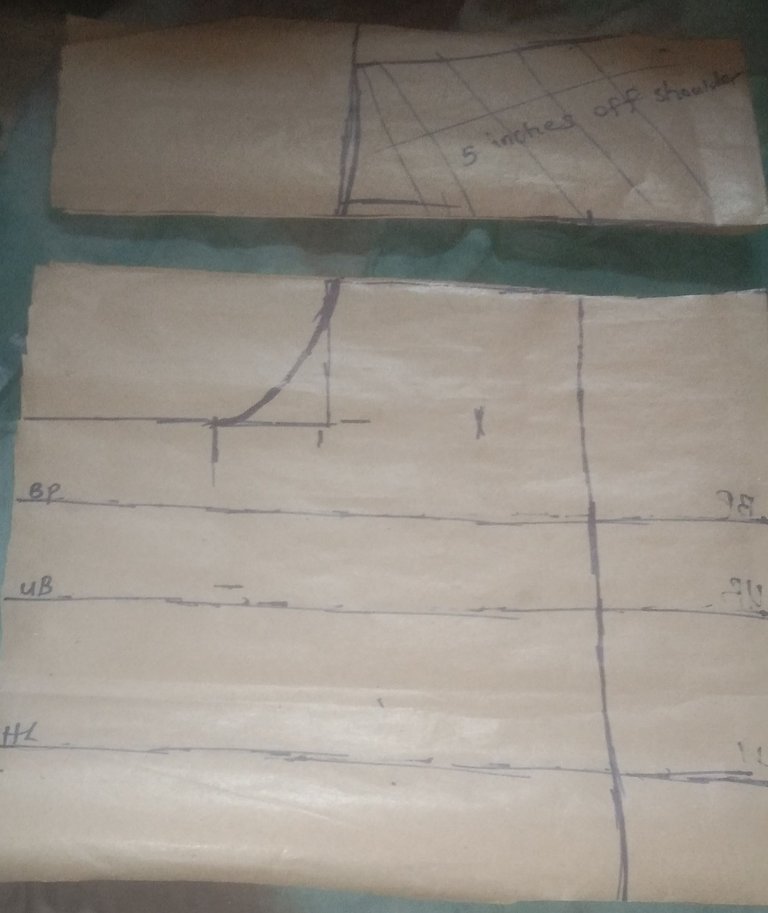
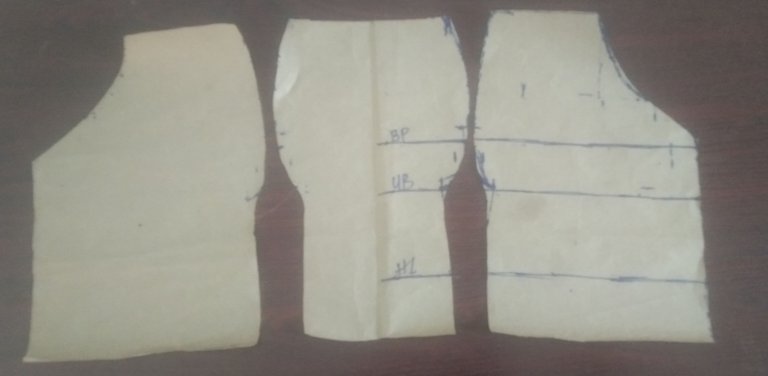
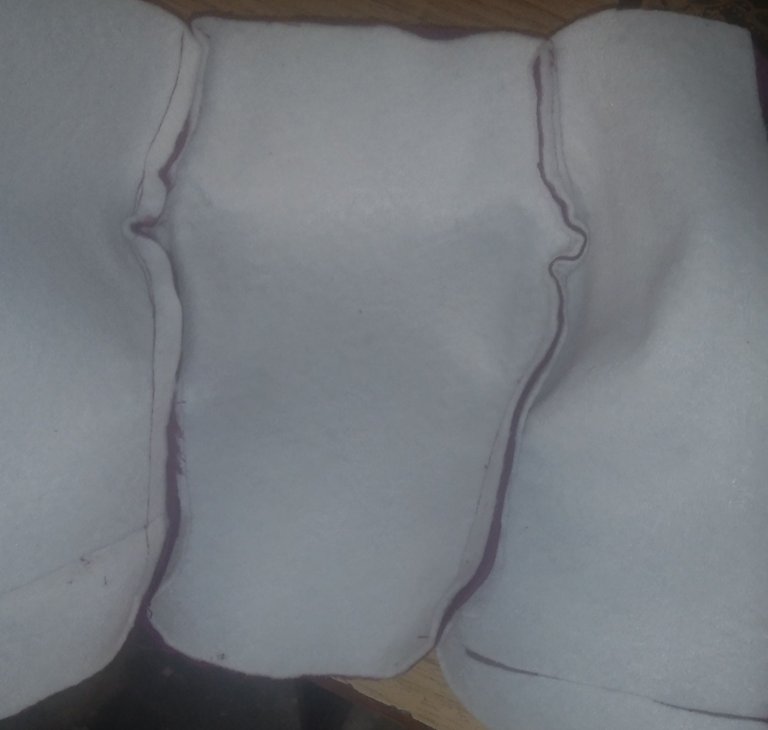
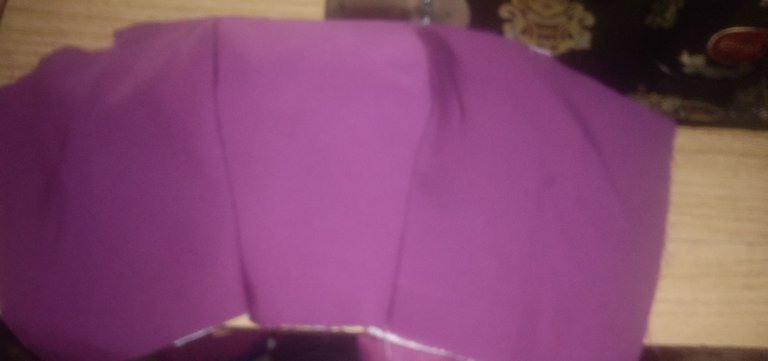
The front
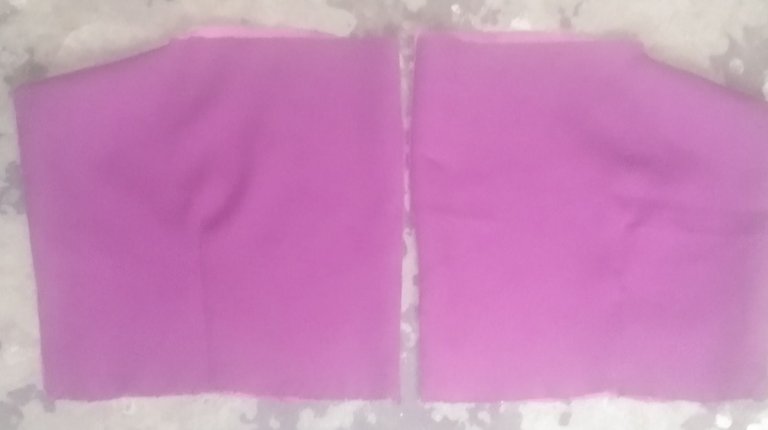
The back
The cape
I measured from the shoulder front to the back. How free it is depends on if you really want it to be so off. For mine I made it tighter since I am not a fat person.

I added stay to it
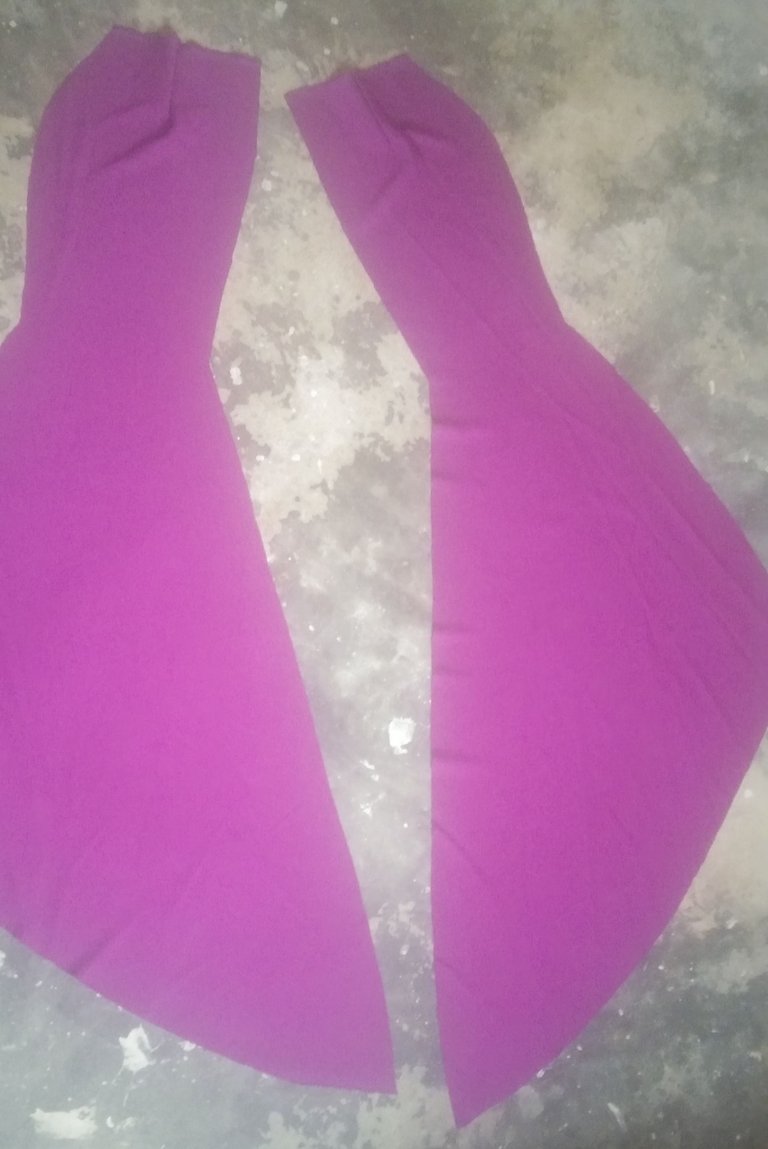
The skirt length having the mermaid
Waist-26
Hip-35
I mark out the waist, then the hip
I shaped it and cut out the front first, then the back I made the long extension for the mermaid and I stopped where I think it was long enough (this is based on choice).
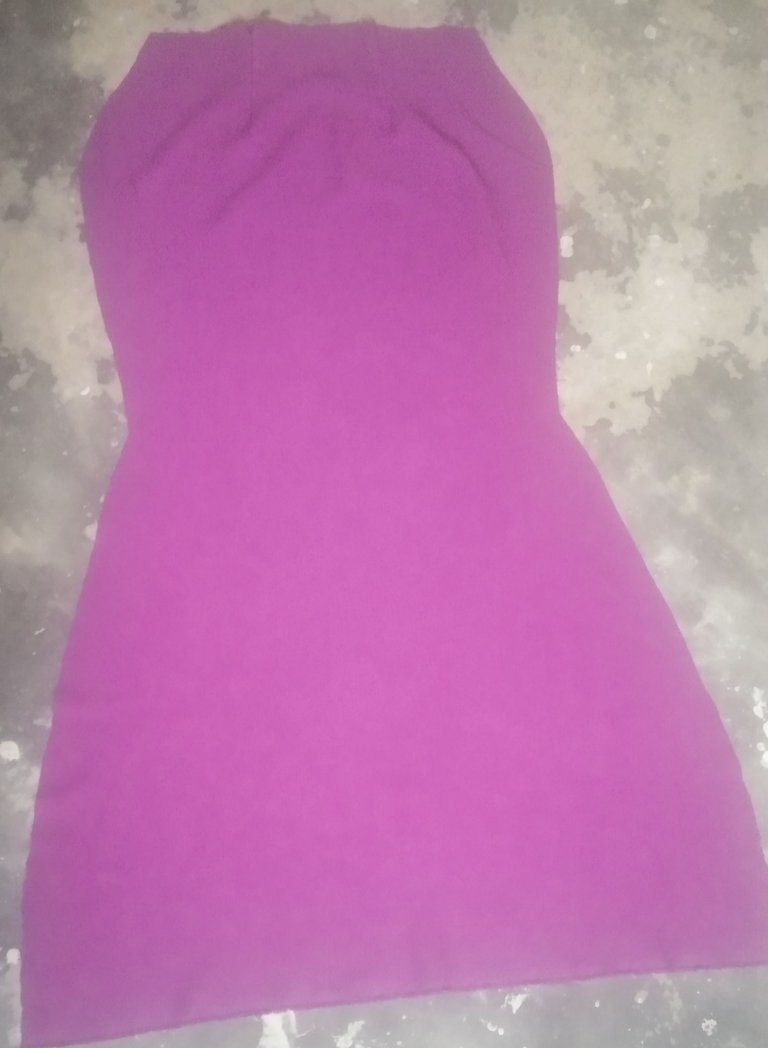
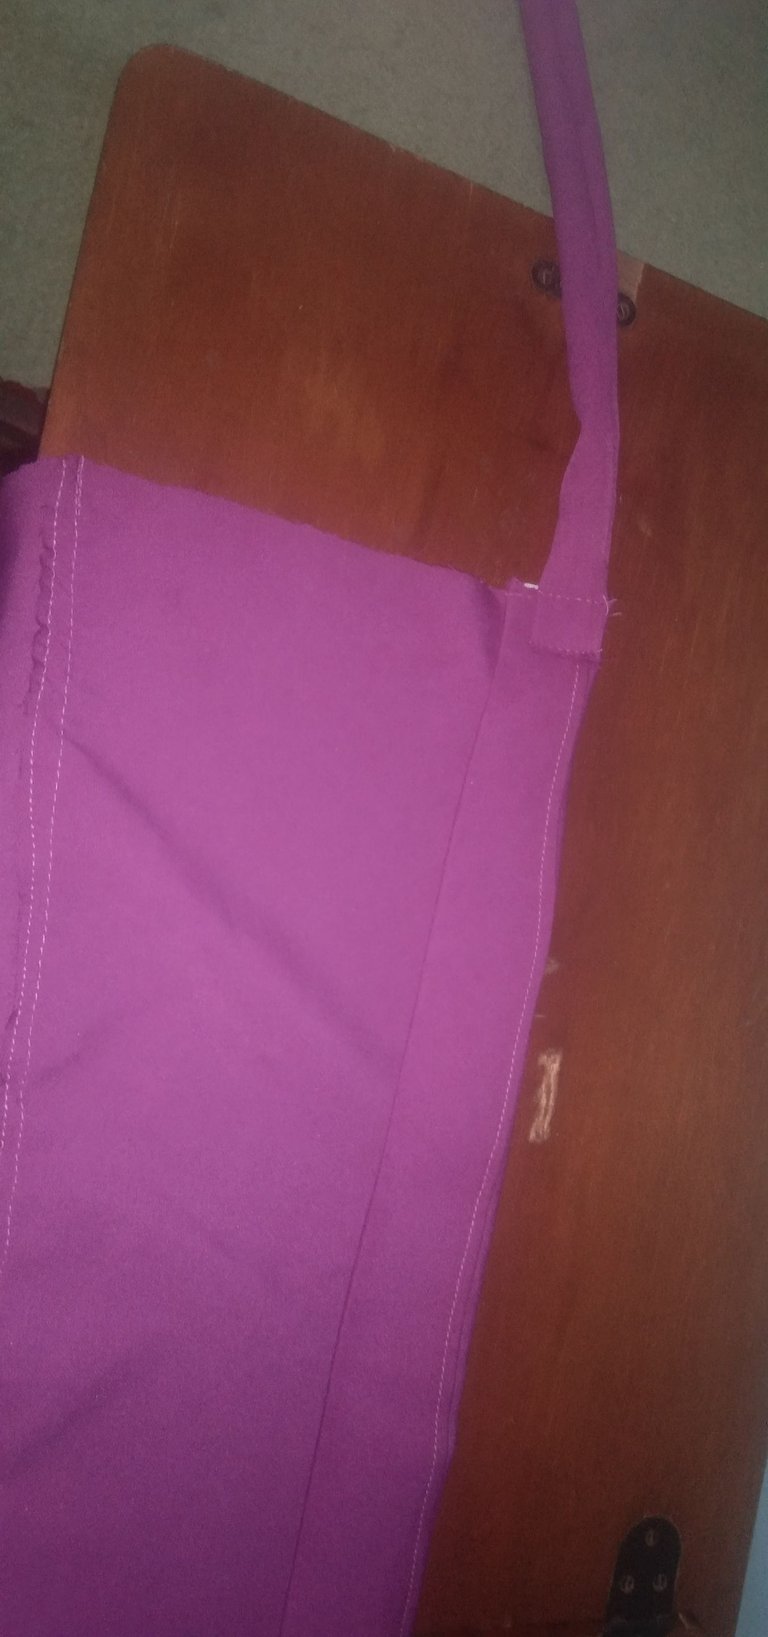
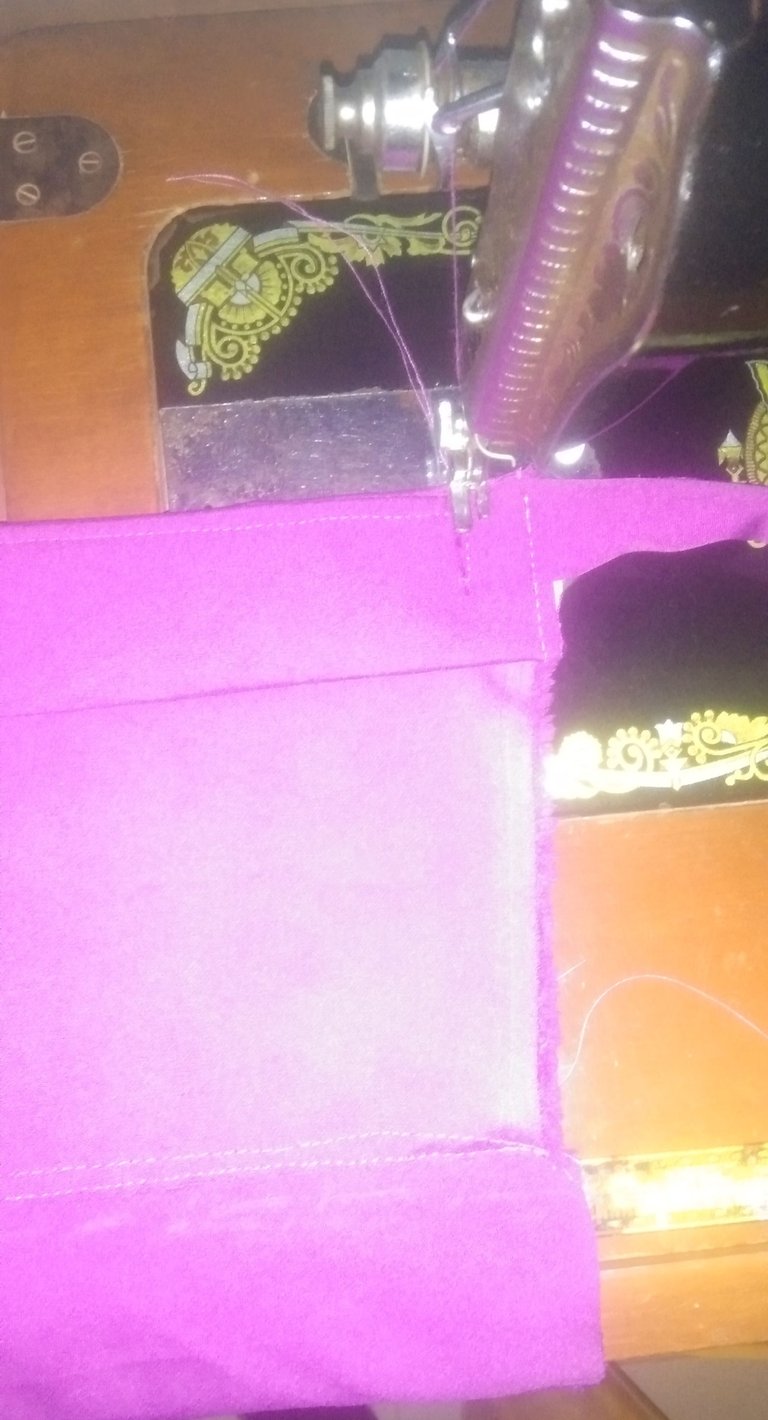
Next I made a small scarf for church
Added stay, folded it into two then I stitch it.
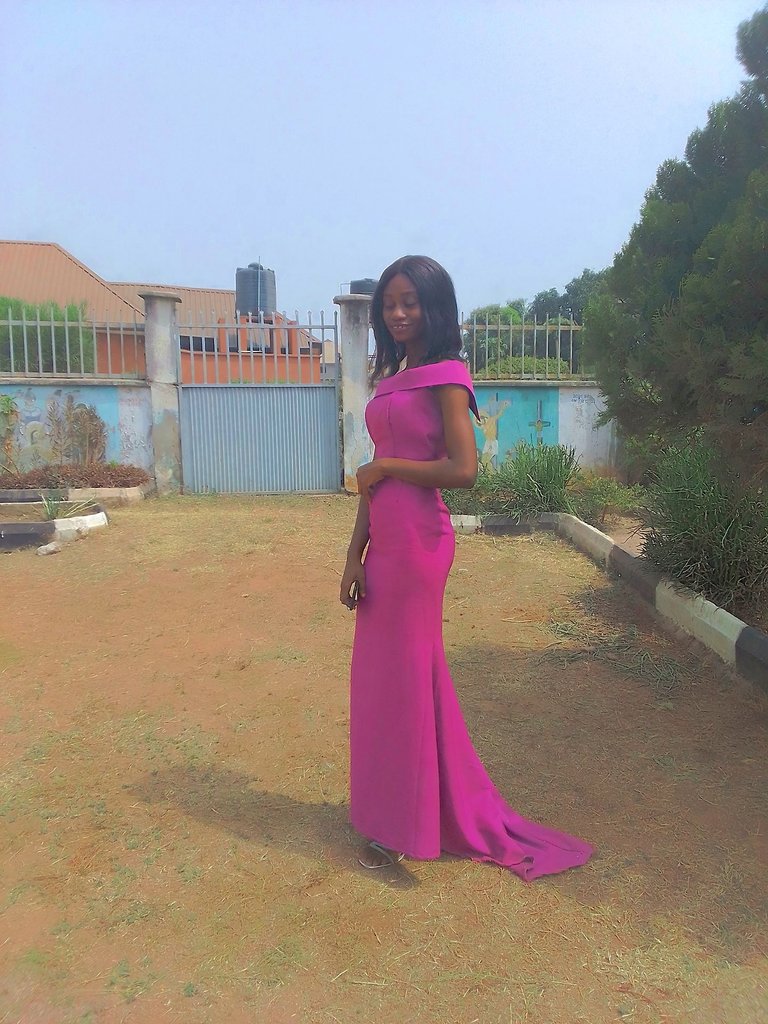
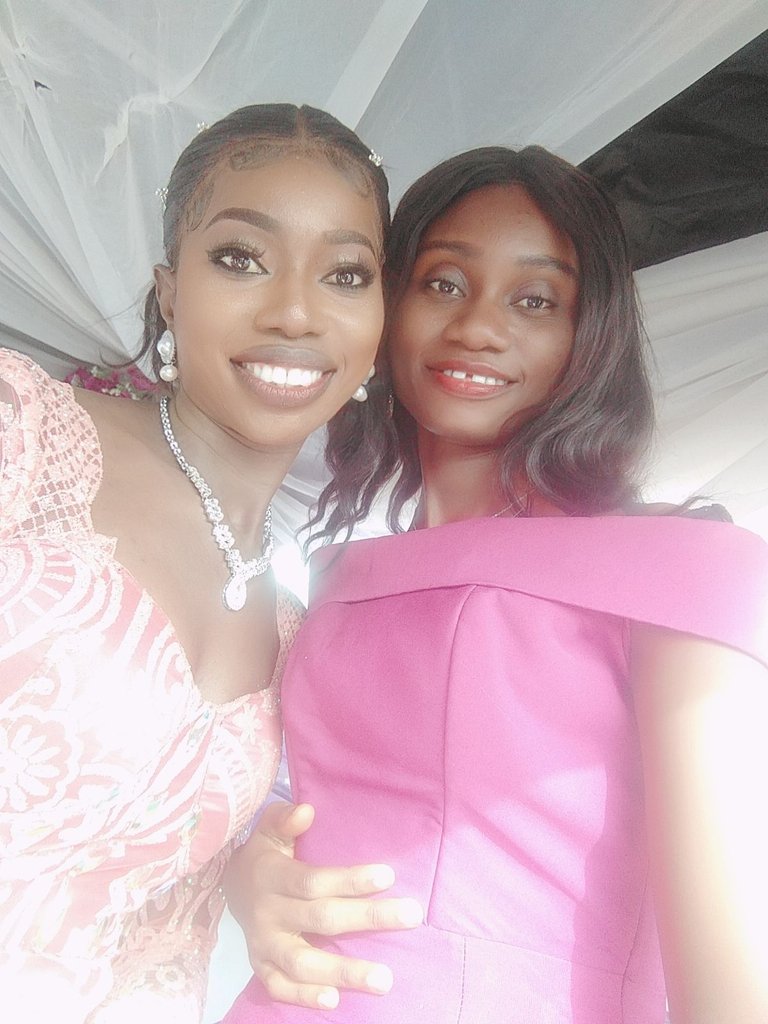
The bride and I at the reception
All pictures belongs to me and taken with my Vivo AI DUAL CAMERA
Am open to comments and suggestions
Thanks for stopping by
This is lovely dearie,I love the mermaid part and how it flows down so well. I have wished to make something like this for myself for a long time now, now I can use your method to make mine.
Thanks for sharing dear.
I am glad you love it and find it helpful. Thanks for the comment dear.
It was so cool of you to show up for your friend and honor her invitation.
You chose and great color which compliments your skin and the style is reall amazing on you.
You did great
Yes dear,she was so happy and I had fun too, I loved the outcome of the colour. Thanks for your lovely comment.
You’re welcome
🙏