Esp/Eng Reparando Filtraciones en el Techo/Repairing Leaks in the Roof
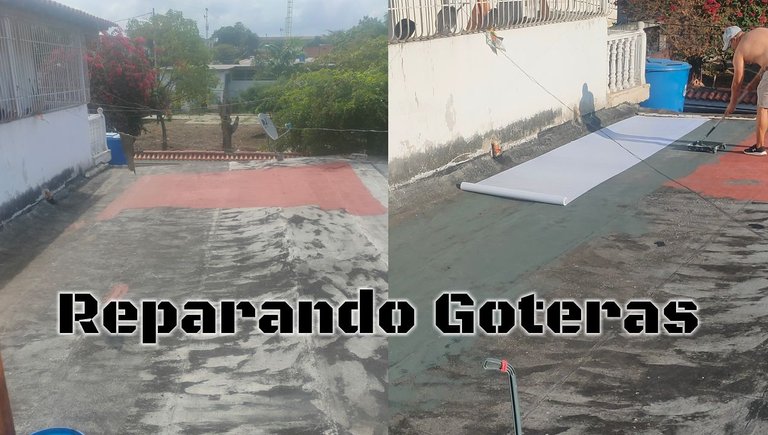
Saludos me presento, en la comunidad de Hive me conocen como ElFino tengo ya un poco más de 2 años dentro de la plataforma es primera vez que publicó en esta comunidad normalmente mis post son de juegos y tecnología pero esta semana hice varias reparaciones a mi hogar y en este momento vengo a comentarles sobre la reparación de unas filtraciones que tenía en mi techo lo hice de una manera bastante sencilla y creo que este post puede ayudar a otras personas que tengan el mismo problema para hacer esta reparación.
Greetings, I introduce myself, in the Hive community they know me as ElFino. I have been on the platform for a little over 2 years. This is the first time I have published in this community. Normally my posts are about games and technology, but I made several repairs to my home this week. and at this moment I come to tell you about repairing some leaks that I had in my ceiling. I did it fairly simply, and I think this post can help other people who have the same problem to make this repair.
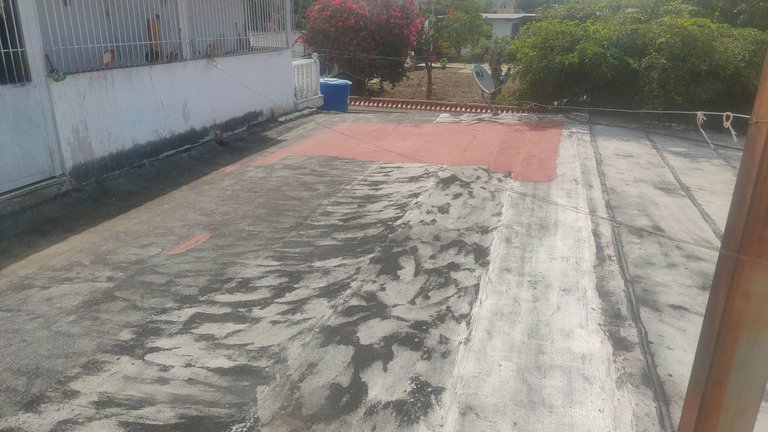
los materiales que utilicé para hacer este trabajo fueron un cuarto de cemento plástico para tapar las grietas que a simple vista se ven en el techo, pintura aquaflex para pintar el techo y cubrir las grietas que no están a simple vista y colocar como una capa extra en el manto, también utilicé una malla que es como una tela para cubrir más las grietas de hecho es como si tuvieras echando otro manto y la apliqué en las zonas más críticas que tenía que reparar.
The materials I used to do this job were a quarter of plastic cement to cover the cracks that are visible to the naked eye on the ceiling, aquaflex paint to paint the ceiling and cover the cracks that are not visible to the naked eye and place as an extra layer On the mantle, I also used a mesh that is like a cloth to cover the cracks more, in fact, it is as if you were adding another mantle and I applied it in the most critical areas that I had to repair.
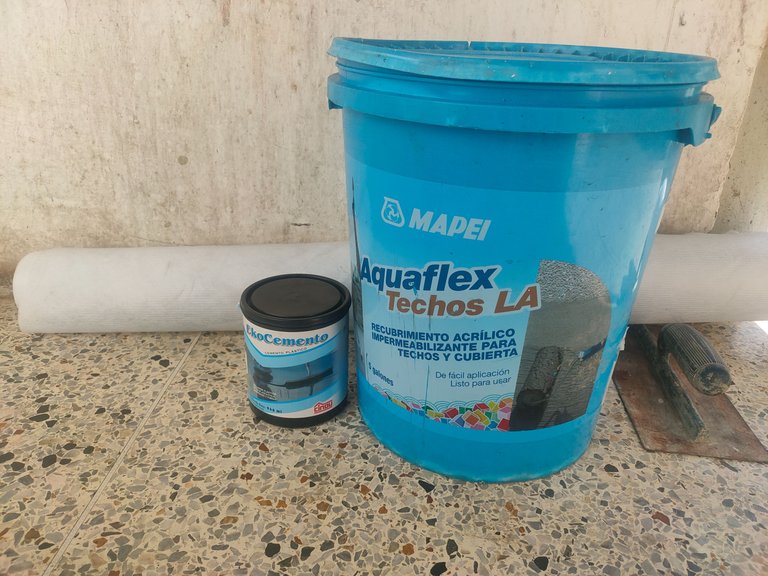
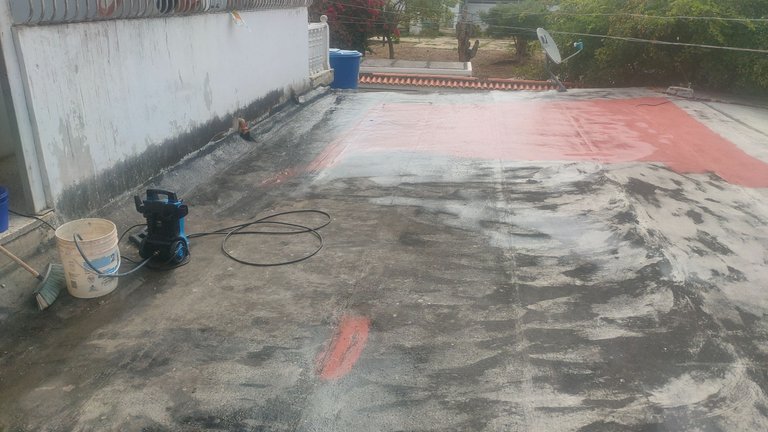
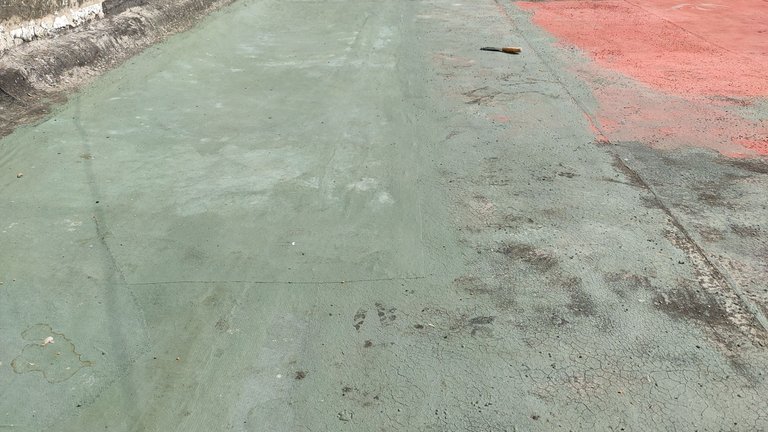
lo primero que debemos que hacer para que este trabajo quede bien echo es lavar bien el techo yo barrí con una escoba todo el techo y luego con un hidrojet moje todo el techo para retirar todo el polvillo que quedaba hay que asegurarse muy bien de que el techo esté bien limpio y seco, por eso lo hice en la mañana a primera hora y comencé a aplicar la pintura en la tarde después que se secará toda la humedad que tenía el techo, tiene que haber bastante sol para que seque todo muy bien.
The first thing we must do for this job to be done well is to wash the ceiling well. I swept the entire ceiling with a broom and then with a hydrojet, I wet the entire ceiling to remove all the dust that remained. You have to make sure that the roof is very clean and dry, that's why I did it first thing in the morning and started applying the paint in the afternoon after all the moisture on the roof had dried, there has to be enough sun for everything to dry very well.
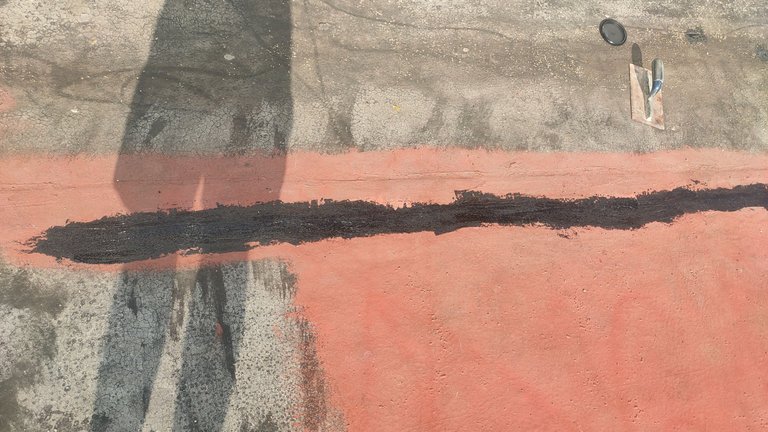
primero apliqué en las grietas visibles el cemento plástico y luego apliqué una capa de pintura ligada con un poco de agua para que absorbiera bien el techo esa pintura debía haber aplicado de una vez la malla pero como fue mi primer trabajo de esta manera No sabía muy bien cómo aplicarla, cuándo fui aplicar la malla es difícil porque no se pega no tiene ningún tipo de adherencia al techo es simplemente una tela, para colocar la malla la forma como más me gustó aplicar esto fue colocándole cemento plástico a las tinas de malla que iba a colocar esto funcionaba como un pegamento que se adhiere al techo y luego encima se le aplica la pintura de esta manera me resultó mucho más factible para la aplicación de esta malla.
First I applied plastic cement to the visible cracks and then I applied a layer of paint mixed with a little water so that the ceiling would absorb well. That paint should have been applied to the mesh at once, but since it was my first job in this way, I didn't know very well. well how to apply it, when I went to apply the mesh it was difficult because it does not stick it does not have any type of adhesion to the ceiling it is simply a fabric, to place the mesh the way I liked to apply this the most was by placing plastic cement on the mesh tubs that I was going to place this, it worked like a glue that adheres to the ceiling and then the paint is applied on top of it. This way it was much more feasible for me to apply this mesh.
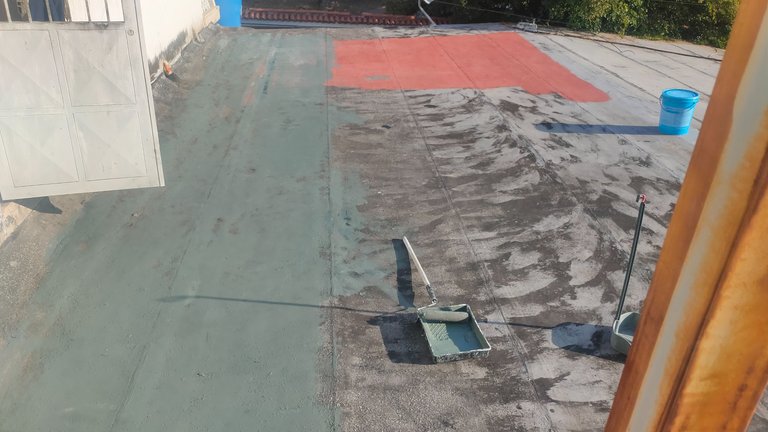
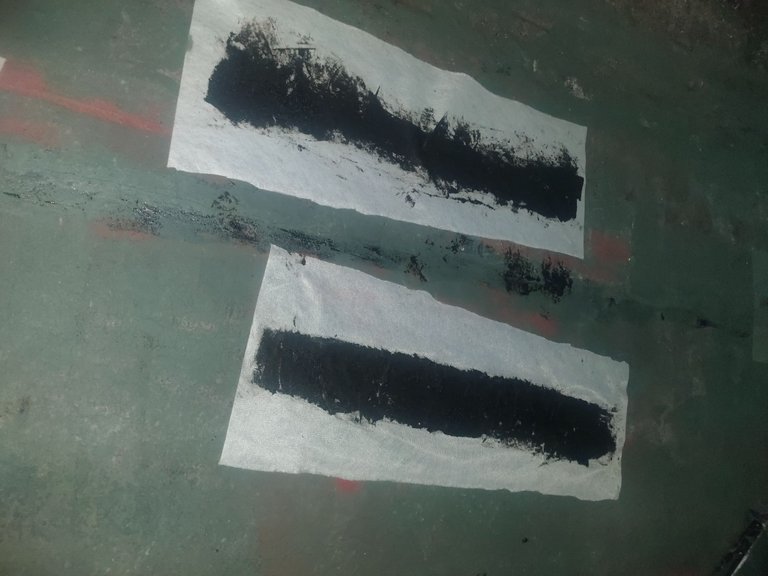
luego de cubrir las zonas críticas que tenía en el techo quise colocar la malla con un tramo mucho más amplio la cual apliqué de la siguiente manera, con un poco de pintura ligada con agua fui aplicándola en el techo y mientras estaba húmeda la zona coloqué la malla para que se fuera pegando, luego apliqué pintura encima de la malla junto con más agua para que se fuera adhiriendo al techo, luego de hacer esto apliqué la pintura completa a la malla para aplicar una capa extra de cobertura con Esta técnica realmente fue un poco difícil de hacer me gustó mucho más la técnica anterior que apliqué con el cemento plástico siento que se adhiere mejor la malla al techo y también es mucho más práctica para aplicar de hecho en las puntas de la malla tuve que aplicar un poco de cemento plástico para asegurarme de que esté bien pegada pero ya es cuestión de gustos y comodidades para este tipo de trabajo.
After covering the critical areas that I had on the ceiling I wanted to place the mesh with a much wider section which I applied in the following way, with a little paint mixed with water I applied it to the ceiling and while the area was wet I placed the This technique was really a not difficult to do, I liked the previous technique much more that I applied with the plastic cement. I feel that the mesh adheres better to the ceiling and it is also much more practical to apply. In fact, on the tips of the mesh I had to apply a little plastic cement to make sure it is well glued but it is a matter of taste and comfort for this type of work.
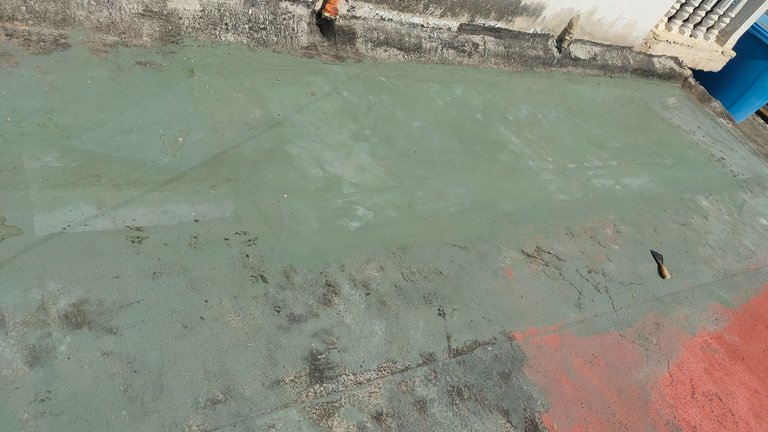
al final terminé cubriendo la superficie con más pintura solamente me alcanzó para cubrir las zonas más críticas se vea un puñete bastante grande tiene cinco galones, pero como apliqué varias capas justamente donde tenía el problema sobre todo donde el agua se empoza para desbocar hacia abajo, siempre creo que hay que tener más fortalecida esa zona porque el agua siempre se estará empozando en ese lugar por eso quise aplicar varias capas de pintura a esa zona y asegurarme de que este bien cubierta. Gracias por ver mi contenido todas las imágenes fueron tomadas por mí desde mi teléfono espero les haya gustado y nos vemos en un próximo post.
In the end, I ended up covering the surface with more paint, I only had enough to cover the most critical areas. You can see a pretty big mess, it has five gallons, but since I applied several layers exactly where I had the problem, especially where the water pools and runs downwards, I always think that you have to strengthen that area more because the water will always be pooling in that place, so I wanted to apply several layers of paint to that area and make sure that it is well covered. Thank you for watching my content, all the images were taken by me from my phone, I hope you liked it and see you in the next post.
My social networks
Hive: @elfino28
https://twitter.com/ElFino28
https://www.instagram.com/ElFinoNFT
https://www.youtube.com/@ElFino28


Bienvenido a la comunidad, amigo, es un gusto tenerte por acá. Gracias por compartir con nosotros tu experiencia reparando el techo, seguro esos trucos que utilizaste serán de gran ayuda para otros en la blockchain. Puedes regresar cuando gustes.
gracias estare atento para continuar publicando en esta comunidad
Bienvenido a la comunidad!! Esperamos verte nuevamente por aquí.
Has hecho un trabajon la verdad, pero por supuesto muy necesario para que tu casa esté en óptimas condiciones, además que nos dejaste unos tips genials.
gracias