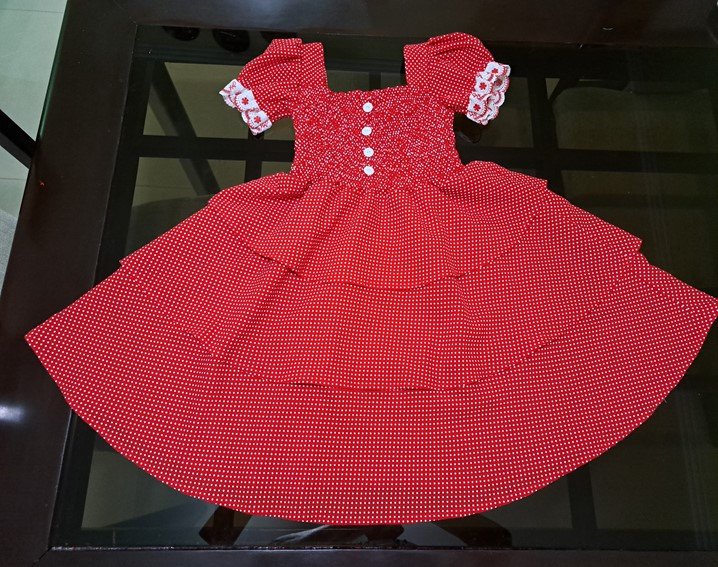
Beautiful girl's dress with polka dot print and elegant ruffles//Hermoso vestido para niña con estampado de lunares y elegantes volantes[ING-ESP]
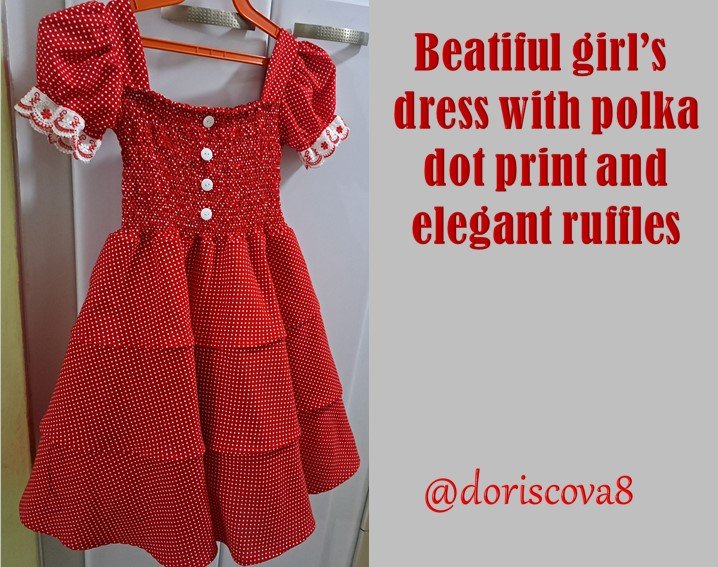

Hoy nuevamente estoy por aquí para compartirles un hermoso trabajo, que es un elegante vestido que le realice a una de mis nietas, lo cual me dio mucho orgullo su realización porque no fue un vestido fácil de confeccionar, ya que implicaba una serie de cálculos que deberían ser bastante precisos para que la integridad de la pieza se viera hermosa, además de las respectivas modificaciones al molde básico.
Les voy a compartir la realización de la integridad del vestido, ya que algunas partes del vestido las realice sacando un molde básico con las respectivas modificaciones, como fue en el caso de la blusa; para la falda no saque moldes, sino que realice los cálculos necesarios para obtener el largo deseado y el acople en cada uno de los volantes, así como la justa medida en la cintura de la blusa.
Materiales
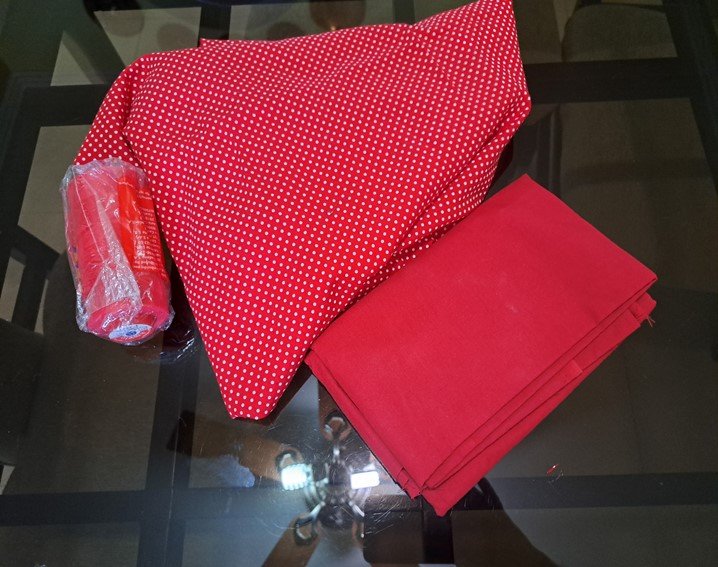
Para la realización utilicé 1,50 metros de tela roja con estampado de lunares blancos de 1,50 metros de ancho; 1 metro de tela roja de 1,50 metros de ancho; elástico de 3 mm de diámetro; tira bordada en blanco y rojo; 4 botones blancos, hilo rojo e hilo blanco; y como complemento para la realización y de alguna forma indispensables, cinta métrica, tijeras, máquina de coser, plancha eléctrica, aguja de coser a mano y alfileres.
Today I am here again to share with you a beautiful work, which is an elegant dress that I made for one of my granddaughters, which gave me great pride in its realization because it was not an easy dress to make, as it involved a series of calculations that should be quite accurate for the integrity of the piece to look beautiful, in addition to the respective modifications to the basic mold.
I am going to share with you the realization of the integrity of the dress, since some parts of the dress were made by taking a basic mold with the respective modifications, as was the case of the blouse; for the skirt I did not take molds, but I made the necessary calculations to obtain the desired length and the coupling in each of the ruffles, as well as the right measurement in the waist of the blouse.
Materials
For the realization I used 1.50 meters of red fabric with white polka dots print of 1.50 meters wide; 1 meter of red fabric of 1.50 meters wide; elastic of 3 mm diameter; red and white embroidered strip; 4 white buttons, red thread and white thread; and as complement for the realization and somehow indispensable, measuring tape, scissors, sewing machine, electric iron, hand sewing needle and pins.
Procedimiento
Corte de la falda de volantes
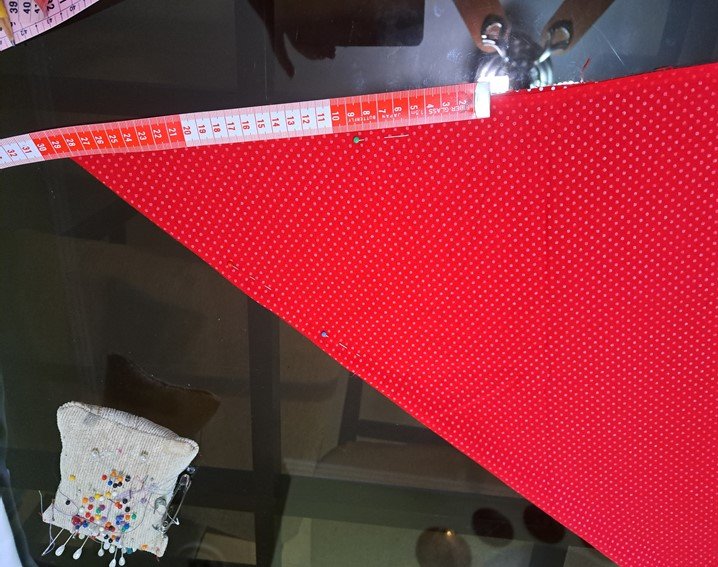
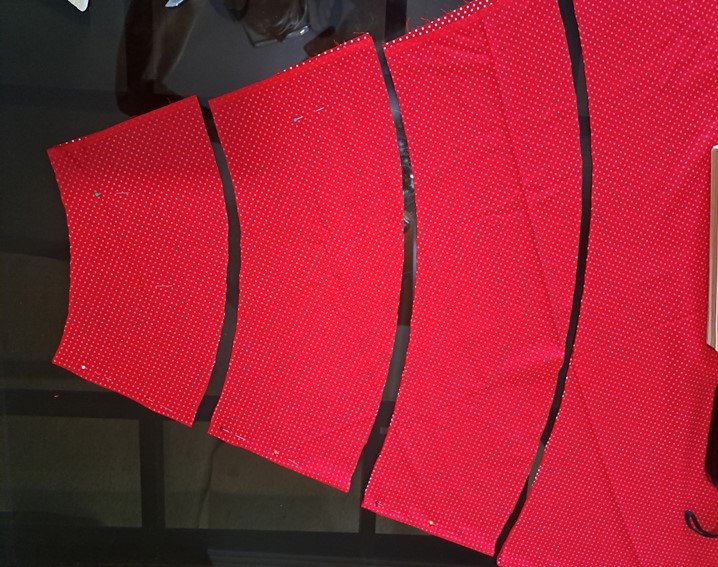
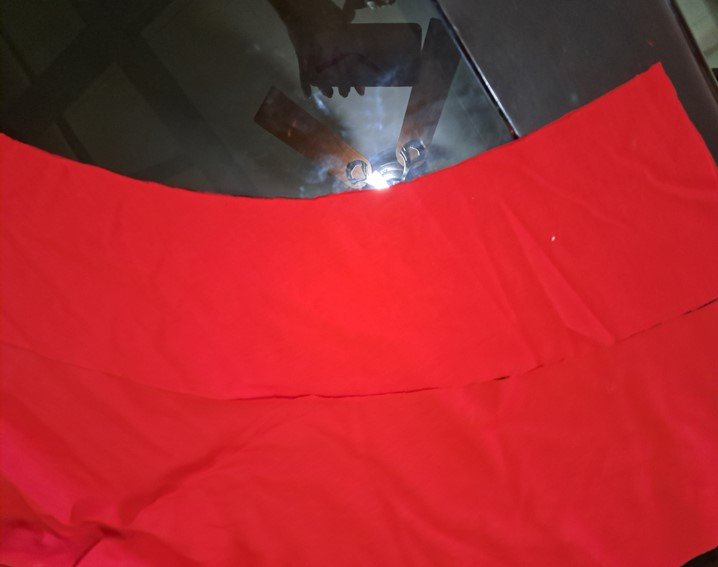
Con los moldes ya listos, procedí en primer lugar a realizar el corte de los volantes para la falda la cual se realiza al sesgo por lo que hay que doblar la tela en una esquina de tal forma que se vaya cortando el volante más pequeño que sería el de la parte superior y que va unido a la blusa, seguidamente se corta el segundo y por último el tercero, esto se realiza nuevamente uniendo las otras dos puntas de la tela para cortar las otras partes de los volantes, que luego se unirían en los costados, hay que tener en cuenta que el ancho de los volantes son iguales, es decir un corte en forma de A.
Procedure
Cutting the ruffled skirt
With the molds ready, I proceeded first to cut the ruffles for the skirt, which is done on the bias, so you have to fold the fabric in a corner in such a way that the smallest ruffle is cut, which would be the one at the top and that is attached to the blouse, Then cut the second and finally the third, this is done again by joining the other two ends of the fabric to cut the other parts of the ruffles, which would then join the sides, keep in mind that the width of the ruffles are equal, ie an A-shaped cut.
Corte de la blusa
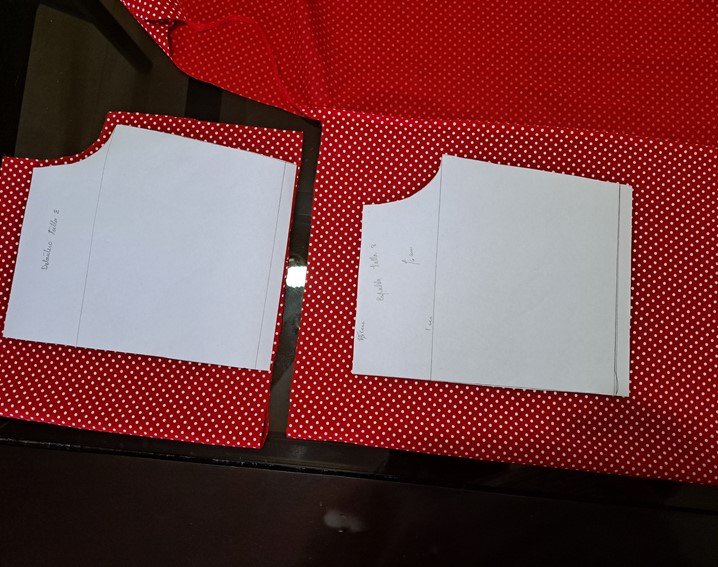
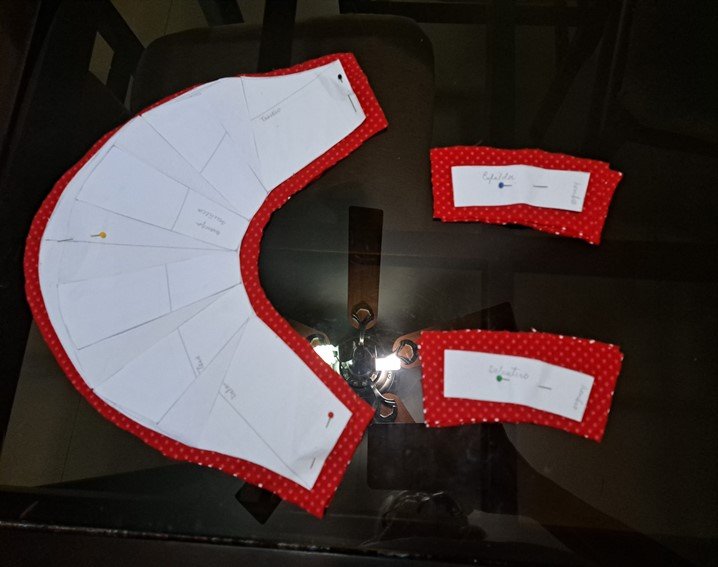
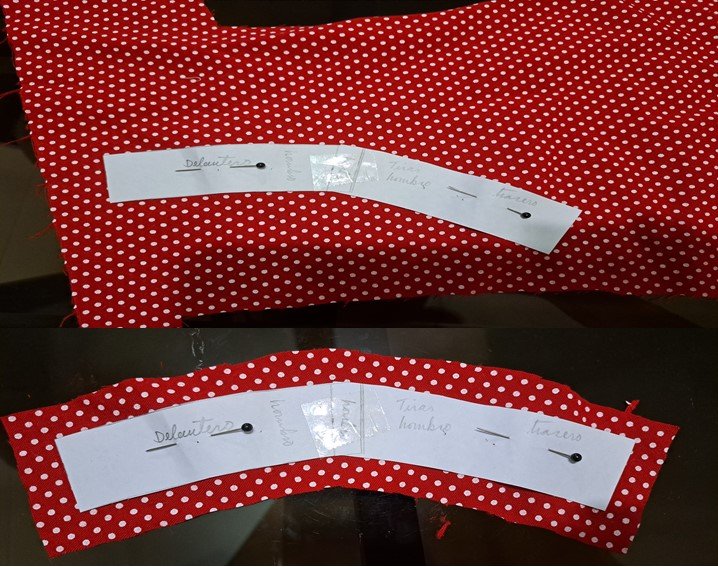
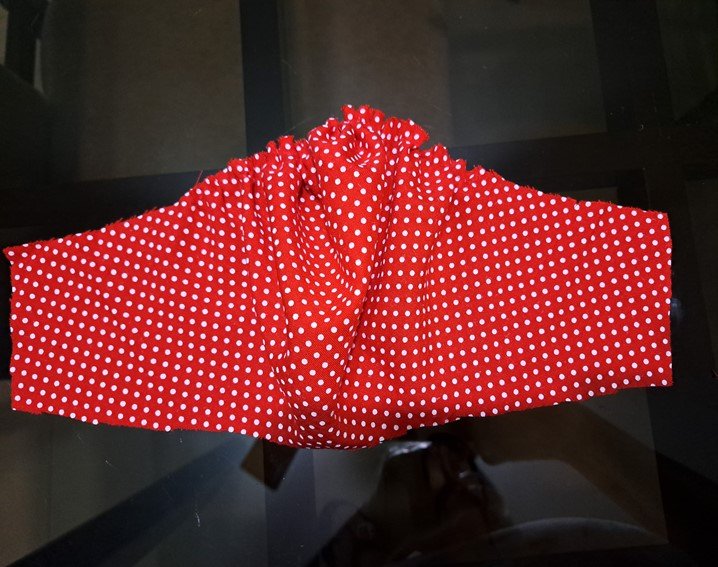
La blusa se corta según molde del delantero y trasero, dejándole una amplitud para el arruchado deseado con el elástico, se cortan los tirantes y las mangas con su respectiva modificación.
Cutting the blouse
The blouse is cut according to the mold of the front and back, leaving a width for the desired ruffling with the elastic, the straps and sleeves are cut with their respective modification.
Confección
Confección de la blusa
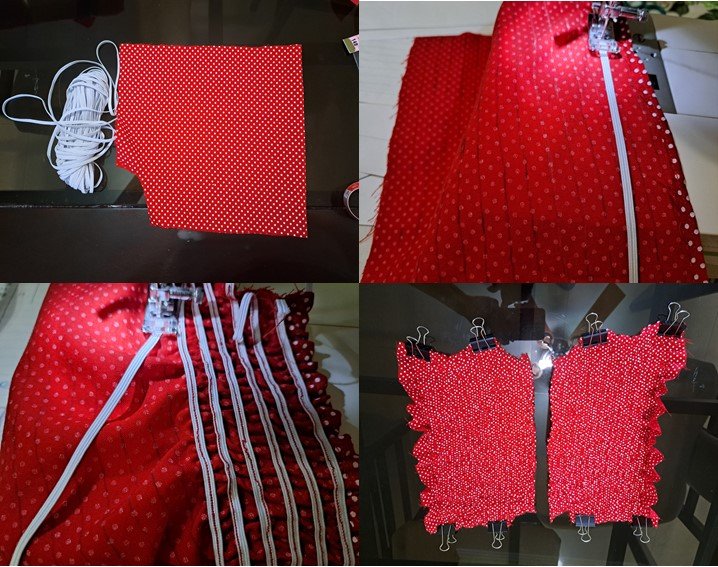
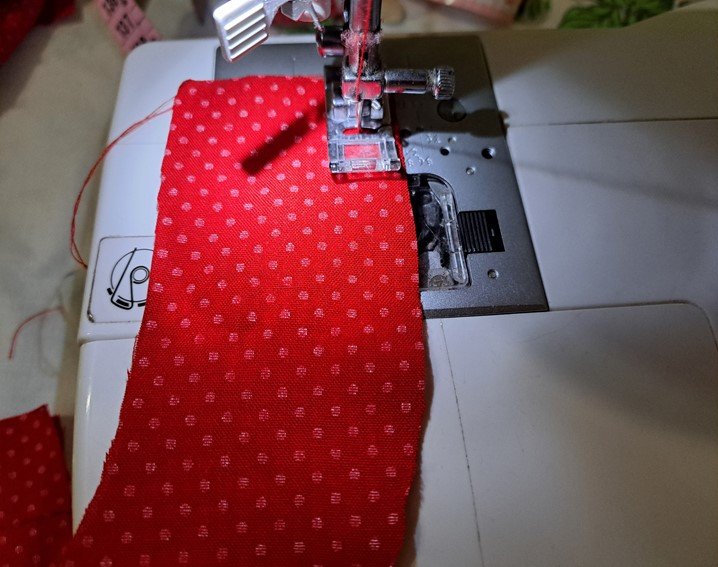
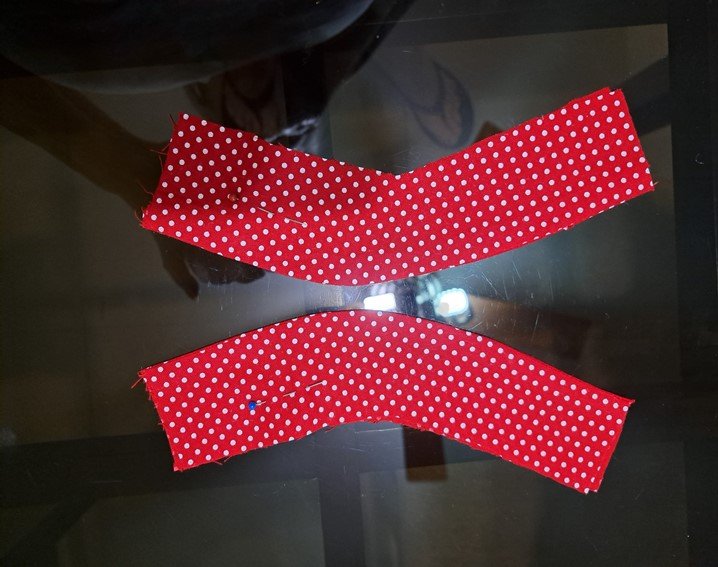
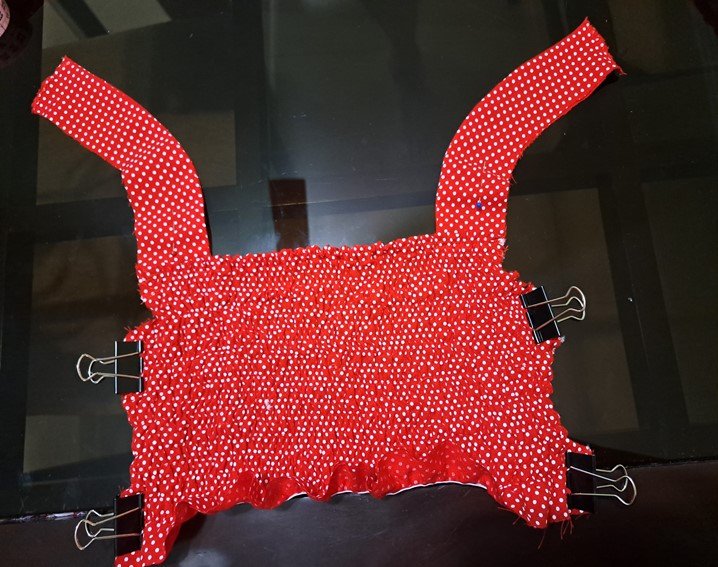
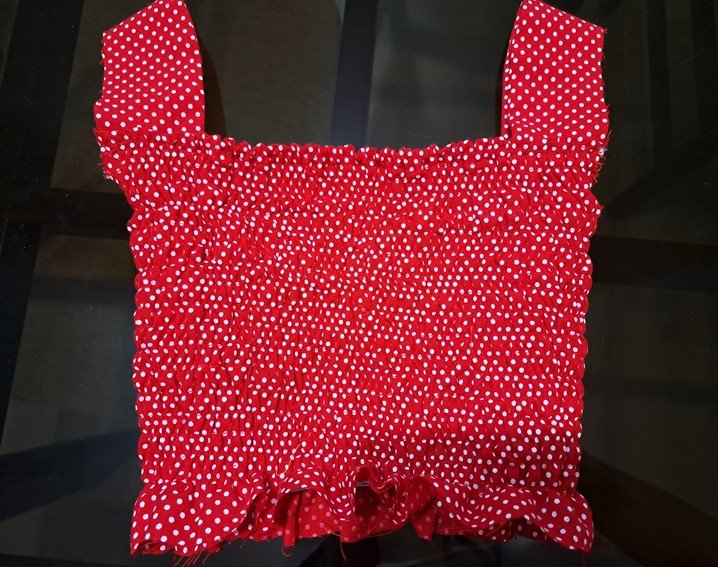
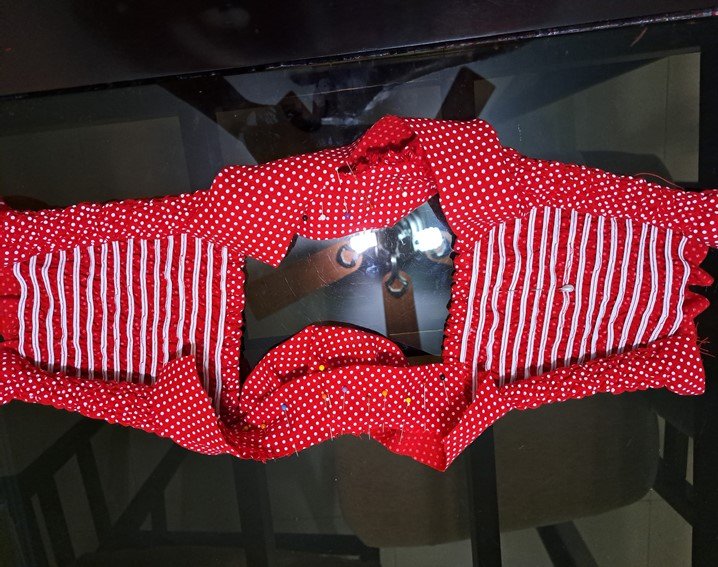
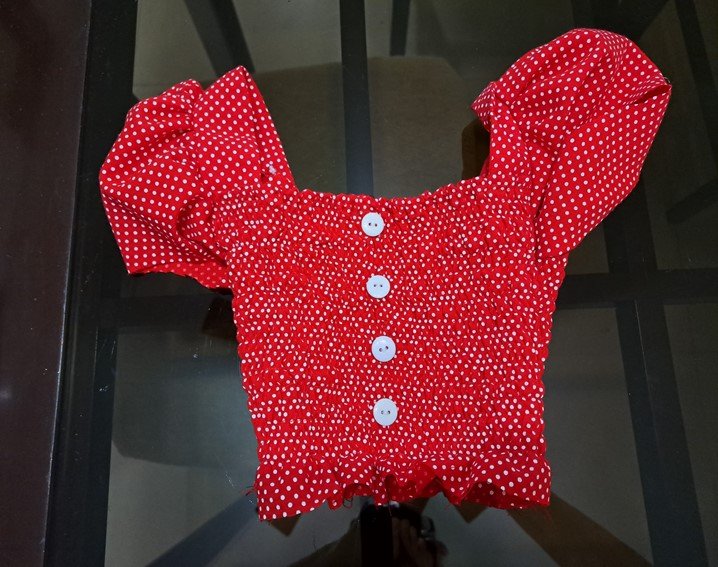
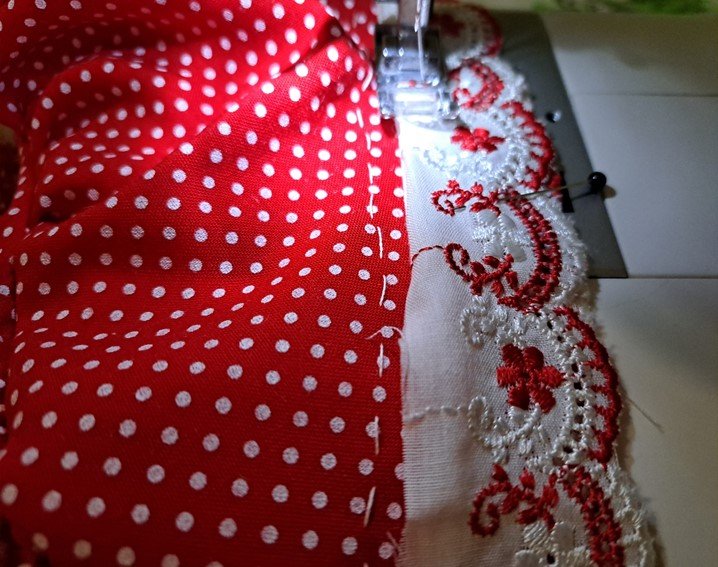
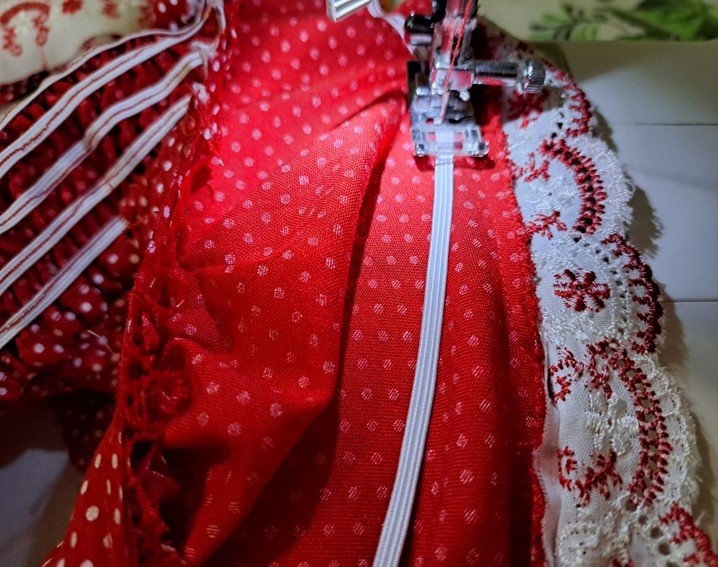
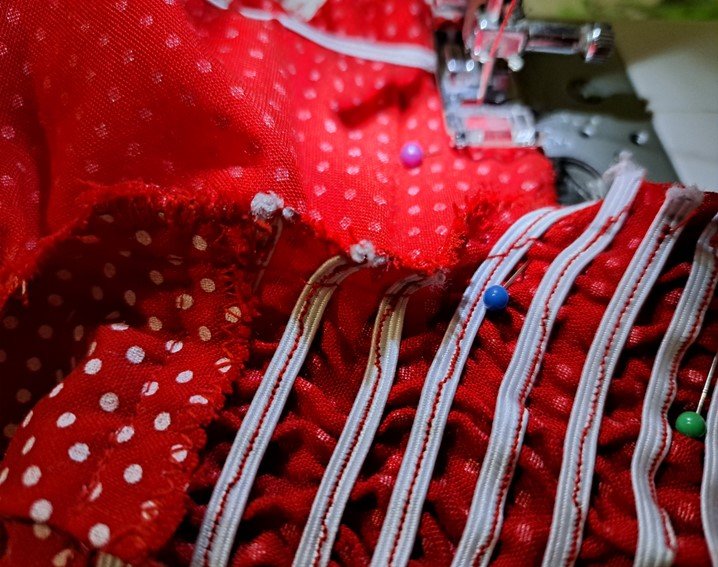
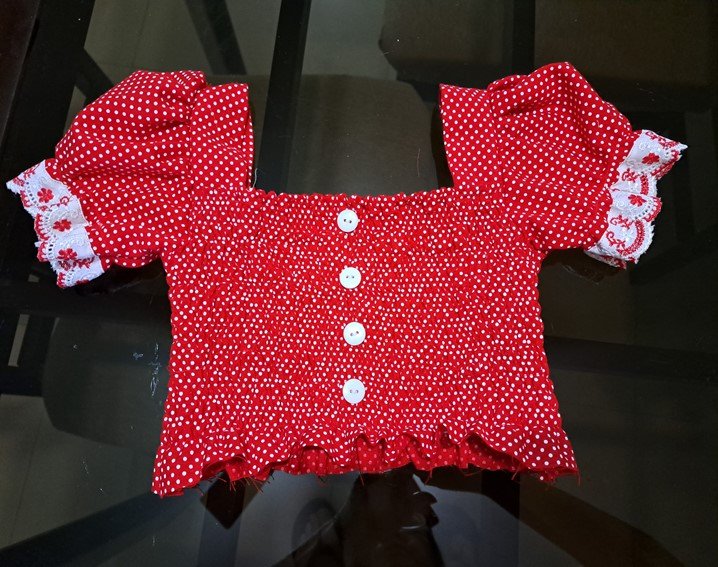
Lo primero que realice fue marcar por el revés como iba a realizar la colocación del elástico en la parte del revés de la parte delantera y trasera de la blusa para que el arruchado sea uniforme, una vez realizado la colocación del elástico continúe con la colocación de los tirantes, luego arruche las mangas para colocarlas en la blusa, coloque seguidamente la tira bordada en los puños de las mangas, eso le da mucho realce al vestido, y luego le coloque elástico en el puño dela manga un poco más arriba de la tira bordada e inmediatamente continúe con la realización de las costuras laterales de la blusa y para culminarla le pegue los botones en la parte delantera de la blusa.
Making
Making the blouse
The first thing I did was to mark on the back how I was going to place the elastic on the back of the front and back of the blouse so that the ruffling is uniform, once the elastic was placed continue with the placement of the straps, then ruffle the sleeves to place them on the blouse, then place the embroidered strip on the cuffs of the sleeves, that gives much enhancement to the dress, and then place elastic on the cuff of the sleeve a little above the embroidered strip and immediately continue with the realization of the side seams of the blouse and to finish it glue the buttons on the front of the blouse.
Confección de la falda
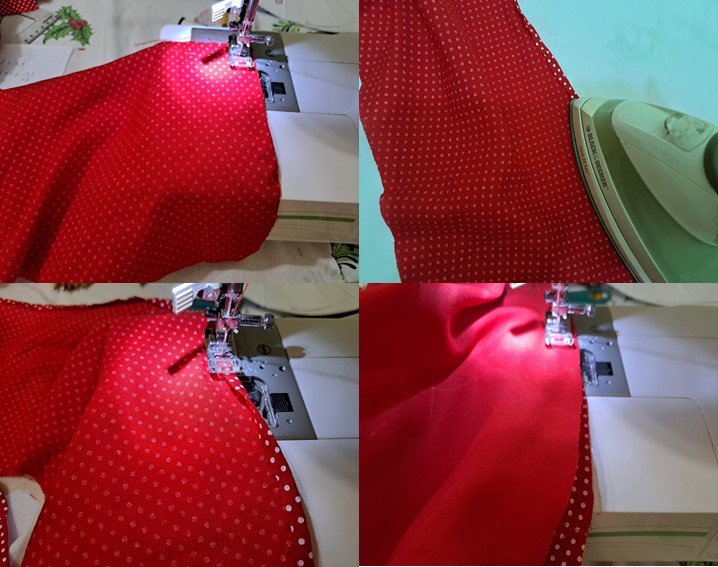
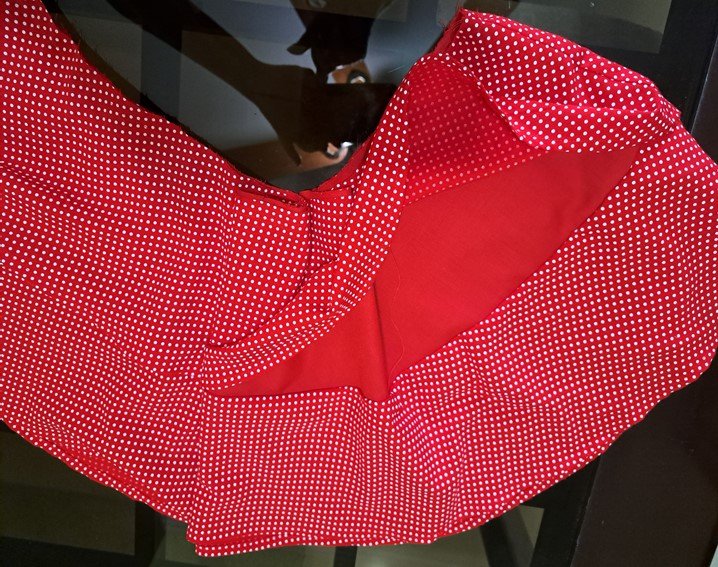
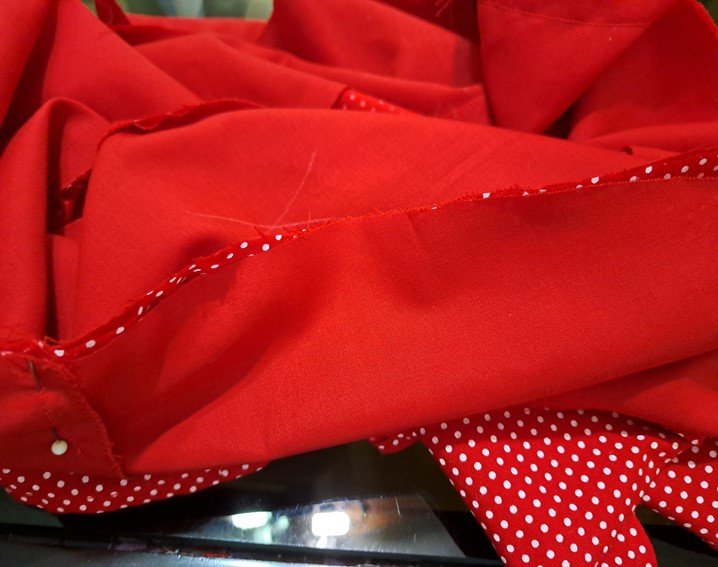
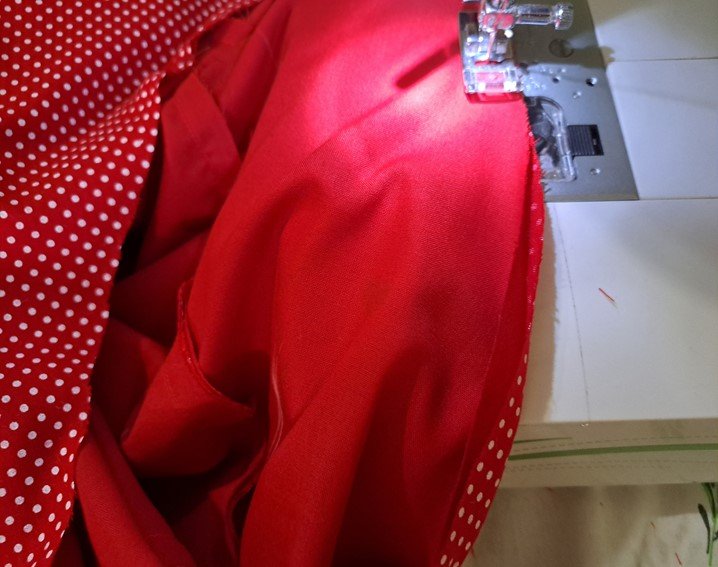
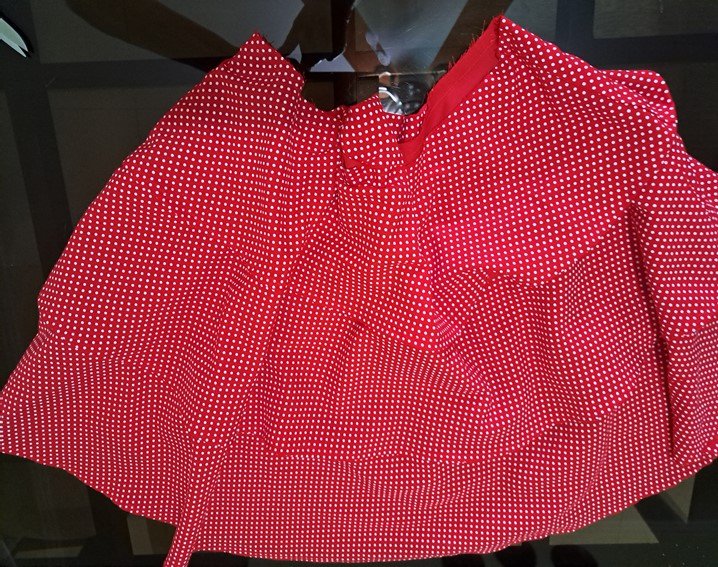
Para la confección de la falda se empieza de la parte de abajo hacia arriba, pero en primer lugar ya se deben tener preparados todos los volantes, es decir ya unidos las dos partes de todos y con unos ruedos de 2 mm para el caso de los volantes principales, hay que tener en cuenta que el ruedo en los volantes principales debe ser bien delgado, en mi caso los doble con la plancha de esa forma planchaba de una vez los volantes.
Making the skirt
To make the skirt, start from the bottom upwards, but first you must have all the flounces ready, that is to say, the two parts of all the flounces must be joined together and with 2 mm ruffles in the case of the main flounces, keep in mind that the ruffle on the main flounces must be very thin, in my sewing I folded them with the iron, that way I ironed the flounces at the same time.
Armado del vestido
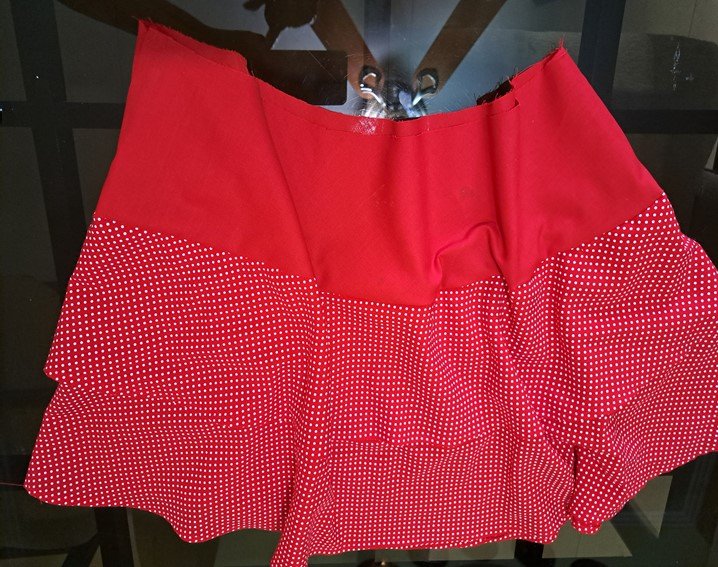
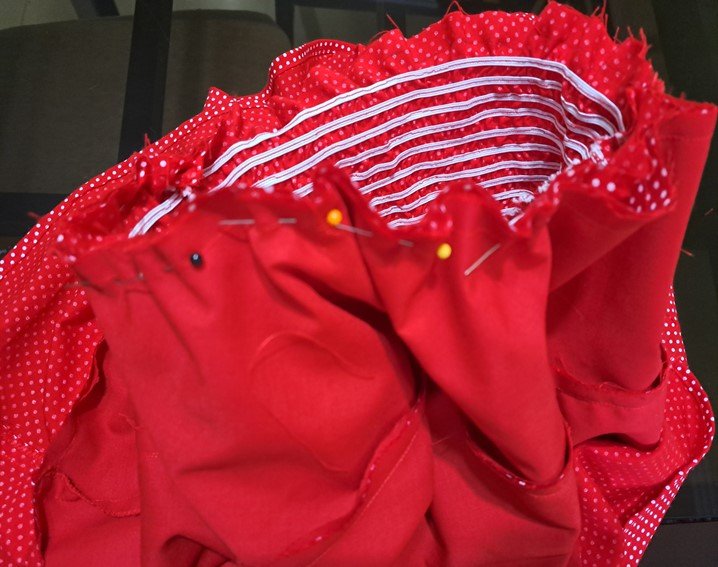
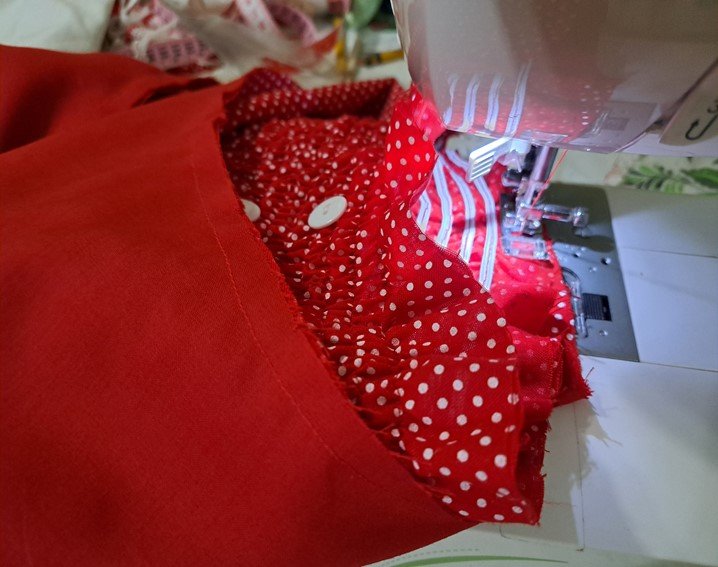
Una vez culminada la falda y que ya la blusa está armada se une la falda por la parte superior de los últimos volantes con la blusa que ya está culminada, de esta manera le realice un hermoso vestido para mi nieta sabiendo que el rojo es uno de sus colores favoritos en ropa; les cuento que ya el vestido le llego a mi niña, que como les he contado en otras oportunidades se encuentra fuera del país, pero que era una oportunidad que tenía para enviárselo y pues me puse manos a la obra de tal forma de enviárselo, y la verdad que estoy feliz por ello.
Assembling the dress
Once the skirt is finished and the blouse is already assembled, the skirt is joined at the top of the last ruffles with the blouse that is already finished, in this way I made a beautiful dress for my granddaughter knowing that red is one of her favorite colors in clothes; I tell you that the dress has already arrived to my girl, who as I have told you in other opportunities is out of the country, but it was an opportunity I had to send it to her and so I got down to work in such a way to send it to her, and the truth is that I'm happy about it.

Translated with www.DeepL.com/Translator (free version)
Fuente de imágenes: Archivo Personal.


MIS REDES SOCIALES


Wow this is such a nice dress
Thank you for your comment.
what a beautiful dress you made and you made it look easy to make
Thank you for your beautiful comments, happy day
It is so beautiful, stylish, and elegant. Its design stands out. It shows your skills. You did a great job! 😊
Thanks for your comments!
This dress is so pretty.you did a great job
Thank you for stopping by and commenting
Bellísimo! Estoy segura que a tu nieta le encantó tan bella creación 🥰
Gracias por pasar y comentar, si verdaderamente le encanto, saludos!