Restaurando portaretratos viejos//Restoring old picture frames [ESP/ING]

Hola queridos Hivers de esta comunidad tan bonita donde hay creatividad a montón, deseo que todos estén contentos y felices.
Hoy recibí un regalo de mi mamá, una caja llena de portaretratos viejos, que no sabía qué hacer con ellos.
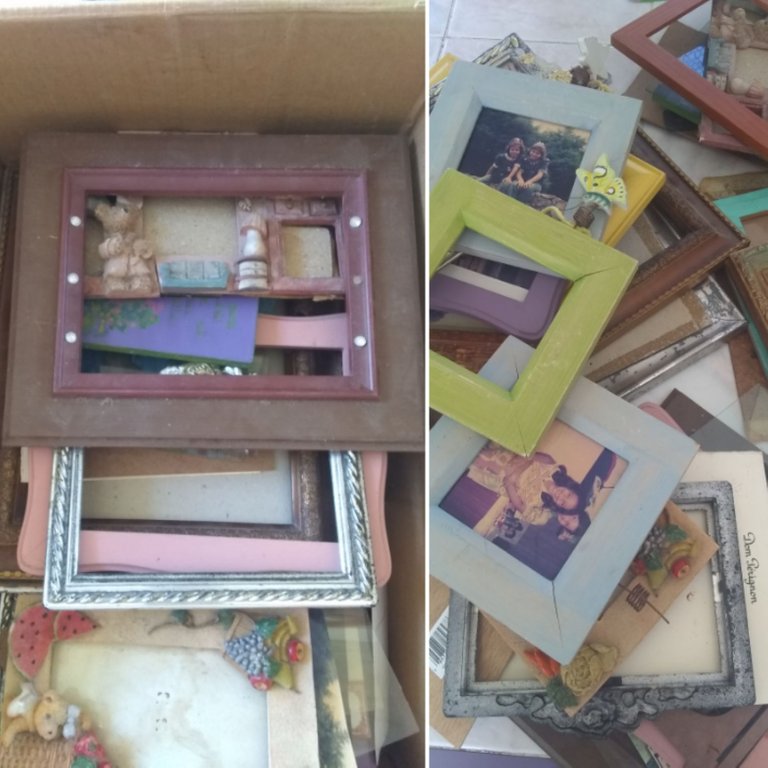
De inmediato comencé a planificar que haría con aquello tan valioso. Pues pensé en restaurarlos con un poco de pintura e imaginación.
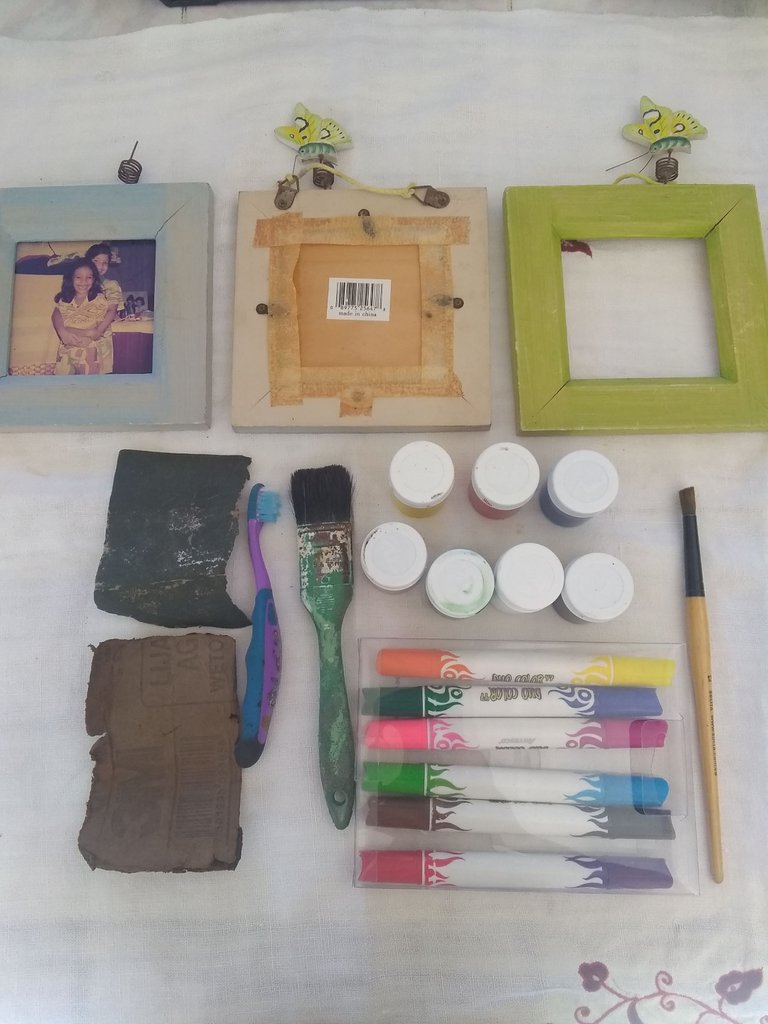
Busque los materiales necesarios para mi proyecto de restauración de portaretratos.
Materiales:
Lijas
Pincel
Pinturas de acuarela
Pañito de limpieza
Marcadores
Creyones
Hoja blanca
Paso a paso
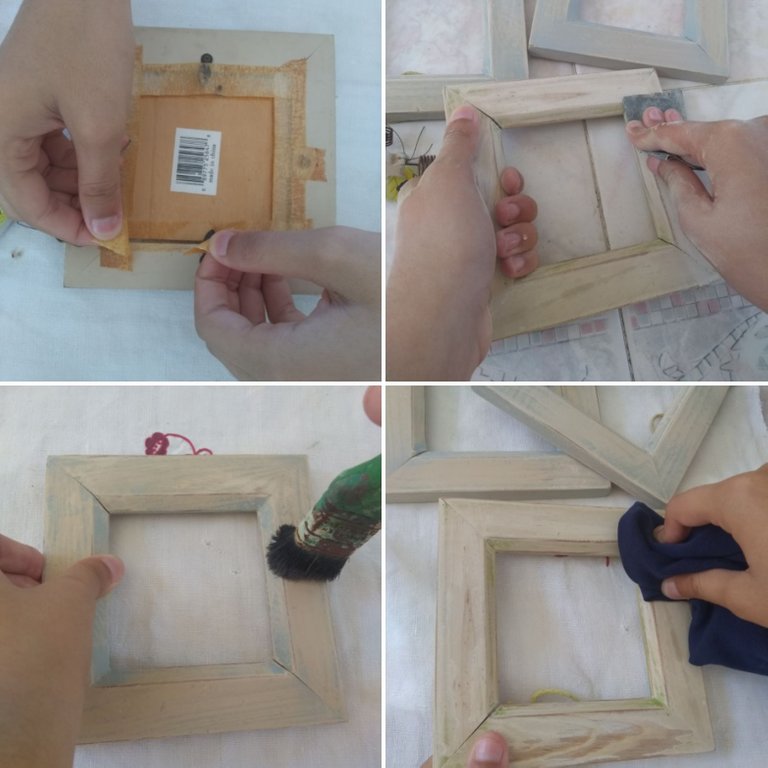
Lo primero fue retirar los soportes viejos detrás de los portaretratos.
Lijar la superficie para retirar la pintura vieja.
Limpiar bien con una brocha y luego con un paño seco.
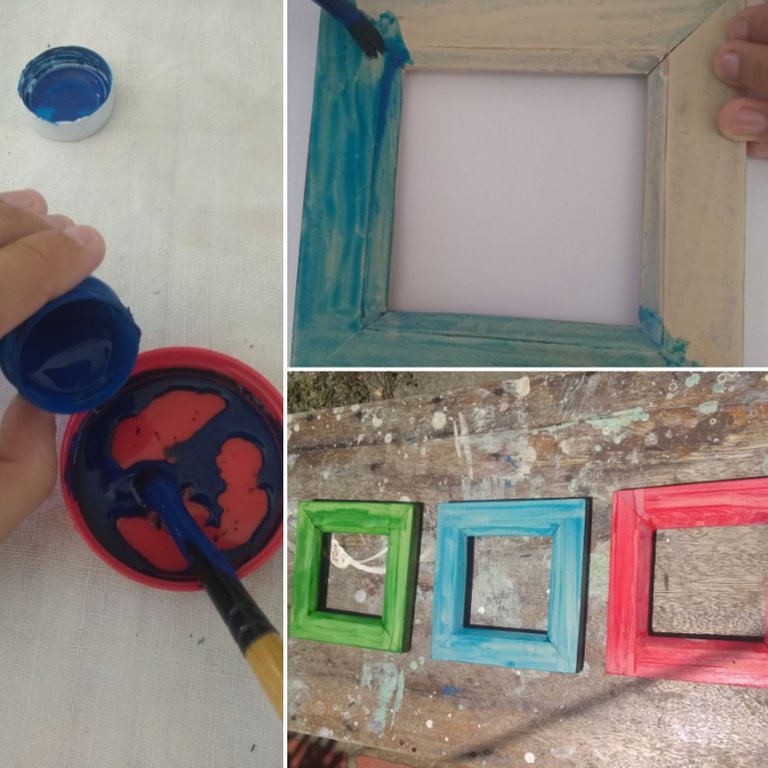
Preparar las pinturas acuarelas. Las diluí con unas gotas de agua para darles un efecto vintage pinte cada marco con un color de mi elección. Por último los puse a secar.
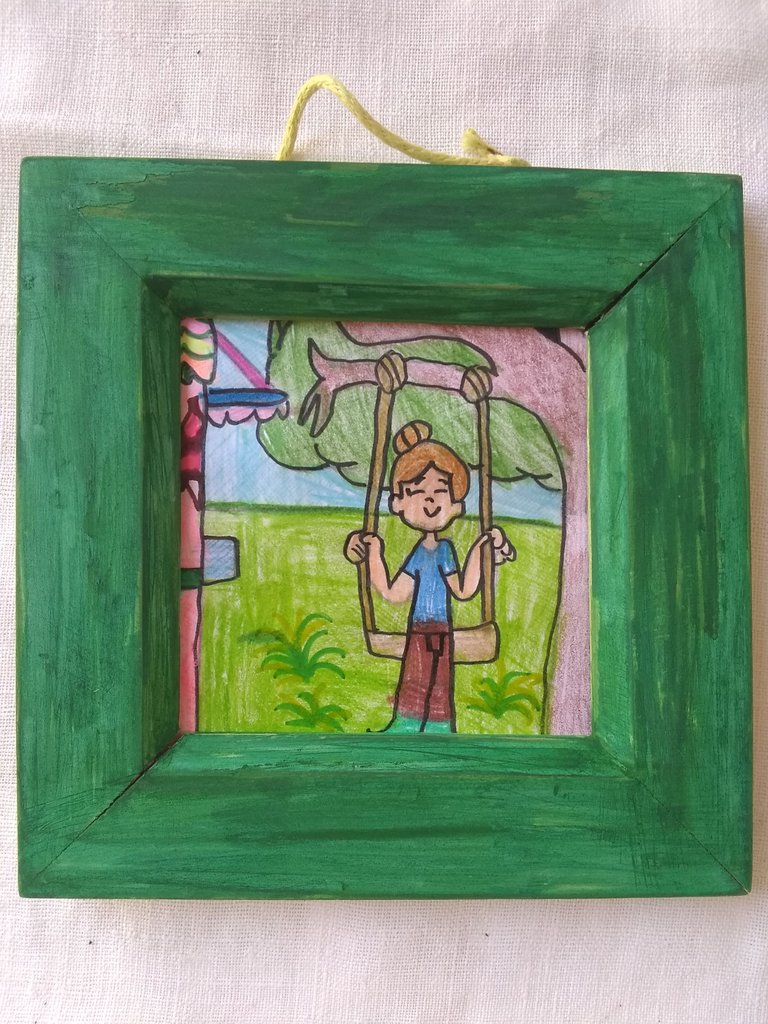
Mientras se secaban hice unos dibujos de mis diseños de historietas para colocar en los marcos en vez de fotografías, está me pareció una idea genial que va acorde con la decoración que estoy pensando hacerle a mi cuarto.
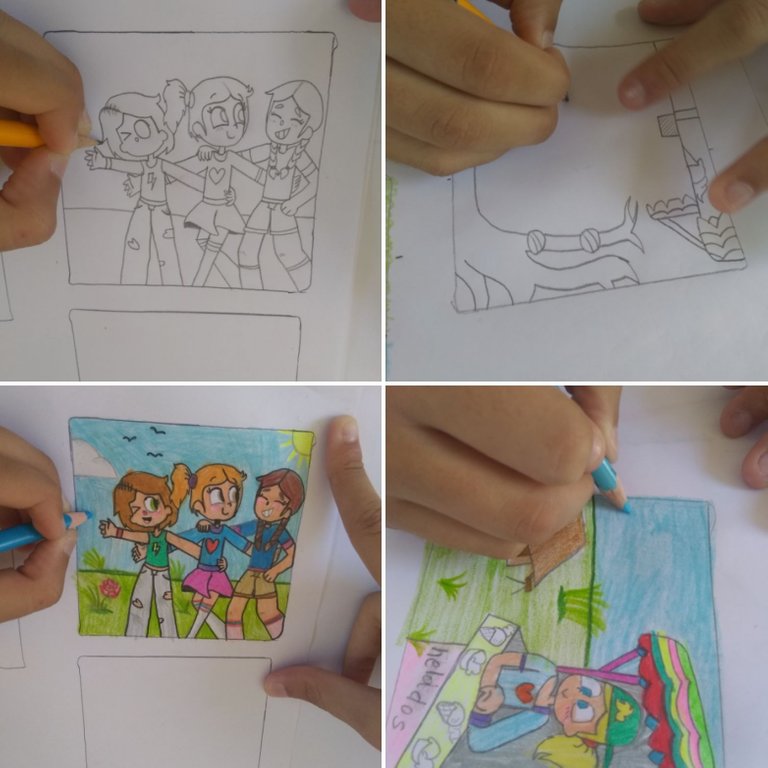
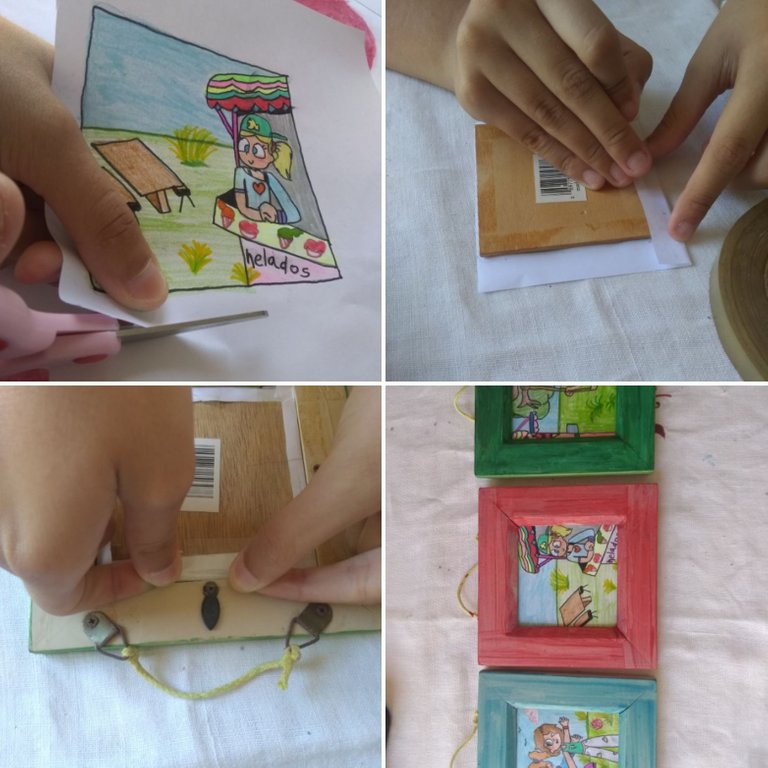
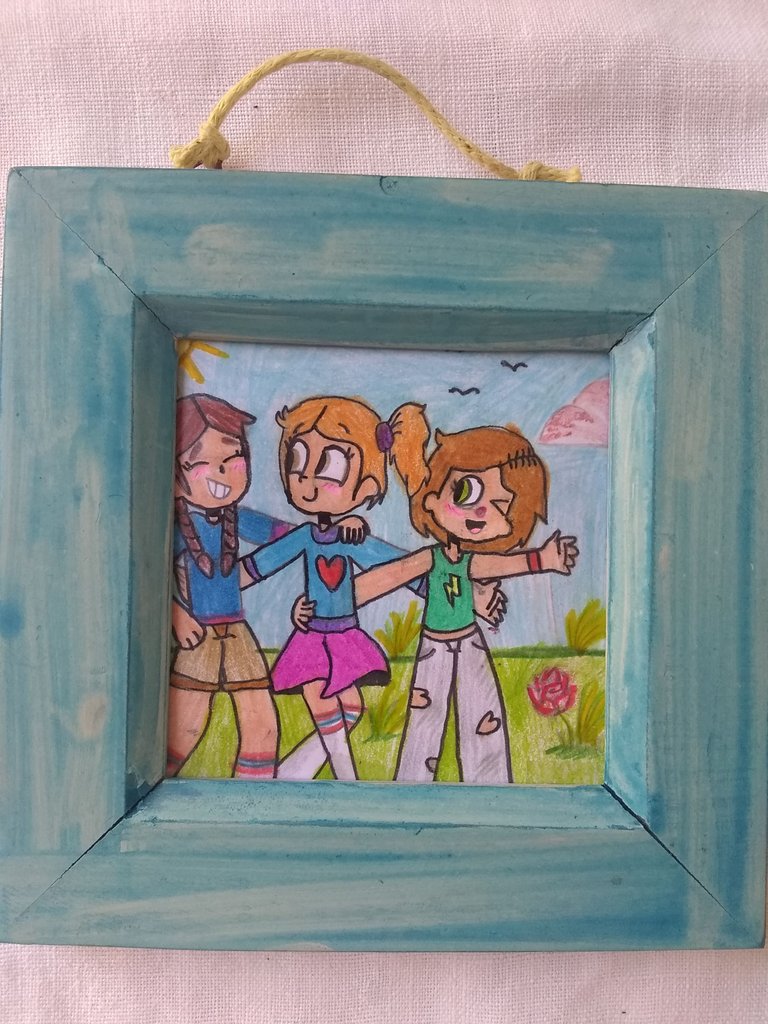
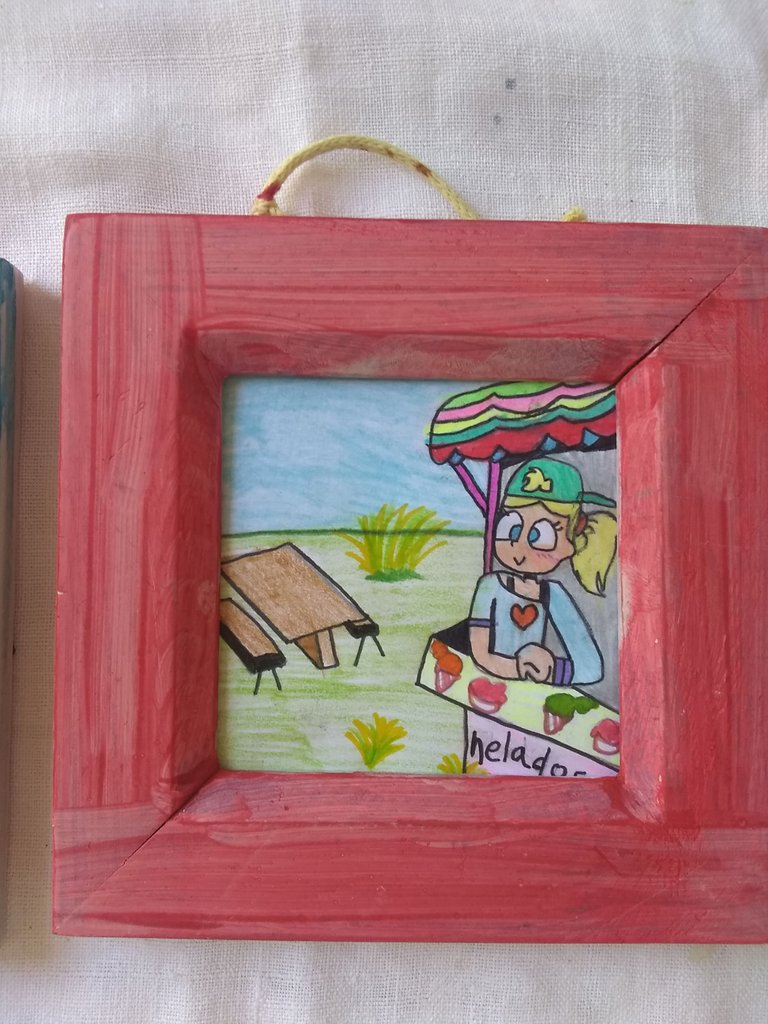
Una vez listos los dibujos, los recorté y los coloque en la tablita que sirve de soporte en cada portaretrato. Los asegure con cinta adhesiva, y ya están listos mis nuevos portaretratos.
Espero que esta idea les sirva para darle vida a esos portaretratos que tienen en sus casas.
Gracias por visitar mi blog, yo soy @estefaniart, 💯 creativa y amante del arte de dibujar.
Todos los dibujos y fotografías son de mi propiedad.

Hello dear Hivers of this beautiful community where there is a lot of creativity, I wish you all to be happy and content.
Today I received a gift from my mom, a box full of old picture frames, and I didn't know what to do with them.
I immediately started to plan what I would do with those precious things. I thought of restoring them with a little paint and imagination.
I looked for the materials needed for my picture frame restoration project.
Materials:
Sandpaper
Brush
Watercolor paints
Cleaning cloth
Markers
Crayons
White sheet
Step by step
The first step was to remove the old brackets behind the picture frames.
Sand the surface to remove the old paint.
Clean well with a brush and then with a dry cloth.
Prepare the watercolor paints. I diluted them with a few drops of water to give them a vintage effect and painted each frame with a color of my choice. Finally I put them to dry.
While they were drying I made some drawings of my cartoon designs to place in the frames instead of photographs, this seemed to me a great idea that goes according to the decoration I am thinking of doing to my room.
to my room.
Once the drawings were ready, I cut them out and placed them on the little board that serves as a support for each picture frame. I secured them with masking tape, and my new picture frames are ready.
I hope this idea will help you to give life to those picture frames you have at home.
Thanks for visiting my blog, I am @estefaniart, 💯 creative and lover of the art of drawing.
All drawings and photographs are my property.
Translated with www.DeepL.com/Translator (free version)