Digital art_2021. Christmas Window
Hi friends!
Today I wanted to draw a picture dedicated by Christmas.
December is a special month. The streets of cities are beginning to be decorated with New Year's garlands, and Christmas gifts appear in stores.
The spirit of the holiday is everywhere...
Artists can catch him in the first place to embed in their paintings.
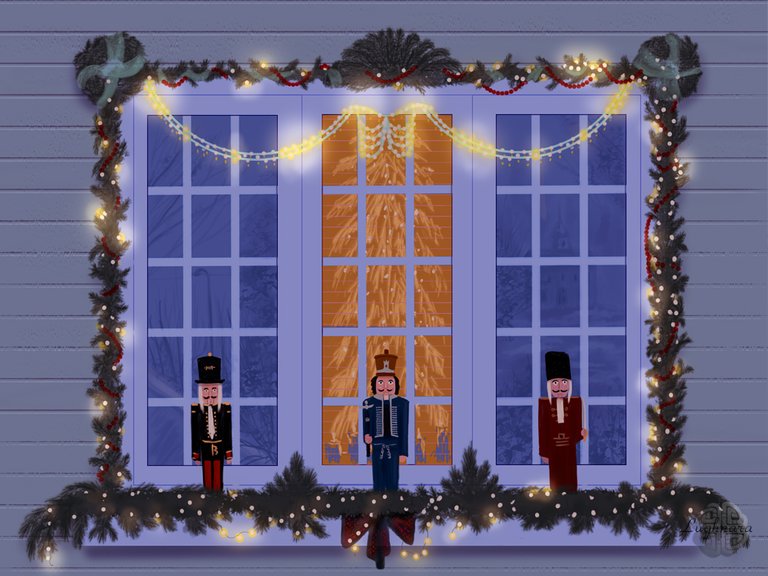
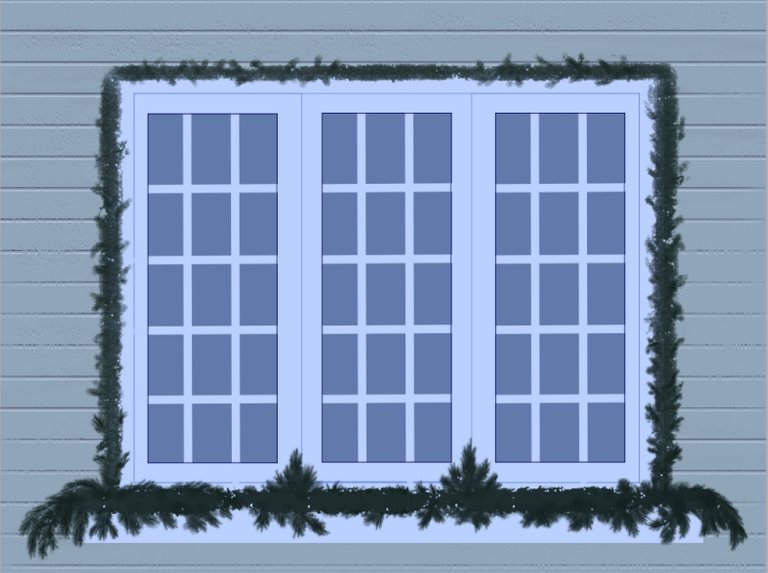
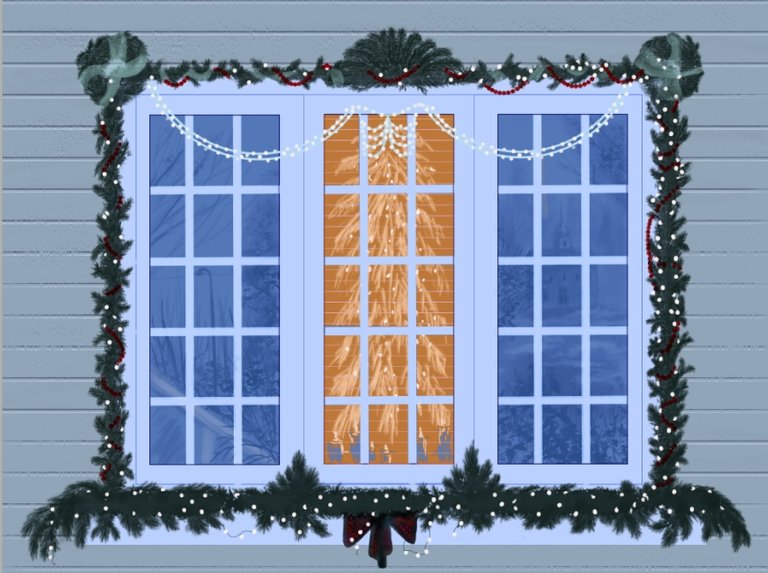
I chose for the image an ordinary window of a residential building decorated for Christmas.
I painted it in a slightly different style than usual. I also want to show you how to work with some of the special tools in Paint Tool SAI 2
And, yes... I wanted to try doing all the work in SAI without the help of Photoshop
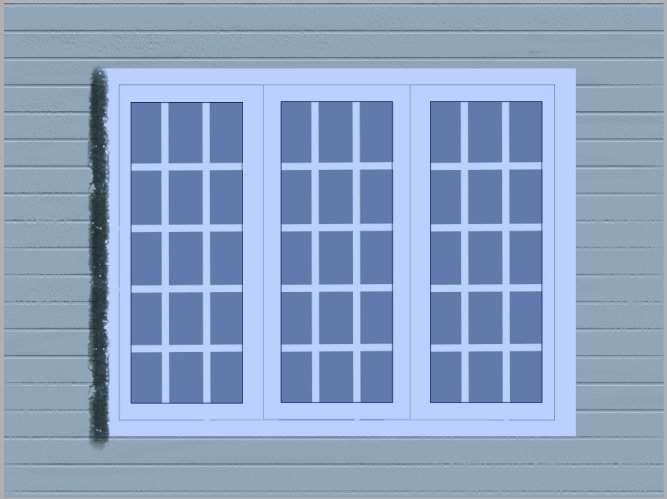
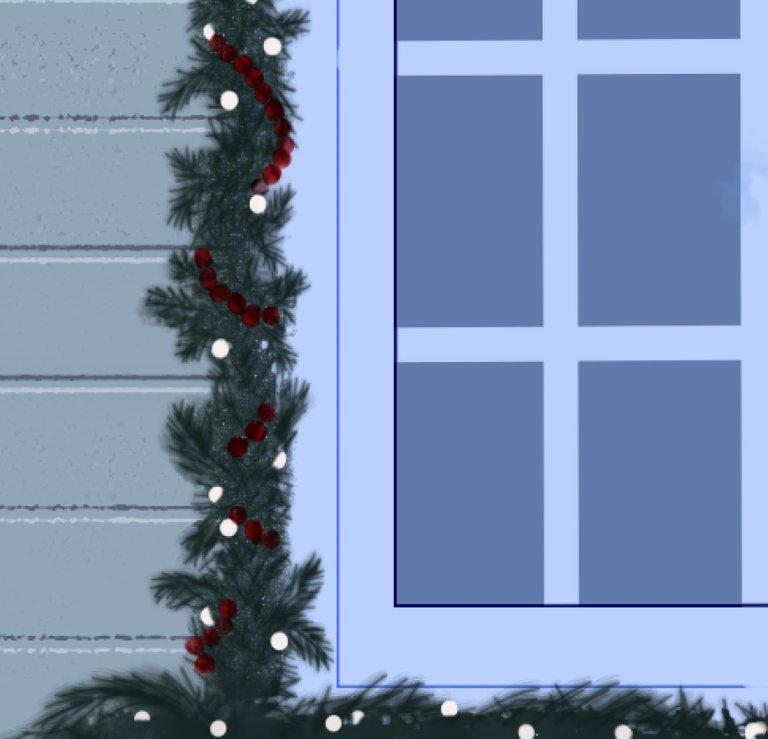
I started my work with drawing a wall texture.
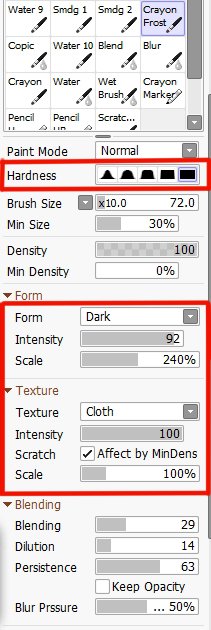
I customized usual brush by giving it a striped texture
and draw with this brush on new layer

Then I fill a background layer with blue color as on a reference

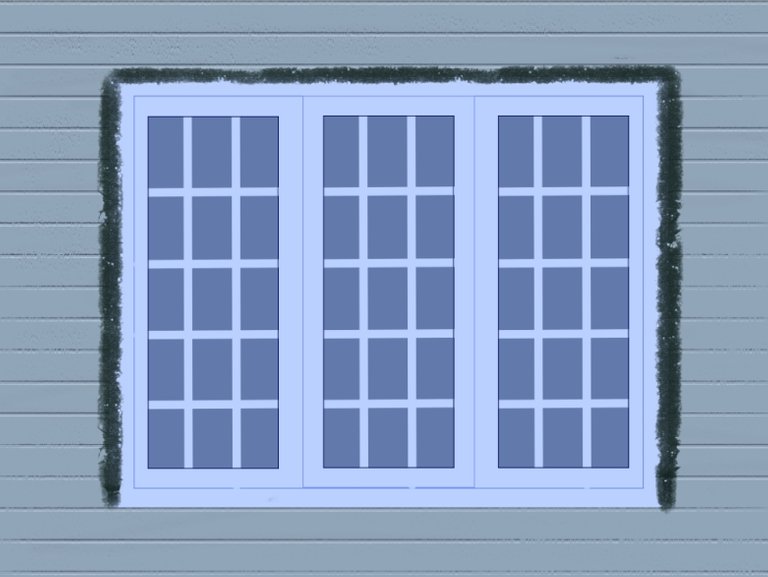
To create a volumetric effect, I copied the stripes layer, changed the blending mode to Screen and moved it 1 pixel down.

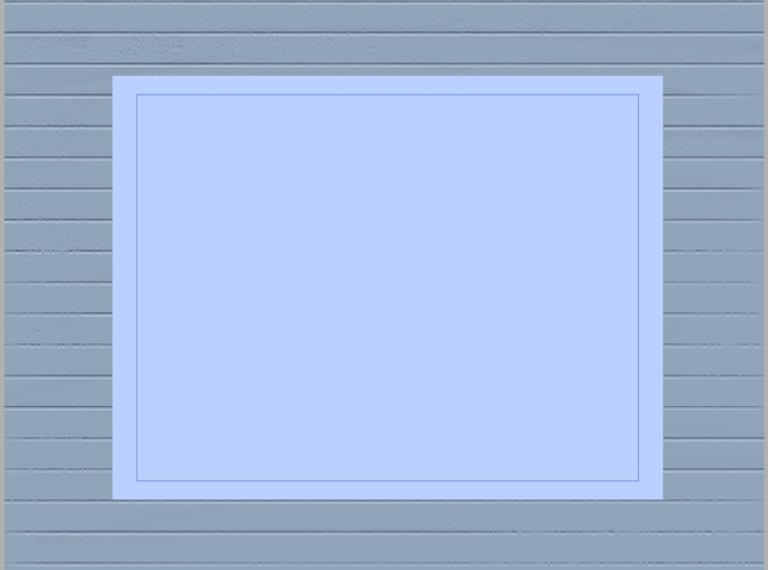
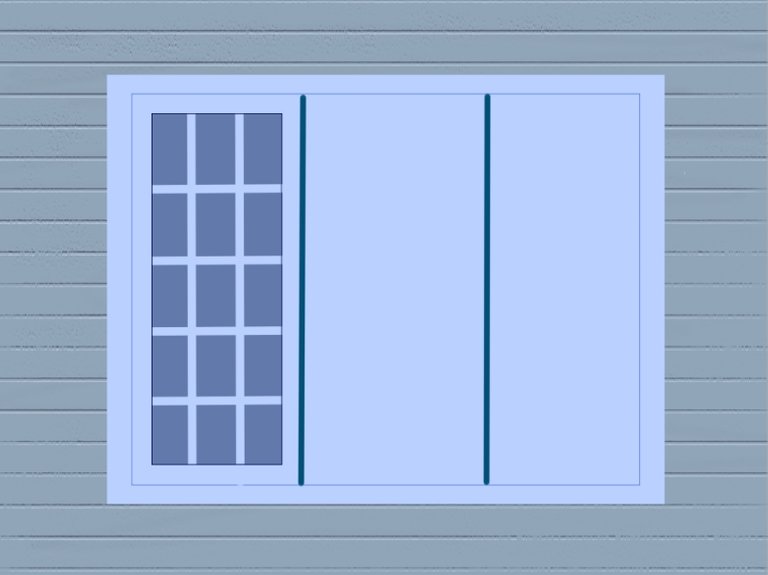
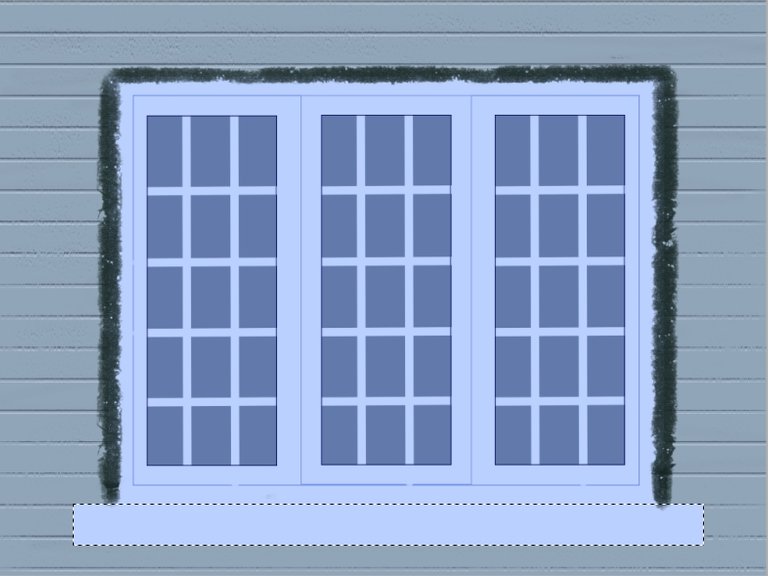
So... I need draw a main frame for window.
Select Rectangle selection tool and select an area on new layer and fill it bright blue color
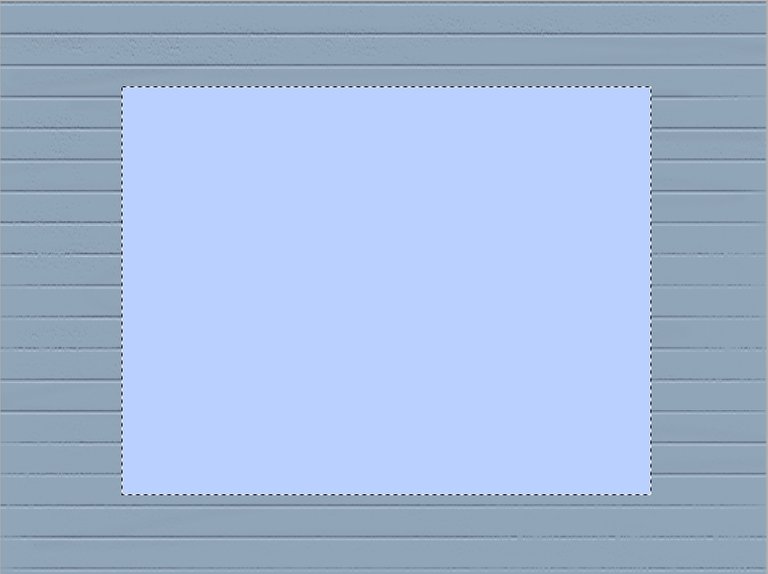
Duplicate this layer and reduce a size
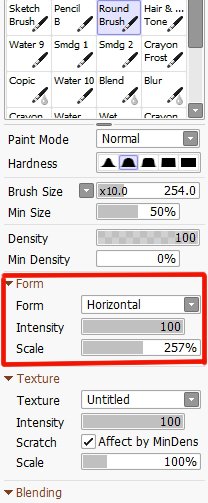
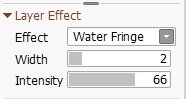
To make a little shading around the edges, I use the Layer Effect function for duplicate layer with this option
This is how it looks.
So far so good!
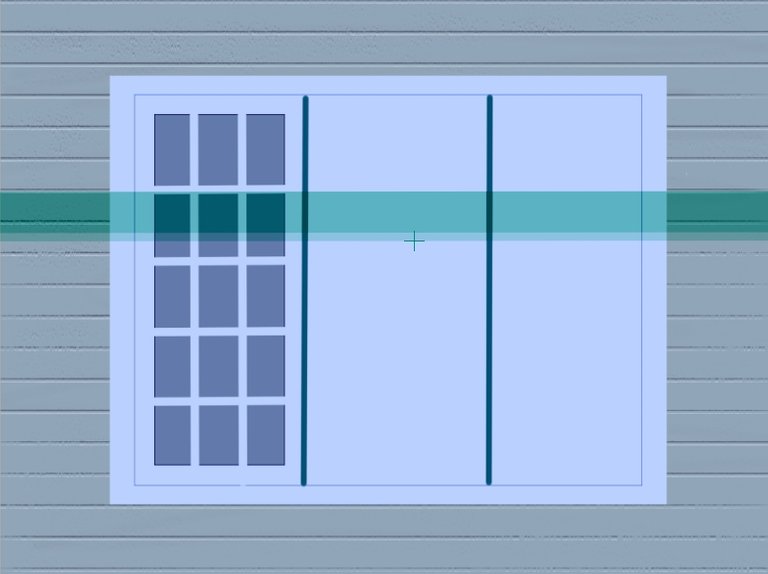
In the next step, I'll need to turn on the guides to split the window into three equal areas.
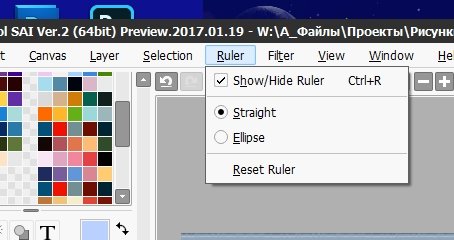
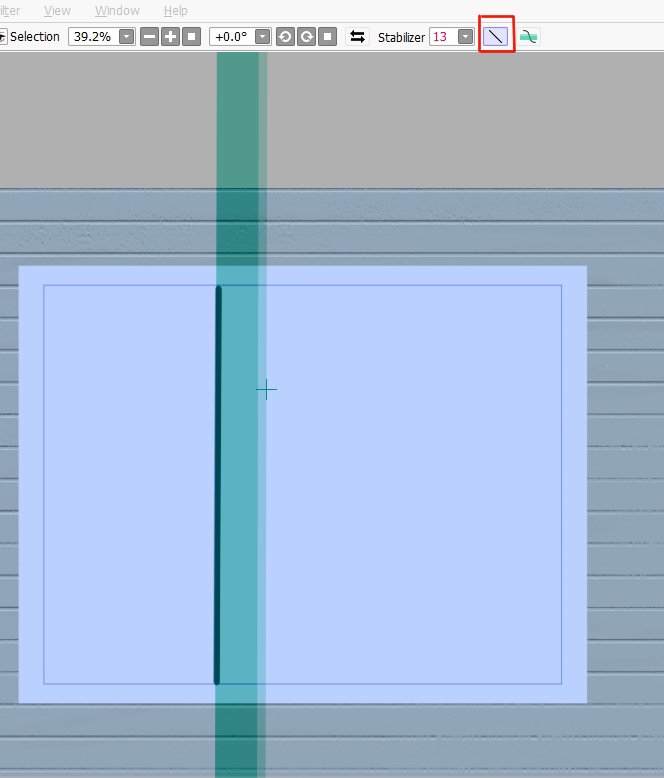
So I turn on a option to drawing strait line.
I move the guideline with CTRL and draw along it.
Making a selection for the first window
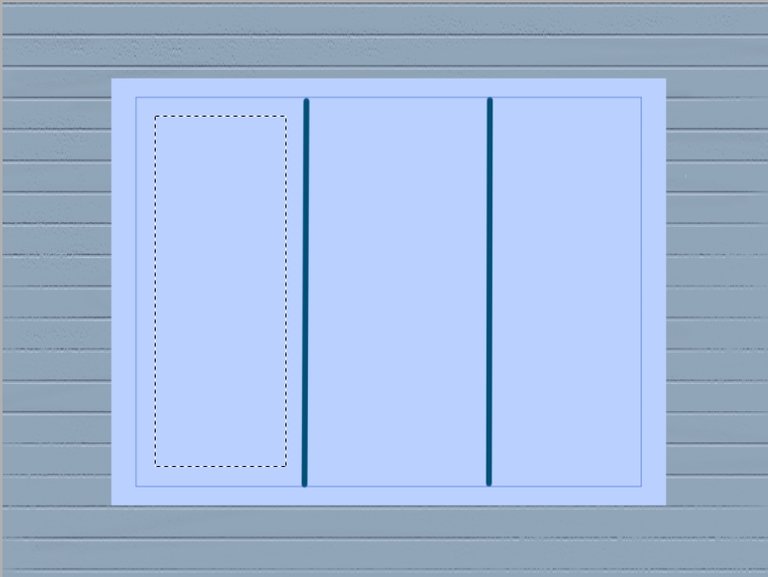
Filling with dark blue on new layer and applying the same layer effect

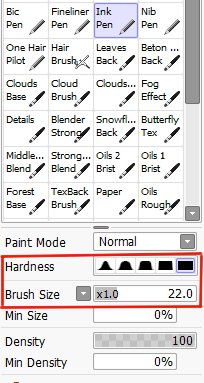
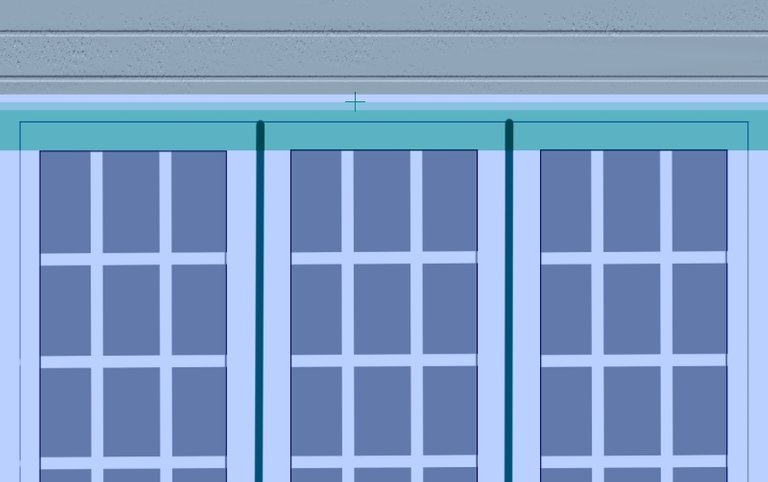
Then I choose a hard brush Ink Pen with this options to draw the crosshairs of the window frame (on new layer again)
Drawing with guideline again.
For drawing horizontal stripes I rotate a guideline with ALT
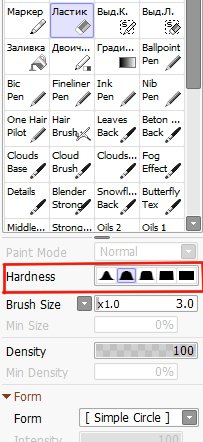
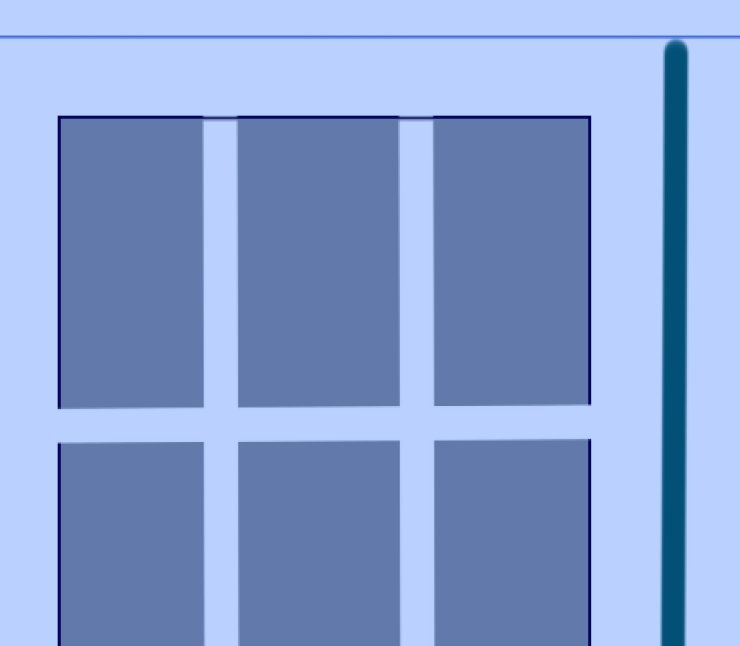
Then I choose an Eraser tool with this options (not so hard)
and erase some of the stripes where they overlap the shading at the edges
Yes, very realistic window!
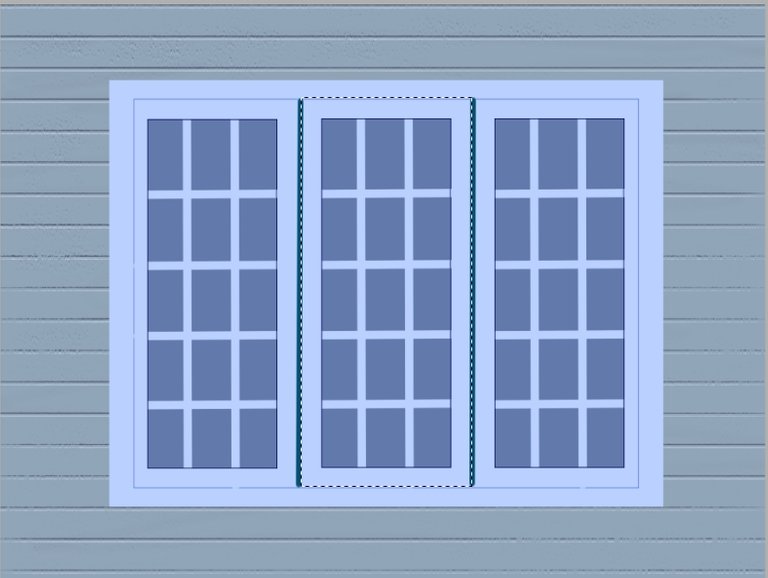
On this step I make a copy dark blue glass layer and make in invisible (we need it to draw reflections).
Then I merge a layers with glass and cross stripes
Copy this layer two and replace in window area (with guidelines)
Yes, it's all I need!

So, I make one more rectangle selection (along supporting verticals) to create a middle frame
I fill it with light blue color on new layer and can delete a layer with supporting verticals
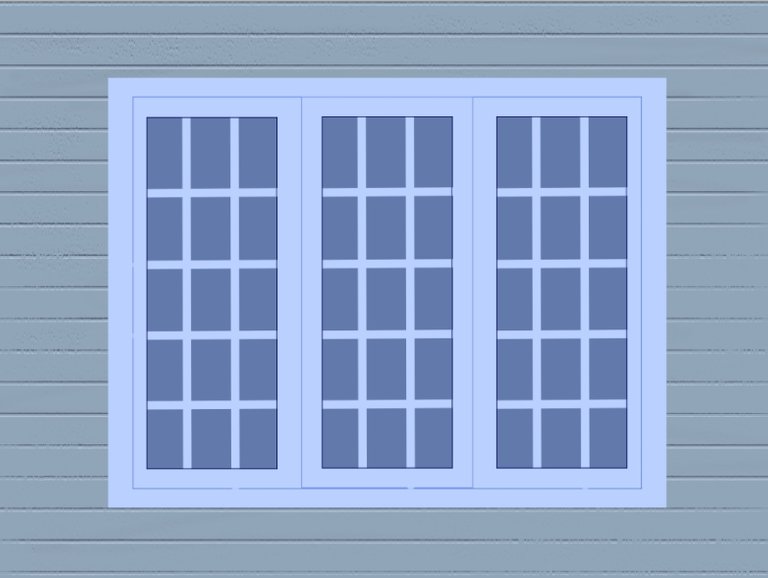
Well, the window is ready!
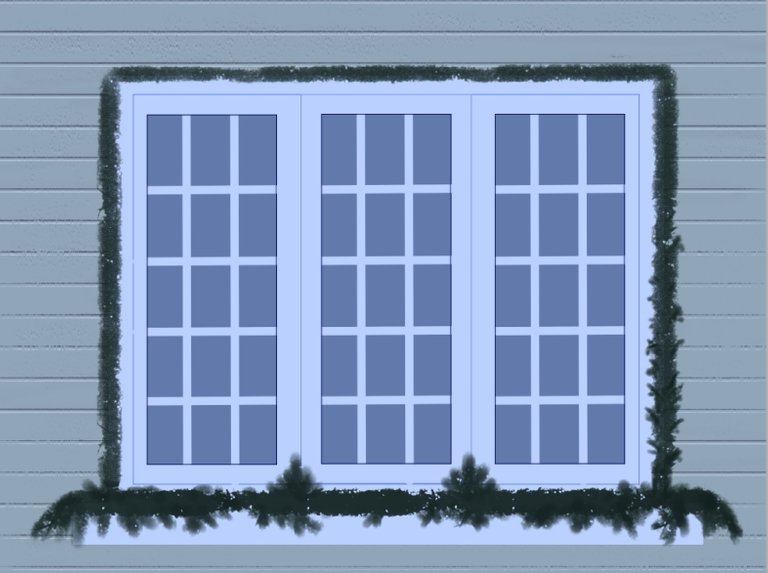
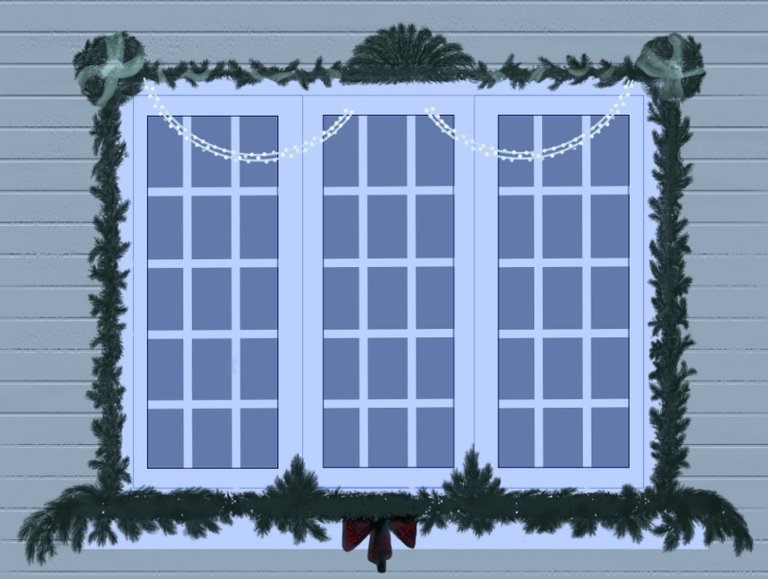
Now I'm starting to decorate it for Christmas...
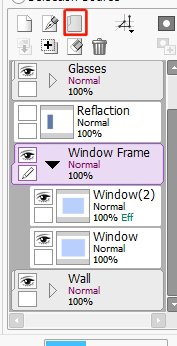
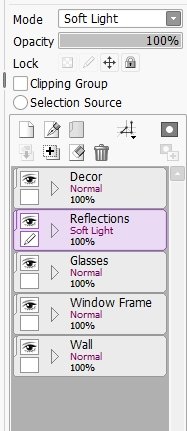
But first, I arrange all the layers in the layers palette so as not to get confused in them.
The easiest way to put them in separate named folders is to select each layer with SHIFT and click the icon in the form of a folder
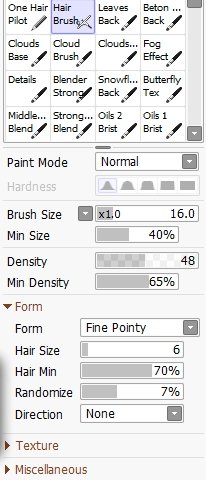
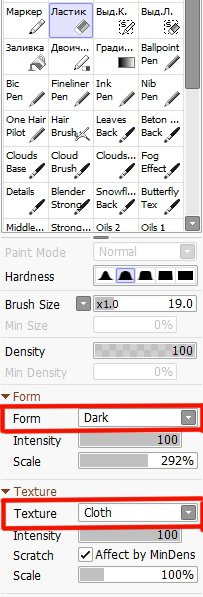
So... I chose a brush from my set named Crayon Frost with this options form and texture
It resembles a garland of fir branches
Then I turned on straight line drawing button and draw the vertical stroke along the frame on a new layer
Changing the size of the brush and the scale of the texture, I paint other parts of the garland
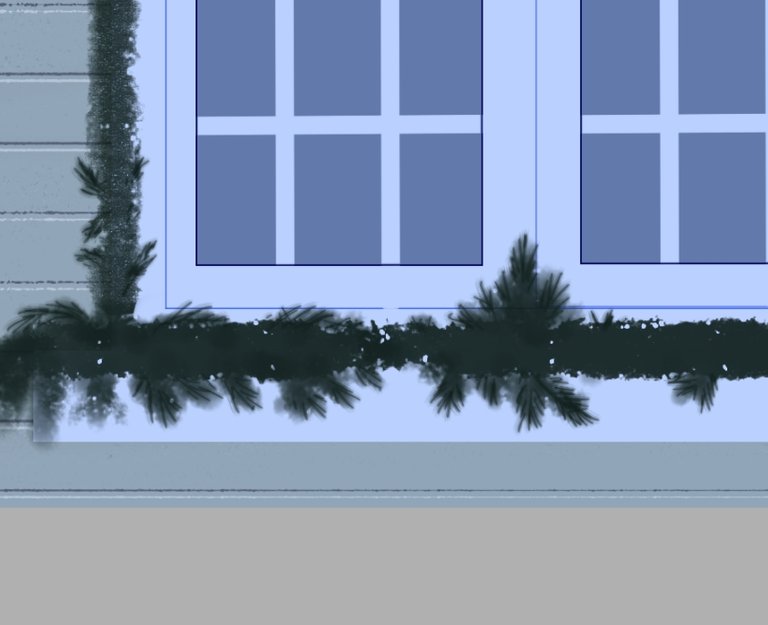
To draw the bottom of the garland, I draw first the window sill (in the frames folder, on a new layer)
Here and there I add details with another brush, which I usually use to paint hair for characters, but it came in handy for me now!
With this brush I can draw several strokes at once, similar to fir needles.
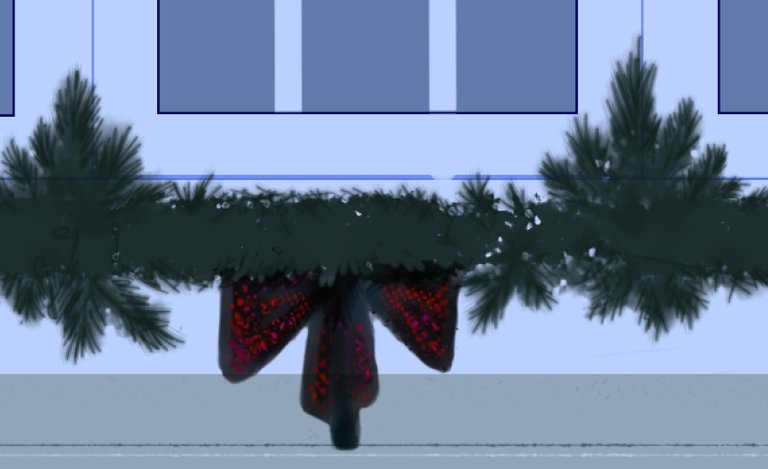
Yes, it's as Christmas fir garland!
For Eraser tool can also set the same settings as for the brush and erase the strip of garland here and there to make it look like a real one.
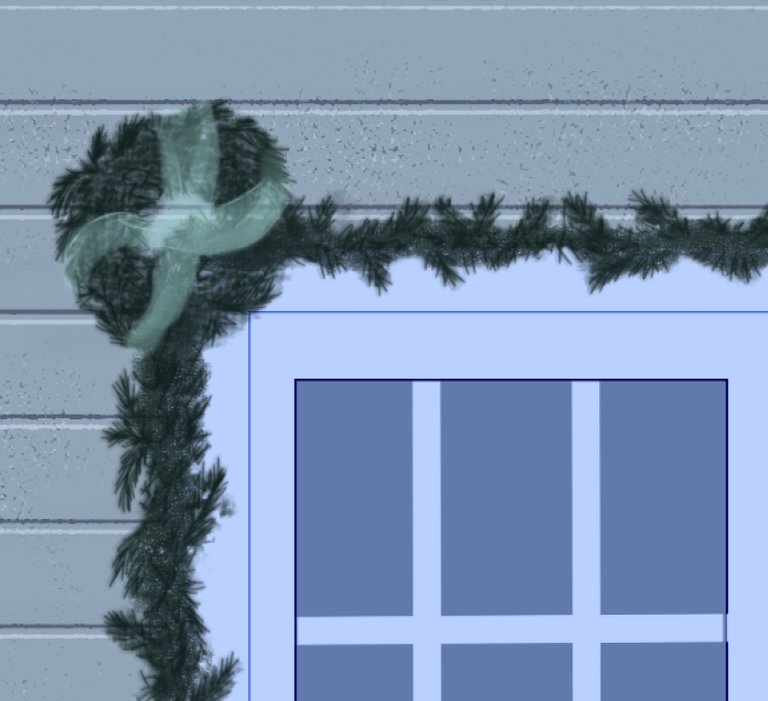
With the same brush, changing the size, I paint small branches, wreaths in the corners of the window and central compositions of spruce branches
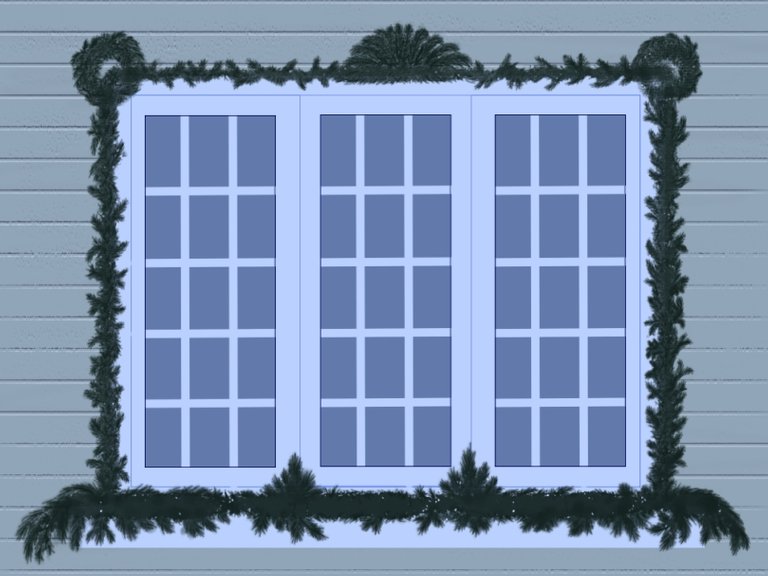
To paint the bows, I use my regular Oil Brist 2 brush.
I can to draw beautiful transparency strokes with it
For the bottom bow, I select a motley brush form from SAI library, something like this

Very colorful!
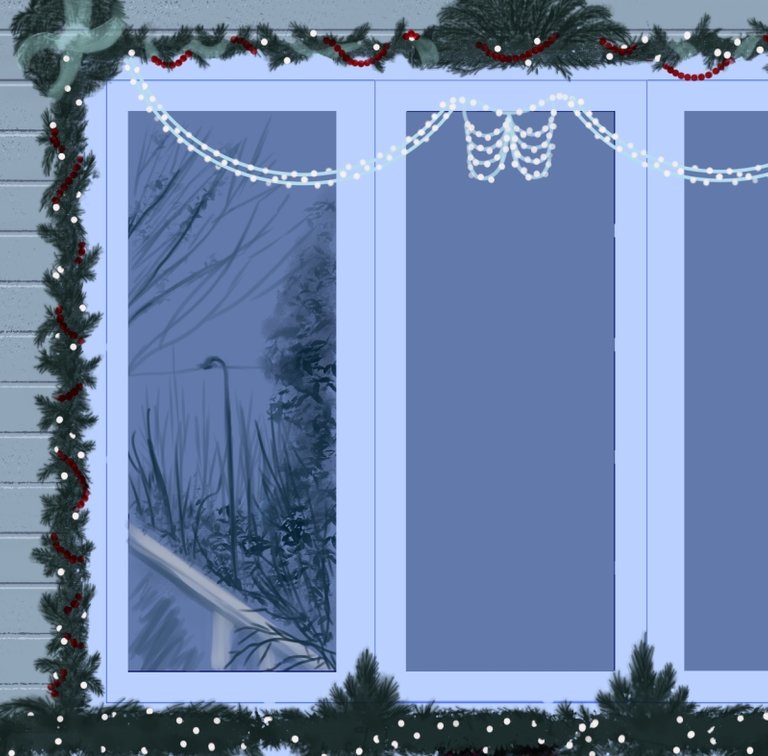
To draw a garland of lights, I had to turn on the guides again, but this time in the form of ellipses.
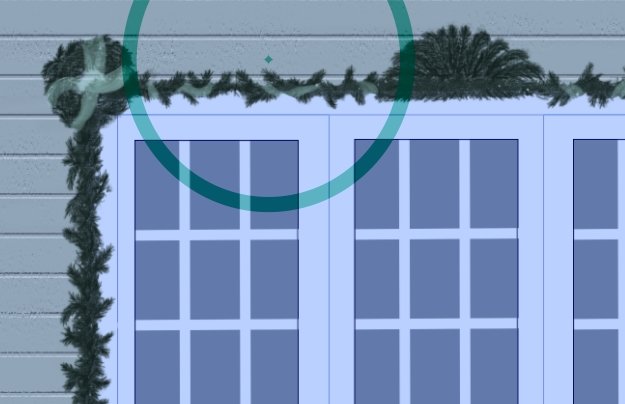
Resize (with ALT) and move (with CTRL) to need place and draw a base of garland with hard brush (for example, Ink Pen)
With the same hard brush I draw a light bulbs (both elements of garland are on two different layers).
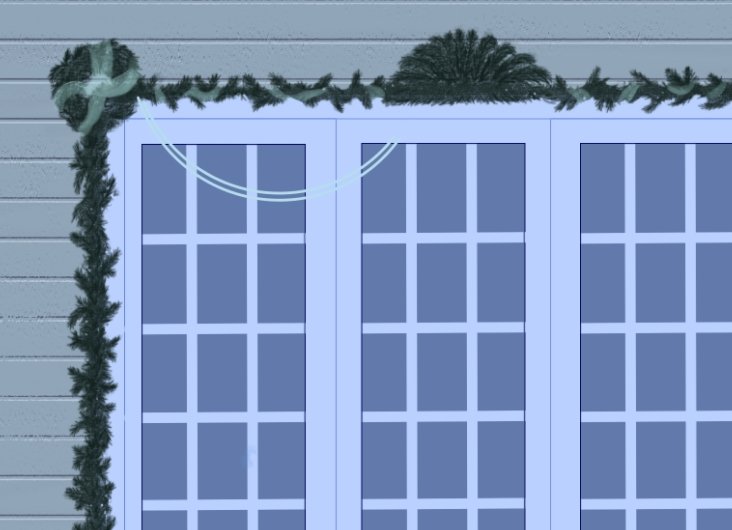
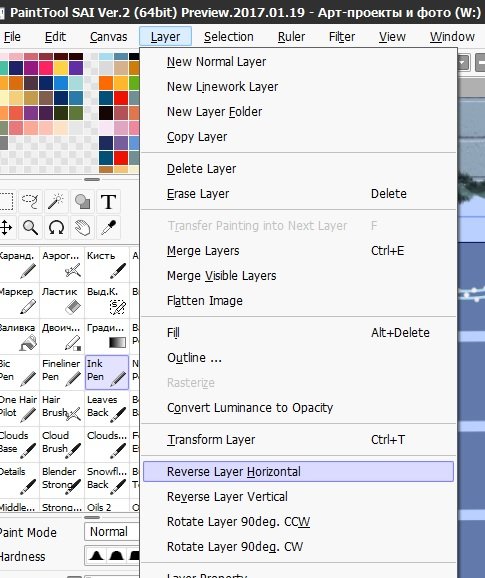
Then I duplicate both layers and go to menu Layers - Revers Layer Horizontal
Already two parts of the window are decorated!
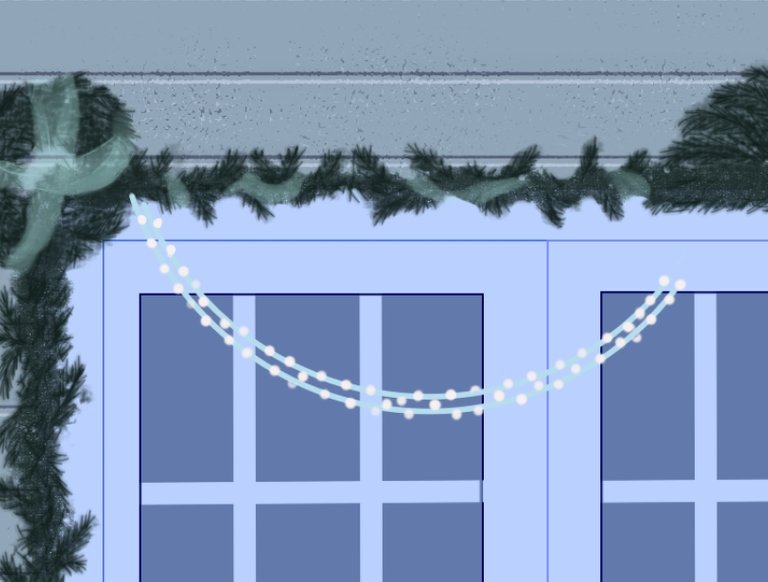
The fragment on the middle window is very small, so I paint it freehand with the same hard brush
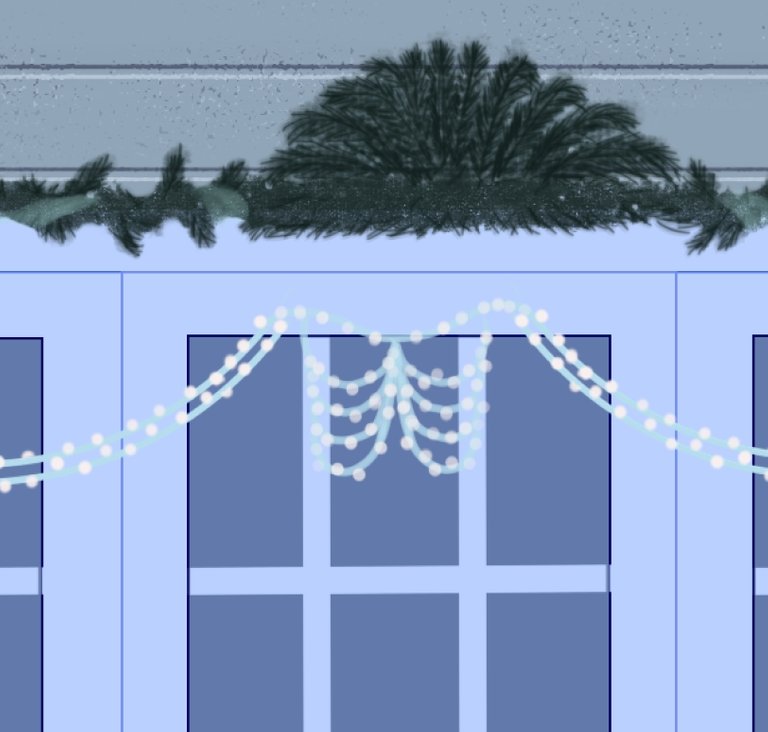
In the same way, I draw glowing garlands around the perimeter of the window.
Here and there I add red beads (also on a new layer)
Then I wanted to make highlights for individual beads.
I duplicated the layer and put it in Burn blend mode.
And erased a part of dark color to create a highlights from a light bulbs
It won't be noticeable in the big picture, but I wanted to do this
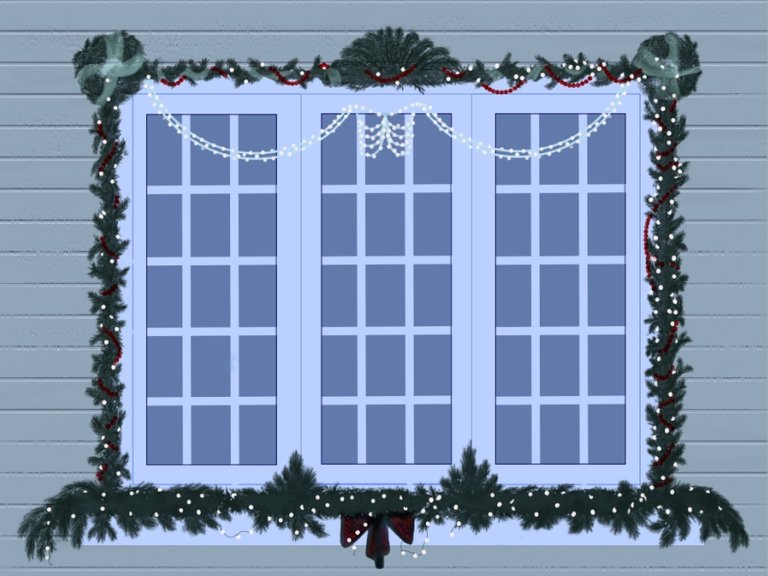
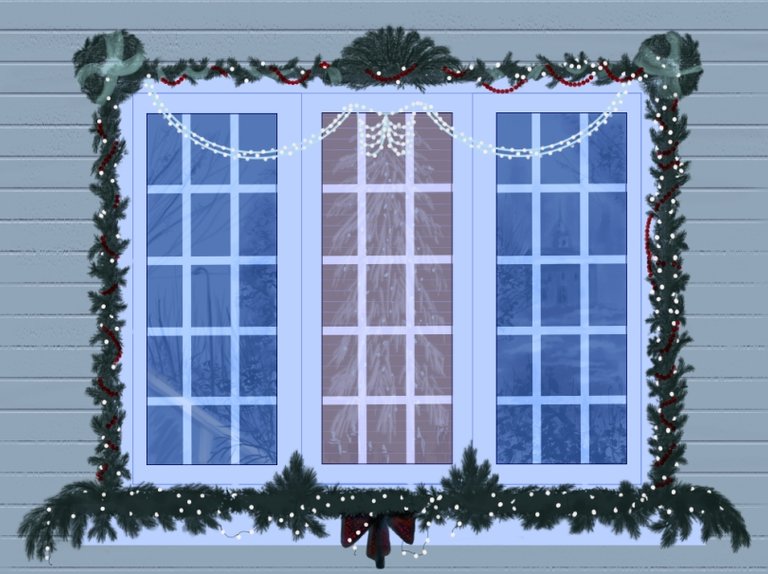
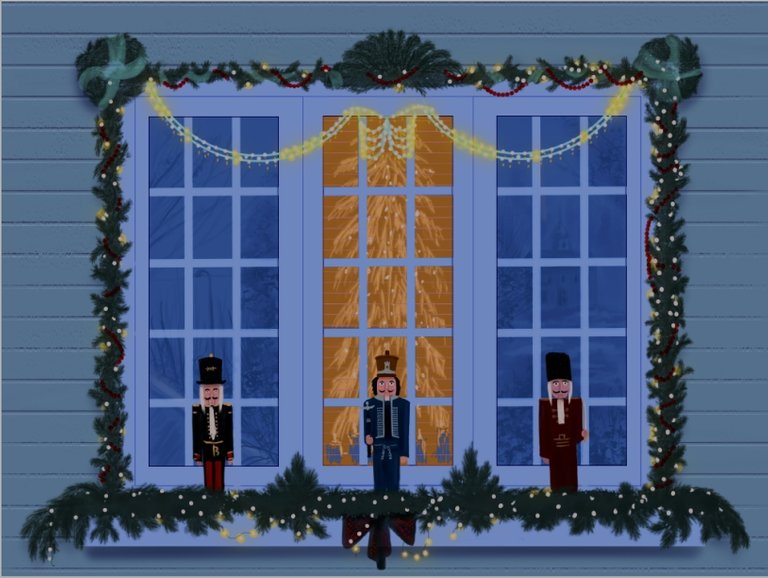
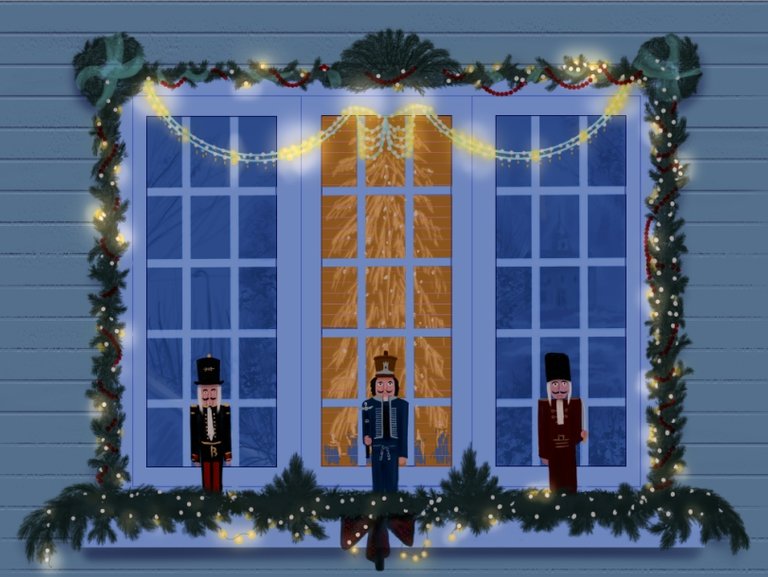
So, the window is decorated.
Now I need to create realistic reflections in the windows.
First, I place all three copies of the glass and a separate folder and move it above the glass folder.
Then on the left window I draw simple landscape - a fragment of a building, a lamppost and a few trees
To make it easier to paint on the filled area, I lock the transparent pixels of the layer with this button

Right reflections
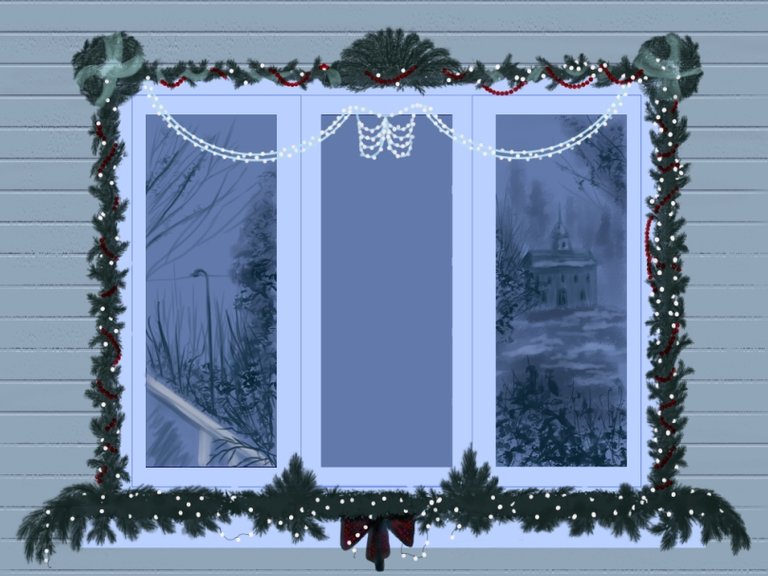
It is difficult to understand what is there in the house.
I filled a middle ares with dark orange color and painted a large faux fir tree, decorated with a glowing garland, candles on the window and interior blinds (with the same brush that I used to paint the texture of the wall)
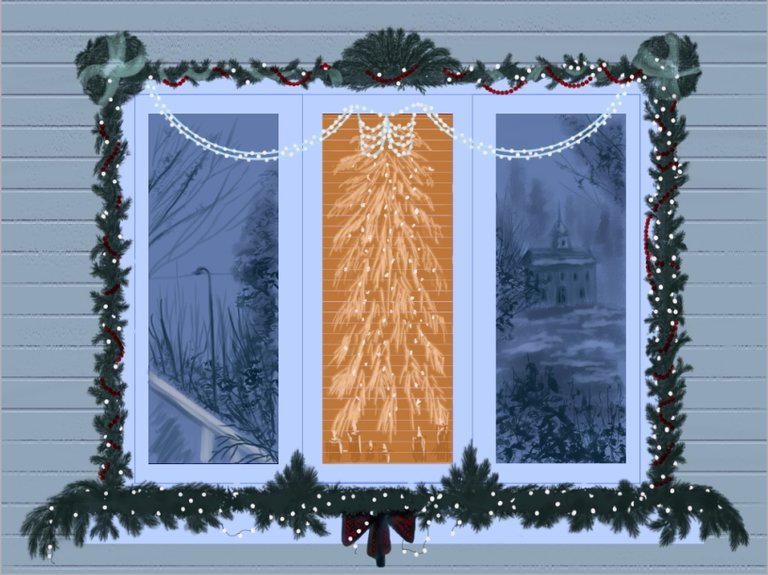
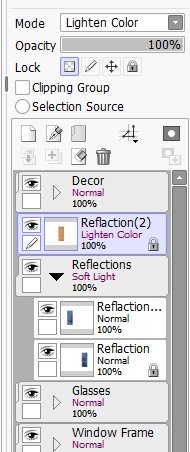
In order for the crosshairs of the frames to appear and the reflections to become realistic, I change for the entire folder to Soft light blend mode.
Yes, blue reflections look great!
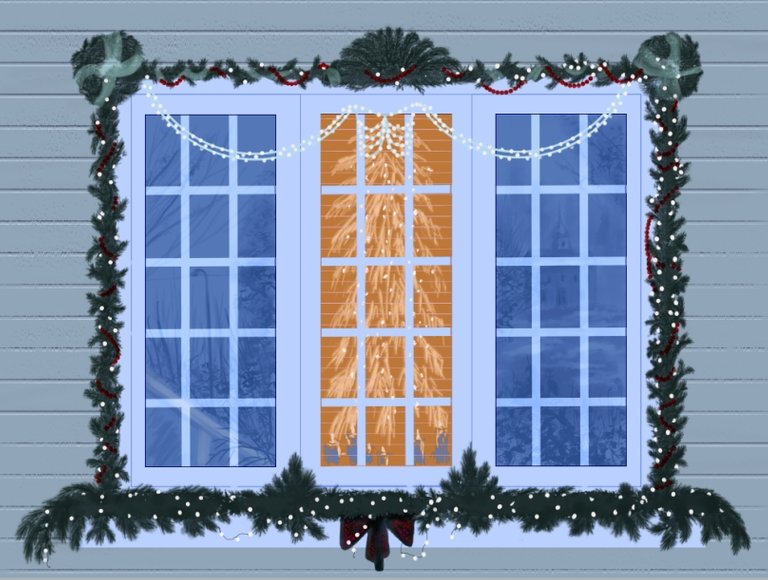
But the fragment with a part of the interior had to be moved out of the folder and separately set the blending mode Lighten color for this layer
Wow!
The candles on a window have turned blue!
But it's even more interesting!))))
Here and there I erase unnecessary highlights on the crosshairs of the frames and add a layer effect to the orange fragment.
On a new layer (in the folder with decoration) I paint in bright yellow the glow from the individual bulbs on the frames and the reflections from them on the windows.

Then I duplicate this layer and blurred it with Gaussian blur (in Filter menu) and change blend mode to Linear Light
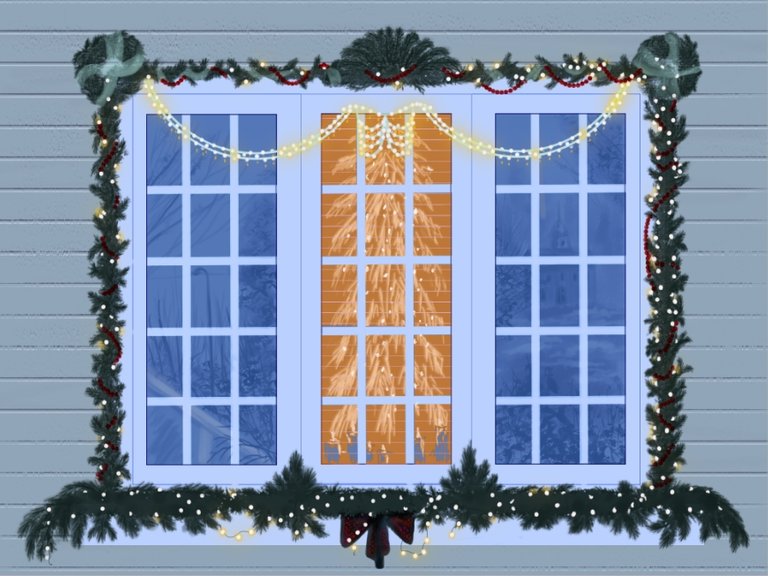
Now I create another layer (below the fit garland) and draw symbolic figures of nutcrackers on it.
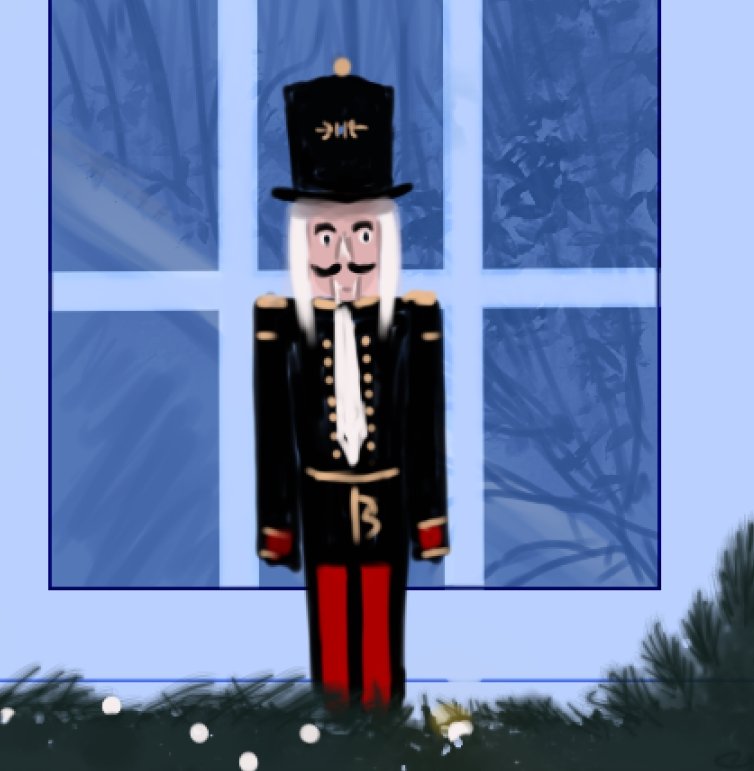

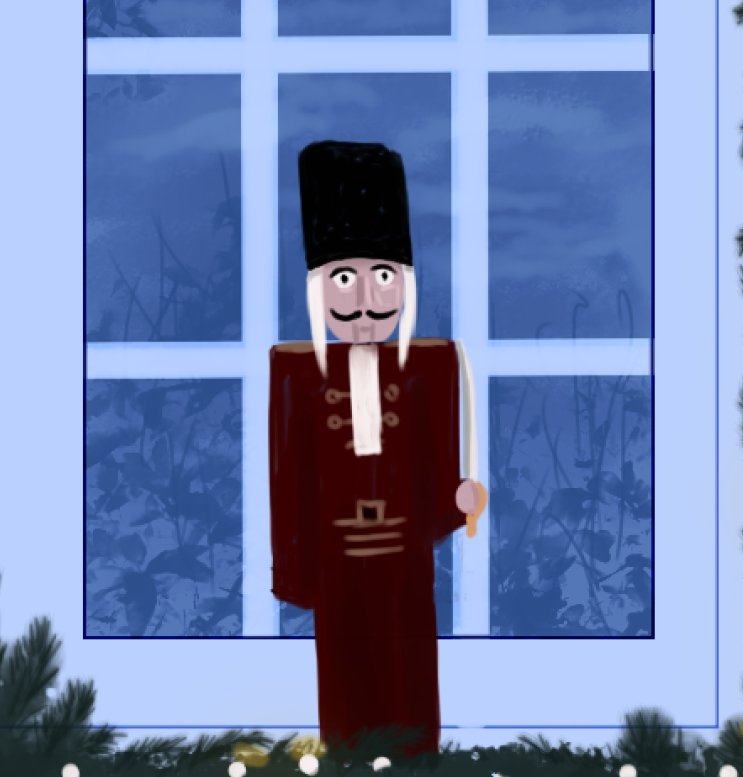
Already looks joyful and festive!
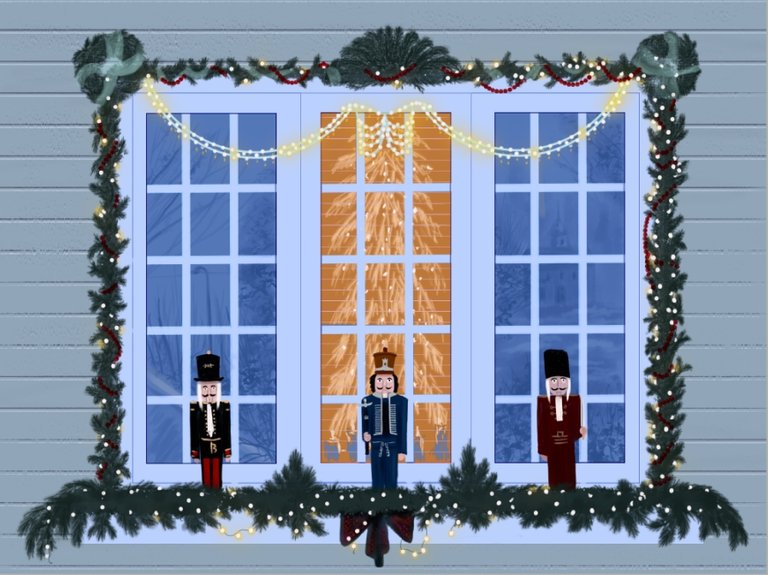
But I want to add more Christmas atmosphere to my drawing!
I merge all layers and make color correction with Filters - Hue/Saturation

And so, I create new layers, set to it blend mode Shine and with golden yellow color and with soft brush I apply bright spots of light where there are many bulbs
And finally, I wanted to add warm colors to the picture.
I created a new layer, filled it with bright pink and put it in Soft Light blend mode.
Great!
I did it!
It was first of my Christmas drawings series.
I hope you'll like it!
Regards!
Wow that is really a good peace of art 😊, thanks a lot for sharing 😊🙏.
Have a great day and week
@bhattg, thanks a lot!)))
Have a creative and positive day too!
Yay! 🤗
Your content has been boosted with Ecency Points, by @daring-celt.
Use Ecency daily to boost your growth on platform!
Support Ecency
Vote for new Proposal
Delegate HP and earn more
https://twitter.com/GerdanaNeis/status/1471449308901818374
The rewards earned on this comment will go directly to the person sharing the post on Twitter as long as they are registered with @poshtoken. Sign up at https://hiveposh.com.