[Eng Esp] Elaborating A Sweet Candy Candy! 🌹🌸🌷Elaborando A La Dulce Candy Candy!! 🌹🌸🌷 By Danhyelita24
(Edited)
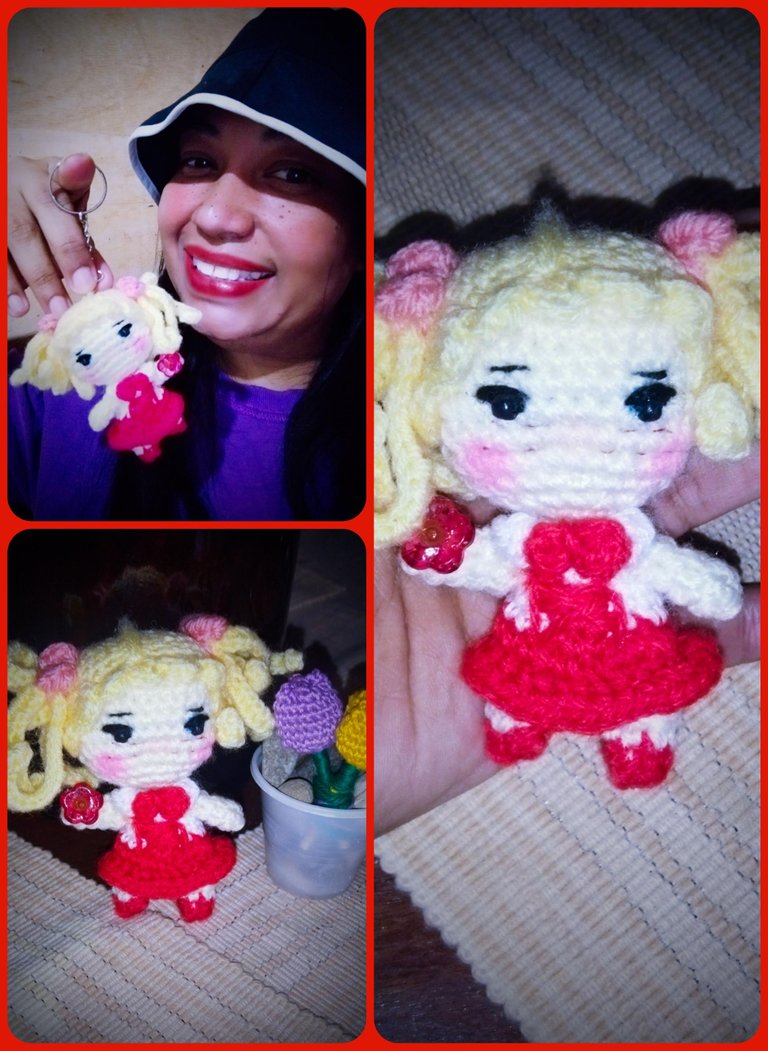
Hello hello Greetings! How about dear and appreciated friends and all those users who make life in this wonderful, creative and original community, today I bring you a very nice and romantic post, this is a craft that I made to give a nice gift to my dear friend Adriana, since it is a crocheted doll in amigurumi technique whose character is the favorite of all her life how is Candy Candy.
Hola hola Saludos!! Qué tal queridos y apreciados amigos y todos aquellos usuarios que hacen vida en esta maravillosa, creativa y original comunidad,el día de hoy les traigo un post muy bonito y romántico, se trata de una manualidad que realicé para dar un bonito regalo a mi querida amiga Adriana, ya que se trata de una muñequita tejida a crochet en la técnica amigurumi cuyo personaje es el favorito de toda su vida cómo lo es Candy Candy.
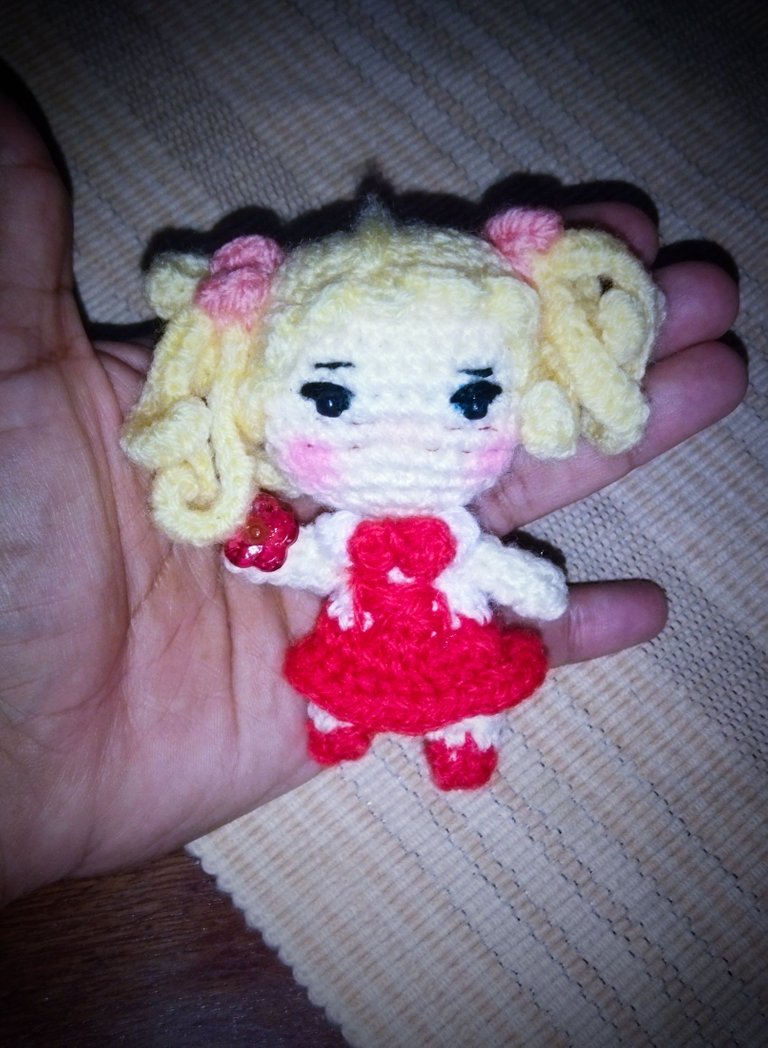
This cartoon marked our childhood and that of many of our generation, for that romanticism and love so beautiful and unconditional, in all the stories and adventures we lived next to this character without equal and that to this day has become an icon of femininity in the world.
Este dibujo animado marcó nuestra infancia y la de muchas de nuestra generación, por ese romanticismo y un amor tan bonito e incondicional, en todas las historias y aventuras que vivimos al lado de este personaje sin igual y que hasta el día de hoy se ha convertido en un icono de la feminidad en el mundo entero.
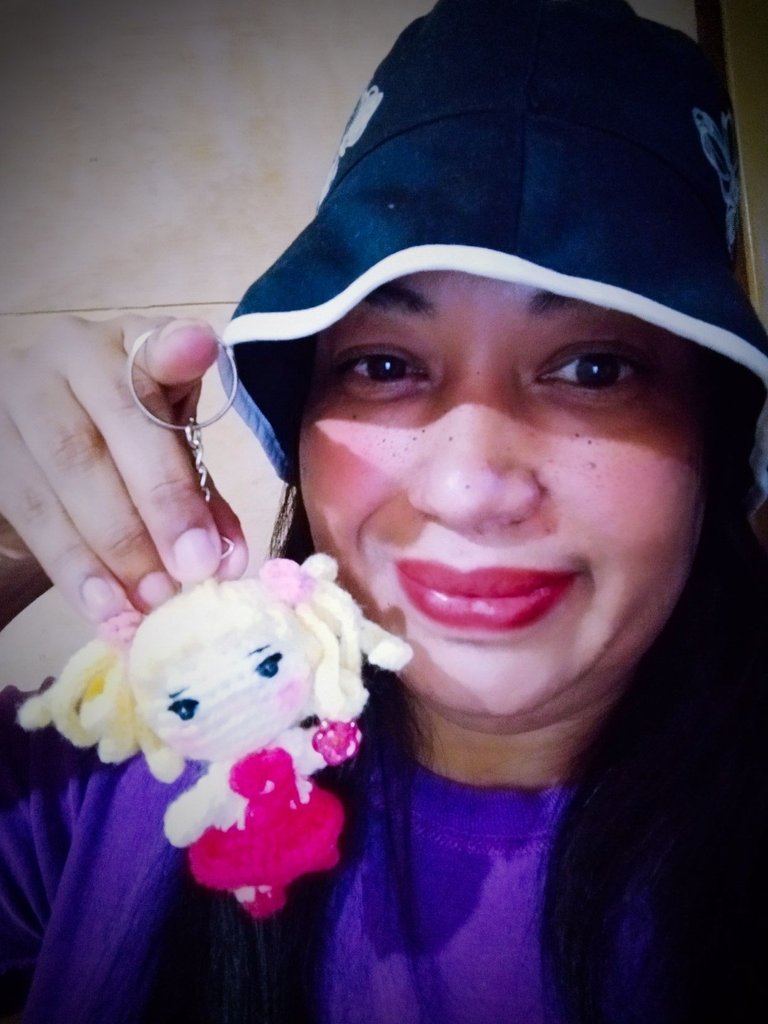
For its elaboration the materials used were wool yarn in skin tone, red, yellow and pink embroidery thread in black tone, two eye sockets in black tone, hypoallergenic stuffing, a crochet number 0, wool needle and a little bit of blush.
Para su elaboración los materiales utilizados fueron hilo de lana en tono piel, rojo, amarillo y rosa hilo de bordar en tono negro, dos cuencas para los ojos en tono negro, relleno hipoalergénico, un crochet número 0, aguja lanera y un poco de rubor.
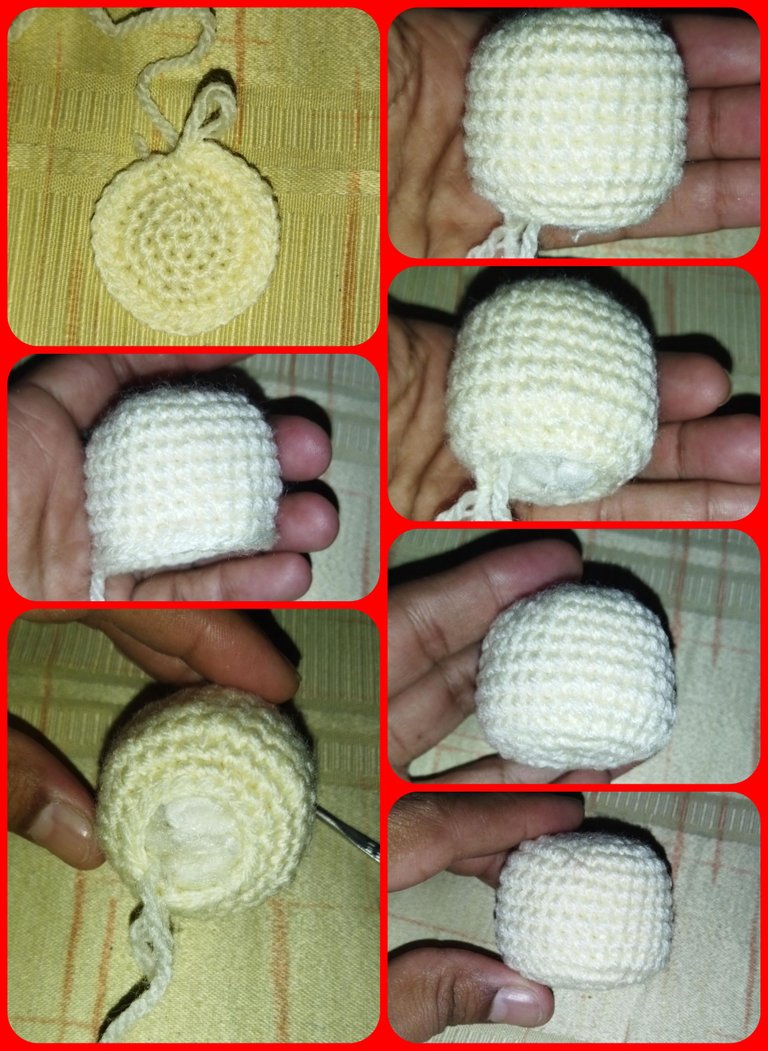
Let's start with the head in skin tone by making a magic circle of 6 single crochet stitches, continuing a sequence of six stitches until we reach the sequence of three single crochet stitches one increase or 30 single crochet stitches, making seven equal rounds of the same 30 single crochet stitches, then we make the decreases starting with three single crochet stitches one decrease, then two single crochet stitches one decrease, one single crochet stitch one decrease, we fill and make six complete decreases to have our character's head shaped like this.
Y pues bien manos a la obra, vamos a comenzar por la cabeza en tono piel realizando un círculo mágico de 6 puntos bajos, continuando una secuencia de seis puntos hasta llegar a la secuencia de tres puntos bajos Un aumento o lo que es igual 30 puntos bajos, realizando siete vueltas iguales de los mismos 30 puntos bajos, luego realizamos la disminuciones comenzando con tres puntos bajos una disminución, luego dos puntos bajos una disminución, un punto bajo una disminución, rellenamos y realizamos seis disminuciones completas para tener conformada así la cabecita de nuestro personaje.
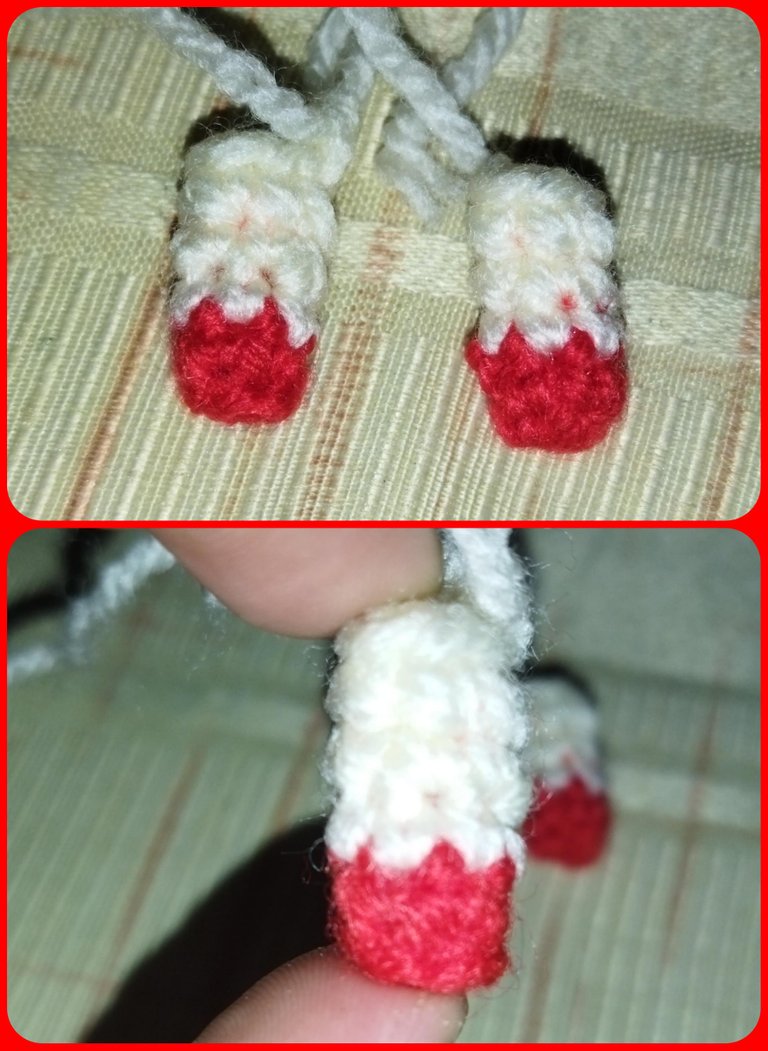
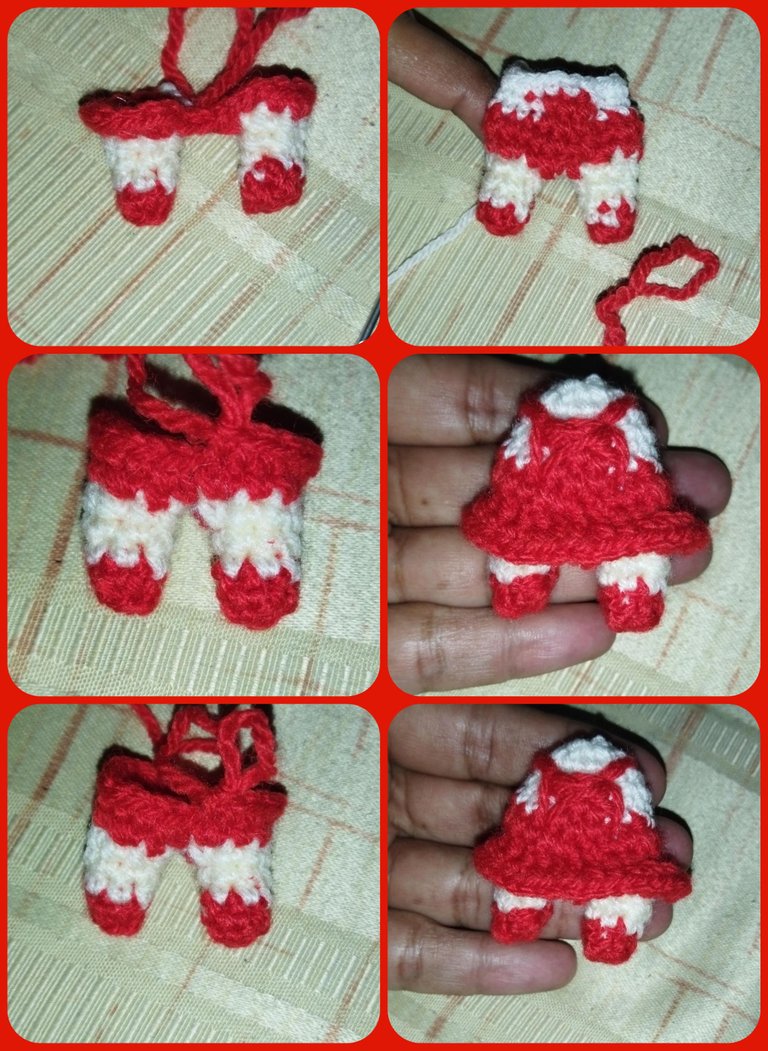
For the legs, in red yarn we make a magic ring of six single crochets, another round of 6 single crochets, we change to flesh color and make three rounds of the same six single crochets, we will fill in and make two pieces in the same way, once we have finished the two pieces, we hook one to the other with red yarn with a slipped stitch and we make the sequence for the whole round of one single crochet one increase, then we make again the same 18 stitches, then we will make the change to white color making 7 single crochets, We change to red color with five single crochet stitches, change to white color with six single crochet stitches and make another round in the same way. The last round we are going to make all in white color with 18 single crochet stitches, then we make the same decrease in white color with one single crochet and one decrease, we are going to fill and proceed to glue the head part with a little cold silicone and sewing with thread to secure, because in this case the head is bigger than the body which makes it have a more caricatured touch.
Para las piernas, en hilo rojo realizamos un anillo mágico de seis puntos bajos,otra vuelta de 6 puntos bajos, cambiamos a color carne y realizamos tres vueltas de los mismos seis puntos bajos, vamos a rellenar y realizamos dos piezas de la misma manera, una vez que tenemos culminadas las dos piezas, enganchamos una con la otra con hilo rojo con un punto deslizado y realizamos la secuencia por toda la vuelta de un punto bajo Un aumento, luego realizamos nuevamente los mismos 18 puntos luego, vamos a realizar el cambio a color blanco realizando 7 puntos bajos, cambiamos al color rojo con cinco puntos bajos, cambiamos al color blanco seis puntos bajos y realizamos otra vuelta de la misma manera, La última vuelta la vamos a realizar todo en tono blanco realizando 18 puntos bajos,luego realizamos la disminución igual en tono blanco con un punto bajo una disminución, vamos a rellenar y vamos a proceder a pegar la parte de la cabecita con un poco de silicón frío y cosiendo igualmente con hilo para asegurar, ya que en este caso la cabecita es más grande que el cuerpo lo que lo hace tener un toque más caricaturesco.
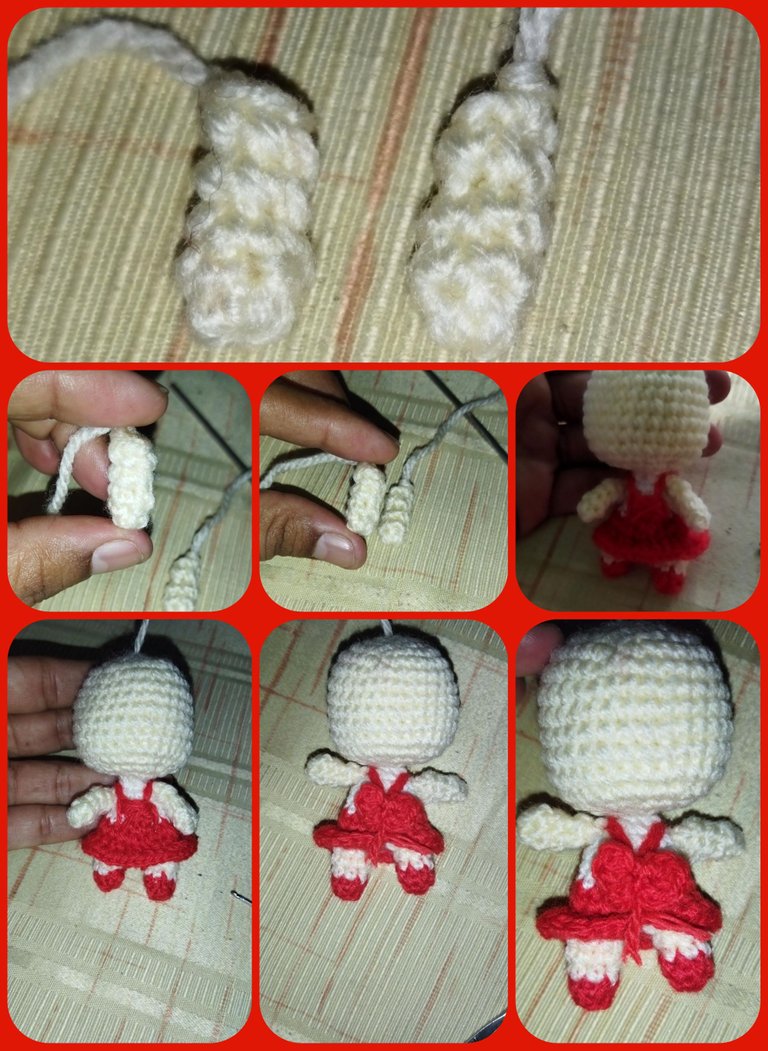
We continue with the part of the arms, for this we are going to make a magic circle of 6 low stitches, with a first round of the same six low stitches, then we make three low stitches, two chains, a slipped stitch and we make three low stitches, the next four rounds we make the same of the same six low stitches making two equal pieces which we are going to glue at both ends.
Continuamos con la parte de los brazos, para ello vamos a realizamos un círculo mágico de 6 puntos bajos, con una primera vuelta igual de los mismos seis puntos bajos, luego realizamos tres puntos bajos, dos cadenas, un punto deslizado y realizamos tres puntos bajos, las próximas cuatro vueltas las realizamos igual de los mismos seis puntos bajos realizando dos piezas iguales las cuales vamos a pegar en ambos extremos.
In red color we are going to embroider the straps on the shoulders giving it two passes making a kind of crossed x in the back part and we make a small bow, in red color making a magic ring, a slipped stitch, four medium high stitches, a slipped stitch, then four medium high stitches, slipped stitch and we close the ring, we pass the thread through the middle to have the bow finished.
En color rojo vamos a bordar los tirantes sobre los hombros dándole dos pasadas haciendo una especie de x cruzada en la parte trasera y realizamos un pequeño lazo, en tono rojo realizando un anillo mágico ,un punto deslizado, cuatro puntos medios altos, un punto deslizado, luego cuatro puntos medios altos, punto deslizado y cerramos el anillo, pasamos el hilo por el medio para así tener culminado el lacito.
For the hair part we are going to make a magic ring of 6 single crochet stitches, making a sequence of six stitches until we reach the sequence of four single crochet stitches, or what would be equal to 36 single crochets, we make five equal rounds of the 36 single crochets, then we make a chain of 14 stitches, 3 medium high stitches in one stitch and then 14 medium high stitches, repeating this six times to make the fringe of the doll and we finish with a slipped stitch, for the bows we are going to make a chain of 15 low stitches and then a triple medium high stitch, and twelve medium high stitches, making the same sequence with four more bows, which we are going to glue with cold silicone and in the same way on both ends of the head, on the top we are going to make a bow in pink tone in the same way as we made the bow of the dress.
Para la parte del cabello vamos a realizar un anillo mágico de 6 puntos bajos, realizando una secuencia de seis puntos hasta llegar a la secuencia de cuatro puntos bajo Un aumento, o lo que sería igual 36 puntos bajos, realizamos cinco vueltas iguales de los 36 puntos bajos, luego realizamos una cadeneta de 14 puntos, 3 puntos medio alto en un punto y luego 14 puntos medios altos, repitiendo esto mismo seis veces para hacer el flequillo de la muñequita y terminamos con un punto deslizado, para los moñitos vamos a realizar una cadena de 15 puntos bajos y luego un punto triple medio alto, y doce puntos medios altos, realizando la misma secuencia con cuatro moñitos más, los cuales vamos a pegar con silicón frío y de igual manera en ambos extremos de la cabecita, en la parte de arriba le vamos a hacer un lacito en tono rosa de la misma manera como confeccionamos el lacito del vestido.
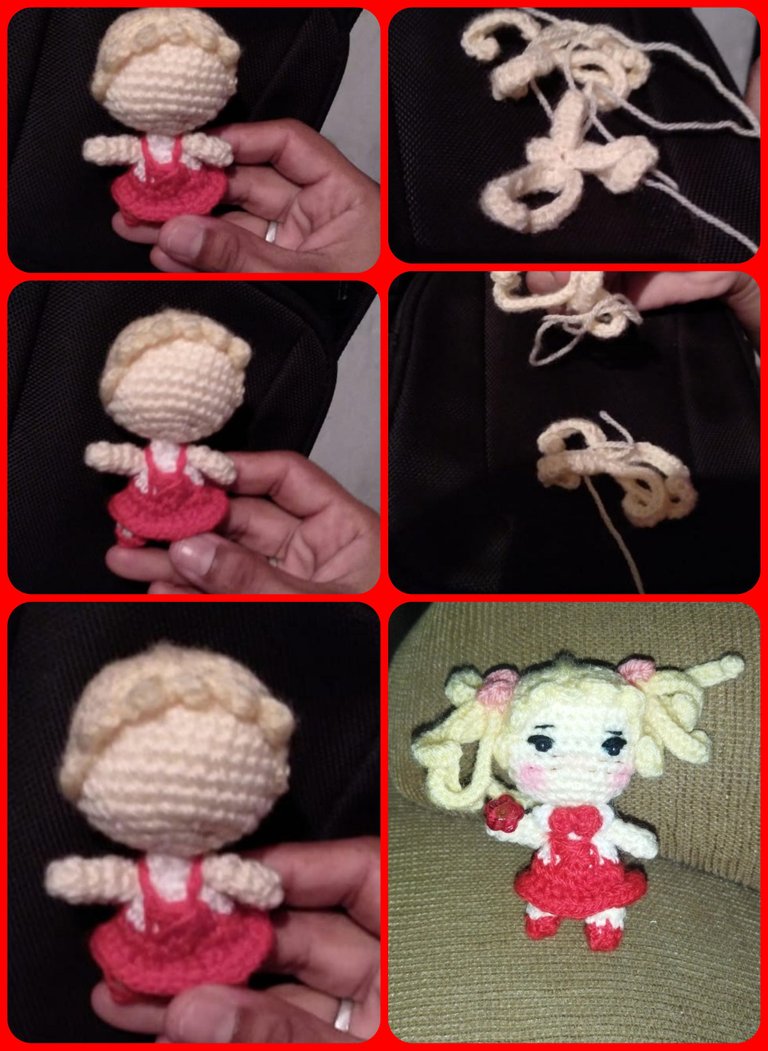
As a final element we are going to place the sockets in the eyes and we border the eyelashes and eyebrows with the thread in black tone, the small cheeks we are going to color them with a little blush and with the brown thread of a single strand we are going to make small stitches around the cheeks to give that effect of freckles so characteristic of this character.
Como elemento final vamos a colocarle las cuencas en los ojos y bordeamos las pestañas y las cejas con el hilo en tono negro, las pequeñas mejillas las vamos a colorear con un poco de rubor y con el hilo marrón de una sola hebra vamos a realizar pequeñas puntadas alrededor de las mejillas para dar ese efecto de pecas tan característico de este personaje.
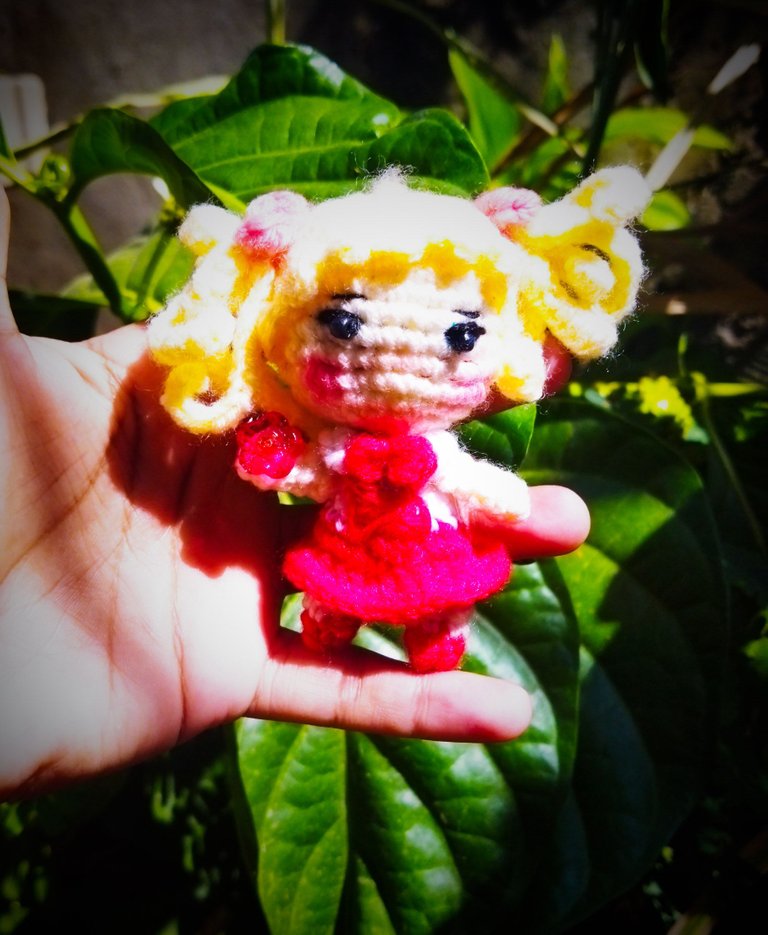
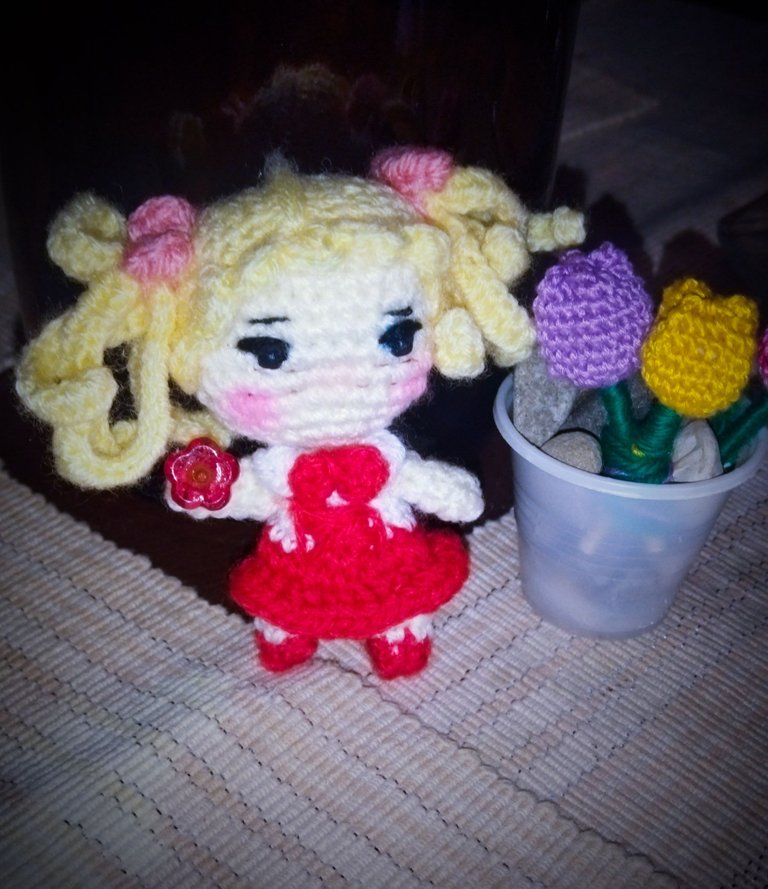
And in this way I had completed the little Candy Candy, I loved and fell in love with the result and I'm sure it will be of much pleasure for my dear friend who will appreciate it very much.
Y de esta manera tuve culminada a la pequeña Candy Candy, el resultado me encantó y me enamoró y estoy segura que será de mucho agrado para mi querida amiga que lo apreciará de manera inigualable.
Thank you very much for having reached this point, I wish you many blessings and success and soon we will meet again through a new and beautiful post, see you soon!!!
Muchísimas gracias por haber llegado a este punto, les deseo muchísimas bendiciones y éxitos y prontamente volveremos a encontrarnos a través de un nuevo y bonito post, hasta luego!!
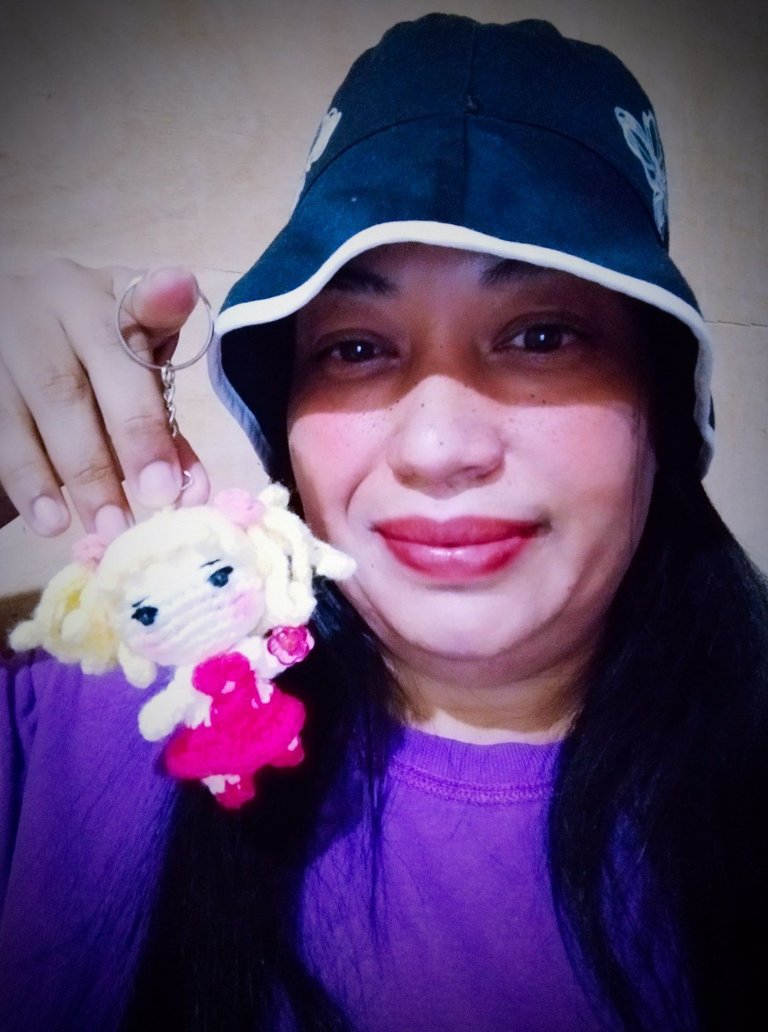
All images are my own taken with redmi 9t and edited with Photoshop Express app for Android.
Todas las imágenes son de mi propiedad tomadas con redmi 9t y editadas con la aplicación Photoshop Express para Android.

0
0
0.000
https://twitter.com/1422413915275812864/status/1632581462724694018
The rewards earned on this comment will go directly to the people( @mariajcastro28 ) sharing the post on Twitter as long as they are registered with @poshtoken. Sign up at https://hiveposh.com.
Gracias @poshtoken por el apoyo!!
Your content has been voted as a part of Encouragement program. Keep up the good work!
Use Ecency daily to boost your growth on platform!
Support Ecency
Vote for new Proposal
Delegate HP and earn more
Muy hermosa tu muñeca! me encantó.
Gracias @elmundodebetty, muy amable por su apreciación.
Ay yo mío soy muy fan! Cualquiera que ame ese anime querrá tenerla. te quedó estupenda.
Graciasss!!! Si definitivamente Candy fue nuestra primera gran aventura Romantica!!! a mi me encanta y creo que es el mismo sentimiento de toda nuestra generación!!
Eso amiga que cosa tan linda jajajajaj, de verdad que lo haces parecer muy fácil.
Gracias @gigi8 por tan bonitas palabras!! saludos
¡Felicidades! Esta publicación obtuvo upvote y fue compartido por @la-colmena, un proyecto de Curación Manual para la comunidad hispana de Hive que cuenta con el respaldo de @curie.
Si te gusta el trabajo que hacemos, te invitamos a darle tu voto a este comentario y a votar como testigo por La Colmena.
Si quieres saber más sobre nuestro proyecto, te invitamos a acompañarnos en nuestro servidor de Discord.
Gracias @la-colmena y @curie por el apoyo saludos!!
Ohw ! Ita so cute😍😍😍😍
Thank You!!! 😊
Te quedó hermosa esa muñeca y aún más especial pues es un regalo para tu amiga. Felicitaciones por tus manos creativas. Recibe un fuerte abrazo desde la distancia. Saludos.